Who’s ready for a brand new furniture makeover today? How about FIVE brand new furniture makeovers?? I’m sharing a painted oak hutch, and then be on the lookout for my friends’ makeovers at the bottom for Furniture Fixer Upper Day!

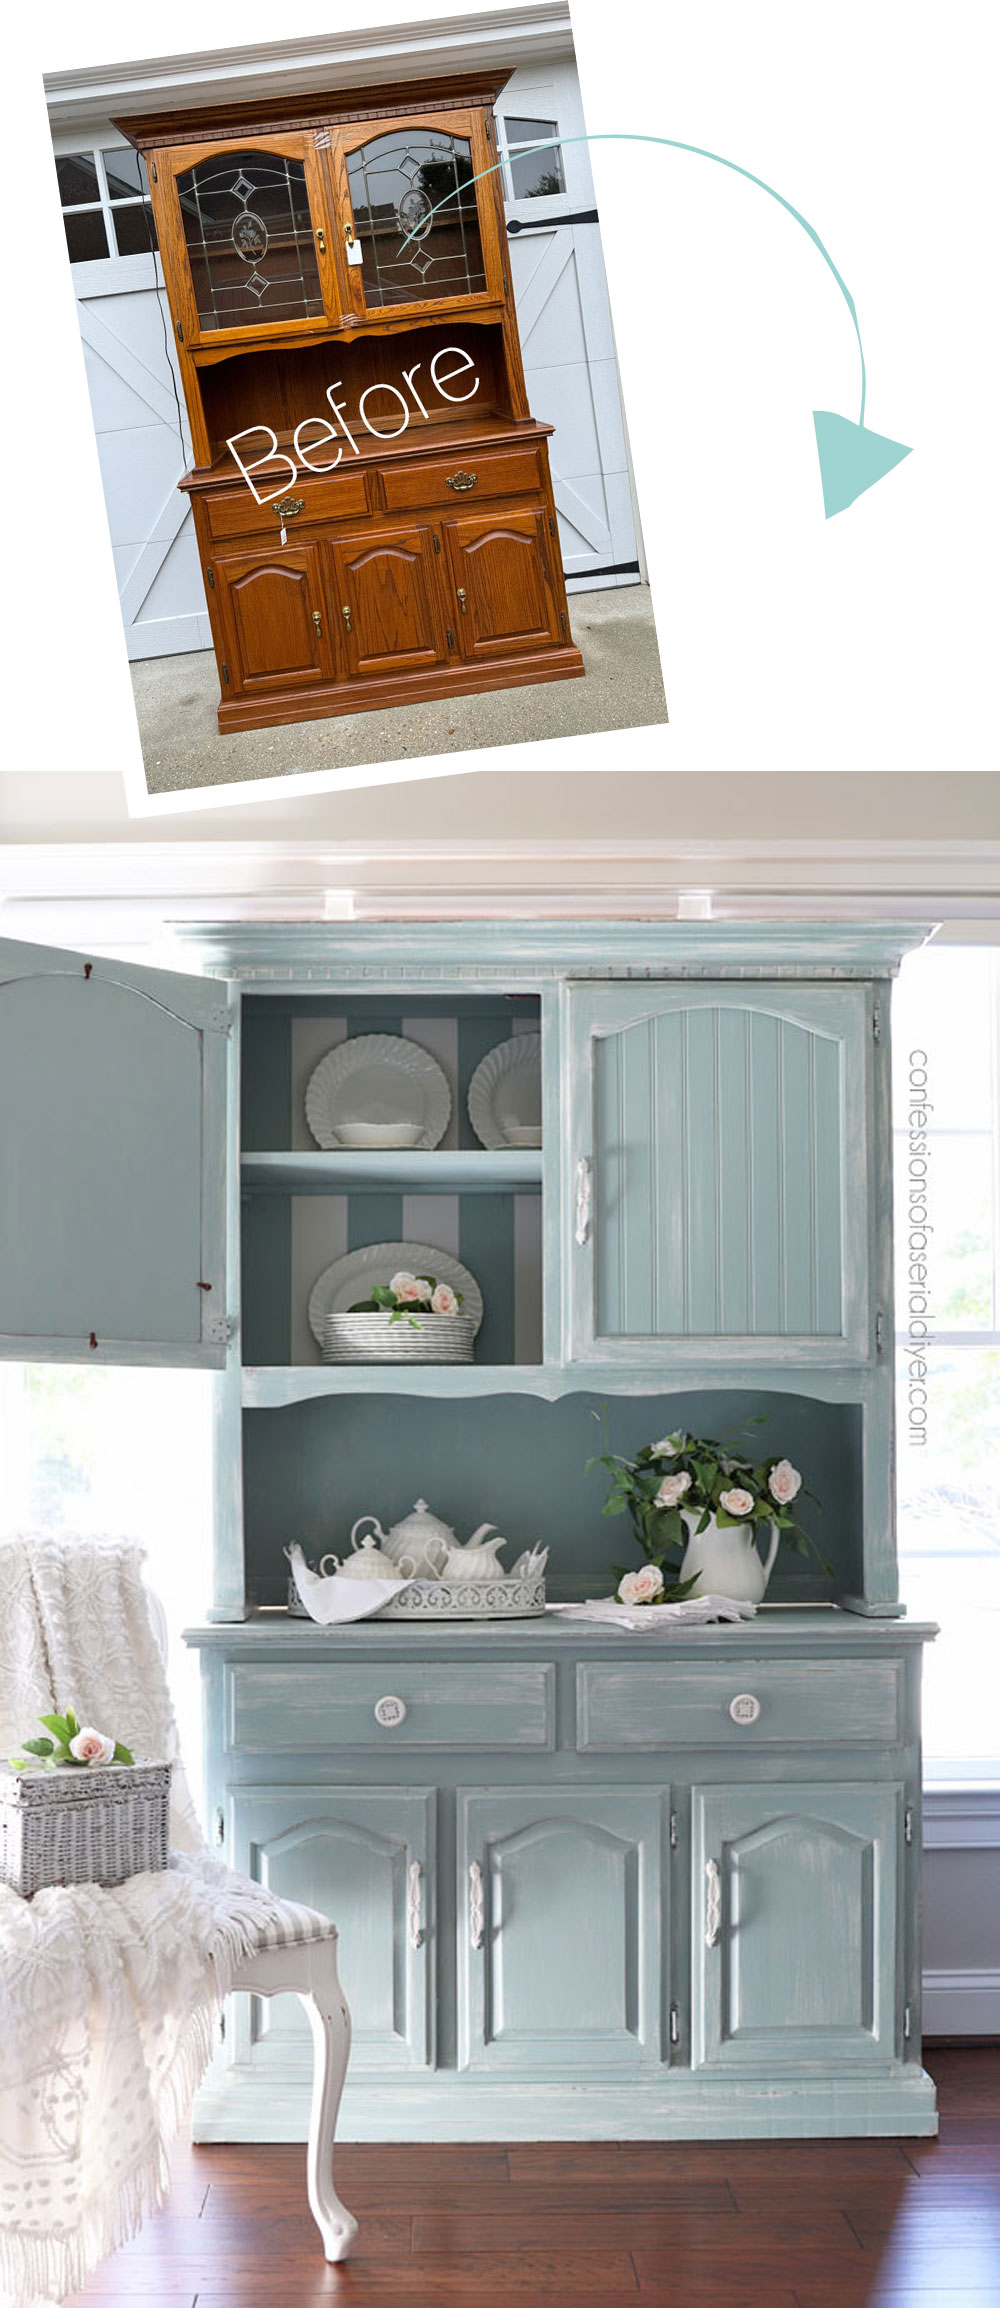
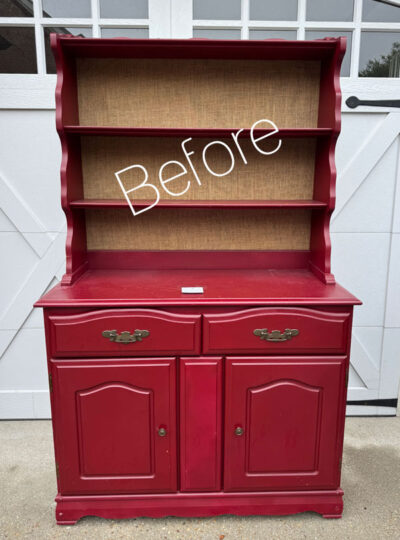
Today’s hutch makeover was a fantastic deal at the thrift store for $49.95:
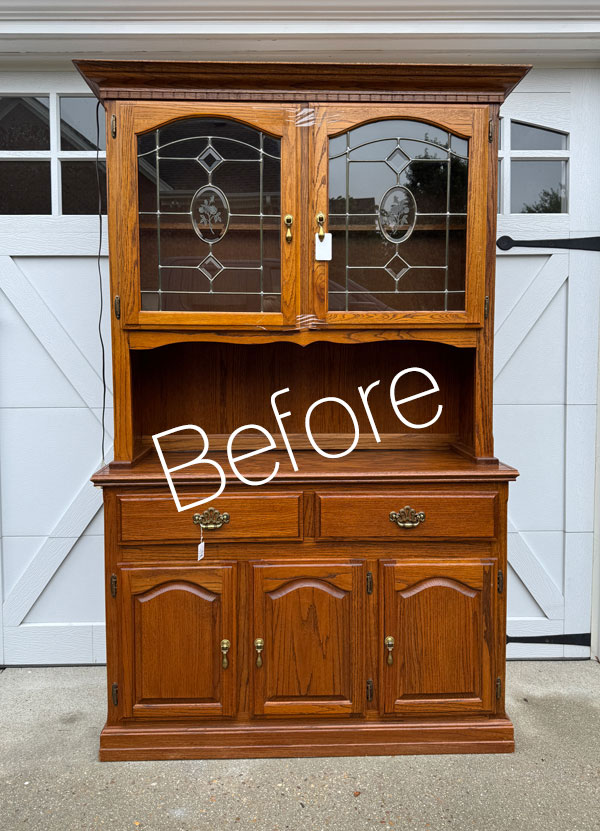
I’ve redone a hutch nearly identical to this one already which you can see HERE.
I replaced the glass panels in that one, and I planned to do that here also to create closed storage, so I started by first removing those:
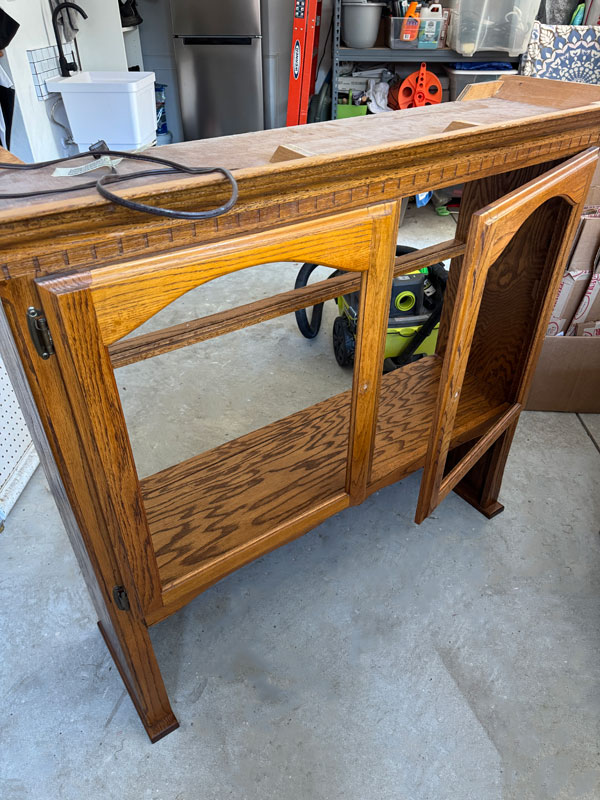
I also removed that back panel to make it easier to paint the interior.
Clean
Then it was time to dive into this project with a thorough cleaning, and I did that with White Lightning, mixing one TBSP into a half gallon of warm water. These terrycloth sponges are what I like to use:
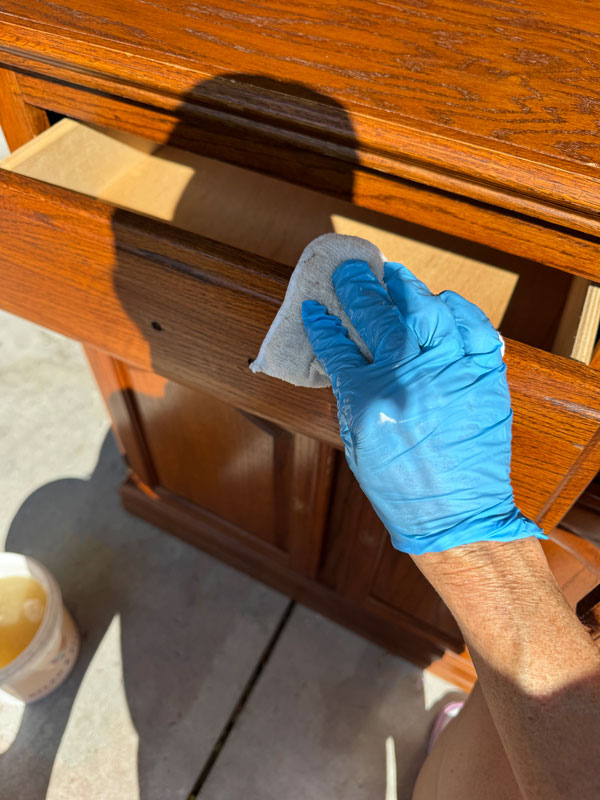
They are like a sponge wrapped in a washcloth and can be tossed in the wash and used over and over again.
Fill the hardware holes with Dixie Mud
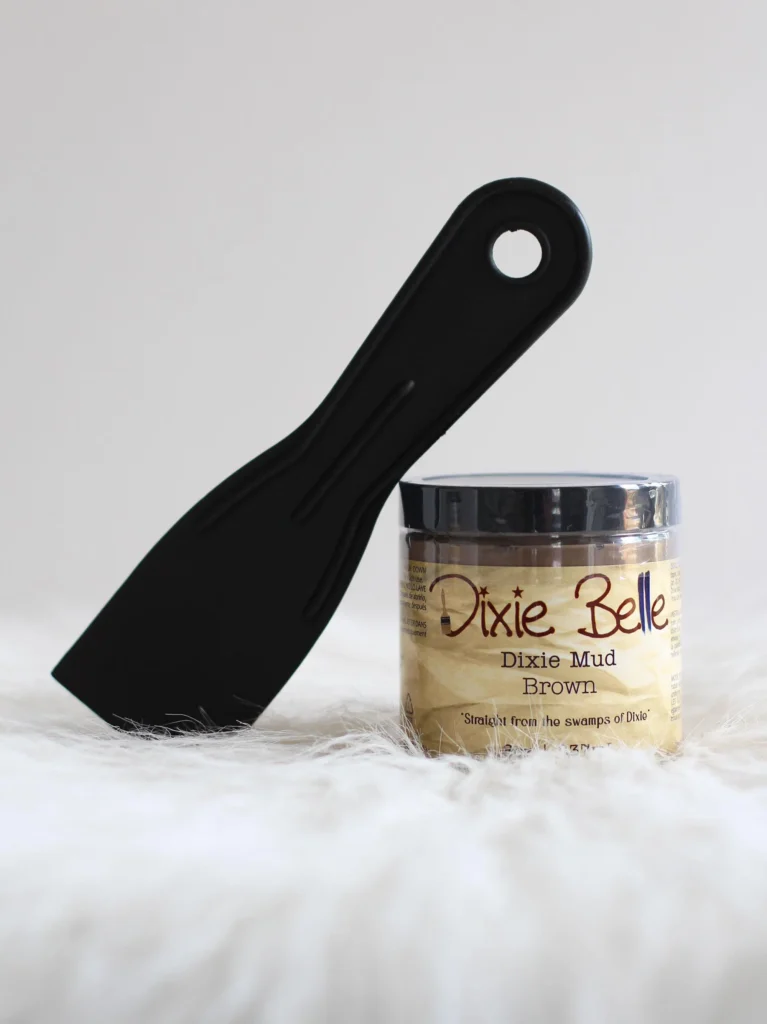
I knew I wanted to use different hardware on the drawers, so I needed to fill those holes with Dixie Mud. I remembered late at night and ran down to the garage before going to bed to add that so it could dry overnight lol.
To Prime with Bonding BOSS or not?
I knew that after sanding the area on the drawers where I had added the Mud, it would remove some of the original sealer and thus make it prone to bleed through. Also, oak can bleed, but for some unknown reason, I decided to take my chances. I think maybe because I was going for a shabby/distressed look and thought I might be able to get away with it?
I should know better!
I went ahead and added my first coat of paint. To get the shabby/distressed look I was after for this hutch, my plan was to follow this method HERE and apply the paint in a way that left some areas unpainted. I don’t know if you can see but I did get bleed through both on the drawers as I suspected I would and on the top:
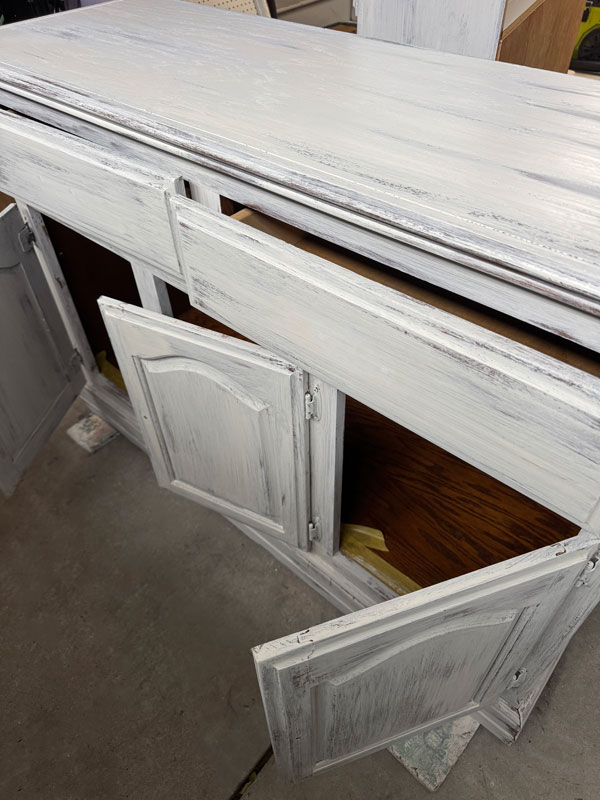
I also got it really badly on the inside of the hutch at the top. It was at this point that I just decided to give the whole thing a coat of Clear Bonding BOSS to be safe, including the back panel that I had removed since that looked like the same wood that bled really badly on the “ceiling” inside the hutch. Luckily I hadn’t painted that piece yet:
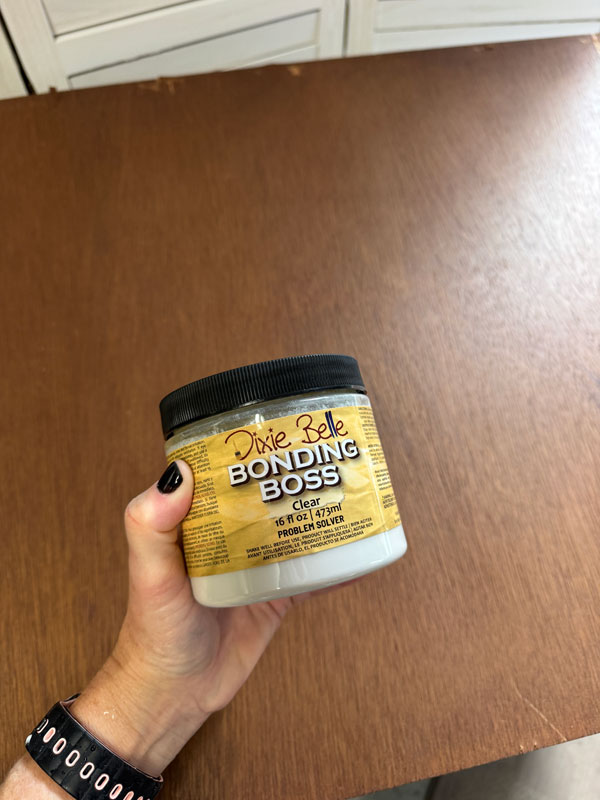
I left everything to dry for 24 hours so the Bonding BOSS could work its magic!
This also put me behind, so it was a fight to the finish line!
Paint
I had to go back over the areas I had already painted in Fluff at the beginning, so I didn’t end up with quite as much of a distressed look as I wanted. Once that was dry, I added a mix of Fluff and Vintage Duck Egg Blue:
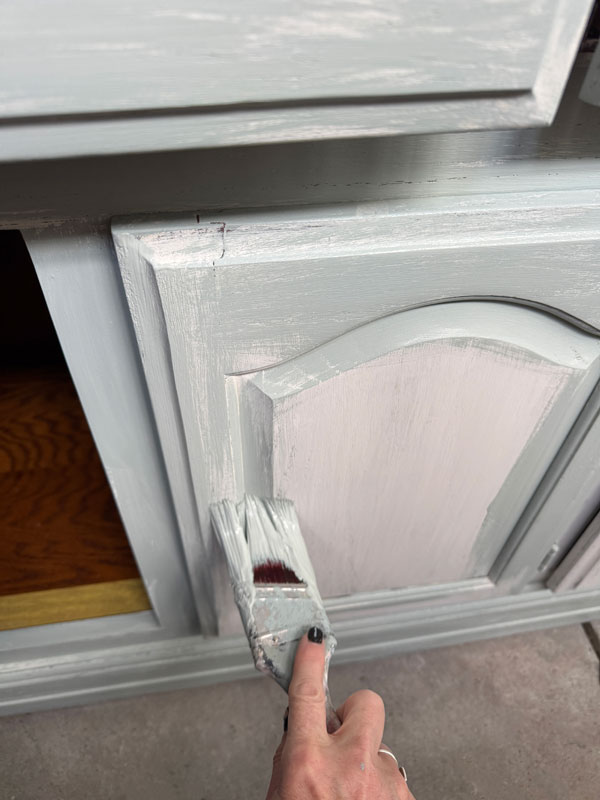
I didn’t have enough of the 50/50 Fluff/Vintage Duck Egg that I already had mixed left to complete this hutch, so I just added a bit more Fluff to the jar This is probably more like 1/3 Duck Egg to 2/3 Fluff now.
(I ended up not painting the inside of the bottom since it was in perfect condition…I didn’t take after photos of that, but you can see it in the last two photos.)
Had to add some stripes!
I decided to add stripes to the back of the top portion, and I did them a bit wider this time by doubling up the widest FrogTape:
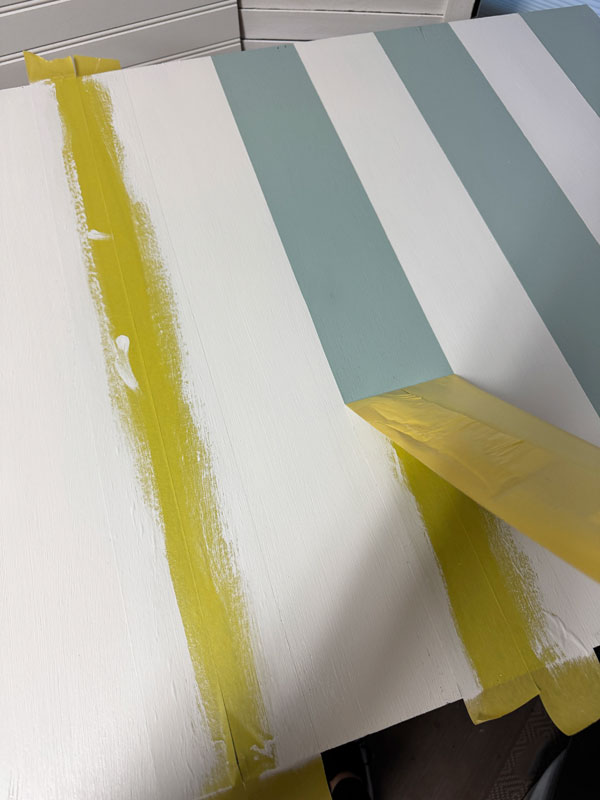
I painted the back in the Duck Egg Mix and then used Fluff for the stripes.
Sand
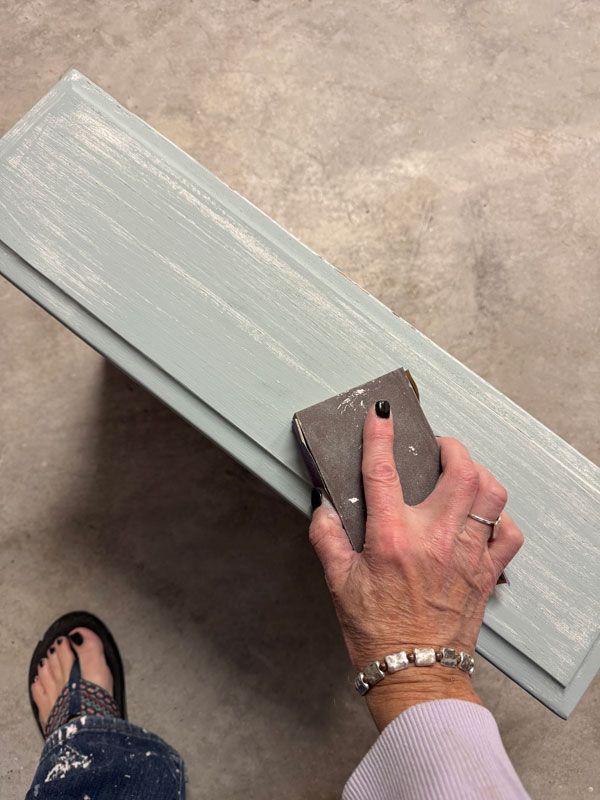
Everything was then sanded using 220 grit sandpaper for the exterior to shabby it up more…
Seal
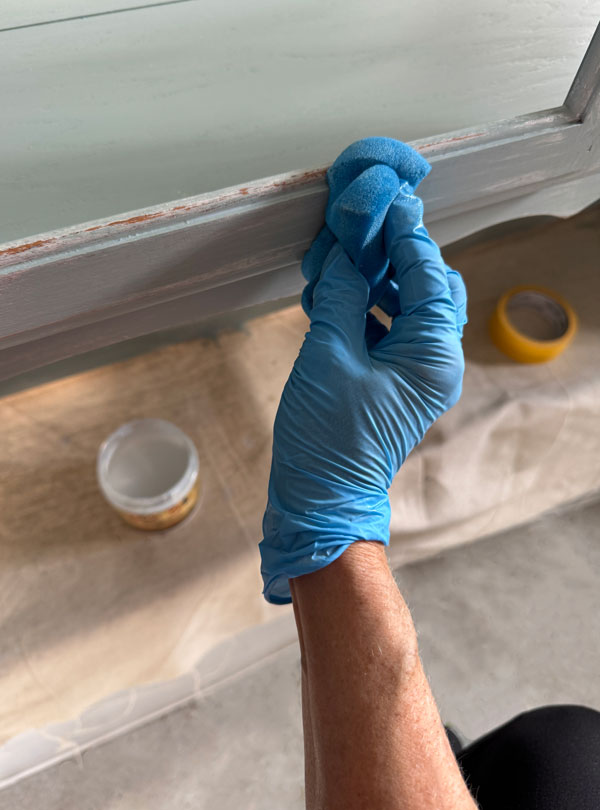
Once I cleaned up all the sanding dust, it was time to add the sealer. I once again used my favorite sealer, Dixie Belle’s Clear Coat in the satin finish, applying it with the blue sponge applicator:
 Replacing the doors
I chose bead board to replace the doors and cut it using my Jig saw:
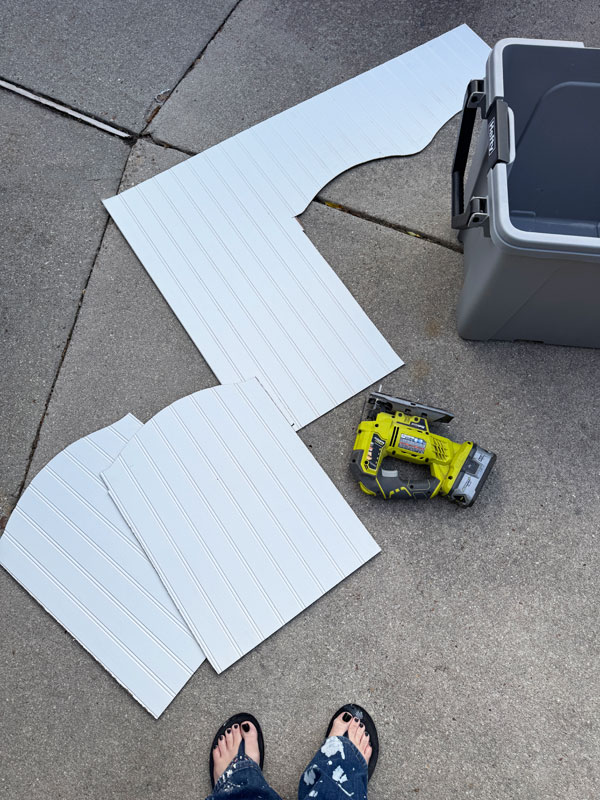
It was painted in a similar but more subtle worn finish as the cabinet and then sealed and inserted into the door frames.
Replacing the Missing Shelf
I had completely forgotten that this hutch was missing the shelf on the top until it was picture time! Luckily, I had a piece of primed wood that I was able to cut to fit with my small circular saw and the help of this straight edge tool:
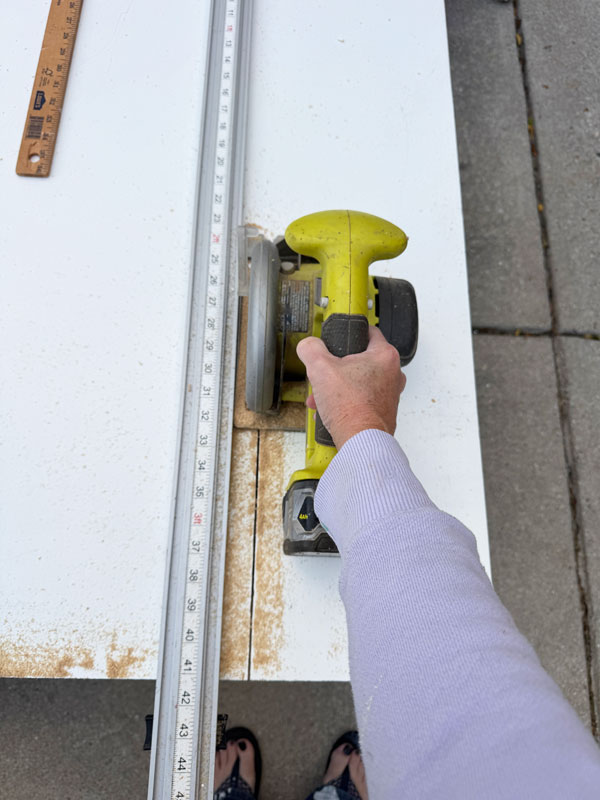
I painted it up and sealed it right quick!
Painted Oak Hutch Makeover Reveal
Here is how this hutch looks now!
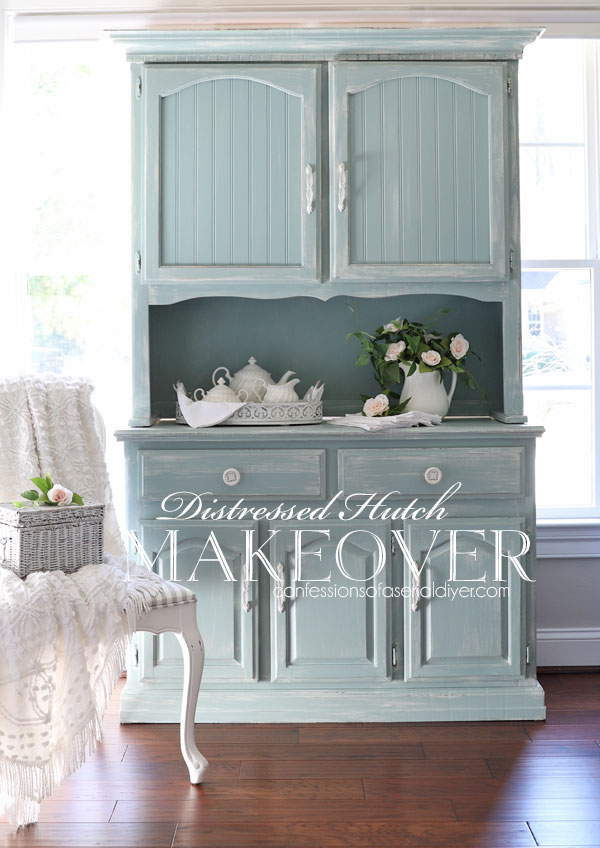
I do like a bit of distressing, but I don’t often go for this much. For some reason, I couldn’t envision this stuffy piece any other way!
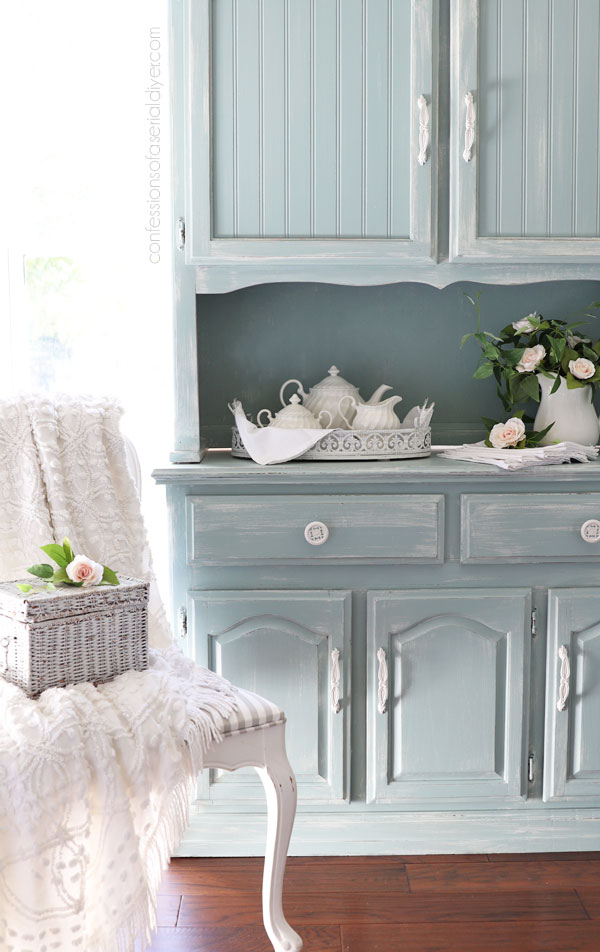
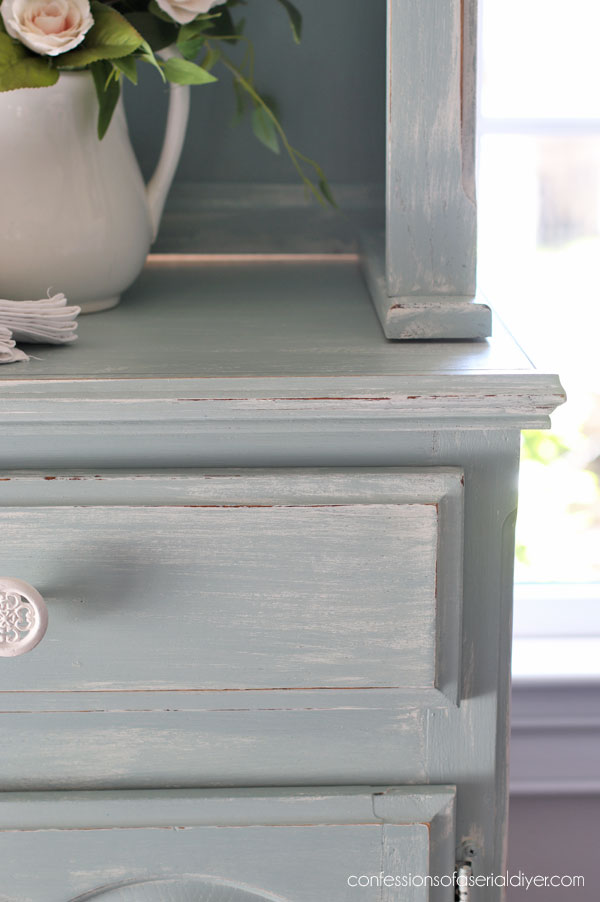
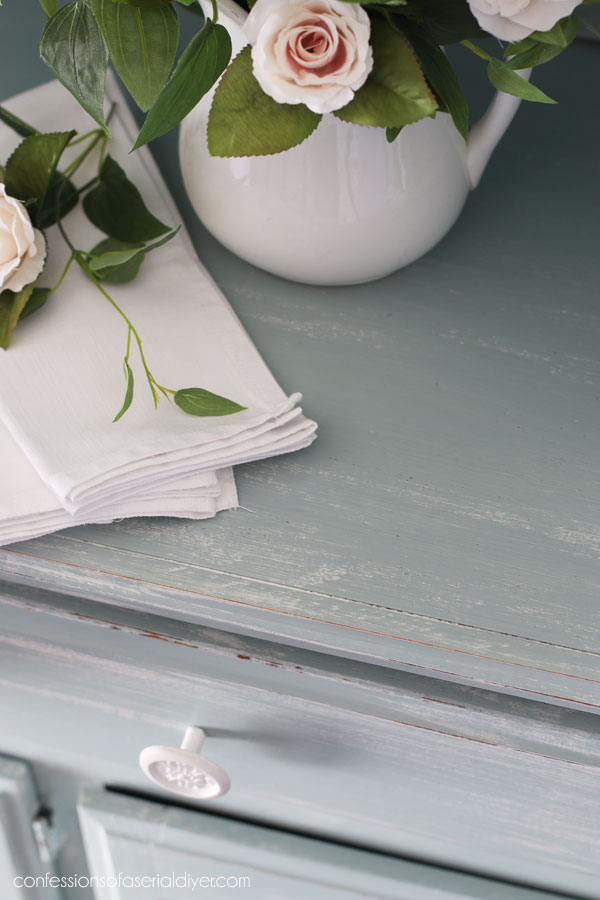
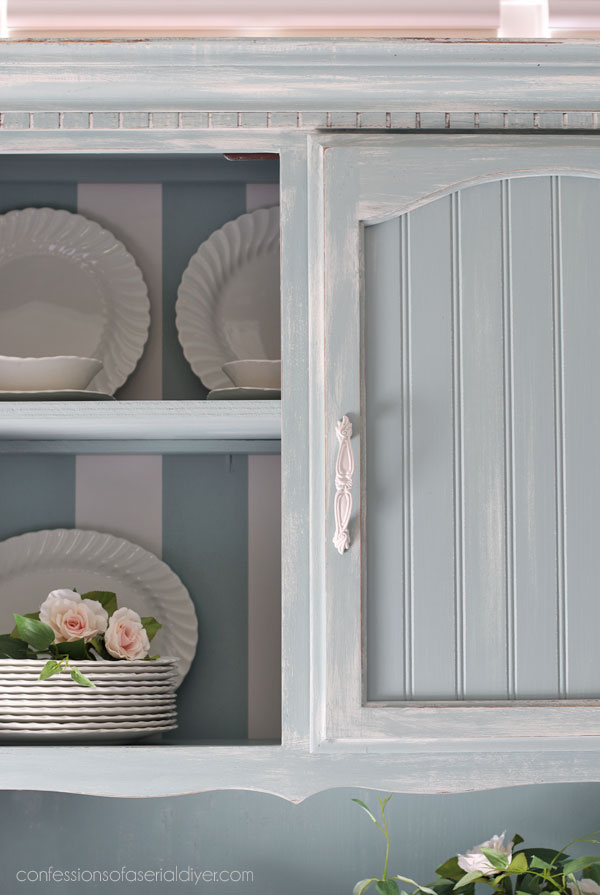
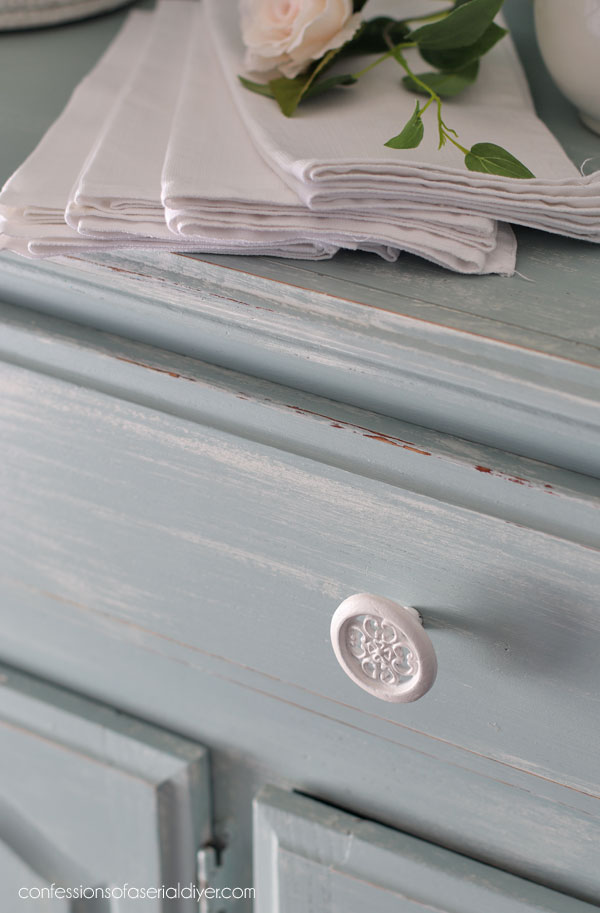
It now has a much more relaxed, coastal feel! You can see there is more distressed detail as you get a closer look:
And the inside!
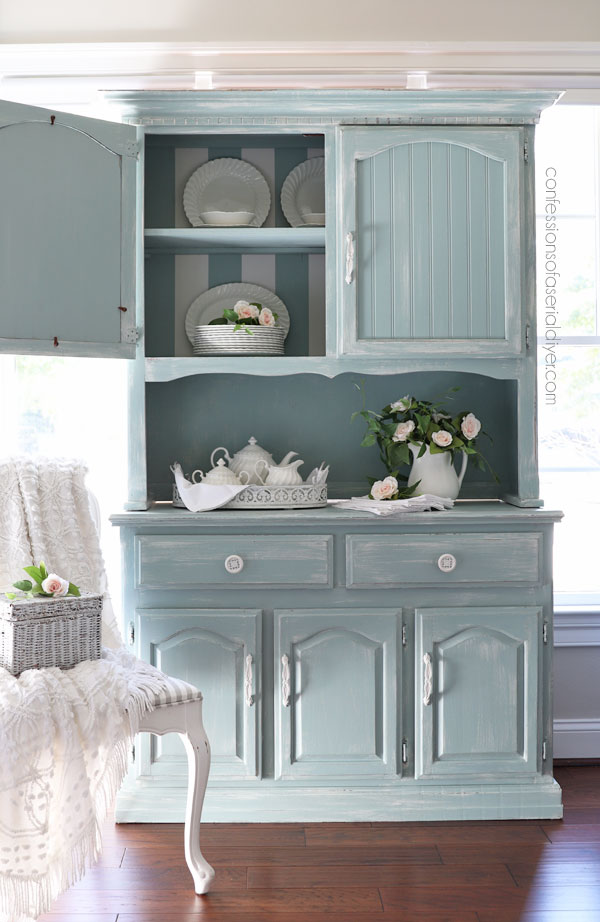
Pay no mind to the little thingies that are holding the bead board panels in place…I still need to go back and paint those…
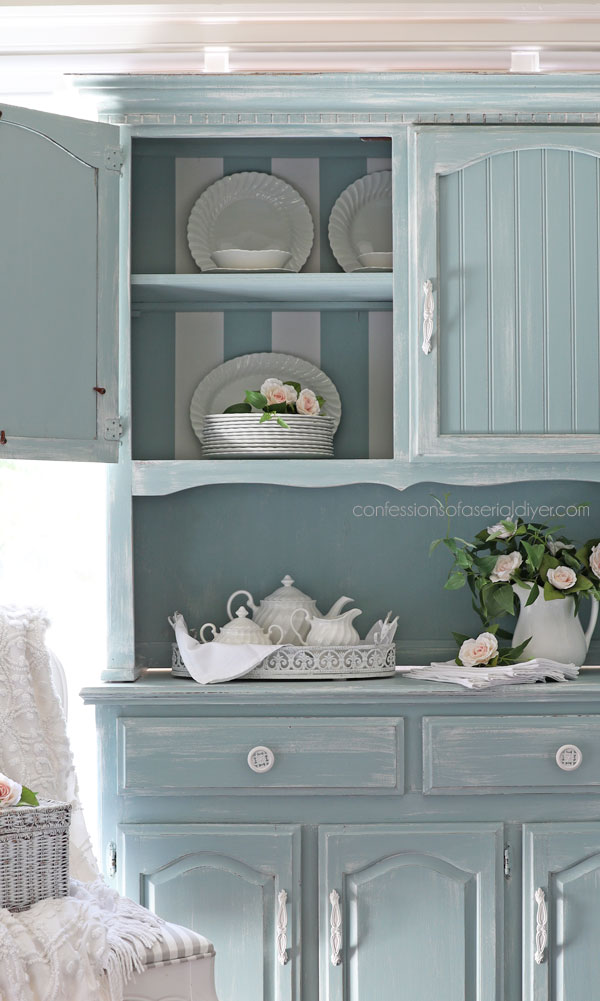
But I just love the peek-a-boo stripes on the inside!
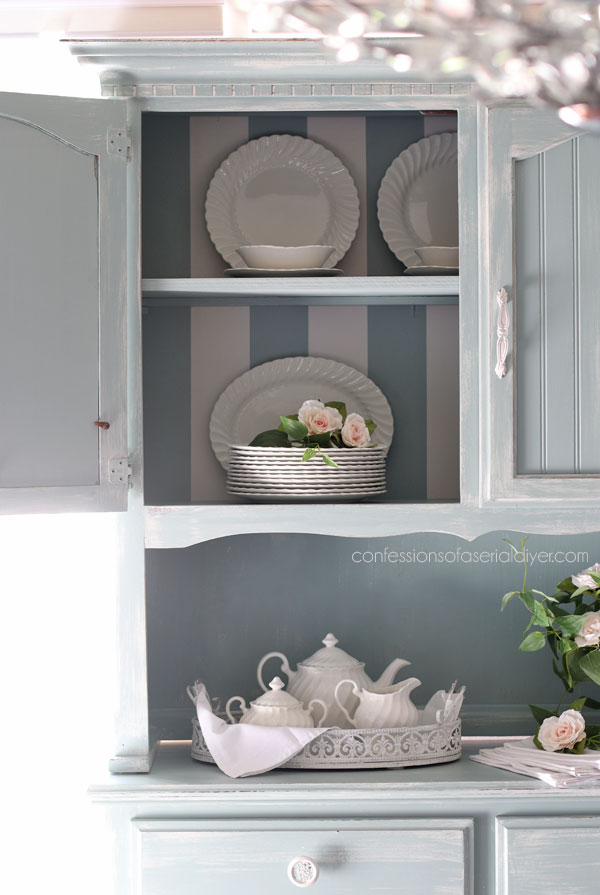
I chose not to distress the inside as that would not normally wear like that naturally.
Should I have continued the stripes all the way down to the open area at the back?
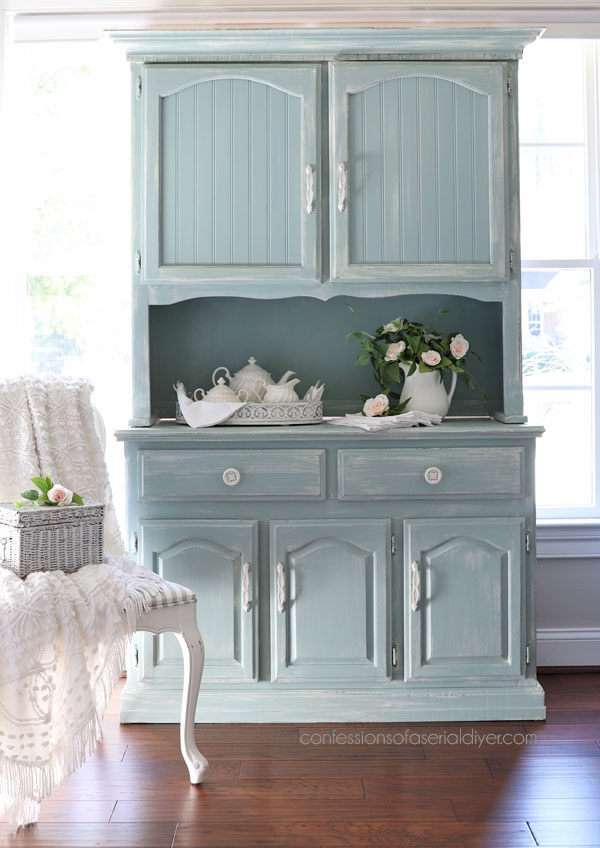
Normally, the piece across there is paneling, and that paints up great, but this was just plain luan. Because this is a very large piece, I wanted to appeal to more customers, and not everyone is a fan of stripes, but I do believe they would look great there! What do y’all think??
I did give the top and the sides a worn look…
The Drawers
You know I had to have fun with the drawers. They got this perfectly shabby chic Pink Blossom Bliss decoupage paper lining:
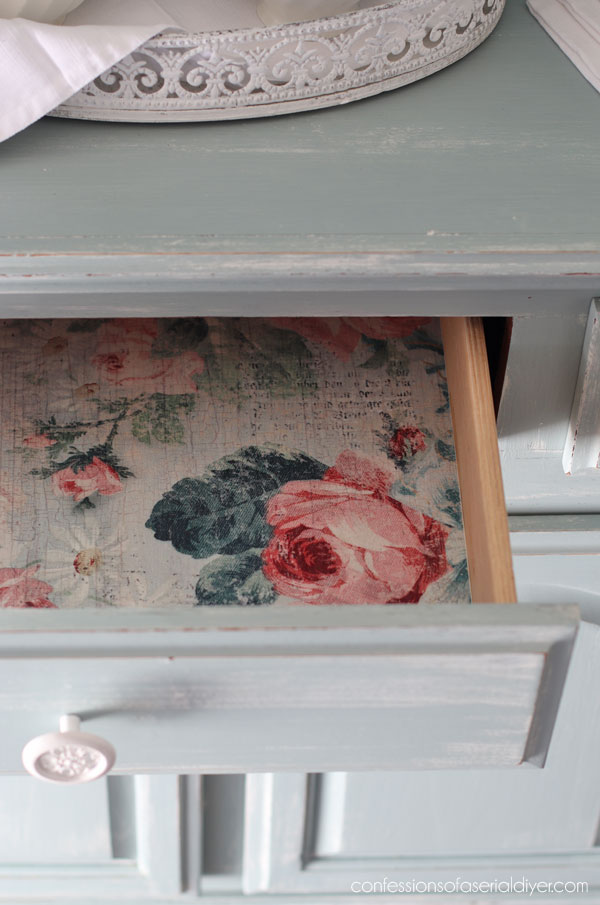
Here is how they started:
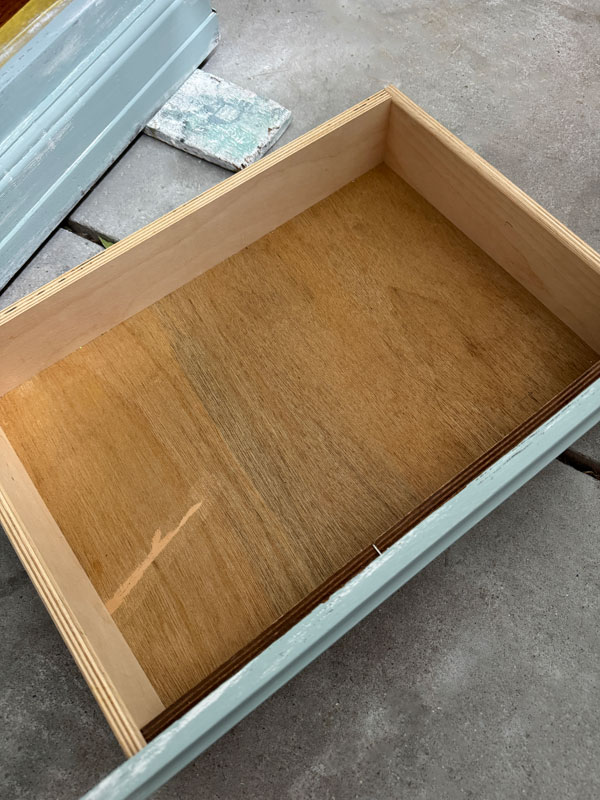
Not so great!
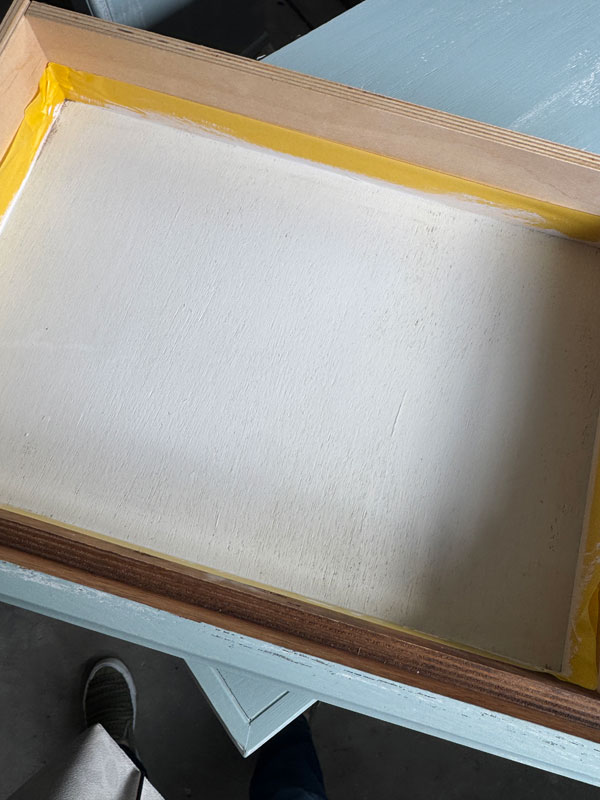
I taped them off and painted the bottoms in Fluff to give the paper a nice white background which highlights the colors of the paper best:
Applying Decoupage Paper to Drawers
To add the paper, I first cut it to fit using my straight edge, cutting mat, and rotary cutter.
Then, I applied one coat of Redesign’s Decoupage Gel using a 2″ Foam n Dandy Brush:
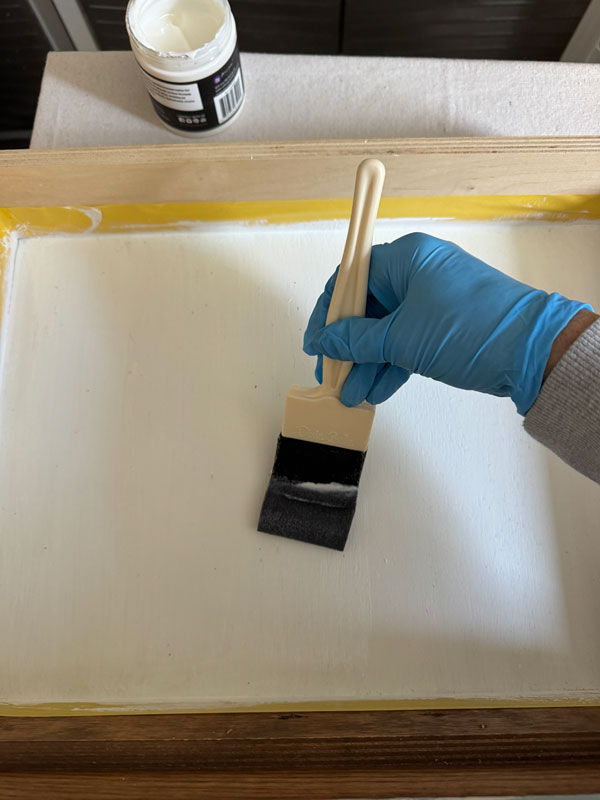
I left the tape in place until I added the gel since I didn’t plan to paint the rest of the drawer and didn’t want the gel to tint it.
Next, I laid down my paper, smoothing it out with a piece of saran wrap:
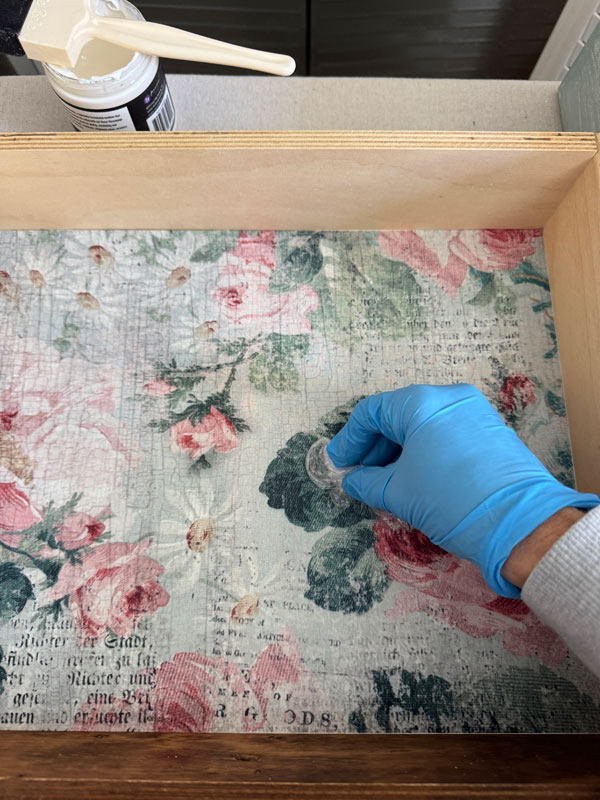
And finally, I added another coat of Decoupage Gel over the top. You could also use Clear Coat to seal instead if you have that on hand.
And that’s it!
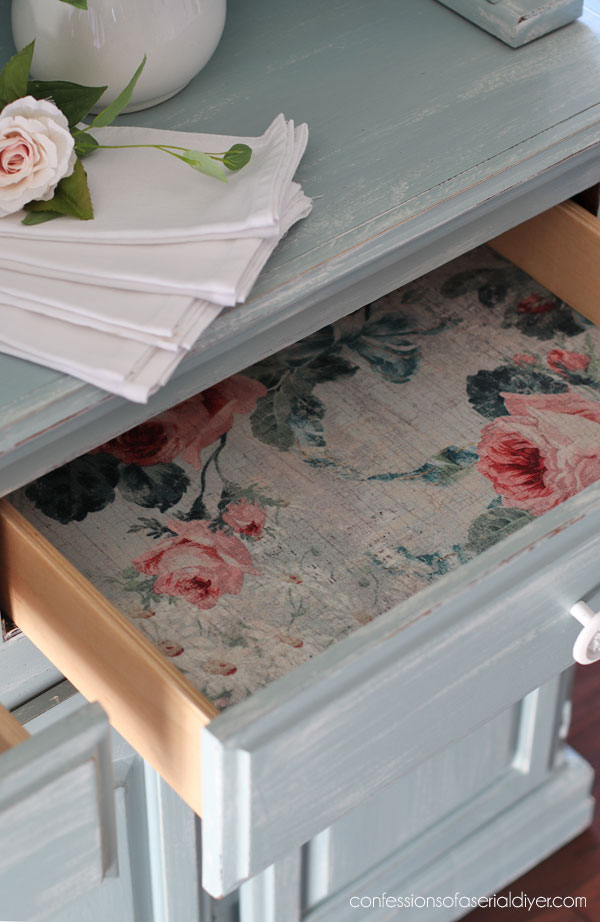
I love this paper for this look!
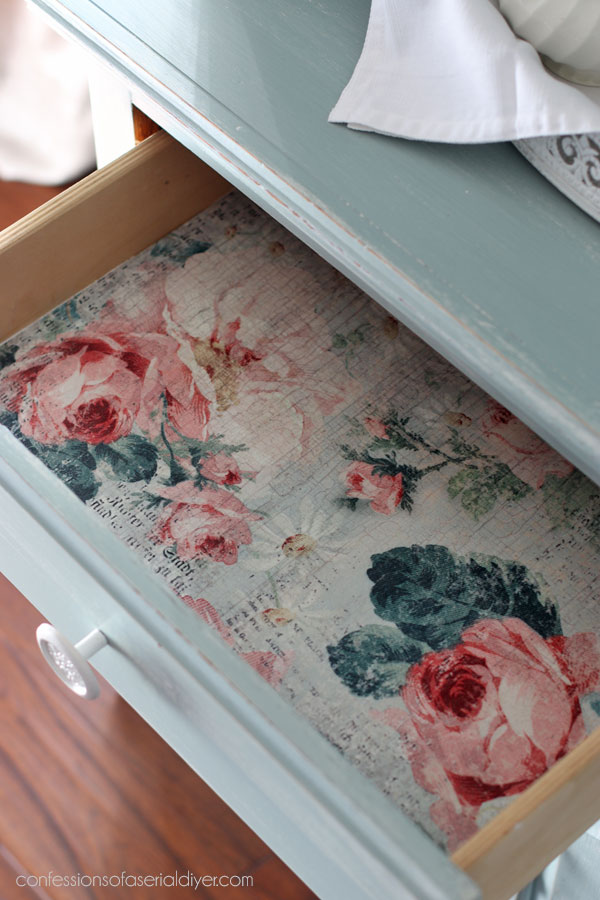
This paper sure would be pretty on the backs of those doors up top, wouldn’t it?
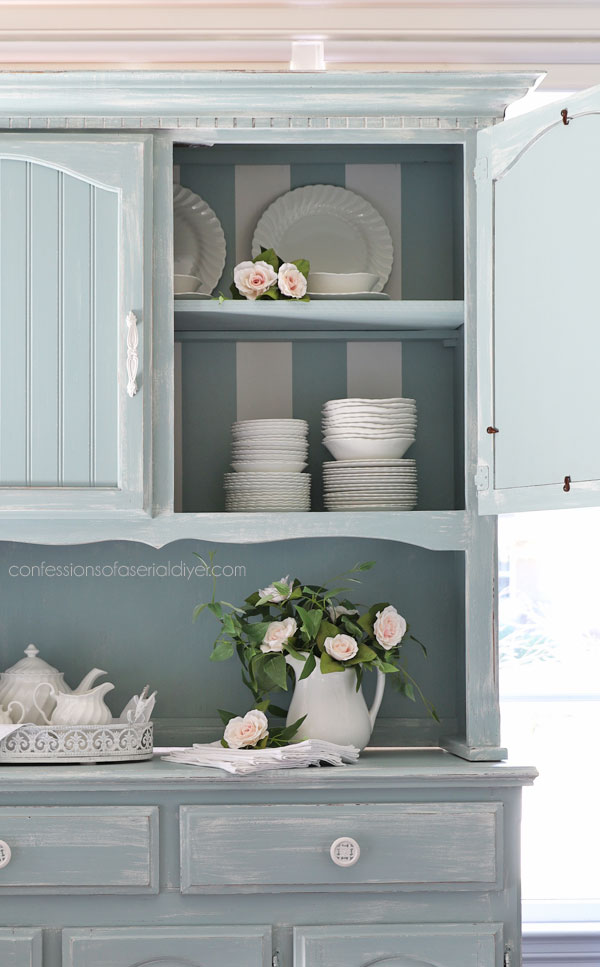
All the hardware came from Hobby Lobby and was already distressed with heavy black distressing. I painted them solid in Fluff:
And that is my contribution to this month’s Furniture Fixer Upper Tour!
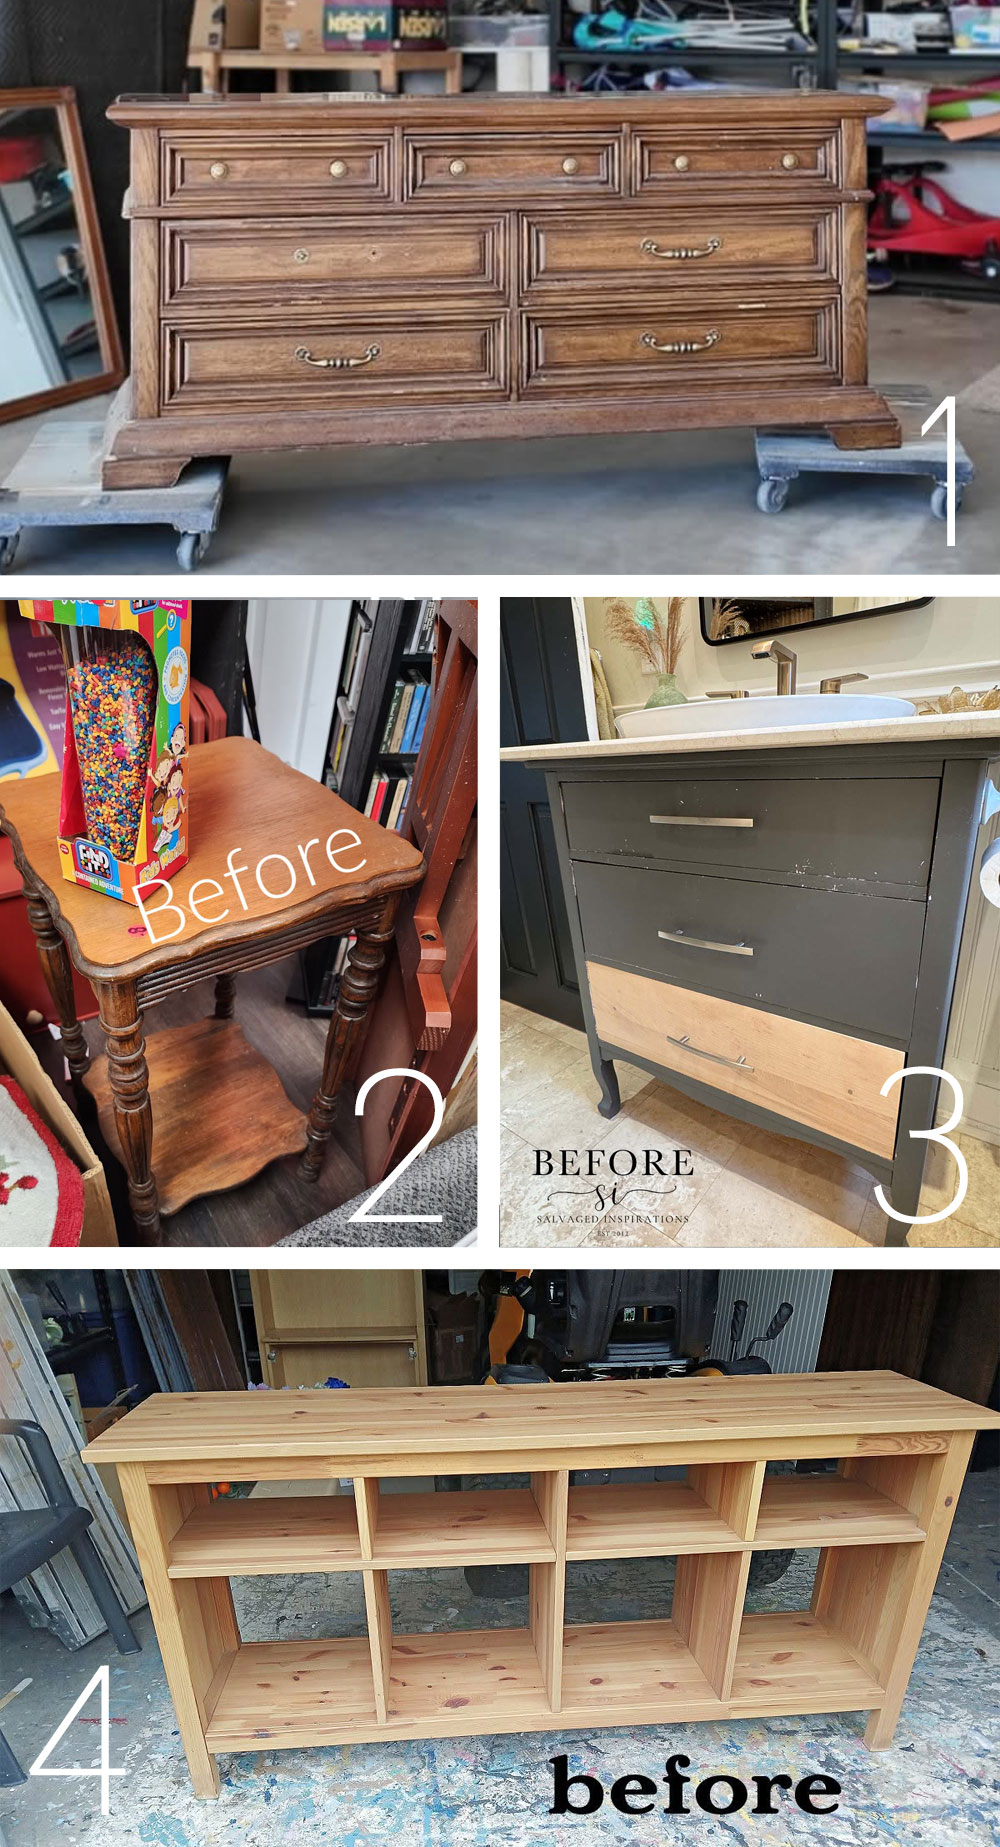
Be sure to visit my friends’ makeovers below!
That’s a BIG one done!!
I haven’t decided what’s next on the list, but I’ll definitely have my Halloween decor for y’all on Thursday. I’ve added a couple of new things that I’m excited to share!
Have an amazing weekend!
XOXO,

Don’t Miss a Thing!
If you like what you see, there are several ways to follow along!
EMAIL * INSTAGRAM * FACEBOOK * PINTEREST
Get FREE SHIPPING on all orders over $50 in my Etsy shop.
(No code needed at checkout!) Orders under $50 enjoy $8 flat rate shipping!
Most orders ship same or next business day!
Visit my shop HERE or click the image below!





Leave a Reply