Welcome back, dear friends! For today’s makeover, I’m sharing how easy it is to update a bench with just paint! I often like to add extras like transfers, decor moulds, and even decoupage papers to my projects, but paint alone can do wonders! I’m going back to basics today with a simple painted bench makeover!
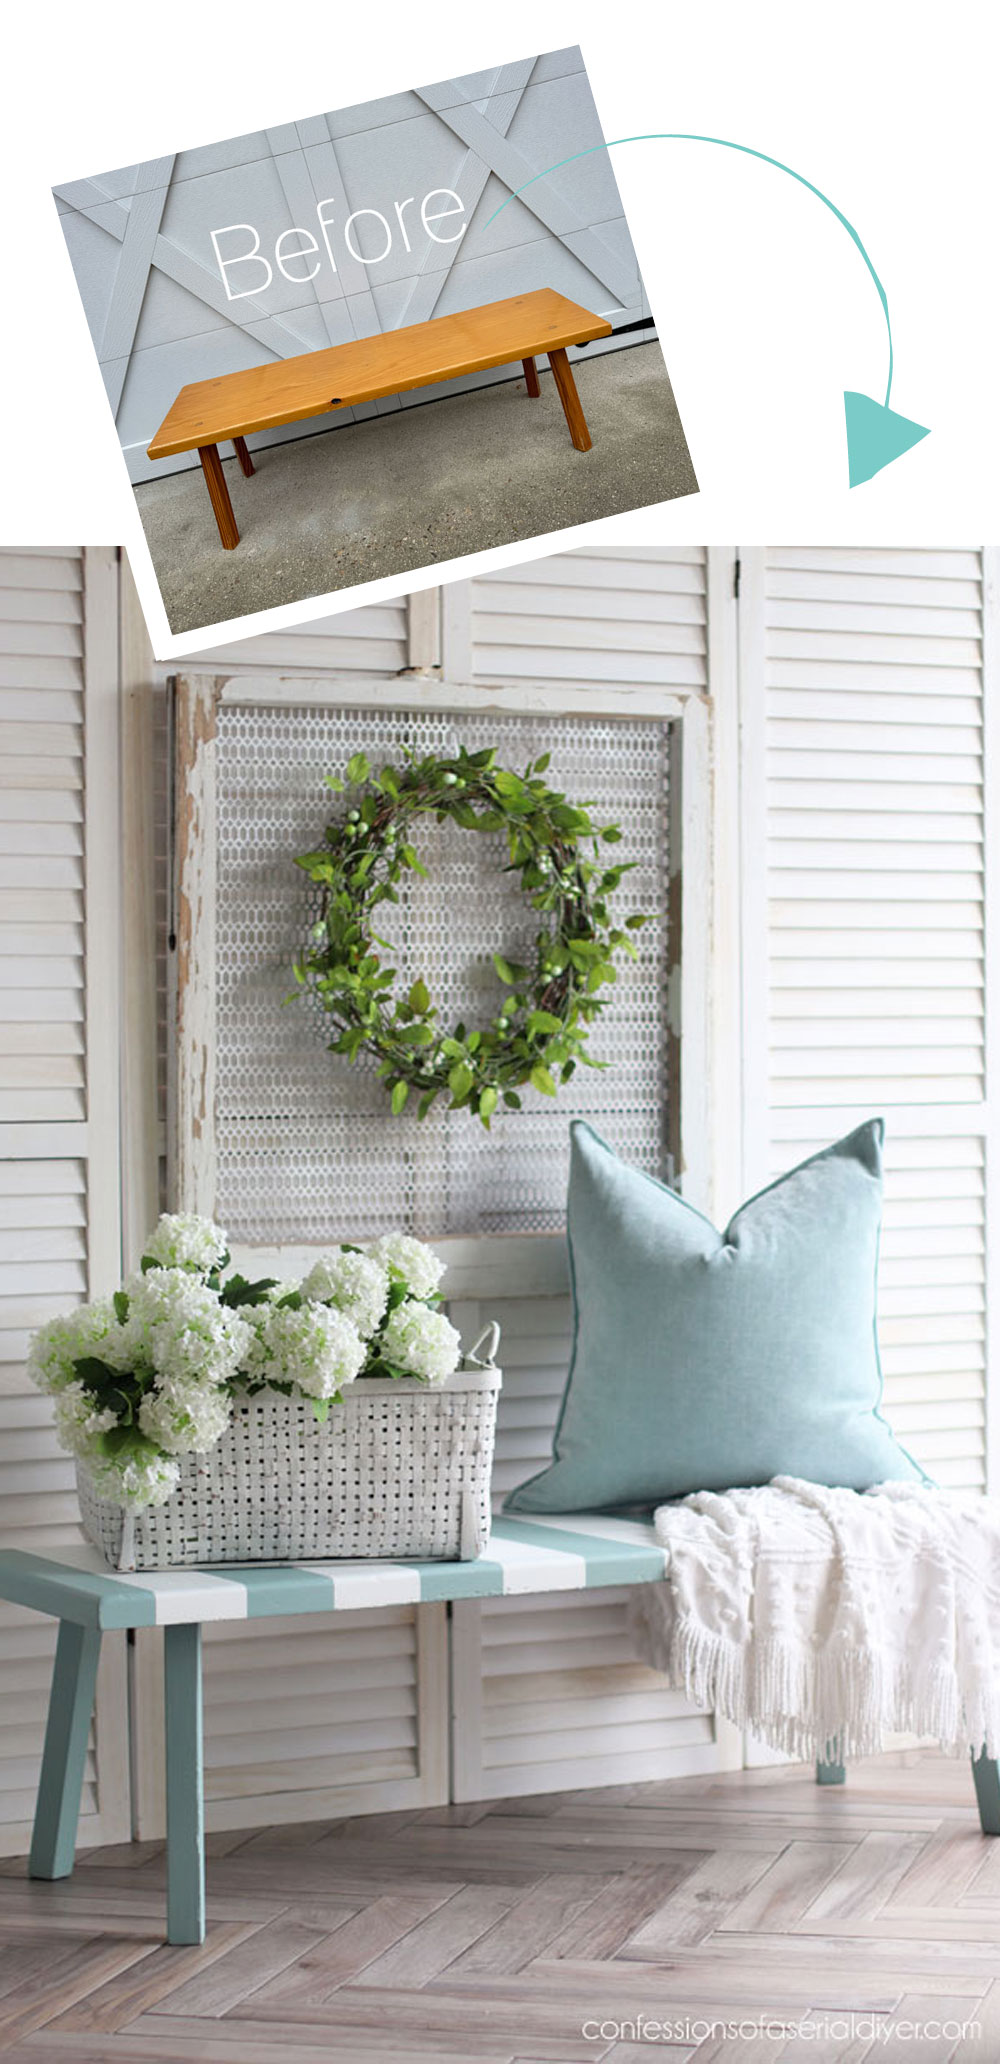
Here is how this bench looked when I spied it at a yard sale this spring for just $10:
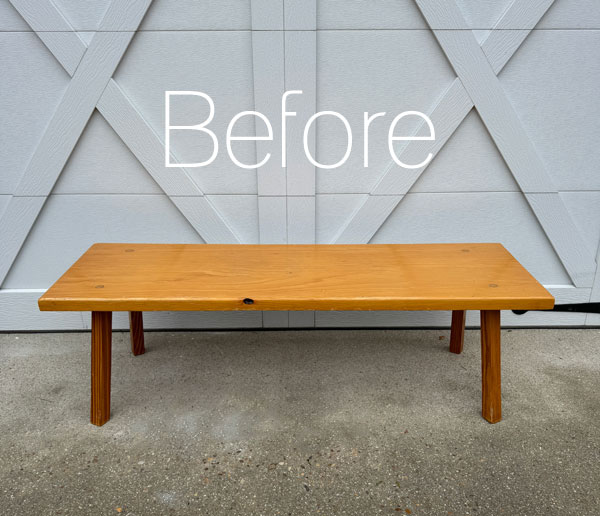
It’s hard to tell there, but it was quite scratched up!
I have a tip for that rather than sanding or filling, so stay tuned.
I get a lot of questions about what my new creators out there need to get started, so recently, I added a Dixie Belle Paint Starter Kit to my Etsy Shop.
This kit includes everything you see here and is the perfect starting set up:
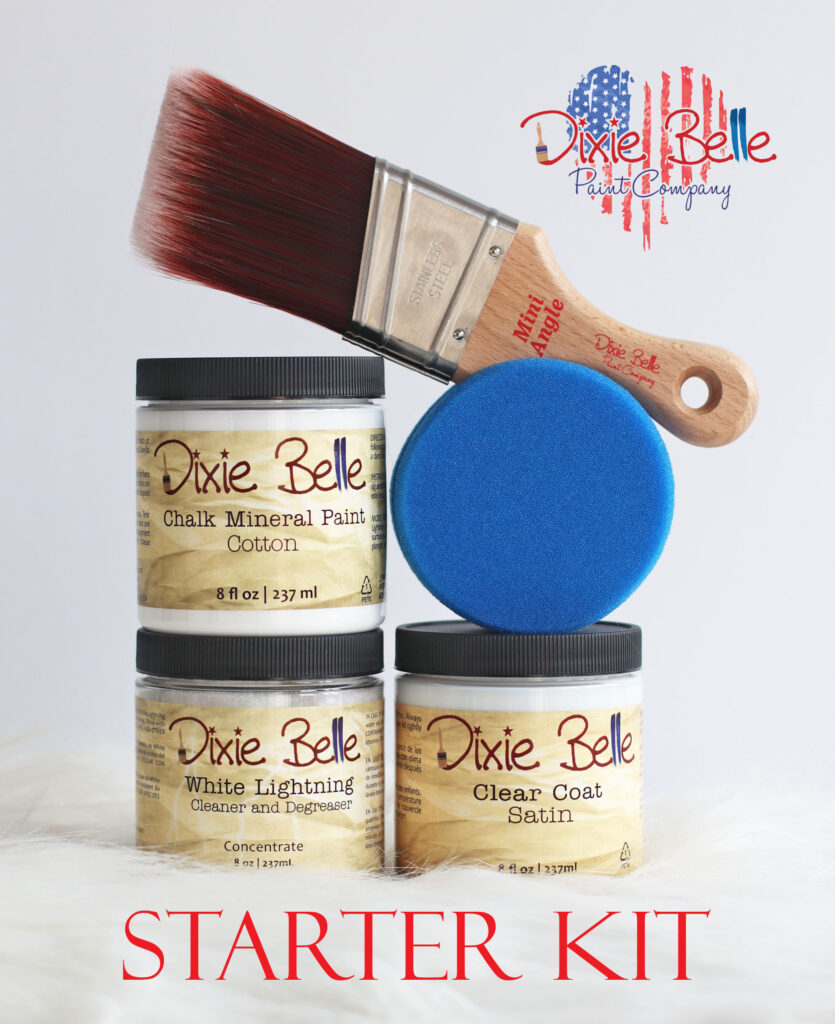
- 8oz White Lightning
- 80z Clear Coat in Satin
- 8oz Chalk Mineral Paint in the color of your choice
- Blue sponge sealer applicator
- One of Dixie Belle’s best brushes and my personal favorite, the Mini Angle Brush
This is a great kit to get you started! (And trust me, a quality brush makes all the difference!)
While I do often use more products in my makeovers, there is still so much you can do with these products alone, and today, I ‘m sharing one such project!
Clean
I started this bench makeover like I do all my furniture makeovers, with a good cleaning using White Lightning. It is a degreaser and a deglosser for the best prep possible. Available in both a ready-to-use liquid formula and the concentrate that you mix into warm water, I prefer the concentrate as I like to mix a new batch for each project. One jar will do dozens of projects!
I mix one one TBSP into a half gallon of warm water.
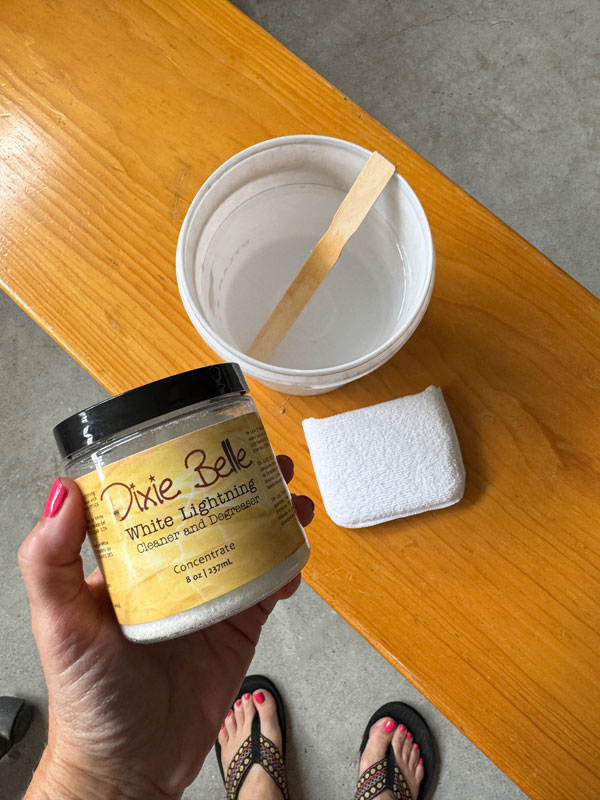
Although not included in the kit, these terrycloth applicator pads are prefect for this step. They’re like a sponge encased in a washcloth:
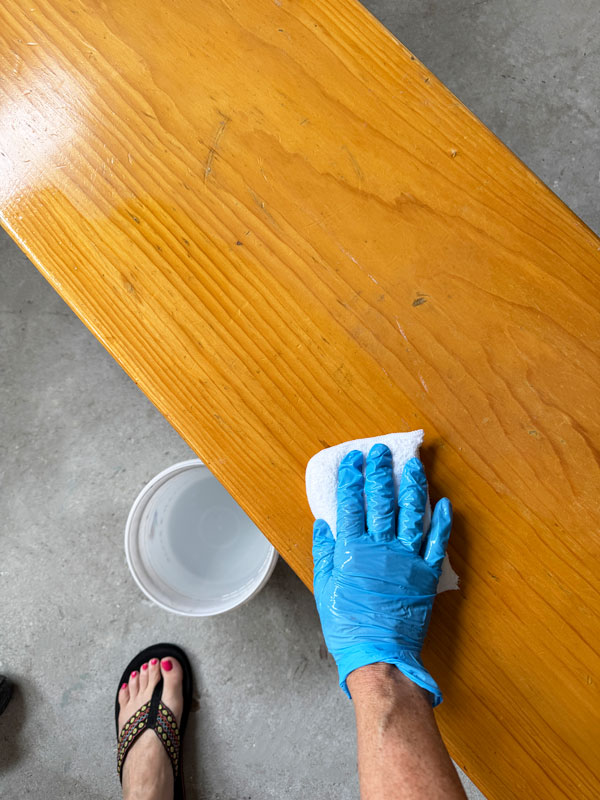
I always swap my dirty water for clean water and wipe everything down once more to remove any residue. Gloves are recommended.
(To dispose of the dirty water, I flush it down the toilet, so that it can be diluted and processed properly.)
Paint
Because this bench is a lighter wood, and this piece wasn’t very old, plus the original finish was still intact, I was able to go straight to painting!
Chalk mineral paint has excellent adhesion properties, so I rarely sand first. (Note that if you do sand the surface past the original sealer, you will likely get bleed through and will need Bonding BOSS.)
For this bench, I chose this gorgeous, beachy blue, applying it with my favorite Mini Angle Brush:
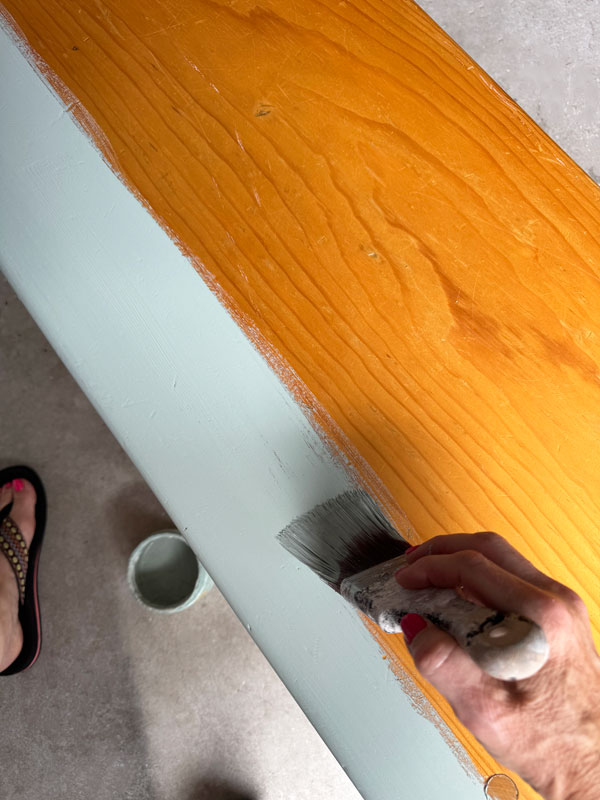
This is actually a custom color mix I found in my stash that includes equal parts Vintage Duck Egg Blue, Sea Glass, and Fluff.
I used it last on this press back cane chair I shared back in February.
It got two coats all over, including on the bottom…
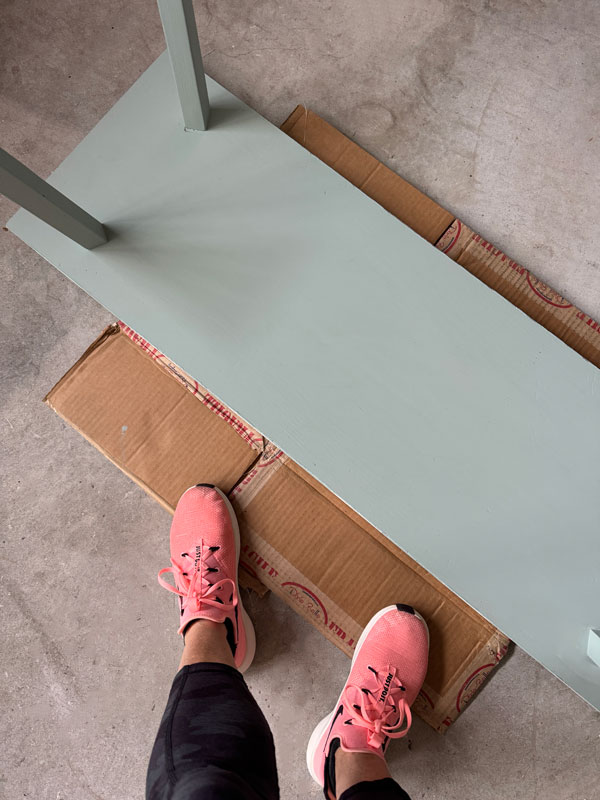
Remember all the scratches and dings I mentioned this piece had?
Instead of taking a sander to it or attempting to fill it all in with Dixie Mud, there are alternatives!
One is to heavily distress it and make it appear intentional. The other method of disguise is the one I chose: add pattern!
Adding Stripes
So of course, I immediately went for stripes! This bold pattern will distract the eye from any damage.
I applied my tape, doubling up my FrogTape for a super wide stripe this time.
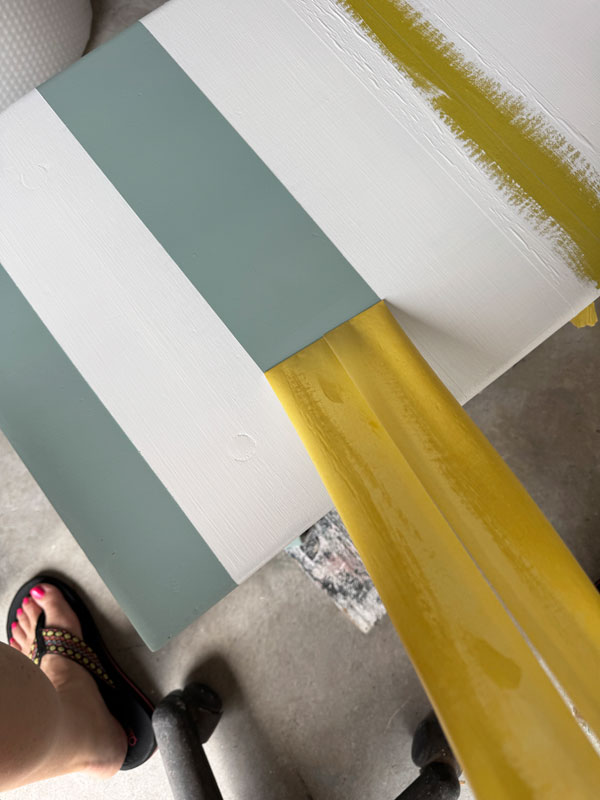
See how I easily measure out my stripes without math HERE.
Sand
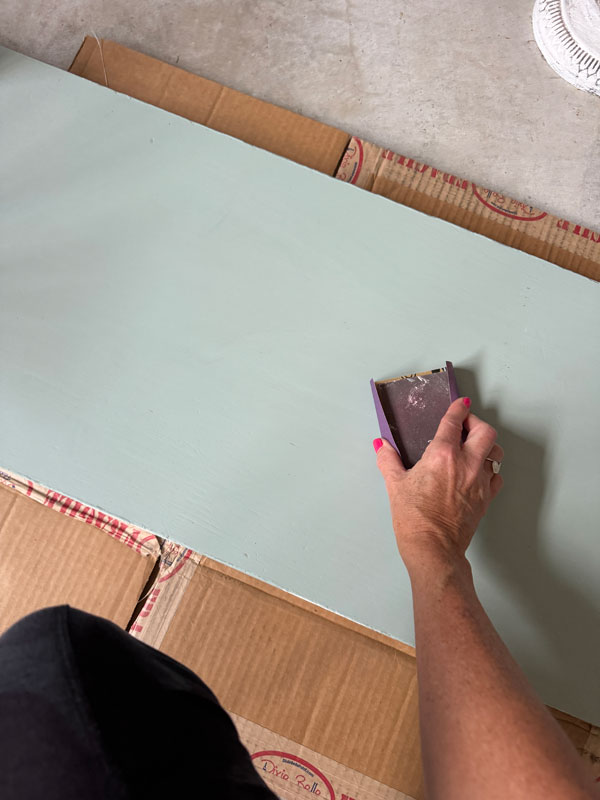
Next, it was time to sand, and I did that using 220 grit sandpaper on the top and the bottom as well:
Seal
Finally, I sealed using my go-to topcoat, Clear Coat from Dixie Belle in the satin finish, applying it with the blue applicator sponge:
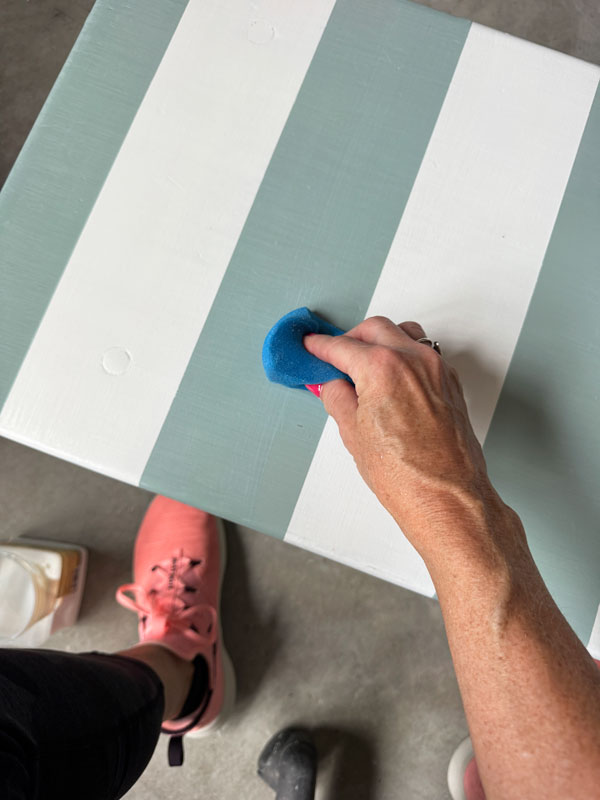
I gave it two coats for the best finish.
And that’s it!
I did use two additional colors to make my custom mix, an applicator sponge to clean, and sandpaper that I had on hand, but everything else is included in the starter kit!
If you’re just getting started or curious to see if you can update a few decor items around the house, this has just what you need!
Here are a few things I would add if you decide to keep creating:
- Bonding BOSS: A must have if you love to paint older pieces that may bleed through or pieces you sanded past the original sealer on. This will block stains and also acts as an adhesion primer for super slick surfaces like laminate, glass, metal, etc. Apply one coat and allow to dry for 24 hours before painting.
Bonding BOSS is also ideal for blocking musty odors on the interior of pieces you plan to paint. ( I use one coat of the clear formula for this.)
- Dixie Mud: Use to fill holes, scratches, gouges, etc.
- Gator Hide: Dixie Belle’s most durable, water repellent topcoat. Ideal for super high traffic pieces like kitchen tables or for pieces you plan to leave outside. (Now available in a satin and eggshell formula.)
With those products, you can reimagine just about any piece!
Simple painted bench makeover reveal
Here is how this $10 yard sale find looks now!
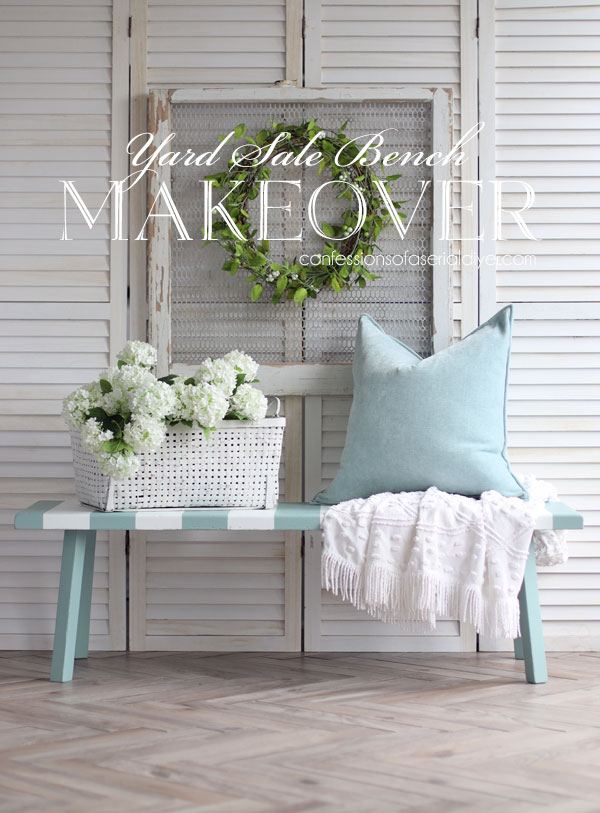
I know I use stripes on repeat, but if you noticed in my recent booth update, there are no striped pieces in there at the moment! They sell well for me, so I continue to incorporate them into my makeovers.
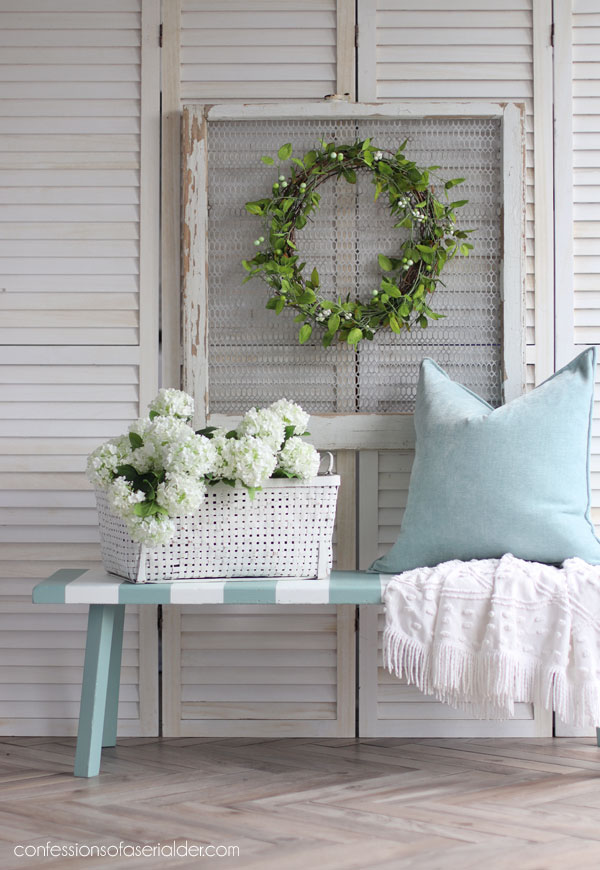
Plus, they’re just such an easy way to add a little something extra. And, being right on the coast, they fit in well with that coastal vibe we love around here!
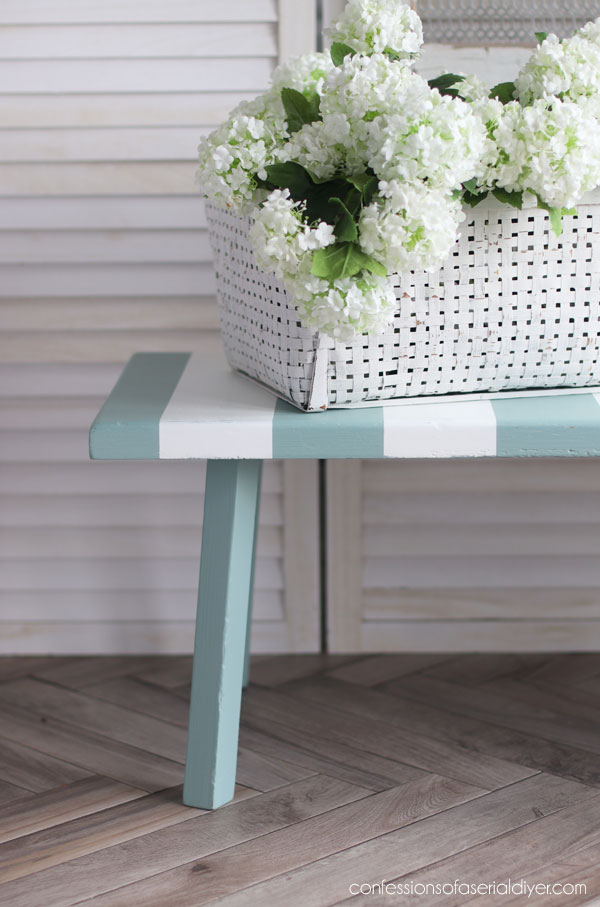
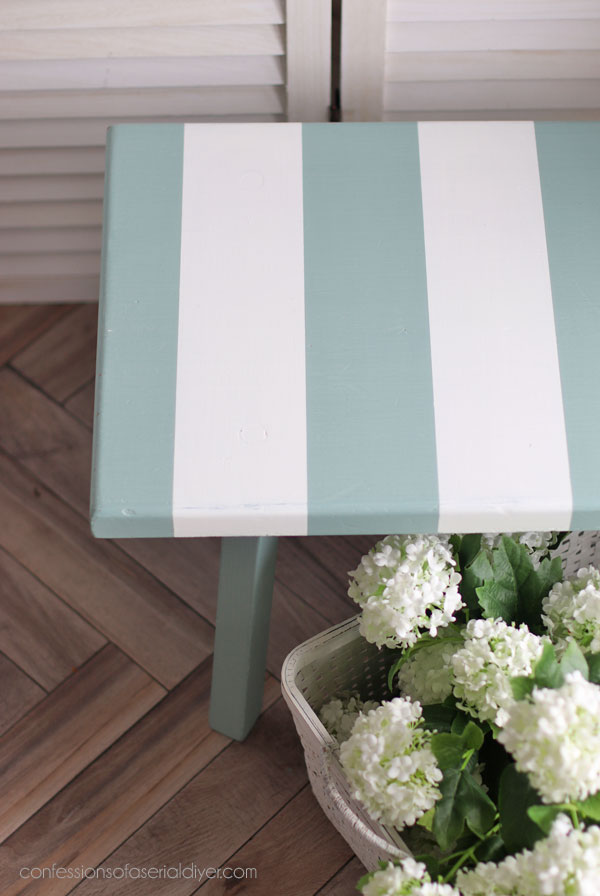
Can you see the damage across the front here:
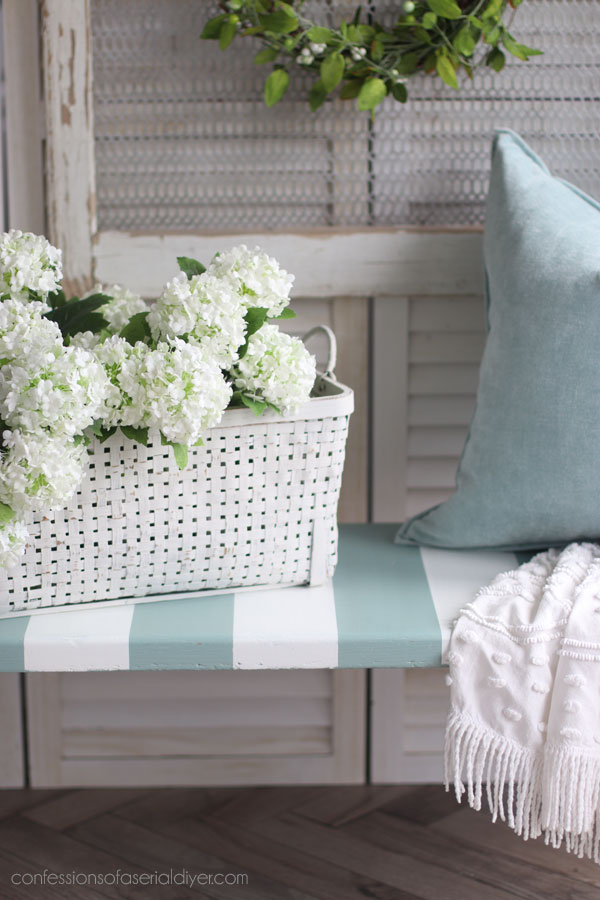
The bold stripes really help to distract from those imperfections.
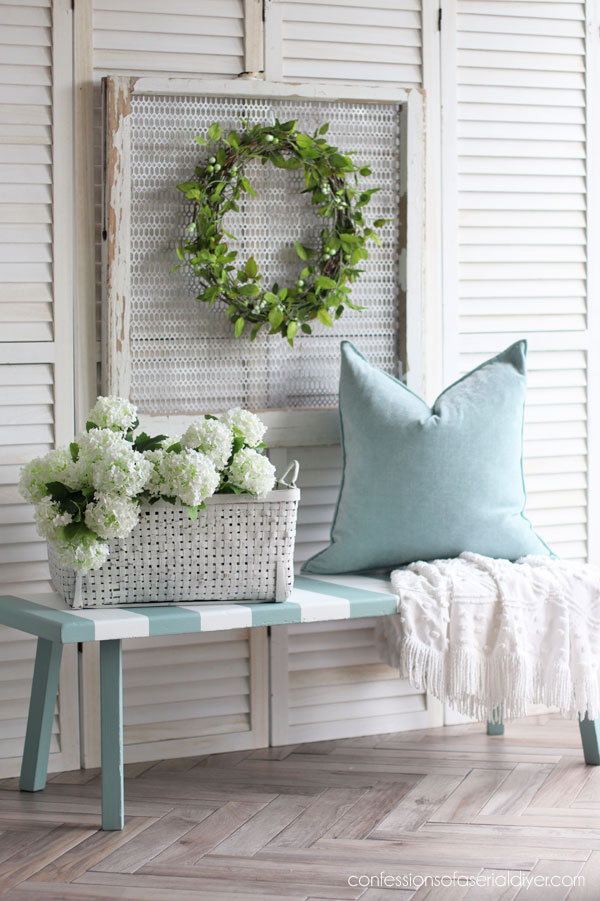
This bench is just my style!
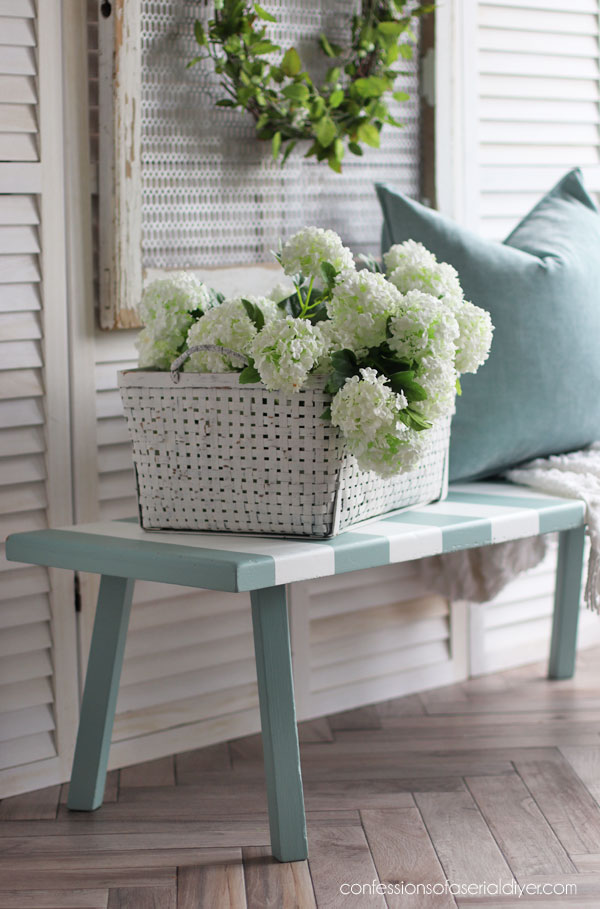
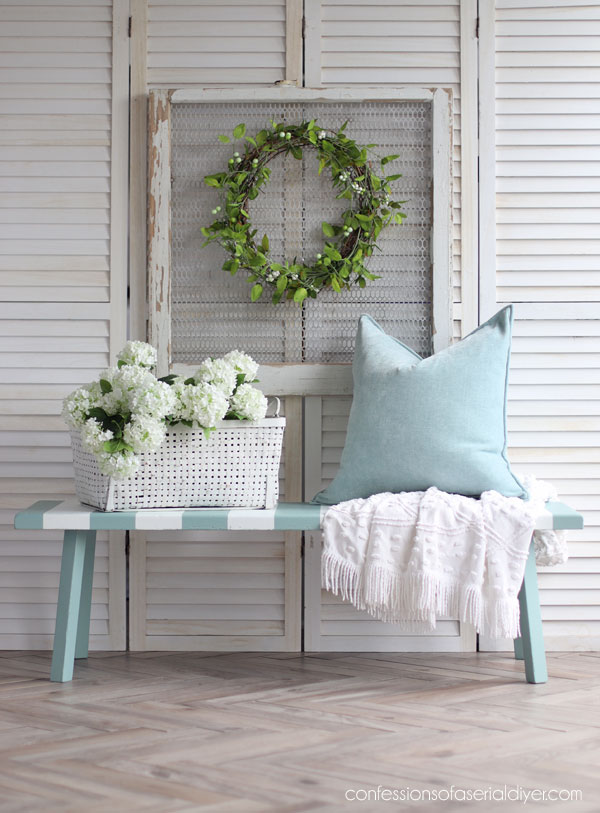
And a peek uncovered:
One more done woohoo!!
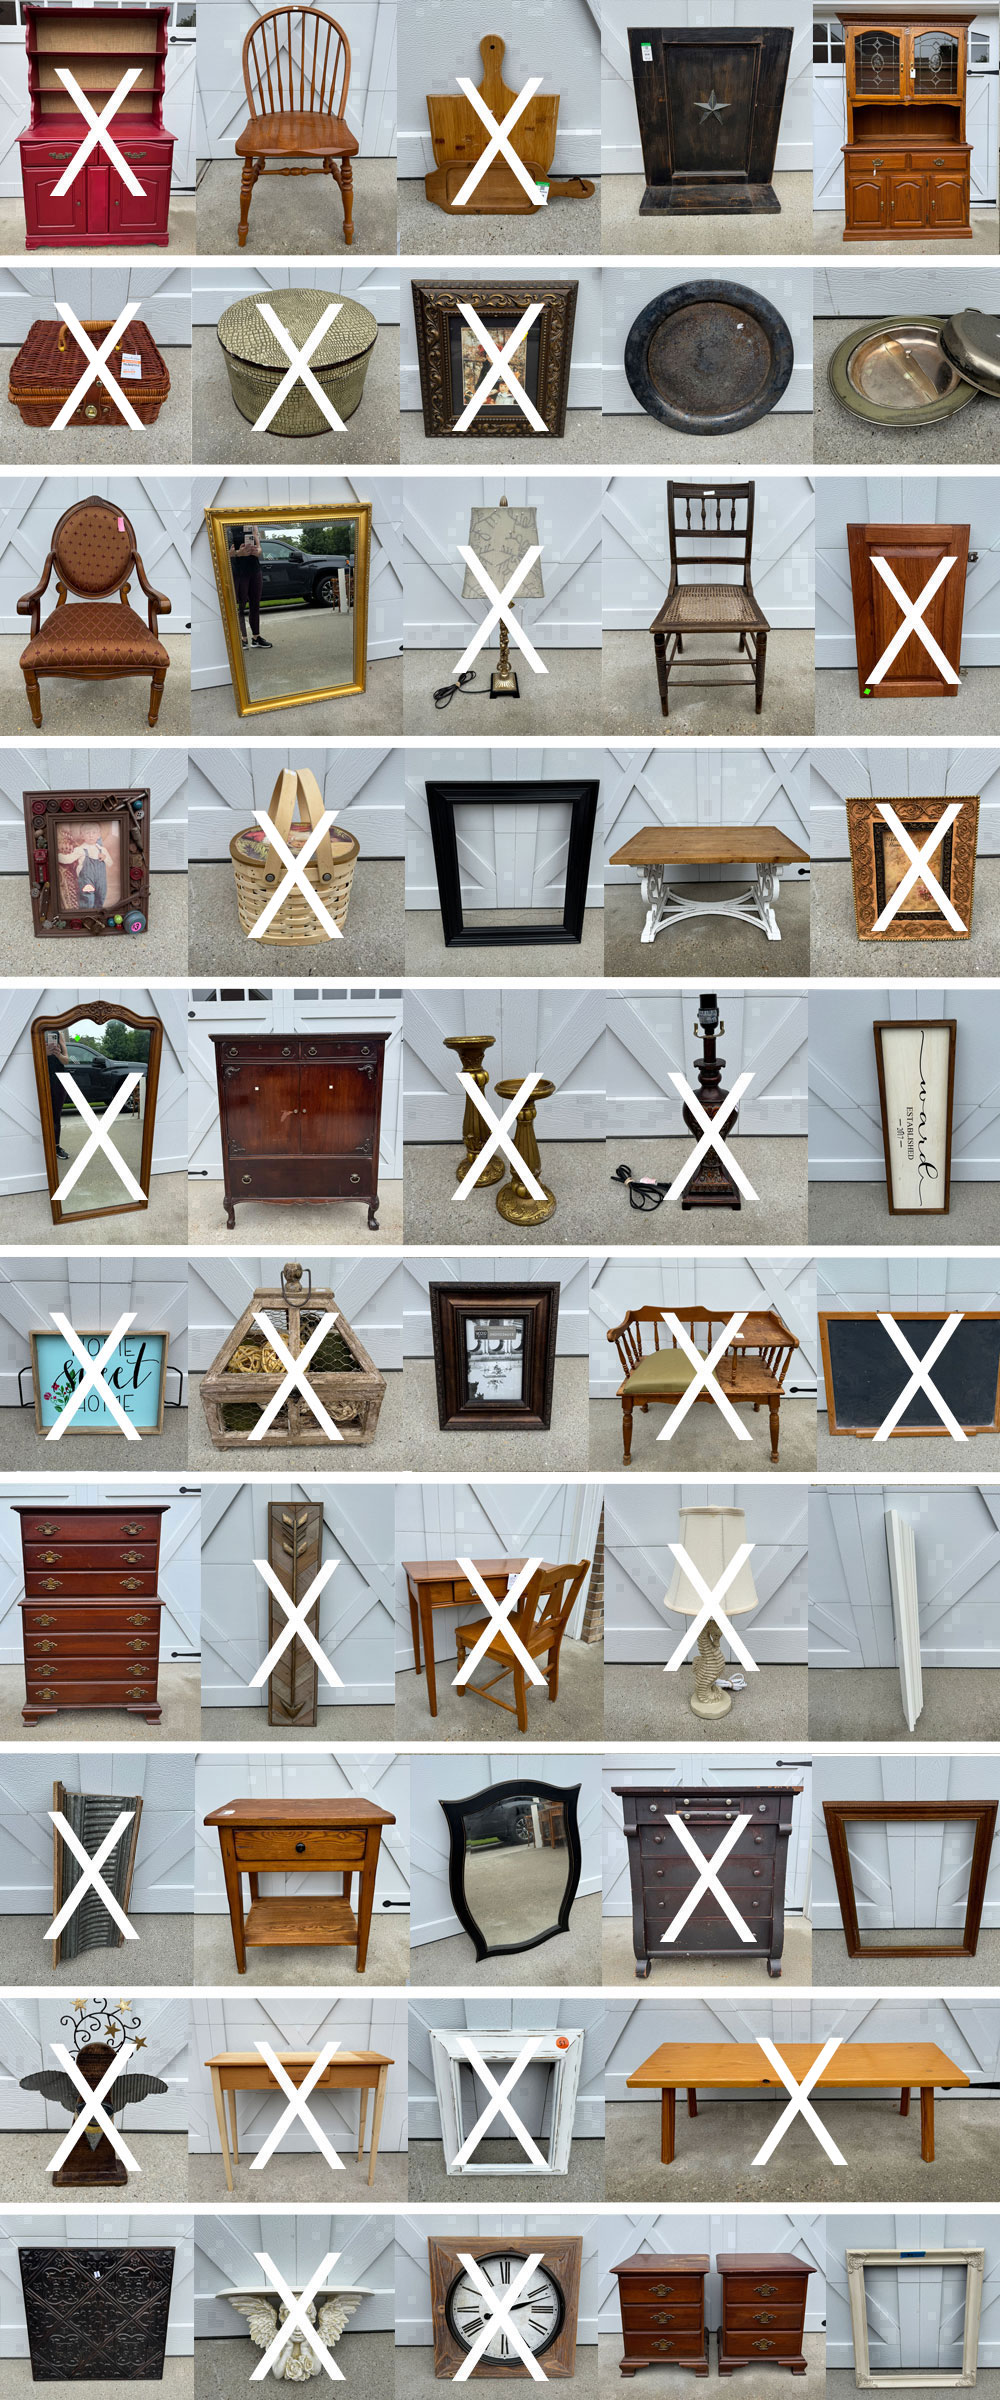
I get lots of questions about what’s needed to get started, so creating this starter kit is my way of leading the way! I hope it’s helpful!
Meet me back here on Tuesday with my Trashy Treasure girls to see what I did with this drop leaf side table:
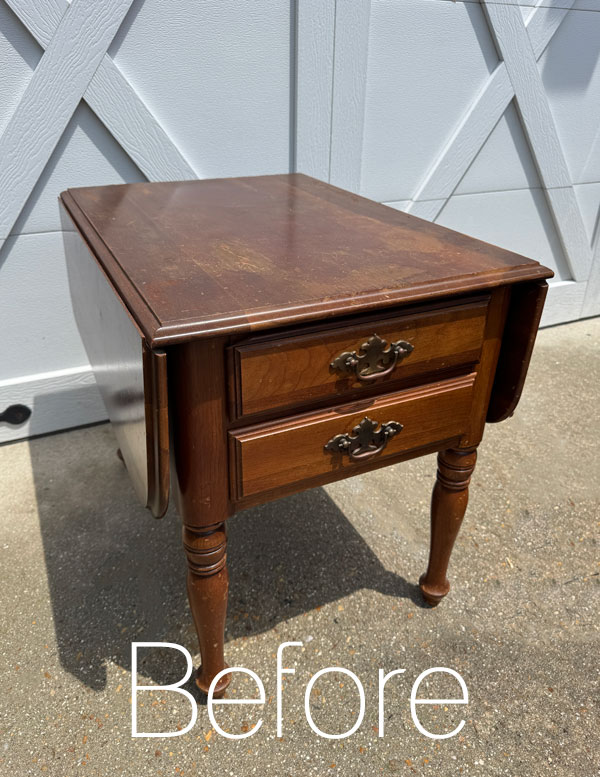
I’m cheating on my haul with this one, but it’s a great trashy treasure!
UPDATE: This dated little mama got a sleek update! See it HERE now!
See y’all then!
XOXO,

Don’t Miss a Thing!
If you like what you see, there are several ways to follow along!
EMAIL * INSTAGRAM * FACEBOOK * PINTEREST

Get FREE SHIPPING on all orders over $50 in my Etsy shop.
(No code needed at checkout!) Orders under $50 enjoy $8 flat rate shipping!
Most orders ship same or next business day!
Visit my shop HERE or click the image below!





Mary Kaiser says
Oh I love it so much! Love the color and the stripes! Girl, you do not need to apologize for using stripes, every body loves stripes and how they are so beautiful and make a statement!
Christy says
Aww thank you so much, my friend! Stripes really are just so easy! Have a fantastic weekend! XOXO
Cecilia says
Stripes are great! Haha, the angle of your before picture made the bench look wider than it is. I was like, o-k-a-y, looks a bit wide but then the next photo of it I saw it really wasn’t. 😂 Too funny. Your stripe tutorial is so easy to follow too. The bench looks great. Bet it sells quickly. Love your blog, Christy. Thanks for all the knowledge you share! ❤️
Christy says
It’s funny how the size of things can look distorted when just sitting in front of my garage door lol. That happens with pieces all the time! Yes, stripes are so easy to add, right? Thank you so much, my sweet friend! It is a pleasure to share! XOXO
Sharon Austin says
You truly have a gift; it’s amazing what just a coat (or two) of paint does!
Christy says
Aww I appreciate that so much, Sharon, thank you!! It really is amazing what paint alone can do! XOXO
Kathry from Jax says
Love this bench. It makes me think of the beach with those stripes and beautiful color. It amazes me what a little paint can do to items that nobody wants any more and that someone else will love. Looking forward to next week. What a good eye you have in making something darling again. Have a good weekend.
Christy says
Thank you, Kathy! Yes, paint alone can do wonders for sure! I appreciate you! You have a lovely weekend too! XOXO
Kimberly Harnagel says
I really like your “custom” color. It is perfect and YES always to stripes!
Christy says
Thank you so much, Kimberly!! The stripes really made this bench! XOXO
Michele M. says
This bench went from yawn to yum! It is ADORABLE! I always love your stripes – you incorporate them perfectly in your pieces. The starter kit is a grand idea.
Christy says
Oh I love that title! I should have called it that ha ha. Thank you, my friend! XOXO
Caye says
This is just so cute! I’m very picky about stripes and rarely use them, but they are perfect for this bench. I bet it’s going to fly out of the booth!
Christy says
Thank you, Caye! I just dropped it off on Saturday, so here’s hoping! XOXO
Sarah Jane says
I leave the little imperfections as they add to the character and story of a piece 🙂
Christy says
I often do also. I agree! XOXO