Hello, lovelies! I’m back today with not one, but TWO thrift store baskets sharing my favorite way to paint a basket! This information isn’t new or ground breaking around here. It’s pretty much how I always have done them, but after nearly fourteen years of blogging, it’s getting harder to create titles I haven’t already used ha ha!
But honestly, this really is my favorite way to paint a basket!
I’ve included a few affiliate links so you can find the products I love.
I started with these two thrift store finds:
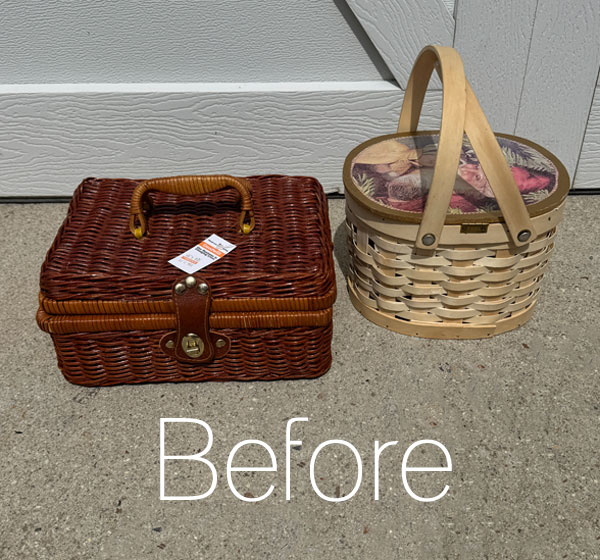
I got them both for just under $8.
-
Step One: Clean
The first step is always a good cleaning, I usually skip a wet cleaning and reach for my shop vac instead. I give them a thorough vacuum with a brush head to remove any dust, cobwebs, or crawlies that might be hidden in the weave.
-
Step Two: Prime
Painting baskets directly can flake off over time with lots of use. I like to spray prime them first using Rustoluem Flat White Spray Primer:
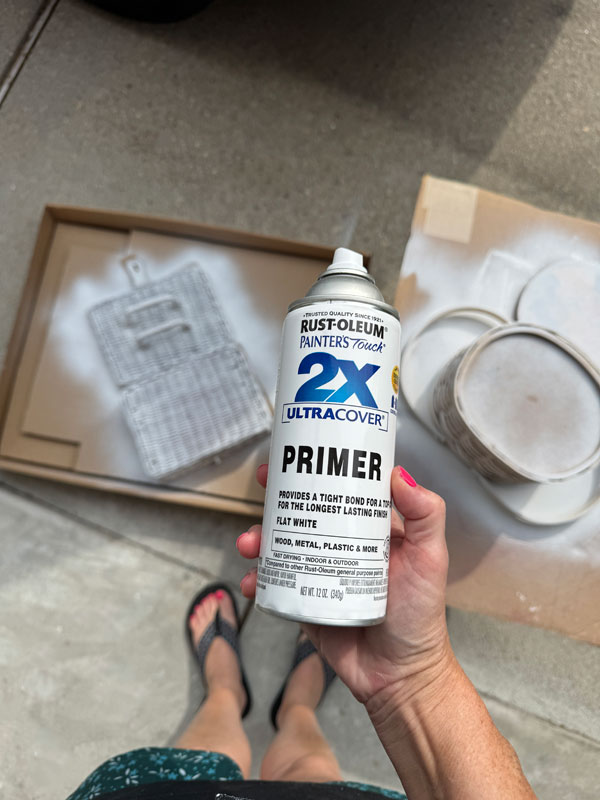
This also gets a good first coat on there.
-
Step Three: Paint
When painting baskets, I prefer to use chalk paint. I just love the texture chalk paint adds verses spray paint.
I have a few natural bristles brushes I like to use for baskets, but for these smaller ones, I used my French Tip Brush for this tight weave, both inside and out:
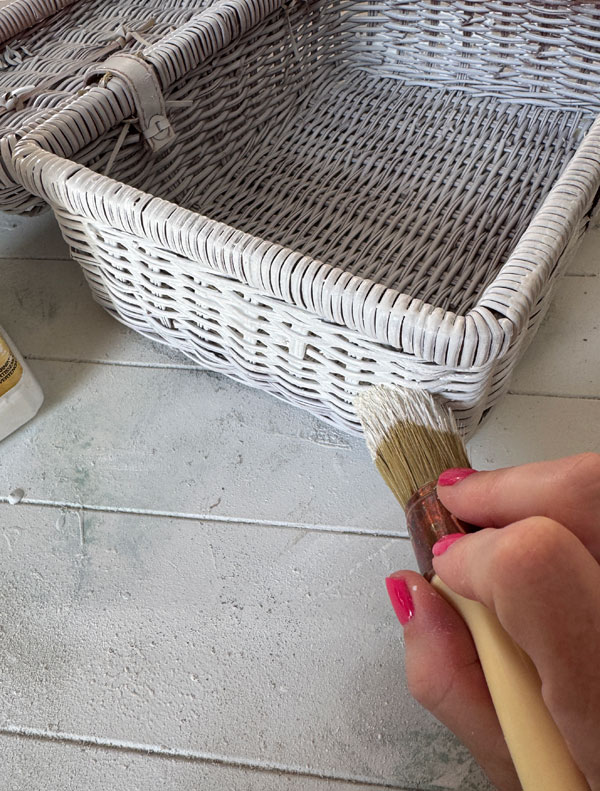
This brush has a pointy tip that is great for this style of basket…
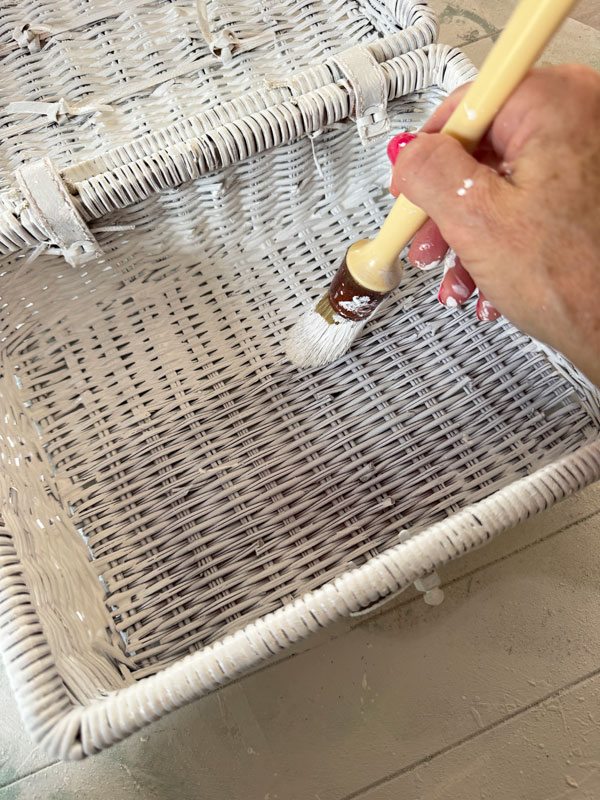
For larger baskets with larger weave, I like my Best Dang Brush.
*Remember to wash natural bristle brushes soon after finishing as they clean up much easier if you don’t let them sit.
-
Step Four: Sand
If you like a worn look, use 220 grit sandpaper to lightly brush the weave and anywhere it might naturally distress:
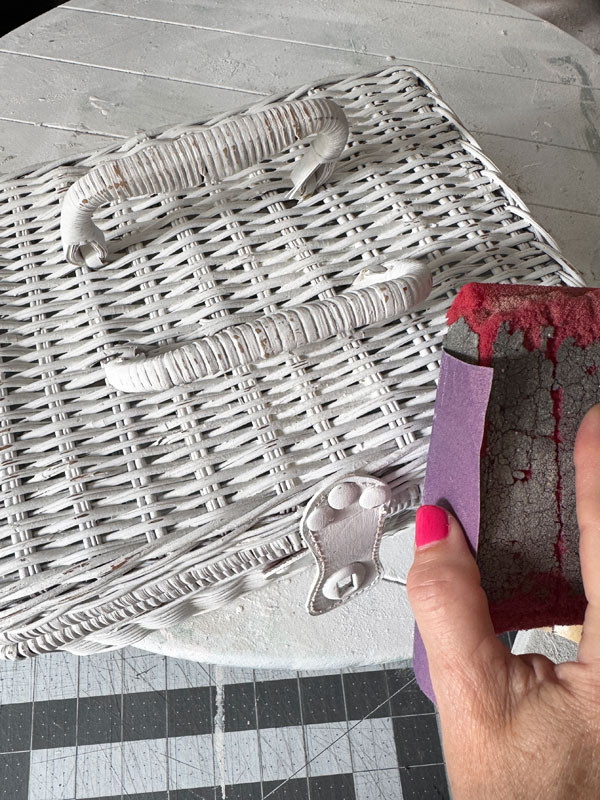
I distressed this one and chose not to on the other one.
-
Step Five: Seal
I find the easiest way to seal baskets is with Rustoleum’s Clear Satin Spray:
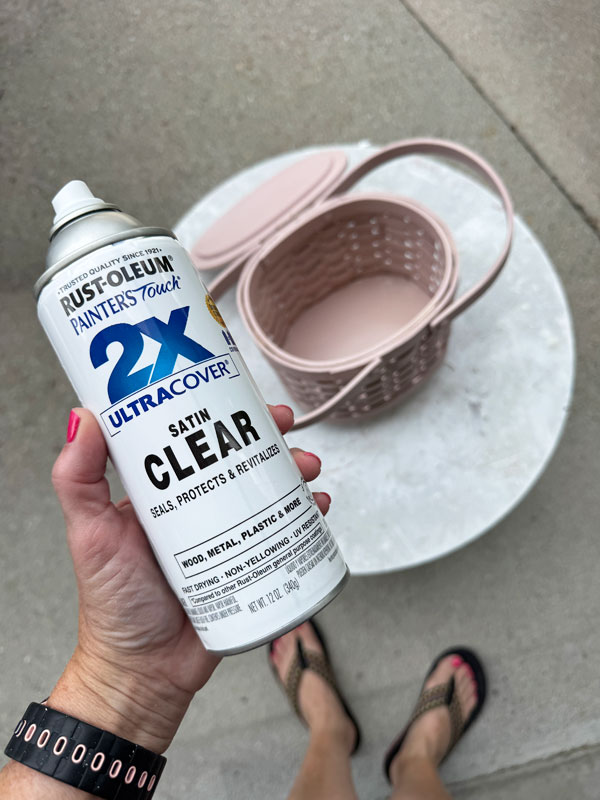
And that really is all there is to it! Anything else you want to add is up to you!
I’ll share what I added to each of these next!
Basket #1
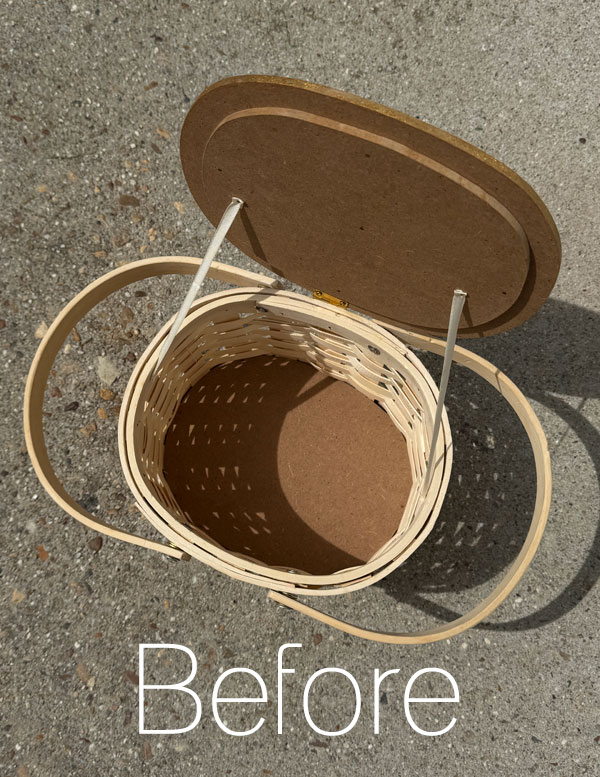
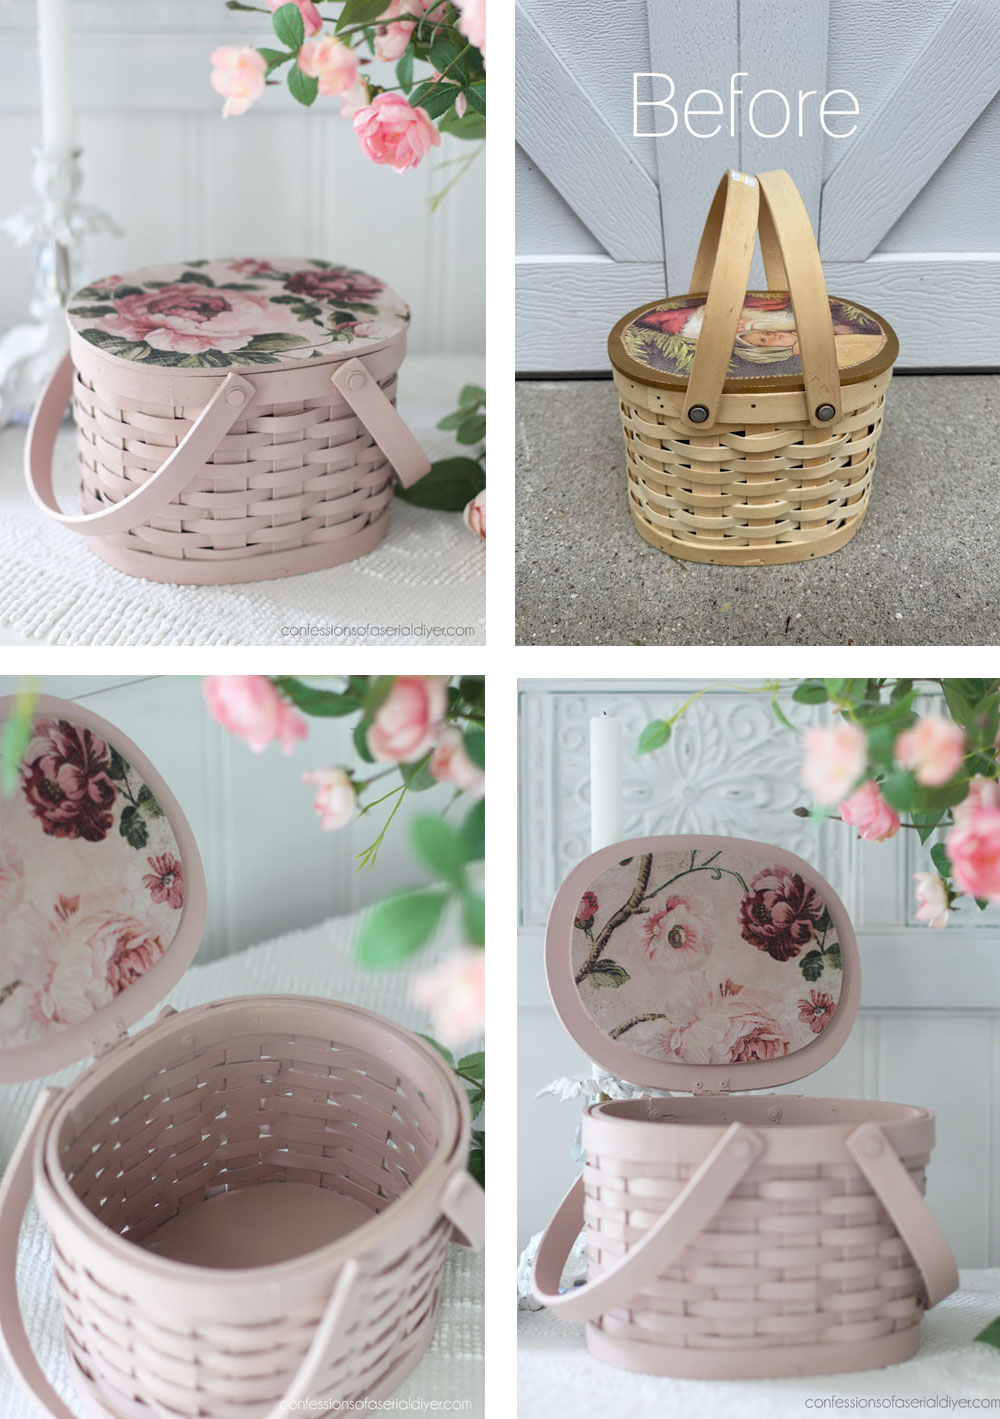
Here’s a reminder of how this one started:
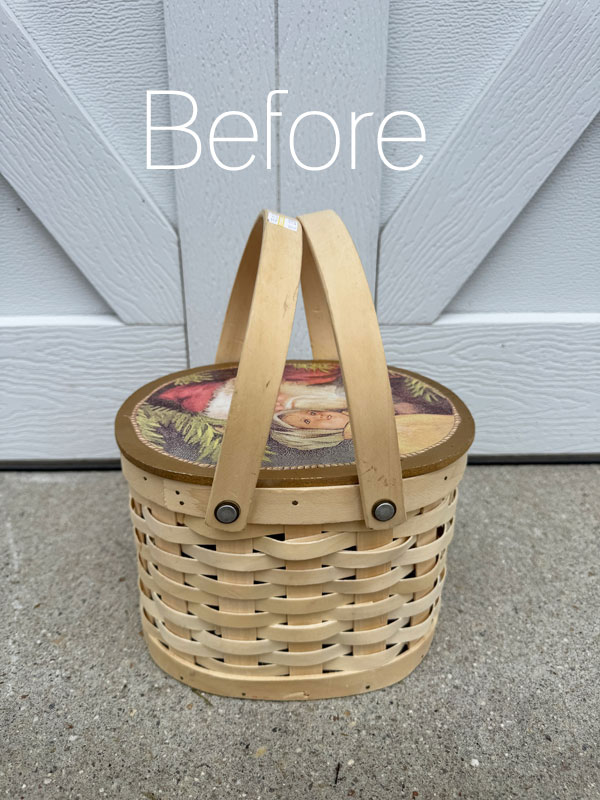
It had a Santa photo decoupaged on the top, but it was facing an odd direction. I chose to paint right over that using the color Tea Rose by Dixie Belle:
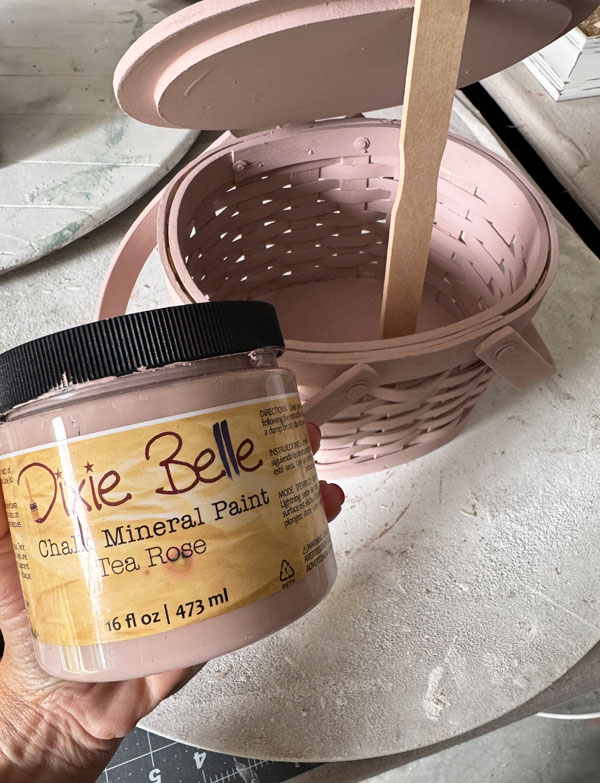
It only took one coat since I spray primed, but I did have to go back and hit up any areas in the weave I missed on the first go.
Decoupaging the Top
Once I had it painted and sealed, I decided to decoupage the top with some leftover Timeless Blooms decoupage paper I had on hand.
I ironed it first on the lowest setting to remove the folds:
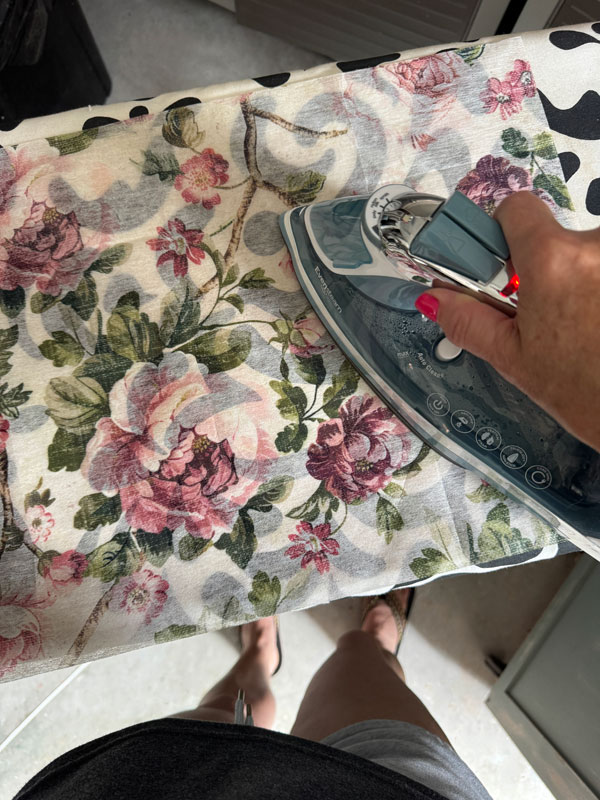
Then, I applied a coat of Decoupage Gel using a synthetic chip brush:
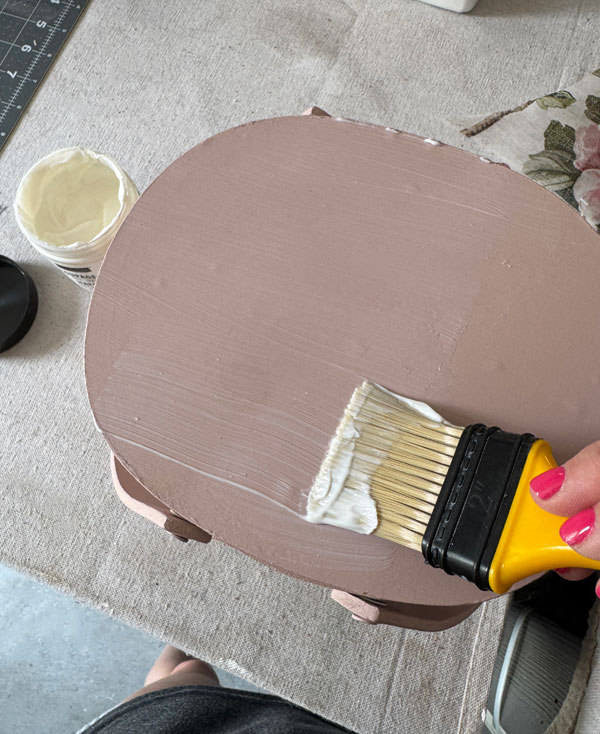
(I reached for one of these when both of my foam brushes were wet, and it worked great!)
I then added this gorgeous Timeless Blooms decoupage paper to the top and used a piece of plastic wrap to smooth it out:
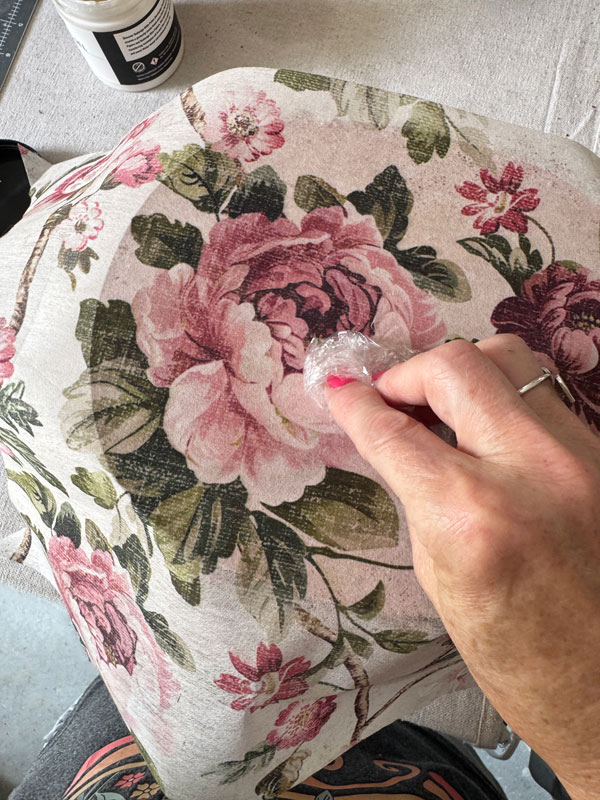
To remove the excess paper, I hit the edges gently with a piece of 220 grit sandpaper which allowed the paper to tear away easily:
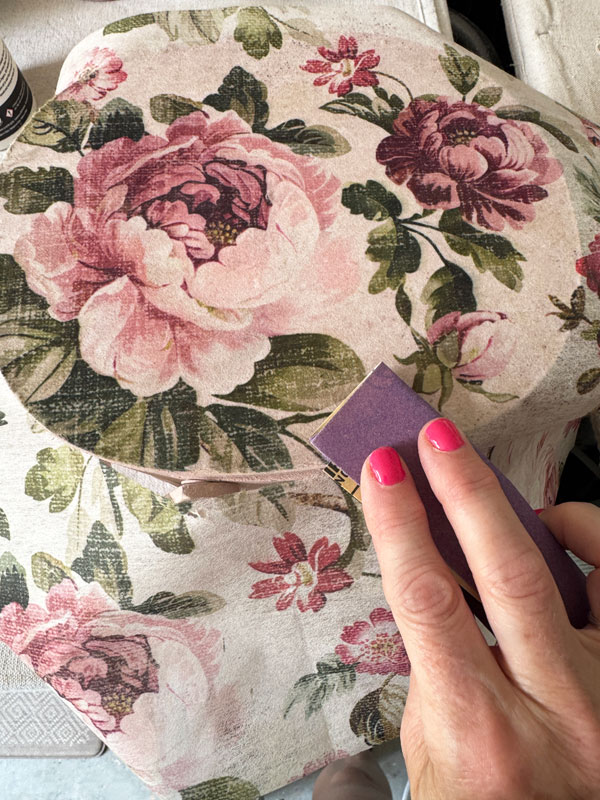
Then I applied another coat of Decoupage Gel to the to seal:
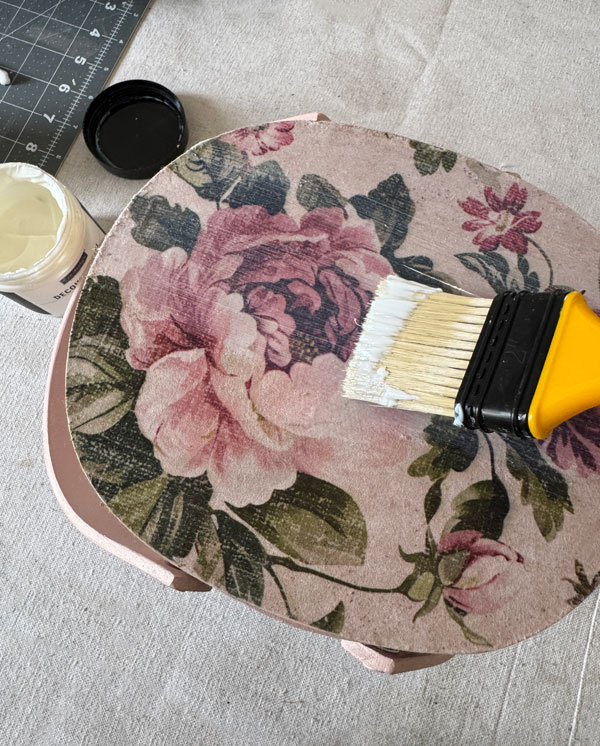
You can also seal using Dixie Belle’s Clear Coat.
That was all this basket needed!
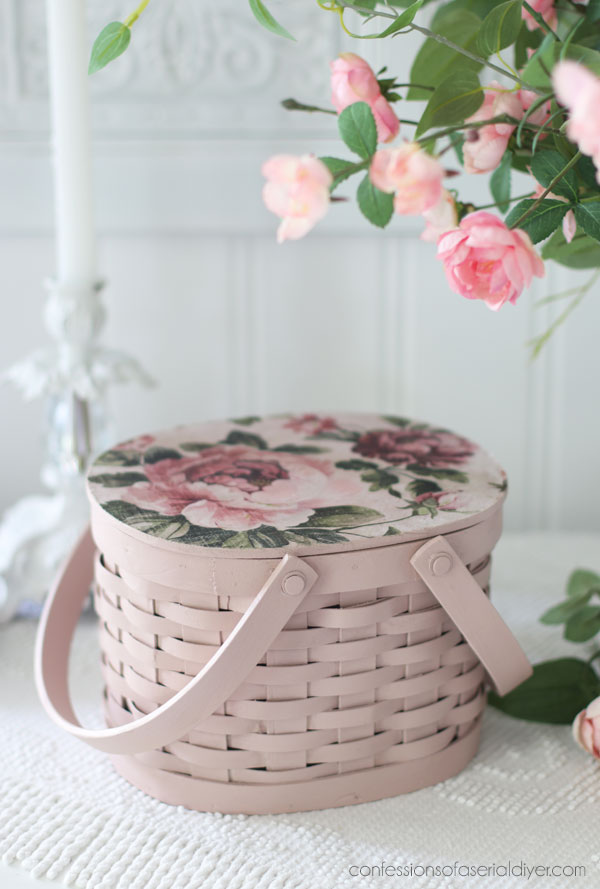
Basket #1 After
Here is how this one turned out:
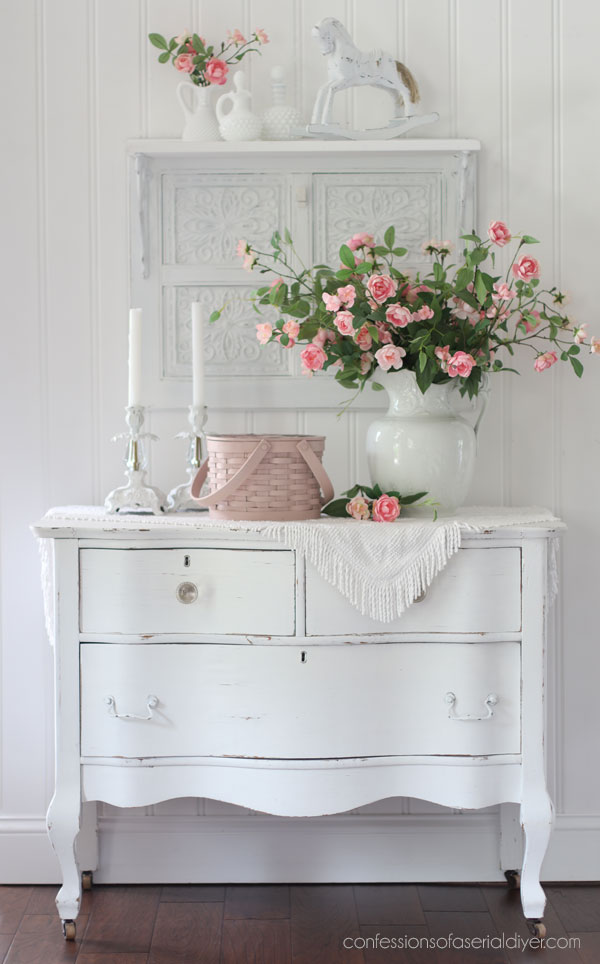
I loved the petite sized of this one!
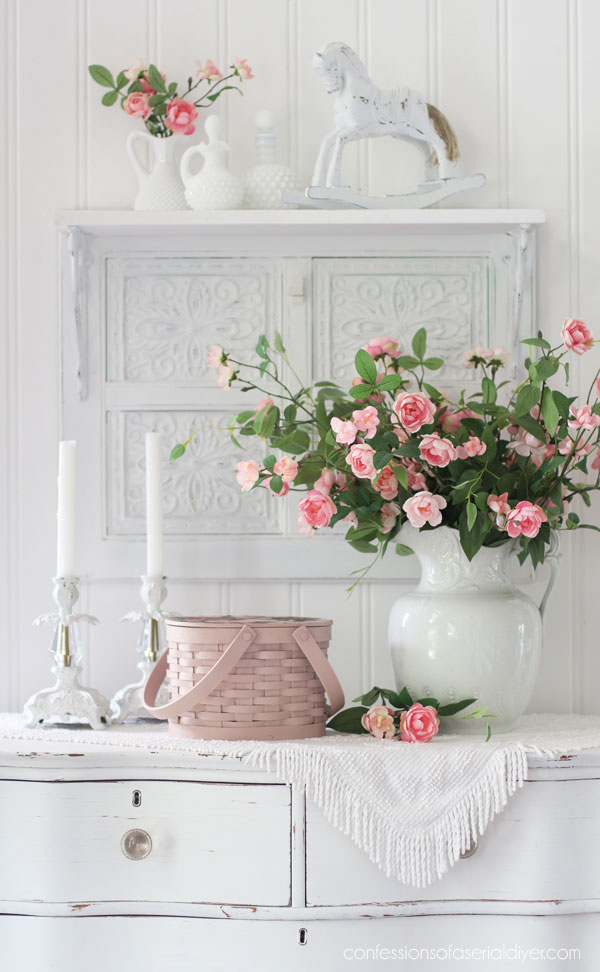
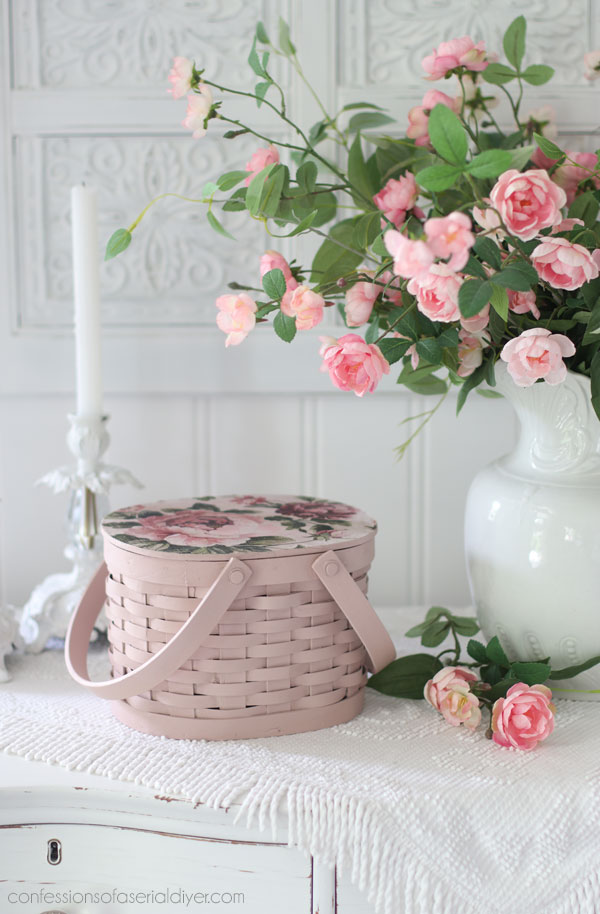
All this one needed was something pretty on the top!
The Inside
The inside started out like this:
I spray primed, painted, and spray sealed this inside just I did on the outside.
But I did add something pretty to the inside of the lid:
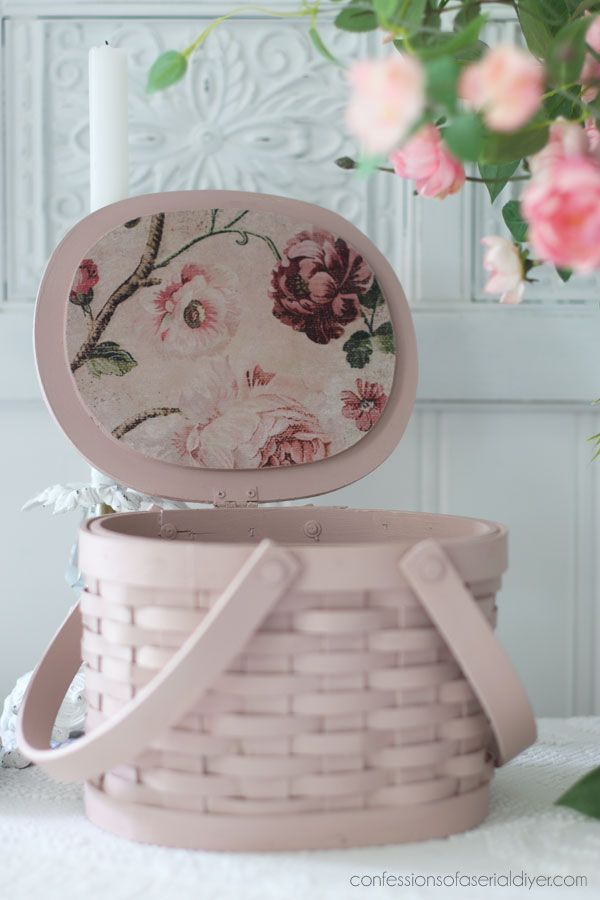
The rest is just the Tea Rose:
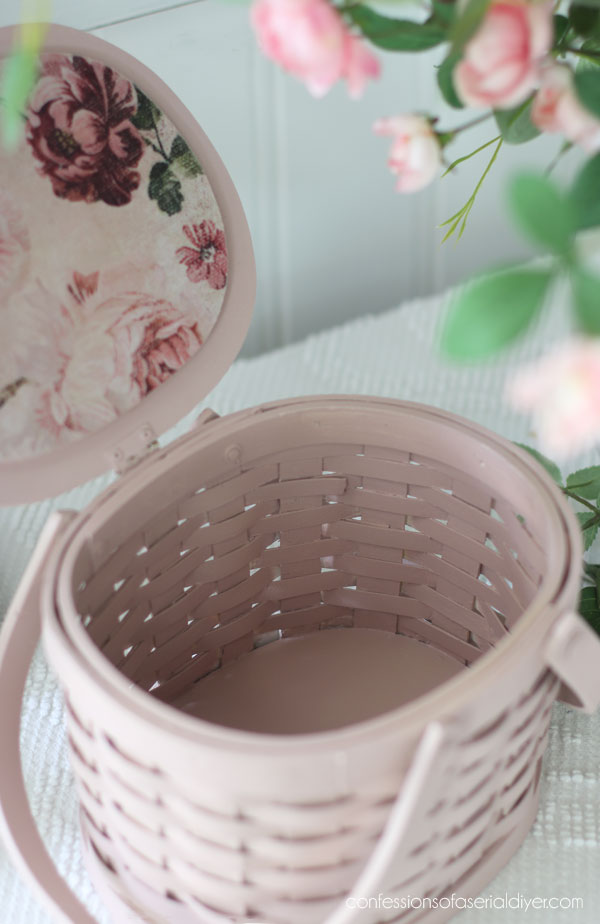
What a sweet little basket this is now!
Basket #2
Here’s a reminder of how basket #2 started:
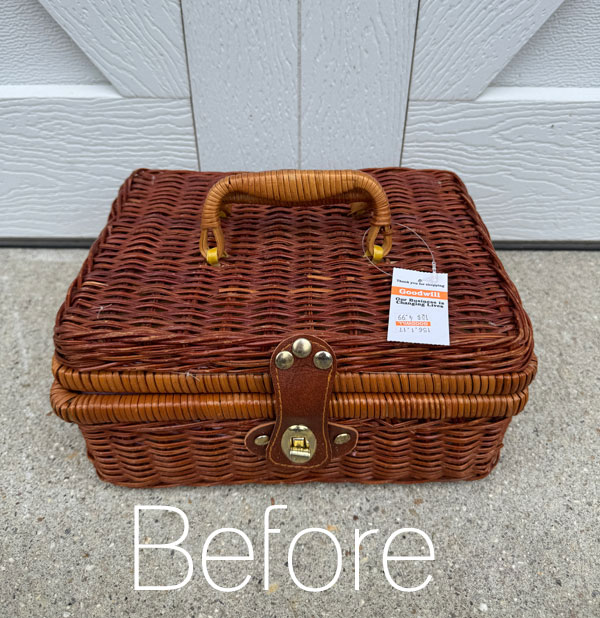
You already know I painted it white. I used Dixie Belle’s brightest white, Cotton for that.
Adding DIY cutie pie tags to the handles
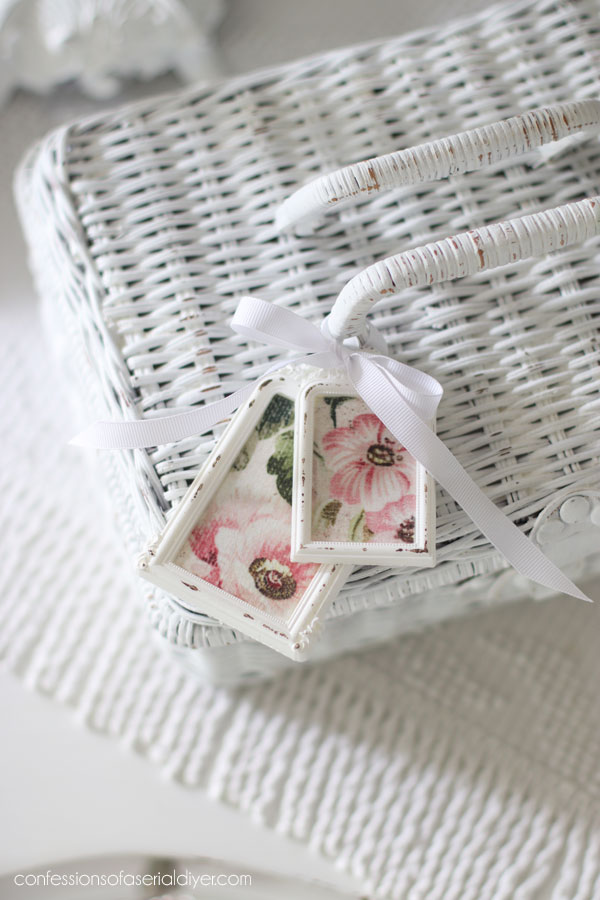
Once it was sanded to my liking and sealed, I decided to embellish it with a couple of sweet tags!
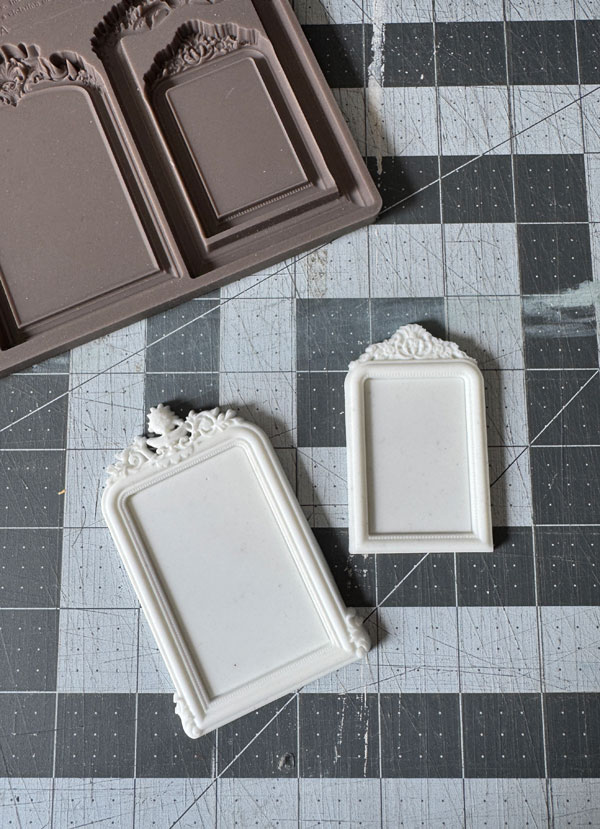
To make them, I enlisted the help of the Lysandra Mould and cast these two pieces using Amazing Casting Resin:
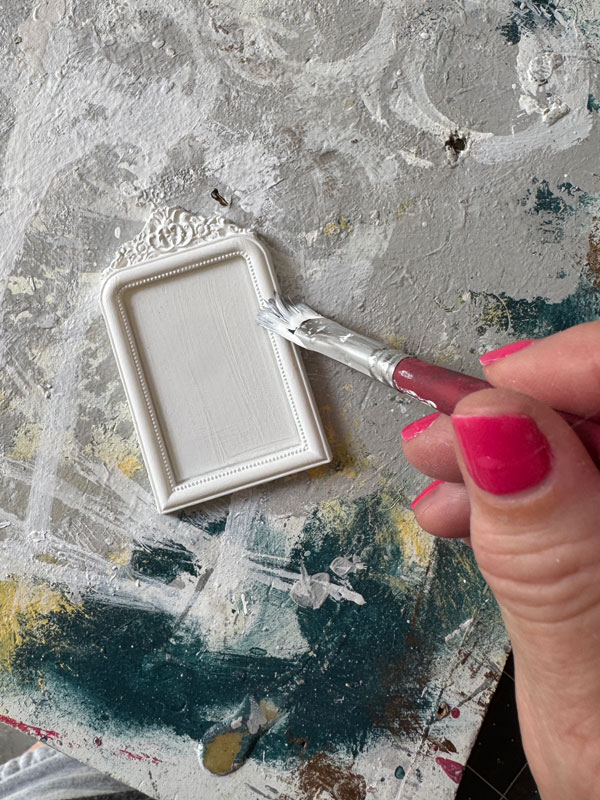
I painted those in the Cotton also using a small brush from this smaller brush set:
I used the cheat method to distress them a bit, and then spray sealed them just like I did the baskets.
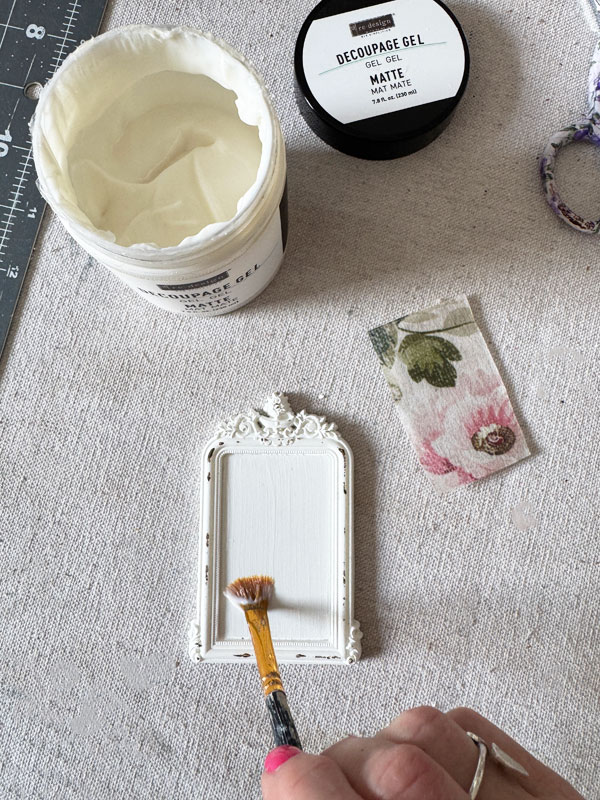
Then, I cut decoupage paper to fit my new tags by laying it in the opening and pressing all around the inside edge, making an indention to show me where to cut.
I then applied Decoupage Gel:
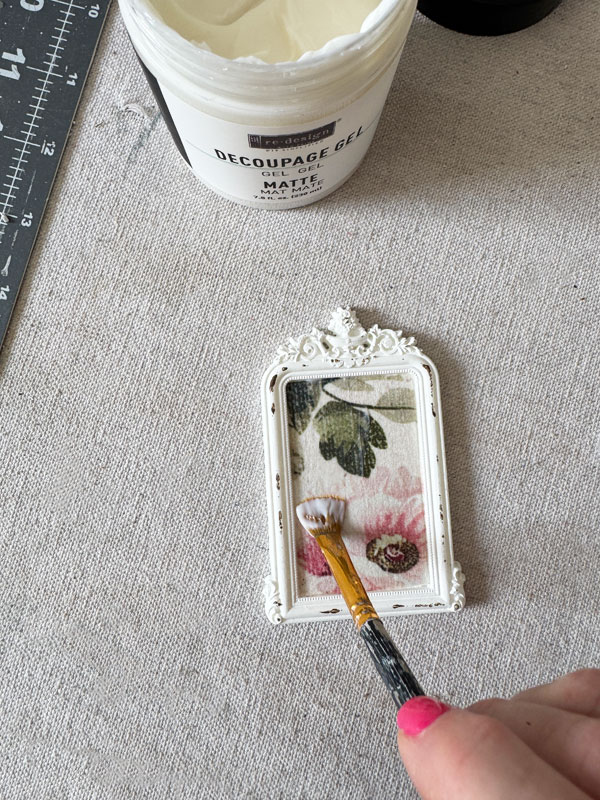
Then my paper and another layer of the gel:
So cute! Let’s jump to the after!
Basket #2 After
Here is how this one turned out!
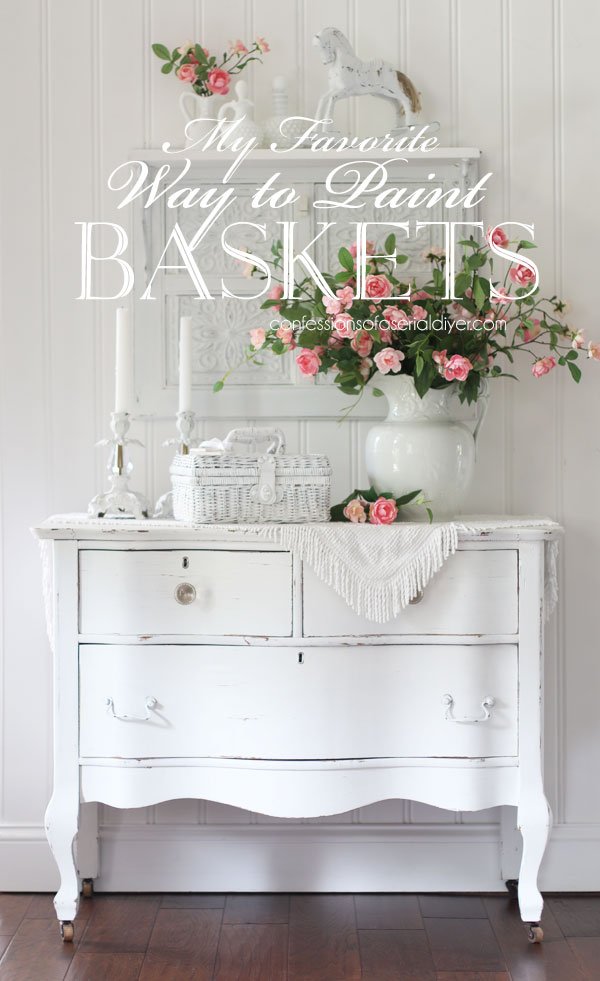
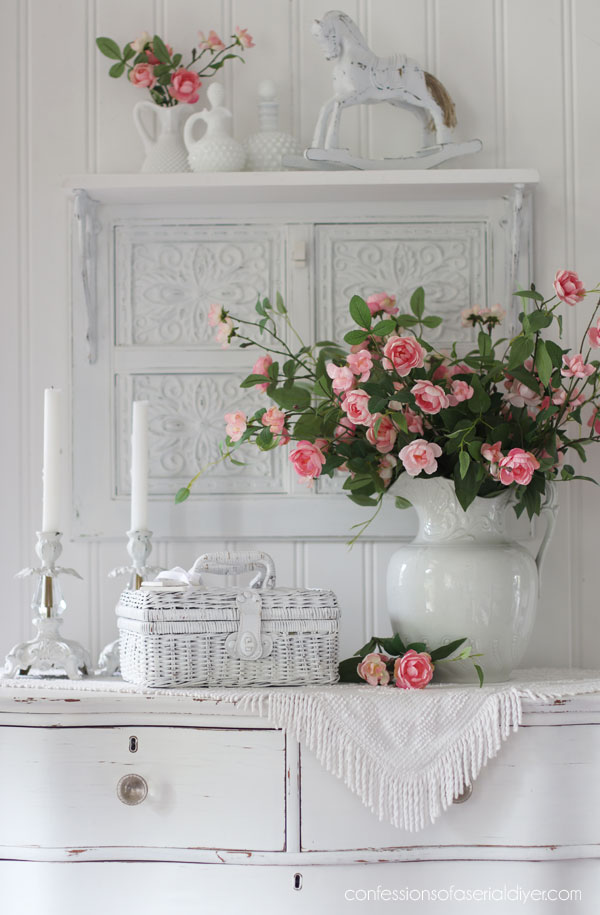
I just love a white-painted basket!
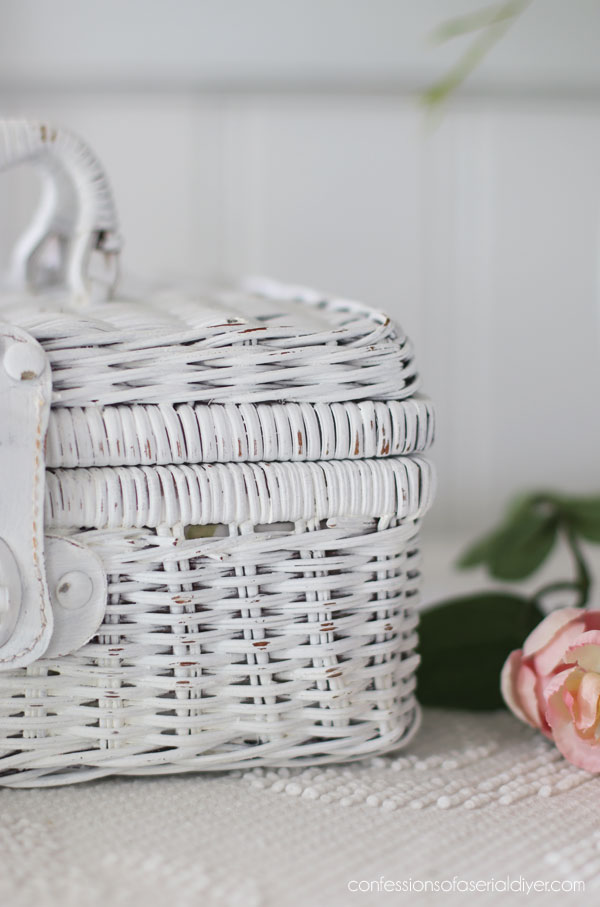
AND the texture you get by using chalk paint rather than spray paint!
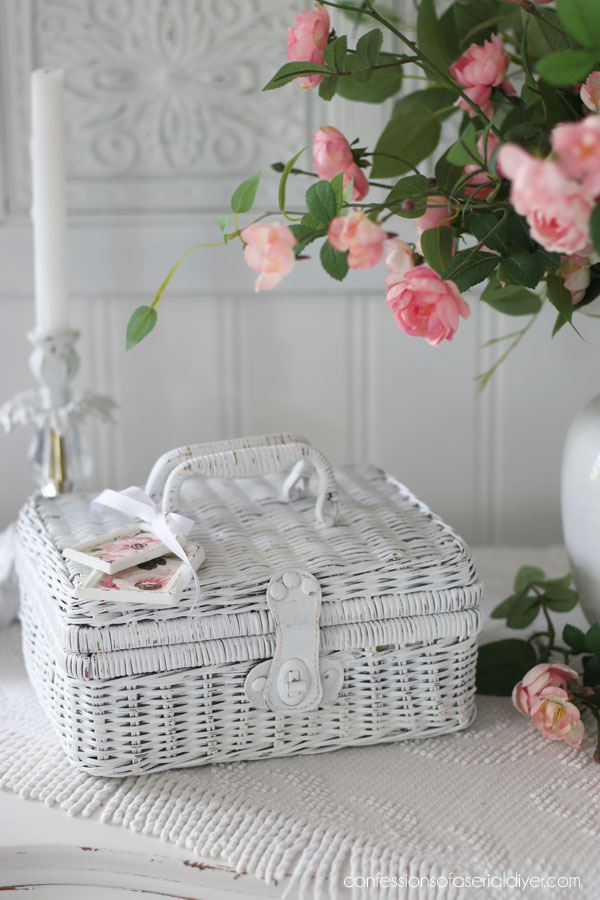
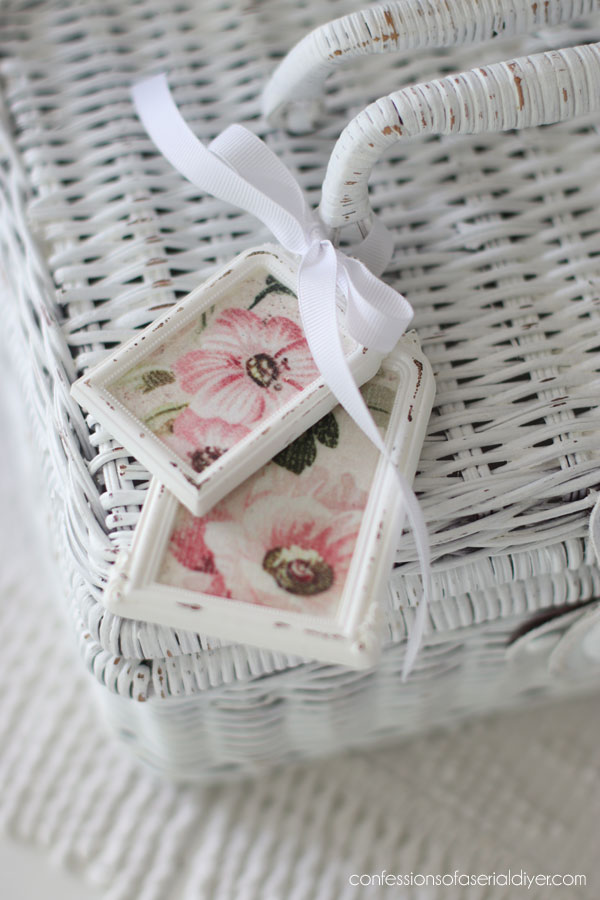
The little tags on this one are so sweet! I drilled a small hole at the top of each and tied them on with some ribbon…
THe inside
Here’s a peek at what the inside looked like when I bought it:
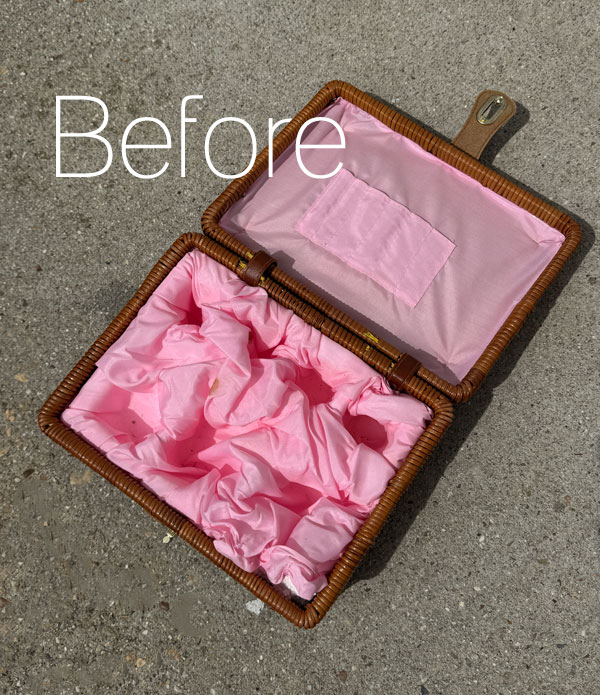
The tea set that I assume was inside was missing. Luckily, the lining came out pretty easily:
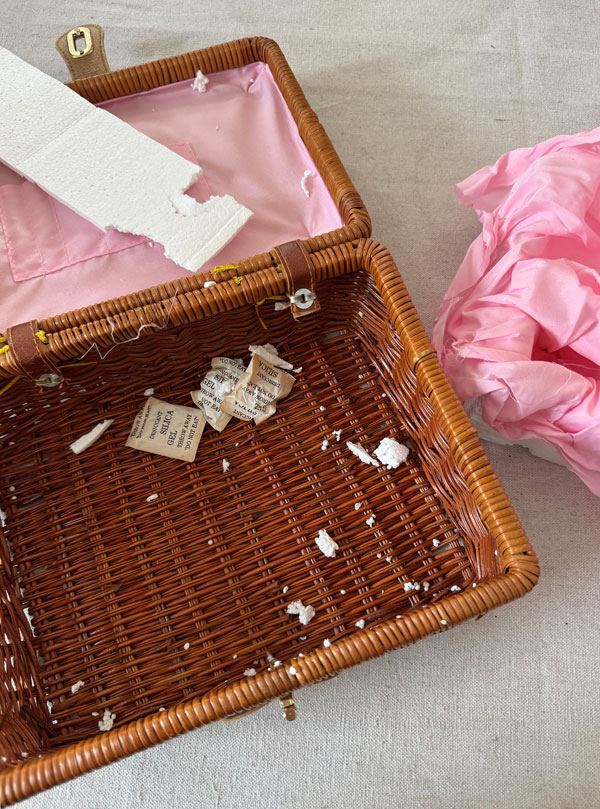
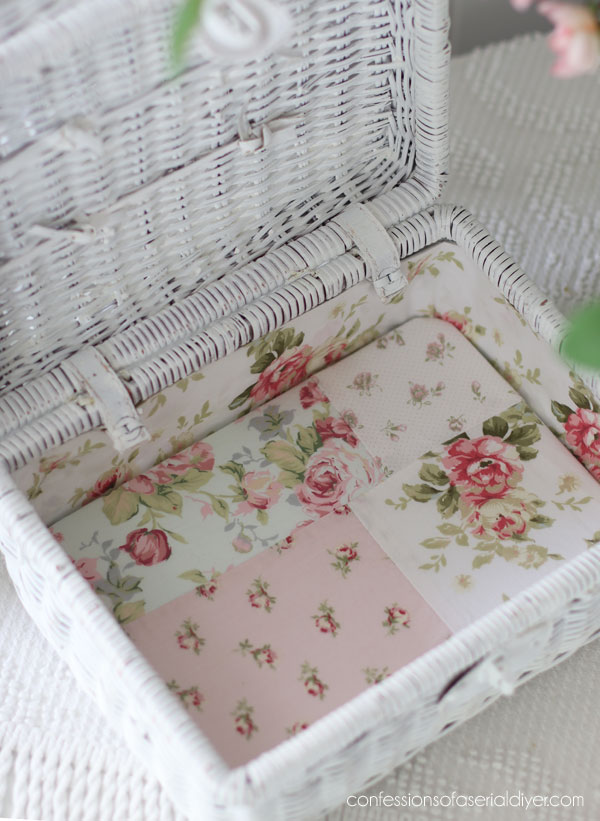
You saw at the top that I painted the interior, but I also lined the bottom:
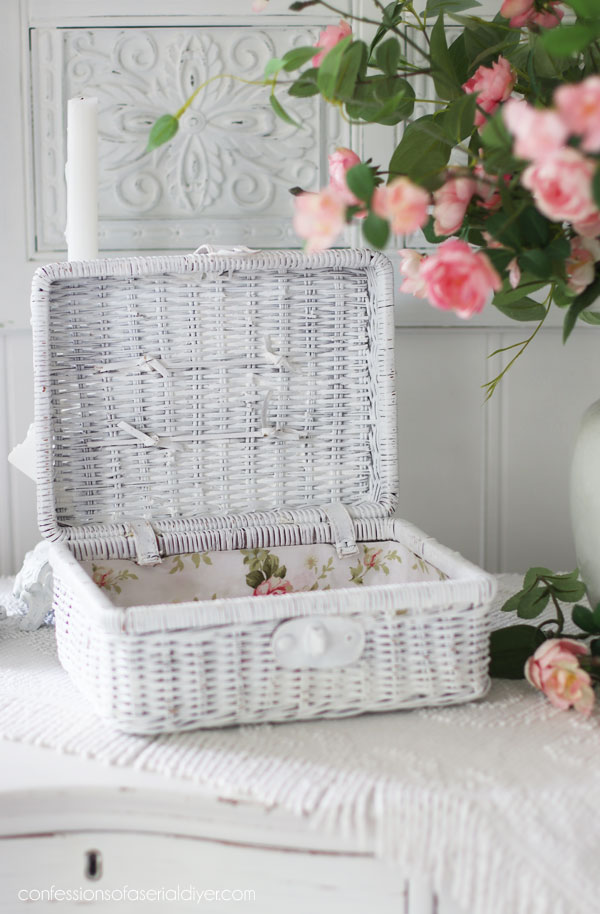
Lining the Bottom of a basket
I knew I wanted to use some of this very shabby chic-esque shower curtain to line it:
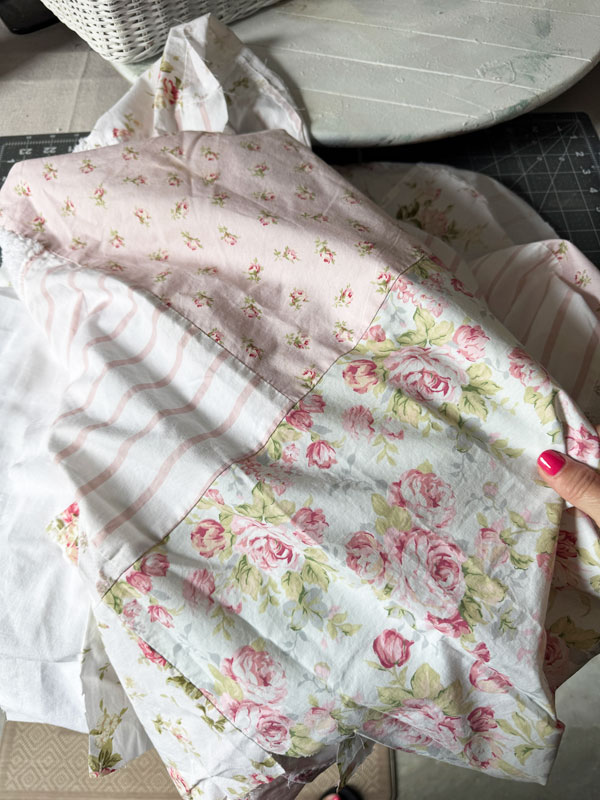
I cut a portion of the finished edge to use as the trim around the sides:
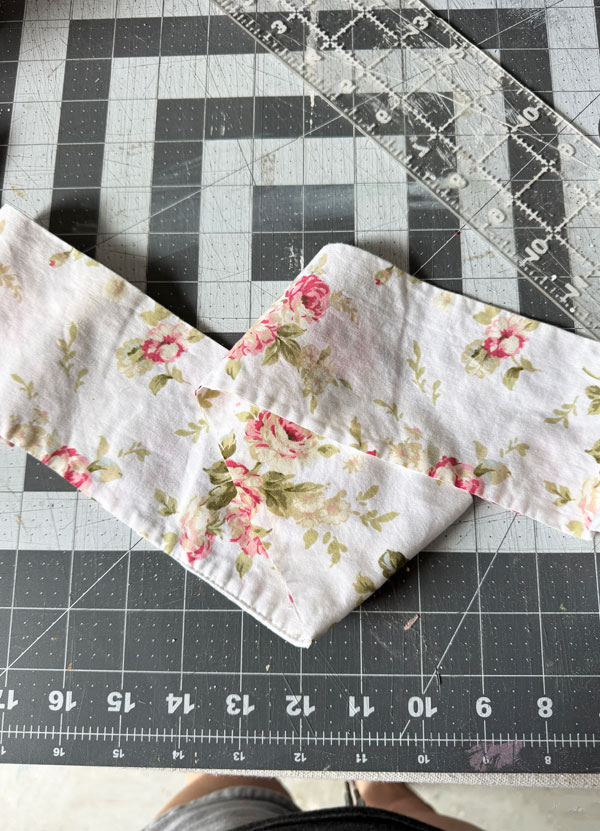
(If I didn’t have that, I would have just folded it over at the top.)
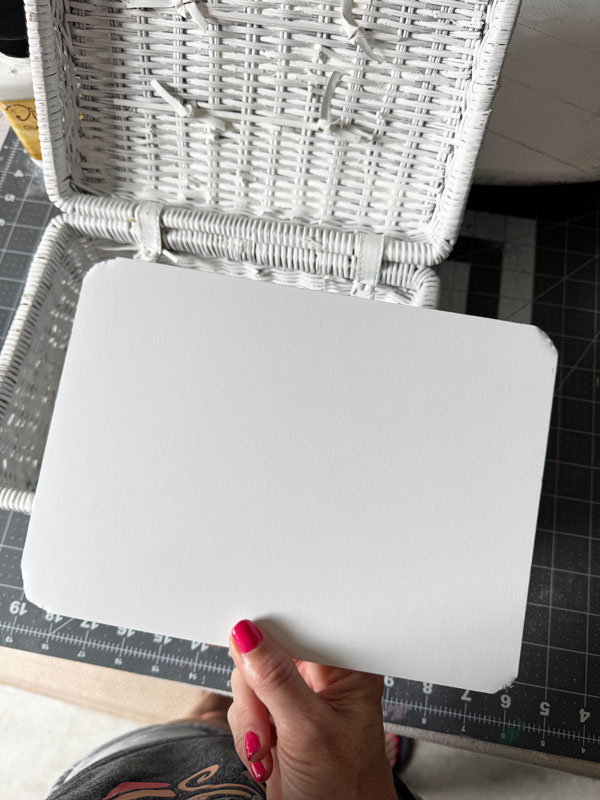
I cut a piece of foam core to fit the bottom:
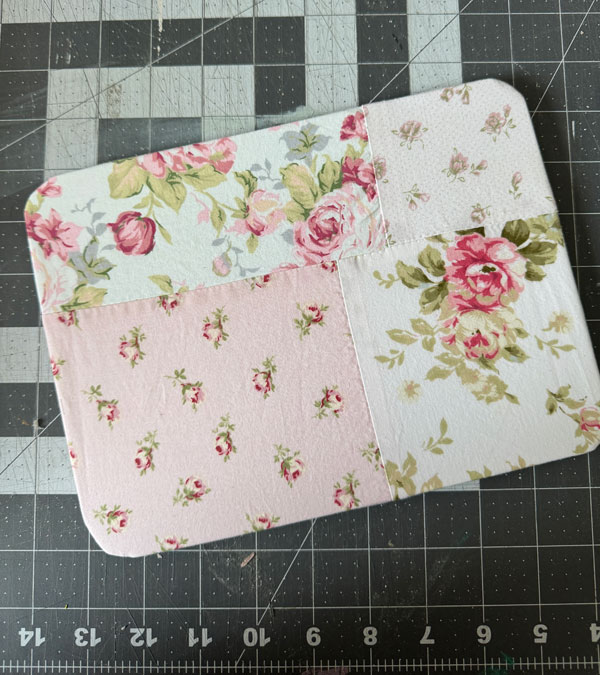
I wrapped that piece in a section of the shower curtain and used hot glue to secure it on the back:
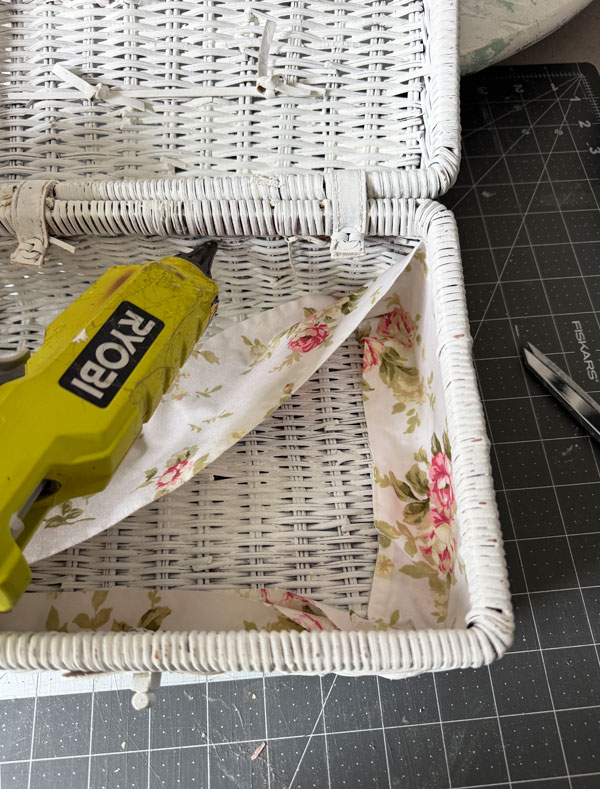
Then, I added the strip for the sides, starting in the left, front corner and gluing it all around at both the top and the bottom as I went:
Once I had that piece in place, I glued the fabric covered bottom in place as well. I paused here to enjoy how well the tags matched the fabric!
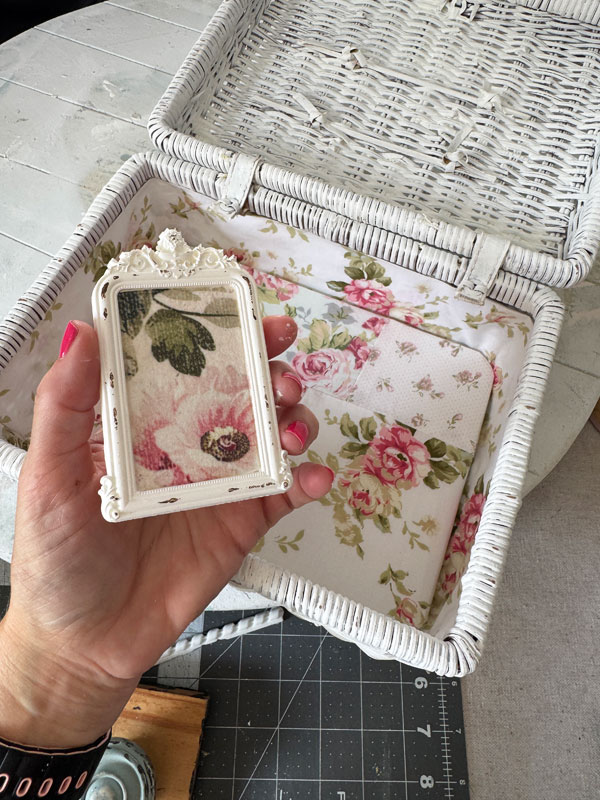
I love the cottage charm this fabric adds!
And the tags add a little something unexpected.
This is also the Timeless Blooms paper, by the way. I just chose the lightest blooms.
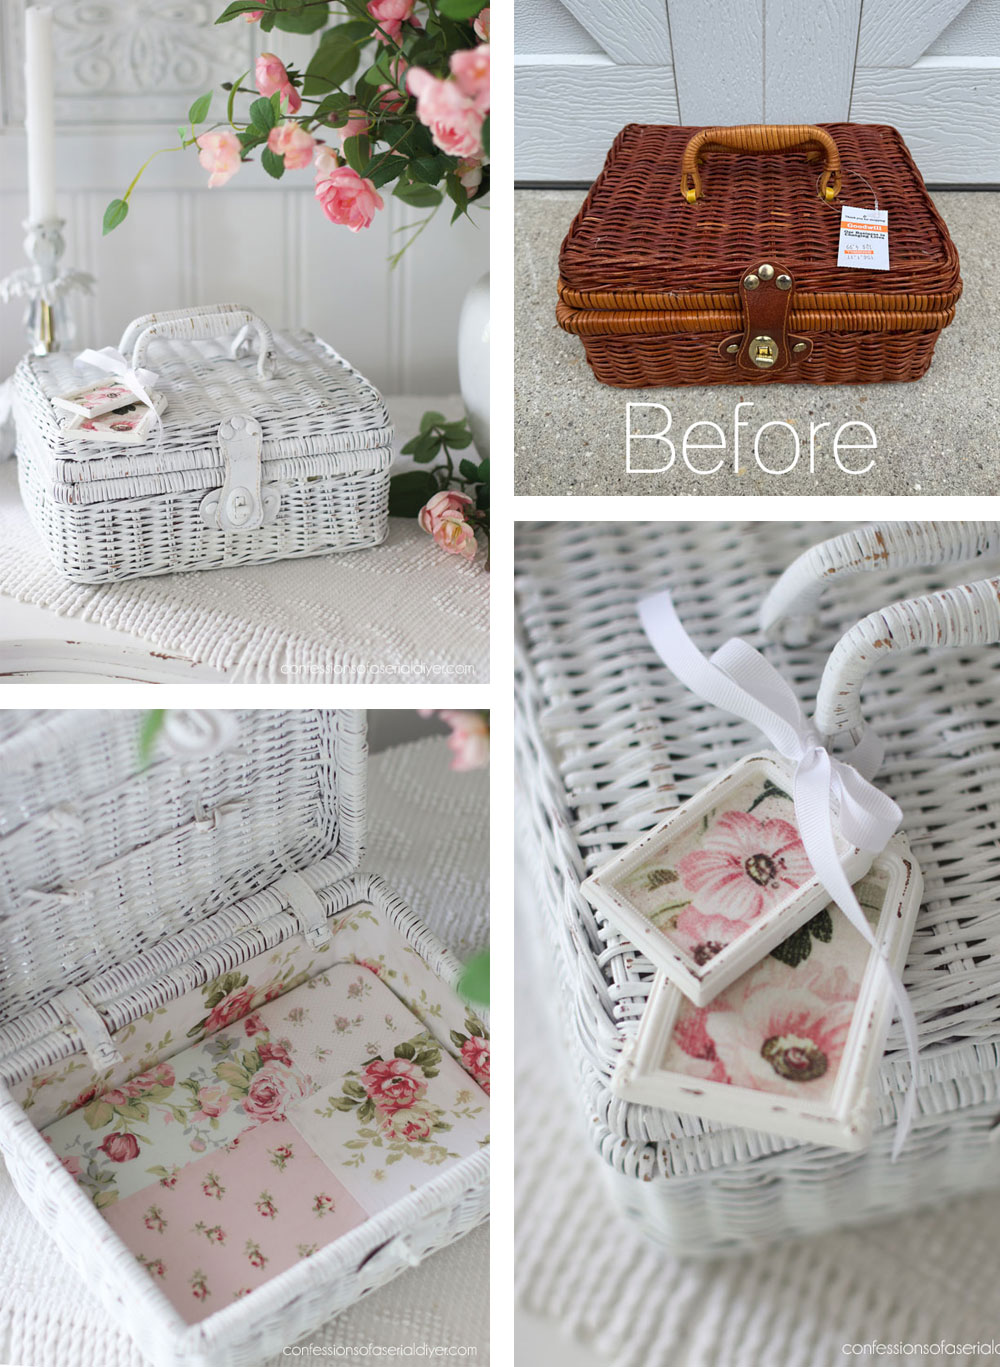
ANd that’s my favorite way to paint a basket!
That’s also two more smalls to add to my booth and two more pieces I get to cross of my list!
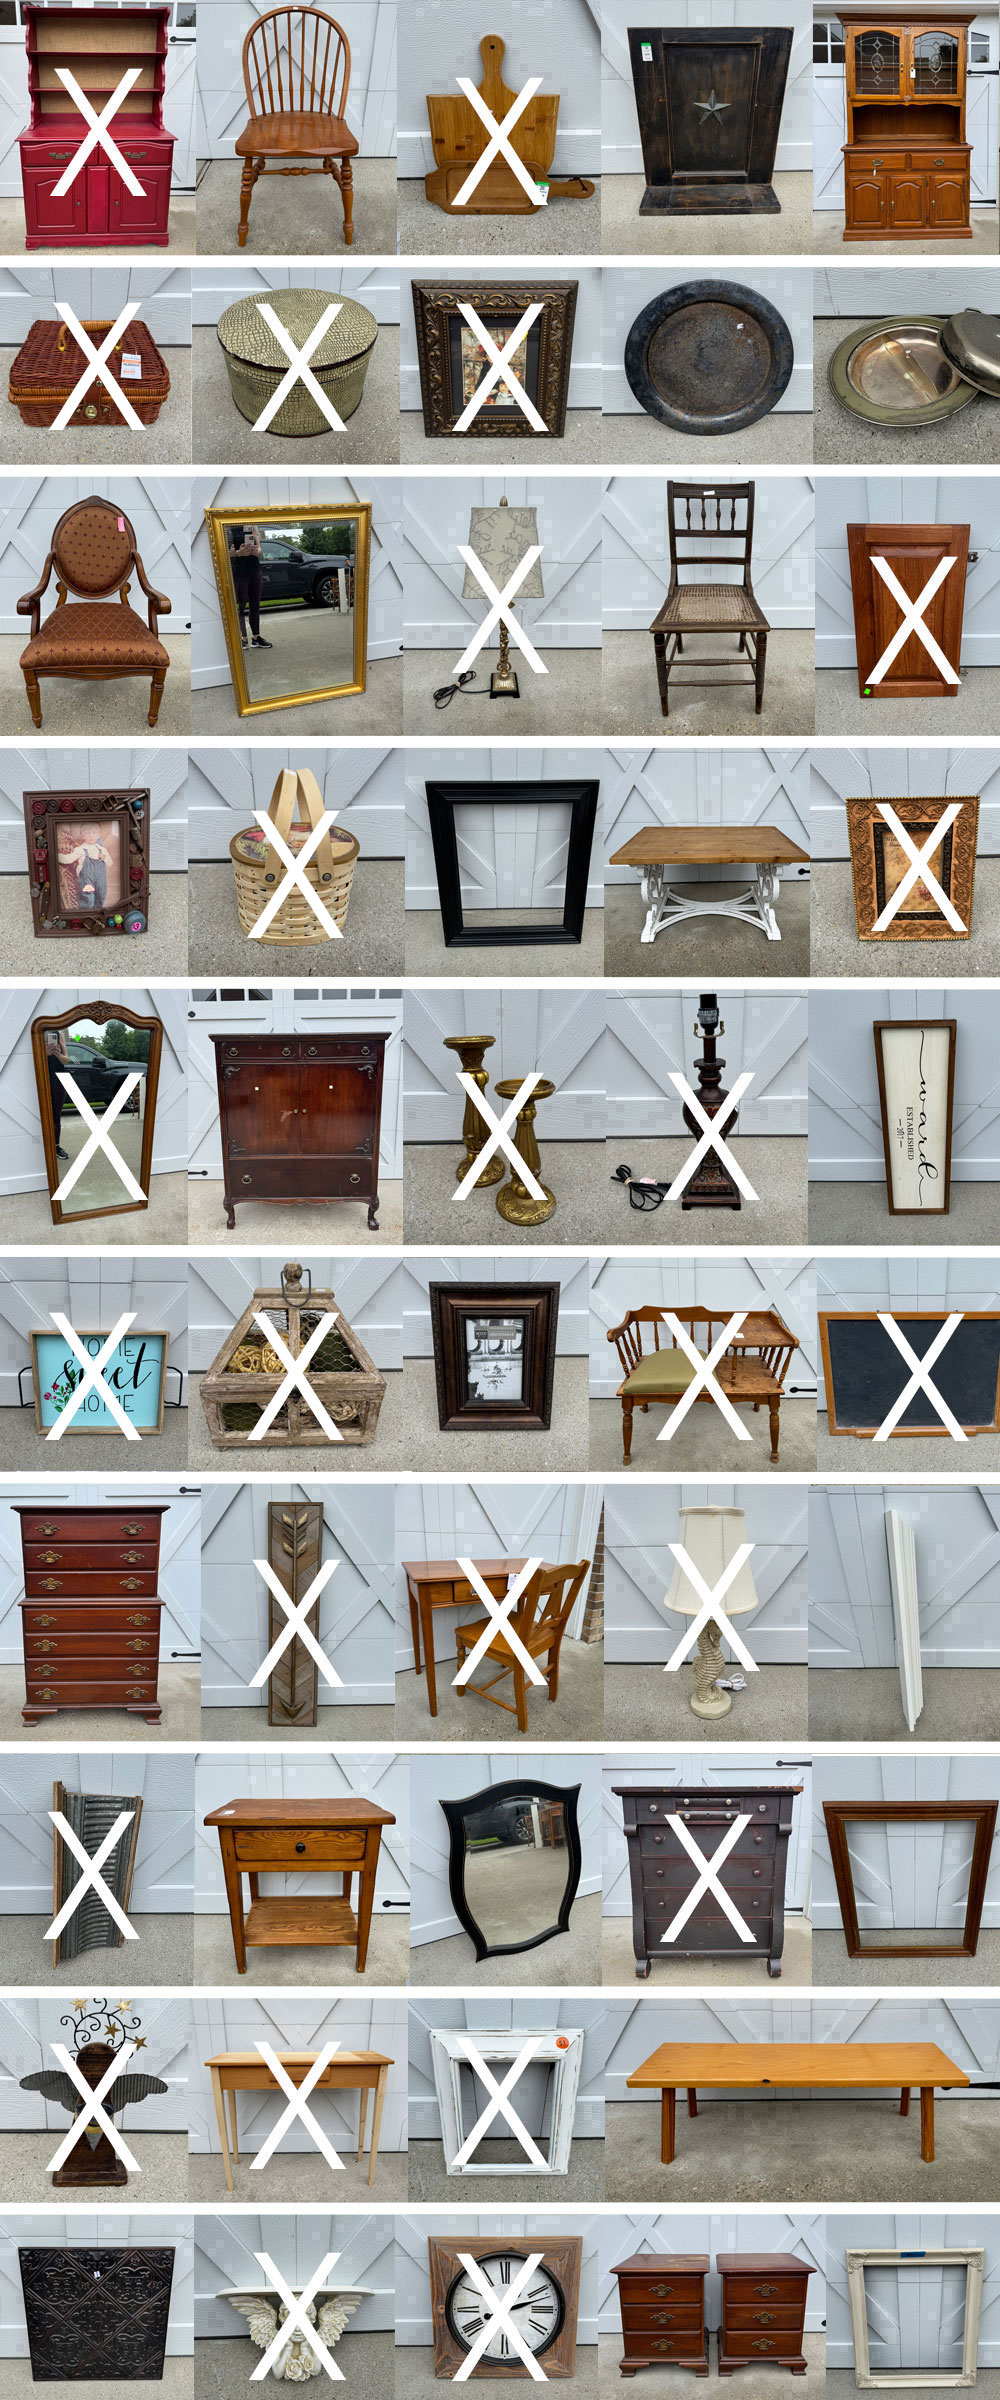
I do believe I’m whittling it down!
**SHOP NEWS**
In shop news, I am restocked in everything brand new, so if you missed out on anything from the new release that sold out, like this gorgeous Noel Elegance Mould:
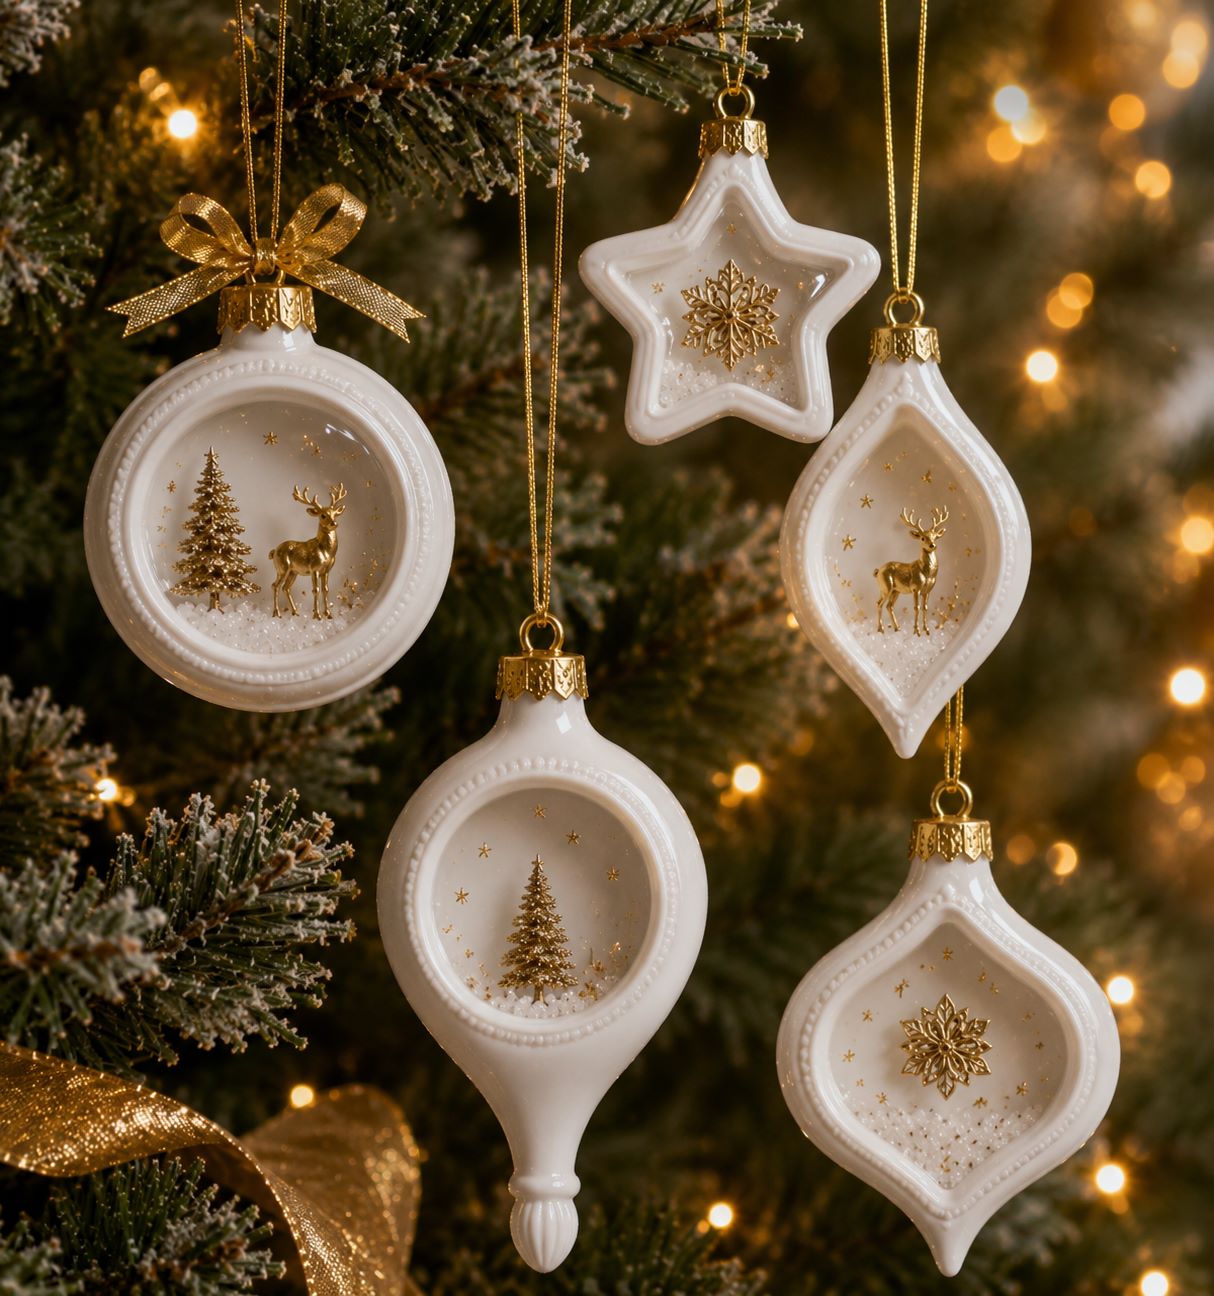
It’s available now! This mould includes the ornament, plus the tiny figures.
You can see and shop everything that’s new HERE on my blog, or go straight to my Etsy shop HERE!
Meet me back here on Thursday to see what I did with this $10 yard sale bench:
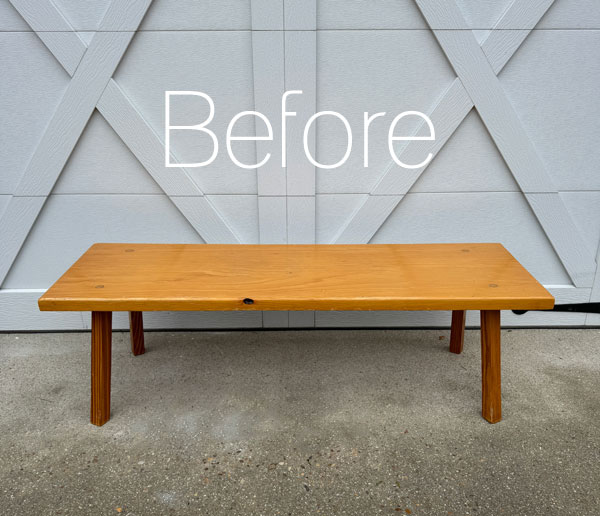
UPDATE: This bench got an easy update anyone can do, but it made such a difference! See it HERE now!
XOXO,

Don’t Miss a Thing!
If you like what you see, there are several ways to follow along!
EMAIL * INSTAGRAM * FACEBOOK * PINTEREST

Get FREE SHIPPING on all orders over $50 in my Etsy shop.
(No code needed at checkout!) Orders under $50 enjoy $8 flat rate shipping!
Most orders ship same or next business day!
Visit my shop HERE or click the image below!







Mary Kaiser says
Oh they both are adorable now! I would buy both of them if I lived in Virginia! They are both so fresh and they do have that beautiful cottage charm!
Christy says
Thank you, my friend! I love finding small baskets like this! XOXO
Cecilia says
They turned out great! I love the roses on the top of the first basket. Now it can be used everyday instead of just a short season. Much better! The second basket is fresher looking too. That shower curtain liner matches the tags so well! Love me some shabby chic roses! I bet these go quickly.
😊Cecilia
Christy says
Thank you, Cecilia! Yes it can be used all year now, and I have gotten a lot of mileage out of that shower curtain lol. I too love a shabby chic look! XOXO
Lorri says
Ok ..way too cute!!!…. you always make the inside as lovely as the outside. Someone is going to be a lucky personwhen they buy these.
Christy says
Thanks so much, Lorri! I just loved the petite size of both of them when I found them! XOXO
Lauren says
Those baskets look so much better! I enjoy your tutorials and feel inspired each time I read them. Don’t apologize for repeating items like baskets, as I need the repetition to learn, lol. Quick question: You painted over the leather strap on the second basket the same as everything else? I have a fake leather covered box that I would like to paint and could use some pointers.
Christy says
Thank you, Lauren! I love that you leave here feeling inspired! Chalk paint does wonderfully on fake leather. You can see a box I did many years ago here: https://www.confessionsofaserialdiyer.com/5-thrift-store-case-makeover/ And I usually seal with clear wax. I hope that helps! XOXO
Laura J. says
The baskets are so delightful Christy! I always enjoy your before-and-after makeovers! The tags are my favorite!!! Such a sweet & charming detail!!! 🩷
Christy says
Thank you so much, Laura! I truly appreciate that! Aren’t those tags the sweetest?? XOXO
Karen Hanes says
I always look forward to your posts! Those baskets are beautiful! You’re the best with thrift finds. I have enjoyed watching you upcycle since I started my crafting hobby. I see you sell the H2O transfers. Do you have a video showing the proper technique to use those? There are several of us that have tried and failed. They either wrinkle or don’t release. Any advice would be so appreciated!!
Christy says
Aww I appreciate that so much, Karen, thank you! I showed an H2O transfer project in my last Painting the Smalls post HERE! I hope that helps! XOXO
Josee says
Marvelous! Just Marvelous! Thank you
Christy says
Thank you so much, Josee! XOXO
Michele M. says
They are both SO AWESOME now! You sure have the vision. I love them both so much!
Christy says
Thank you, Michele! So sweet and girly…I’ve really been leaning into that vibe lately! XOXO
Marlene Stephenson says
They are so cute, you did a beautiful job. I think the little round one could be a little girls purse. Thanks for sharing.
Christy says
Thanks so much, Marlene! I thought the same thing! It really does look like it could be a small handbag! XOXO
p says
More pretty Smalls !! I also like their dainty size..
White baskets look so fresh – and a great background for cutie details.
You are the master of cuteness. 🙂
You neve seem to have an issue with wrinkled decoupage papers. I did get some – but so far am hesitant to try…. Maybe a ‘small’ project 1st would be best. Your tutorial instruction are so thorough – and Helpful !
More cuties for your booth.
Christy says
Aww thank you, my friend! These fiber papers from Redesign almost have more of a fabric feel and are far less likely to result in wrinkles. Try them on a small project like this one first to get a feel for them, then go for it! XOXO
Kathy from Jax says
I always love your basket redesigns. They are so charming. The way you always add a little surprise on the inside adds just tge right touch! I also notice the candlesticks you use for staging. I think they’re one of my favorites. Looking forward to seeing what you’re up to on Thursday.
Christy says
Thank you, Kathy! I enjoyed redoing these two baskets. And those candlesticks were a thrift store find many years ago. I painted them and took them to my booth and then went right back and got them lol. They’ve been great for staging! XOXO
Karen says
Both beautiful baskets! The repurposed shower curtain liner puts the basket at a whole new level! You’ve a great eye for detail.
Christy says
Thanks so much, Karen! That shower curtain was such a lucky find! XOXO