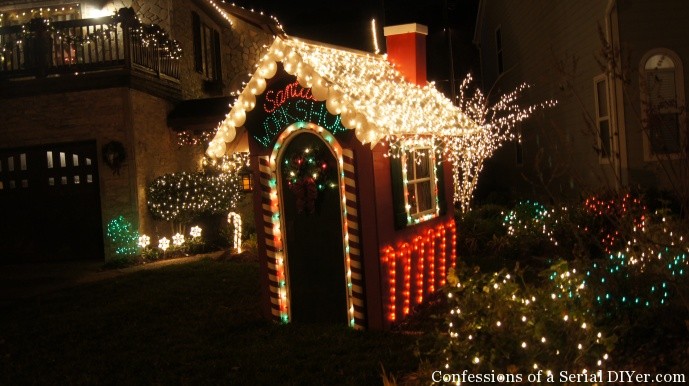
That’s right! We built Santa’s Workshop, right on our front lawn! We love love love to deck our halls. My husband doesn’t stop until every last string of lights has found itself a home for the holidays.
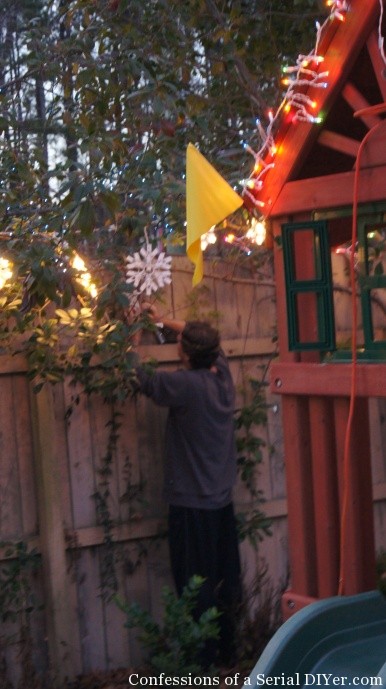
Here is proof…my husband had just gotten back from being diagnosed with a bacterial upper respiratory infection less than an hour before I caught him doing this:
That’s him in the back yard putting up more Christmas lights he found in the garage. And I know he thinks I have a secret stash of lights that I’m hiding from him but even if I did, he would find them.
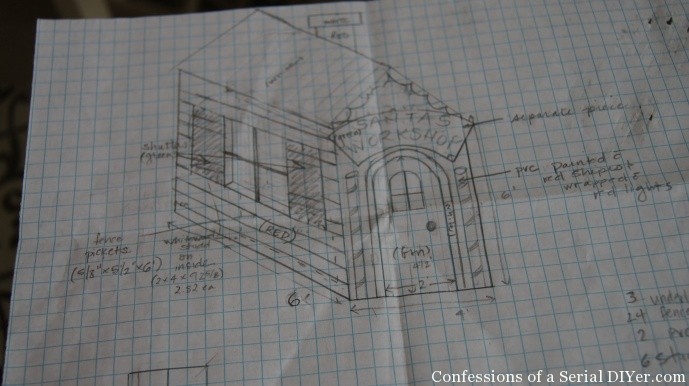
Anyway, this year I wanted something really fun to add to our display. So I got out my trusty graph paper and pencil and started sketching and came up with this:
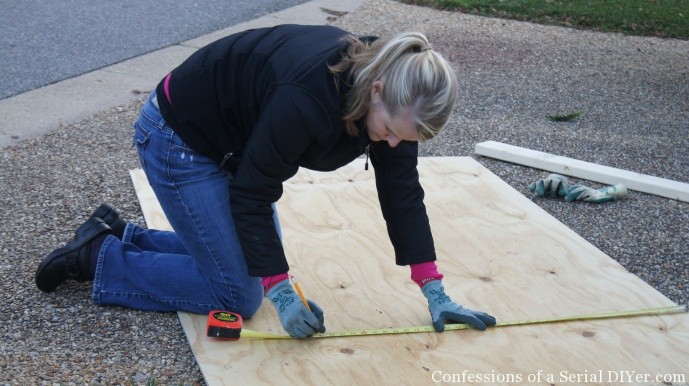
And so it began. I went to Home Depot to check out what materials we could use to create this vision for the least amount possible. And the following weekend when I asked my husband if he was sure he wanted to do this he said, “Yeah, let’s do it.” (He later teased to my mom that he was only bluffing.) But I ran with it. Projects are so much more fun when you have a partner in crime. We went and got our supplies and got started.
This is by NO means a tutorial by the way, I’m just sharing our progress through the project. (Mama LOVES a project!!)
WARNING: Lot’s of pictures ahead!
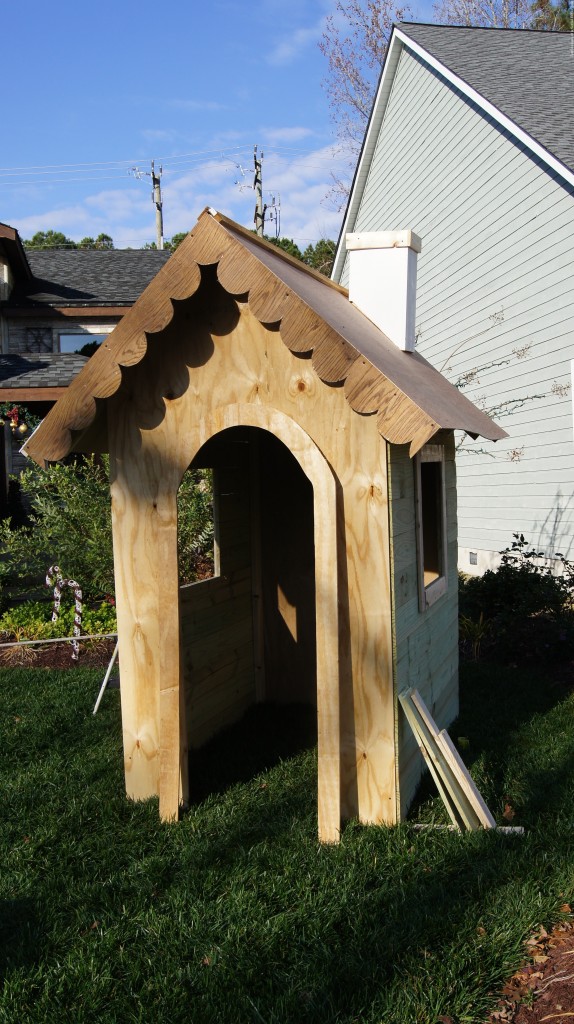
Naked Workshop. Here you can see we added the roof (we used luan so it would be lightweight and it was cheaper but we would probably go with a thicker plywood if we were to do it again). This was mounted on 2X4s made into rafters. My husband built and added the chimney. We added plywood for the front and cut out the door opening, cut the windows and trimmed them out, then added the cute scallop detail (made by tracing a paint can onto some cabinet backing we had in the garage).

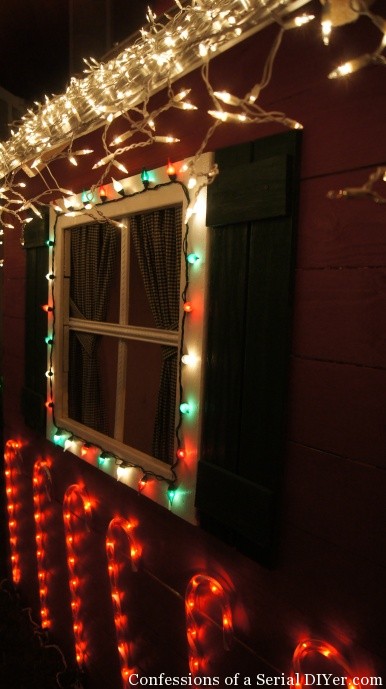
I made the shutters out of my neighbor’s old privacy fence. Here they are basking in the sun with their fresh coat of green paint.
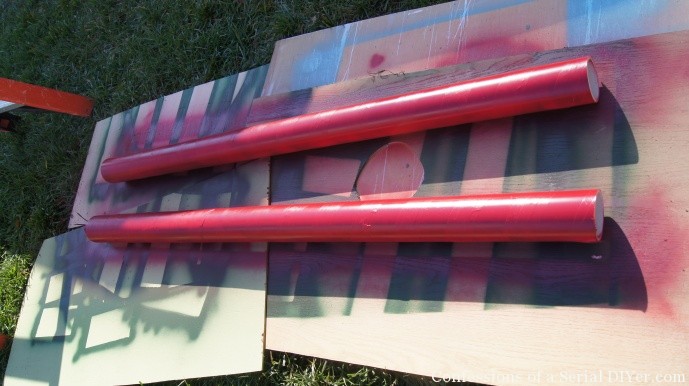
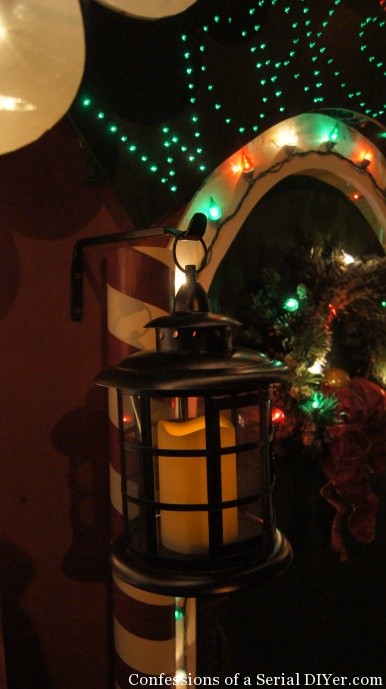
The striped posts for either side of the front door were made from PVC pipe using painter’s tape and spray paint. They were jealous of the shutters so I let them get a little time in the sun too.
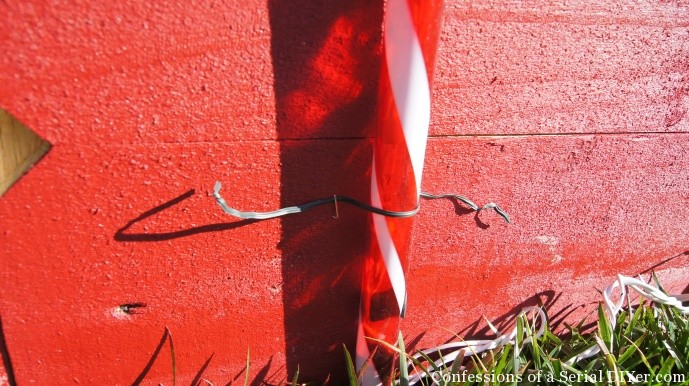
I added six candy canes to each side by repurposing the twist ties from the light sets and a little help from the staple gun.
All that was left was putting on the finishing touches! And the most fun part of all, adding the lights! I think I enjoyed decorating this house more than my own:) I added curtains to the windows, trimmed out the door, added the posts to the front, and hung a lantern outside the door. And what christmas door wouldn’t be complete without a festive wreath? I finished the roof off with icicle lights and added larger twinkling lights around the windows and the front door. And I love how it turned out!
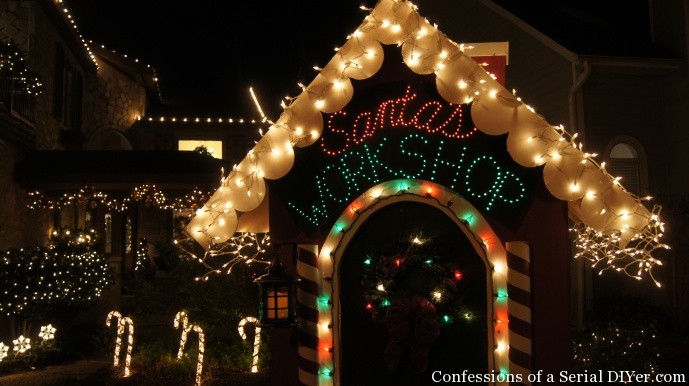
The grand reveal:
You can see a tutorial for how to make this sign here.
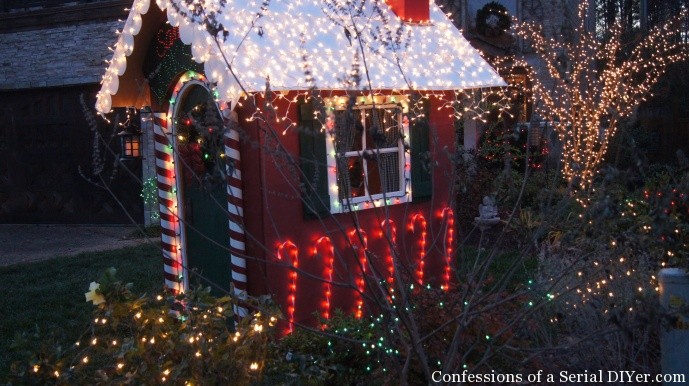
This picture taken at dusk shows the shutters better.
There’s also a Christmas tree in the window.
Isn’t this the cutest little Santa’s Workshop you ever did see? I have to admit that at first, before the windows were cut and the chimney was added and any painting was done, it looked like Snoopy’s dog house. We thought our vision might not turn out the way we planned, but alas here you see it did:) Now if we can just figure out how to store it for next next year…
See how I created the Santa’s Workshop lighted sign HERE.




Carly Kink says
It is amazing to me that you can come up with this and put it into action so quickly. I would be staring at the graph paper until next Christmas if I tried this. Y’all are so crafty. Why didn’t Owen get this gene? Perhaps our kids will so they can make mommy pretty pillows and holiday decor 🙂
Christy K. James says
That’s because we girls did everything for him growing up! Sorry we ruined him for you! I have heard a rumor that he laid hardwood floors…just sayin’…there’s something there:)
Jodie Frame says
I love it – makes me want to come over and play! you are so awesome! miss ya much!!!
Christy K. James says
Why thank you! It looks like a fun playhouse, right??
Carol Beil says
You are the crafty girl! Great project, only one question….where do you get the time?????? Cause I’d like some of that!
Christy K. James says
It’s funny when you swear you have not a single spare moment but all of a sudden you can carve out 5 days to work on a crazy project!! Haha!
the cape on the corner says
oh my gosh, that is so stinkin’ cute and fun! and you all get to work on it together, love it! happy holidays!
Christy K. James says
Thanks! We had a ball building it!
Paula@SweetPea says
This is such a fun Christmas display! Thanks so much for sharing it with Throwback Thursday.
Denyse @ Glitter, Glue & Paint says
I don’t even think AMAZING covers this. I love it, Christy!!! Thanks for sharing at Throwback Thursday.
xoxo
Denyse
Christy K. James says
Thanks, Denyse! 🙂
Corinne says
This is amazing! Very impressive. And you can easily move it to the backyard and convert it into a play house or expansive dog house after Christmas.
Christy K. James says
We actually thought about that lol…our back yard is so tiny though. I’m sure my kids would love to have it back there 🙂
Dee says
Great idea! Now a year after building can you share how much did you dismantle for storage and are there any modifications you would do if building a second one?
Christy K. James says
I can’t say I would do anything differently, Dee. When we take it apart, it’s two roof sections, two sides, front and back pieces, three ‘v’ shaped rafters and a chimney. All the large flat pieces get stored against the wall in our garage behind a shelving unit. It was easy to put back together this year. I did remove the lights around the window, the rounded pieces on the front roofline, the lantern, and the wreath on the door before storing also. 🙂