
Ever wanted to make a sign, but never thought you could? Then this post is for you!
Today I’m sharing a super easy sign anyone can make, no special tools or machines required, as part of this month’s Décor Enthusiast Decorating Challenge. Signs are such a simple and fun way to add character to a space.
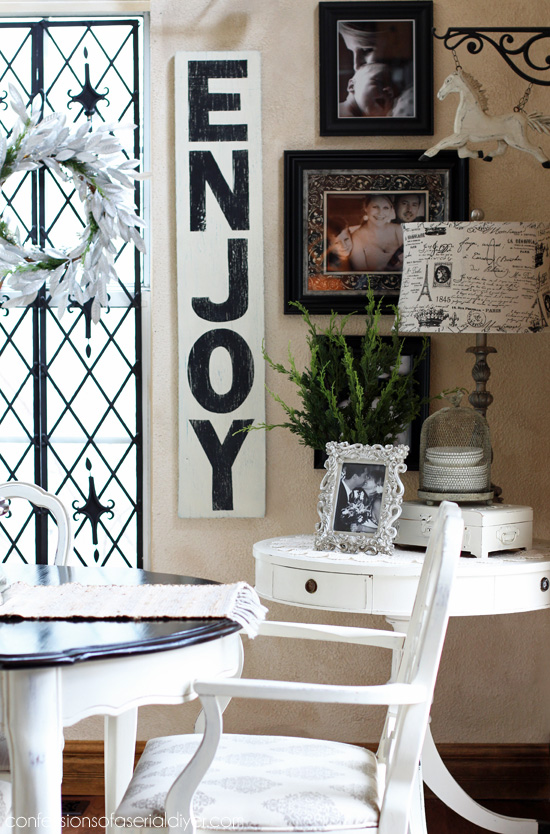
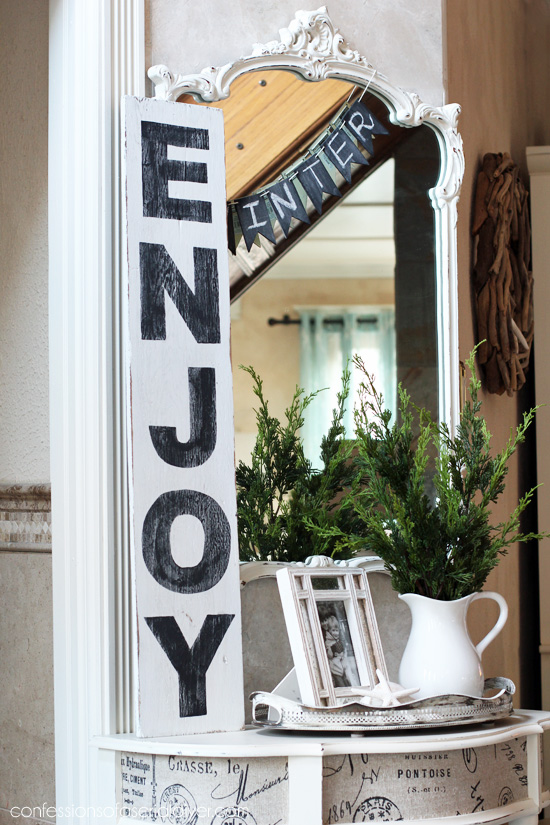
Ya’ll may have seen this ENJOY sign in the background of oh just about a bajillion photos or so:
I’ve had several people ask if I had a tutorial for it, but I never shared this in a post. I made it forever ago out of an old paint spattered shelf that was hanging in our garage. Today I’m going to recreate it to show just how EASY it was to make!
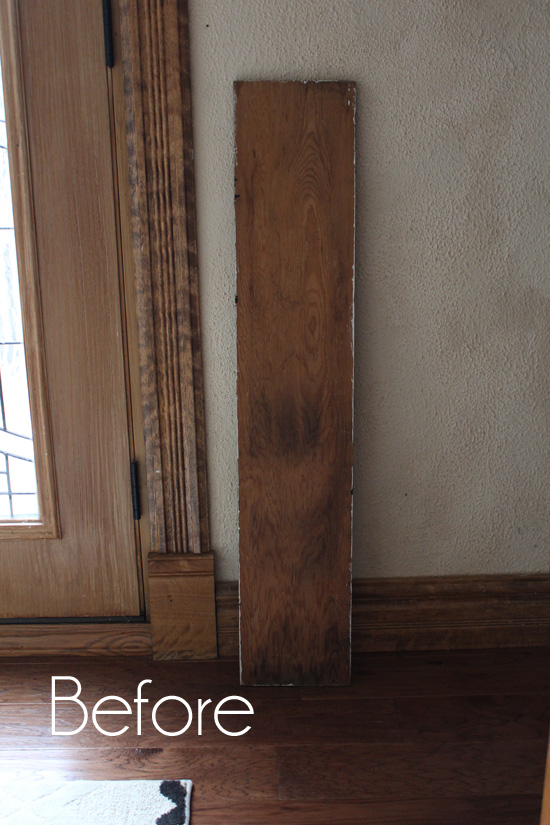
I started with this old plywood shelf that was also hanging in our garage at one time:
To create this sign, you’ll need to print out the letters that make up “enjoy”. Easy, right? But how do I do that, Christy?? Oh I’m so glad you asked. I’m going to show you using Word 2013.
Open Word on your computer and select “Blank Document”.
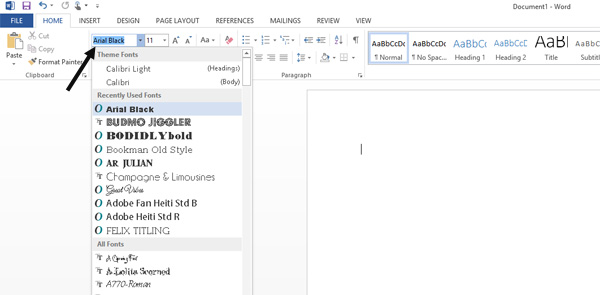
Select the “Arial Black” font:
Then click on the font size box next to it and type in the size you want (There are suggested sizes that will drop down if you click that little arrow, but you can type any size in the box):
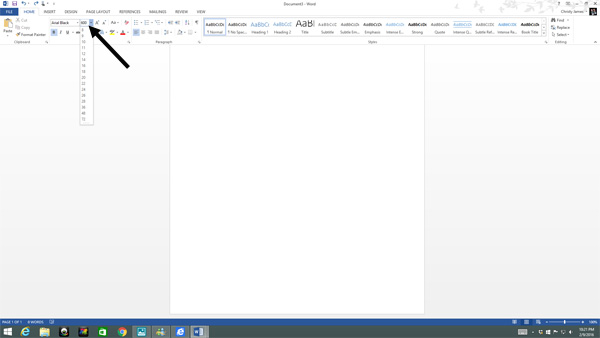
I used 600. You may need to print a couple of letters to test the fit to get the size you need for your sign. (My sign is 7.5″ x 38″)
Now you could just start typing in the letters you need, but you would end up wasting a lot of ink if they were all printed out like this:
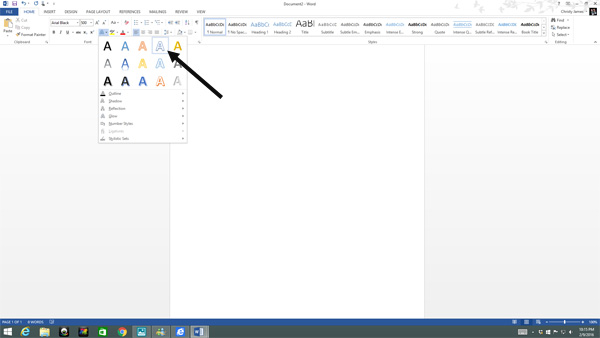
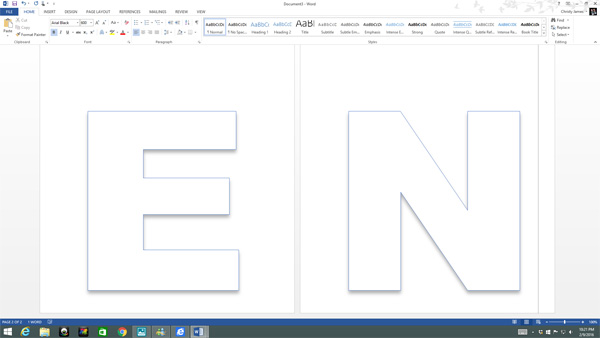
Instead you can just print the outline by clicking on the “text effects and typography” button: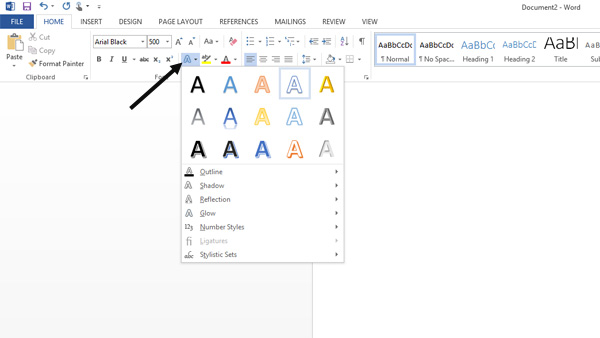
Then select the outlined “A”:
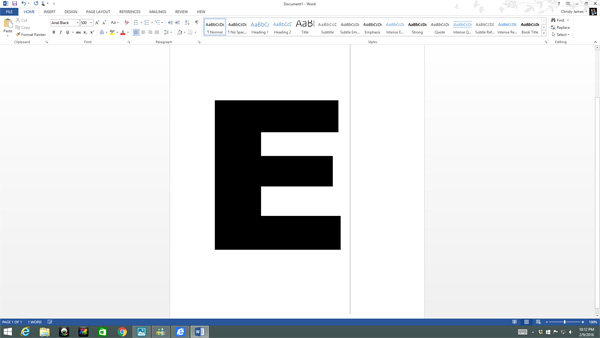
Now you can start typing. Your first letter should look like this:
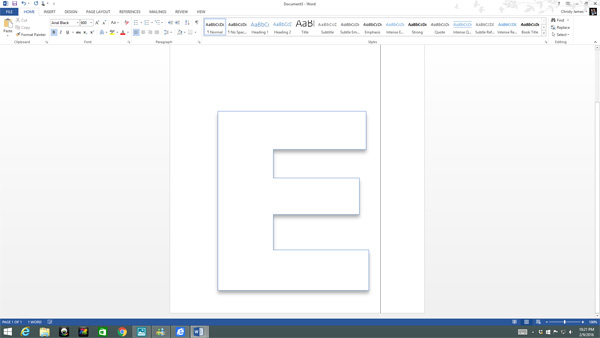
Continue adding all the letters you need. One will print per page:
Now print them out by selecting “File” then “Print”. Follow the prompts to print them out.
Base paint your sign in whatever color you choose for the background. I chose white. Then I sanded the surface just a bit with 220 grit sandpaper to smooth it out and age it a bit.
Now the fun part…make your sign!

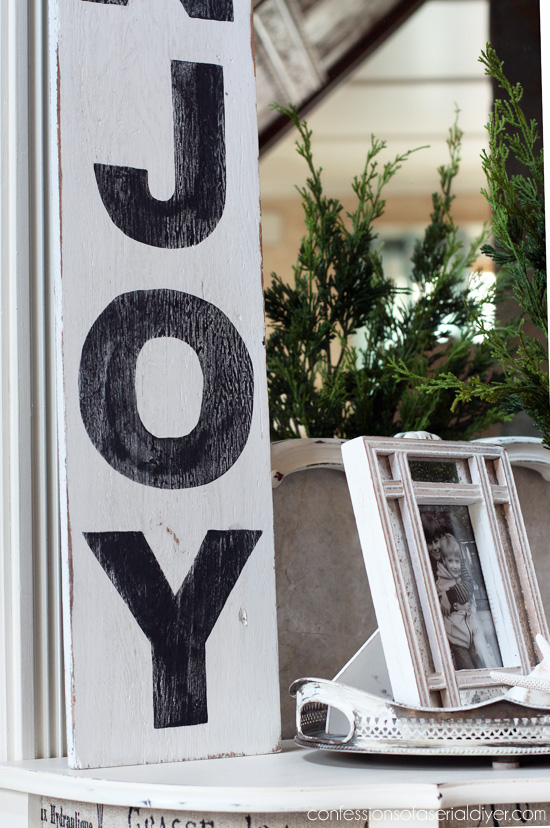
Seriously y’all this took me less than 15 minutes to paint in those big ole letters! SO easy!
I sanded it when it was completely dry with 220 grit sandpaper to reveal the rugged wood beneath, and to smooth out the letters.
For less than 15 minutes worth of effort, not too bad. I only quickly wiped it down after sanding so there was a lot of paint dust left behind which I didn’t notice until I looked at my photos. I also didn’t seal it yet which will make the black letters darker. I will seal this with a spray sealer.
My “O’ is little wonky but that is okay…this is a hand-painted sign, right? That’s called character. 😉
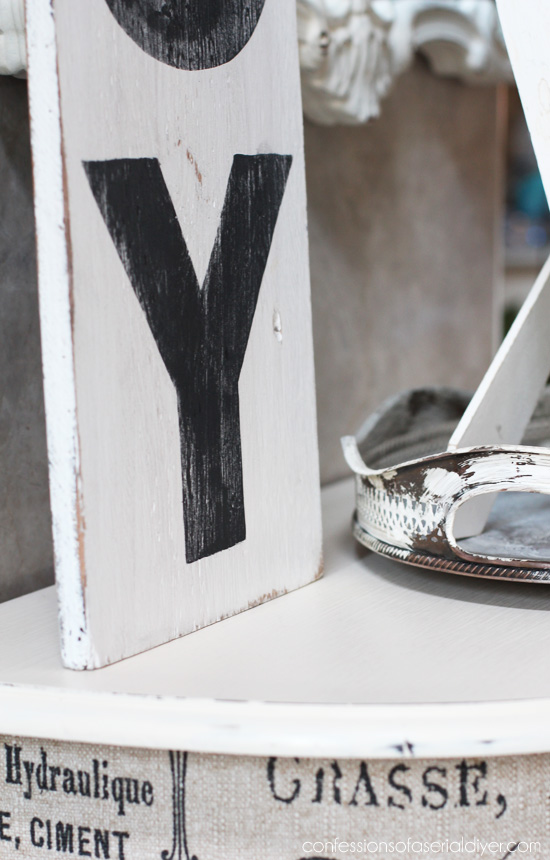
I sanded the edges as well to bring out the details…
You could use this method to create any words you want like the very popular “Market” or “Antiques” or “Bakery”. I just love my original sign and the personality it adds to my dining space.
I have several signs throughout my downstairs space, and I love them all.
You’ve probably seen this “Beach COTTAGE” one:
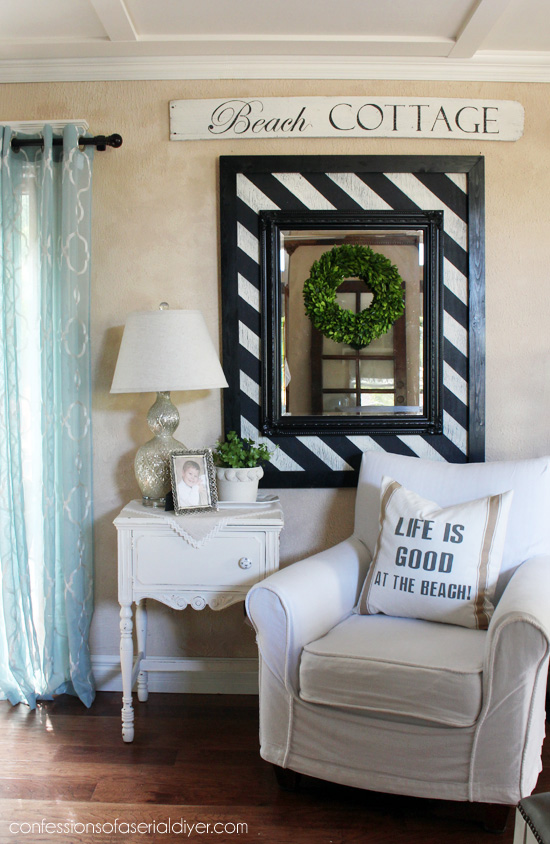
I used a different method for that one that you can see HERE.
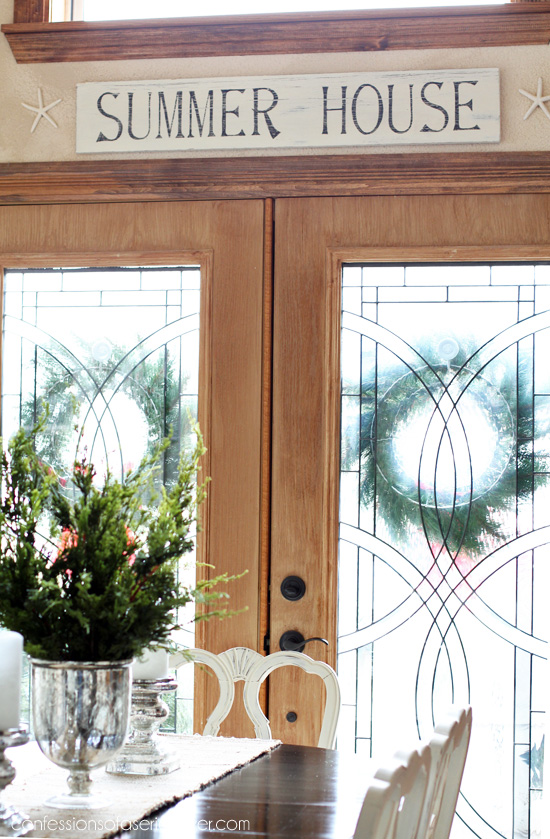
I also have this one I knocked off from Pottery Barn a couple of years ago:
I shared this one that’s made from an old fence and hanging in my living room this past Fall. (It’s huge and it’s my favorite!)

Vintage Inspired Sign from a Picket Fence
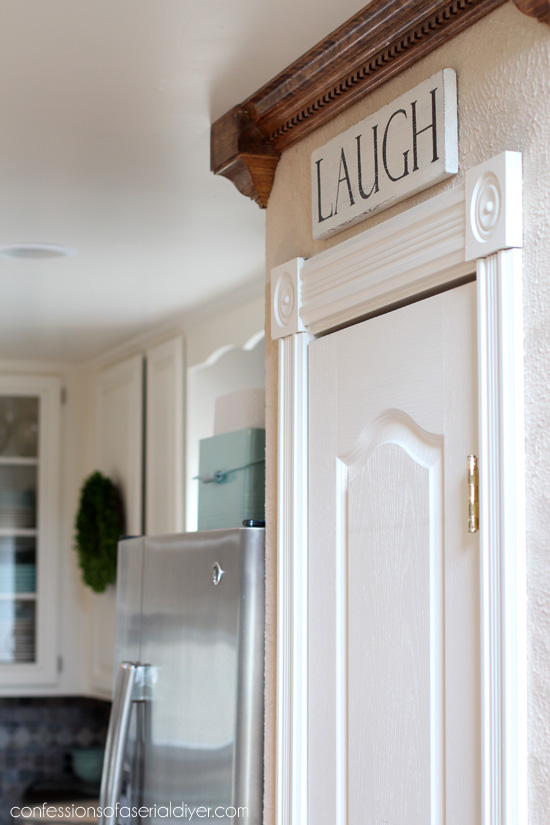
Lastly, this one that you probably haven’t seen before offers a simple reminder to not forget to LAUGH.
So there you have it. Every detail you need to tackle an awesome sign.
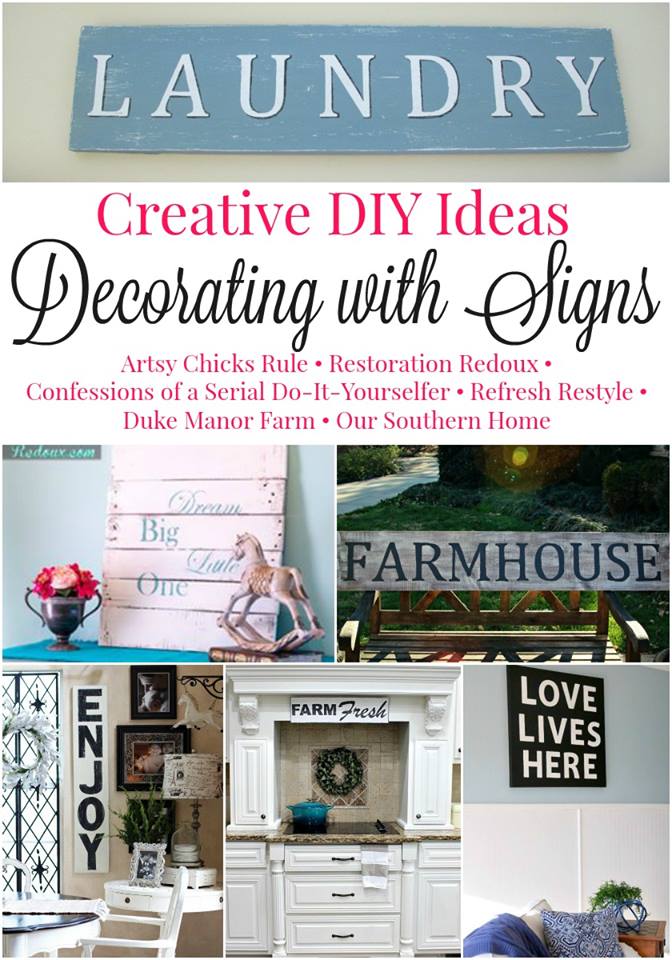
My lovely Décor Enthusiast Team are all sharing how they decorate with signs and the methods they use to create them as well!
Check them out at the links below for more inspiration!
Want to play along with us? You can!!
Take pics of your favorite signs and share them with us on our Decorating Enthusiasts DIY Forum on Facebook! We created this forum not only so you could participate in our fun decorating challenges, but also so that you have a judge-free zone to share your projects any time, ask questions, and hang out with other creatives just like you!
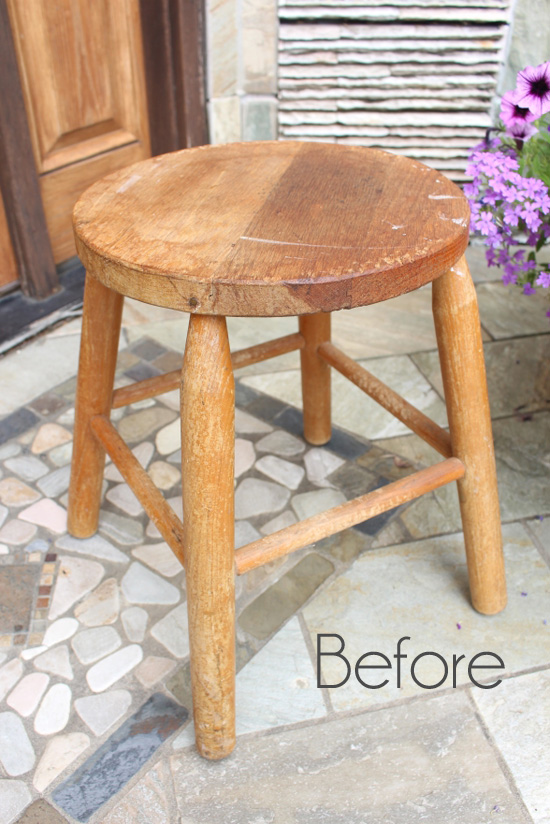
I’ll be back here Tuesday sharing how I gave this $5 yard sale stool a super cute makeover:
As always, thanks for stopping by!
UPDATE: Bam! Check out how cute it turned out HERE now!
XO,
![]()
Don’t Miss a Thing!
If you like what you see, there are several ways to follow along!
Email * Facebook * Pinterest * Hometalk * Twitter * Instagram

")


Linda says
Did you use computer paper to print out the letters or card stock
Christy K. James says
Hi Linda! I used plain old computer paper, but have used cardstock in the past. 🙂
Cindy Lee says
Thank you for this tutorial. I was inspired by your Halloween signs and am currently working on a BAKERY sign for my dinlaw. However, I have been stuck. I’m going to give this method a shot on Saturday. Muchas Gracias!
Christy K. James says
Oh perfect timing! Hopefully this will help you get it done! 🙂
At Rivercrest Cottage says
you make it look so easy! No matter where I am (Pinterest, blog parties, etc), when I see the ENJOY sign, I know it’s your blog.
Christy K. James says
Oh that’s funny! I take most of my pics in there because of the great lighting. And this way of sign making is super easy to do! 🙂
Amy says
I love learning something new every day, and I did today before 9am! That’s the beginning of a good day! Okay, what do you have for me tomorrow? LoL, I’m off now to make my Groceries sign 🙂 Thanks for the lesson! Love it!
Christy K. James says
Ha ha yay awesome!! Go make that sign! 😀
Debbie Refresh Restyle says
Love all your signs and the awesome instructions! Have a great day!
Debbie
Christy K. James says
Thank so much, Debbie!! XO
Bliss says
Love all your signs. I feel a sign coming on at the Ranch today.
Christy K. James says
Thanks, Bliss! Go get your sign makin on! 🙂
Jackie Hale says
Thank you for the wonderful tutorial! I love all of your signs. I made a sign for Christmas ~ I got the pattern from a magazine. It has ‘Ho Ho Ho’ painted on it. In between the ho’s are two rusty jingle bells. The background is white with rookwood red lettering and some checks on the two far edges. It turned out really cute.
Christy K. James says
You are so welcome, Jackie thank you! Your sign sounds super cute! XO
Lori says
Thanks so much Christy! It really is easy and I totally learned something new with only printing the outlines today. How great is it to be able to save so much on printer ink?! Yay!! I love your style. 🙂
Christy K. James says
You’re welcome, Lori! Thank you! It took me a few signs to realize I didn’t need to waste all that ink! 😉
Christy @ Our Southern Home says
What an easy tutorial. I’ve never tried it that way, but great idea for the larger letters! Just beautiful!
Christy K. James says
Thanks, Christy!! It does work great for these large letters! 🙂
Rinny says
Great tutorial.
I love your pillow – Life is Good at the Beach.
My husband always says “Life is Good”. Where did you find the pillow? I love to have this at our Beach house.
Thanks for sharing your wonderful ideas/creations.
Christy K. James says
Thanks, Rinny! I found this at Homegoods last Spring, one of my favorites too . 🙂
Linda J says
You never let me down. What a perfect tutorial. Sometimes, the obvious little detail just doesn’t come naturally. You answered so many questions for me! Thank you!
Christy K. James says
Aww thanks, Linda!! I hope you’ll give this a try! 🙂
Becky says
Perfect! Thank you! Now to choose a word… : )
Christy K. James says
You’re welcome, Becky! I hope you make one. 🙂
Nancy @ Artsy Chicks Rule says
I love all your signs Christy! 🙂
xo
Nancy
Christy K. James says
Thanks, Girl! <3 XOXO
Angie @Postcards from the Ridge says
It looks awesome. And so easy! Thanks for the tutorial. Now I know what my next project is going to be!
Christy K. James says
Yes it really is! The hardest part is deciding what you want it to say! 🙂
Mary Meusburger says
What a great tutorial – as always. I don’t have any fancy tools, so this sign making method will work for me. I have been loving all your signs and now I feel I could actually tackle the project of making one for my home! The details on how to print from my computer are perfect since I am very tech phobic! Thanks for all the inspiration!
Christy K. James says
Thank you, Mary and you are so very welcome! This really is super easy to do, and I hope you do give it a go! 🙂
Mary says
This helped me to get acquainted with WORD as well. I had only been using a portion of the program. Since making the letters I have now become acquainted with the rest of the areas of the program. The font size offered by the program did not make the letter large enough to fill the page, but when I highlighted the numbers and typed in 600, then it became the size of the page!
Christy K. James says
Oh great! Yes, you do have to type in 600. I probably should clarify that in the post, thanks for pointing that out. It was pretty easy though, right? 🙂
ColleenB.~Texas says
Great tutorial. Thank You
ColleenB.~Texas says
Forgot to meion.
My laundry room sign says; ‘ Laundry today . . . Or Naked Tomorrow
Christy K. James says
Ha ha that’s a good one!! We really get down to the wire in my house with laundry…I always wait till the last possible day ! 🙂
Judy H. says
Okay, I have admired a myriad of signs for a long time but never made one because I always thought I couldn’t do it. I love your ENJOY sign. After reading your EXCELLENT tutorial, I think I can really do it! Would you mind if I made an “enjoy” sign for myself? 🙂 THANK YOU
Christy K. James says
I would LOVE for you to make one for yourself!! Have fun! 🙂
TNGIRL715 says
Best post ever on making letters! They look so easy to do, but I always make mistakes. This one is as foolproof as you can get. I’ve already printed my letters. (AMEN is the word I chose.) By the way, so was the tutorial on your closet. Thank you!!!
Christy K. James says
Awesome!! And I love what you chose to put on your sign! Thank you! 🙂
Joanne Taggart says
Oh boy! Love this! I have a thing for signs. I see wood and my mind starts with verses to put on it. And numbers. I don’t know why but I really like words and numbers is décor. Recently I stenciled large numbers on the wall at the stairs to the second floor and love the look. My 25 year old son remarked that he never realized there were eight steps! I’m not familiar with creating and printing images with a computer. I usually work with stencils which can be expensive. I think designing with computers would be the way to go, but so different for me. I’ll look into it. Thanks!
Christy K. James says
Oh I just love signs in décor as well! They add so much personality to a space. Once you start creating with your computer there are no limits. This is perfect to start with! 🙂
gail says
Christy
I’m really “enjoying” seeing all of your sign tutorials. Each is so fun. (and BIG)
This old school way of making a sign is so easy, and perfect!
pinning!
gail
Christy K. James says
Ha ha thanks, Gail! I have a love/hate relationship with my silhouette and I make no secret about it, so the old school methods work great for me! 🙂
Jane says
TWhat if word is not on my computer? Please help.
Christy K. James says
Hi Jane! Another program I really love and use a lot is Paint.NET. It is totally free to download. Visit this post (it’s a really old one) that shows how to make sign using them, and provides the link to download their program. https://www.confessionsofaserialdiyer.com/how-to-enlarge-letters-a-diy-halloween-sign/ This post shows how to print your letters as well. Hope this helps!
Eileen says
I’m so thrilled that I checked this post. I never knew I could enlarge the letters in Word. Duh!!! Do you know how I can reverse the letters before printing. I want to try outlining them on the board. Thanks so much.
Christy K. James says
Here is a video that shows how easier than I can explain. Hope this helps! 🙂
Christy K. James says
https://youtu.be/MFAVH3uu0Nw Sorry sent too fast ha ha…here’s that link!
Mia says
Hi Christy, I really love your decorating style. I was wondering if you could tell me where you got that adorable hanging horse?
Christy says
Thanks, Mia! I found that at a small shop that sold home décor. Unfortunately it has since gone out of business. Wish I could give you more info!