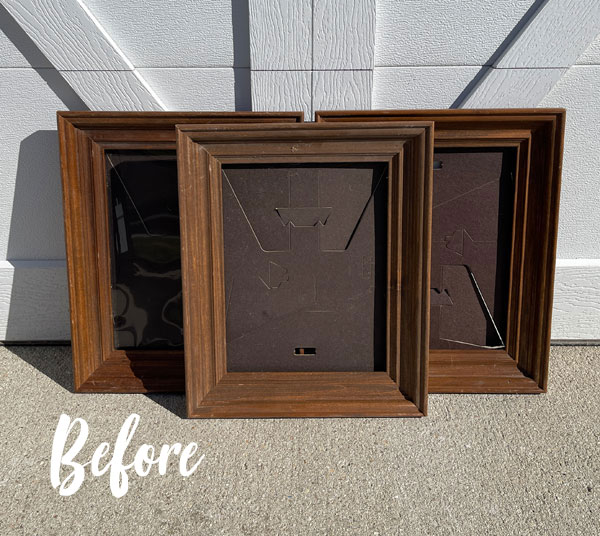
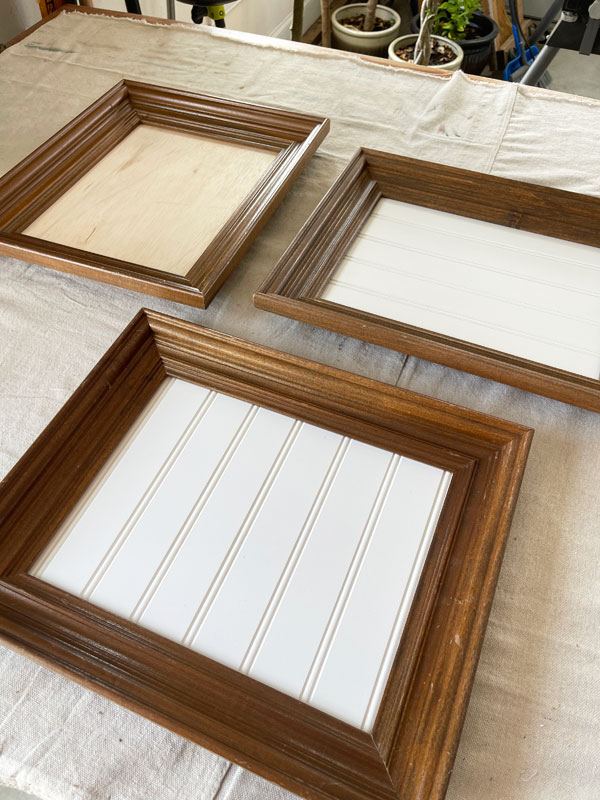
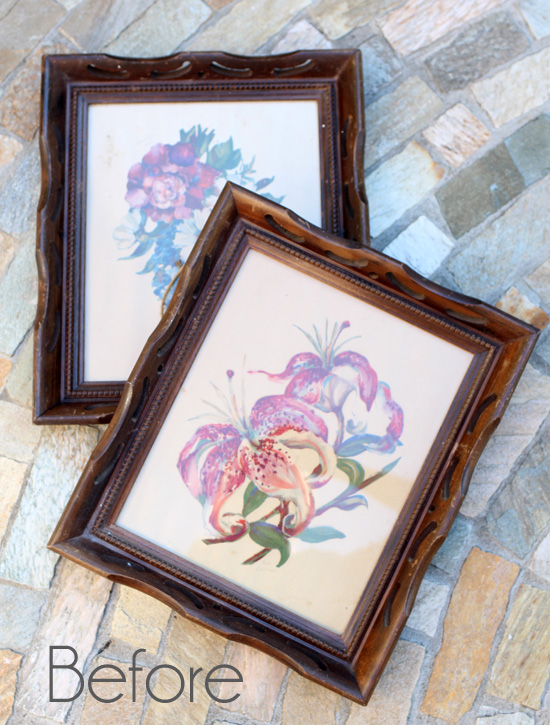
Hello, amazing friends!! I’m back today sharing how to make a tray from a picture frame! I’m embarrassed to say that this trio of frames followed us from our old house when we moved back in 2017:
Holding onto something that long wasn’t so unusual back then…I was quite the hoarder lol!
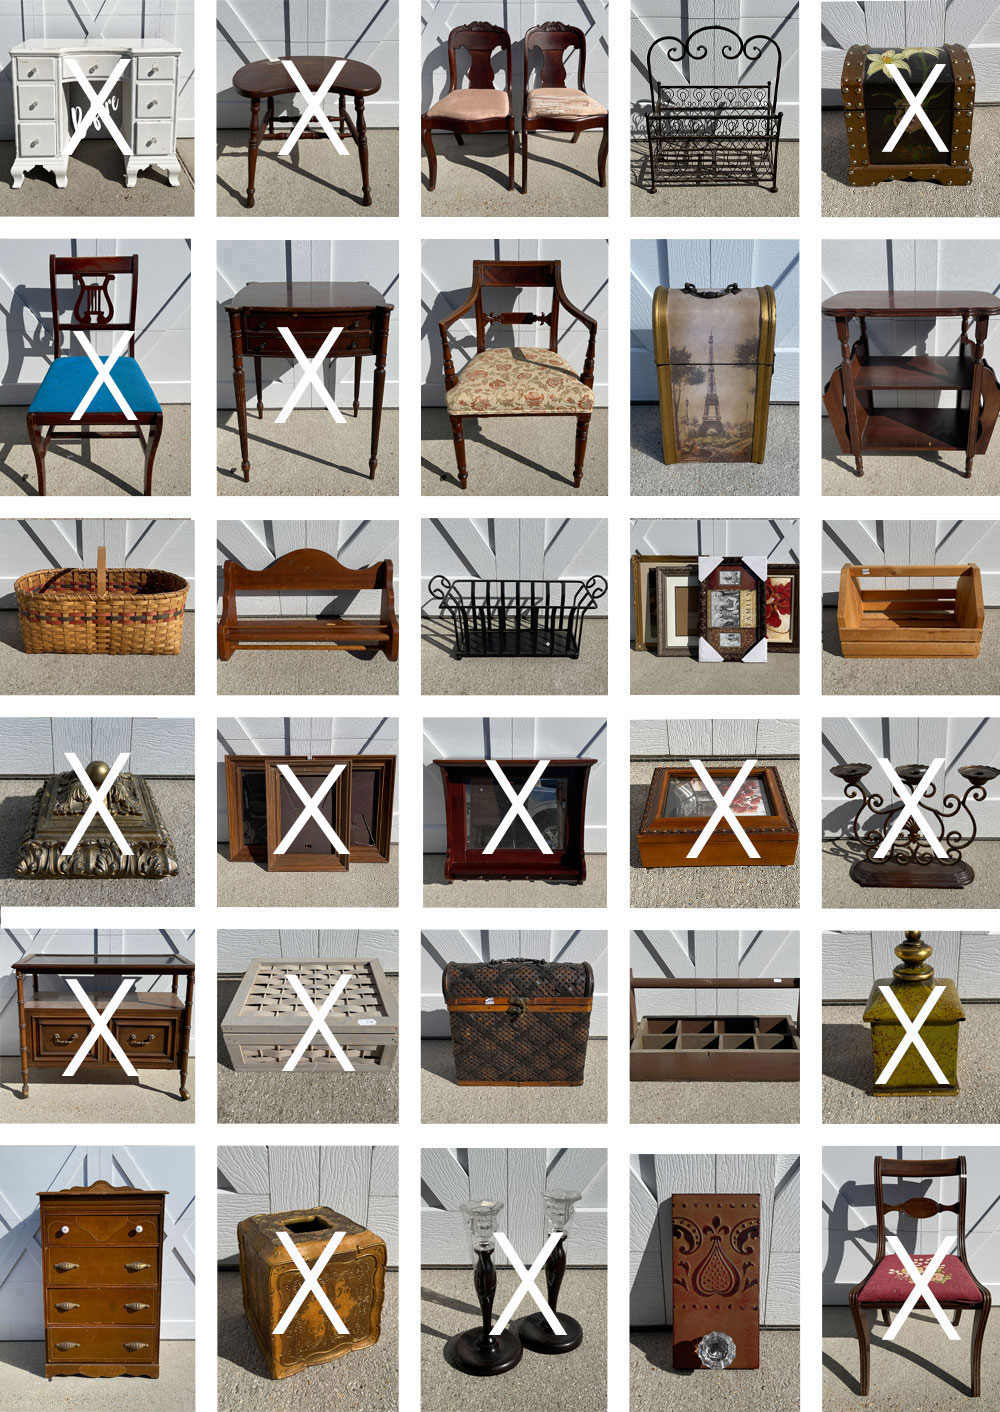
Anyone remember when our old garage looked like this:
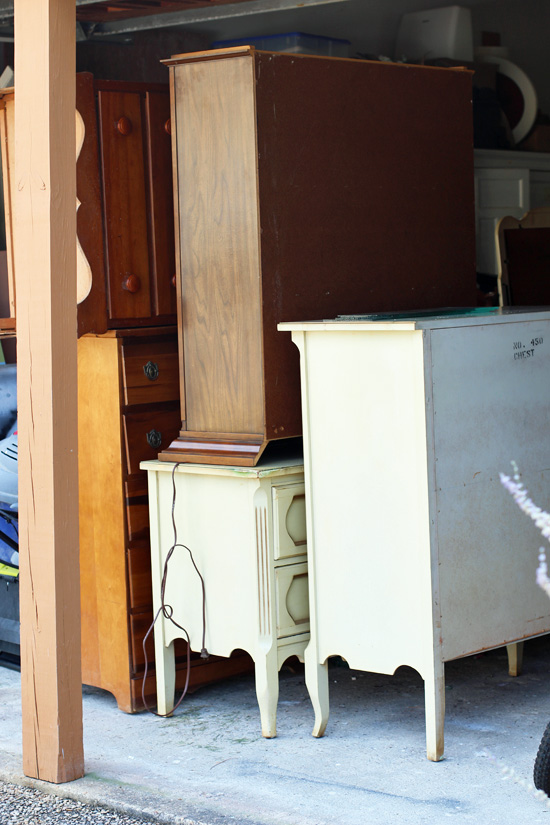
It’s not easy working in a full garage, but since I started working through hauls piece by piece, it has stopped me from shopping in between and my stash is much smaller.
I have even more of these frames since I would nab them anytime I came across them for a good price, so you’ll likely see more makeovers with them in the future.
They are the perfect style of frame to make into a tray!
I’ve included a few affiliate links so you can find the products I love. Some products like transfers and decoupage papers are often limited time only, so items may be sold out if you are visiting this post long after the posting date.
How to Make a Tray from a Picture Frame
I did consider combining these three pieces to make one tiered stand, but three separate frames will yield a better profit, so I set out to turn them into three separate trays.
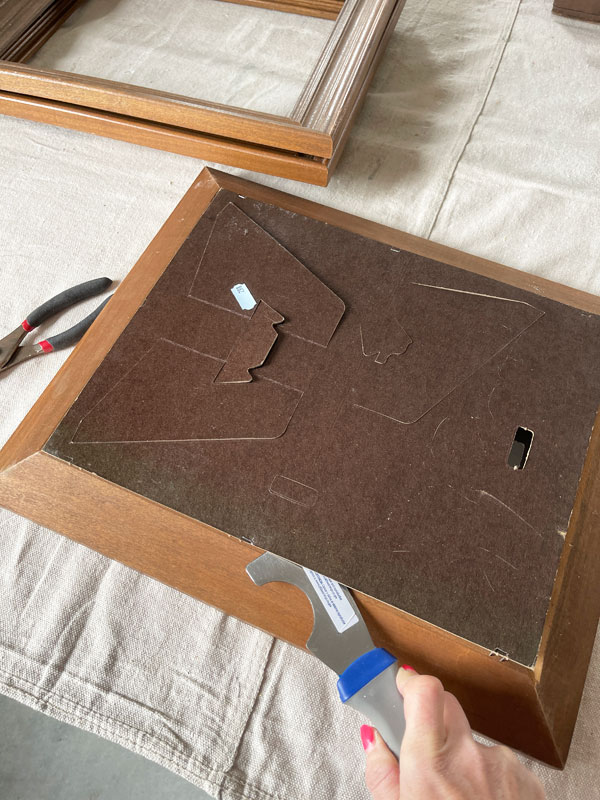
I started by removing the backs…
Clean
Next, I gave them a good wipe down with White Lightning:
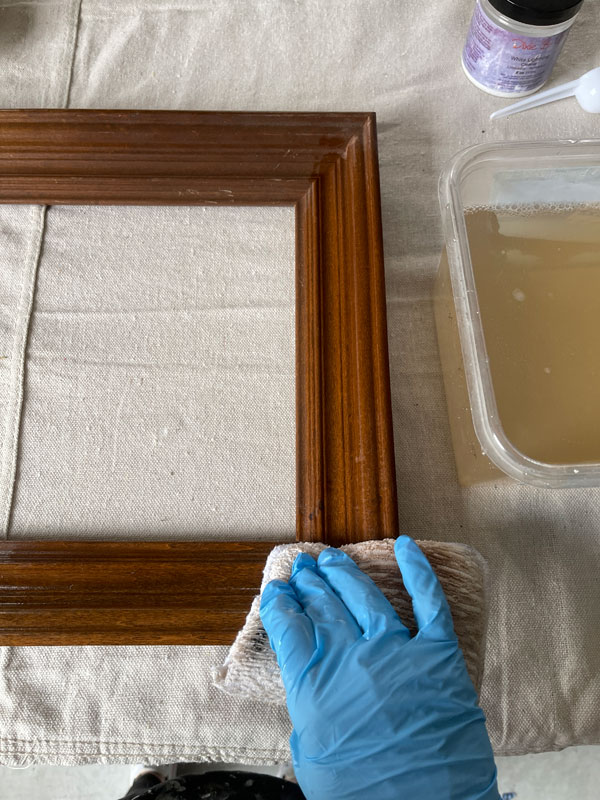
These frames were in beautiful condition, just a bit dusty.
Cut bottoms for the trays
I dug through my scraps to see what I could find to use as bottoms for my new trays, and here’s what I found:
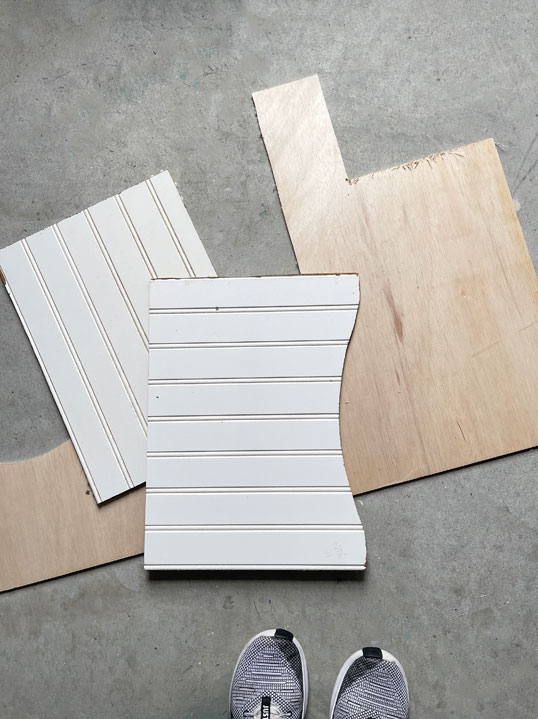
Perfect!
I cut them each to size using my 12″ sliding Ryobi miter saw:
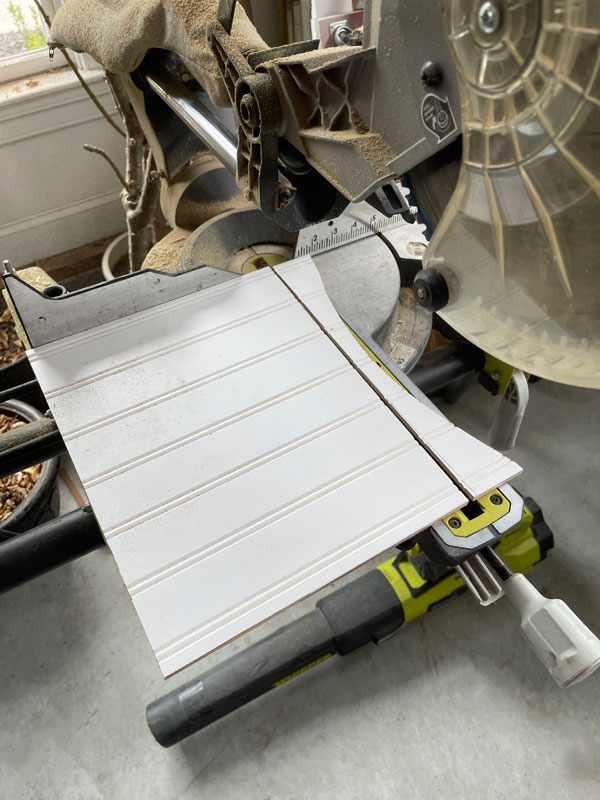
This saw is fantastic! If you plan to buy a miter saw, be sure it is a sliding one that slides up to 12″, meaning that it can cut lengths up to 12″. I use this saw a lot for smaller projects and it cuts in perfectly straight cuts!
Once I had my new tray bottoms cut, it was time to attach them to the frames.
Attach the new bottoms to the frames
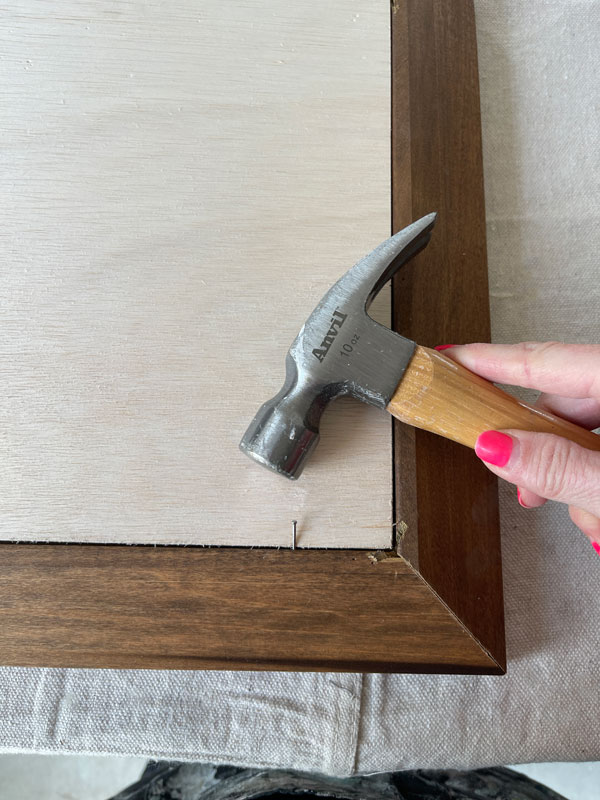
To do this, I used small finishing nails and a hammer. I have a point driver that I use to secure mirrors and chalkboards into frames that I love, but if you need the bottom to hold weight as a tray might need to, it needs something stronger.
I just simply hammered the nails in place:
Then, I hammered them flat down once they were inserted about halfway:
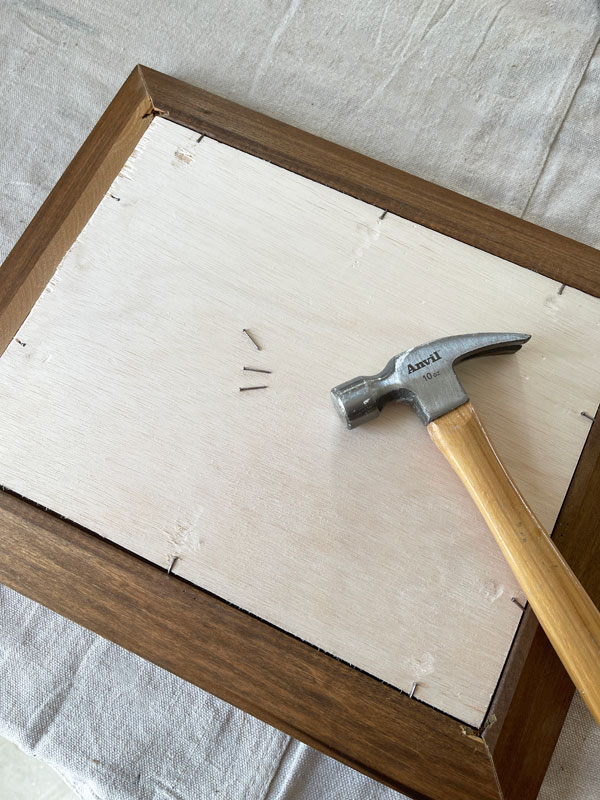
Pretty! Ha ha ok…not yet.
These are not made of wood that typically has bleed through issues, so I was able to go right to painting next.
Paint
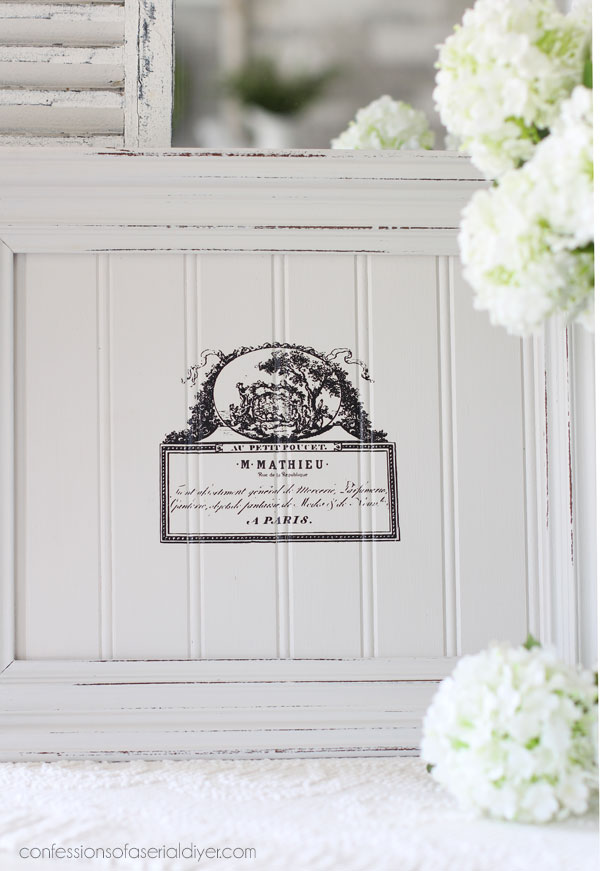
I chose to paint these all differently. Tray number one was painted in Fluff:
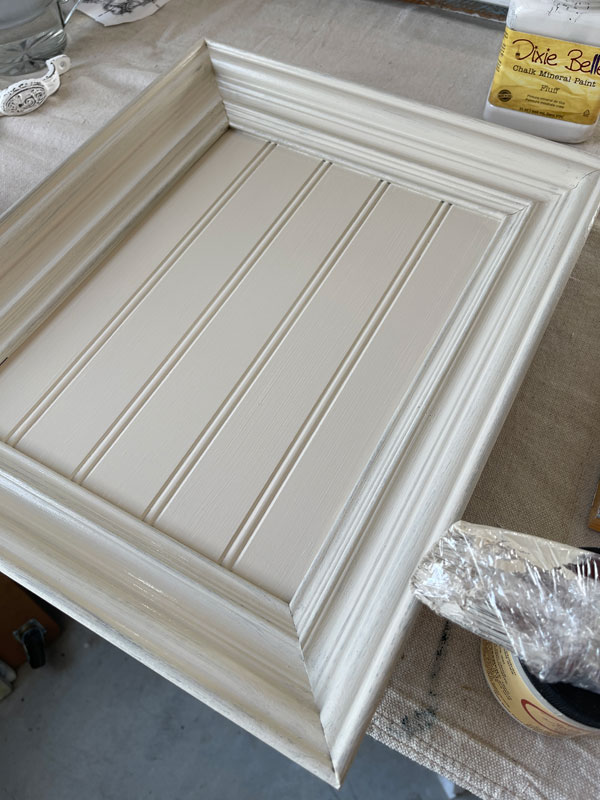
That photo was after one coat, but I gave it two coats. Fluff isn’t quite as bright white as Cotton, but because it has a little pigment in it, it covers in just two coats!
Once that was dry, I sanded it lightly all over with a sanding sponge to distress a little.
Then I went digging through my transfer scraps to find one that I liked for the center and came across this one:
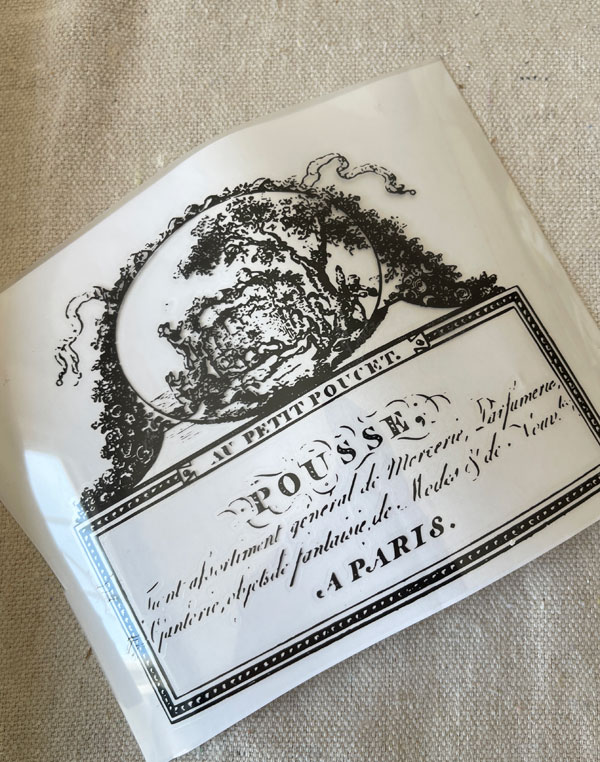
Any idea why I’ve passed on using this one so many times?? Ha ha! “Pousse” actually translates to “grow” in French, but in English, it just doesn’t look very nice.
I decided to cut it away with a razor blade…
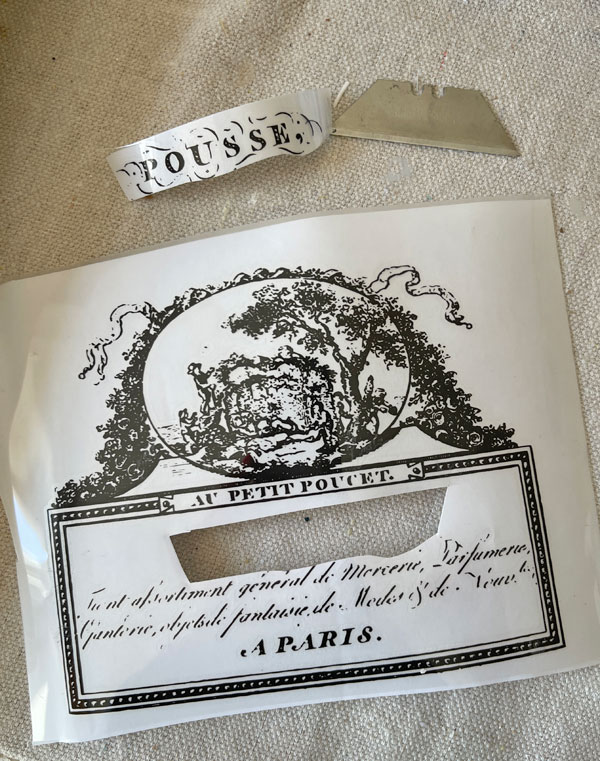
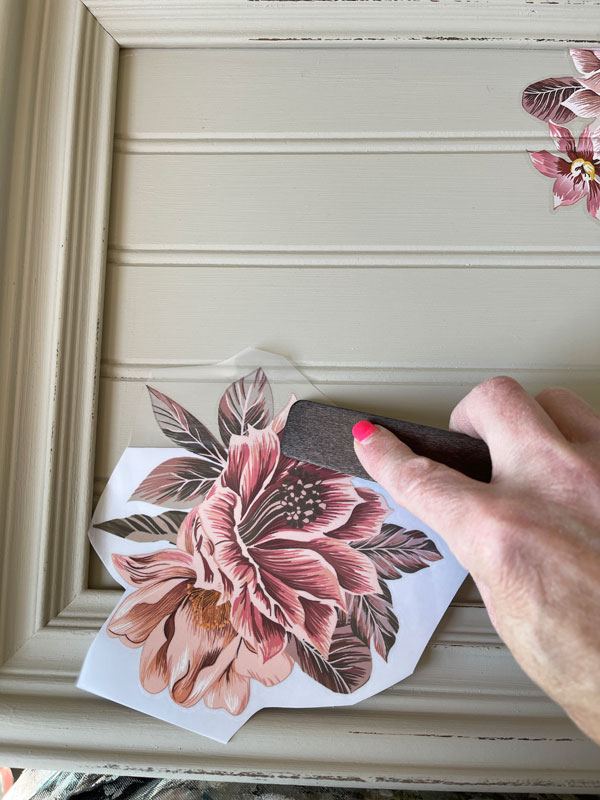
Then, I added it to my tray with a burnishing stick:
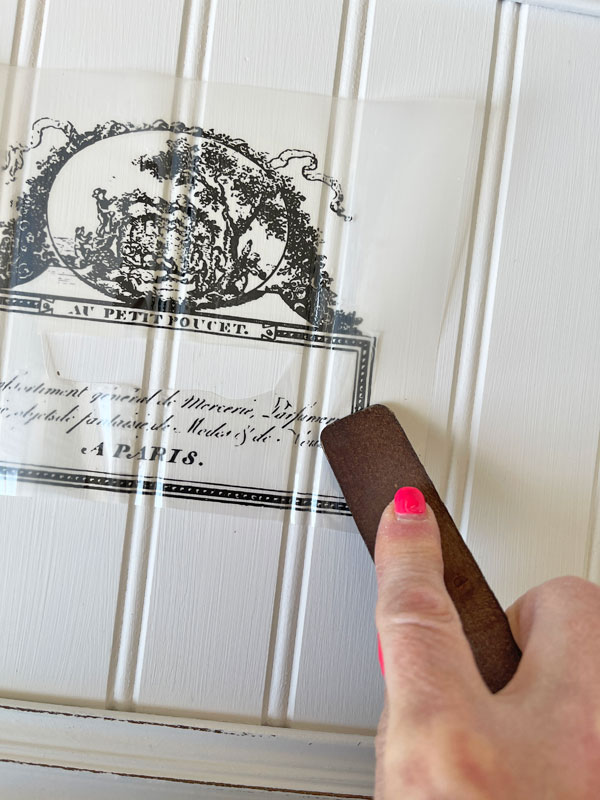
I unrolled the transfer bit by bit and used my fingernail to get it down into the grooves in the bead board.
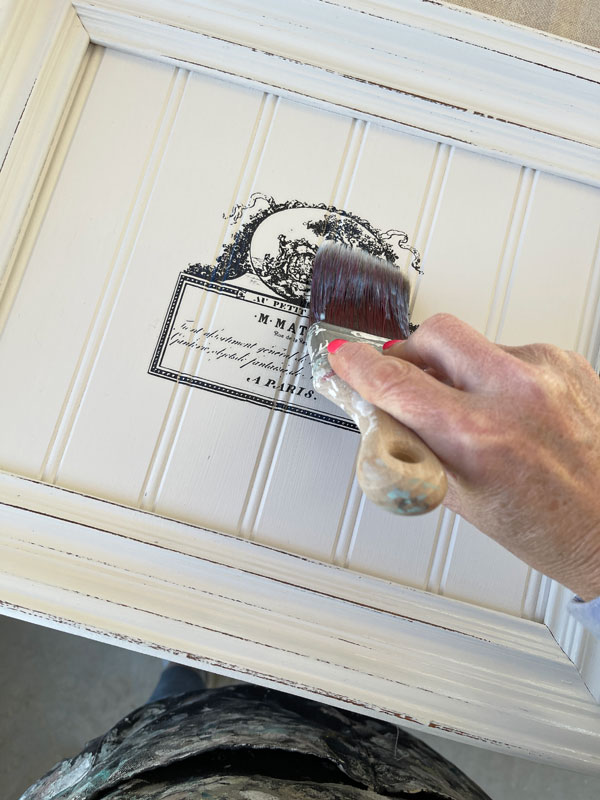
I cut a piece from another transfer to fill the gap and then sealed the whole tray with Clear Coat in Satin using my mini angle brush:
See all the transfers currently available in my shop HERE.
The original transfer that this one came from was the Classic Vintage labels transfer that is unfortunately no longer available.
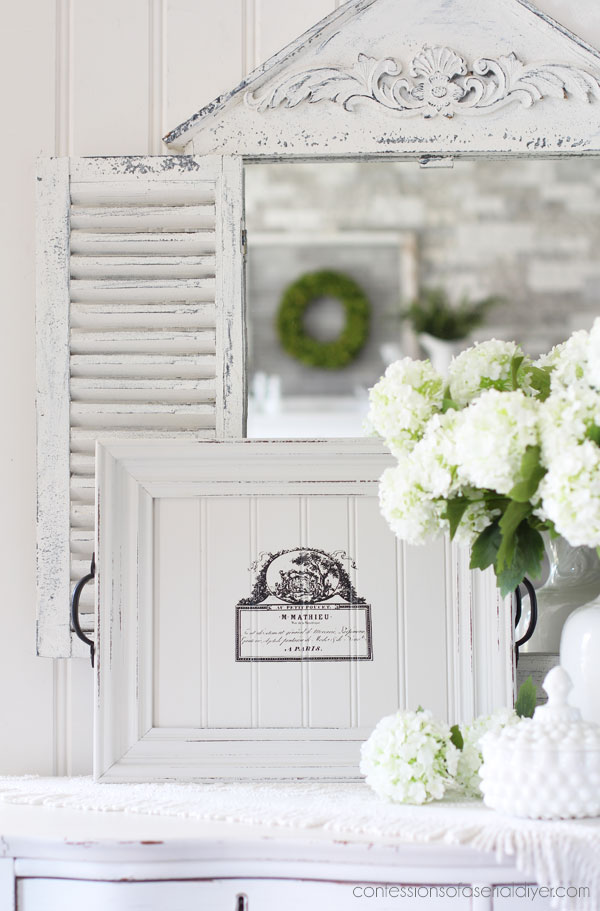
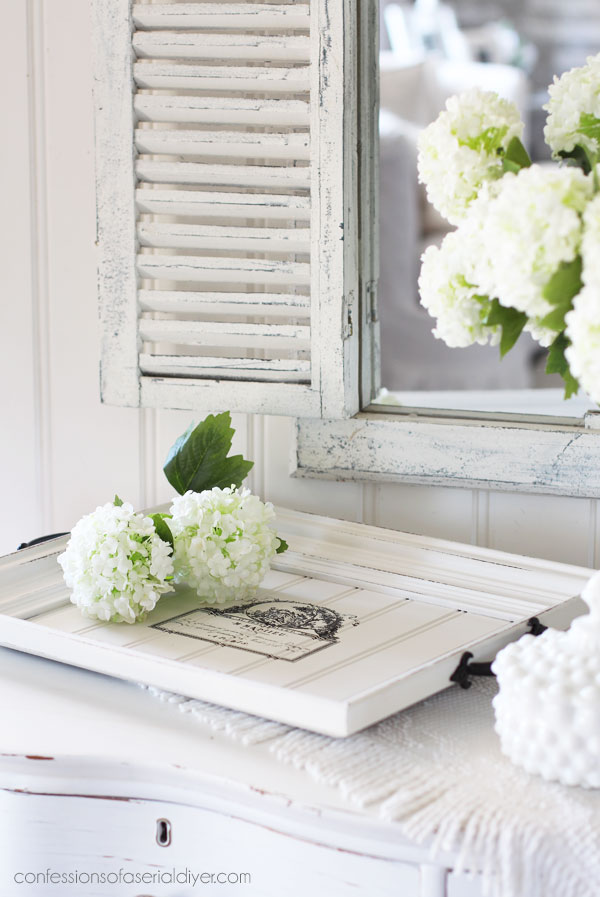
The After
Here is how this dated $2 frame looks now!
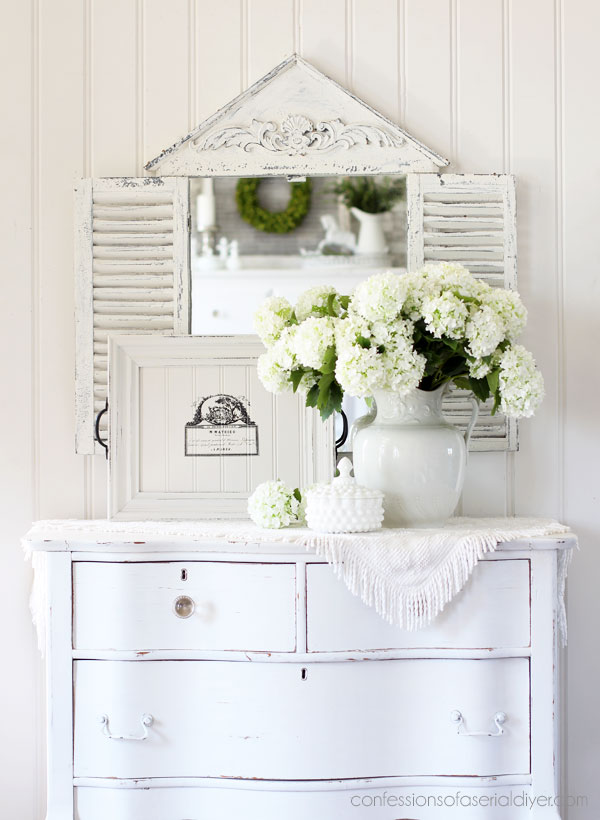
It hardly resembles the simple frame we started with!
“M. Mathieu” sounds much nicer, right?
Don’t forget the handles
No tray would be complete without handles!
When looking for handles, look for ones that can be screwed in place from the outside. I had these simple black ones in my stash:
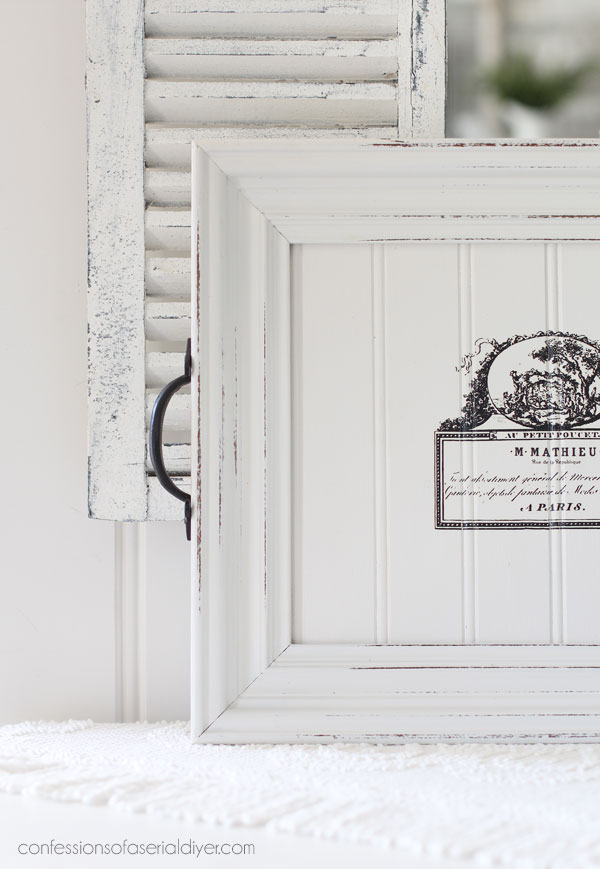
I also predrilled my holes as to not split the wood before screwing them in place.
And to hide the nails on the bottom, I Mod Podged a piece of fabric:
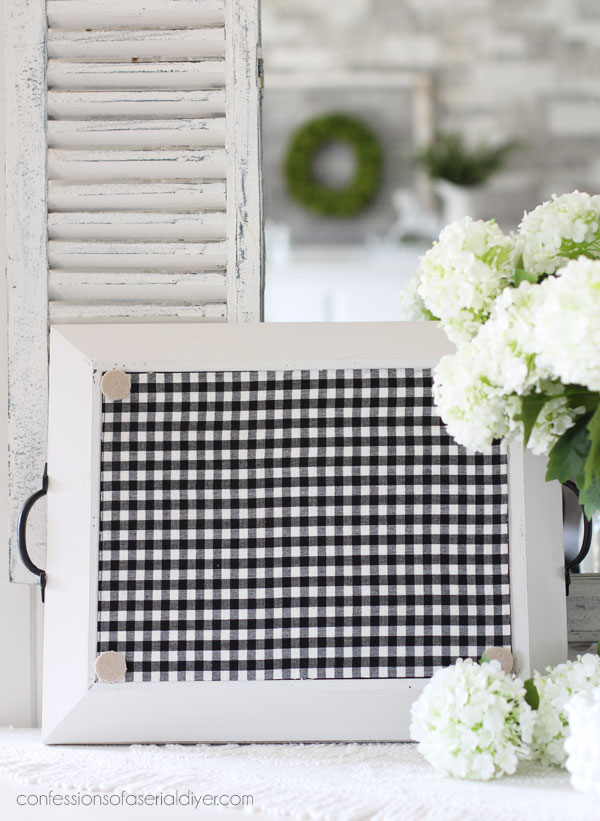
I also added those round felt discs mostly so they will be gentle on the painted pieces in my booth.
Tray #2
For tray number two, I really wanted to use this mini transfer:

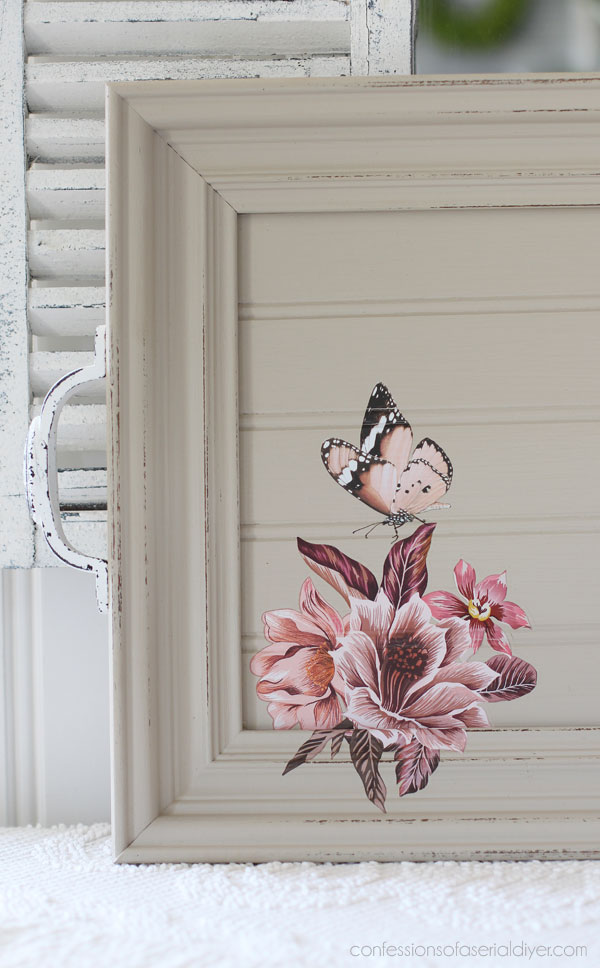
This one is called Exotica and I just love the pretty peach blooms.
I wanted to use a more neutral color as a backdrop and chose Sand Bar.
I sanded this one also to distress just a little.
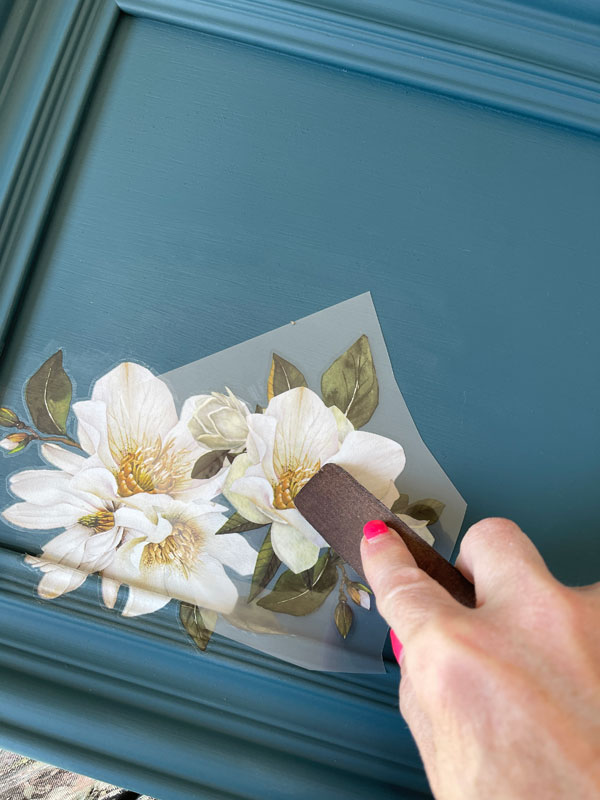
Then, I applied the transfer. Again, I rolled it out bit by bit as I applied it:
And I used my fingernail to burnish it into the grooves as I unrolled it.
I sealed it the same way as tray number one using Clear Coat in satin and my mini angle brush.
The After
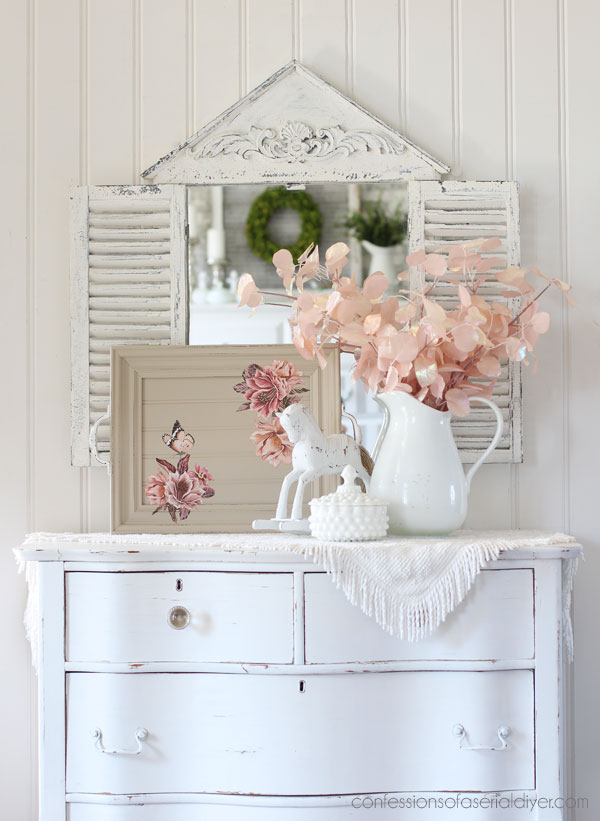
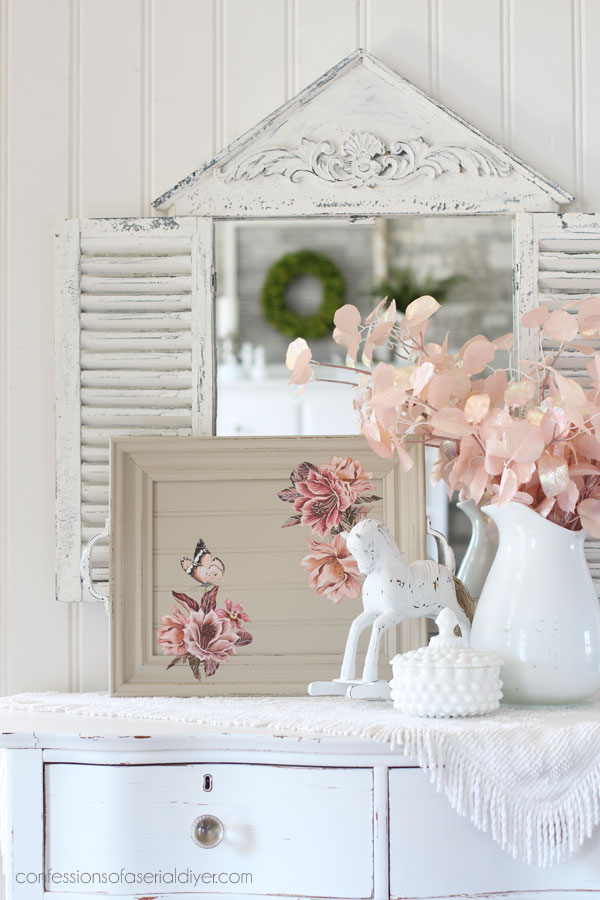

I added the sweet butterfly from the Papillon Collection mini transfer set.
And you can see I took the transfer right up and over the edge:
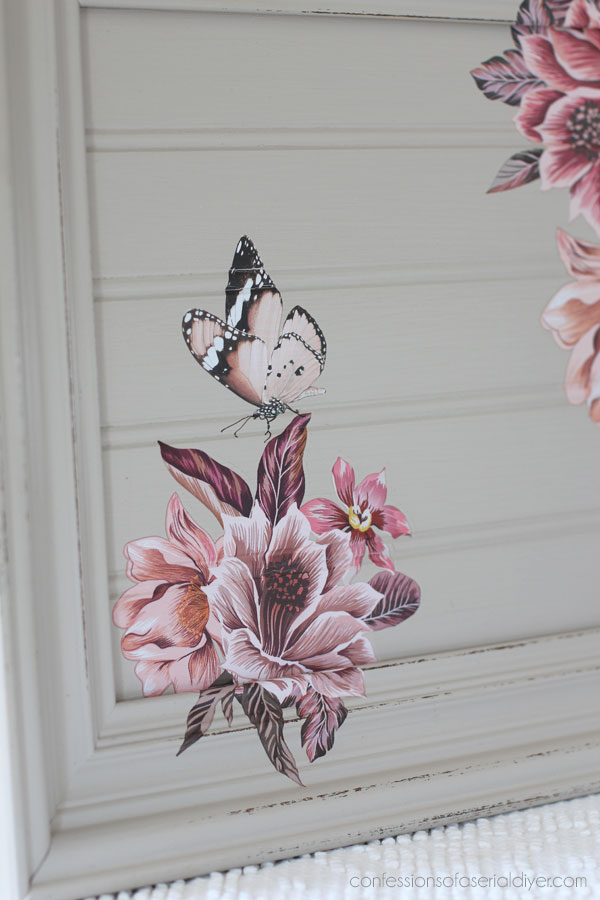
You can cut it apart at that point or do as I did and use your nail to push it into that groove before letting it attach to the rest.
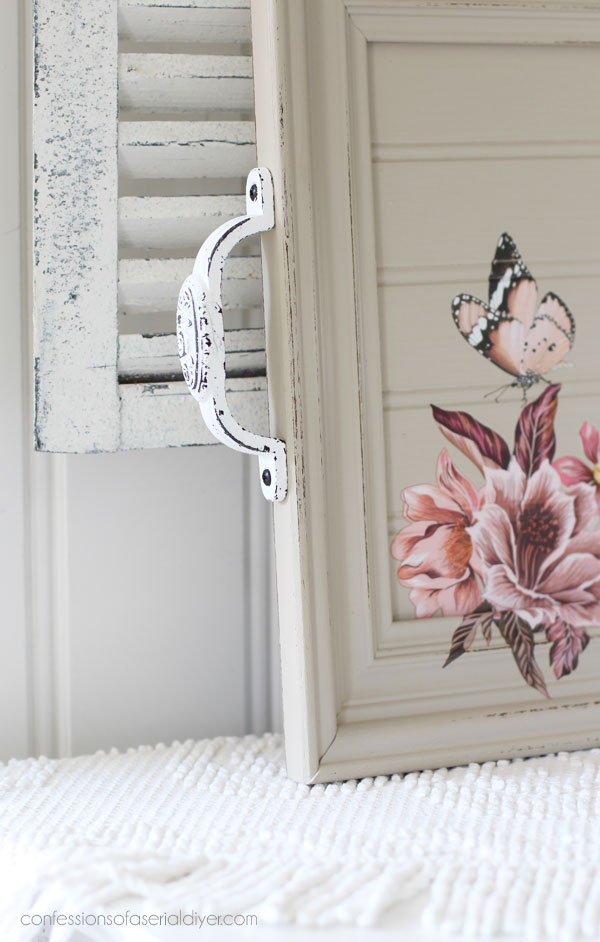
I used pulls that screw in from the outside for this one also. I found these at Hobby Lobby:
And the back was covered in Peony Pattern Rice Decoupage Paper:
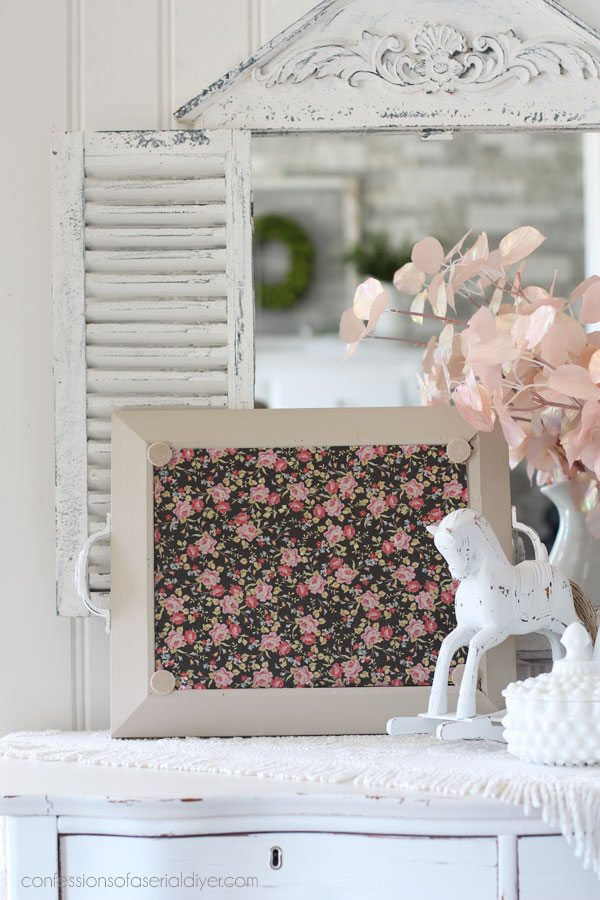
I applied that by adding a coat of Satin Clear Coat, applying the paper, and then adding another coat of Satin Clear Coat over the top:

Tray #3
The final tray was painted in one of my favorite darker colors, Antebellum Blue.
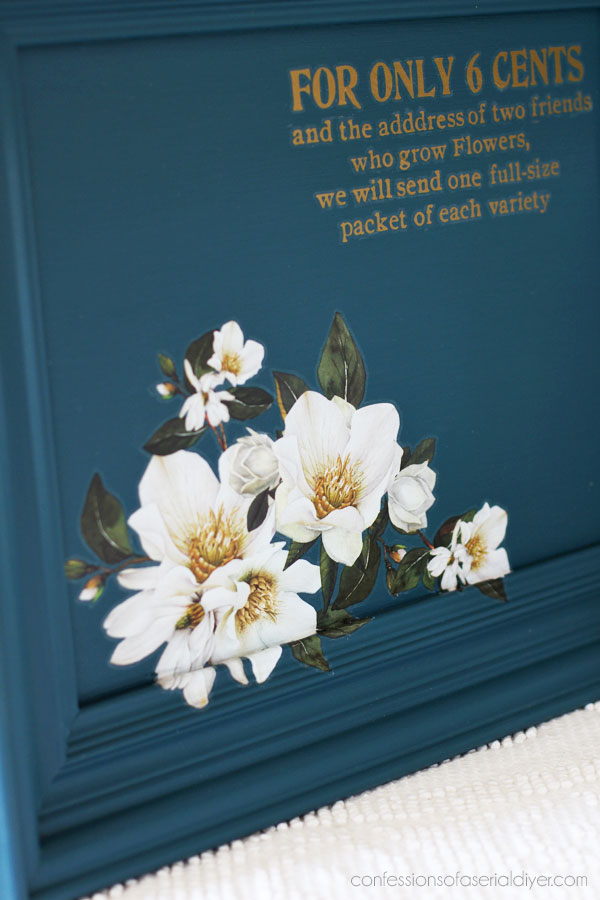
Then, I chose the White Magnolia mini transfer for this one:
Once I had layered the pieces I wanted, it needed something else. I dug in my scraps and found this piece I had left from another transfer:
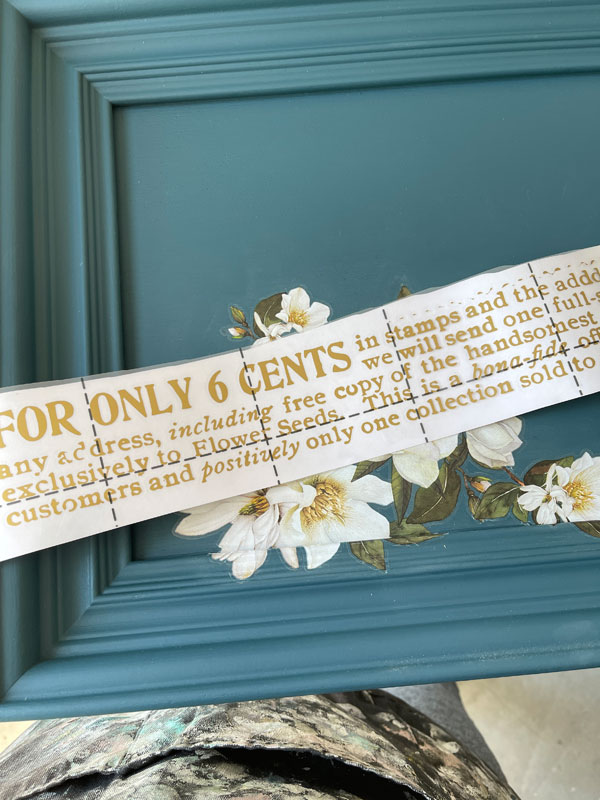
I pull it out every time I need some gold lettering, but it is always too long for my project, so I got smart this time and cut it apart!
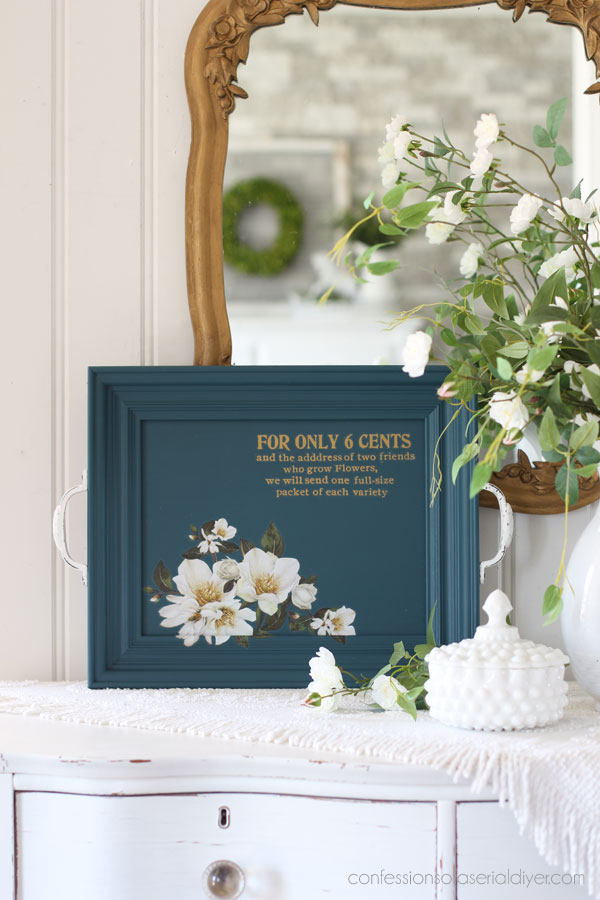
The After
Here is how this tray turned out:

I was able to make that long piece of gold wording work so much better by cutting it apart…
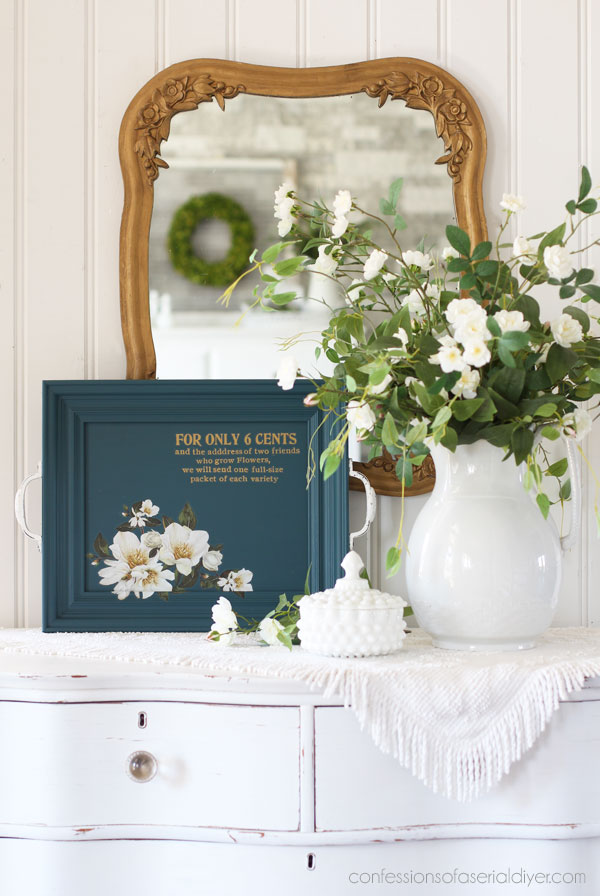
You can faintly see the ghosting around the transfer on darker colors but burnishing it really well and sealing it greatly diminishes it.
I had originally planned to add gold handles, but I kind of liked these white ones when I held them up to it, so that’s what I went with for this one as well…

And that’s how to make a tray from a picture frame!

This must have been a very popular style of frame because I see these all the time at thrift stores.
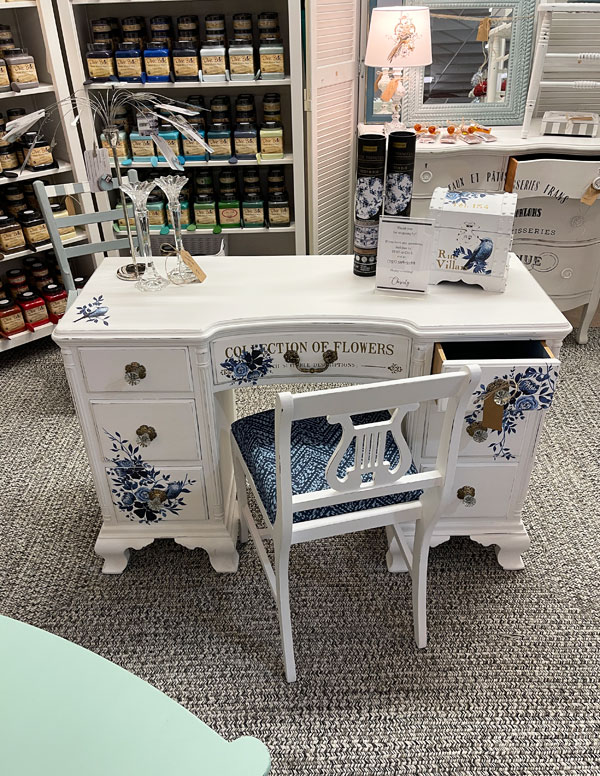
I took the chair I shared in my last post to my booth before the weekend, and I snapped a photo of it with the desk:
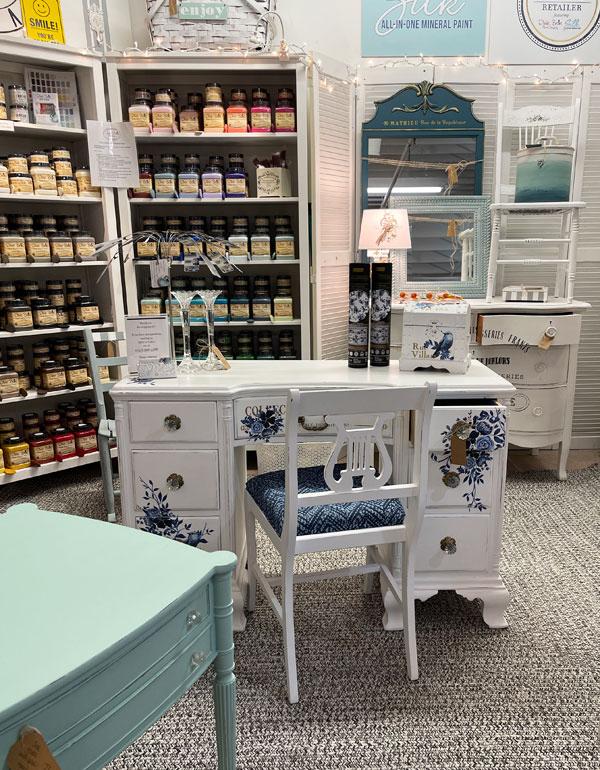
It’s a great match!
If you’ve been with me a while, you might notice that I also added carpet!
Okay, it’s just area rugs I found on Amazon, but I tried to find a couple that were large enough to cover most of my space, and I’m hoping this color stands up to dirt as well!
Here it was before:
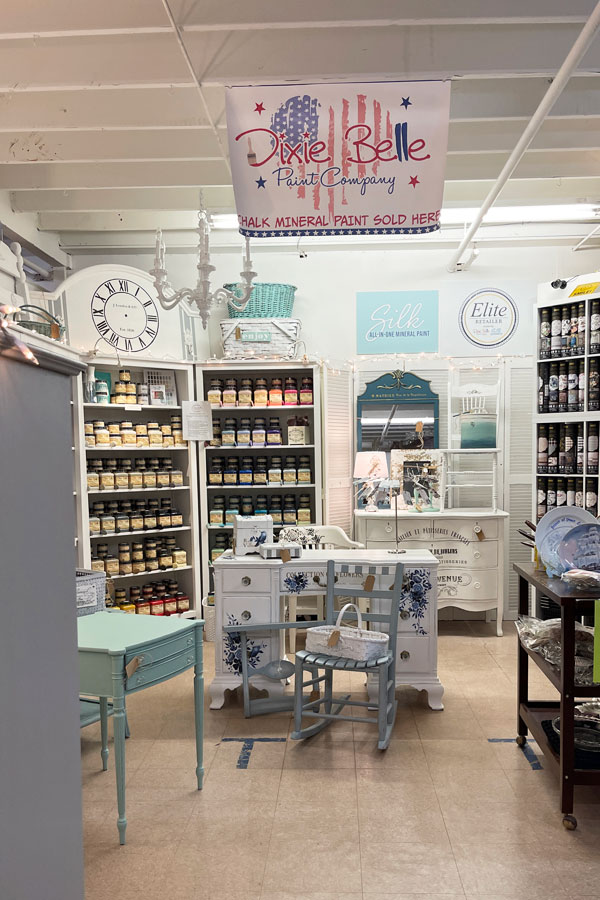
And now…
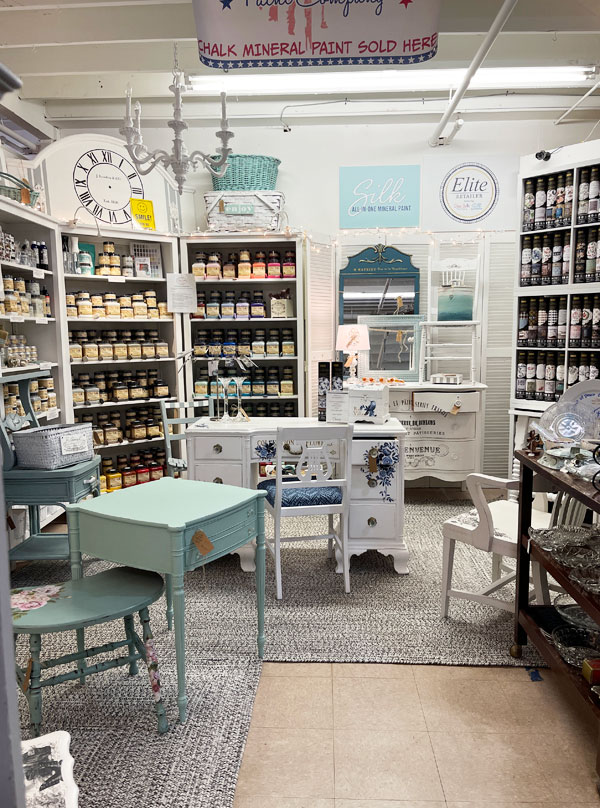
I couldn’t cover the center there since that’s common space, but pretty much my whole booth is covered, and it’s now so much cozier in person than that old floor was.
See my latest booth update HERE.
Thank you to Celia for putting the thought of rugs in my mind once again after sharing my last booth update! I did try a sisal rug around 2020 and it looked terrible with the floor. Then I brought in an area rug I had in our last house that I was no longer using and it got so dirty. I think they were both too small though, so I’m hoping this solution works!
And I hope you enjoyed a three-for-one today!
That’s another big X on my to-do list!
See anything you might have missed so far at the links below!
Freebie Chair Makeover
Vintage Stool Makeover with Terra Clay Paint
Mini Basket Box Makeover
Mirrored Wall Shelf Makeover
Rolling Buffet Makeover
Painted Antique Side Table
Pretty in Blue Box Makeover
A Great way to Repurpose a Chair
Painting the Smalls #20 (Six mini makeovers!)
White Painted Desk with Transfer
If you were hoping for a tiered tray, you’ll love what I did with these frames:
Check out what I did with them HERE!
I’ll be back on Thursday with this DIY toolbox/tote thingy:
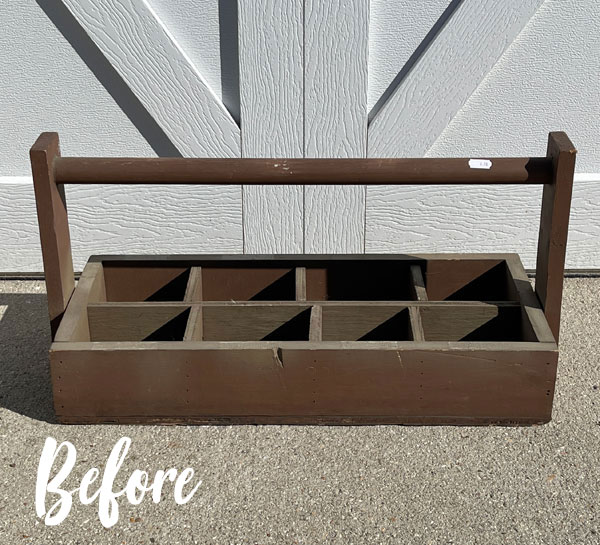
I loved this one as soon as I saw it!
Update: See it HERE now!
See ya then!
XOXO,

Don’t Miss a Thing!
If you like what you see, there are several ways to follow along!
EMAIL * INSTAGRAM * FACEBOOK * PINTEREST


Get FREE SHIPPING on all orders over $50. No code needed at checkout! Orders under $50 always enjoy $8 flat rate shipping! Most orders ship same or next business day!


Mary Kaiser says
Wow they are all so beautiful now!! Their makeover took a long time since you had the frames so long, but it was worth the wait because they are BEAUTIFUL now. You were just saving them for something special, and now they are!! Those will sell really fast in your booth! I love the carpet in your booth it looks so good!
Christy says
Thank you, Mary! I’m not sure how long I had them even before the move, but they were very patient ha ha! Looking forward to taking them to my booth…and yay…the carpet looks better in person. So cozy! XOXO
Marietta Walker says
Those trays are magnificent! I never would have thought that picture frames with the larger-sized sides would have worked, but of course you did and they are elegant.
And the desk and chair were made for each other. Gorgeous. You continue to amaze me!
Christy says
Aww thank you so much, Marietta! Those bulky frames do surprisingly make great trays! Have a fantastic week! XOXO
Marcie Lovett says
It really is astounding to see how those humble frames become beautiful decorative accents, Christy. As always, your eye for color and pattern makes them shine. I hope the desk and chair sell quickly, they’re beautiful together!
Christy says
Thanks so much, Marcie! I really appreciate that and yes, hoping for a quick sale now that the desk has a mate! XOXO
Jackie C says
Just love all 3 of these! I’ll never look at the french word for ‘grow’ the same way again ???? Hey, ever thought of using contact paper on the floor? (???? referring to your previous chair makeover). As much as your both rent is, I’d figure the store would maintain the floors better. Your booth looks great. The lamps, string lights and now the rugs make it so homey and inviting.
Christy says
Thank you, Jackie! Ha ha!! I have passed on that little transfer so many times because of that lol! Oh my gosh…you are so funny…could you imagine? I’m sure someone HAS tried it on a floor though. 😀
Cecilia says
Oh fun. I’m trying to decide which one is my favorite…they all look great. I love the rugs in your booth too. Not only warms it up but defines your area. Nice! And love, love, love your chair and desk set. Perfect!
????Cecilia
Christy says
Thank you, Cecilia! I’m really excited to have that old floor covered up! XOXO
Crystal says
Hi Christy, your posts are very inspirational and you do such a great job of explaining things and posting helpful pictures! My problem is always putting a price to the piece (since I can’t keep everything) do you have a bit of a formula for coming up with a price for each piece? Thank you!
Christy says
Thank you, Crystal! You might find this post helpful and then I link to one just for pricing the smalls at the bottom! https://www.confessionsofaserialdiyer.com/how-to-price-items-for-resale/ XOXO
CC says
The trays are so eye catching! It would be hard to chose a fav. Is there a reason why one should not put the handles on the top of the frame? Thanks!
Christy says
Thank you, CC! You absolutely could put them on top. For this style, there was more surface space on the sides. XOXO
Cyndi says
Christie, you are so funny! 🙂 I have that same set of transfers (which I bought from you) and thought the same thing when I saw that particular one. LOL! I cut mine up too. 😉 But all three trays turned out beautifully! And that chair is perfect with the desk. Really lovely!
Christy says
Ha ha…I have passed that one over so many times! It was good for a laugh though lol! Thank you, Cyndi! XOXO
Charleen says
The trays are very pretty. My fave is the blue,always blue,being my favorite color. The magnolia sets everything off. Beautiful The rug in your booth adda a cozy feel .much nicer to the feet,yours as well as customers. Take care ???? ????
Christy says
Thank you, Charleen! The blue might be my favorite too! And thanks…I was so happy to cover those old floors! XOXO
Niki says
Fun little trays Christy! The colors and transfers are a nice splash of happy. Your booth is so inviting. I’d probably sit s spell and have some tea! The rugs do make it more homey, and adds texture and dimension. By the way the chair goes perfectly with the desk!
Christy says
Thanks, Niki! And yes…I was so happy to cover those floors and add some cozy! Hoping for a quick sale on the desk now! XOXO
Darline W says
WOW!! You make it look so easy! I could spend hours looking at your makeovers 🙂 Thank you for sharing all that you do!!
Christy says
Aww I love that, Darline, thank you!! I’m so happy to hear you enjoy what I share! XOXO
Sheryl Donohue says
while they are beautiful, they are not functional to hold anything of weight. A carpenter you are not! lol! Really tired of this “whole make a project” thing by people who only care about their likes and clicks and advertizer revenue. Please make a realistic project!. Those little nails are not going to hold for anything. You could have put the bottom mdf piece on the top side, cut just a bit bigger to fit in one of the trim levels and used your nail gun to secure and it would have held weight. Back side would sit nice and level or you could have put feet on it still if you wanted to. Almost got it, but not quite!
Christy says
Wow, you are so kind, Sheryl…thank you for spreading that kindness here on my blog for everyone to see and enjoy. You couldn’t have used a nail gun as no parts of this tray are deep enough for that AND you run the risk of splitting the wood. I guess a carpenter, you are not.
MARY TAYLOR says
Hi christy!
I’ve been following you for several years and I’m alway in aww of everything you do! Thank you for sharing your projects! I know if I lived near you, I’d share a bottle of wine with you. ????
Christy says
Thank you SO much, Mary! I truly appreciate that! And I would enjoy that wine lol! XOXO
Celia says
Well thank you for the shout out, I’m so glad you went with the rugs, they look great and really convey that warm put together look. Not that your booth needed much help it always looks good!
Christy says
Thank YOU! You got me rethinking the rug idea, and I think opting for larger ones that covered as much as possible worked so much better than what I attempted before! Have a great rest of the week! XOXO
Michele M. says
GREAT trays made over, Christy! All 3 look great! Do you have a fav?
Ohhhh love that chair with the desk. Knew I would – they’re a great pair.
Your rug is awesome in that space. Just grounds it nicely and looks good.
Christy says
Thanks, Michele! For my own style, I prefer the white one of course, but I really liked how the blue one came out, and it was fun to play with the peachy blooms! The desk looks more complete with a mate for sure and yes, I’m so happy with the rugs! XOXO
Patti M says
I love all of the trays you made! Especially the last one in my favorite color! I also love the flowers you put in the pitcher on the table. So pretty!
Christy says
Thank you so much, Patti! Gotta have flowers to pretty everything up lol! XOXO
Peggy says
Christy, another win! Thank you for the reminder what we can do with old frames! My favorite is the black/white, and the turquoise one is very nice too. Never would have guessed they were old picture frames! Lovely, and thanks again.
Christy says
Thank you, Peggy! These dated frames surprisingly make great trays! I’m so glad you enjoyed them! XOXO
cheryl atkinson says
Hi Christy! That is so sad about the transfers. Alot of them were my favorite. There are several retailers that are selling them at a 25-30% discount until they are all gone. Are you not going to? please let me know so i can get them from you.
Christy says
Hi Cheryl! We have been asked by Redesign not to sell them. I do understand that some people have to make a living still, but I value my relationship with Redesign, and so I am honoring their request. They will be reimbursing us and replacing many of the transfers. It should only be a couple of months turn around time, so I am just riding the wave! In the meantime, they have released a bunch of gorgeous, brand new designs that will be shipped out in the next couple of weeks! You know I truly appreciate your business, but if you have a chance to buy them for a discount, go for it. XOXO
Laura says
Hello: I loved the frames. Such a pretty makeover. I have not ever used transfers and am interested in trying. What rugs did you get, I have a booth and the floor is conrete with cracks and looks bad. Thanks Laura
Christy says
Hi Laura! Thank you! Transfers are so fun to use…I hope you get the chance to try them soon! The rugs I found are from Amazon. You can find them here: https://amzn.to/3LWXid6 XOXO