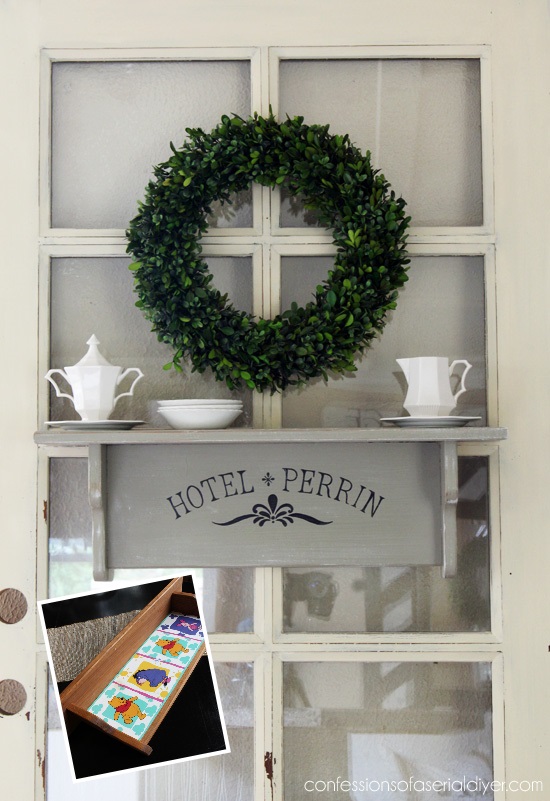
Hello sweet Friends! I’ve got a quick little makeover for you today! I found this shelf at the thrift store a couple of weeks ago hiding in the toy section:
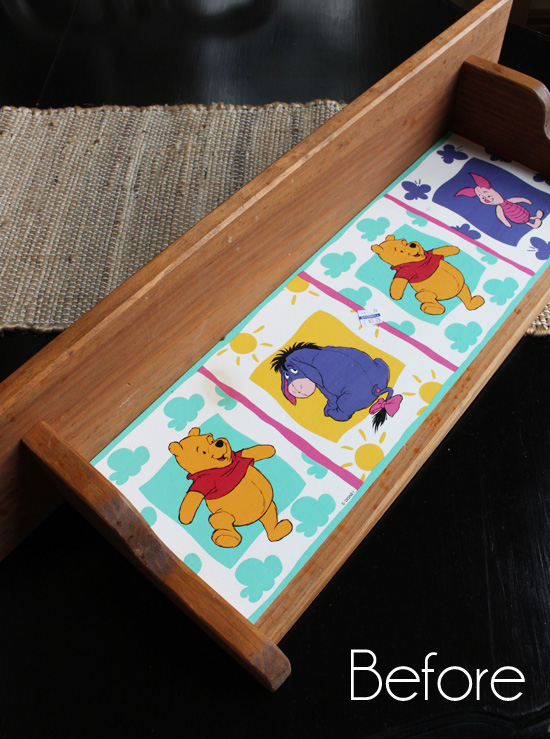
Luckily I can spot a potential makeover a mile away! 🙂 Blue tags were half off that day, so this cost me less than $2, and I liked the shape of it. I did check first to see if the Winnie the Pooh paper would come off easily and it was adhesive, so luckily it peeled right off…
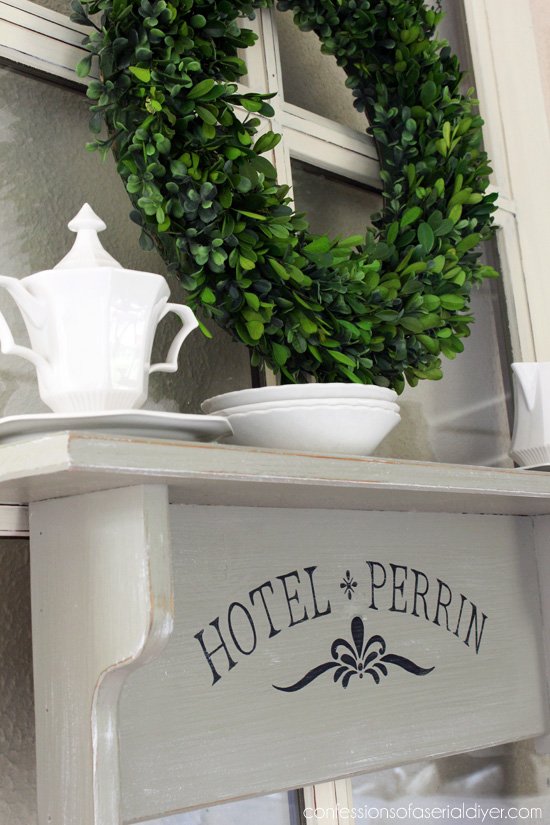
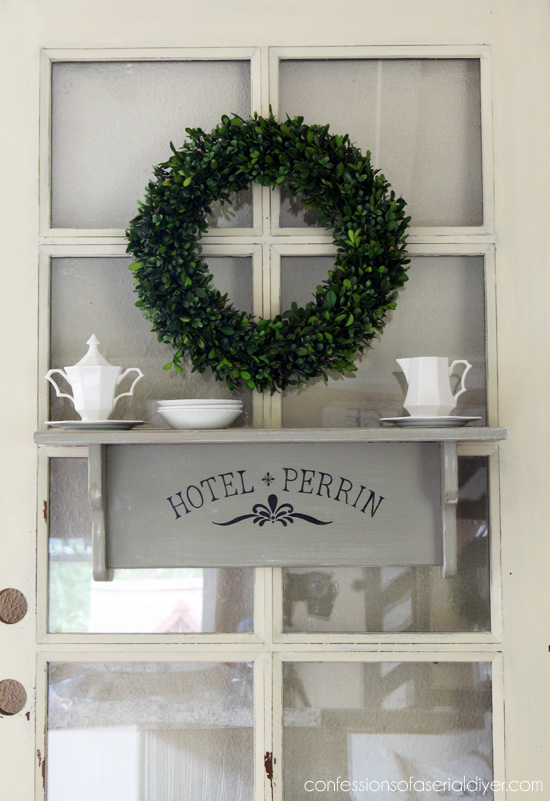
and became this:

Ooh la la. Much better!
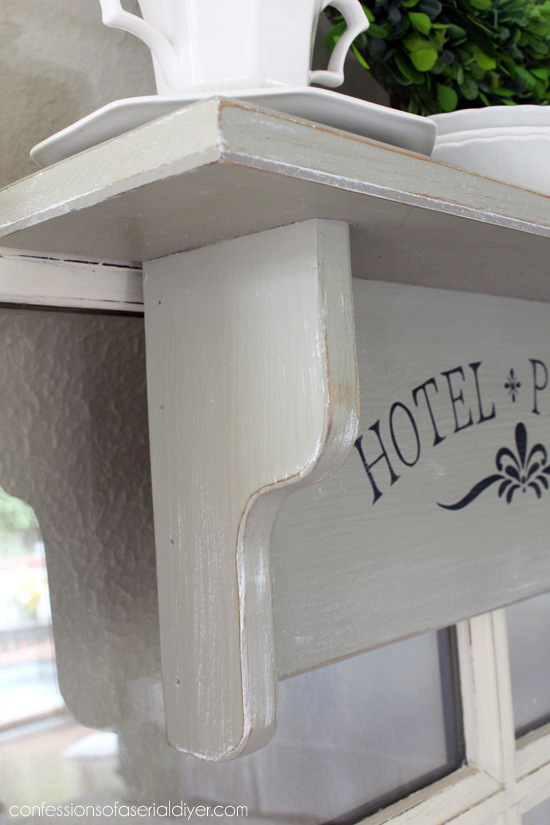
I used a portion of this stencil from Artistic Stencils to apply the graphics.
I sprayed the back of the stencil with spray adhesive first to prevent bleeding under the edges, then painted in the lines with black acrylic craft paint.
It looked like this when I removed the stencil:
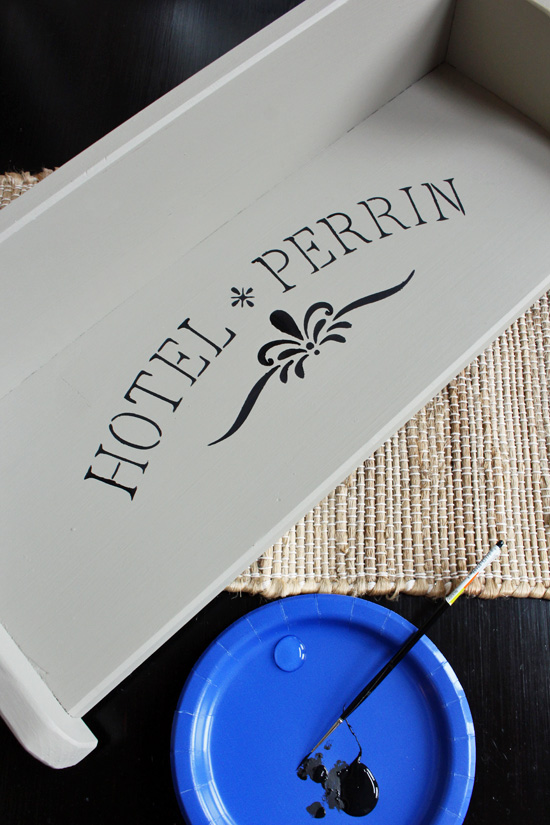
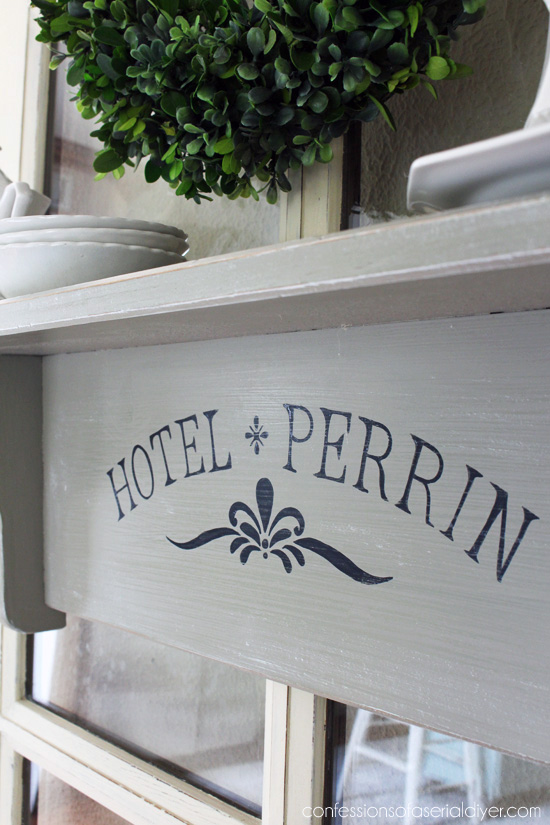
Looks just like I stenciled it on, right? The secret to making a stencil look hand-painted is painting in the gaps. I use the same acrylic craft paint and a liner brush. Dipping the brush in a little water first helps the paint to glide on more smoothly.
This is supposed to be Behr’s equivalent to Annie Sloan’s French Linen. I think it’s a bit more green though. I dry-brushed the edges a bit to lighten it up some and add a little dimension.

This would look great in a bathroom hanging above a set of fluffy white towels!
Adding hooks would give it another function as well.
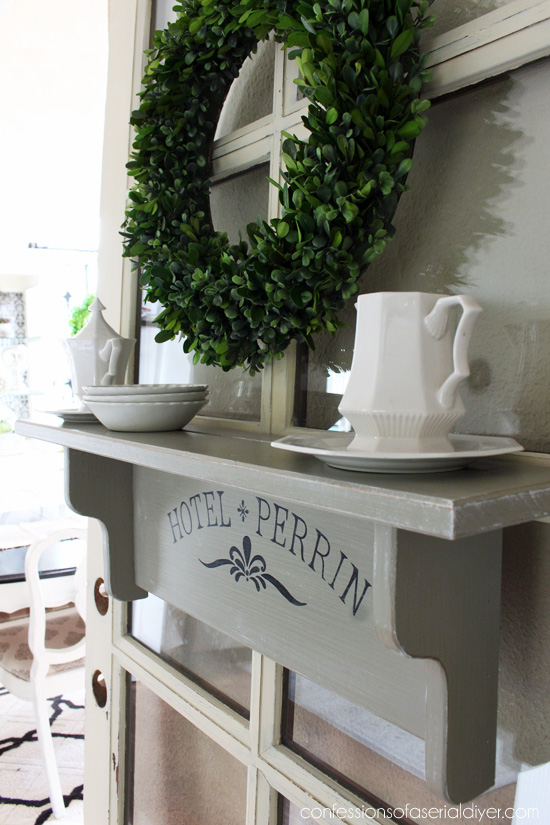
It sure came a long way from that dated nursery shelf don’t ya think?
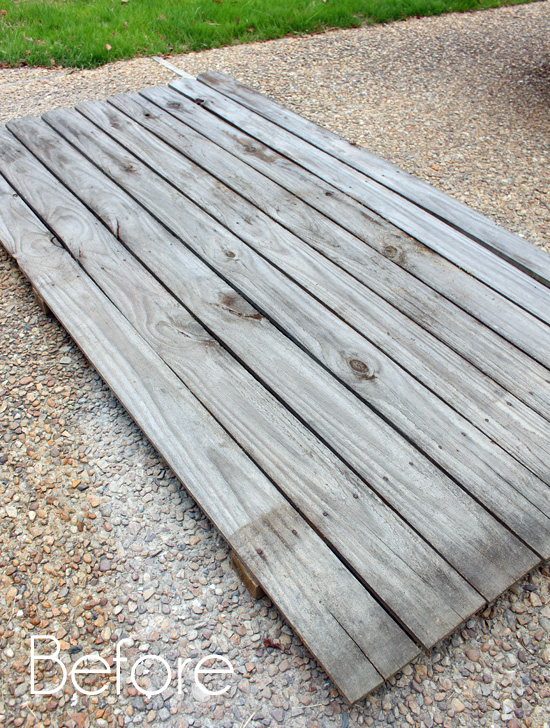
I’m still working on my sectional slip cover tutorial, there are a lot of details to cover, but I’ll be back on Friday sharing what I did with this old fencing:
See ya then! 😉
XO,
![]()
Don’t Miss a Thing!
If you like what you see, there are several ways to follow along!
Email * Facebook * Pinterest * Hometalk * Twitter * Instagram
I love to share at these great parties:
The Happy Housie Design Dining and Diapers Liz Marie Blog Funky Junk Interiors Savvy Southern Style Tatertots and Jello DIY Show Off Between Naps on the Porch Just a Girl and Her Blog Sand and Sisal Interior Frugalista


Candy says
Beautiful job! I always love your work and the detail you put into the pieces. I am also eyeing up the runner you have the shelf on in the first picture, I have been looking everywhere for a few just like it, would also love a few throw rugs just like it! May I ask where you purchased it at? Thanks for having such a great blog, I always look forward to seeing what you create.
Many Blessings, Candy
Christy K. James says
Thank you so much, Candy! I found that runner at Pier One, but Target used to sell one similar to it as well. 🙂
Maureen says
Love it. Nice choice of color.
Christy K. James says
Thanks, Maureen! Much more grown up now! 🙂
Maggie M says
Oh yes, much better:)
Christy K. James says
Thanks, Maggie! XOXO
Tracy Leas says
How do you remove the spray adhesive from your stencil_?
Christy K. James says
Hi Tracy, I don’t remove it. It isn’t so sticky that it adheres to things permanently, it’s just sticky enough. In fact I have a couple of stencils that I used the spray adhesive on and have used them several times without having to add more spray adhesive.
Nanette says
Hi Christy, great job as always! What color was the Behr paint you used? Sorry if I missed it, thanks!
Christy K. James says
Thank you, Nanette! This color is Ashwwod. It is a bit green compared to Annie Sloan’s French Linen, and I think I prefer her version, but it’s still a pretty neutral.
MaryJean says
Turned out really nice! Did you sand the piece before you painted? I am going to have to keep that color in mind for the future. You are just full of great information!
FYI, I used another brand of wax instead of Annie Sloan and was not happy with it. I just ordered some Annie Sloan wax so I’m looking forward to finishing my project with it once it arrives.
Christy K. James says
Thanks! I did not sand first because it was almost raw wood and really smooth already. Regarding the wax…I’m almost afraid to stray from AS because it goes on so nicely. XO
MaryJean says
Oh yeah, loved your doll cradle. I have one up in my crawl space that I’m going to bring down and fix up like yours. I had two boys too, but I have two granddaughters and they would love to play with it!
Thanks for the inspiration!
Christy K. James says
Thanks, MaryJean! I wanted to play with it myself ha ha! 🙂
Becky says
SO much better! Your shelf turned out beautifully! Thanks for the stenciling/lettering tips. Your lettering always turns out so well. I like to collect secrets from wonder-workers like you!
Christy K. James says
Thanks, Becky! You know I like to pass along my know-how whenever I can! 🙂
victoria says
Very nice ¡¡,as always.
I am doing a project with a rest of a broken door and I searching in internet a preserved boxwood wreath to style it once finished, can you tell me please the dimensions of yours ? I am thinking in 30 cm ( 12 inches aprox?) thank you ¡¡
Christy K. James says
Thanks, Victoria! This wreath is 16″ 🙂
Marie from The Interior Frugalista says
Only you could take Winnie-The-Pooh up several notches! Very nice.
Christy K. James says
Ha ha I hope I didn’t offend any Winnie the Pooh fans! XO
Lori says
Beautiful! Can you tell us how you attached the shelf to the window? Or is that a door?
Christy K. James says
Thanks, Lori! That’s a random door I have just hanging out in my house. I like to use it as a prop sometimes for photos…there is a sawtooth hanger on either side of the shelf at the back and it’s just hanging on the door with two small nails that I hammered right into the door. If I were considering keeping it there permanently, I would switch out the nails for two small screws.