Hey there, crafty Friends! Do you know what the top two sellers in my booth are? The first is chalkboards, hands down. A close second is trays. Buyers love things that serve a purpose. (No pun intended there 😉 )
Today I’m sharing my favorite and best-selling DIY tray. I first made this tray about three years ago for a Get Your DIY On challenge and have continued to make them for my booth ever since. That original post is buried so deep in my archives, that I thought I’d share another similar tray and the how-to for it.
Here is the kind of frame I start with for these trays:
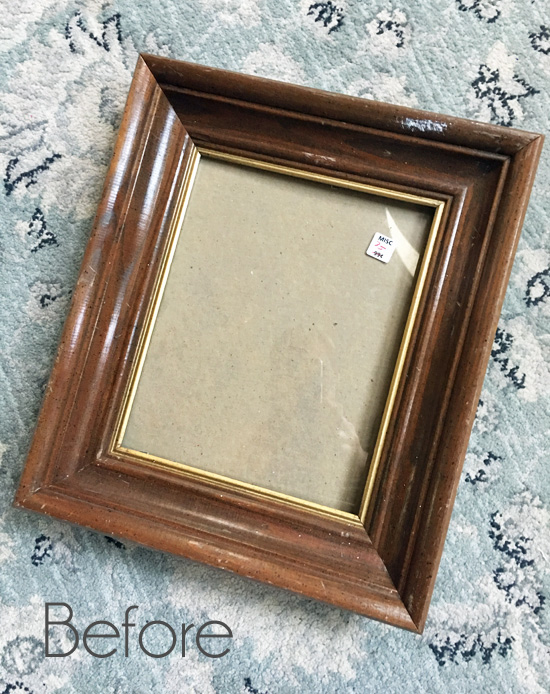
These are plentiful at thrift stores, and are well made and nice and chunky. This one was on clearance for 75¢. Does it get any better than clearance at the thrift store??
And they make for fantastic trays: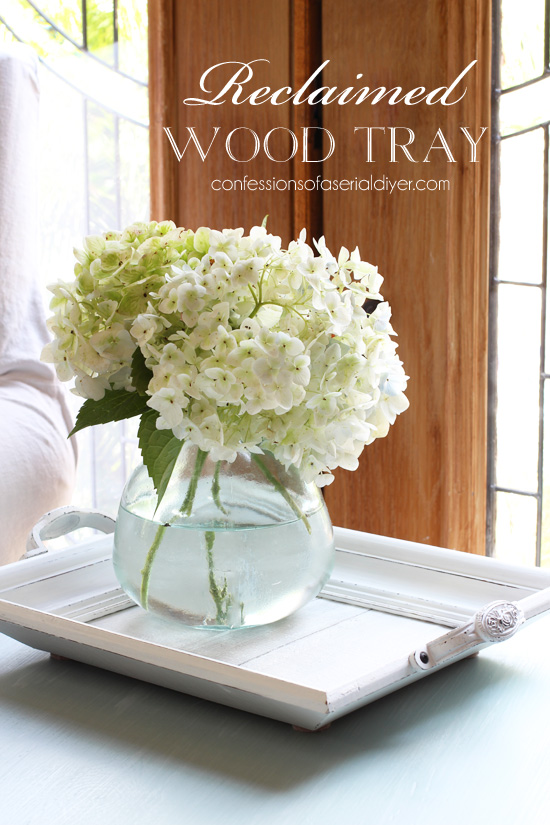
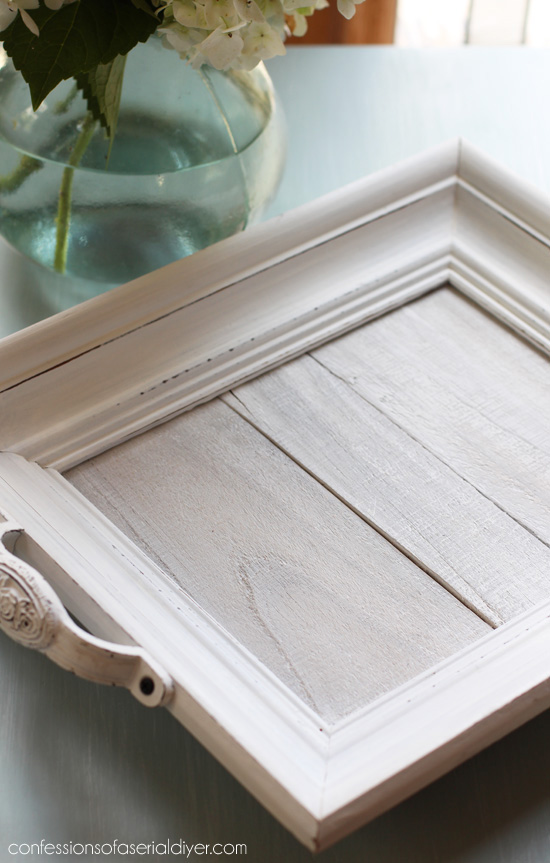
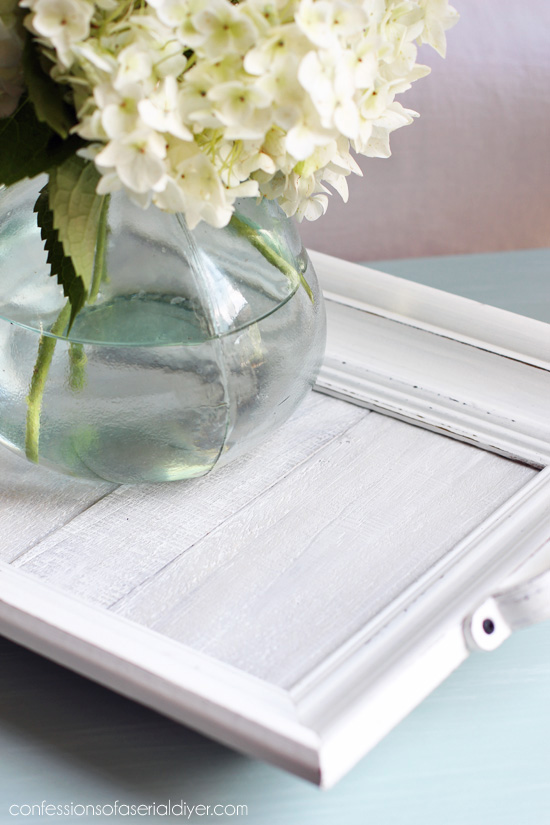
The inside is from my old fence picket pile:
Isn’t that frame the perfect start to a tray? No matter when I add one to the booth, it is always gone the next time I stop in. And these are SO simple to put together.
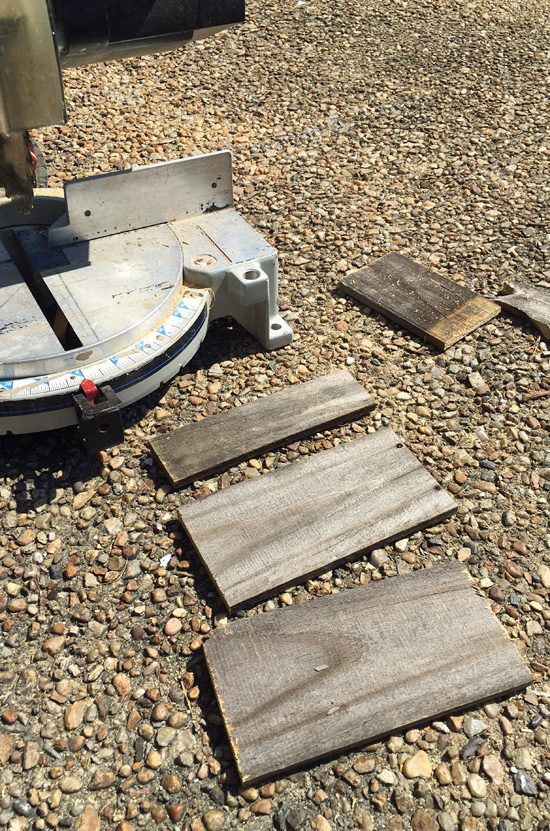
The fence pickets I like to use for these are the super inexpensive and very thin ones. I have found all of mine discarded curbside.
I used my miter saw to cut the picket to the lengths I needed:
I had to cut one down the center to fit, so I used my table saw:
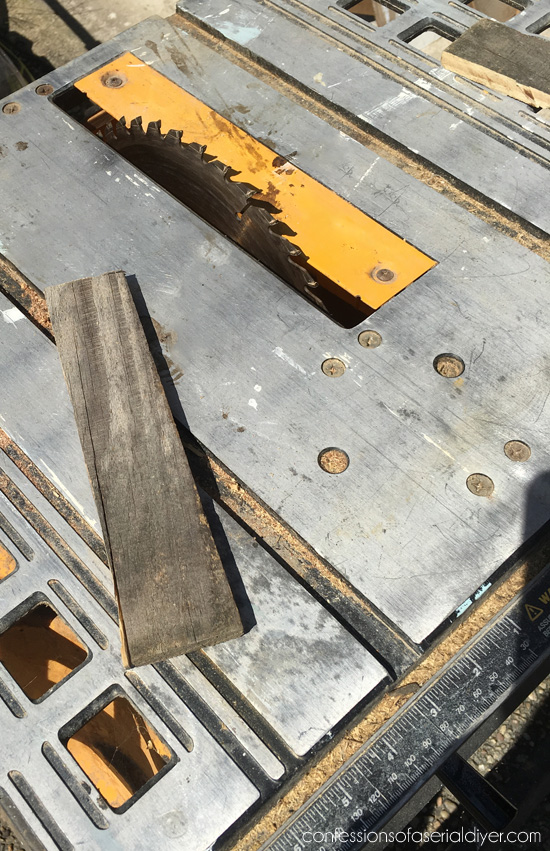
(Use caution and always use eye protection!) You can also use a jig saw.
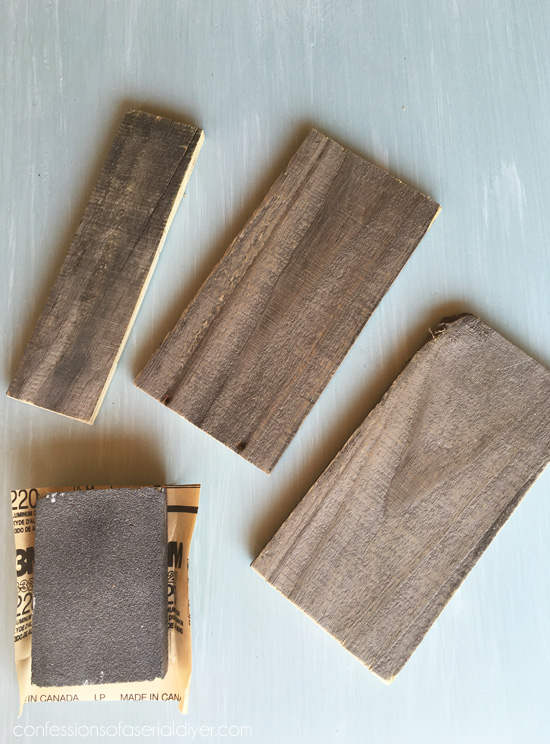
Then I lightly sanded them to take away any rough areas:
I painted the frame in two coats of White Chalk Paint, then lightly sanded and sealed with Clear soft wax…

I white-washed the pickets by painting them with slightly watered down white paint, and then immediately removing the paint with a soft cloth. See pics of that process here. Once dry, I sprayed them with a clear spray sealer in a matte finish. I have also waxed them instead in the past, but the spray is so easy.
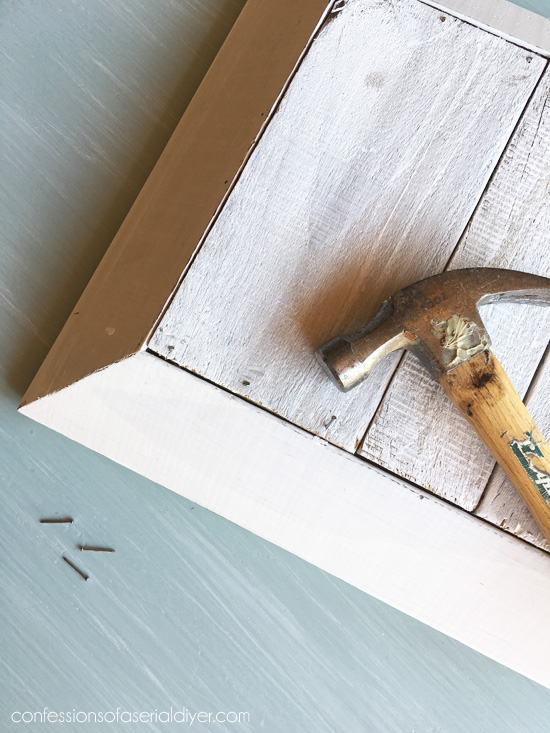
Then I attached them to the frame with small nails, hammered into the frame at a slight angle:
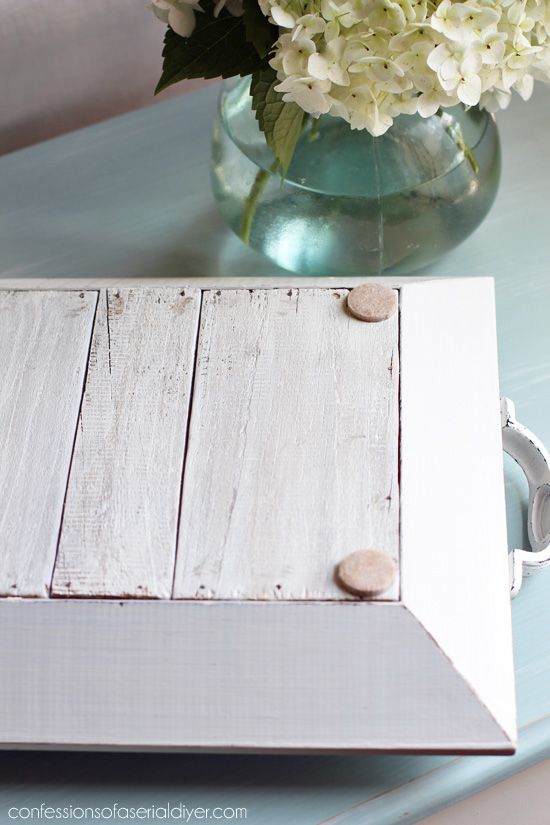
I added a felt disc on each corner to protect the furniture.
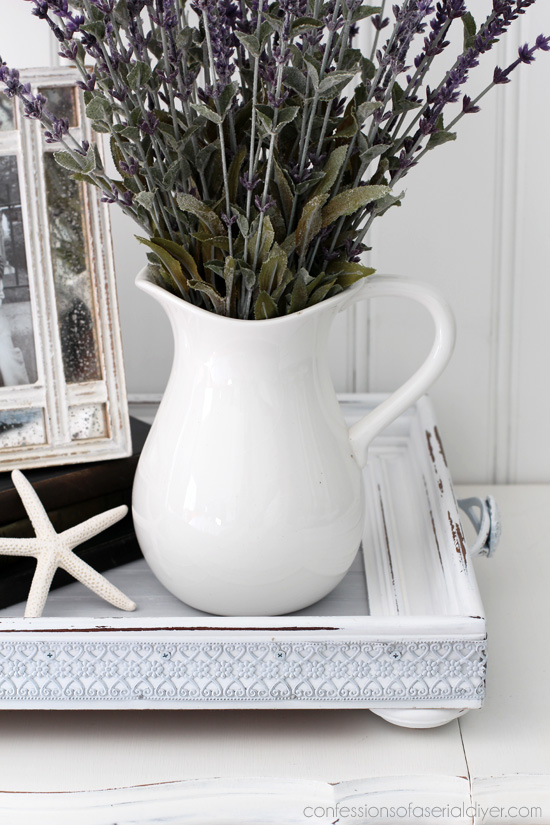
The final finishing touch are the handles. I love these from Hobby Lobby that come just like this:
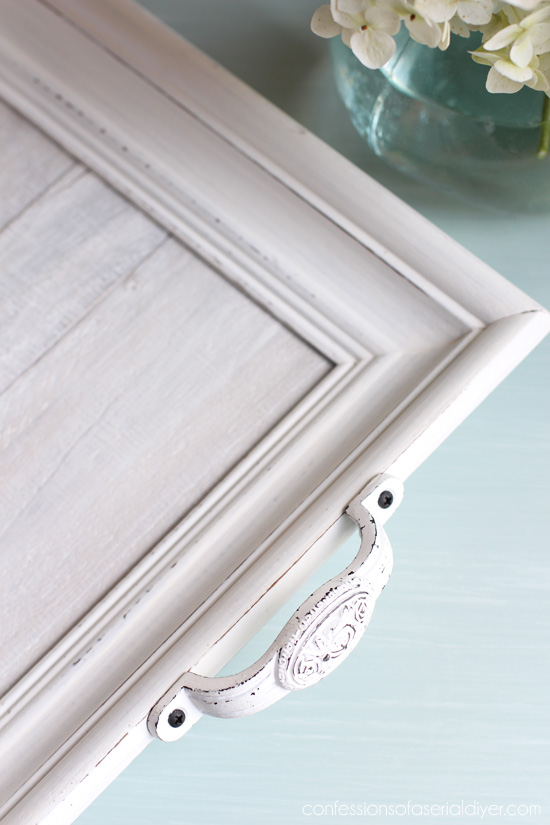
These are only $2.50 when they have their knobs and pulls half off. (Every other week.)
Look for a handle that screws in place from the outside. I also like to use zinc plated or galvanized screen door pulls that can be found at Home Depot.
Be sure to predrill your holes so the wood doesn’t split.
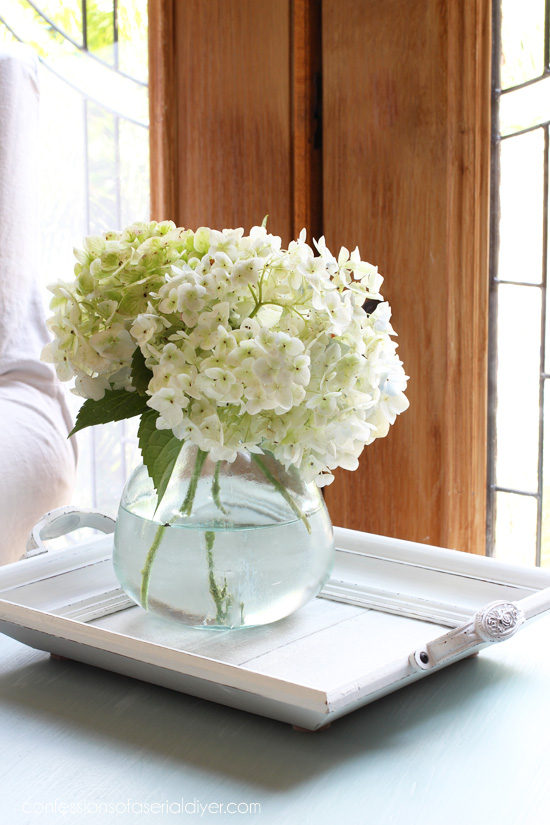
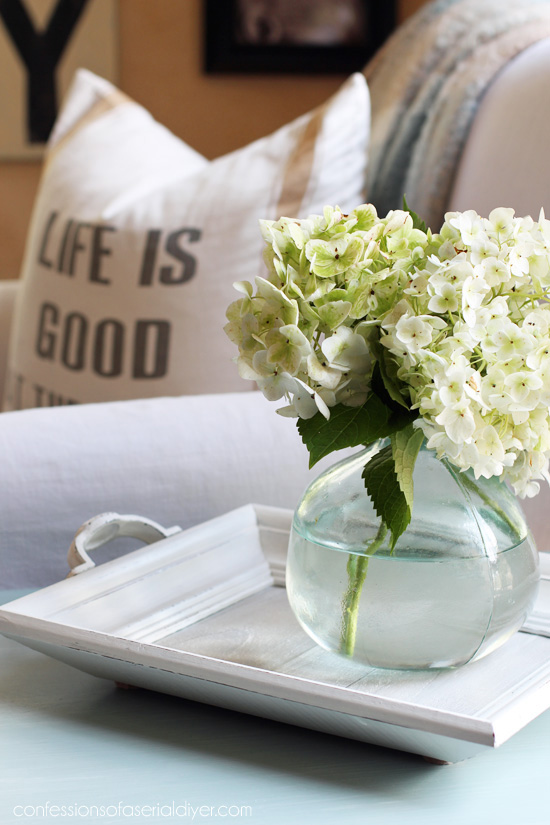
These trays have such a coastal cottage feel, and you know that makes me happy. 😀
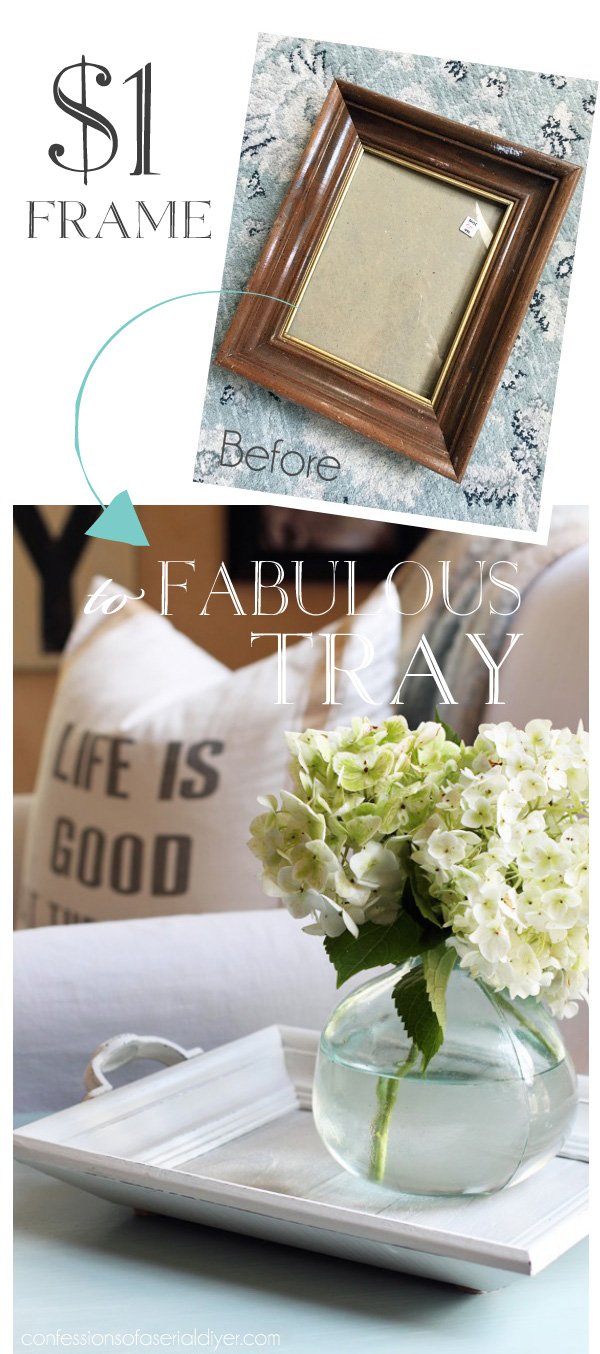
I made that graphic that says $1 because it was originally 99¢, but I forgot it was discounted even more when I looked at the photo again.
I already had the felt discs for the bottom, and the handles cost me $5 for the pair, so this tray cost me less than $6. Not too shabby.
Don’t pass up that old pile of fencing on the curb next time, there are so many cool things you can do with old pickets!
Like this project: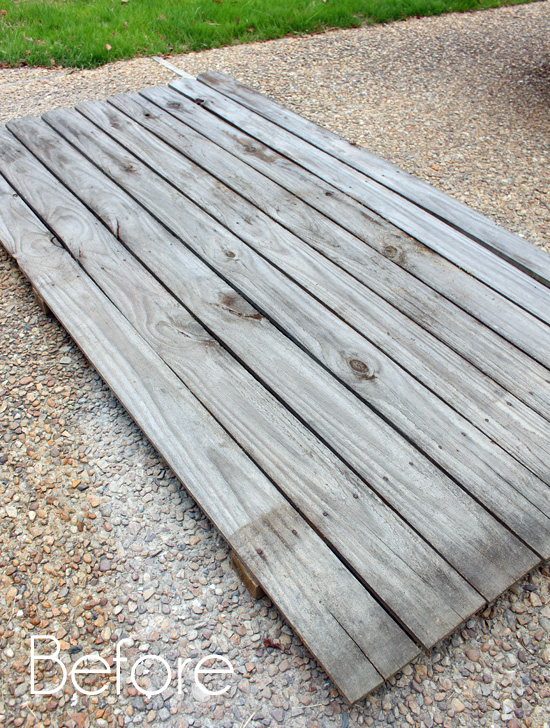
And if old fencing doesn’t make your heart go pitter patter, that’s okay! I share one with the same feel using bead board instead here:
That was a thrift store frame as well.
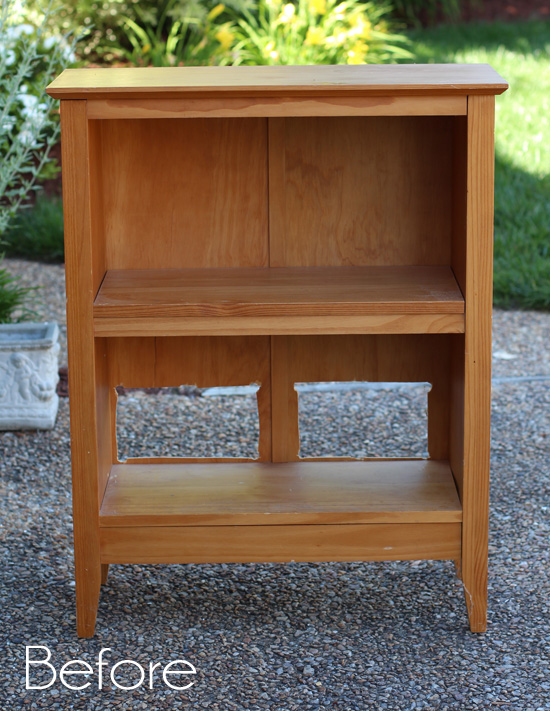
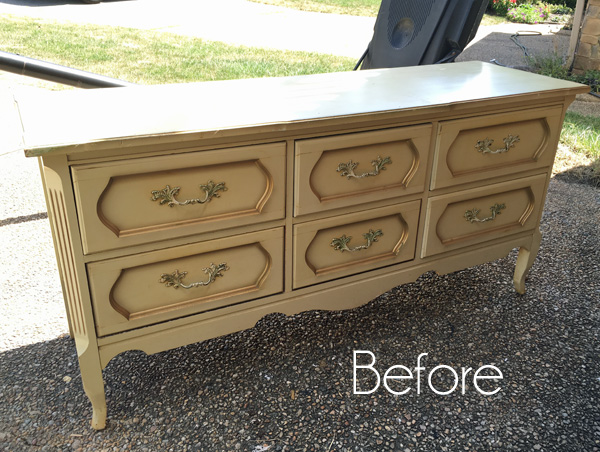
I’ll be back on Thursday sharing how I updated this dresser:
So glad you stopped by!
UPDATE: You have got to see how this dresser turned out…check it out HERE now!
XO,
![]()
Don’t Miss a Thing!
If you like what you see, there are several ways to follow along!
Email * Facebook * Pinterest * Hometalk * Twitter * Instagram

")


Mary-the boondocks blog says
This is really pretty Christy and such a simple idea. The whitewashed effect really makes a difference too. Pinning and sharing.
Christy says
Thanks, Mary! It really is simple to do! 🙂
Angelia says
Thank you so much for showing us the “back side” of your project. It’s always nice to see how things are finished off especially if one planned to sell their items. Thank you, as always, for sharing your wonderful finds with us. ????
Christy says
You are so welcome, Angelia! I do try to make the backs/bottoms of things I make to sell pretty as well. 🙂
Nancy @ Slightly Coastal says
Wow! That turned out so great! I think I need a tray like this for my fall display. I recently completed a frame project for the wall with a similar look except I’m using it with clips to display artwork.
I love your posts because you always share such good ideas and your styling is fabulous!
Nancy
Christy says
Thanks so much, Nancy!! I like the sound of yours as well! XO
Gina Keysor says
Lovely! I also love to display things on trays, I have a frame I bought at a yard sale for a quarter. The front has a light coat of white paint but the back is still the original wood. Christy, that thing smells SOOOO musty! I have had it for awhile and it is not any better. What would you do? Thx for all your inspiration.
Christy says
Thanks, Gina! Give that thing a couple of coats of Zinsser spray shellac in the yellow can. That should seal in any odors. After about an hour, you can chalk paint right over it. 🙂
Marcie Lovett says
What a wonder those fence pieces are – they just keep making themselves useful! Who would have thought they’d find their way into so many projects? (Well, besides you, of course!)
Christy says
Ha ha aren’t they fantastic? I know people think I’m nuts when I ask if I can steal a few pieces from their trash lol, but I love the character they add to projects…and they’re free! 🙂
BamaCarol says
This is a great idea for a Christmas gift! I try to make a common gift for the women on my list each year and this will be great! Off to find some old frames to use.
Christy says
Oh yes this will be a perfect give to make this year…love that idea! XO
Becky says
This is so great! My only complaint is that apparently in my area, people only get rid of FLAT frames… VERY flat AND cheap frames! OR (a thought that just crossed my mind) I need to get out to the 2nd hand stores oftener! Maybe everyone is beating me to the good stuff! I don’t see this plan thrilling my husband, but my kids would be completely on board. Haha! Another beautiful tray from you!
Christy says
Thanks, Becky! Yes, go more ha ha. I really do see this style quite often, so hopefully you’ll have some luck too! XOXO
Addie says
“Little Lady…you be mess’ in with all those saws!!! Cook’ in & stitch’ in is where you be!!!”
Break the rules!!! (I do) Love the trays!!! They are Beau-Ti-Ful !!!!!! but….of course you nailed it with stitch’ in that toaster oven cover too!!!!
God Bless~
Addie
Christy says
Ha ha…I used to be a big chicken around those bigger power tools, but I got tired of waiting for my hubby lol! So glad you like the trays, Addie!! XOXO
Lucy ~ Patina Paradise says
I absolutely love your tray and have been looking for the perfect handles that can be attached from the outside. I will have to check out the selection at Hobby Lobby again. Hopefully the one in my neighborhood carries similar ones. I am always inspired by your work Christy especially your thrift store makeovers.
Christy says
Aww thanks so much, Lucy!! That means a lot coming from you…you always dream up the most beautiful makeovers! XO
Marilyn Stein says
Hi Christy,
How thin are those boards? I have lots of fence boards and pallet boards, but I can’t seem to find really thin ones that lay flush with the bottom of the frame. Can you give me the actual depth of the wood, please? I may have to actually buy some (oh no!).
Marilyn
Christy says
I use the super cheapo ones and they are about 1/4 of an inch thick.
Marie, The Interior Frugalista says
Your trays are always so pretty, Christy and no surprise they move quickly from your booth.
Christy says
Thanks, Marie! I’m a sucker for a pretty tray. 🙂
Mama Wags says
Love this…and all your projects!! Thanks for sharing and inspiring us with your awesome creative gift. My daughter is moving to Thailand and we are having a fundraiser auction to support her missionary work there. I think these would be a great addition… especially If they are such a great seller for you. It will be a fun project for us…but I’d be clueless what to sell them for. Can you give me a idea of a price range that works for you?? Blessings on you Christy!
Christy says
Thanks so much!! I sell these for $36 each. Best of luck on your auction! 🙂