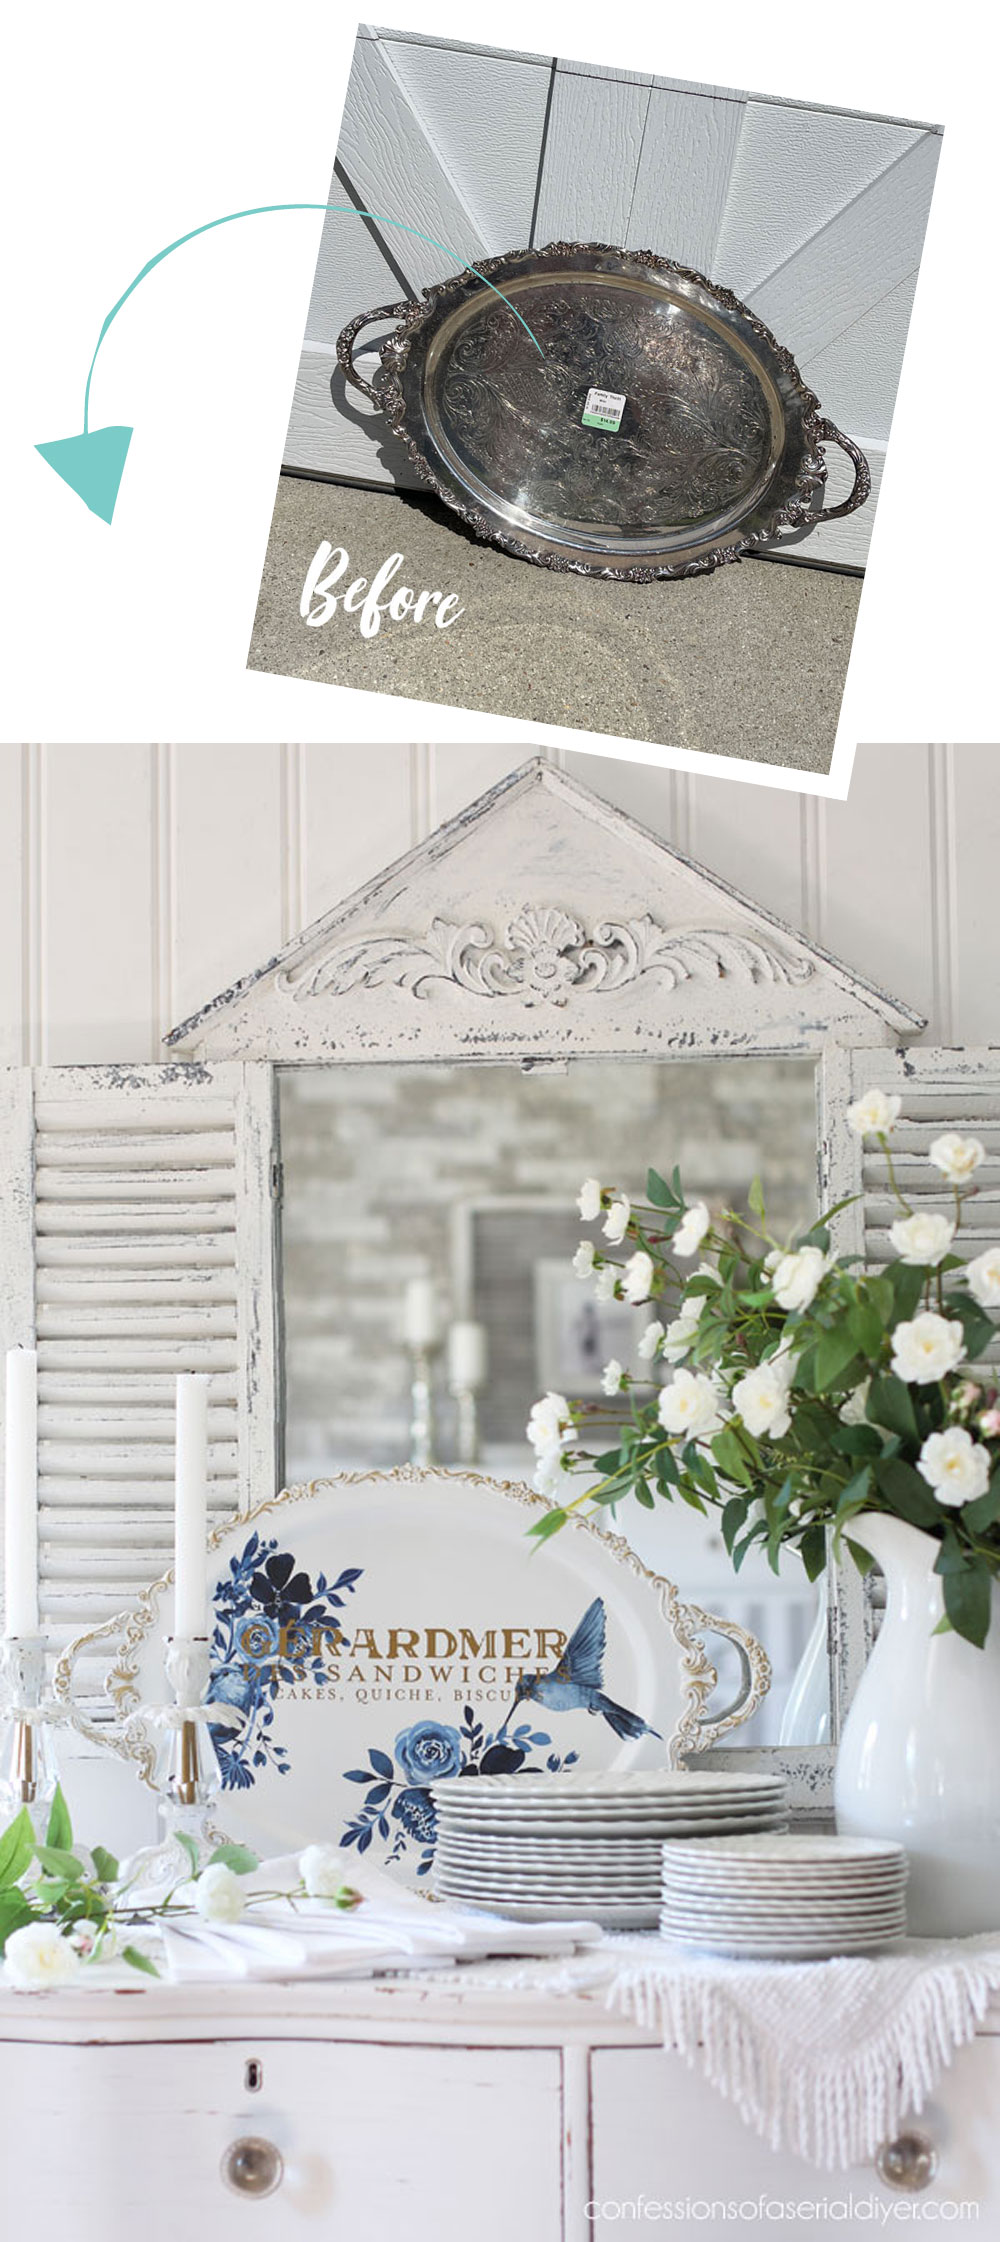
Hello, amazing friends, and welcome back! Thank you for all the love on our Halloween display! I’m so glad that so many of you look forward to it each year! I do too! Today, I’m sharing how to update a silver tray. I’ve shared a few of them like HERE and HERE. I just love the gorgeous details on them! And, I couldn’t pass this one up when I learned all green tags were 75% off:
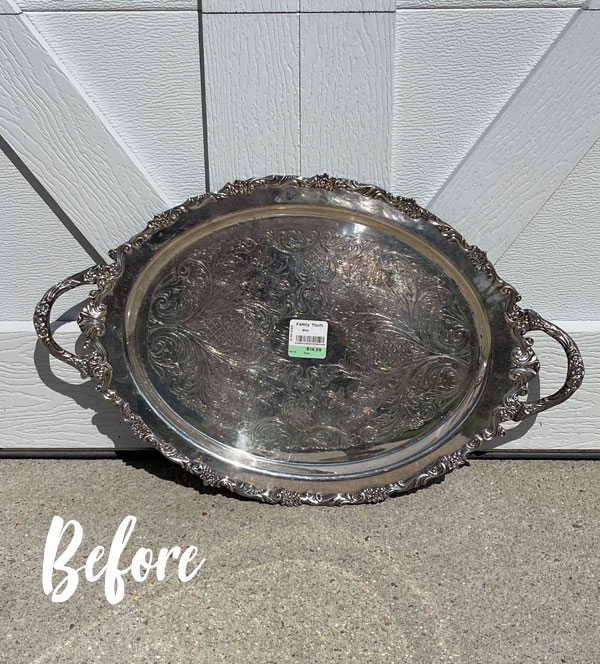
That made it less than $5! Yes, please!
And this is silver plated, by the way. I would never paint actual silver. (It should have a sterling silver marking on the bottom if it is the real deal.)
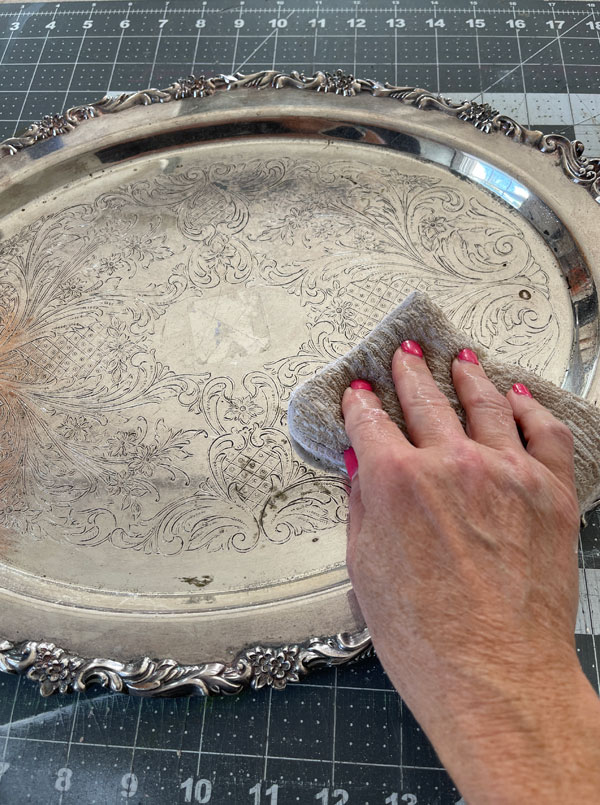
Clean
Just about every good makeover starts with a good cleaning. I was asked recently if the tarnish on silver needs to be cleaned away before painting, and the answer is no.
I use White Lightning mixed with warm water to give this one a good cleaning and then gave it another wipe down with clean water and it was ready to prime.
Prime with Slick Stick
While chalk mineral paint has excellent adhesion properties, it is a good idea to prime non-porous surfaces like metal, glass, and laminate. For that, I use Dixie Belle’s bonding primer, Slick Stick.
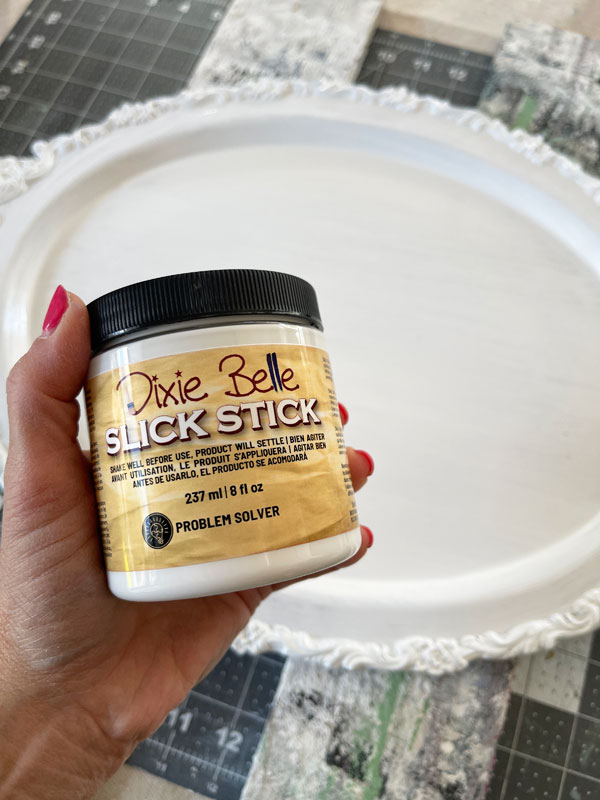
UPDATE 2025: This product has been combined with Dixie Belle’s stain blocking primer, BOSS, to create one convenient stain blocking AND adhesion primer in one called Bonding BOSS!
Apply one coat and allow it to dry for 24 hours before painting.
Paint
The paint I used was Dixie Belle’s Cotton, and it did take three coats for solid coverage.
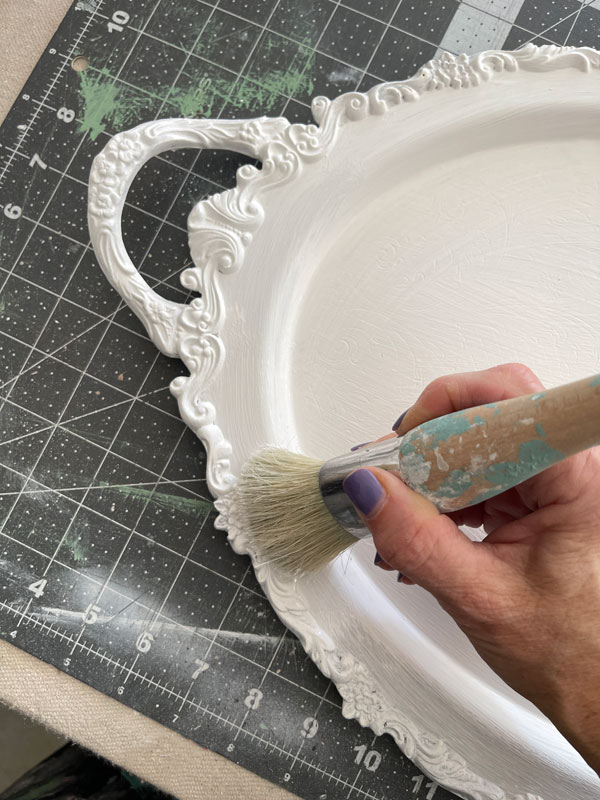
This Belle Brush is great at getting into all those details easily!
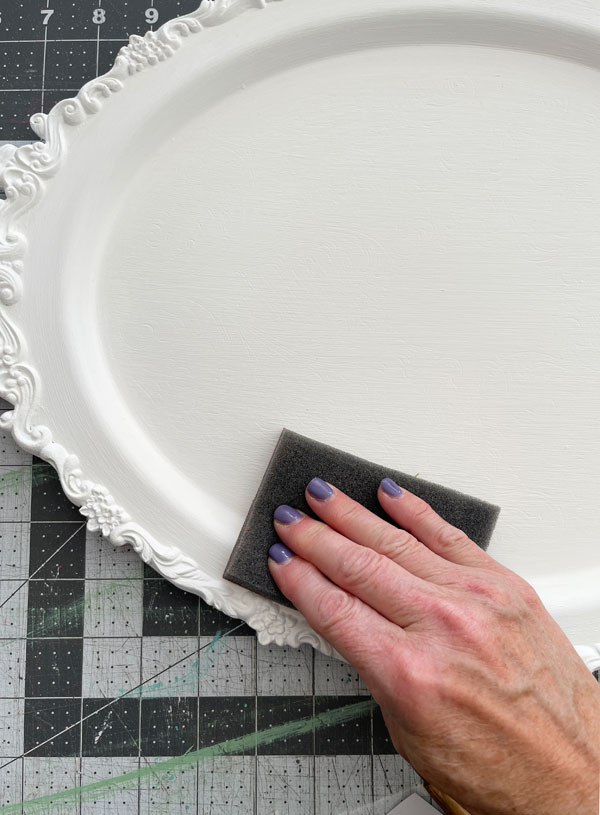
Sand
I didn’t want to distress this one this time, but chalk paint needs to be smoothed out and these fine sanding sponges do that quickly and easily without a lot of sanding dust:
Transfers
Once I had a blank canvas to work with, I had to go to my transfers to pretty this up! I have so many scraps that I decided I would try to use some of them up.
I had these pieces left over from the Pretty in Blue transfer that I used on this desk and this box:

The patterns in this transfer are joined to one another, but you can easily cut them apart with a little strategic cutting.
I cut three pieces to embellish this silver tray and got started:
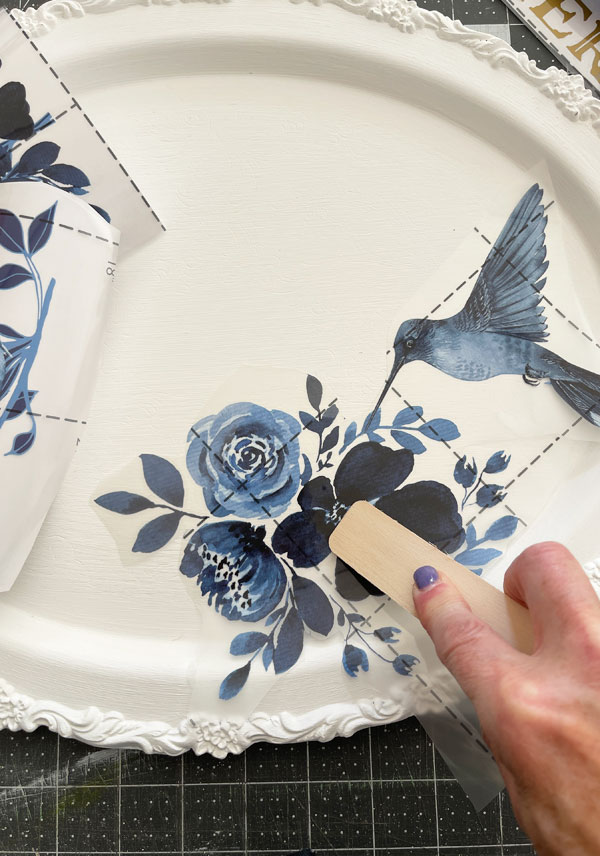
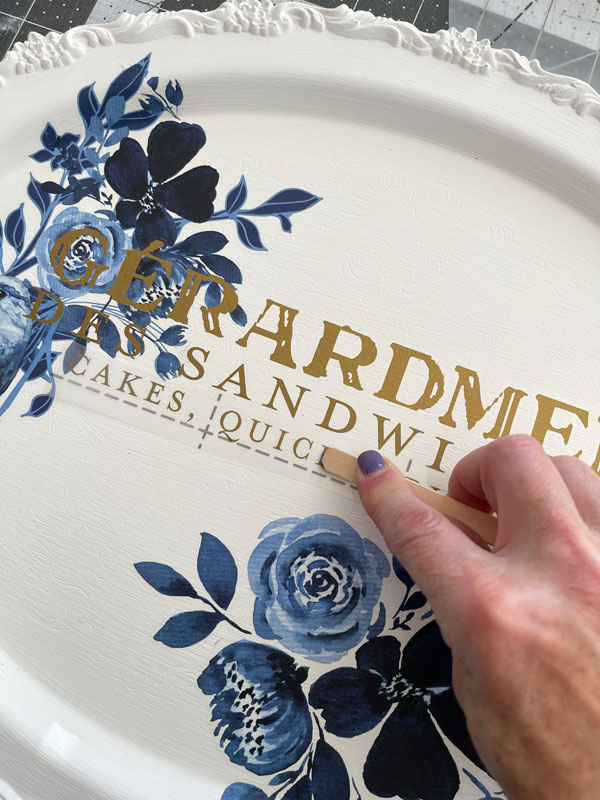
How to add a transfer
If you haven’t used transfers yet, they are super easy to add to your projects!
- Get an idea of how you want to arrange it first like I did here. Transfers can be cut apart and combined anyway you like.
- Peel off the white backing.
- Lay the transfer onto your surface.
- Use the enclosed stick (or this fancier tool) to burnish (rub with pressure) to release the image from the clear top sheet onto your surface.
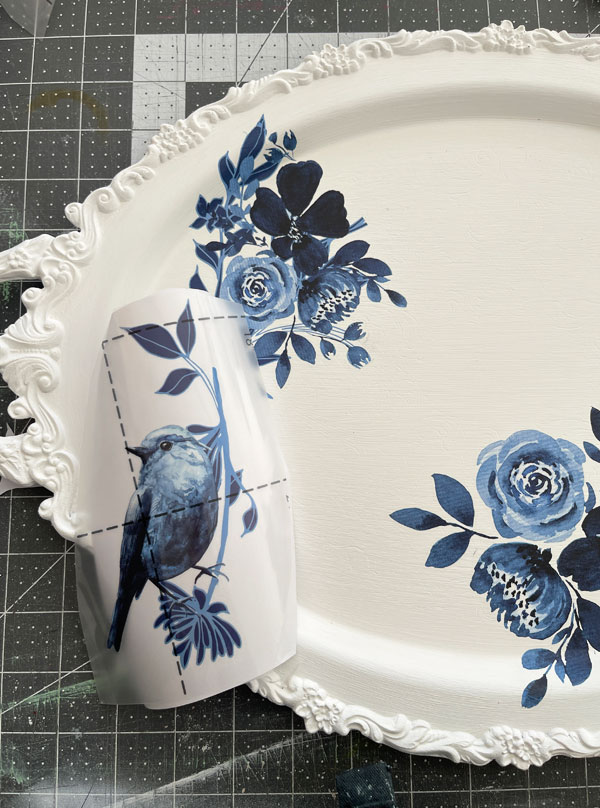
- Once the image has been transferred, peel back the clear top layer and remove.
- Then, take your fingers, a clean cloth, or a finishing pad and rub it across the entire surface of the transfer gently to be sure it is adhered well all over.
- If you have trouble removing any air bubbles, poke them with a pin to release the air.
That’s it!
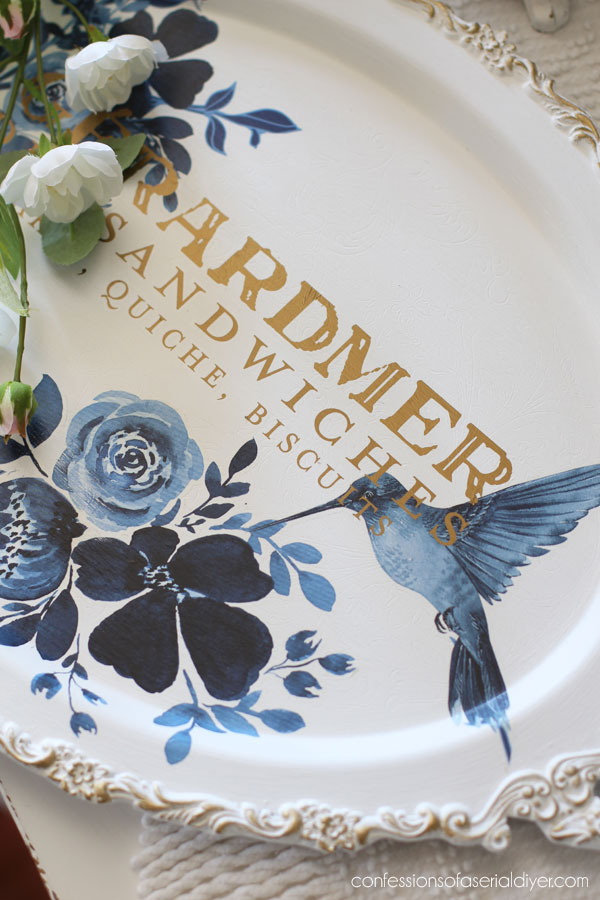
For the other side, I layered these two pieces:
But I wasn’t quite done! Just as I did in the other two makeovers I did using this transfer, I wanted to add some gold bling.
I had one sheet and a few lines from the Somewhere in France transfer:
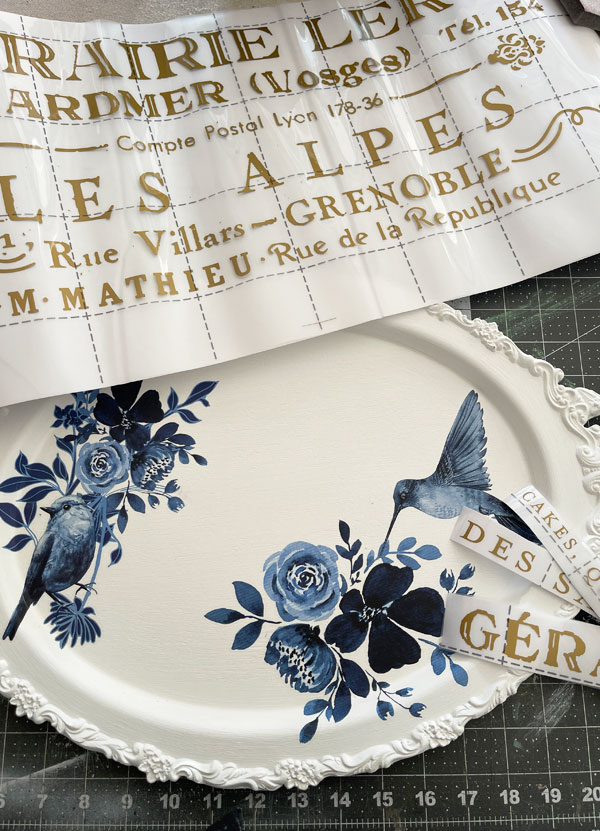
I didn’t even touch that full sheet I had left…the few lines of text I had were enough.
Seal
I sealed this finished tray with two coats of Clear Coat in Satin and this project was complete!
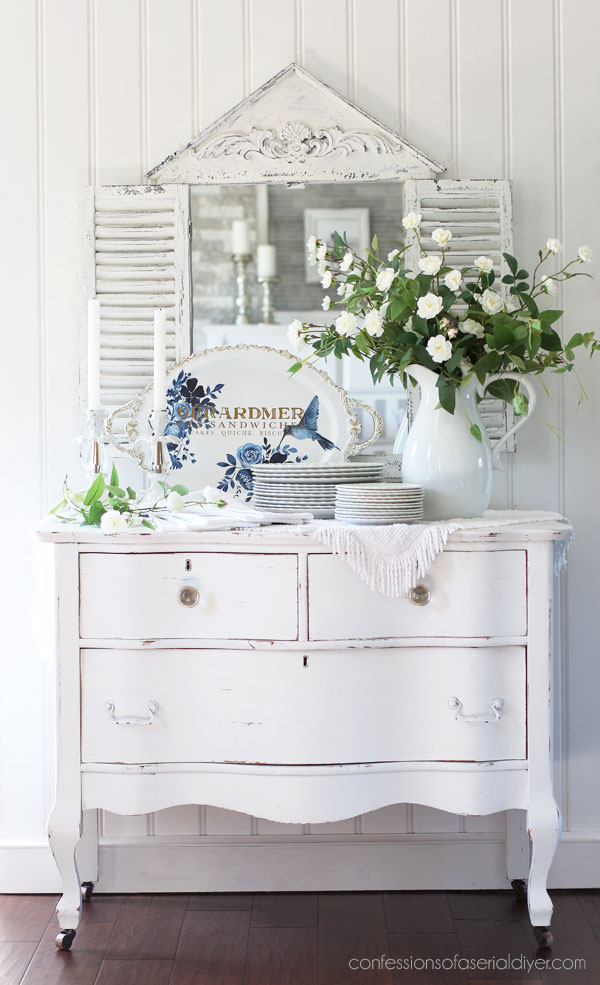
Update a silver tray…the after!
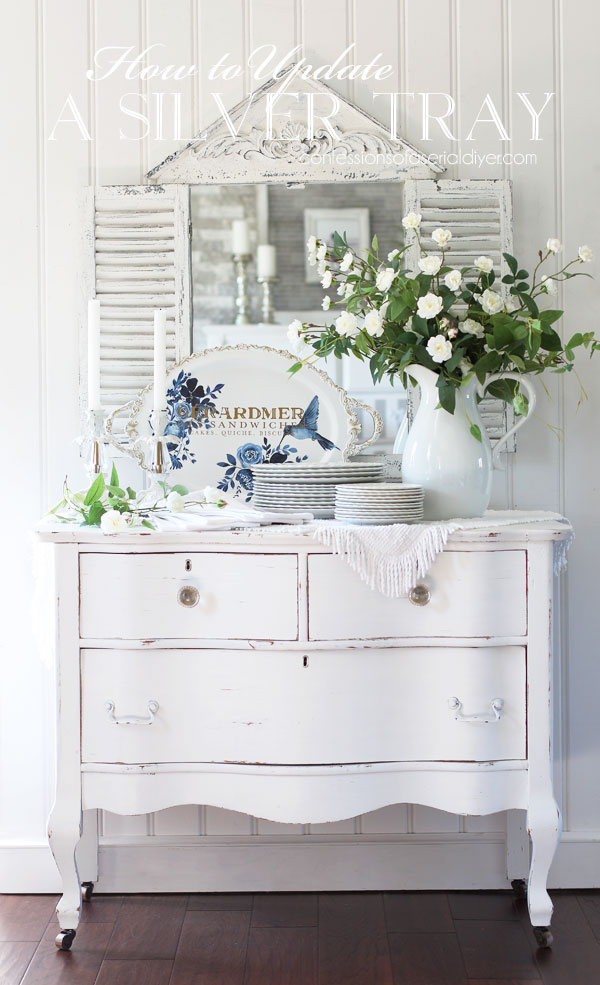
What a pretty addition it now makes to any table!
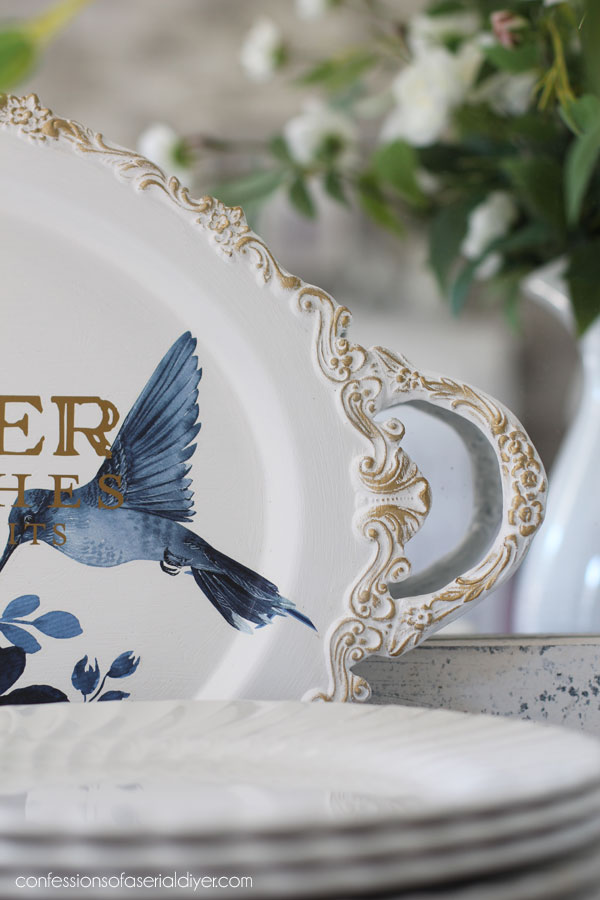
The edges got some special treatment too!
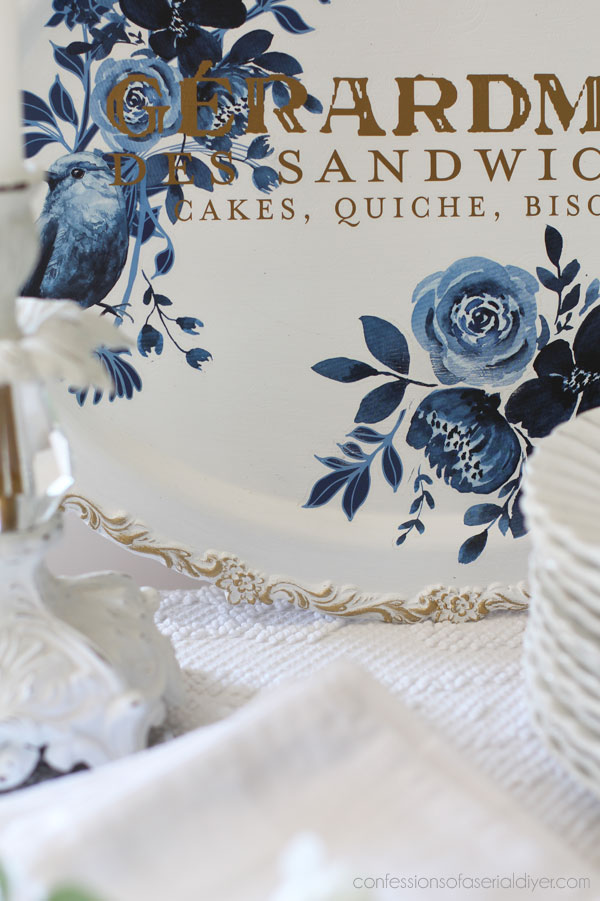
Gilding Wax
After sealing, I added Gold Gilding Wax to highlight all those beautiful details:
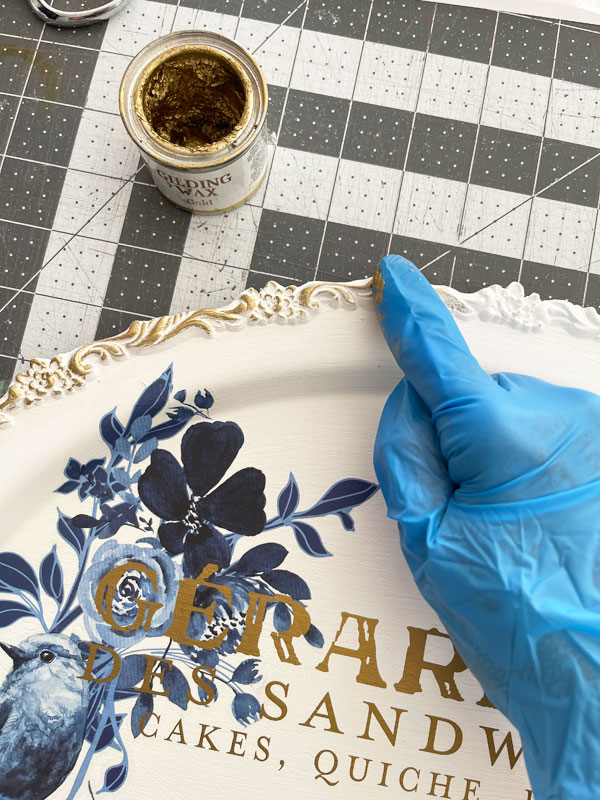
It really ties everything together.

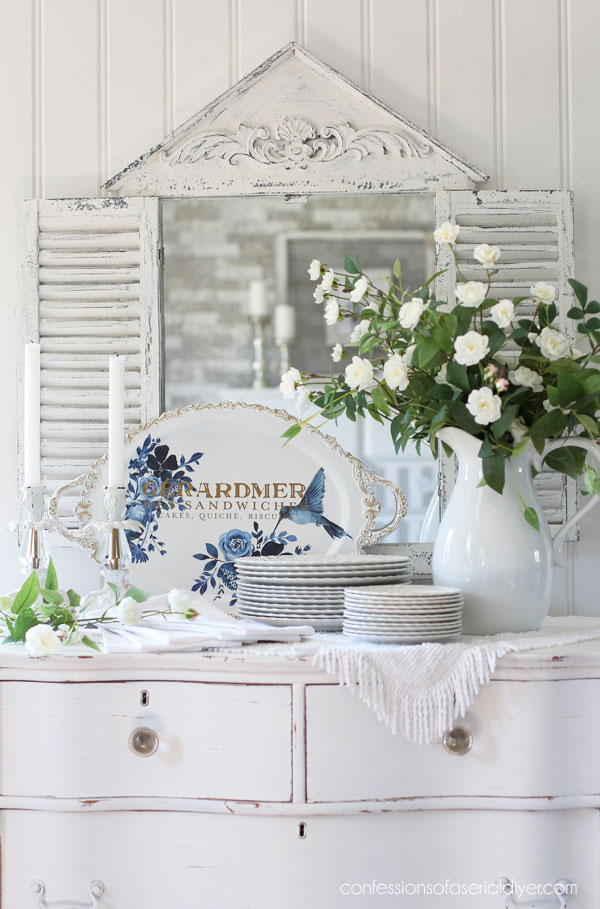
It was easier to stage standing up, but here it is flat also…
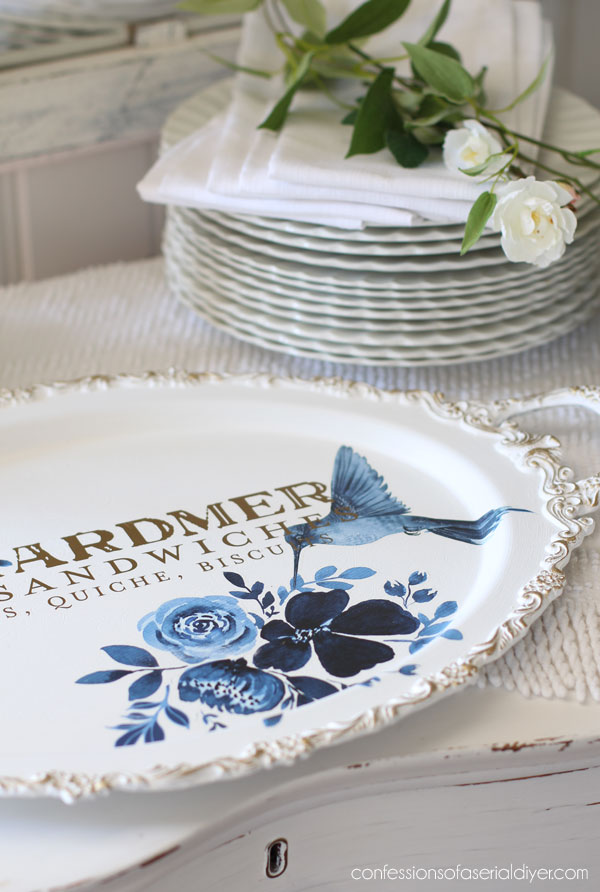
It’s almost too pretty to cover up!
And I love how nicely these two transfers work together…
My ironstone has been earning its keep lately…
And that is another way to update a silver tray! It is really so easy to do!
I think I need to start shopping!
Another one done…
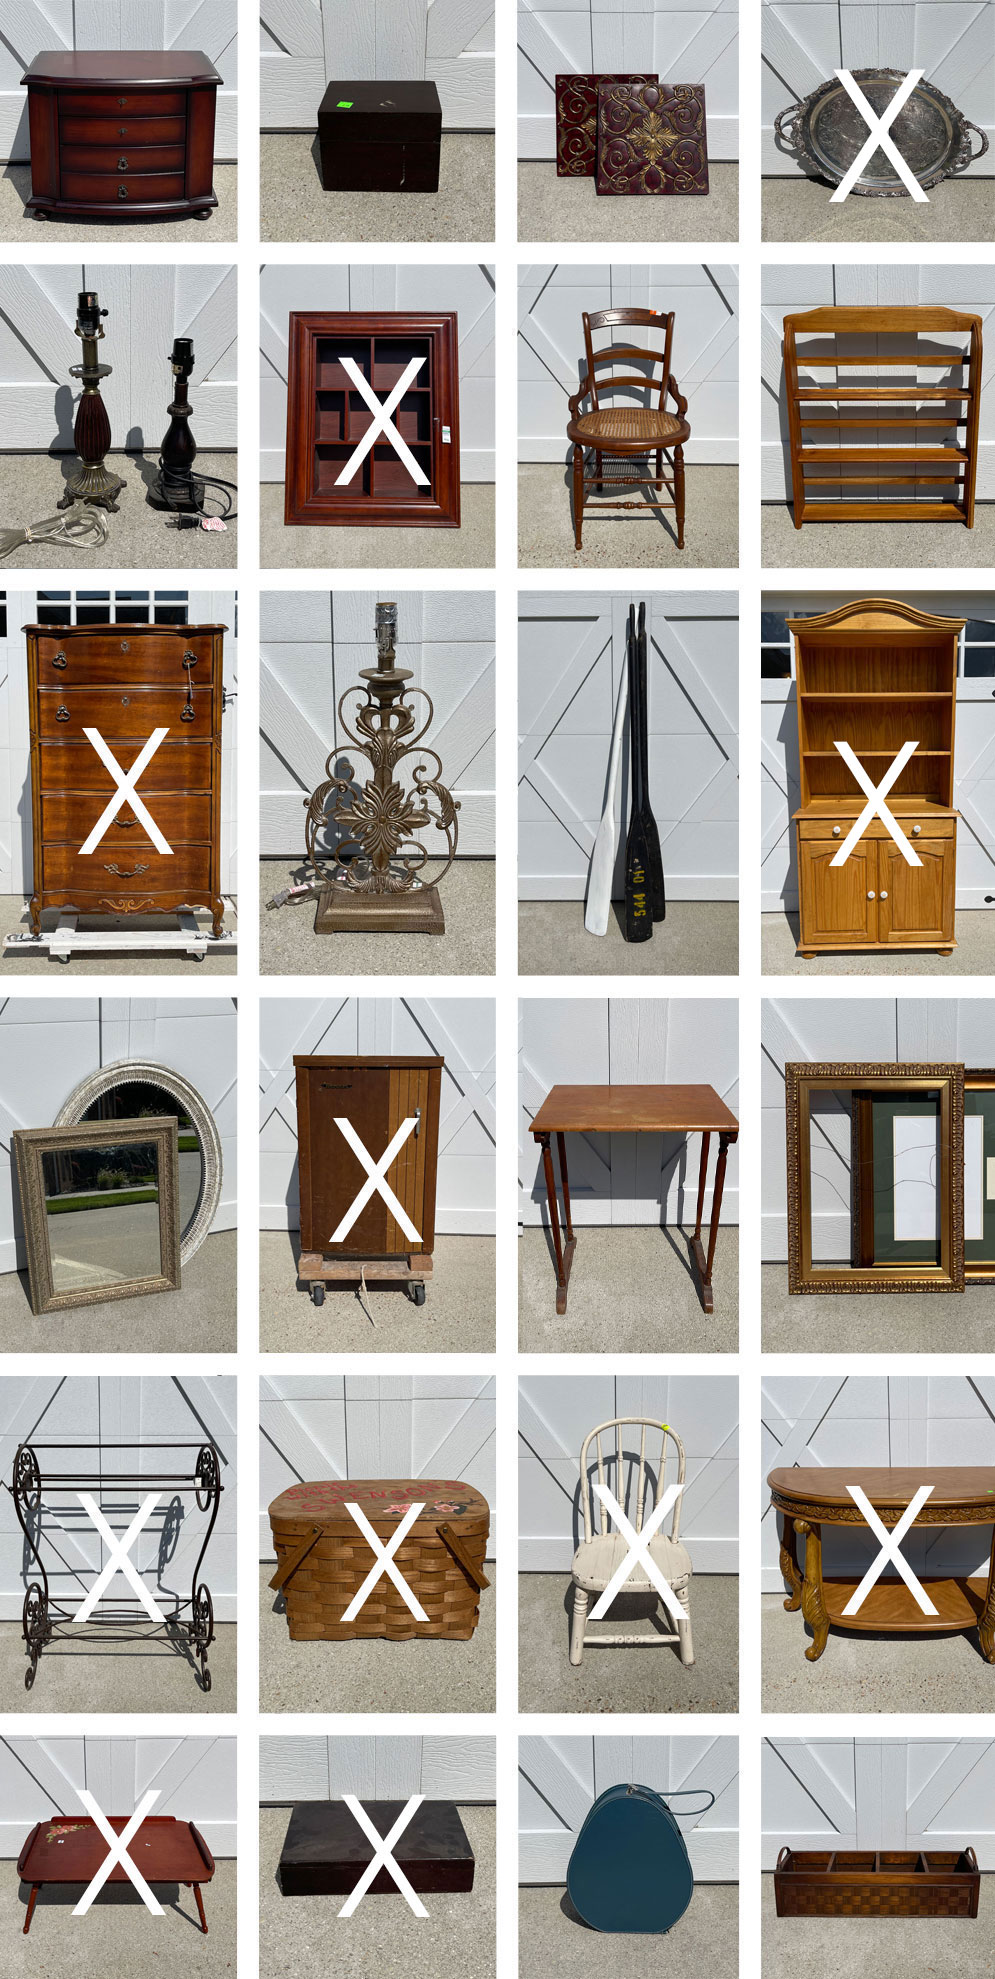
See any you may have missed so far below:
Painted Hutch Using Silk Mineral Paint
Update a Plain Box with Paint and Transfers
Vintage Tray/Easel Makeover
Framed Cubby Shelf Makeover
Update a Picnic Basket with Decoupage
Painted Metal Quilt Rack
Vintage Brother Sewing Machine Cabinet Makeover
Child’s Chair Makeover
Painted Console Table
French Provincial Dresser Makeover
If you missed it, I used these two transfers on this desk also:

See how pretty this one turned out HERE!
I hope you all have a fantastic weekend! I’ll be back resharing this beauty:
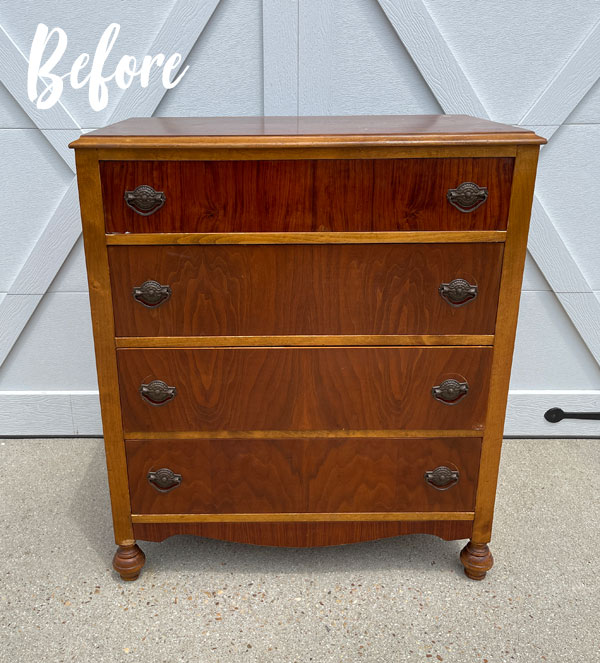
UPDATE: See how this pretty piece looks now HERE!
XOXO,

Don’t Miss a Thing!
If you like what you see, there are several ways to follow along!
EMAIL * INSTAGRAM * FACEBOOK * PINTEREST


Mary Kasier says
Oh it turned out so beautiful! The gold with the transfers makes it so elegant! That will only take 5 seconds and it will be sold from your shop! You always make the trays so beautiful, of course every thing you do turns out beautiful!
Christy says
Thank you, Mary! I just love the details on these trays, and it is so nice to have something that is already pretty to work with! You are the sweetest, my friend! Happy weekend! XOXO
Abbe says
Fantastic redo Christy! Your inspiration is addictive and I keep adding products to my cart. Your blogs are definitely my favorite.
We are able to email you with questions, correct?
Christy says
Aww I love that so much, Abbe! Thank you!! Yes! You can absolutely email me, either through the contact me link on my blog or via my Etsy shop…I get notifications for those messages so you’ll likely get a quicker reply! XOXO
Laurie Levinson says
This is gorgeous! I painted a tray once I saw you do the pink one. I actually copied the color and I love it. Happy belated Halloween.! -Laurie
Christy says
Thank you, Laurie! Awesome! I love Conch and the gold together! XOXO
Marcie Lovett says
So beautiful, Christy! Is there anything that won’t benefit from a little transfer action? The best part is that you used bits left over from something else.
Christy says
Thank you, Marcie! I am so addicted to transfers ha ha!! And yes…yay for using up leftovers!! Have a fabulous weekend! XOXO
Vicki Bray says
Such a great job looks so good painted! I do have a question for you, does the gilding wax dry to the touch? or does it remain tacky? Would love to use some on a couple of pieces I have if it dries well! Thanks
Christy says
Thank you so much, Vicki! Gilding wax does dry to the touch. For smaller applications like this, I just rub a little on and that’s it. It’s oil-based, so it goes on last and will take up to three days to dry completely. If you use it on a larger area, spread it on and allow it to dry for 24 hours. Then you can buff it to a sheen if you like. XOXO
Michele M. says
Oh my gracious, Christy, it is absolutely stunning!! I have that exact tray (that wasn’t cared for so it’s never going to be shiny and lustrous anymore) and I even have your Slick Stick. I need to do this soon. Am I ever inspired. It’s so pretty!!! Thank you!
Christy says
Aww thank you, Michele! How perfect…sounds like a project is in your future! Enjoy! XOXO
Denise Zdziennicki says
Beautiful Christy! XOXO
Christy says
Thank you, my friend!! XOXO
Zefi Famelis says
So pretty!!! Thanks for sharing! I’m sure mom has some old trays around here somewhere…
Christy says
Thank you, Zefi! They are so fun to update! XOXO
Cheryl Atkinson says
Hi Christy!!! If I was still upcycling of had my booth i would get this transfer. It is so pretty. Your tray turned out beautifully.
Christy says
Thank you so much, Cheryl! It’s so versatile since it’s pretty neutral! XOXO
Donnita Alexander says
Wow You did a great on the platter. I just love it. I Have a platter all most like that and I hate cleaning it so often. Thank You for the ideas.
PS, it will have to wart until after Christmas. Merry Christmas and a Happy New Year!!!!!
Christy says
Thank you, Donnita! I’m so glad you enjoyed it! Merry Christmas! XOXO
Kara says
Is there a way you can paint silver plated trays and finish them in a way that they could be used and washed etc?
Christy says
Hi Kara! I don’t know of a way…maybe there is a paint out there that I’m unfamiliar with that would allow this? XO