Hello lovelies!! I hope you all enjoyed your Easter weekend!
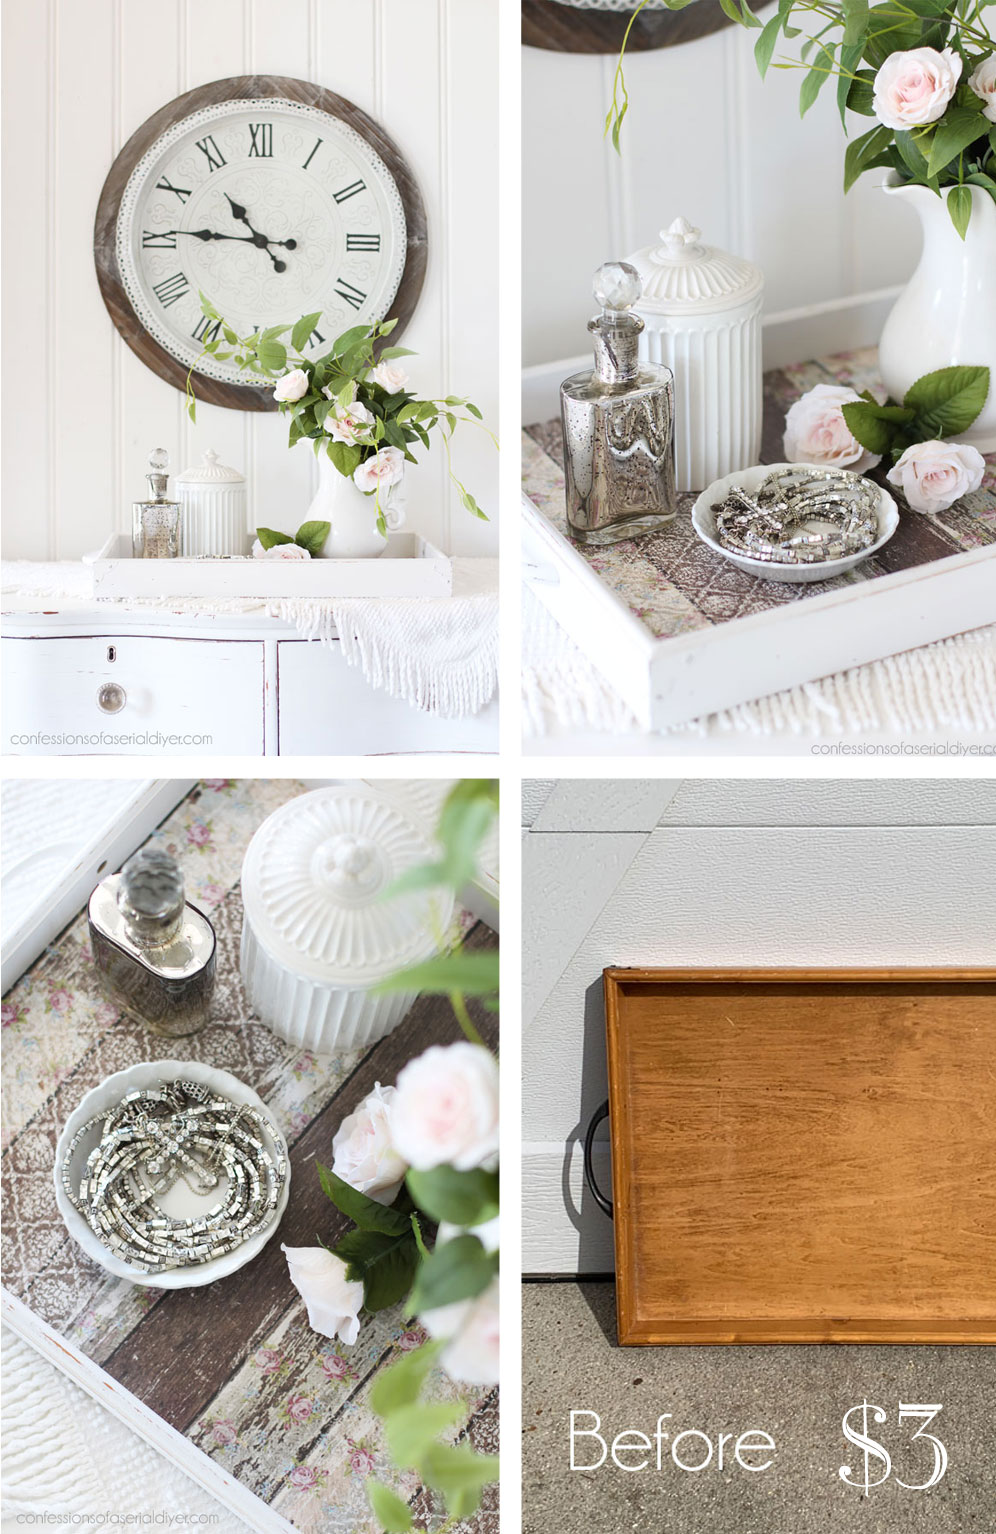
I’m back today with a quick and easy makeover on this tray I picked up for $3.25 at the thrift store:

There are so many possibilities with a simple tray like this!
I thought it was the perfect candidate for another decoupage paper makeover and I knew just the one I wanted to use!
I’ve included a few affiliate links so you can find the products I love.
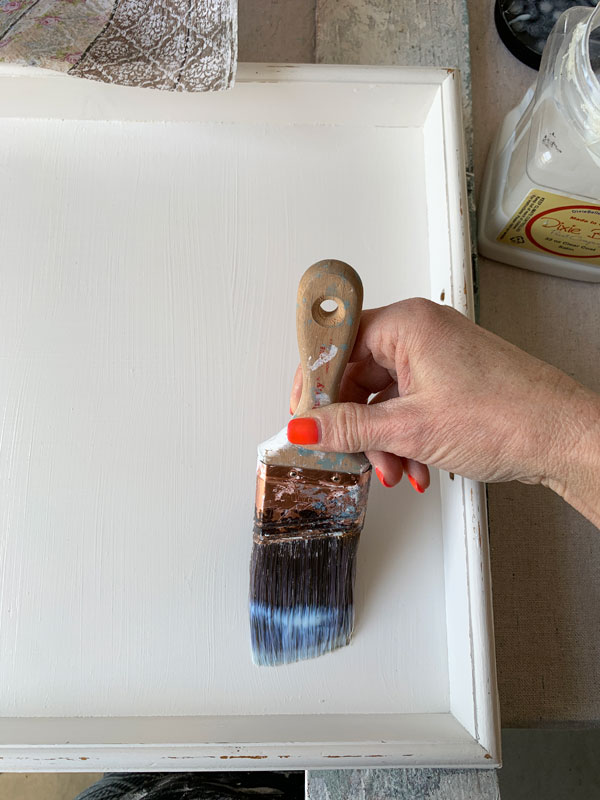
Paint
But first, I removed the handles, gave it a quick cleaning with White Lightning, and then gave it two coats of Dixie Belle’s Fluff:

I love Fluff because it gives full coverage in just two coats.
I use a lot of white, not only because I love it, and y’all know I love it, but also because it is a great base for so many other add-ons. However, if you prefer more color, then go for it!
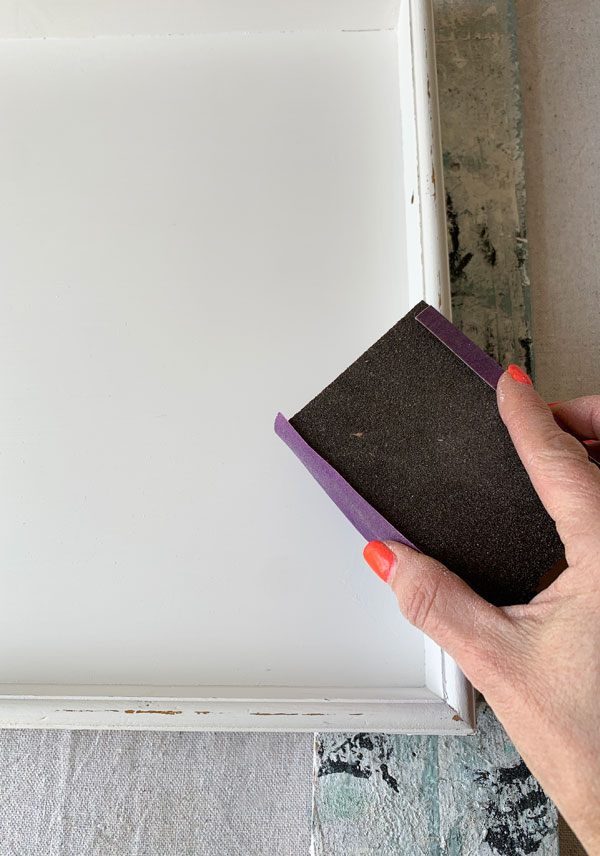
Sand
Next, I sanded lightly all over using 220 grit sandpaper. I buy it in sheets that I cut into four, and it wraps around an old foam sanding sponge perfectly. I think it’s much easier to handle sandpaper this way:
Decoupage
For this tray, I knew I wanted to use one of Dixie Belle’s new decoupage papers…this fun shabby chic looking one called Pallet Wood Pattern:
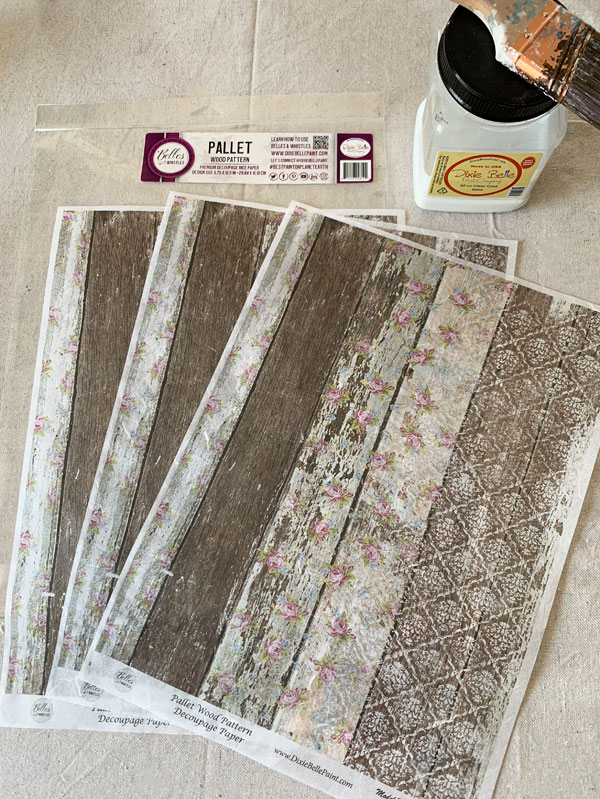
The finished size of the pattern on this one is 11.75″ x 16.5″, and each package comes with three sheets.
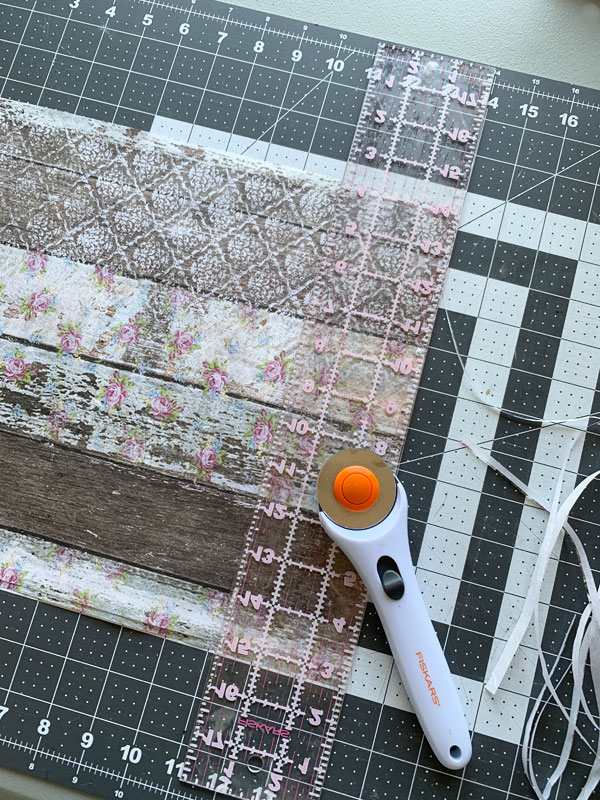
Before applying the paper to my tray, I cut off the white border using my rotary cutting set:
Then I applied Satin Clear Coat with a brush to use like an adhesive for the decoupage paper:
Using a brush rather than the sponge I usually use to apply sealers, allowed me to apply it a bit more liberally and to get into those inside corners more easily.
Then I lined up the paper and used my hand to smooth it onto the surface:
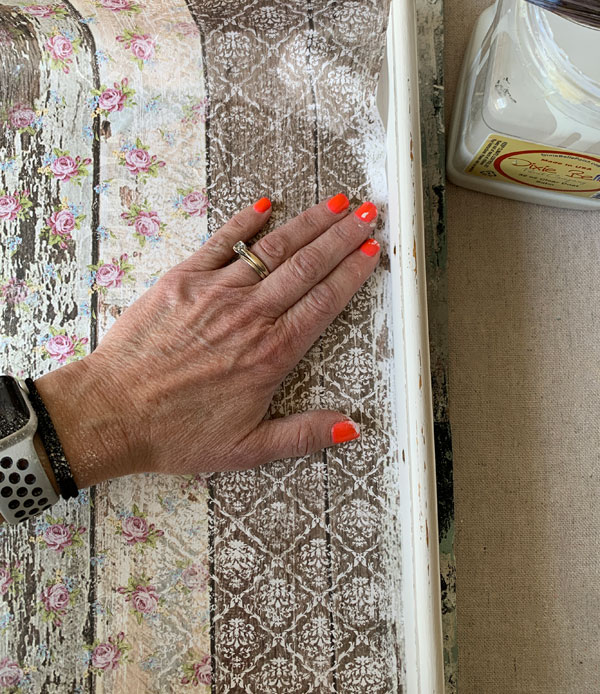
I didn’t precut the paper to fit, but instead chose to adhere the paper first and trim the excess.
Once I had it smoothed out, I cut the excess with my utility knife:
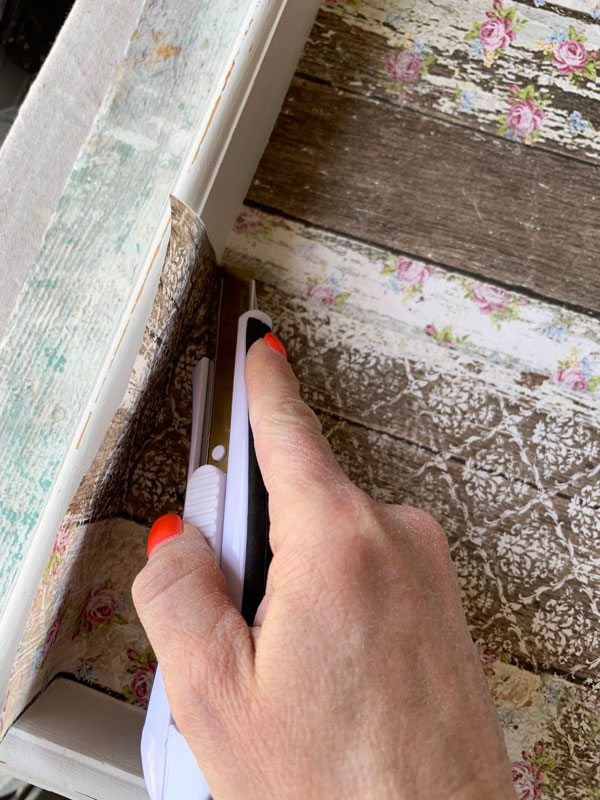
I used about one and a half sheets for this tray. Once I had the bottom of the inside covered, I sealed over the paper and the rest of the tray with another coat of the Satin Clear Coat:

When it was completely dry, I added a second coat over the paper on the bottom.
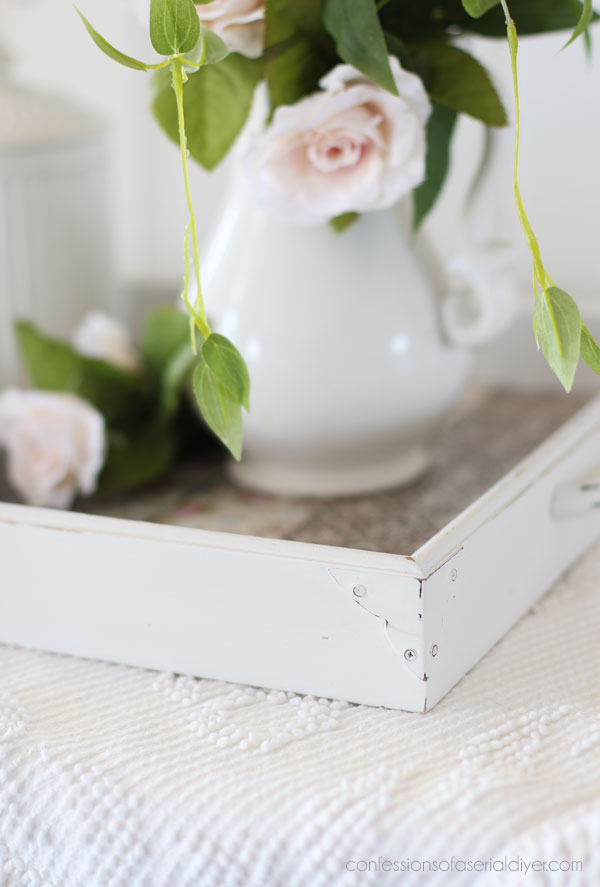
I painted the handles in the Fluff also, lightly distressed them, and then sealed them also and this tray was complete!
The Reveal
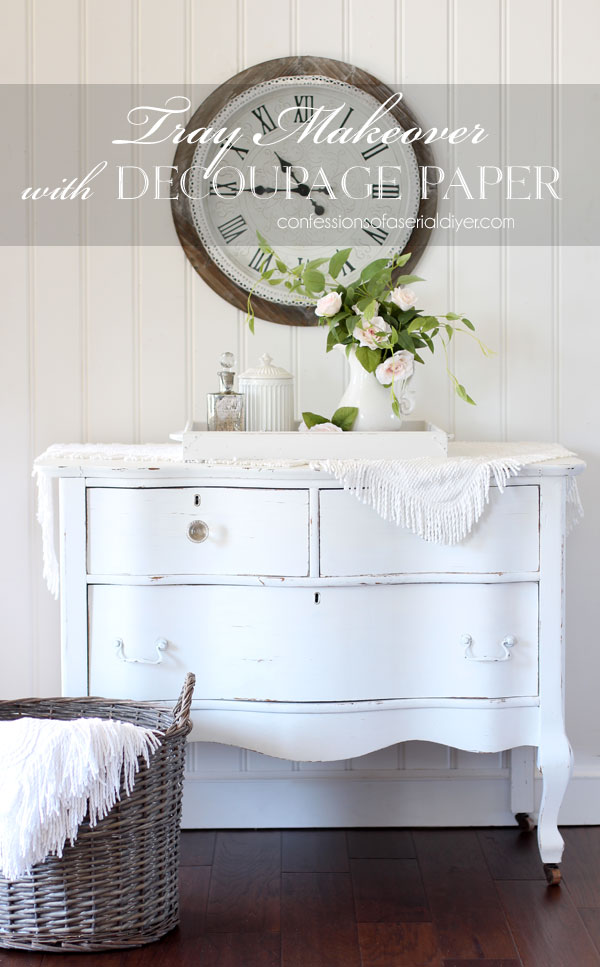
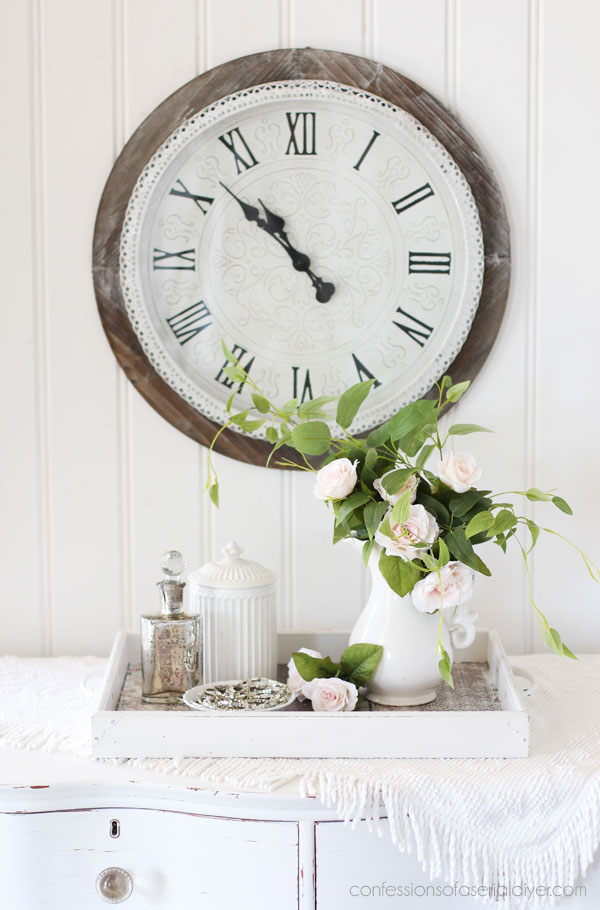
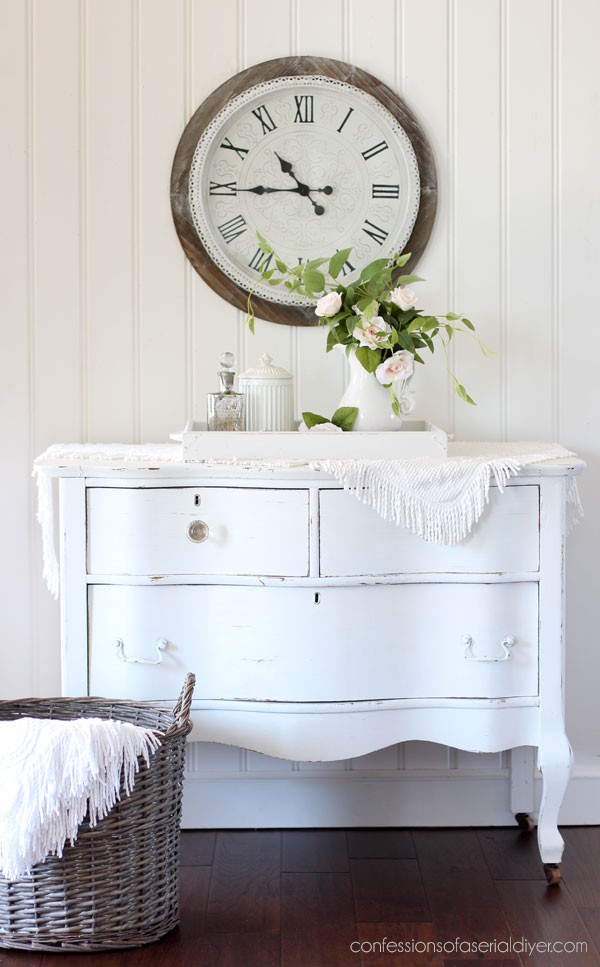
Here is how this tray turned out…simple from the front looking on:
And a bit closer…
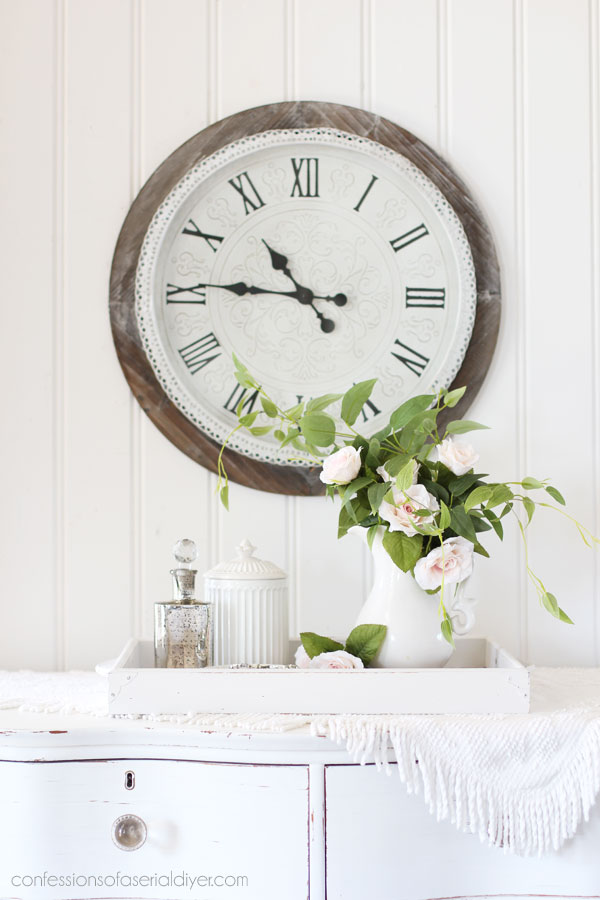
And now let’s see all the pretty inside!
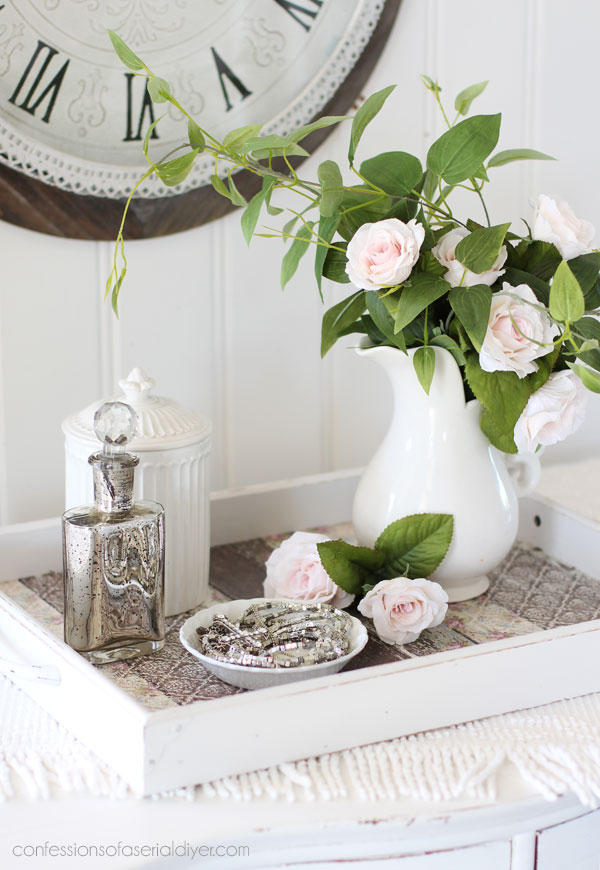
Ooh la la…
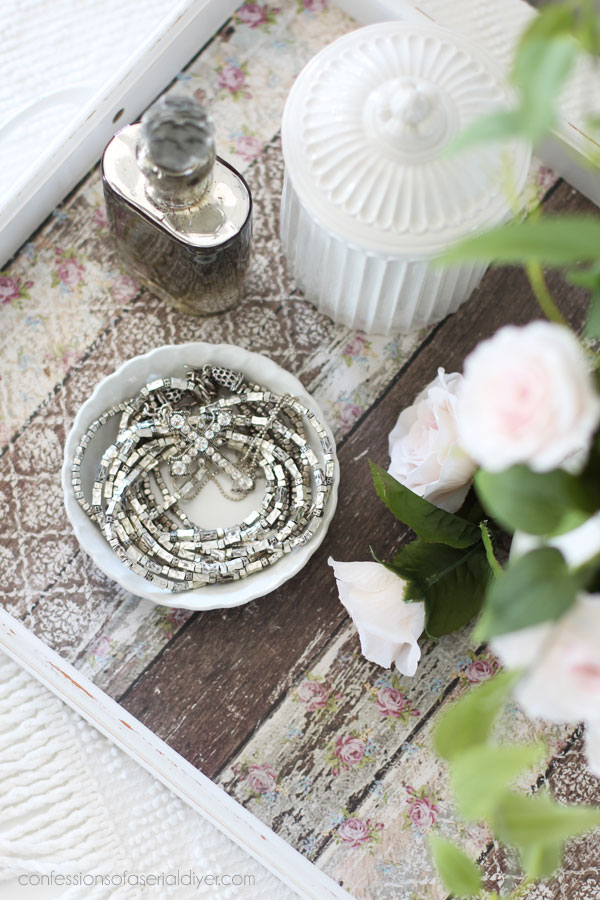
How sweet is that? Instant personality, and it was so easy to do!
Oh hello, Miss Lyla…

Of course I must have put that basket there just for her…always so curious!
This simple tray is a long way from where it started!
If you want even more tray makeover inspiration, you can check out 10 more oldies here:
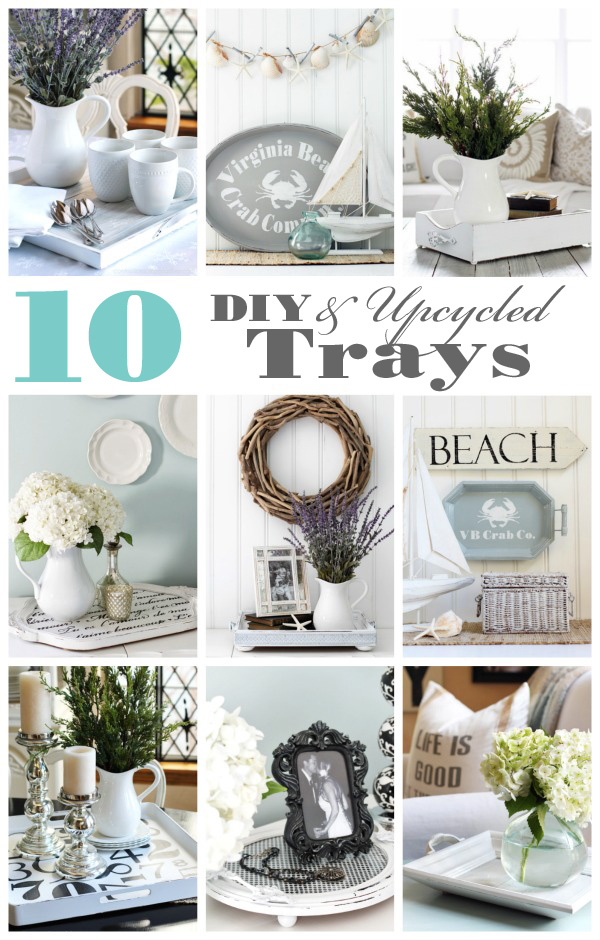
10 DIY & Upcycled Trays
Only three pieces left now, y’all!!
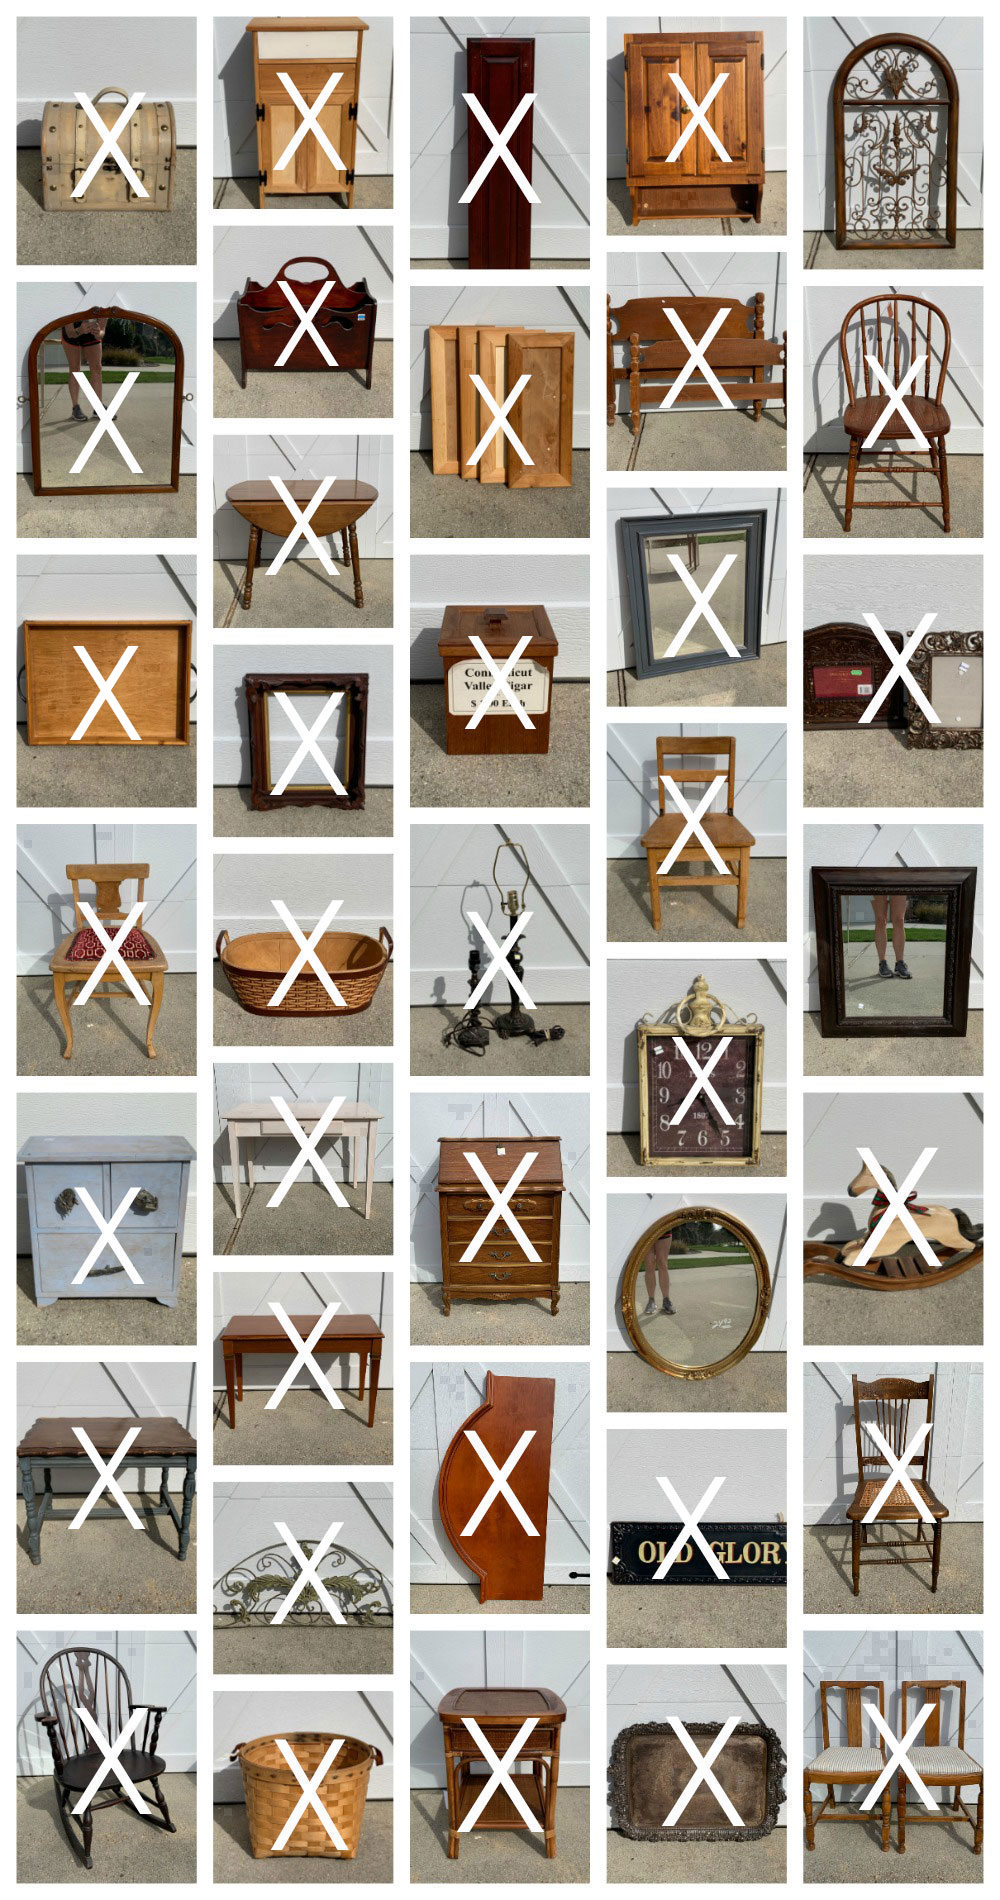
I’ll be back with this fancy gold plastic mirror on Thursday:

See y’all then!
UPDATE: See the simple update this plastic mirror needed HERE now!
XOXO,
![]()
Don’t Miss a Thing!
If you like what you see, there are several ways to follow along!
EMAIL * INSTAGRAM * FACEBOOK * PINTEREST * TWITTER


Mary Kaiser says
Oh how cute is that now, and thanks to Dixie Bell Paint and decoupage paper it couldn’t be more simple. I have some trays to make over in my stash. Thanks for the inspiration! I can’t believe you only have 3 pieces left from this big haul, better get shopping!
Christy says
Thanks, Mary! This paper really did make this one so easy! And, yes!! I’ve started shopping a little, but it’s slim pickins out there at the moment so far! XOXO
Maryellen Webber says
Beautiful tray Christy! Can’t believe you only have 3 pieces left! Wow!
Christy says
Thank you, Maryellen! I know, right?? XOXO
Sandi Mcgrath says
Could you please take an over head shot before you put stuff on it so we can get a clear picture of what you did.
Thank you
Christy says
I’d be happy to do that next time, Sandi! XOXO
Janice Holt says
The decoupage paper made this tray. Looks so pretty. Another job well done.
Christy says
Thanks so much, Janice! XOXO
Christina says
Christy , I love that decoupage paper design. It really adds charm to this tray. And trays make such wonderful gifts too!
Have a great week and enjoy some beautiful Spring weather!
xo
Christy says
Thanks, Christina! This is a really pretty paper! And yes, trays make excellent gifts! Enjoy your week too! XOXO
Cecilia from Georgia says
All your trays are so unique and lovely. That paper is so pretty and can be used in so many decor styles. I just decoupaged scrap book paper to a round wood table top… and messed it up :(-of course I did;(-so…how do I get the paper off the piece? I had to piece the paper and when I tried to cut it around the edge, the paper tore! I was able to pull that little piece off but the other had dried and it won’t budge. Do you have any helpful tips for me? I have not put the top coat of Decoupage gel on it. And it was looking so cute until I boo booed it up!
Christy says
Thank you, Cecilia! And oh no…I’m so sorry to hear that! Can you patch in a piece where you removed the part that tore? I’m afraid I don’t have an easy answer for how to remove the paper that is already on there. I hope you can save it! XOXO
Mariele says
I had to fix a decoupage mistake on a small wooden box… it was too big to patch and really just needed to be redone, so I used an electric sander and sanded it completely smooth, taking off a lot of the paper with me. Then I just Mod Podged and reapplied another layer of paper. You really can’t tell that there’s a thin layer of paper underneath. But mine was an extreme case, if I were you, I’d just dab some craft paint on the rip to help it blend in or patch in a tiny piece. Chances are, nobody will notice! Hope that helps.
Cecilia from Georgia says
Mariele, you are so kind to share your experience. I am ready to get the table back out and see if I can salvage it. I bought some fabric so maybe that will be easier. Thanks for the help.
Becky says
So pretty! Wow, you are almost DONE with this monster-sized haul! You are amazing!!!
Christy says
Aww thank you, Becky! I think my next haul will be much smaller lol, but glad to call this one almost done since it had so many pieces I’ve been hoarding for way too long! XOXO
Diana Cosgrove says
Good Morning from Massachusetts Christy….
Love your tray transformation…. I had a chance last week to pick up a plastic frame mirror similar to the one that you will be working on next! I didn’t purchase it, because I didn’t think that it would something that you would transform! Boy… I wish that I would follow my instincts… it was a very pretty oval mirror with faux wood detail around rim and at the top! Looking forward to your project for inspiration.
Diana
Christy says
Thank you, Diana! Oh no…I don’t often pick up plastic frames or mirrors unless they do have those pretty details! XOXO
Bev says
Gorgeous as always! I have 2 circular trays I’ve been wanting to do that effect but am not brave enough. I suppose If I cut the paper down and then ised the exacto knife?
Christy says
Thanks so much, Bev! Because I brushed on the clear coat, I made sure not to get it on the sides, so the paper only stuck to the bottom. I was then able to trim it pretty easily. Just be sure to have a fresh blade, or you could cut it first if you prefer! XOXO
Teresa Farrell says
Love the tray, but Lyla steals the show😄 She is so pretty. Have you done anything else with the new transfers and decoupage sheets?
Christy says
Thanks, Teresa! She always does lol! In my last two posts, I did a bench and mirror where I used one of each, but that’s all so far. I’m really enjoying having new toys to play with! Have a great weekend! XOXO
Rose Lefebvre says
Wow! It has so much character now! LOVE the paper.
Christy says
Thank you, Rose! XOXO
Sharon L Austin says
So simple and pretty; and I just love that paper!!! Little Lyla, such a cute little kittle (my personal word for kittens), I’m surprised you didn’t find her INSIDE the basket! lol
Christy says
Thank you, Sharon! I was surprised she didn’t hop in too lol! XOXO
Cheryl r Atkinson says
I love this tray, I can’t wait to use my papers. Very shabby chic
Christy says
Thank you, Cheryl! I love this one! Have fun with yours! XOXO
Carroll Xavier says
Love it, and the picture of Lyla 🙂 My cat’s the same, has to inspect anything new. I love when they stand on their back legs like people!
Christy says
Thank you, Carroll! Yes, they are so curious lol! XOXO
Mariele says
Your makeovers are always such a fun part of my week! Great job as always. 🙂
Christy says
Thank you so much, Mariele!! XOXO
Sue Mellette says
Love this new look. The decoupage paper that you chose is really shop stopper! What a beautiful transformation! I love the colors and the design. Your trays are to die for! They are so creative and unique. I am sure this will sell quickly! Thanks for sharing. Have a great week!
Christy says
Aww thank you so much, Sue! There is so much you can do to dress up a tray! Have a great week too! XOXO
Michele M. says
Your tray looks awesome!!! Only $3 and now it is super-de-duper!
I have painted many trays over the years, but never decoupaged – I want to try it soon. You always inspire me! Thank you for that!
Christy says
Aww you are so welcome, Michele! It really is the best compliment when ya’ll feel inspired to create! Thank you!! XOXO
Karen H says
Christy! I love that paper! As soon as I read this blog post, I quickly went and ordered the paper! Cannot wait to get it. I will do a tray just like you have done! You did a beautiful job! Thank you for the great idea. <3
Christy says
Thank you, Karen! Isn’t this paper so pretty?? I’ll get that out to you today! XOXO
Olga says
I always get so.much.inspiration from your blog Christy! You have no idea how many thrift store items jumped into my shopping cart because i was inspired by your ideas!!! Thank you for sharing – the tray turned out lovely!
Christy says
Thank you so much, Olga! And you are the sweetest!! I love that you leave here feeling inspired to create!! XOXO