Hello once again, sweet friends! You might be expecting to see what I did with the flatware box I gave you a peek at in Tuesday’s Painted Pine Dresser post. Well…about that. While it is done, photographed, and ready to share, I didn’t realize that today is Furniture Fixer Upper Day! My friends and I usually come together the fourth Thursday of the month to bring y’all brand new furniture flips. That’s typically the LAST week of the month, but it happened to come early this month since January 1st fell on a Thursday! Had I realized, I totally could have shared the pine dresser ha ha!
Oh well…I should know better, but alas, I dug through my archives and found y’all a fun one to reshare!

I originally shared this dresser an entire decade ago! Can you believe that? Let’s see if this makeover has stood the test of time AND if any of y’all remember it!
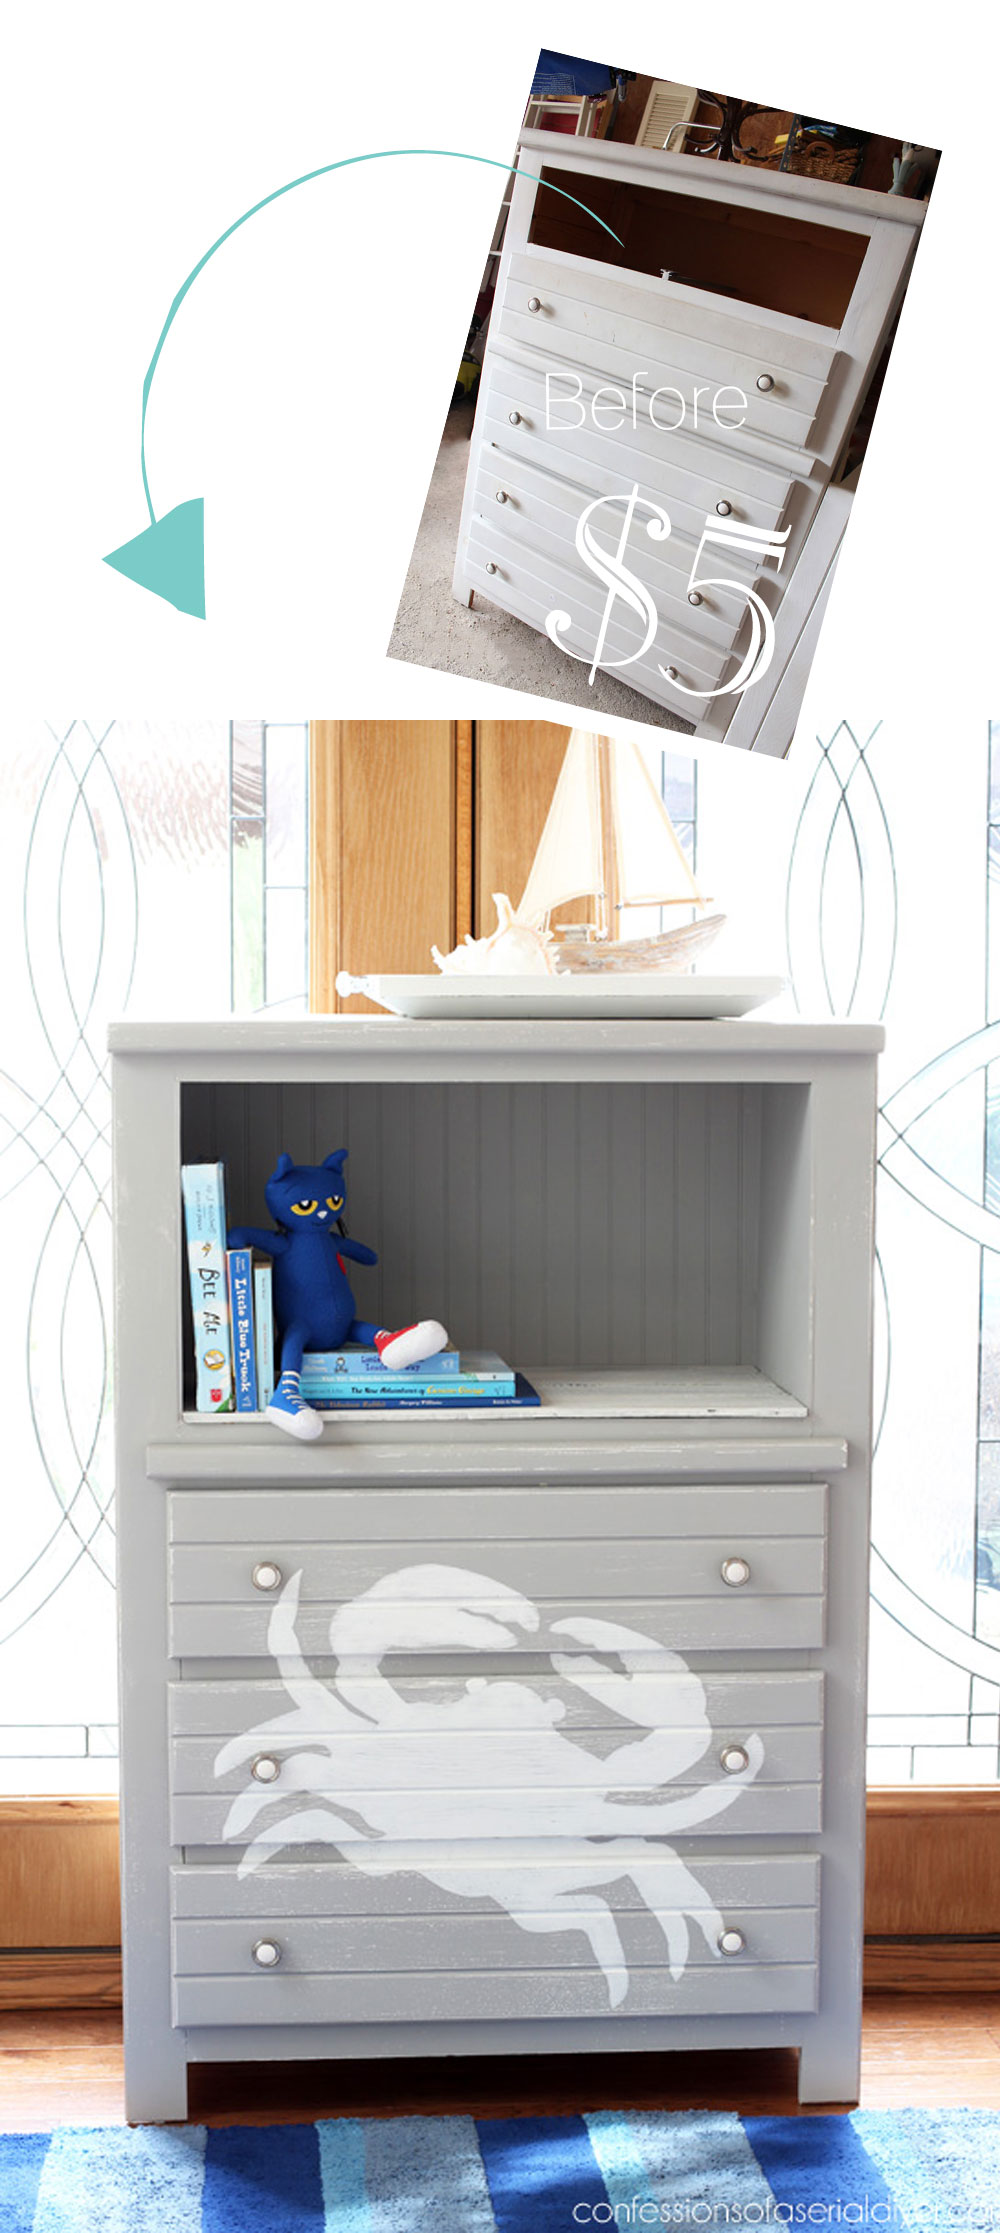
This is how I found it at a yard sale for $5:
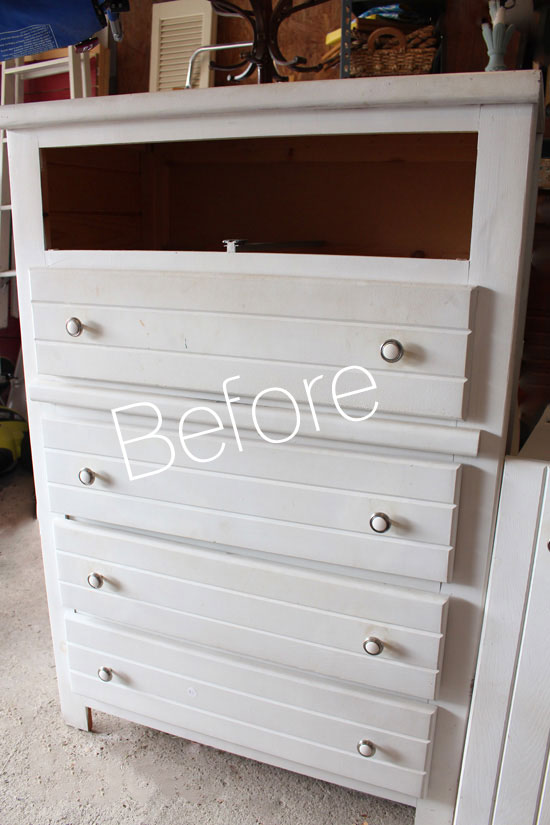
Yup. Five whole dollars. I think this was one of those purchases where you buy it because it’s so dang cheap rather than because you think you can really do something with it.
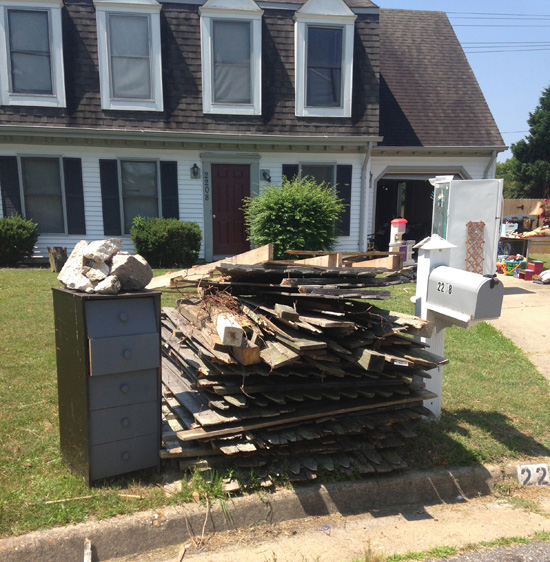
But also, I really stopped to browse this yard sale just to get a better look at this pile of discarded fence pickets ha ha:
This thing was a mess!

And, the top drawer wasn’t functioning properly either. Rather than try to fix it, I decided to take the top two drawers out completely.
Clean
I did start with a good cleaning. I like to use White Lightning for this step nowadays, even on already painted pieces since it is both a degreaser and a deglosser.
Create a Cubby at the Top
I ended up building in that area where the two drawers were by removing the support across the front in between the two drawers and using that to create supports for the new bottom of my opening. I covered the sides also and added bead board across the back:
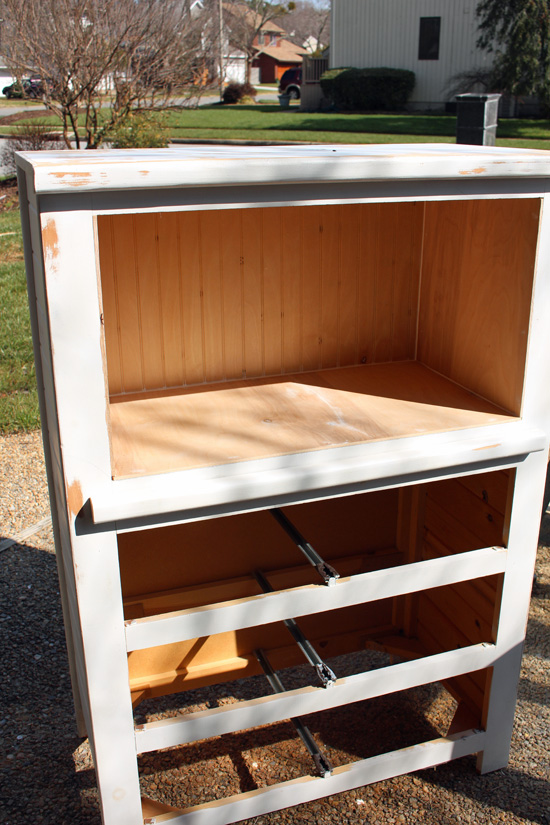
I didn’t always share every single step of my makeovers ten years ago, so this is all I have, but trust me when I say that it would have been much easier to just fix that wonky drawer!
And as you can see, I also sanded the old paint finish to smooth it out.
Paint
Once I had the new shelf area built in, I painted this dresser in a color that very closely resembles a favorite light gray custom mix I use often (like HERE) made up of about 25% Hurricane Gray mixed with about 75% Cotton.
Getting Crabby
Then, I wanted to add a little something fun. This was way before transfers were even a thing, and used a lot more stencils. I also transferred images quite often.
I decided I wanted to add a crab to the bottom portion of this dresser and found the silhouette of one that I liked online ( I just googled “crab silhouette”), and then I saved it to my computer. Next, I uploaded it to blockposters.com.
It’s quite easy to do and you just tell blockposters how many pages wide or tall you want your image. That’s my kind of math!
I wanted mine quite large and it printed out looking like this:
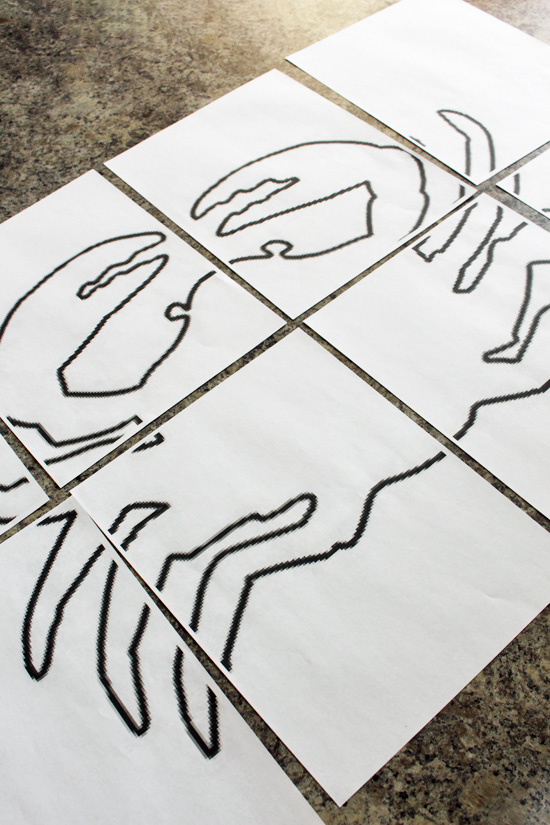
I taped the images together and then cut the crab out so I could trace around it. I did this with the the dresser on its back…
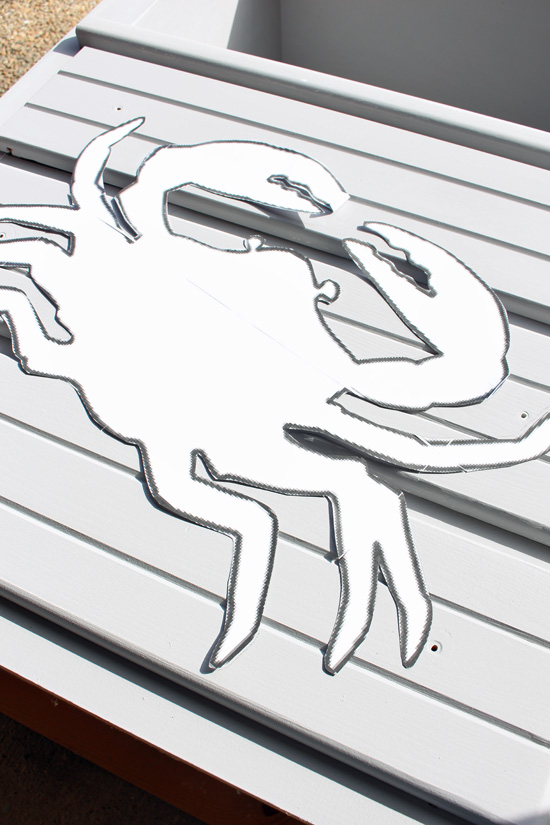
Then, I just painted it in using white acrylic craft paint.
Sand
I sanded lightly all over using 220 grit sandpaper to reveal the white beneath and sealed with clear wax. I would use Clear Coat or maybe even Gator Hide now since it might take some abuse if I were to redo this piece today.
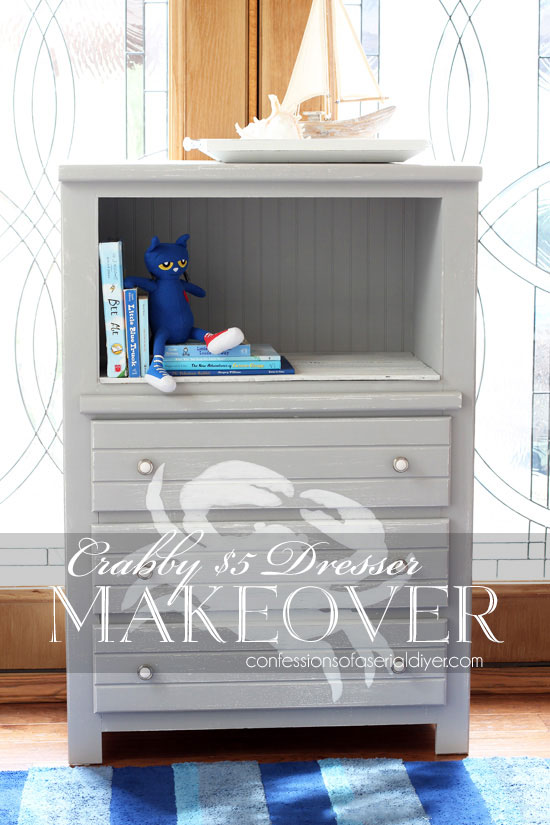
Crabby Dresser Makeover Reveal
Here is how this dirty, broken $5 yard sale find looks now!
Adding the crab was so simple, but it adds such a whimsical touch to this piece…
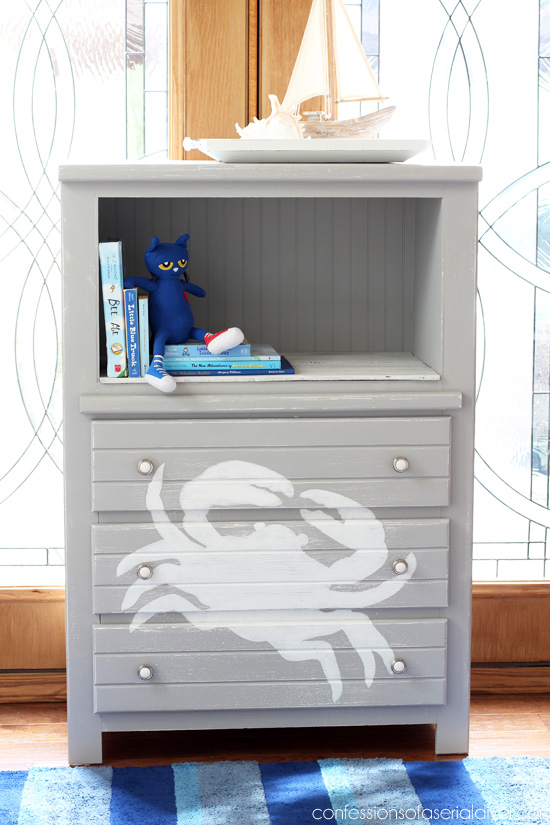
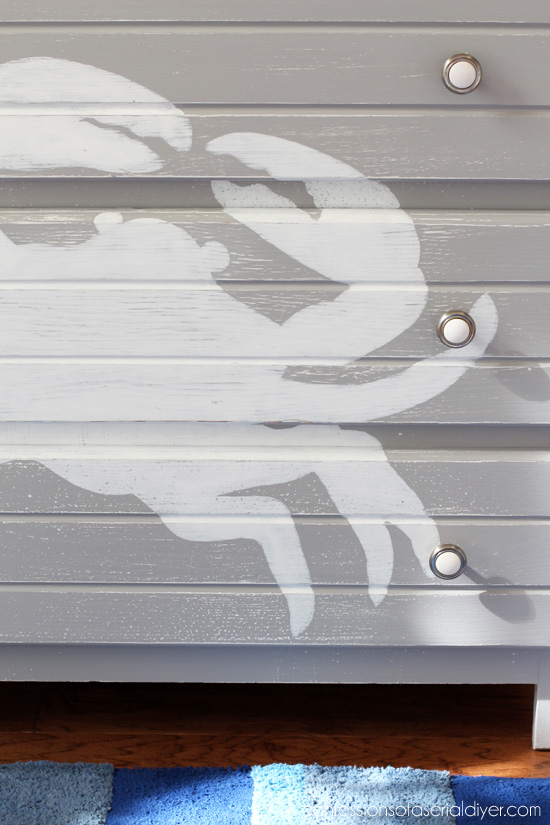
I love the white showing through when I sanded…it really adds that worn look I love…
What do you think of the cubby?
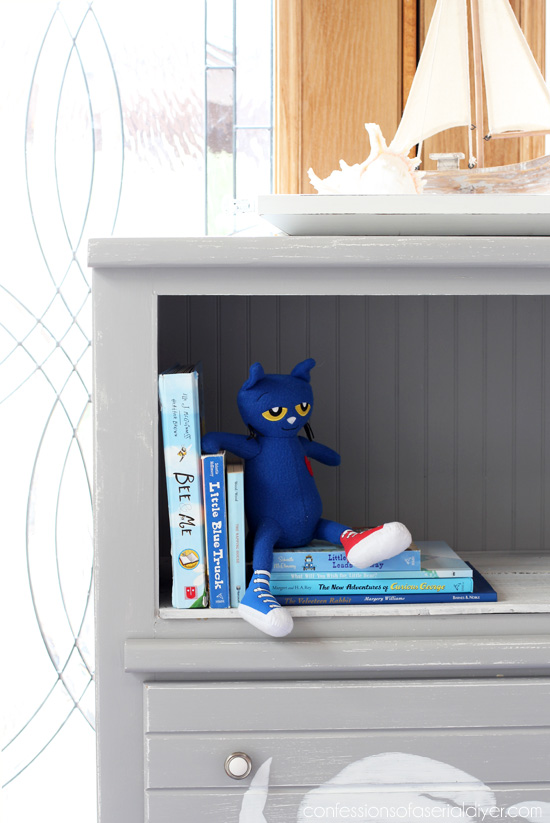
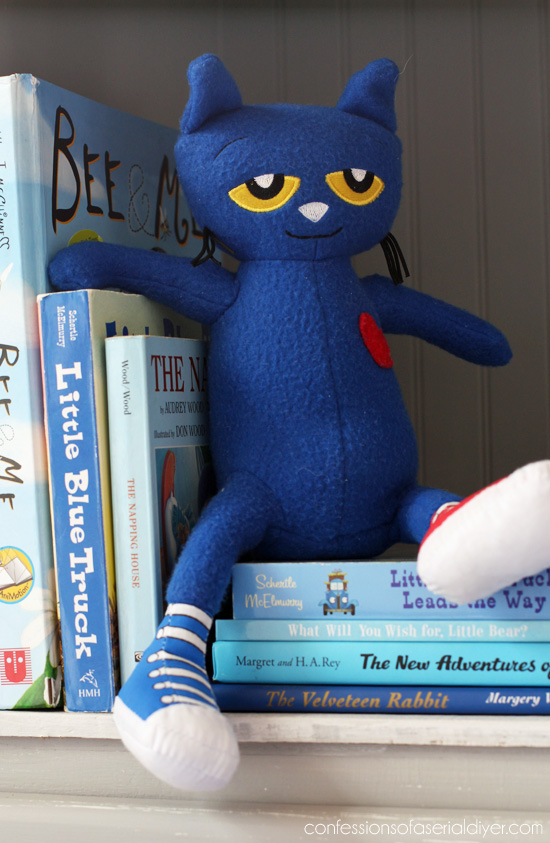
This would be so cute in a child’s room. I imagine the top filled with books. My boys loved their books when they were younger!
This is Pete the Cat. If you’re not familiar with him, his book series is a fun one.
Remember the fence pickets?
After whitewashing them, I used them to to cover the bottom of the storage area I created. (See how I whitewashed them easily HERE.)
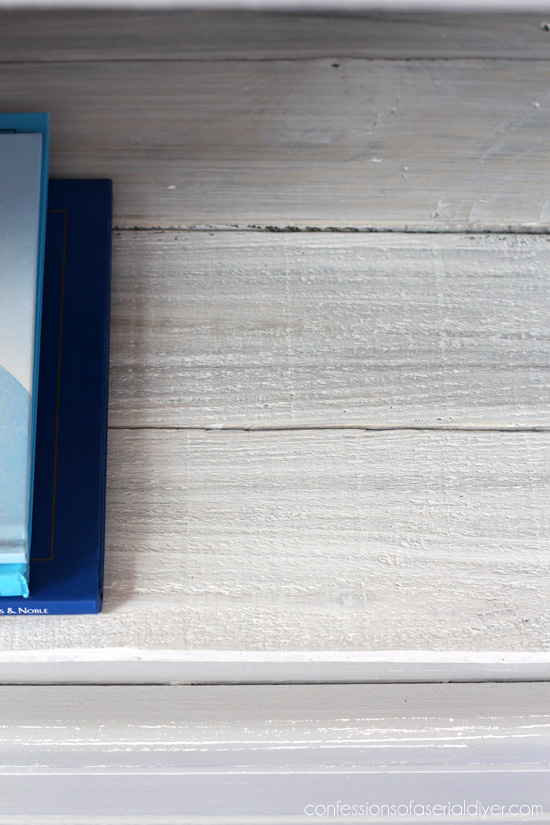
I just love the look of a whitewashed fence picket!

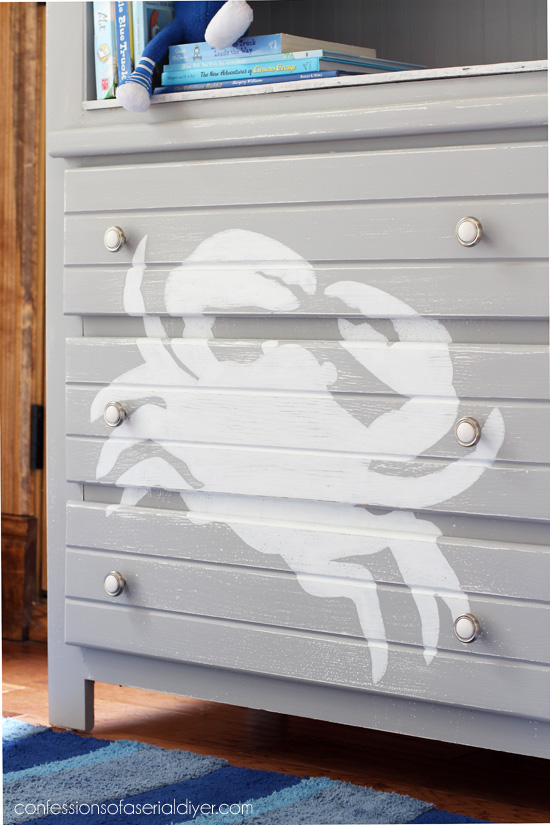
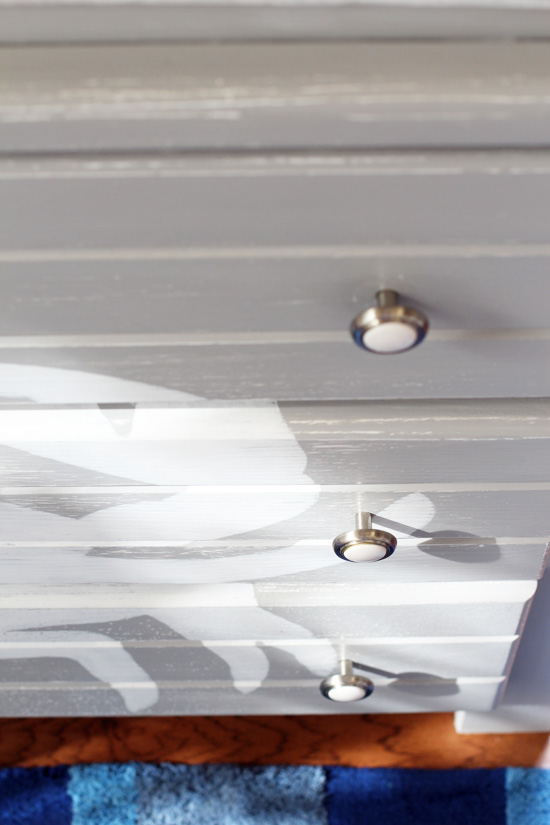
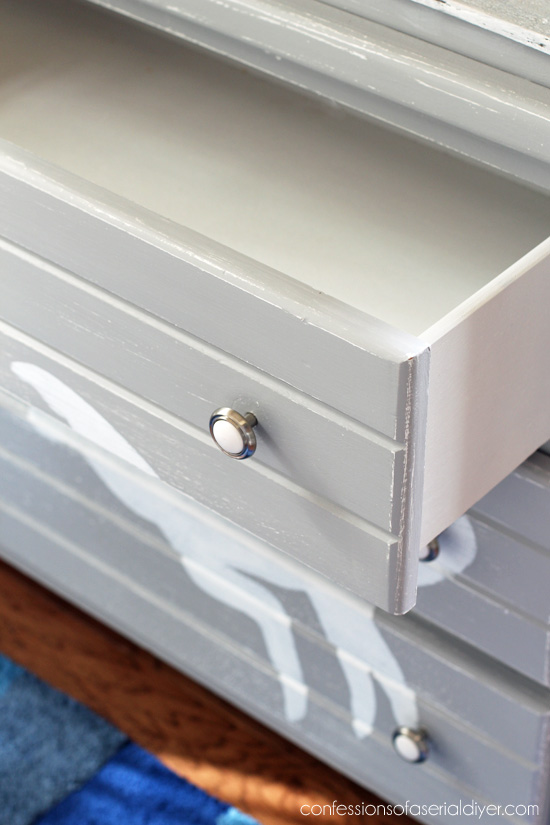
I kept the same hardware that was on it originally since it was perfect…
The paint job on this was a hot mess, including the drawers. I usually don’t paint the insides of the drawers, but these needed fixing in a bad way.
Not too bad for $5, right?
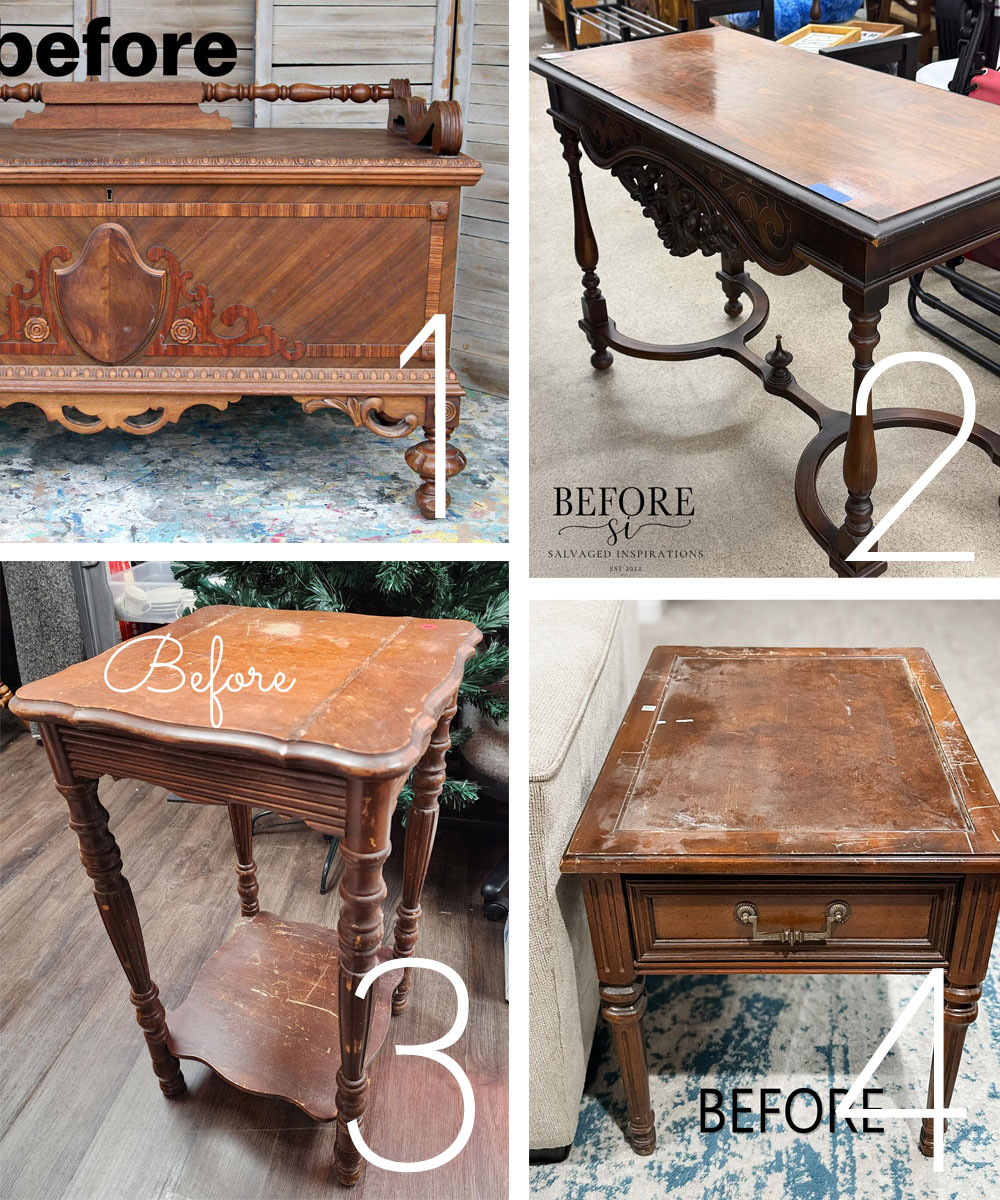
Don’t go anywhere! My fabulous Furniture Fixer Upper friends have four brand new makeovers to share with you!
![]()
Check out what they did with these finds at the links below!
And what did I do with the drawers I took out?
See one of them repurposed HERE!
That’s two cute pieces this week, but I’ll be back with something pretty on Tuesday with this flatware box:
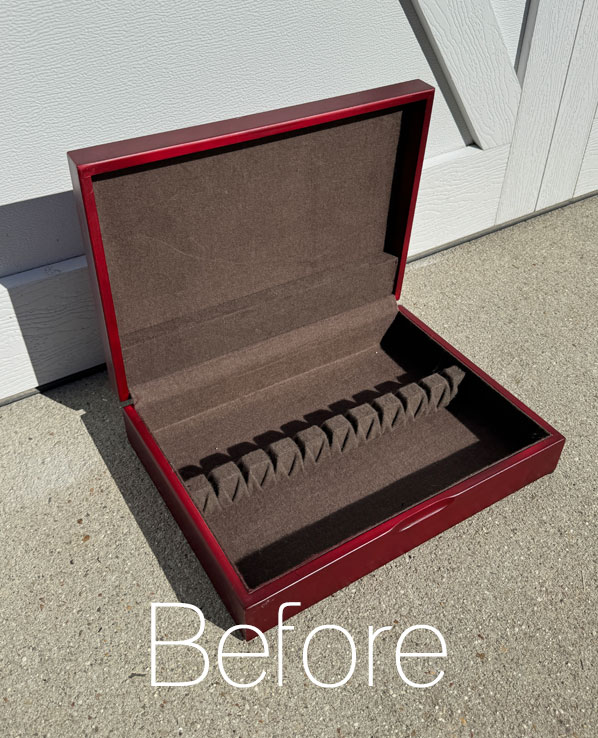
I promise this time ha ha!
UPDATE: See how pretty this one turned out HERE now!
See ya then!
XOXO,

Don’t Miss a Thing!
If you like what you see, there are several ways to follow along!
EMAIL * INSTAGRAM * FACEBOOK * PINTEREST

Get FREE SHIPPING on all orders over $50 in my Etsy shop. (No code needed at checkout!) Orders under $50 enjoy $8 flat rate shipping!
Most orders ship same or next business day! Visit my shop below!


Mary Kaiser says
I so remember when you did this dresser make over that I LOVED! Wow how fun to see it again! I love the cubby you made in place of some of the drawers, it made it so cute! What year was it that you did that? Great job even back then, you are amazing, and thanks for the re share of that dresser!
Christy says
Aww thank you, my friend! This was from 2016 ha ha! It was part of one of my 31 Makeovers in 31 Days March Madness series. I enjoyed seeing this one again too! XOXO
Cecilia says
Haha, oh the good old days of stencils. I’m trying to remember when I started reading your blog…can’t remember if I saw this one or not. It’s a great makeover. I love the shelf on top and the crab design. I clicked over to see the drawer too. That was super cute. I think you got your money’s worth on that piece!
🙂Cecilia
Christy says
Ha ha, right? When stencils were pretty much it. You had to really get creative sometimes! And yes, I’d say I definitely got my money’s worth! Thank you, my friend! XOXO
Josee says
Fantastic on every level! You saved the trash and truly turned the trash into treasure. Thanks you! Blessings
Christy says
Aww thank you, Josee! I was so happy that I was able to save this one! XOXO
Jackie C says
oh, I remember this one and I loved it. I think it would be just lovely in a kitchen with a microwave tucked in the nook.
I’m hunkered down, preparing for the unusual amount ofsnow/frigid temperatures forecast for my area over the weekend. I’m not at all happy about it. i’m just praying no power loss, as my home now has no backup power source. I adopted 2 puppies (poodle mix and a maltese) within the last nine months, so that makes you a little less welcome at someone else’s house with alternate heating. 😬
Have a great weekend and if you’re expecting bad weather too, stay safe and warm.
Christy says
Thank you, Jackie! Oh yes, that would work fantastically…the opening is just the right size! We were expecting up to a foot just yesterday, but now they’re saying 1-3″ followed by rain which will wash it away. I hope you stay safe and warm too…at least you can snuggle with the pups for body heat! XOXO
Denise - Salvaged Inspirations says
I was wondering why you called this ‘Crabby Dresser Makeover’ 😆… LOVE IT! And you did an awesome job on that cubby hole – I don’t think I would have taken that dresser on. Super cute! Pinned XOXO
Christy says
Ha ha! It is indeed “Crabby”! Thank you, my friend. That hole was more work than it would have been to fix the drawer lol! XOXO
Geri Davis says
Oh sweet makeover! I love that you made a cubby out of the top 2 drawers!! I hadn’t been working on furniture then so this was new to me!!
Christy says
Thank you, Geri! It worked out nicely since there was a natural split in the drawers there, and I’m glad it actually worked ha ha. I love that it was a new one for you! XOXO
Gail Wilson says
Christy,
This is an oldie but a goodie. I love the cubby area, especially for children. So darn cute!
Pinned!
gail
Christy says
Thank you, my friend! A real oldie for sure lol! XOXO
Natalie says
So thoughtful and beautifully executed! I admire how you didn’t just paint it, but actually reimagined the purpose of the piece. That crab is adorable!!
Christy says
Thank you so much, my friend! You just never know how an idea will work out, but thankfully, this one worked out nicely! XOXO
Kathy from Jax says
You brave girl. I think I would have left this piece behind but not you. You saw something special. And it is! So cute and not so “crabby” after all. Someone will take this home for their beachy place. (Maybe Nancy🤣)
Christy says
I regretted bringing this one home lol, but I’m so glad I got to do something fun with it! XOXO
Roxann says
That is adorable!
Christy says
Thank you, Roxann! XOXO