Who’s up for a furniture makeover today? What? You were expecting my Halloween Decor today? Well, my beautiful friends, I too was expecting to share my Halloween decor today, but with over 1000 photos, I did not get them all edited in time to share. So today, I’ve got a fabulous hutch painted in Silk Mineral Paint, and I will be back tomorrow with my Halloween Tour!
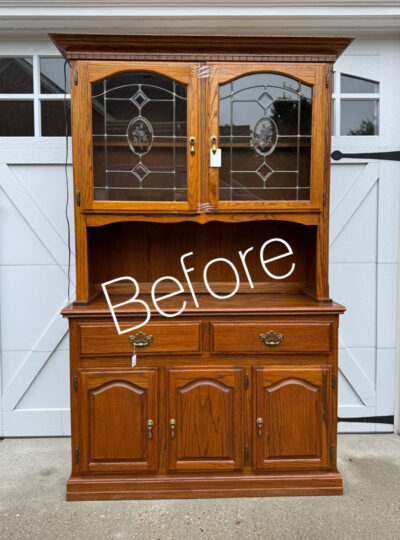
The piece I’m sharing today started out like this:
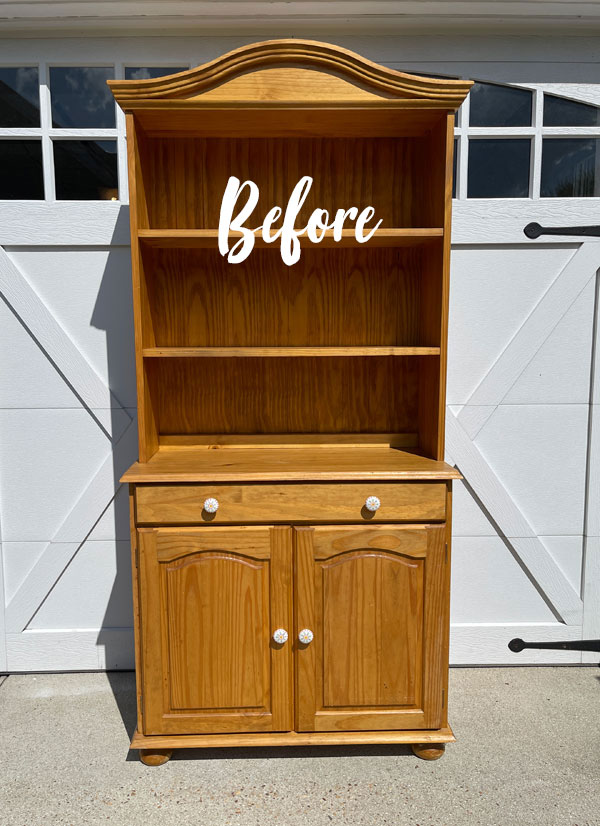
Would you believe this hutch was only $60??
Up close, it was pretty dirty and looked like it had been put through a lot of heavy use….

I usually start with a good cleaning first, even when I plan to sand. I do this because if I have any damage to fill, I don’t like to mess with those areas after they have been filled.
Sand to Prep
This time I started with a good sanding all over with my Ryobi Cat Sander using 220 grit sandpaper:

I have the cordless version that uses their mufti use batteries, but they make a corded version too that is a bit less.
Why am I sanding?
With chalk paint, you do not need to sand to prep, but I planned to use Silk Mineral paint this time, and that does require a good scuff sanding first. Plus, the finish on this piece was quite rough, so it really needed sanding anyway.
Once I sanded all over, I used my shop vac to vacuum up any sanding dust:

If you want to skip the sanding step, you can prep for Silk paint instead using Dixie Belle’s bonding primer, Bonding BOSS.
Clean
Then, I was ready to clean.
I mixed one TBSP of White Lightning into a half gallon of warm water:
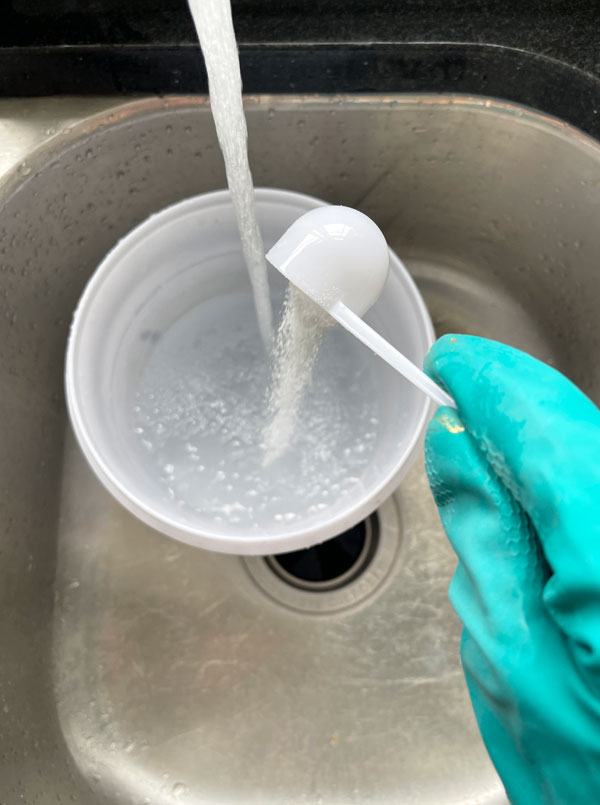
And gave everything a good wipe down.

I followed up with another wipe down with clean water, and this hutch was ready for paint!
Silk Mineral Paint
As soon as I saw this piece with its country vibe, I knew I wanted to paint it black to make it more sleek.
I chose Silk Mineral Paint in Anchor:

I let the first coat dry for a couple of hours and came back to this:

I didn’t think any repairs were needed for this piece, but wow, did the paint show every tiny dent!
I knew I couldn’t leave the top of this hutch like that, and I pulled out my Dixie Mud to take care of it, filling in all those tiny nicks and scratches…

I hand-sanded the top smooth with 220 grit sandpaper wrapped around an old sanding sponge and then painted a second coat, and here was the result:

Amazing difference, right?!
Seal
With Silk Mineral Paint, there is no need to seal since it has a built-in topcoat.
Of course, you can seal for additional protection if you like or if you’d prefer a different sheen, but I like the eggshell finish you get with Silk, so this project was complete!
Black Painted Hutch After
Here is how this country hutch looks now!

The Anchor paint did wonders to update this hard working hutch!
It is sleek and no longer looks or feels so tired.

I did a very tall hutch HERE a couple of years ago that is giving me some Deja vu vibes. That was updated very similarly.

The dark color is such a prefect backdrop for this beautiful ironstone.

I know many of you received this pattern for your weddings once upon a time. I just love it!


You can see part of my chandelier in that picture there…I am in the dining room, which just happened to interrupt a very special dinner party that was going on.
The guests were happy to oblige though…

And guess who is right in the middle of the chaos? We see you, Lyla!
See last year’s skeleton dinner party HERE!
That is my office across from the dining room and I needed to move everything out to use that space for photos since this is quite a tall piece.

The inside
Remember what the inside of the cabinets looked like earlier?
So much better now!

I had wanted to use a fun pop of color but ended up having to paint it black as the doors were set back just a bit. There was no defining area in which to stop the paint without it looking weird.

I like it though!
The hardware
We definitely needed new hardware. I chose this simple drop pull for the doors:

I found all the hardware at Hobby Lobby.

I like to mix up the hardware and chose simple glass knobs for the drawer:


The drawer
I shared a peek at the drawer earlier, but here is the before:

I told y’all this was a hard worker!
I chose one of my favorite Waverly fabrics to cover that, adhering it with Matte Mod Podge like a glue:

I do not go over the fabric with the Mod Podge.
All the boo boos were covered right up!

If I had chosen a lighter fabric, I would have primed with white Bonding BOSS to give it a nice bright background and to stop the ink in the drawer from potentially coming through the fabric, but with a dark background like this, I didn’t have to do that.


I’ll be back tomorrow with my Halloween decor!!
And if Halloween isn’t your thing, I’ll see you Tuesday!
XOXO,

Don’t Miss a Thing!
If you like what you see, there are several ways to follow along!
EMAIL * INSTAGRAM * FACEBOOK * PINTEREST






Mary Kaiser says
Oh I remember what a beauty she was! I loved how it turned out! How fun that I get to have you come into my in box 3 times this week instead of 2!! Looking foward to seeing your fun and spooky Halloween display tomorrow!
Christy says
Thank you, my friend! This one worked out great since it was first shared just before Halloween a few years ago! See ya tomorrow! XOXO
Janette Deans says
Beautiful job, it looks stunning, even the choice of new hardware are perfect for this little beauty.
Christy says
I’m so glad you like it, Janette, thank you!! New hardware can go a long way too! XOXO
Janice Redden says
Christy, you nailed it – again! I looked back at the other one, too, which I remember. I love how you removed those spindles; some spindles and heart “cut-outs” have to go – altho I haven’t figured out the best way to fill the hearts. And, once again, what do people with the inside of those drawers…lol.
But, your creativity continues to deliver and inspire. Can’t wait to see your Halloween scheme!
Christy says
Yay thank you, Janice! I too have yet to come up with a clever way to fill those dang hearts other than covering them completely with a sign or something. I look for pieces that have the heart cut out in a piece that can be removed alltogether. I’ve found a couple of those! See ya tomorrow, my friend! XOXO
Josee says
Just beautiful! Bravo
Christy says
Thank you, Josee!! XOXO
Cyndi says
I remember this stunning piece! And I always pick up a reminder or two on how to do something or I’m reminded of a certain pull or knob that I wanted to get when I see your older posts. Love it! Can’t wait to see your Halloween pics!
Christy says
I’m glad you enjoyed this one again, Cyndi! The pulls on this one made a big difference! See ya tomorrow! XOXO
Sharon Austin says
That really turned out elegant, especially with that hardware! Love it.
Christy says
I’m so glad you enjoyed this one, Sharon, thank you! XOXO