Hello, lovelies! Today, I’m back with another way to update that old flatware box! You know I just love to redo these old gems and rarely pass them up! While I’m putting the finishing touches on Halloween, I’ve pulled out a pretty one for you!
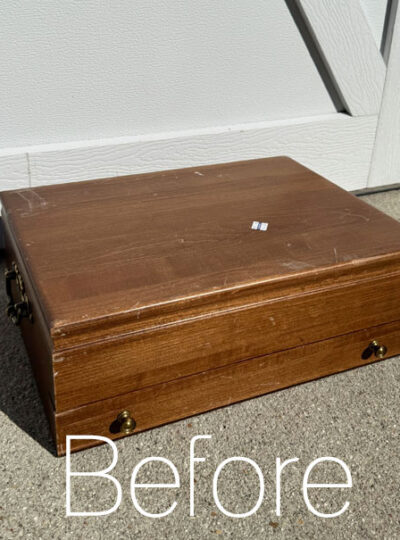
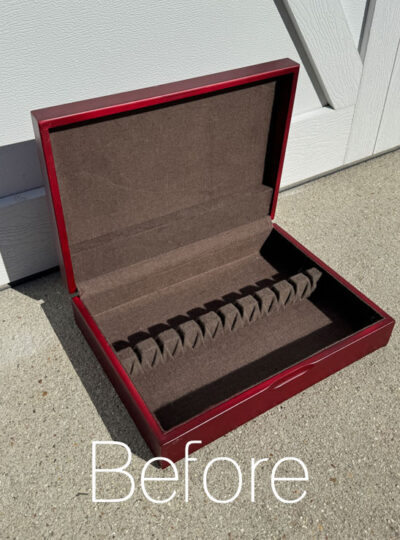
This flatware box was a steal at only $2.50 since all orange tags were half off:
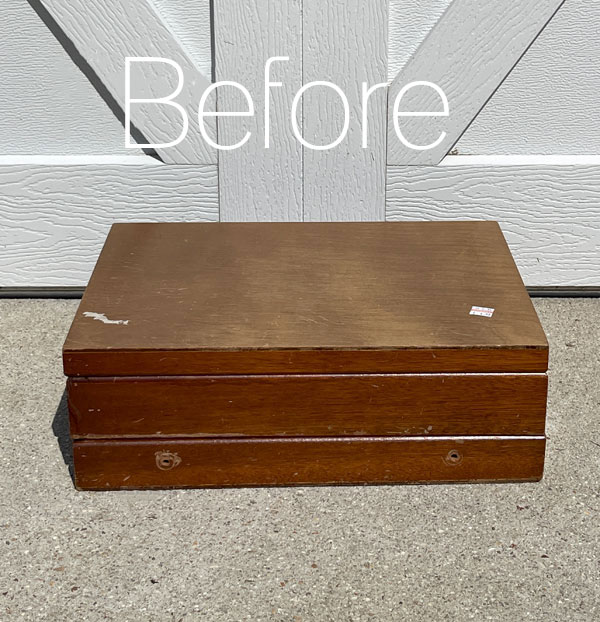
I can’t imagine why nobody else wanted it??
Removing the the Insides
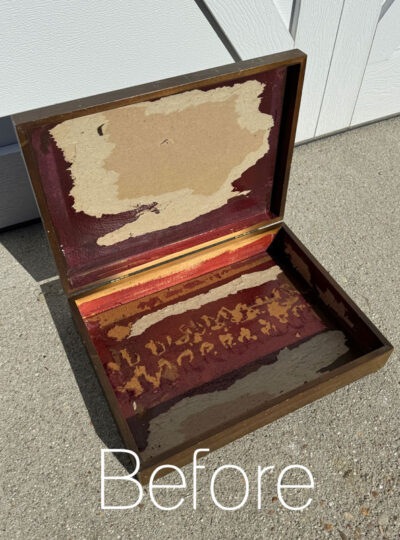
Here is how the inside looked when I found it. It looked like someone had already started on it for me:
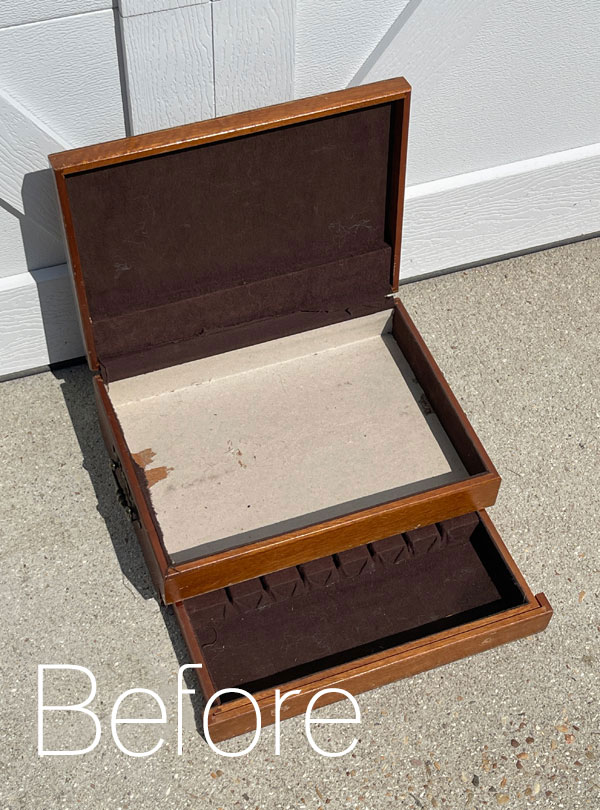
The hardest part of rescuing these flatware boxes is removing the insides. This one gave me a bit more trouble than usual (probably why the previous owner gave up on it!), but I got most of it out:

What was left will be covered over, so there is no need to get every last bit of it out. As you can see in that photo, sometimes it takes a few different tools to remove the lining!
I’ve included a few affiliate links so you can find the products I love.
The outside
The top was pretty scratched up and the stain was separating and flaking apart, although it is difficult to see here…

Sand
I gave it a good sanding with my Ryobi Corner Cat sander and 220 grit sandpaper to smooth it out:

This sander is great for smaller jobs. I have the cordless version that uses their multi-use batteries, but they make a corded version too.
Clean
Once the top was all smoothed out, it was time to clean!
For that I used White Lightning which comes in a powder form and a premixed spray. I like the powder, mixing one TBSP into a half gallon of warm water. These terrycloth pads are perfect for cleaning your projects:

You can toss them in the wash and use them over and over. White Lightning is a degreaser and a deglosser, so it will give your piece the best possible prep for paint. Gloves are recommended and then be sure to swap out your water for clean water and give it one more wipe down to remove any residue.
Ready for paint!
For this box, I chose Tea Rose:

Two coats gave perfect coverage.
My inspiration for using this color was this gorgeous Blossom Botanica transfer:

It’s an older design but still one of my favorites!
After sanding lightly all over with a sanding sponge to smooth the paint, the transfer went on next…

I love this one because although it’s a “large transfer”, all the pieces are separate like this one, so you can place them any way you choose. This also allows you to use them on multiple projects.
Seal
I sealed with Clear Coat in Satin using the Blue Sponge Applicator.
Update that Old Flatware box Reveal
Let’s see how this updated flatware box turned out!
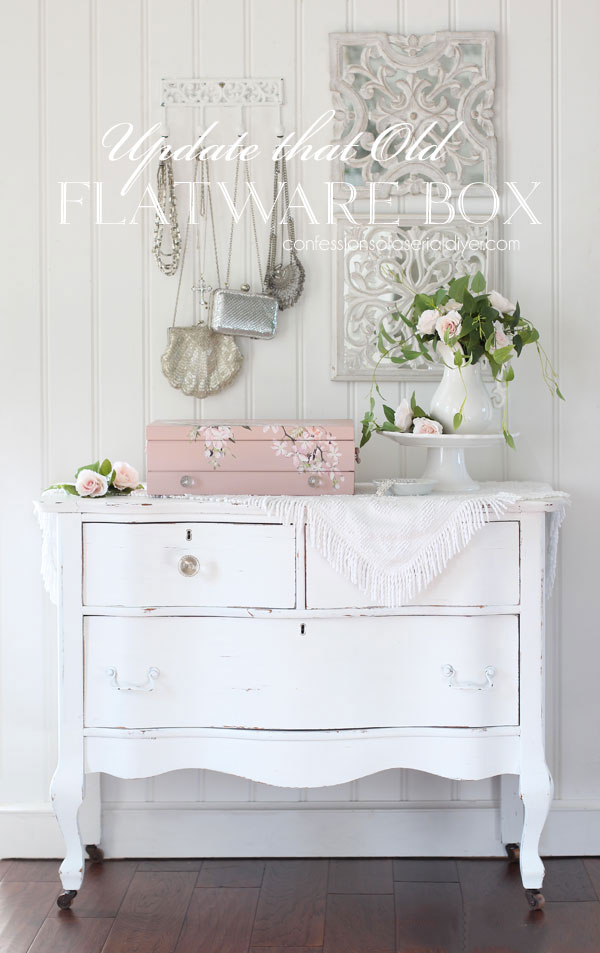
I just love Tea Rose. It’s such a soft, muted pink…

And the Blossom Botanica transfer is so pretty with it!

See what else I’ve used this gorgeous transfer on HERE, HERE, and HERE!

I used one large piece of the transfer across the top and let it cascade over the side. Then I added another smaller piece to the right, front so it would hang down a bit further.

The original knobs were missing, but these dainty glass knobs I picked up from Hobby Lobby were perfect.

The inside
Here’s a reminder of what the inside looked like when I found it:
It was nice to have the removal of that lining started for me!
When deciding what to do with pieces that have a fabric component as well, I often look through my fabric to see what I have that will work with my transfer options to help choose a direction to go in.
I had forgotten all about this curtain panel I picked up for $5 at the thrift store, but it was nearly a perfect match to both the paint and the transfer!

I had intended to hang them in my mini warehouse here at the house (aka my “storage and distribution center”) but they were too short, so into my fabric bins they went.
I used my rotary cutting set to cut the pieces for the lining super easily:

See my detailed tutorial for lining these boxes with fabric HERE.
The inside after
Here is the inside now…

How pretty is this fabric with this paint color and transfer??

I was surprised when I saw the tag on this curtain panel said Mainstays. Walmart is stepping up their game because these also felt like very nice quality.
As you can see, fabric covered all the gunk that was left behind. I shared a link above that takes you to the very simple how-to for lining these boxes.


This box came with handles on the sides that I was not able to remove, so I just painted over them. The paint just helps them to disappear a bit…

This was a lovely addition to my flatware box makeover collection!

These are my favorite kinds of projects, because this box could only get better from where it started!

I hope you enjoyed it too!


I’ll be back on Thursday with my Halloween display!! And if you’re up for a Halloween Flatware Box transformation, check out this one:
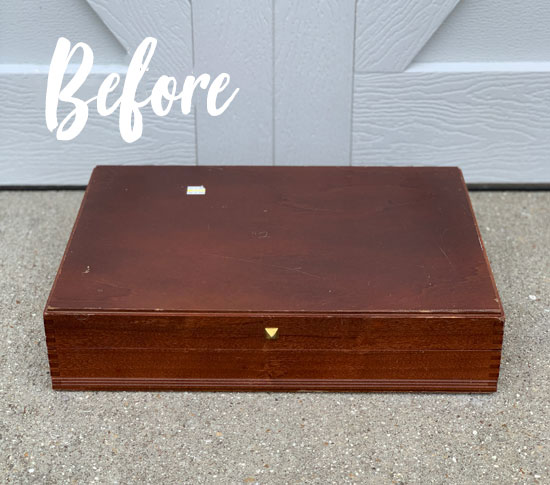
I love how it turned out! SEE THE AFTER HERE!
Hope to see you Thursday for the big tour!
XOXO,

Don’t Miss a Thing!
If you like what you see, there are several ways to follow along!
EMAIL * INSTAGRAM * FACEBOOK * PINTEREST
Get FREE SHIPPING on all orders over $50 in my Etsy shop. (No code needed at checkout!) Orders under $50 enjoy $8 flat rate shipping!
Most orders ship same or next business day! Visit my shop below!




Leave a Reply