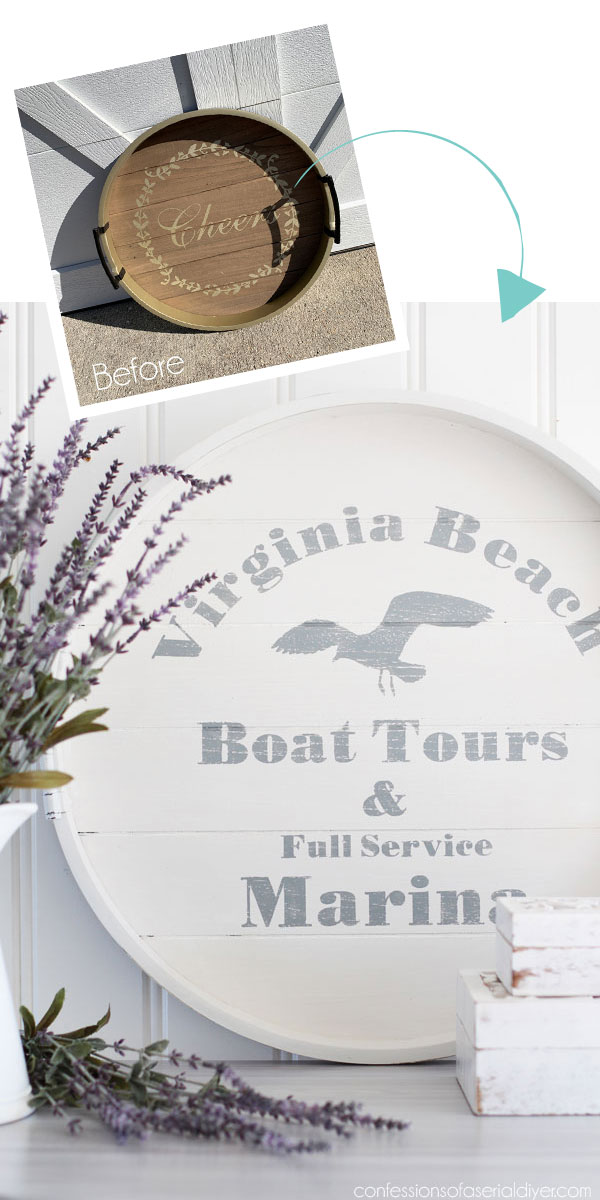
Who’s up for a thrifty makeover today?? Always, right? Me too! Awesome friends, today I’m continuing through my Winter thrifty haul with this tray I picked up for $5.25 at the thrift store:
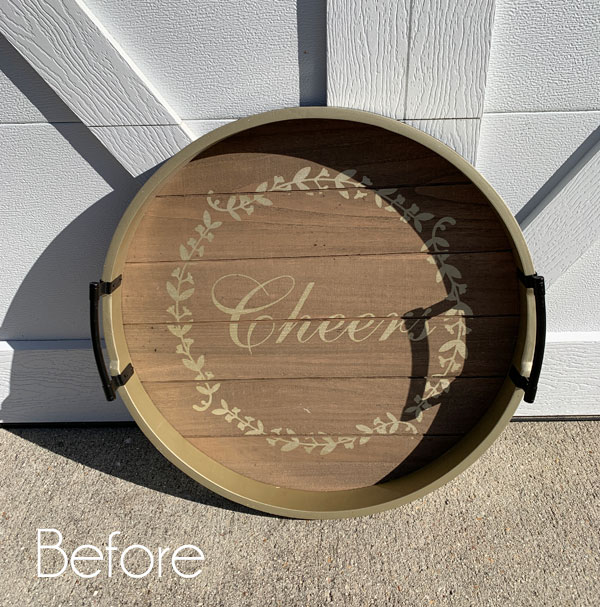
It’s actually pretty darned cute as is, don’t you think?
It felt a bit too festive for everyday use to me though, so I set out to give it a look that could work all year long. I’ve included a few affiliate links so you can find the products I love.
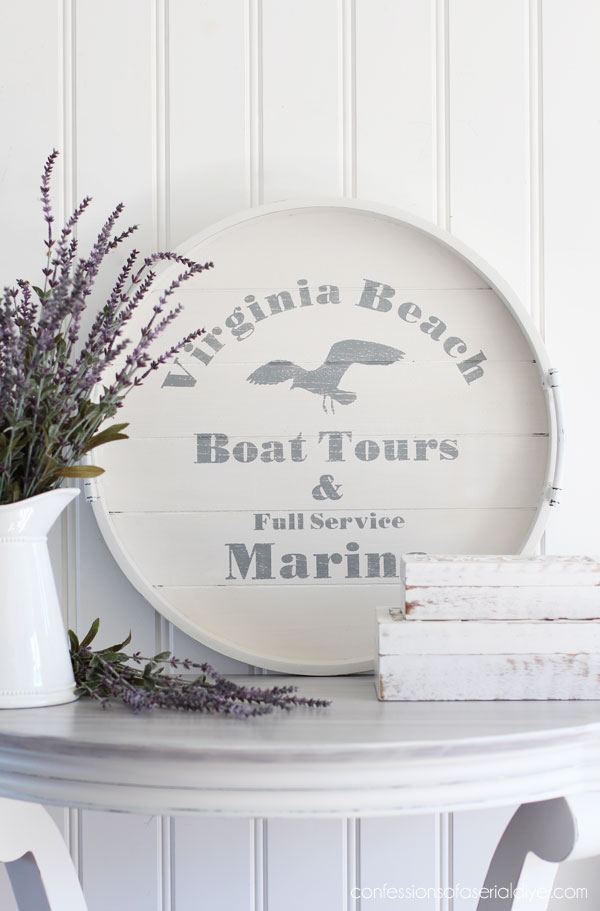
I think I managed to accomplish that:
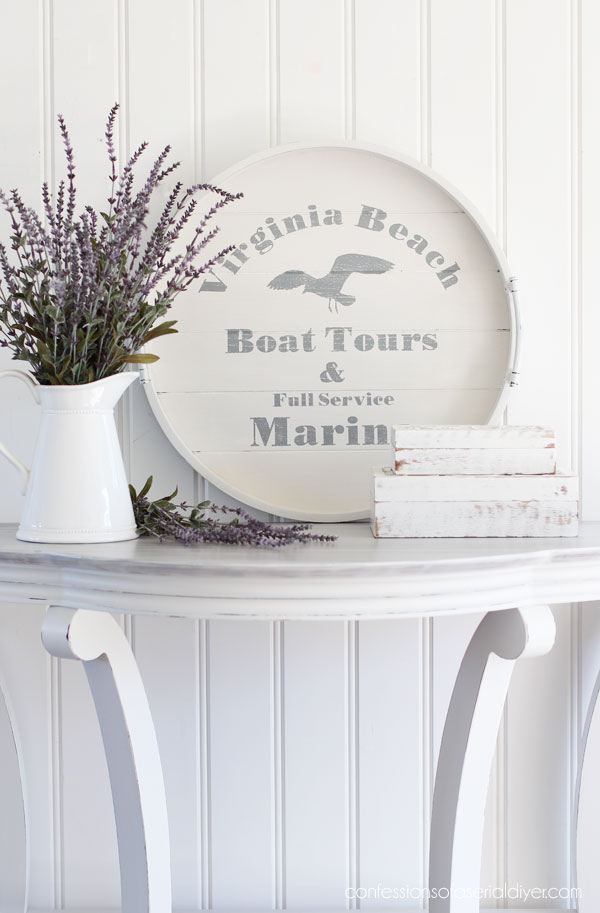
Anything I paint with my city’s name on it usually sells well for me.
To get this look, I started by painting the tray in two coats of Dixie Belle’s Fluff. Fluff is more of a vintage white, which I love.
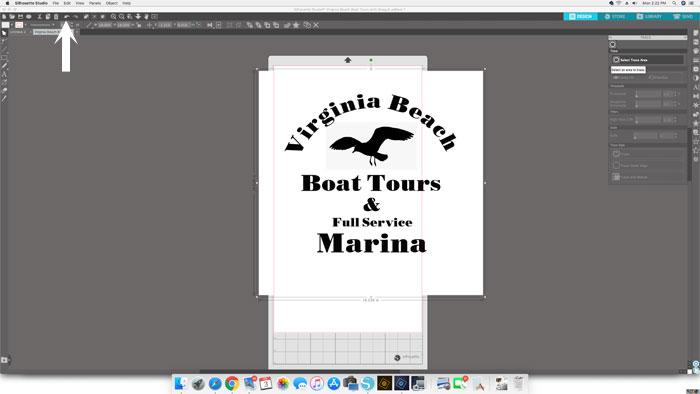
While the paint was drying, I played around in Photoshop Elements to create a graphic I could use on my tray. You could use Microsoft Word if you have it or Pic Monkey, which is free. Another free site is Paint. net. Another option is to find something ready-made through the Silhouette Design Store if you have a Silhouette.
I opened my graphic in the Silhouette software and cut a “stencil” with my Silhouette Cameo.

I showed several years ago how I upload my own designs to cut with my Silhouette, but things look a little different as software has been updated over the years, so I thought I’d share again. Keep in mind that this is basically the only thing I ever use my Silhouette for, so my expertise is limited!
Skip ahead if you don’t need this how-to! 🙂
How to Cut your Own designs with your Silhouette
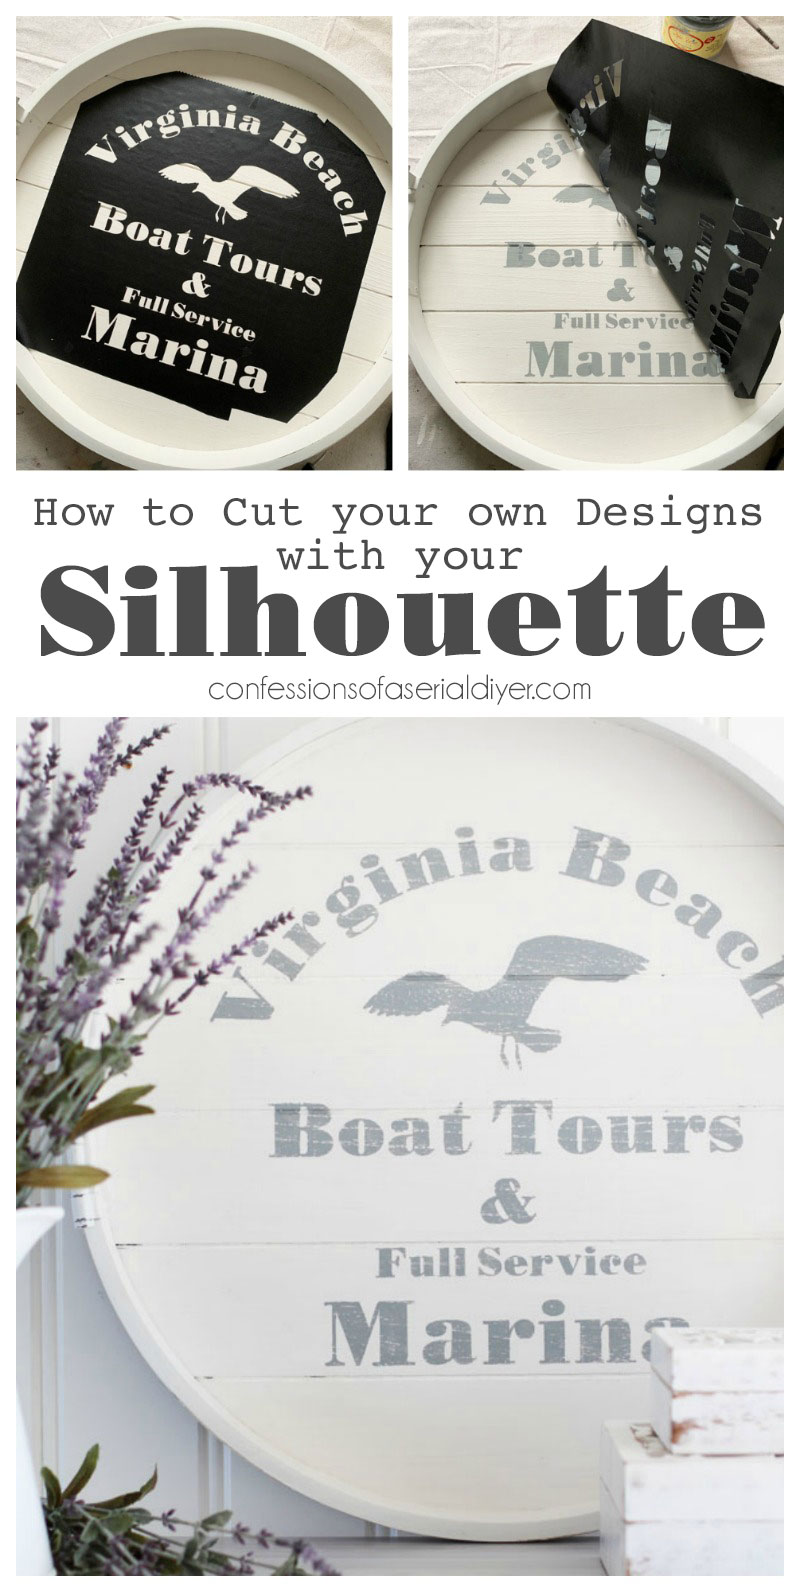
Here is how I import my own designs to create “stencils” with my Silhouette. This is using the latest software version 4.3. I apologize for these images being so small, but hopefully you’ll get the idea!
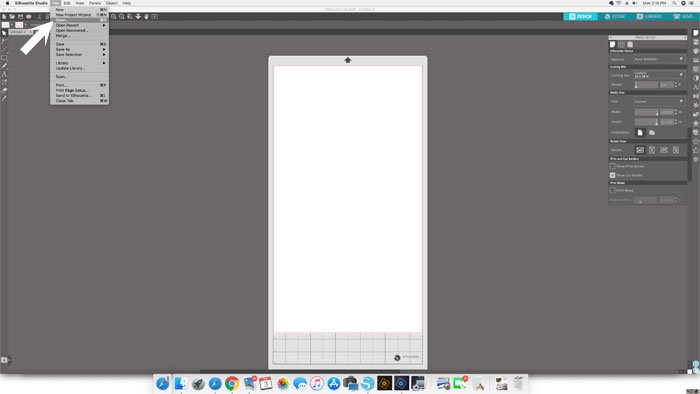
- After opening Silhouette’s software on my Mac, I click File, Open:
That is my 12″ X 24″ cutting mat on the screen. If your machine is set to use the 12″ x 12″ cutting mat that is included, that’s what you will see.
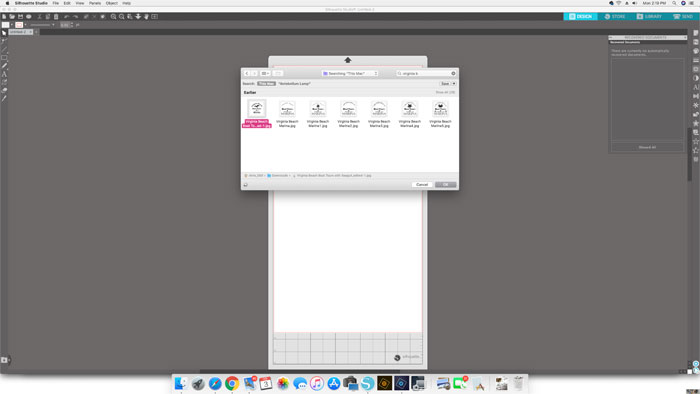
- Then I locate and click on my file and click Open to import it:
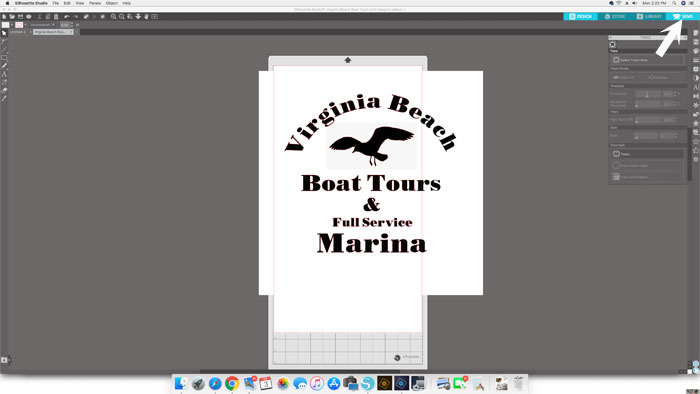
- My design opens in the Silhouette software:

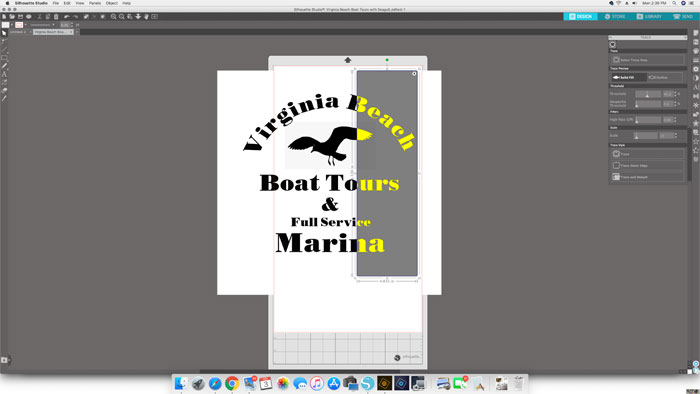
- However, it is too large, so to make it smaller, I click on the corners of my image and left click and hold to drag it to the size I want:
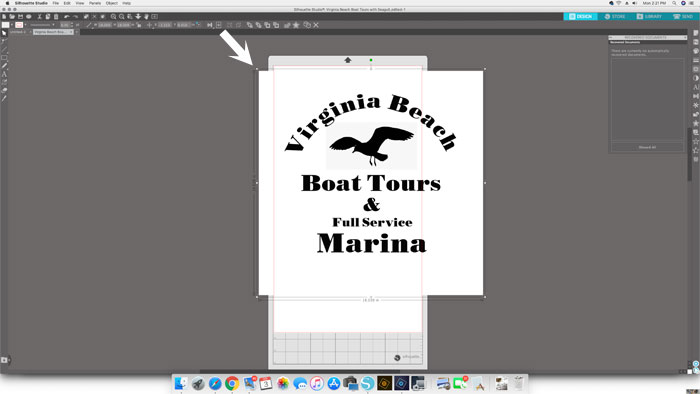
You will be able to see the size your design will be along each side as you drag that corner. My tray is 18″ round, so I made mine about 18″X 18″.
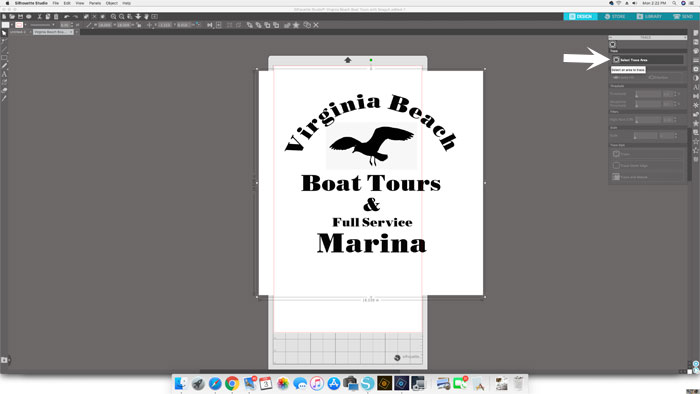
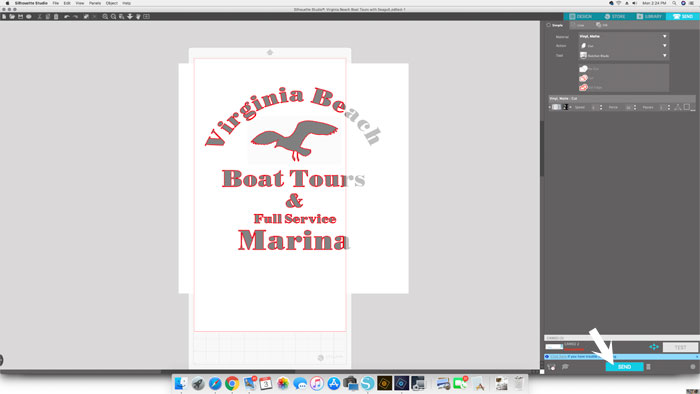
- I line up my image where I want it to lay on the cutting mat (Anything off of the cutting mat on the screen will not cut.) and then when I am ready to print, I open the trace panel by clicking on the butterfly-looking button:

- Click Select Trace Area:
- Ten I left click, hold and drag to select the area I want to cut, and then choose I choose the trace style:

I always select the first option that will cut around both the outside and the inside of each letter.
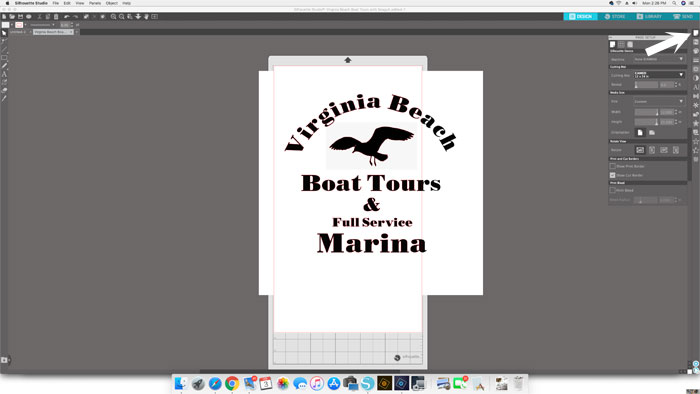
- Click Print:
- Check the settings, mine always stay on Vinyl. Then click Print:
- And magically, it should start cutting your vinyl that you have loaded into your Silhouette. I actually use contact paper as it is cheaper. Even what I used for this project is contact paper in black that I found at The Home Depot.
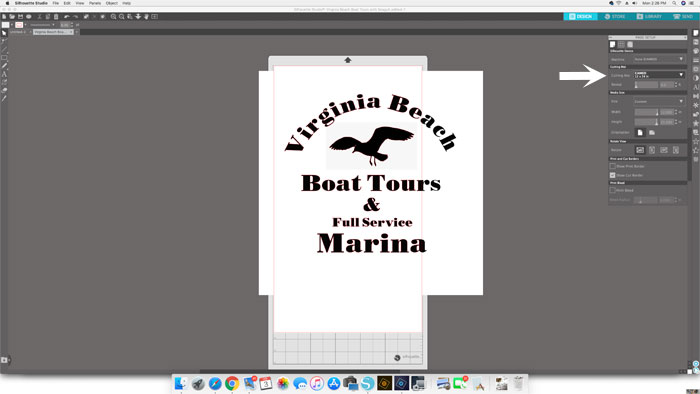
- I use a 12″x 24″ cutting mat, which required me to change my mat settings. You can change the mat settings by going to the Page Setup tab:
- Then select the size mat you have:
I like the longer size because I can cut longer graphics.
If you’re whole graphic fits on your cutting mat, you’re all set. If your design is larger than the cutting mat like mine was, you will need to move your design and cut the rest.
- To do that, I use the undo button in the top menu to undo what selecting the tracing options had done:
- Then I move my design over by left clicking, holding and dragging it into place on the mat. I select what I want to cut the same way as outlined above:
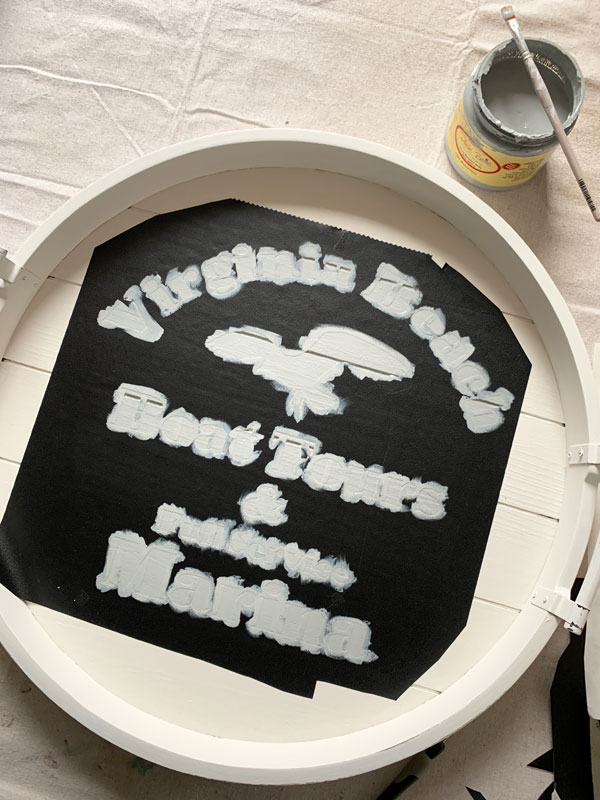
When adding the stencil to my project, I line up all this pieces, in this case two, to make one large “stencil”:
You can overlap them if you wish, or in this case, I cut in between letters and lined the two pieces up next to each other.
You can use transfer paper, but I usually just peel the back off and go for it, then transfer all the center pieces like the center of the “A”s, etc to my project.
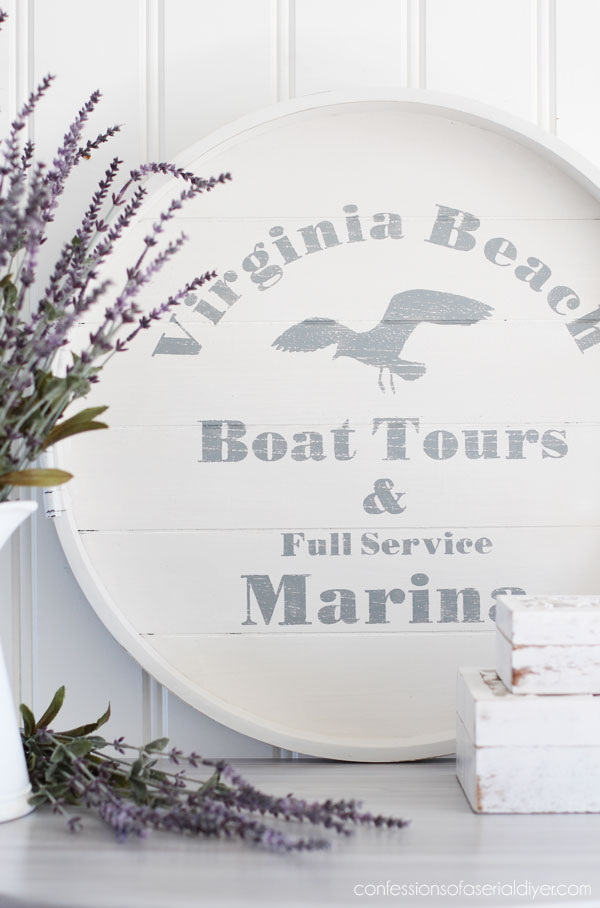
Next, I paint in the stencil with a small brush, brushing away from the edges as much as possible. I used Dixie Belle’s Manatee here:
After applying two coats, I immediately removed the contact paper:
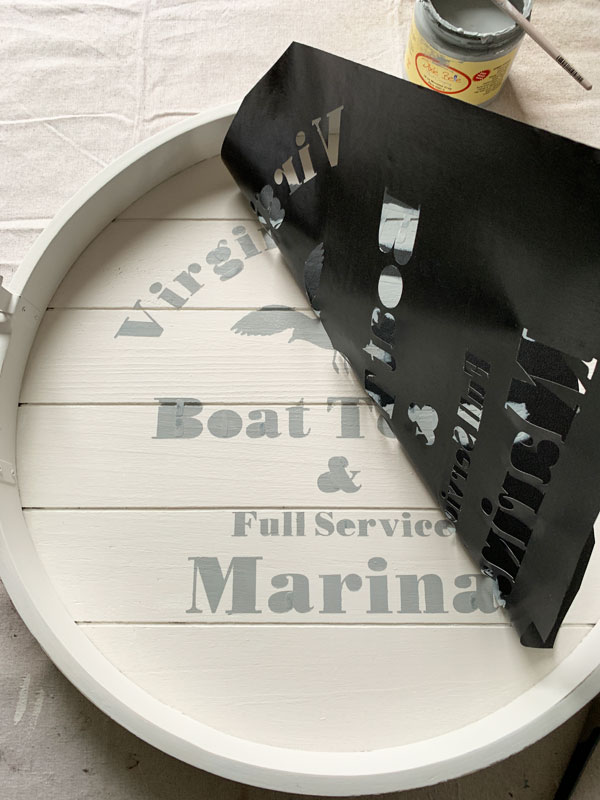
I waited until the rest was dry before using this tool to remove all the little leftover pieces of contact paper.
I sanded with 220 grit sandpaper and sealed with Dixie Belle’s Clear Coat in Satin using their blue sponge applicator for most and this brush for the inside areas that were harder to reach with a sponge. The sponge is amazing for everything except inside corners, but it’s not often you have to seal something with inside corners!

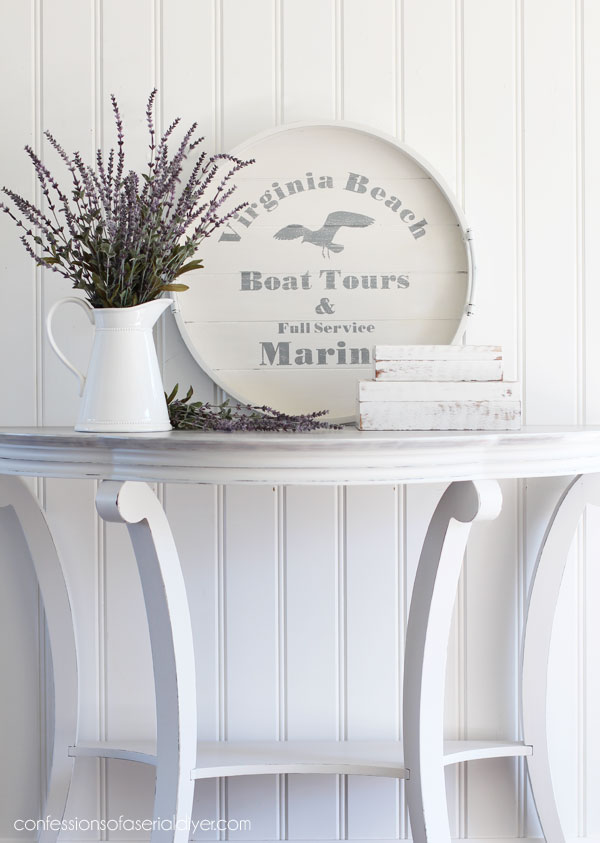
It looks great with the Bombay Table I shared on Thursday!
The bottom of this tray was a bit rough, which gave the lettering the perfect weathered look when sanding…

I kept all the hardware in place and just painted right over it…

I love how this tray turned out! And, it can be used all year!
I used a similar graphic on a dresser that Jack and I teamed up on back in 2016…you my remember this one:

If not, you can see how it turned out HERE!
And I am starting to make a little dent this in this Winter haul!
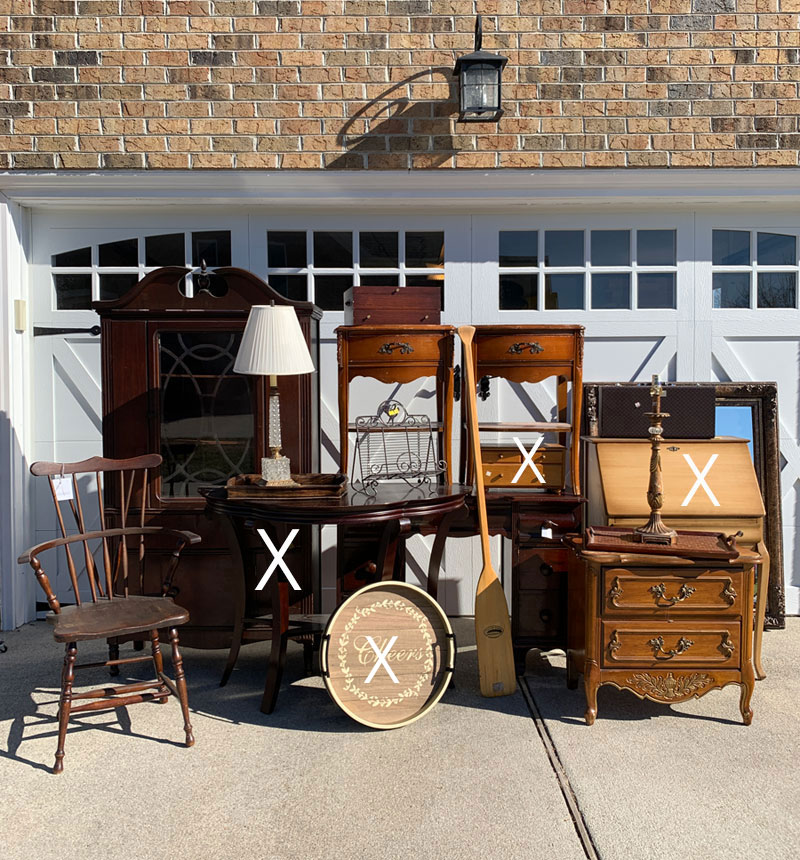
If you missed anything so far, you an catch up below:
$5 Thrift Store Chest Makeover
I’ll be back on Thursday sharing how I changed up the look of this lamp:
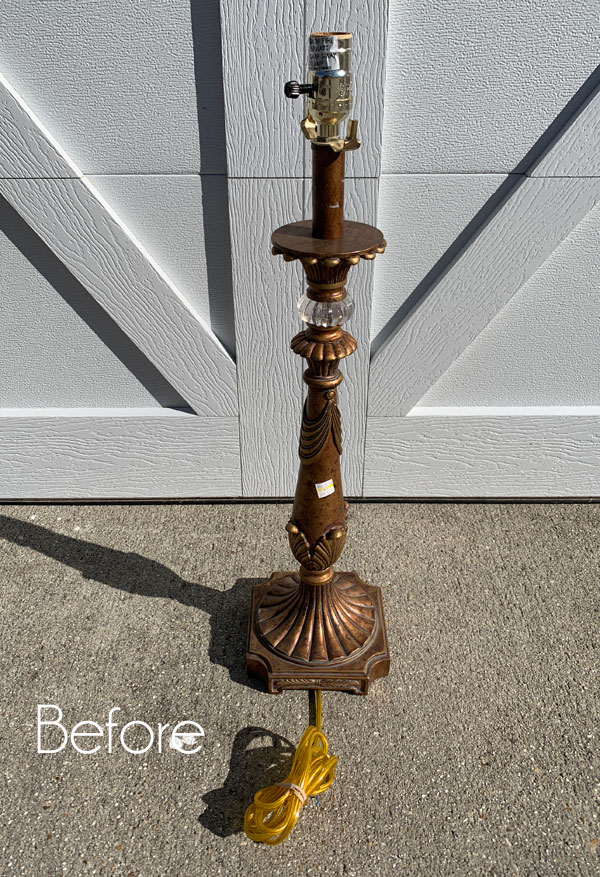
I had a request to use a color I’ve been wanting to try, so it is definitely out of my norm! See ya then!
UPDATE: See it HERE now!!
XOXO,
![]()
Don’t Miss a Thing!
If you like what you see, there are several ways to follow along!
Email * Instagram * Facebook * Pinterest * Twitter


Mary Kaiser says
Adorable now! I wish I had a Silhouette machine. I have considered getting one, but other things always come up that are more important. It turned out really cute, and I love how you displayed it with your table you did last week. I am looking forward to seeing the lamp makeover on Thursday. You are awesome!
Christy says
Thank you, Mary! I love how it goes with that table too! And I totally get it… it’s hard to justify the cost of a Silhouette, but it sure is nice to have! Have a fantastic day, my friend and I’ll see ya Thursday!! XOXO
Petra says
This seriously looks like a completely different (and prettier) tray 🙂 . I expect it will get whipped up if you decide to sell it 😀 . I’m wondering what colour you’ll do the lamp – a green shade? Or maybe pink? Looking forward to seeing what you do 🙂 xo
Christy says
Thank you, Petra! Ooh how fun would that lamp have been in pink?? I might need to paint one pink now! XOXO
Robin Stephens says
Another stellar job! Cute as can be!
Christy says
Thanks so much, Robin! XOXO
Christina in SW FL says
Wow, what a change for this tray Christy!! You know I adore white and the grey lettering is wonderful … especially after sanding. It looks great on that table, wow! Great tutorial for stencil making also. 🙂 I bet I have to make some test cuts on the shelf liner (contact paper) before getting it right. Can’t wait to try this. 🙂 Thank you so much!!
(Give Lyla a chin and ear rub for me)
Christy says
Thank you, Christina! I never do anything else with my Silhouette, so my settings never change. Hopefully they work as well for you! Giving Lyla a special snuggle from you this morning! XOXO
Denise Cox says
Hey girlie, yesterday I sent you a message via your ‘home page’ to let you know your recent redo on the secretary was featured on ‘The Cottage Market’. I guess it didn’t make it to you. So… kudos to ya!!!
Christy says
Thanks, Denise! I must have missed it! XO
Becky Fischer says
I loved the tray when you purchased it and after seeing what you did with it I love it more. You are so very creative. It is always a joy to see what masterpieces you create. I look forward to all your blog posts.
Christy says
Thank you, Becky! I appreciate that so much!! XOXO
Barbara Warner says
What a great makeover! Love the white and your Virginia Beach stenciling. But, then, I’m a Virginia girl – born and bred! Great job.
Christy says
Thank you, Barbara! Virginia is awesome!! XOXO
Micah says
Wow! this is stunning! Your projects never fail to inspire me. I have not seen any other bolgger crank out such fantastic makeovers so consistently! Thanks for everything you do!
Christy says
Aww I could hug you, Micah! Thank you! What a blessing it is that I get to do this every day!! XOXO
Lazy K says
Thank you for the great tutorial! Contact paper! Great idea.
Christy says
My pleasure! Contact paper works great!! XOXO
sharon austin says
Very cute; your imagination never ceases to amaze me!
Christy says
Aww thank you so much, Sharon!! XOXO
Becky says
What a pretty tray! It had great shape and style to begin with, and now with a new face, it’s all prettied up!
I looooove trays, thanks to you. You did a post years ago on the importance of a well-ordered home having at least 235 trays… or something like that? 😁 I was sold on the spot.
Would you believe that NO ONE buys trays at the store I sell at though???!? What are these people thinking!? They obviously are not reading the correct blogs and are uninformed. It’s a sad world… But there is a bright side: I bring home my unsold trays and add to my personal collection! Yay! 😊
Christy says
Thank you, Becky! Ha ha yes, I remember that post and I still love trays! I’m surprised trays don’t sell for you. Clearly your customers are not in the know lol! oh well more for you! XOXO
Addie says
Good redo…..much better!!! It is so nice of you to explain how to do the lettering but….too techie for me. Seems hard. Love the tray…now.
Love all your redos…keep up the good work.
Christy says
Thank you, Addie! Yeah, that tech stuff isn’t my favorite to share, but thought someone might find it helpful. This is literally the only thing I know how to do with my Silhouette lol! XOXO
Lizzy says
So pretty. Love the colors.
Christy says
Thank you, Lizzy! XOXO
Gloria Wyssbrod says
I hope you will be painting with the Antebellum Blue.
Fingers crossed.
Christy says
🙂 🙂 🙂
Jerri says
So cute! Love the personal, home town touch. Now I really need to learn to design and cut my own stencils with my Cricut. Thanks for sharing.
Christy says
Thank you, Jerri! That is really the only thing I use my Silhouette for and the Silhouette Design Store online has tons of designs ready for you to use…I bet Cricut has something similar! XOXO
Sheila DelCharco says
Ohhhh I love how it turned out! I love all your tray makeovers (ok I love ALL your makeovers) and have added quite a few to my collection thanks to you!
Christy says
Thanks so much, Sheila! I love that! XOXO
Val says
Hello I always love reading about your projects and love the finished results. My question is how do you peel the backing get the contact paper on the tray without it getting all wrinkled?? Thanks
Christy says
Thank you so much, Val! I usually lay out my “stencil” with the backing still on and get it centered just the way I want, and then I mark a spot really faintly with pencil along the bottom and one spot along the left side. Then I usually just peel off the whole back and match the stencil up with my pencil marks. Then I put the backing over top and run my hand across to smooth it all out. It’s easier than trying to peel the backing off while part of it is attached to your project. Hope that made sense! XOXO
Cecilia from Georgia says
The tray was a great score with those great handles! Your transformation is amazing as always. I don’t know how import images to my Cricut or if it’s even possible. I’m going to find out though! People do like something more personalized. Thanks for sharing! XOXO
Christy says
Thank you, Cecilia! This was a great score for sure, and I am always so happy when I don’t have to buy handles! I bet you can do this with your Cricut as well! XOXO
Angela says
I always love your projects, but I have to ask…how do you distress what you’ve stenciled on a tabletop for example without having it smear onto the remainder of the top?
Christy says
Thank you, Angela! I think it has a lot to do with the kind of paint you use. I use Delta by Ceramcoat brand craft paints and don’t have any issues with smearing! XOXO