Hello, lovelies! I hope you all enjoyed a blessed Easter weekend! I had planned to share a round of smalls today, but as I sat down to write, the first project alone had so many steps and photos that it really needed a post of its own. So, I am bringing you this primitive wooden box today, and then I’ll be back on Tuesday with the rest!
I would share them Thursday, but it’s Furniture Fixer Upper Day, so Tuesday it is! And then this haul with be DONE!!!
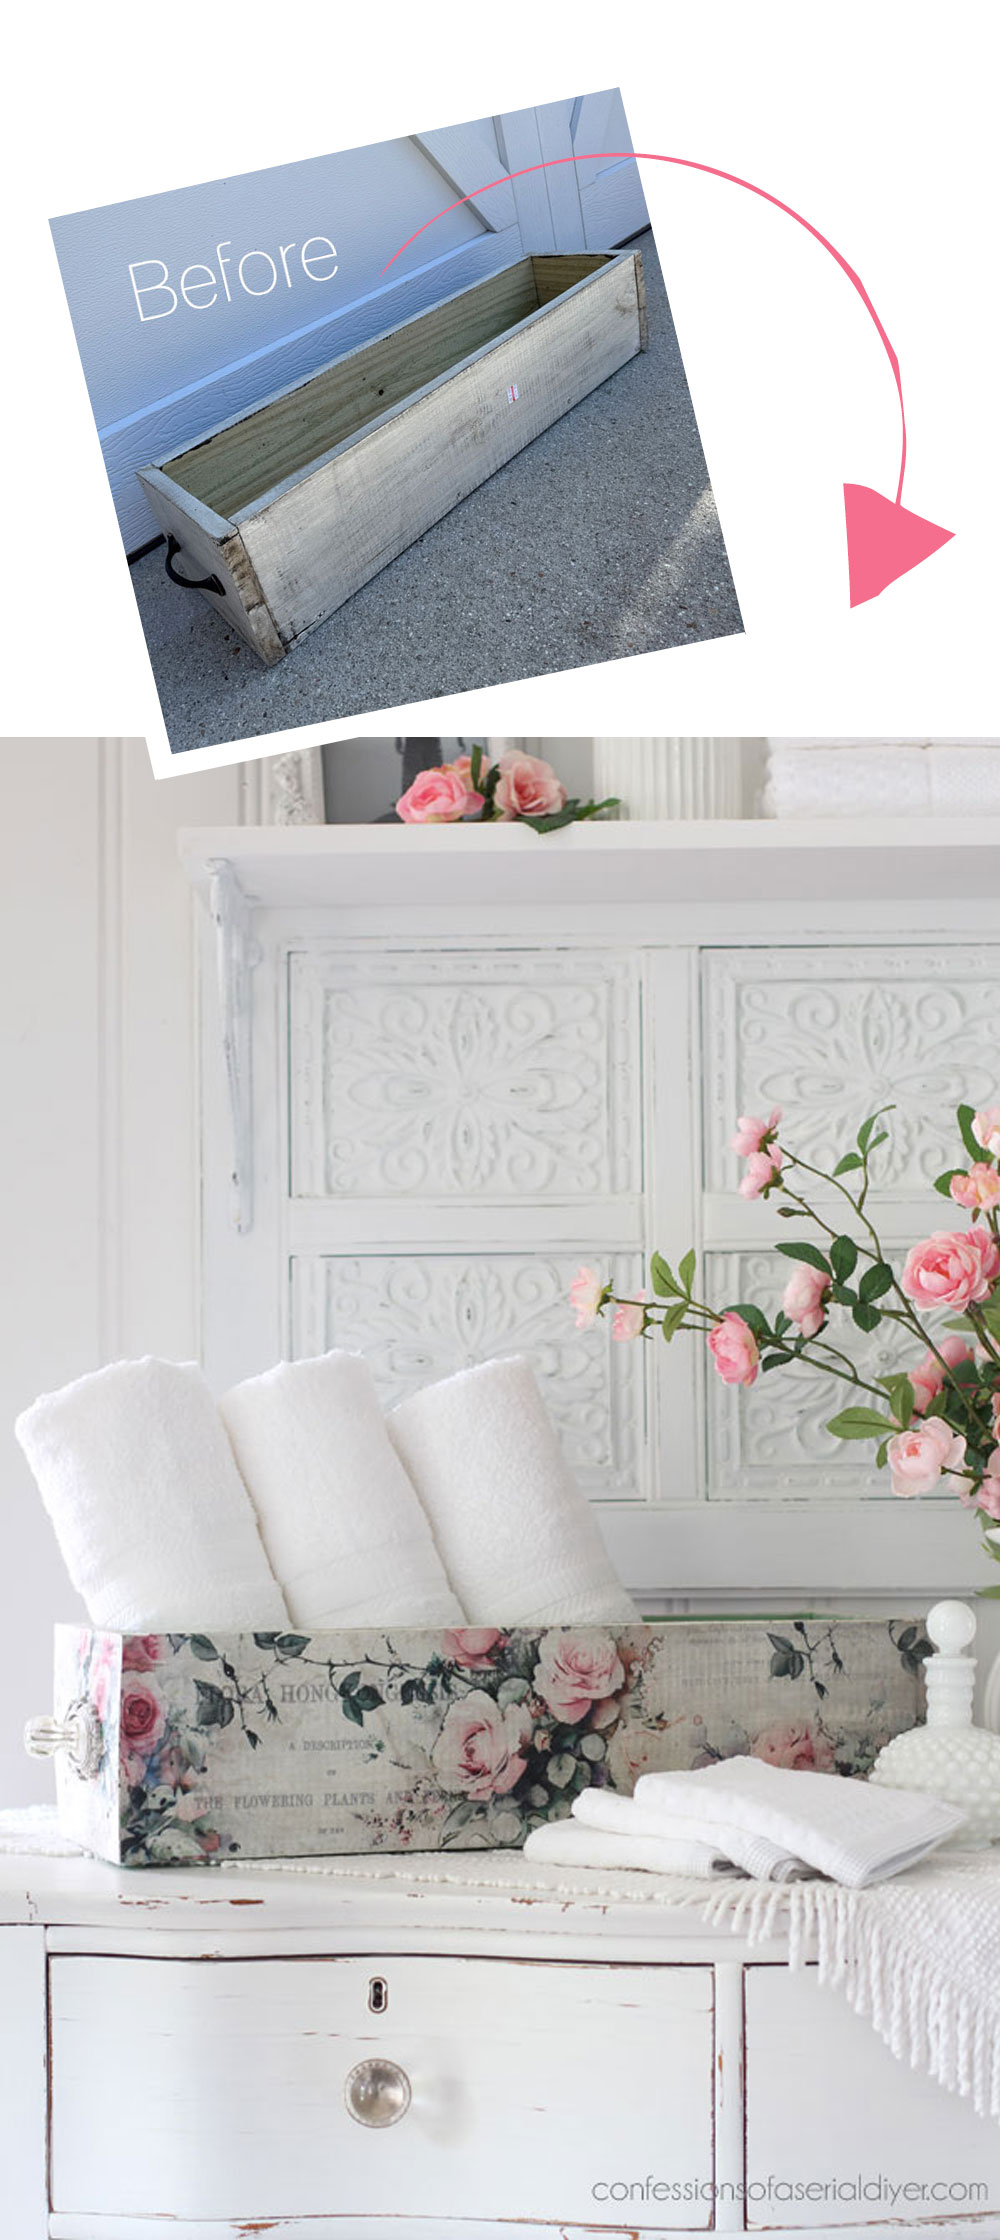
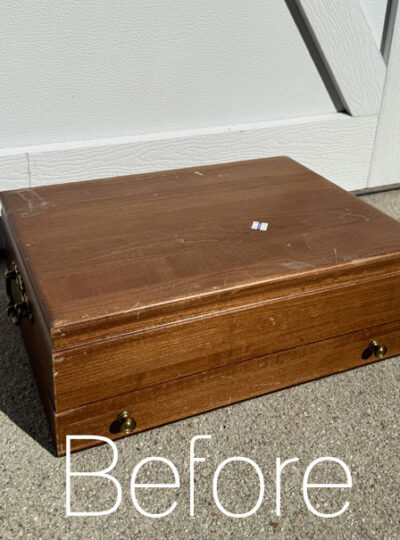
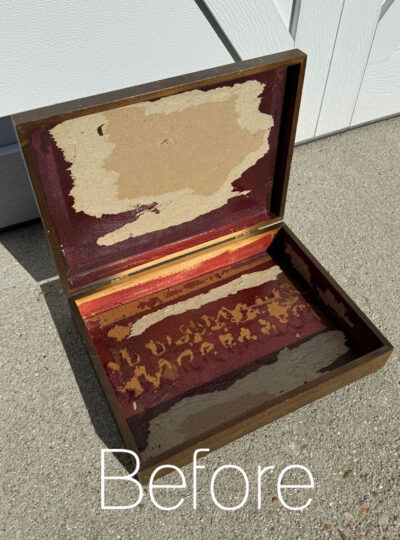
Here is this very primitive wooden box/trough thingy I picked up at the thrift store for $4.99:
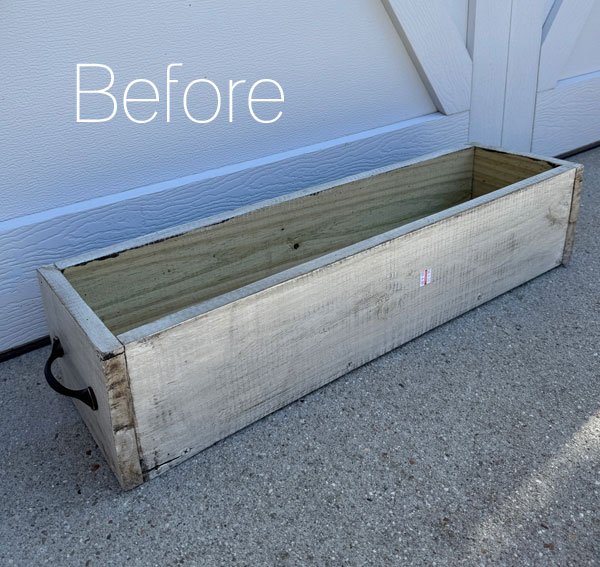
It was super long, but I thought it would be cool on a dining table filled with seasonal greenery perhaps.
It was made of pressure treated lumber, however, and the bottom and interior had not been painted. That can lead to warping as it dries out.
The bottom of this piece was especially warped, so it would not sit flat.
I decided to take it apart:
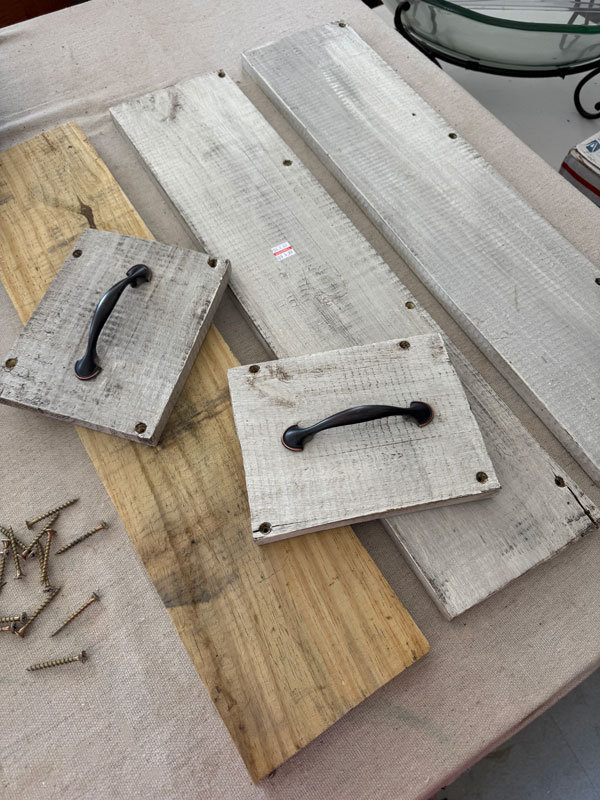
You can see the warping at the far end of the bottom piece:
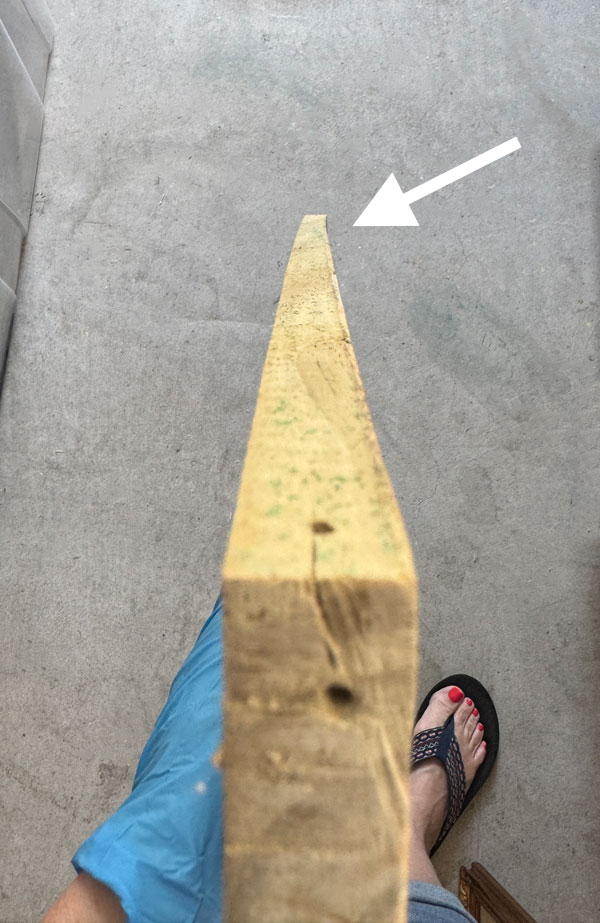
See it curve at the other end? (Looking at it from this angle is how you can tell if your lumber is warped when you buy it at the store.)
That is what would not allow it to sit flat.
I decided to cut a few inches of that end off (as well as the side pieces) and just make this thing shorter…
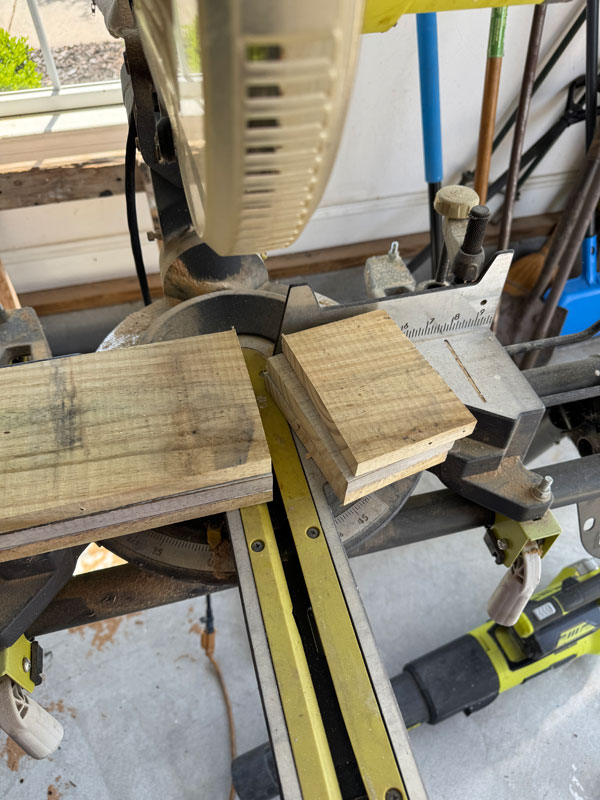
I reassembled it and it now sits much more evenly.
Time to get this makeover underway!
Paint
I jumped straight to the paint on this one and chose to paint the inside in one of my favorite brighter colors, Mint Julep:
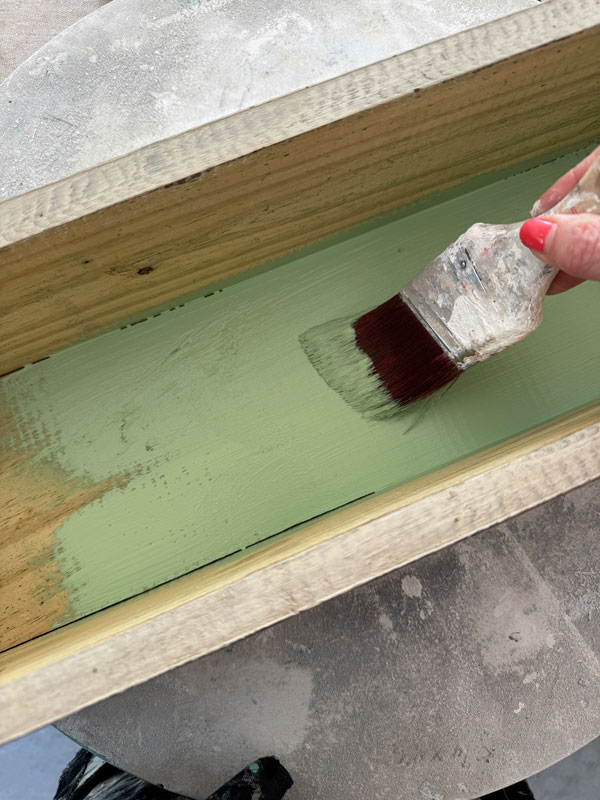
Painting it and sealing will prevent it from warping again. I also painted the bottom side.
Dressing it up with Decoupage
For the outside, I reached for my favorite new decoupage paper called Rosy Reverie:
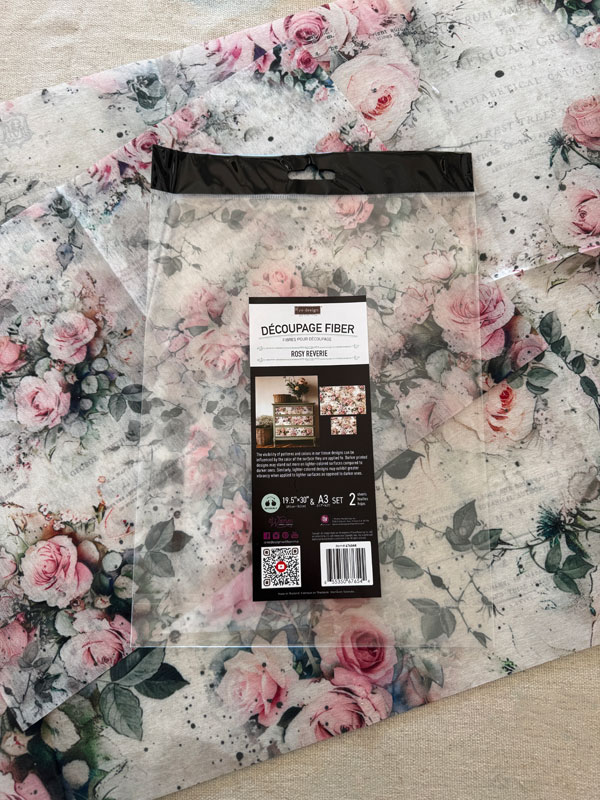
I love this one so much!
This is one of the new Double Delight sets from Redesign and comes with one 19.5” X 30” sheet and one bonus 11.7” X 16.5” sheet.
I decided to use the larger piece to cover the exterior of this box.
You can get rid of the folds by taking a hair dryer on the WARM setting to it. I completely bypassed that step this time since this box was rough anyway ( and I totally forgot lol!).
To add the paper, I first applied a coat of Redesign’s Decoupage Gel in matte using a 2″ Foam brush:
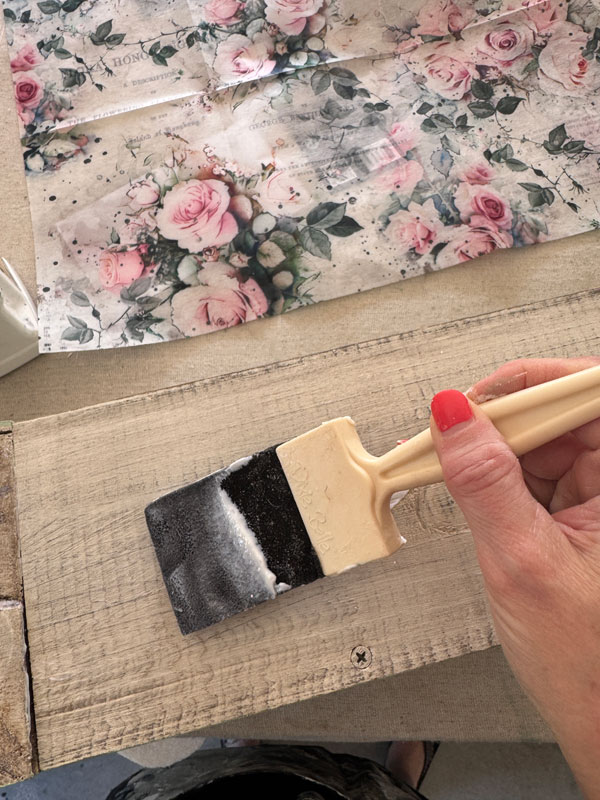
And then I laid the paper on my surface, smoothing it out as I went.
Then, I rubbed 220 grit sandpaper along the bottom edge gently until I was able to easily pull it apart…
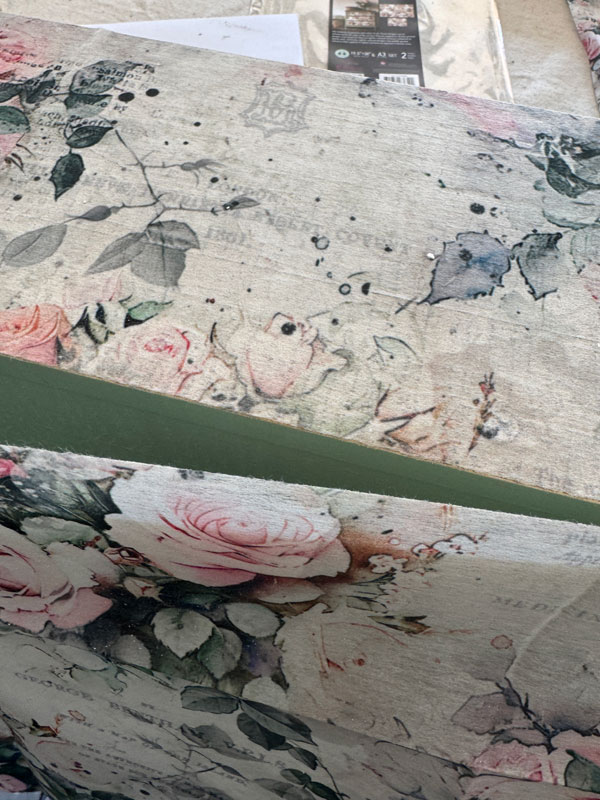
Keep in mind that the background will show through the paper some. This had a grayish white that I thought would look great through the paper and give it a more time-worn feel.
Once I had the paper applied, I added another coat of Decouage Gel on top.
Seal
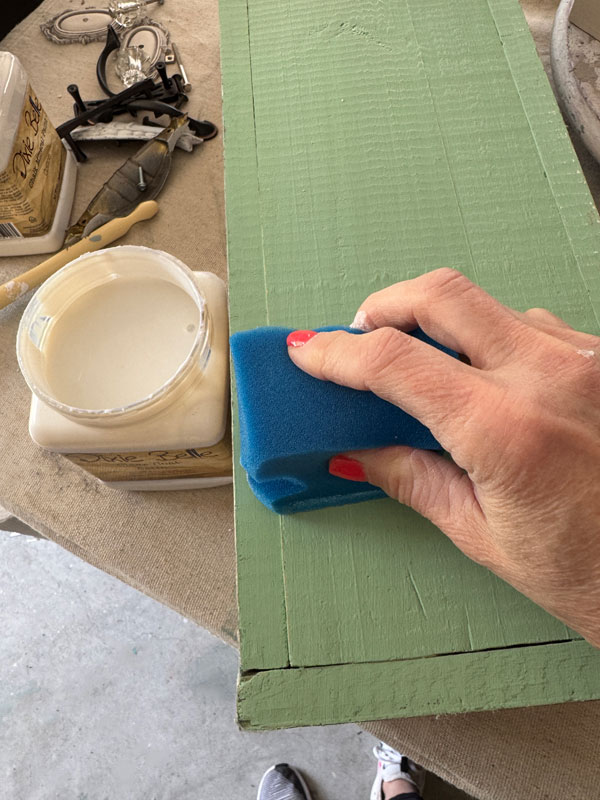
I sealed the painted areas with Clear Coat in satin using the blue sponge to apply it:
Swapping out the pulls
These were the original pulls that were on either end:
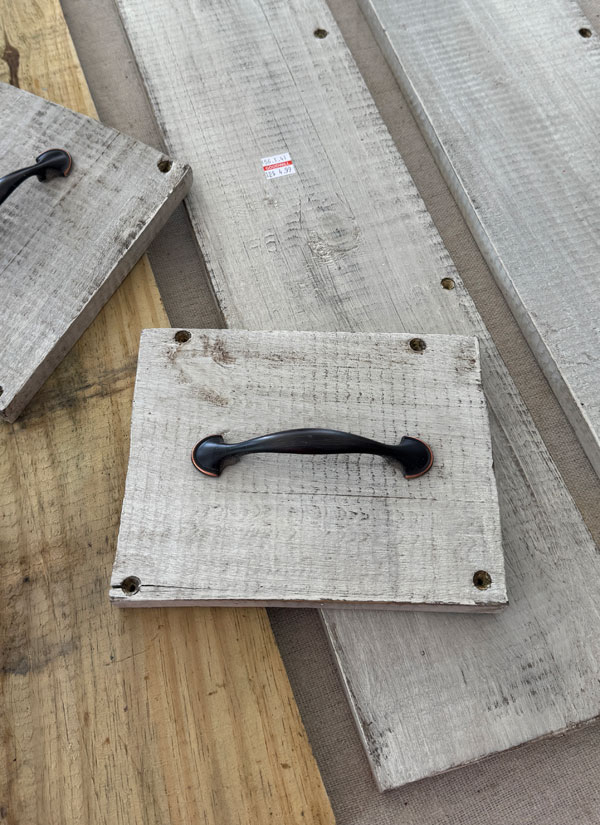
I decided to add something much more fitting with this pretty paper.
Using the SOHO Fusion mould and Amazing Casting Resin, I cast a couple of these:
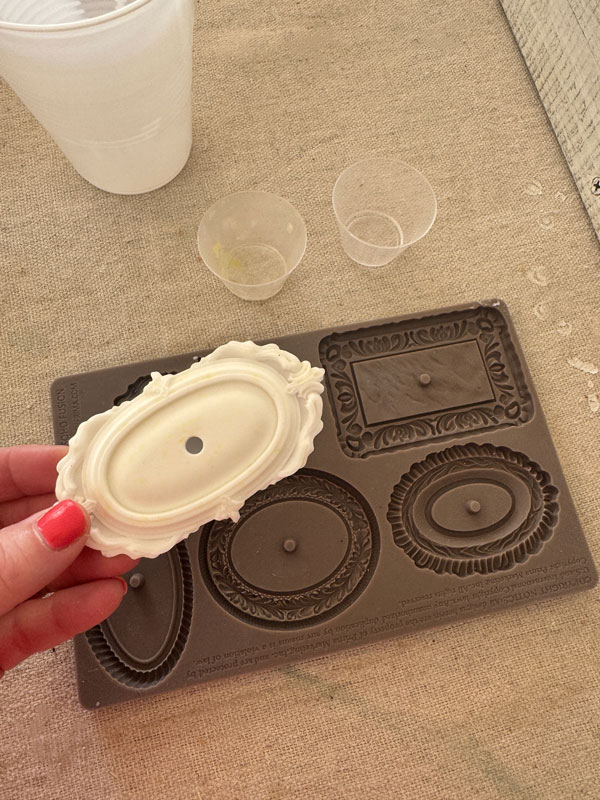
Y’all know I love this one since I use it all the time!
Wax
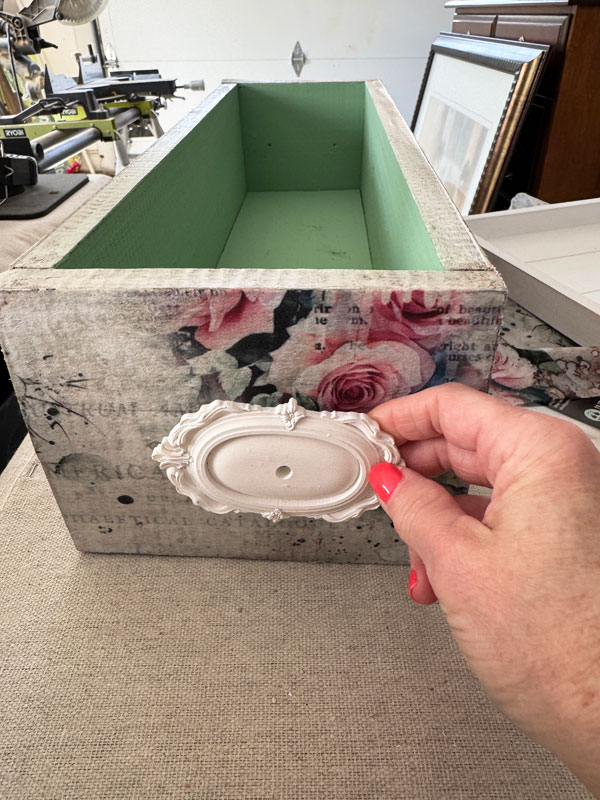
I painted them in Fluff, but they were too bright:
Adding Wax
To help them match the the feel of this box better, I enlisted the help of Best Dang Wax in Grunge Gray, applying it with my French Tip brush to easily get into the small details:
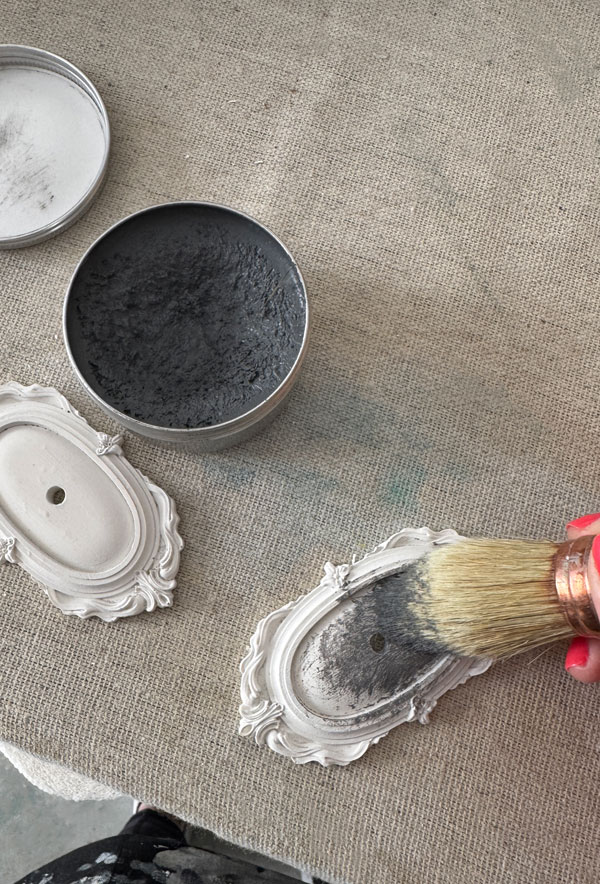
Then, I removed the excess with a clean, soft cloth:
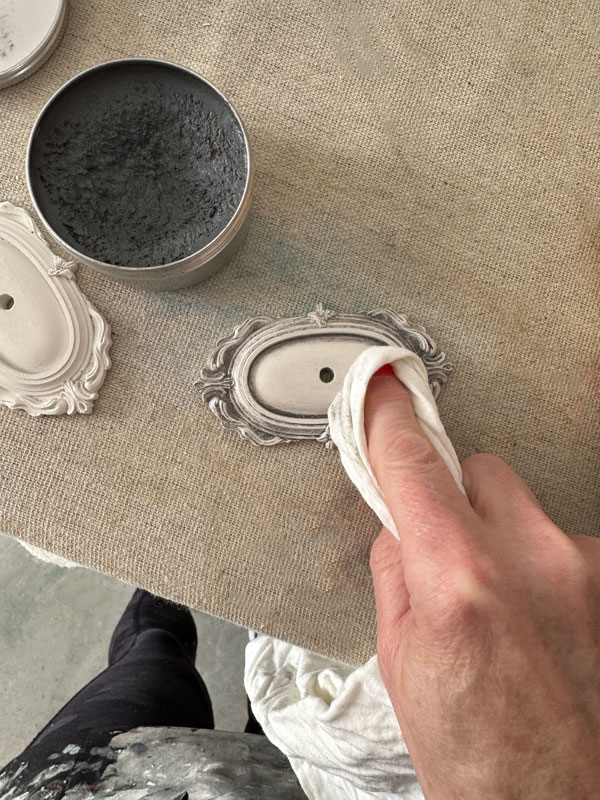
I added a little E6000 glue to help hold them in place with the new knobs. and this makeover was complete!
Primitive Wooden Box Update AFter
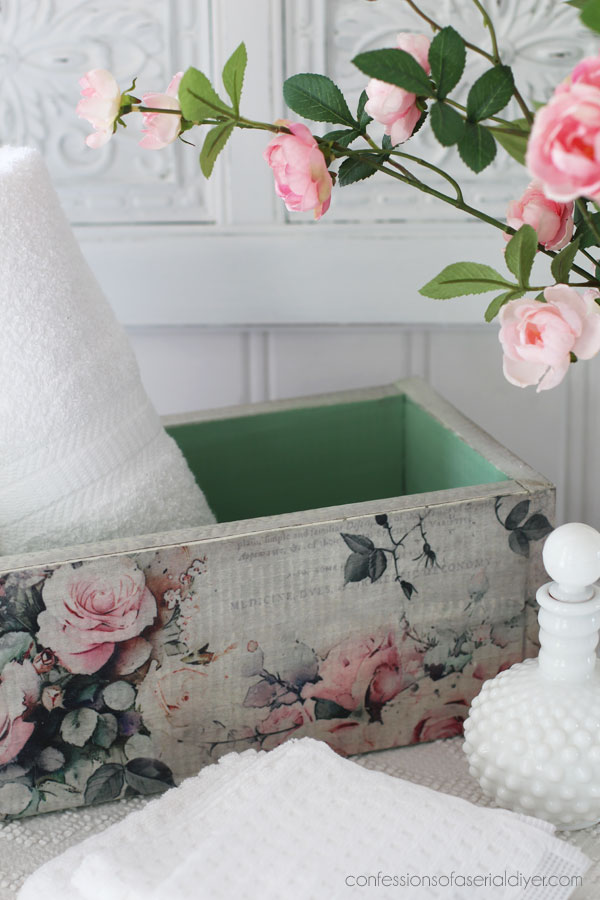
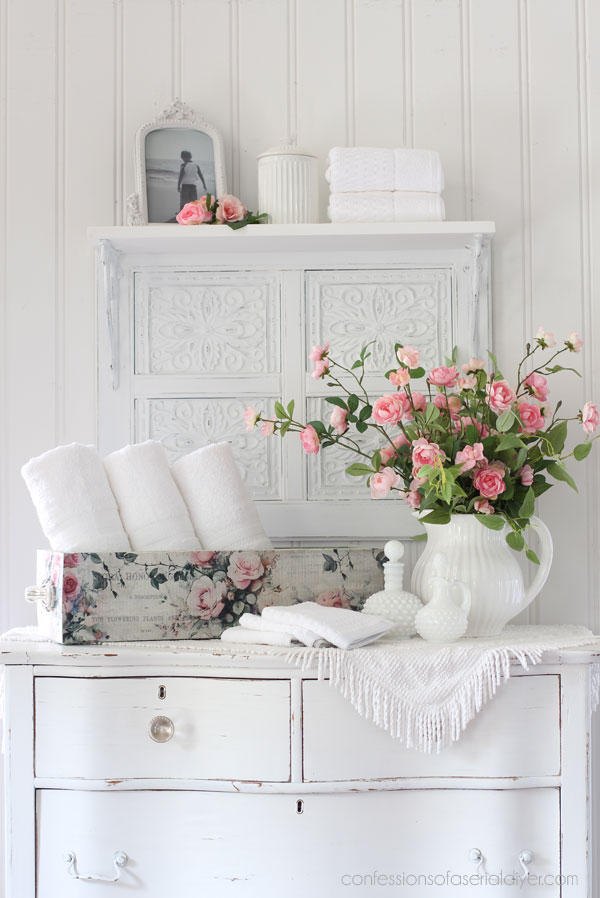
Here is how this box looks now!
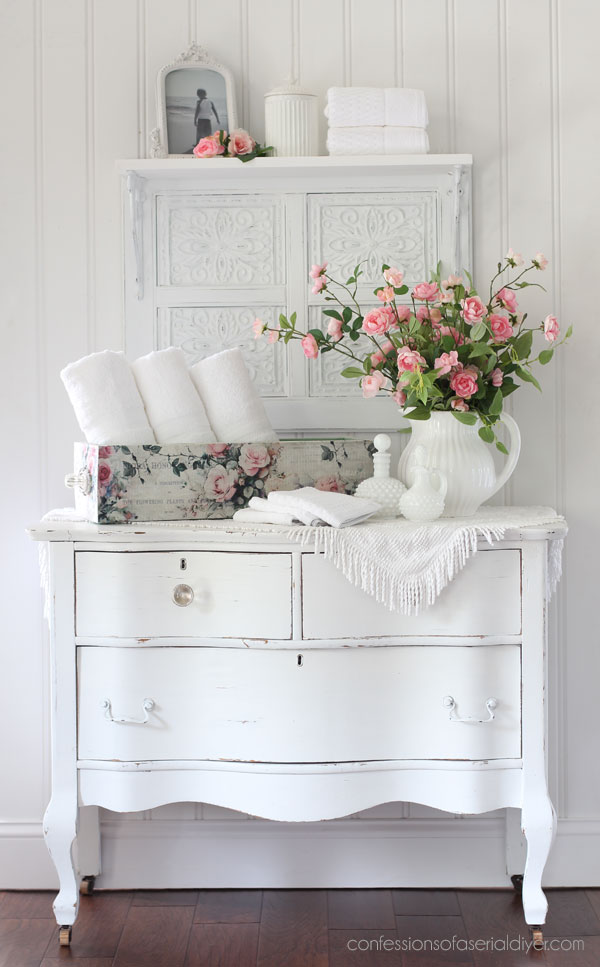
SO pretty, right??
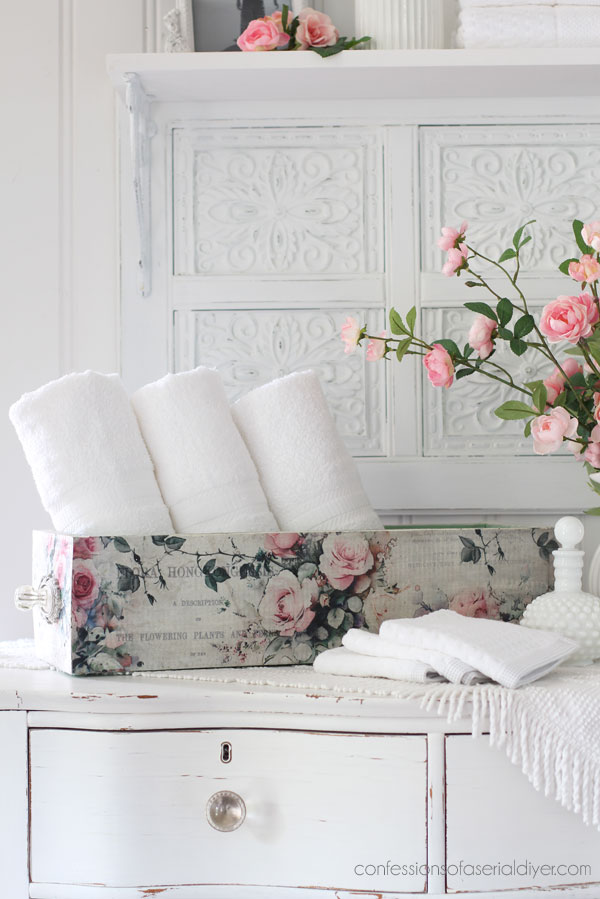
It was so hard edged before, and now it is so feminine and lovely!
Love this pop of color on the inside with this paper…
And the new pulls with those sweet backplates work so much better with this look
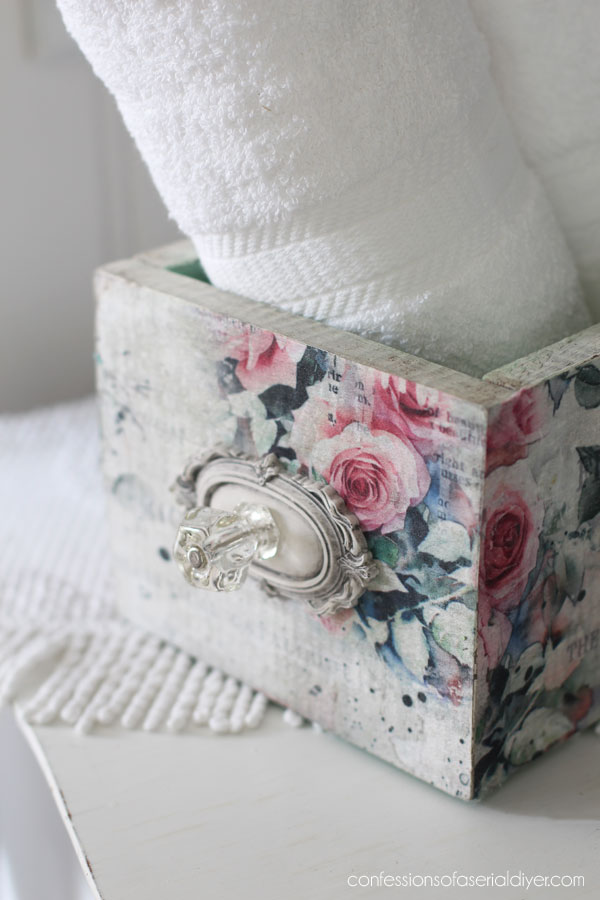
They are on both ends:
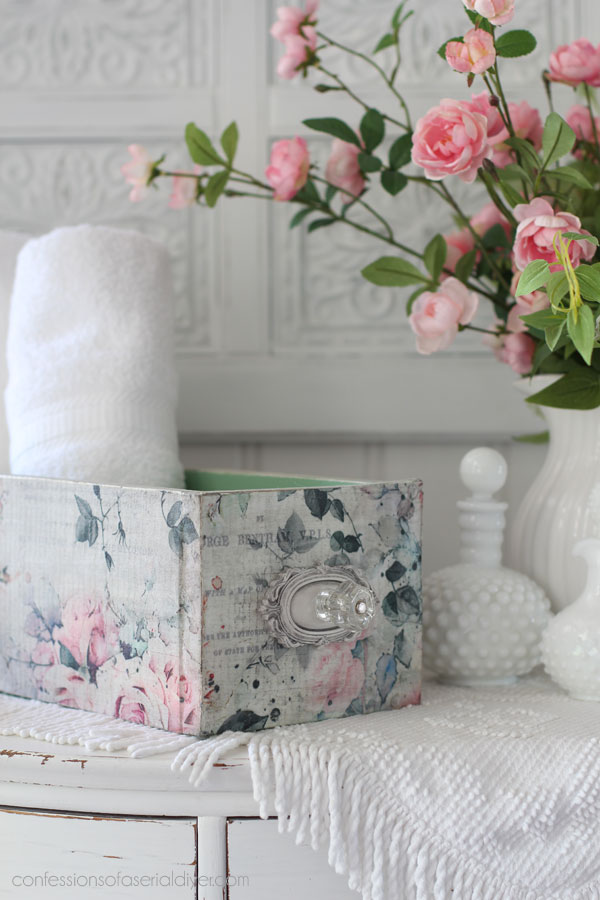
A local reader passed the knobs along to me a while back…
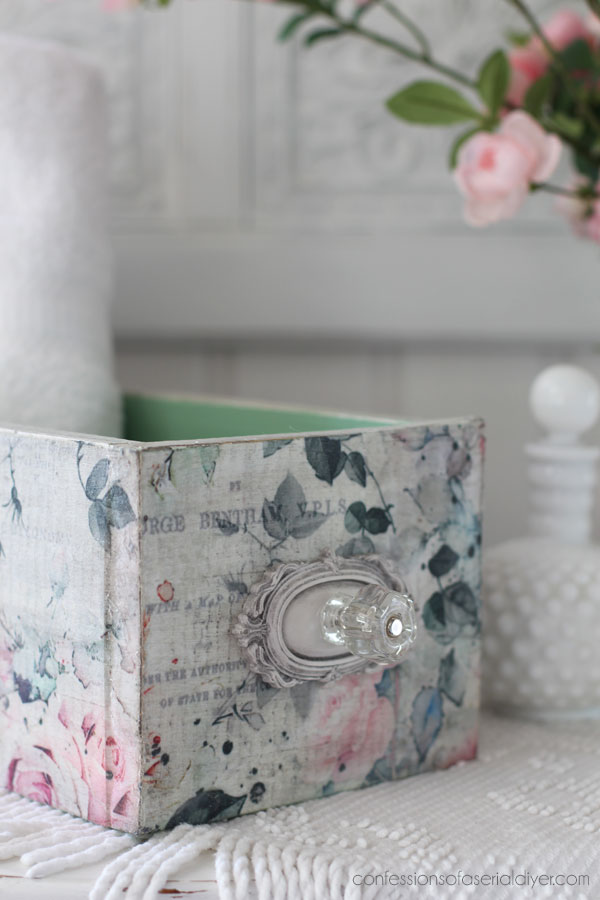
I love this paper!
This gorgeous paper is just one of many beautiful papers in the new collection! See everything new HERE!
See? I told you this one needed a post of its own ha ha! Too many photos!
And that’s one more crossed off!
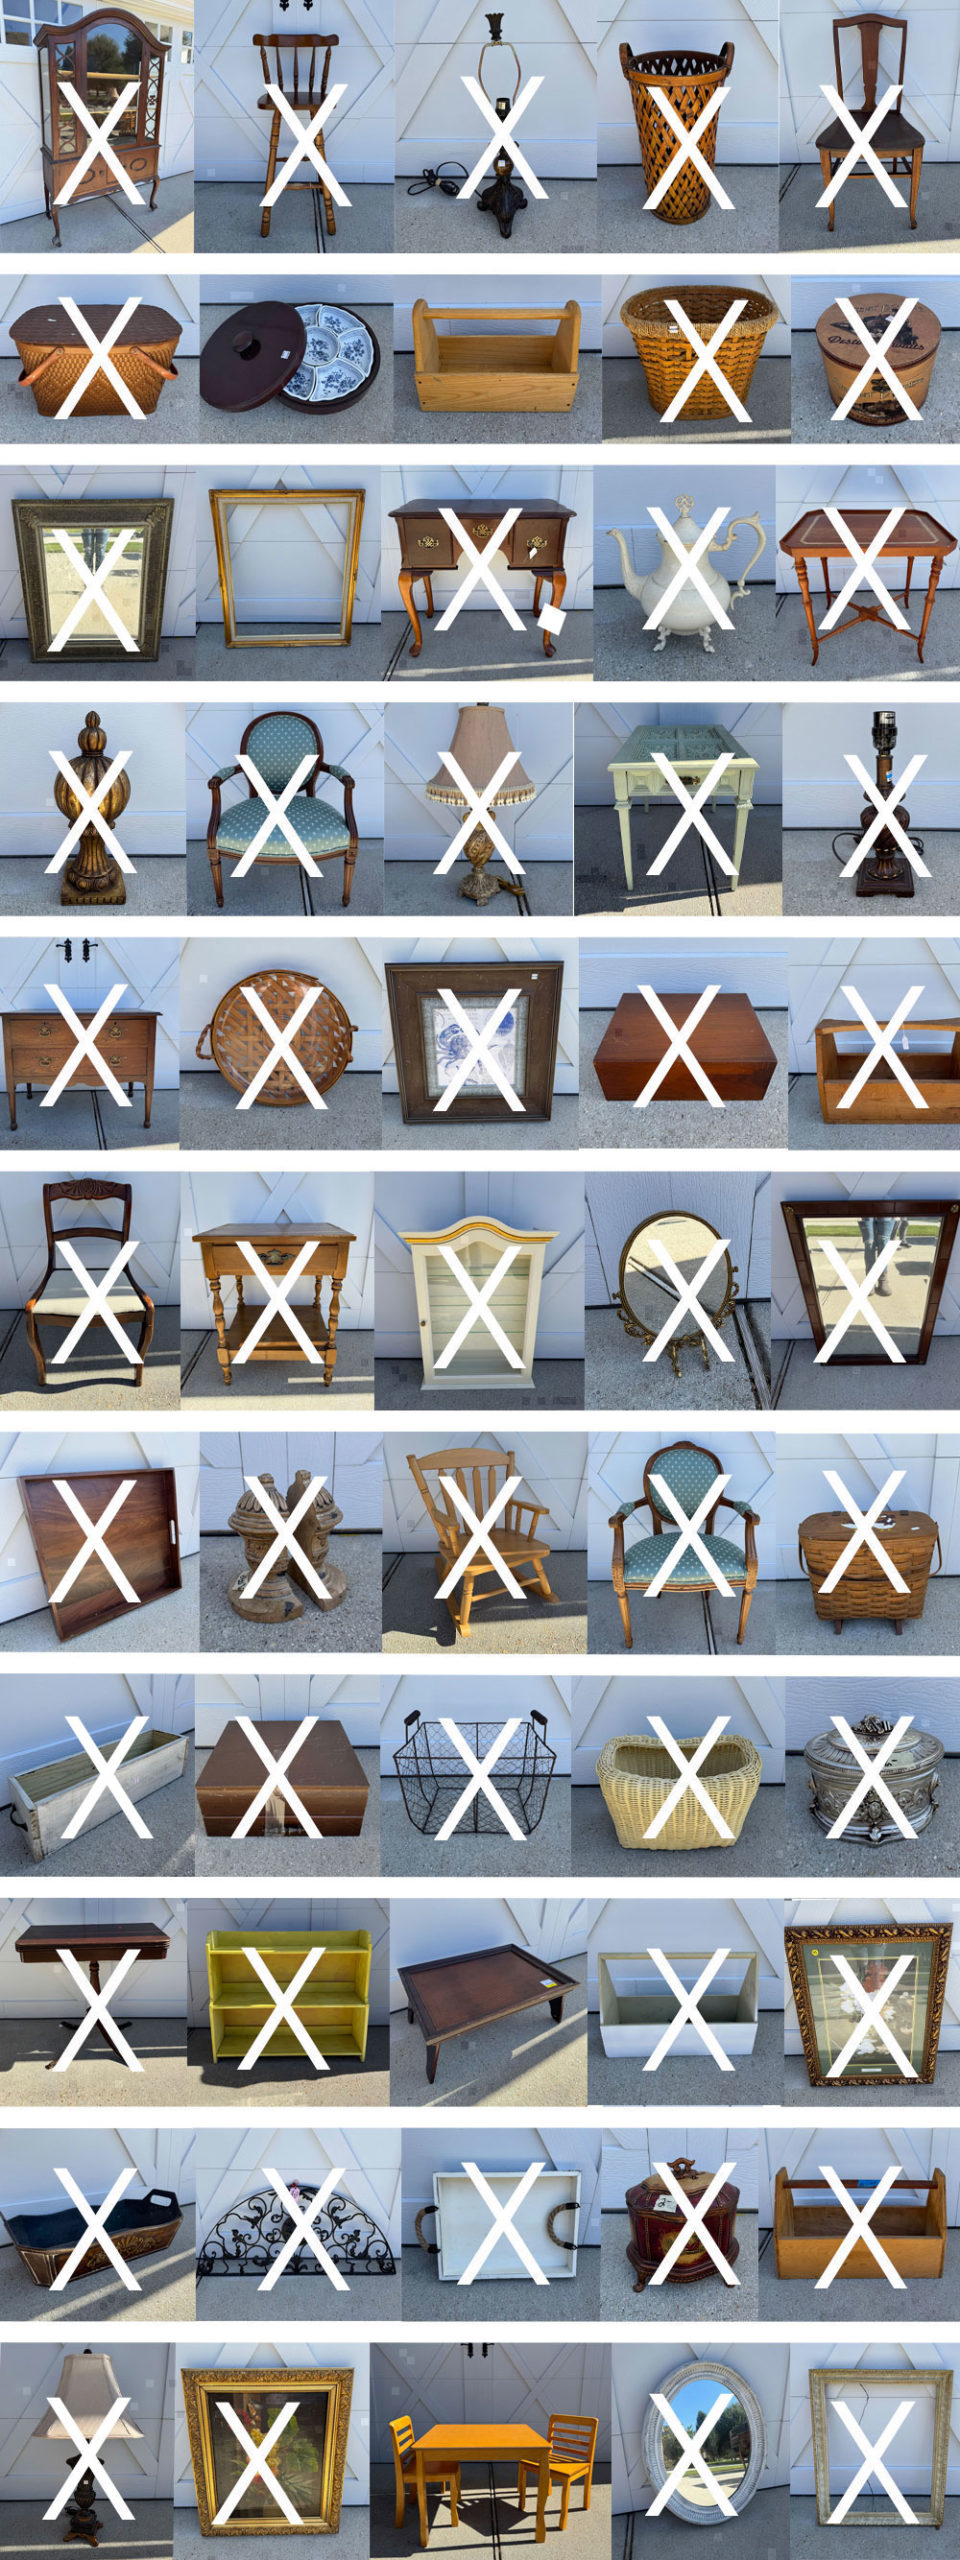
I’ll be back with my Furniture Fixer Upper Crew on Thursday sharing what I did with this kids’ table and chair set:

UPDATE: See how cute it turned out HERE now!
And then I’ll have everything else left in this haul on Tuedsay woohoo!
See y’all then!
XOXO,

Don’t Miss a Thing!
If you like what you see, there are several ways to follow along!
EMAIL * INSTAGRAM * FACEBOOK * PINTEREST


Get FREE SHIPPING on all orders over $50. No code needed at checkout! Orders under $50 always enjoy $8 flat rate shipping! Most orders ship same or next business day!





Mary Kaiser says
Wow that is so beautiful now! I love that paper over the weathered wood, and the pop of green is perfect inside the box! You are amazing and I love your work!!
Christy says
Aww thank you, Mary! This one was so fun to do! XOXO
Kathy W says
Christy, I don’t know how you do it!! Time and time again!! The box was so rustic I would have never thought “anyone” could make it so pretty. Then, I thought. Oh, yeah, it’s Christy!! She can make anything pretty and you did!!!! I love the decoupage paper also. I hope you’ve been having fun shopping for items for your next haul. I look forward to the table and chairs makeover on Thursday and your final round of smalls on Tuesday!! Great job!!!!
Kathy W
oxox
Christy says
You are the sweetest, Kathy, thank you! I really enjoyed making this one pretty! And yes, I have been enjoying shopping…I would like to find a couple more larger furniture pieces, and then I’ll be set. See you Thursday! XOXO
Janice Redden says
Christy, the box went from chunky to charming and the new pulls are the perfect finishing touch. I love that you are not afraid to take things apart….I do, too……it’s like Legos for grown-ups! LOL.
Christy says
Thank you, Janice! Ha ha yes!! Sometimes you just have to! XOXO
Isokol says
The box is absolutely beatiful. Although the new knob treatment is also beatiful, won’t it be a little more difficult to pick up the box? Don’t know the weight of the box but I think picking it up to move around will be cumbersome. You have a magic touch on everything, so creative. Glad to have found your site.
Christy says
Thank you, Isokol! I’m glad you found me too! The knobs are more for looks, but they do support it. It can also easily be picked up by handling the box itself. XOXO
Geri Davis says
I love what you did with the box! I actually make those a lot as dining table centerpieces! I have one on my coffee table at Christmas full of greens and ornaments!
Thank you for the ideas!
Christy says
Thank you, Geri! The smaller size of it now would make it work on a coffee table too…great idea! XOXO
Cecilia says
Oh my goodness! I love that beautiful paper. It dressed up the box beautifully. Good call on the knobs – they went from drawer pulls to a perfect accompaniment. Love this makeover!
????Cecilia
Christy says
Thank you, Cecilia! I love this paper too…can’t you tell?? Ha ha! This was a fun one! XOXO
Gloria says
Beautifully done, Christy. Love the decoupage paper on this box with that pretty green paint. Looking forward to Thursday as always.
Gloria
Christy says
Thank you, my friend! I’m so glad the paint and paper worked so nicely together. See ya Thursday! XOXO
Amanda says
LOVE how this turned out! Absolutely beautiful!
Christy says
Thank you so much, Amanda! XOXO
Michele M. says
You are truly amazing. That box cannot possibly be the same one. WOW.
Christy says
Aww you are the best! Right? It doesn’t even look like the same box! XOXO
Cyndi says
This turned out so lovely! The wax over the white on the backplates aged them perfectly. Love the knobs too. This would be great to hold a lot of different things. Great job!
Christy says
Thank you, Cyndi!! I don’t use gray wax often, but it hit just right here! XOXO
p says
Awww. Such a vintage pretty look.
The new knobs / moulds are a perfect add.
I had no idea the different wood tones would show thru so nicely.
nice nice nice !
Christy says
Thank you, P! I just love that mould. And yes, the papers are a bit sheer, so the background will show a bit…this background was perfect! Have a great week! XOXO
Caye says
Wow! When I first saw the box the picture of some old-timey guy in a well-worn barn or shed came to mind. I thought of how he may have built this box from scraps that were laying around so he could keep all this hand saws, chisels and tools together. Ha! NOW look at it! It’s a piece of art. Just lovely, Christy. Can’t wait until Thursday to see another perfect project.
Christy says
Ha ha I love your vision…sounds about right! I couldn’t wait to make it pretty. You are always the sweetest…thank you, Caye! XOXO
Sandi says
This is so Beautiful!
Love the final result with the paper & new knobs & the pop of color inside!
Christy says
Thank you, Sandi! It was so fun to give this a more feminine look! XOXO
Marietta says
Do you not just stand back, clap your hands, and giggle like a little school girl when you finish something like this?
It is amazingly beautiful!
Christy says
Oh yes!! I honestly had no clue what I would do with this box, so I was especially tickled when it turned out so cute! Thank you, my sweet friend! XOXO