Hey there lovely Friends! It’s Thursday and one day closer to Spring break around here yay!! I always enjoy a few days with my boys without school routines. PJs till noon here we come.
Today I have another small makeover as I am looking for small pieces to add to my booth.
Here is what’s getting an update today:

I thought it was kind of cute and it was on clearance. You know how finding cute stuff at the thrift store AND on clearance makes my heart skip a beat.
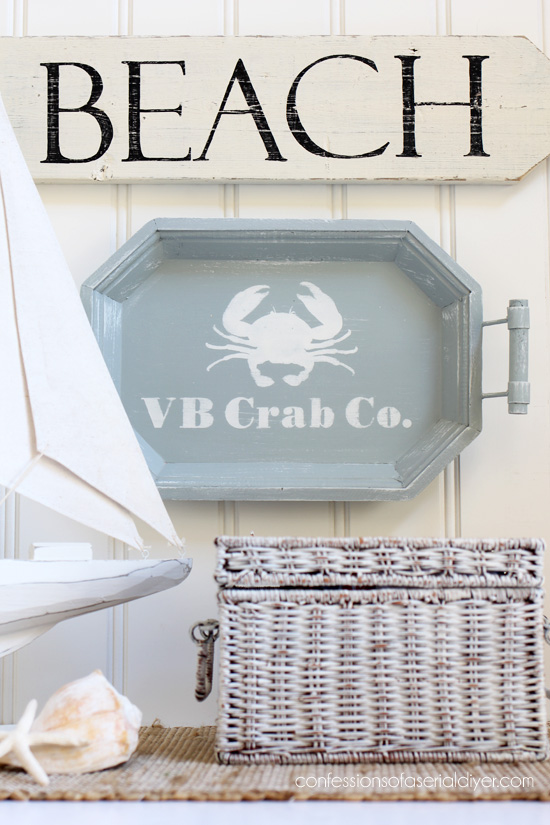
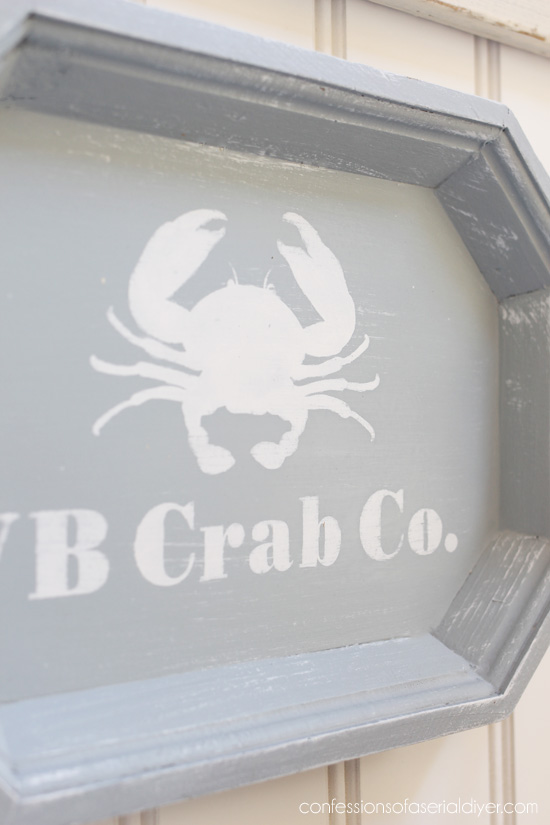
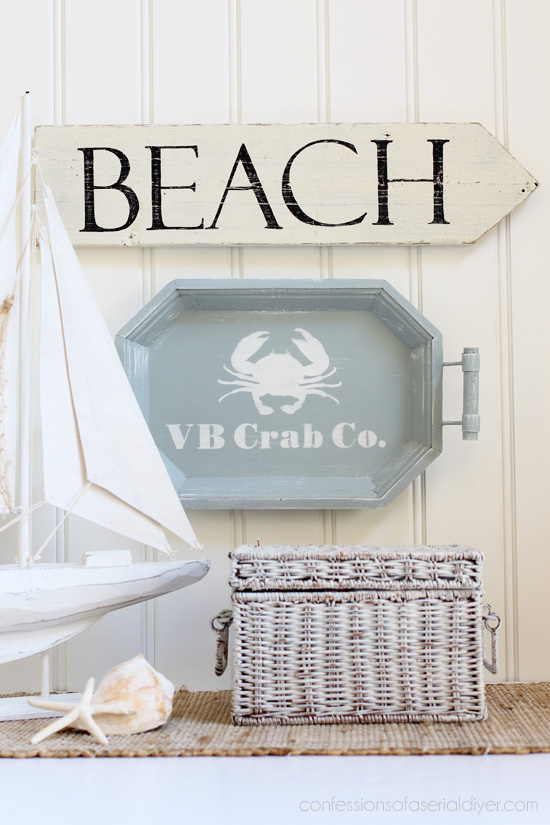
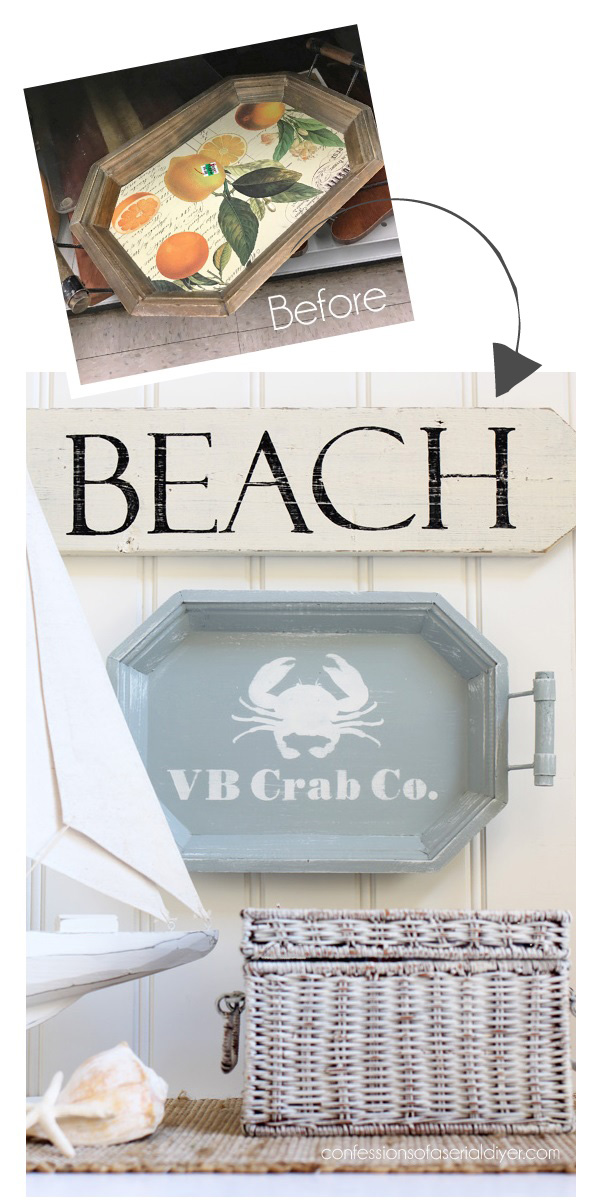
I decided to give this tray crabs, er I mean a crab, just one:
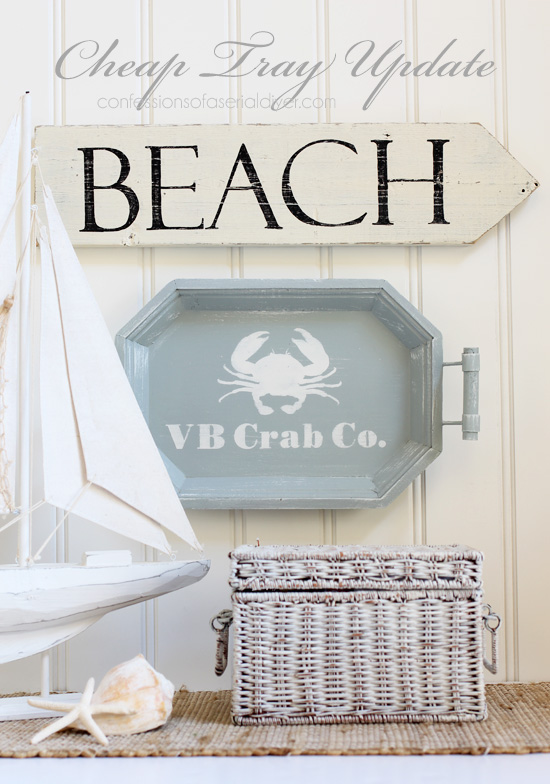
You know how I like to put crabs on stuff. I’ve added them to other projects HERE, HERE, and HERE. Adding my city (VB=Virginia Beach) makes these pieces good sellers, and the crab just fits.
That basket is still a favorite find. I want to say it was only around a dollar. I spray painted it with white primer and sanded it all over.
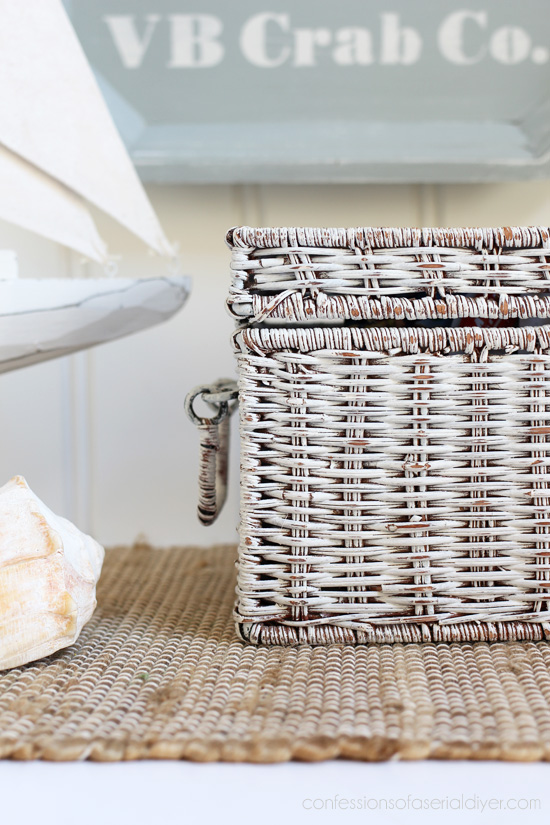
I’m always drawn to baskets for some reason. This one is filled with miscellaneous toy parts my son leaves around. I toss the loose little pieces in here.
This tray had a paper bottom, and I decided to just paint over it instead of trying to remove it. Then I decided it’s not really big enough to be much of a functional tray anyway, so why not add a hanger to the back and hang it.
I painted this in Behr’s Sparrow made into DIY chalk paint. (See recipe HERE.) It looks more blue here, but it is actually gray. Then I dry brushed it here and there with white paint and a VERY dry brush.

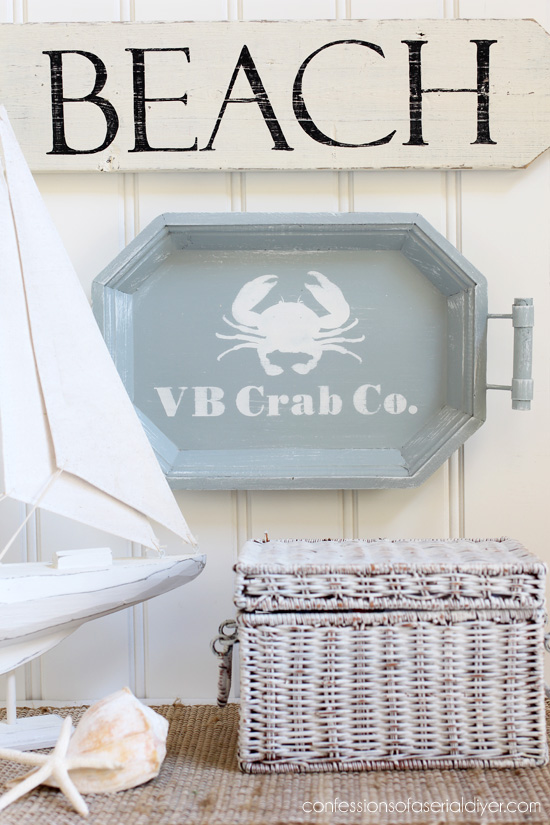
I added the graphics with my Silhouette Cameo.
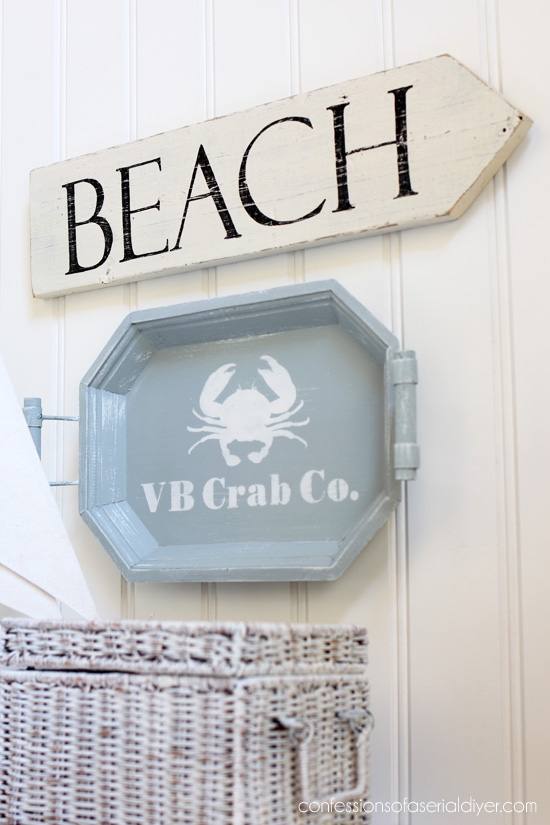
A light sanding and a coat of Annie Sloans Clear Soft Wax finishes it off. I added a sawtooth hanger to the back to hang it.
I borrowed the beach sign from my boys’ bathroom. See how I made it without my Silhouette HERE.
You may remember today’s tray from this purchase I shared in another post not too long ago?

The other items I purchased with this tray have had their makeovers already.
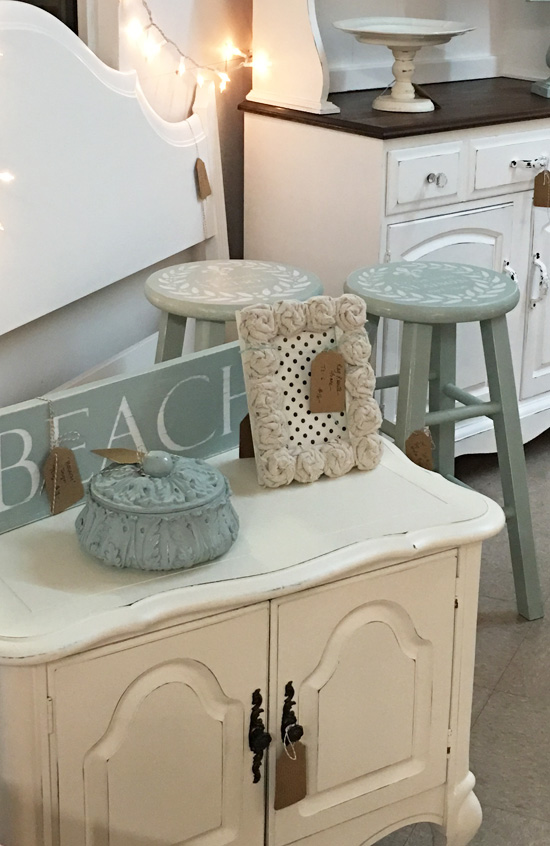
I didn’t share the little trinket box in a post sine it was just a quick paint job, but you can see it in this cell phone pic of my booth here:
The vase has been used several times already…like here on my thrift store hutch:
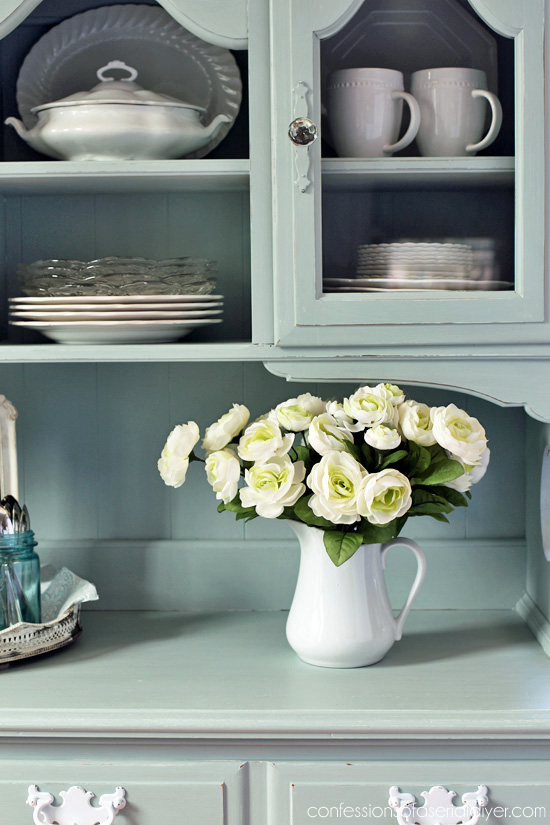
It’s a perfectly petite size.
And you may remember what happened to that wooden box…
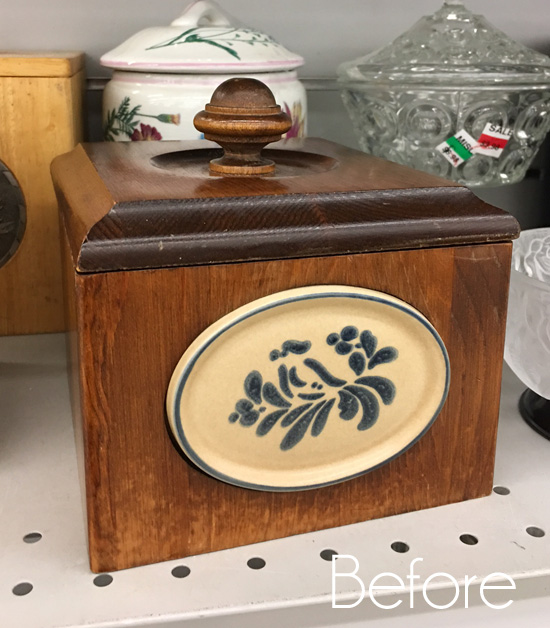
But if not, you can check it out HERE!
The tray was a small makeover, but it has a whole lot more personality now.
It would be a fun addition to a gallery wall or in a small wall space in a kitchen!
I’ll be back on Tuesday with my Trash-to-Treasure girls, my favorite! I’ll be sharing what I did with this rocking chair part I pulled out of my neighbor’s trash:
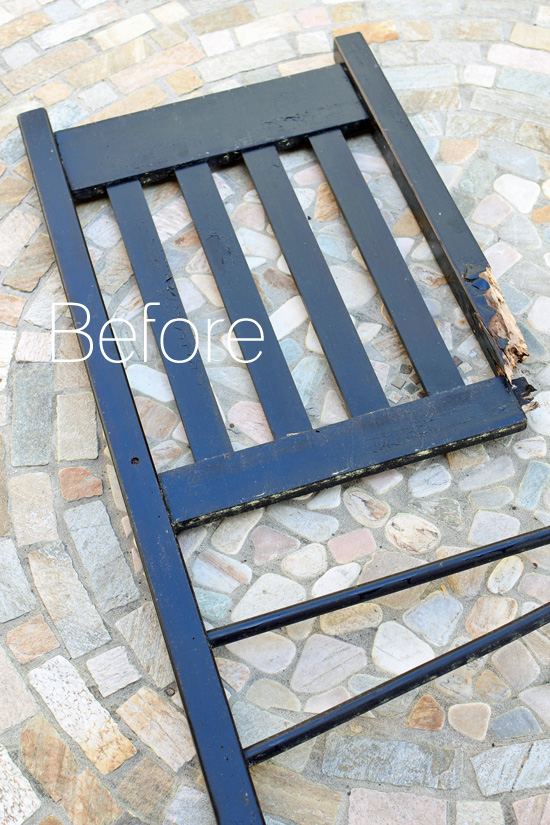
No shame here. 🙂
UPDATE: See what I made out of this “trash” HERE now!
Have a fantastic weekend!
XO,
![]()
Don’t Miss a Thing!
If you like what you see, there are several ways to follow along!


Mary Kaiser says
It is so cute. I love free stuff, can’t wait to see what you pulled from neighbors trash. I just finished my free curbside dresser and it turned out great. My husband doubted that I could make it amazing, I proved him wrong AGAIN!!!!
Christy says
Thanks, Mary! Isn’t that the best??? AND it was FREE!! My hubby saw what I pulled from my neighbor’s garbage can in the garage and said he knew I would dig that out ha ha. He said, “You probably took a picture of it in her trash can too, didn’t you?” Well of course I did lol I have to share with my blog friends! 🙂
Claire says
Hi. The next time you “dry brush” something, please could you explain exactly what you mean and how to do it. I like the effect but don’t really get how to do it
Christy says
Hi Claire! To dry brush, I dip my brush in a tiny bit of paint, in this case it was white paint, then I brush most of it off onto a paper towel. Then I go over the edges on my project piece lightly, and only a small amount of paint hits the edges in all the right places. Hope this helped! 🙂
Paula says
Another great makeover that is sure to be a quick seller. It must be hard to keep up with small items since you have a large space and so many flat surfaces on pieces that need to be filled. Enjoy spring break with your boys!
Christy says
Thanks, Paula! It really is hard to keep up with the smaller items, and I don’t really make a ton of money on them. They do keep the booth going in between furniture sales though so gotta have them. 🙂 XOXO
Christina in FL says
Super cute tray Christy! It truly blends so well with the rest of your beauties in your booth. 🙂 The trinket box is lovely as well.
Thank you for the inspiration!
Create on!!
Christy says
Thanks, Christina!! XOXO
Janice says
Love the tray. So glad it had the handles on it but I’m sure if it didn’t you would have added some. You have me looking at things at the thrift stores in different ways. Thanks for all the inspiration.
Christy says
Thanks, Janice! It’s hard to reimagine old pieces in your mind sometimes, but it’s amazing what a little paint can do! XOXO
Marie|The Interior Frugalista says
Another great tray makeover, Christy! Pinned
Christy says
Thanks, Marie!! Appreciate it, Friend! XOXO
Mary T says
Love this Crab!! Where did you find that? I must have missed it. Thanks for sharing all you do!!
Christy says
Thanks, Mary!! I found it by googling images of crab silhouettes I believe. 🙂
Nancy @ Slightly Coastal says
Great makeover! I can’t wait to see the trash can makeover. I just picked up a Florentine table for $8. I’ll be working on that one really soon.
Nancy
Christy says
Thank you, Nancy! Great deal on the table. I bet it has beautiful lines…that will be a fun project! 🙂
Julie B. says
Okay… so the trinket box… I TOTALLY noticed it in the pic of your booth update, and I was like, “Where did THAT come from?!” SO pretty! And, I LOVE this tray, too. Great for a wall hanging!
Christy says
Thanks again…a lot of things I paint aren’t really blog post worthy, they just head straight for the booth! XO
Rose Arroyo says
Beautiful as always love nautical items and like you said that made my heart skip a beat lol.
Christy says
Thank you, Rose! I am really drawn to nautical/coastal style pieces too! Have a great weekend! XO
Larissa ~ Prodigal Pieces says
Great minds tray alike! hahaha…I just did a tray makeover too. Love your beachy theme. So cute!
Christy says
Ha ha yes! LOVE yours!!! Have a great weekend! XOXO
Holly says
Christy – you are my hero! I usually don’t leave comments cause you bloggers and DIYers are busy enough but I have to tell you that you are amazing. My very favourite blogger of all! I am pretty sure I have checked out every single makeover you have ever done and I love guessing what you will do with a piece before I look at the finished product. Haven’t got it right yet because you always do something fresh and new 🙂 Thanks for your great blog and sharing everything with us “Christy wanna be’s” !!
Christy says
Awww thank you SO much, Holly! That really means the world to me!! I think you just totally made my day!! XOXO 😀
Rose Lefebvre says
Perfect for a beachy cottage style look!
Christy says
Yes, exactly! Have a great weekend, Rose! XO
Nancy @ Artsy Chicks Rule says
Cute makeover Christy! Love all your crabby crabs! And the trinket box looks so much better blue too. 🙂
Christy says
Thanks, Nancy! It’s funny b/c I’ve picked up probably five or six similar little boxes and each time I find one, I paint it the same color blue and stick it in my booth and it always sells lol. Have a great weekend, don’t work too hard! XOXO
Sue Covert says
Hi Christy – Your blog is my all-time favourite too – you inspire me SO MUCH!! I now walk into thrift stores and think, “What would Christy buy, or what would she do with that?!” I have a question for you…….I’m new to the whole silhouette machine thing……When you cut your design on the machine from vinyl, are you doing another step with transfer paper, or are you just using your vinyl as a stencil? I’m just not getting all the steps! Maybe you’ve done a post detailing it further that I missed, or there is a tutorial elsewhere that you could direct me to? Thanks so much!
Christy says
Thank you SO much, Sue!! I truly appreciate that!! I apologize for the delayed reply, we took the kids out of town for a couple of days for Spring Break. With the Silhouette, I don’t use transfer paper. I use contact paper in place of vinyl (cheaper) and use it more like a stencil. The only tutorial I’ve done with my Silhouette is how to cut your own designs, but you can see the rest of the process as well: https://www.confessionsofaserialdiyer.com/tray-repurposed-how-to-cut-your-own-designs-with-your-silhouette-cameo/ 🙂
Shimon Maddock says
New to your blog and now never miss a Tuesday or Thursday in my emails!!! Your stuff is fabulous!!
Super cute tray!! It is difficult to tell in the picture so could you tell me what the tray is made out of? Looks like metal but I have seen trays like this at my fav thrift store made of plastic!
Christy says
Thanks so much, Shimon!! This tray is made of wood. 🙂
Shimon Maddock says
Thanks!!
Christy says
🙂