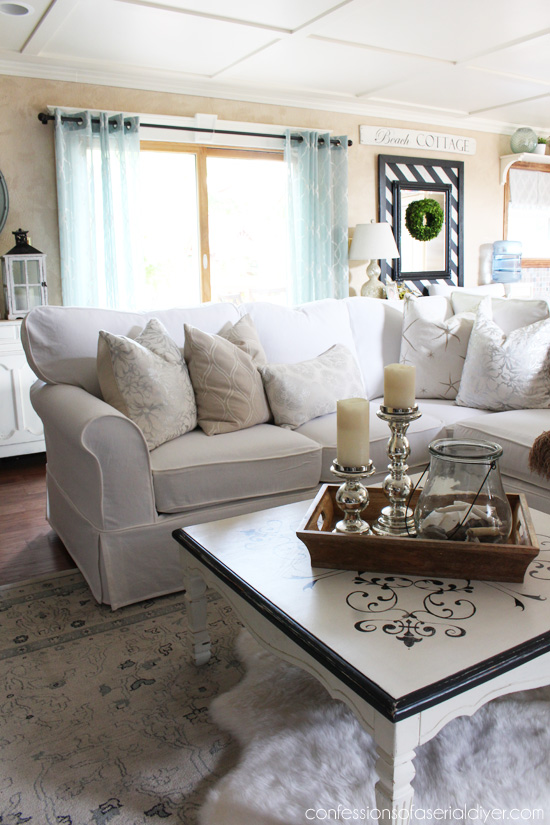
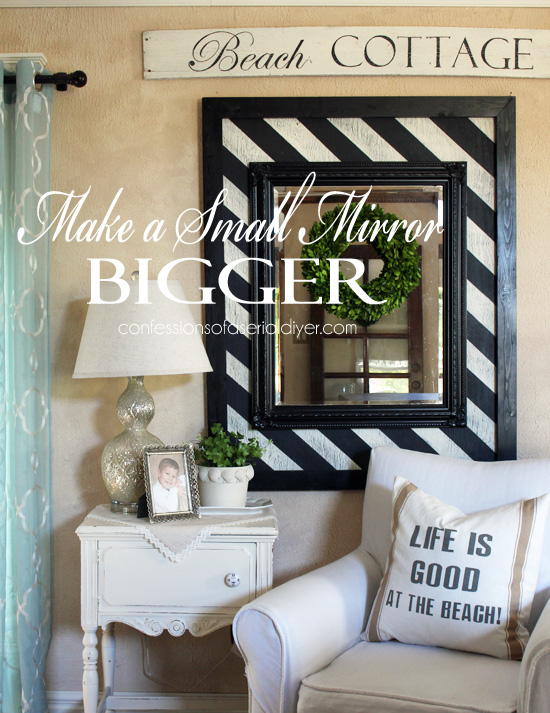
How do you like my new mirror?
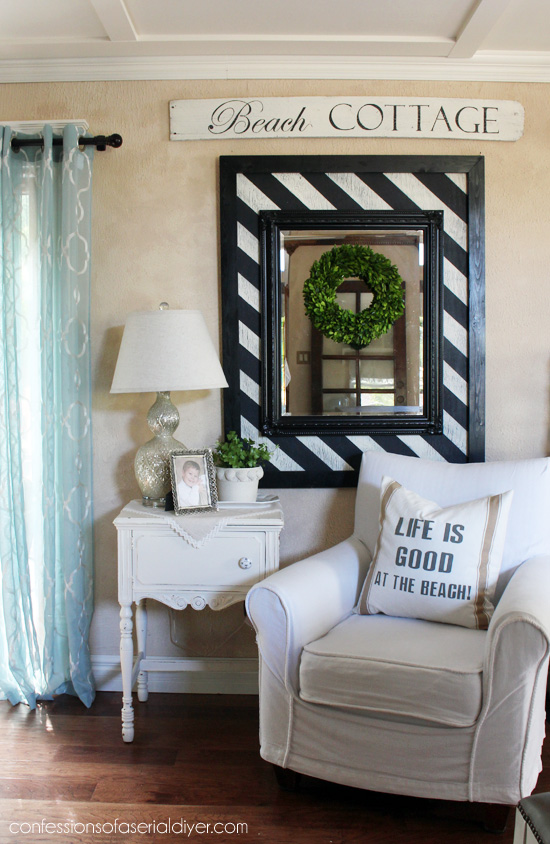
Bold, right? I like that it makes a BIG impact. If I’d have seen this at Home Goods, this would have gone straight into my cart. That above pic is from my most recent Summer Home Tour.
It was so simple to make. It’s actually a smaller mirror mounted onto plywood that’s framed out.
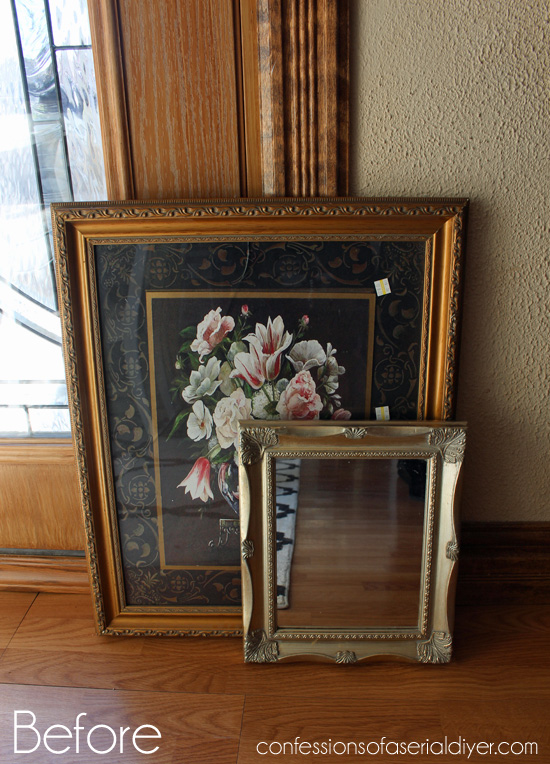
The title of this post should have been, “From Epic Fail to Awesome”. This project started with a plan to use the mirror below that was removed from the boys’ bathroom last Summer, to create a beautiful new mirror for my living room.
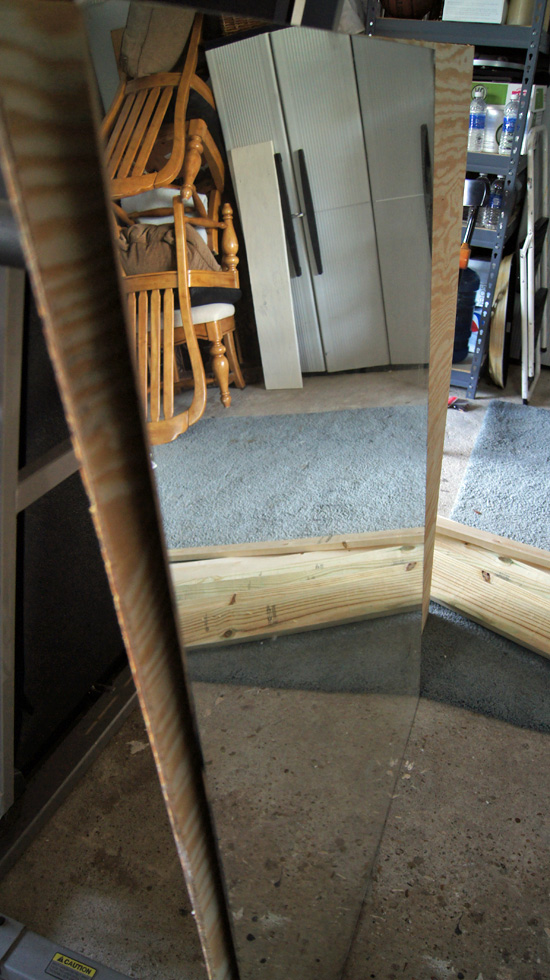
I was going to attach it to a piece of plywood, frame it out, and add crossbars to simulate a large window. I had all my supplies set, my plywood cut, and my frame constructed.

I was in the process of attaching the mirror to the plywood with mirror adhesive. As I was pressing down to make sure it was adhering nicely, if you think you know what happened next…you are probably right! The mirror cracked!! Oh no!! My beautiful mirror! My heart sank. What was I supposed to do with the frame now? The plywood?
It wasn’t too long before my wheels started turning.
I really wanted a mirror for that wall that would reflect all the light that comes into the dining room. I already had this mirror from my previous house, but it never really found a home.
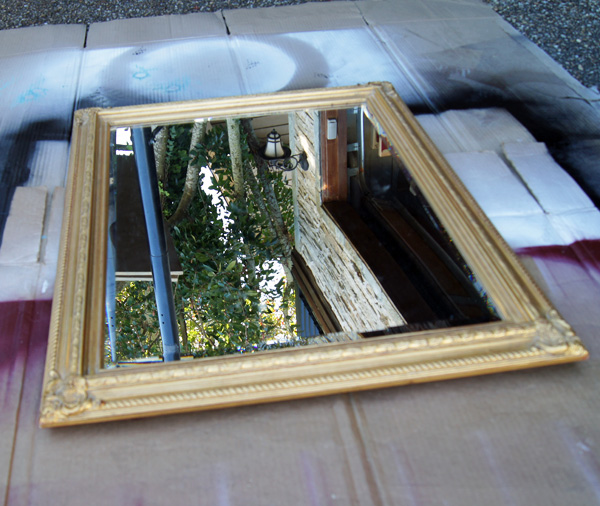
It was too small to carry the space where I wanted to add a mirror.
I spray painted the frame black and this is what I came up with. (While watching The Real Housewives of Beverly Hills. Don’t judge, I swear I do not watch TV hardly at all, but I’m drawn to these shows like a moth to a flame!)
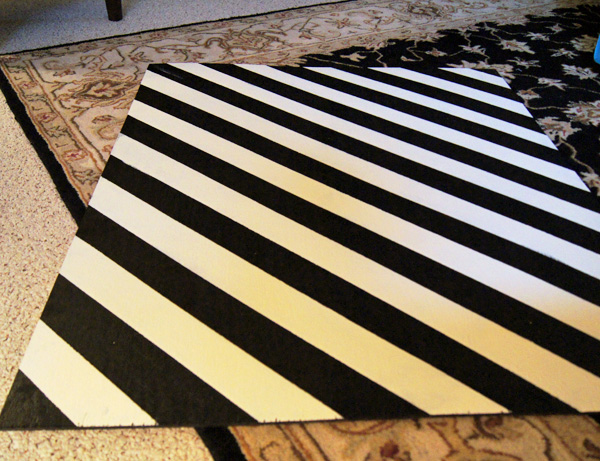
I thought that if I painted a cool design on the plywood, which had already been painted black, I could hang the smaller mirror on that to create one very large AWESOME mirror!
I decided to start painting my design right then during RHOBH, so my design is not super creative. I kept it simple, but its still pretty cool.
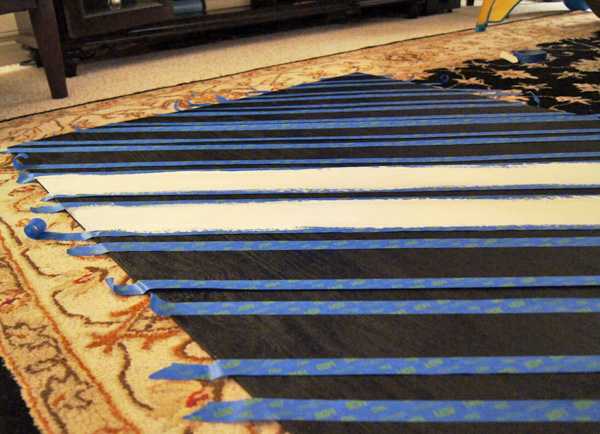
Here it is ready for the trim…
Then I sanded the ivory areas and gave it a coat of clear wax to bring out the depth of the black. I normally would have sealed it with spray acrylic sealer, but I didn’t want to carry this big ole thing back out to the driveway. (It was cold!)
I attached the frame from the back using small screws. I also attached mounting hardware for hanging. Here it is before I attached the mirror.
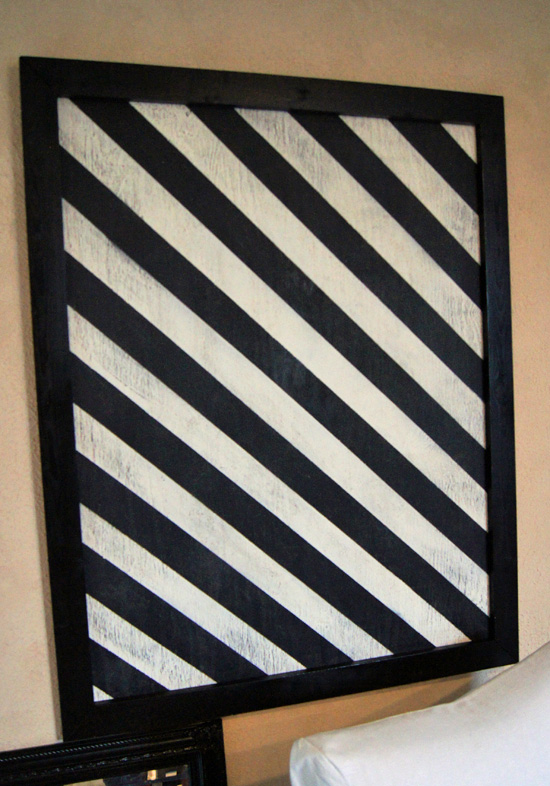
I admit I was a bit scared. This is VERY bold…
But the mirror calmed it right down.
I love that it is bold, but provides a neutral backdrop for any season. Here it is at Christmas…
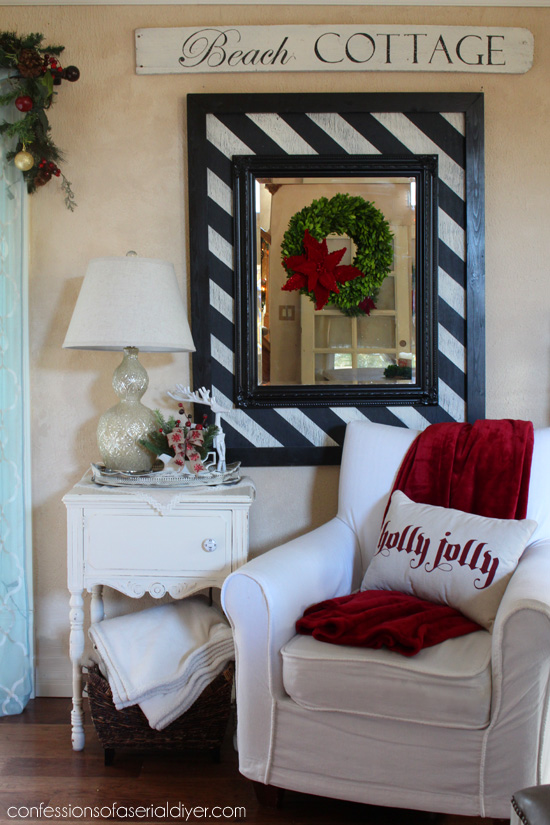
I hung the mirror on the plywood like you would hang it on the wall. Then I used a wee bit of industrial strength velcro on the bottom corners to hold it flush to the background.
See bold, but still neutral…
The total cost was less than $20 since I already had the mirror.
This may have not been my original plan, but I am so happy with how it turned out!
That’s my epic fail to awesome mirror story and I’m stickin to it!
If you liked this project, you’ll like this one too:
Click HERE to see what these became!
XO,
![]()
Don’t Miss a Thing!
If you like what you see, there are several ways to follow along!
Email * Facebook * Pinterest * Twitter * Instagram


Bridget says
Really cool! I’m impressed!
Christy K. James says
Thanks Bridget! It really does look like a mirror with a really large frame:)
Allison says
Looks great! I like the stripes too.
I hope you’ll drop by to see My Daughter’s Master Bath Redo – #83 at Met Monday.
Allison
Atticmag
Christy K. James says
Thanks, Allison! I’d love to see your daughter’s bath redo:)
Audra @ Renewed Projects says
I love the boldness of it. Looks like a great accent piece for the wall!
Christy K. James says
Thanks Audra! I like the boldness too:)
Jana says
Christy,
I don’t think you could have planned it better. The way you have the mirror looks awesome!! I always say “There’s a reason for everything” Sorry that your other mirror cracked but what you have now is great.
Thanks so much for stopping by my blog earlier and leaving a sweet comment. Oh, btw~I love the name of your blog, so catchy!!
Christy K. James says
Thanks for following me back:)
Kammy's Korner says
you are AWESOME! Looks so HIGH END and expensive!!
Christy K. James says
Thanks Kammy!! I think so too. If I had seen this in Home Goods, I would have put it right in my cart!!(but it was REALLY inexpensive to make:)
Jennifer says
Awesome awesome idea! and it looks so great. Please share your project at http://www.creativecraftsthursday.blogspot.com each and every week and check out what other creative divas are up to.
Jennifer says
This would also be a terrific linky on Design Décor Tuesday. http://www.designdecortuesday.blogspot.com. See you there! ☺
Christy K. James says
Thanks for the invite, jennifer!
the cape on the corner says
super great idea to make this work by attaching it to something bigger. love it!
Christy K. James says
Thanks 🙂
Kathie says
Hello, I’d love to have you come share your post at Show and Tell Saturday #6 at Sassy Little Lady!
http://www.sassylittlelady.com/blog/show-and-tell-saturday/show-and-tell-saturday-6
Kathie
The HOME GIRL says
Love this idea! It looks so fabulous! Thanks for sharing this great “epic fail to awesome” idea! =D
Christy K. James says
Thanks:)
The Refeathered Roost says
What a wonderful project and tutorial! Love the mirror in it’s gussied up state. Thank you for sharing!
Mindi says
Way too cute! I have never used wax, but it really adds character! I am glad you fail turned out so nicely. I have to laugh, I broke a mirror too doing a makeover!
Nette says
I love the mirror and am also wondering about how you made the sign above it. Did you use stencils for the lettering?
Christy says
Thanks, Nette! Here is the post for that sign: https://www.confessionsofaserialdiyer.com/fence-picket-signs/ 🙂
Nette says
Thank you! All your tutorials are so comprehensive! Now to get going! 😉
Christy says
You’re welcome…and thank you! XO