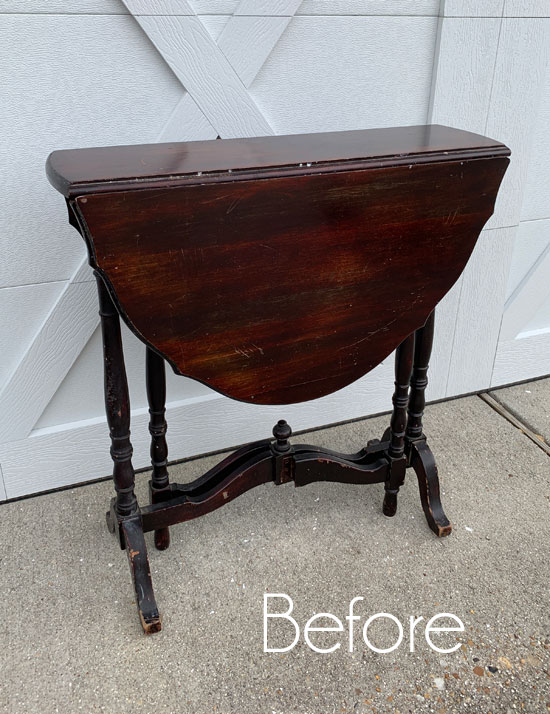
Hello beautiful, forgiving, understanding friends! Yeah so that drop leaf side table I promised to share today? We had a huge little oops moment with that one. I am hoping to get it back on track to share on Tuesday, and I’ll share then what went wrong.
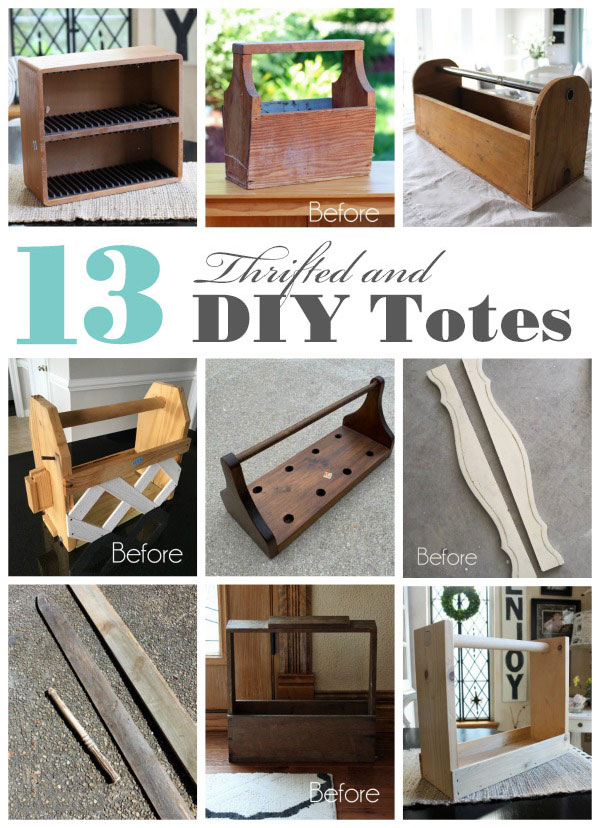
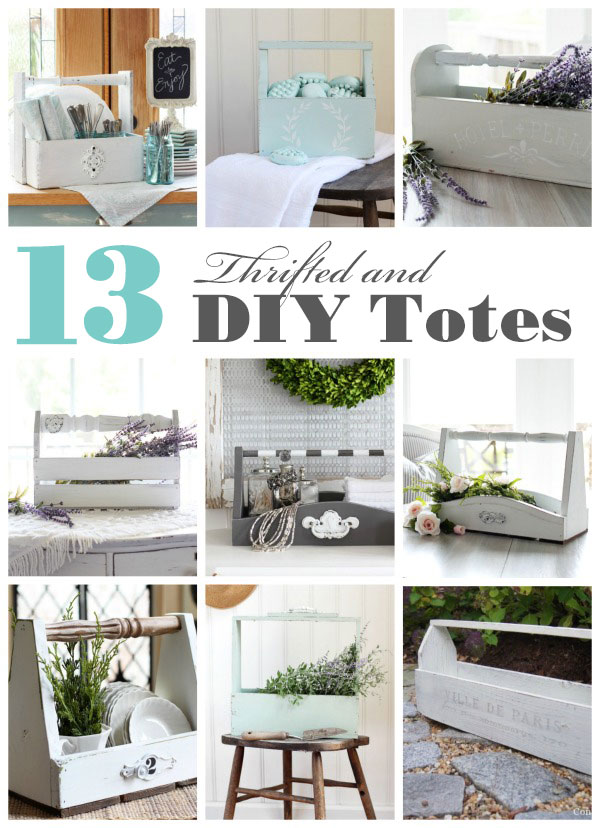
I rarely leave y’all hanging like this, so I couldn’t leave y’all without some good ole makeover inspiration today. I have rounded up thirteen of my own thrifty tote makeovers! I just cant’t resist these pieces and almost always pick them up when I see them!
I really enjoy pulling these past projects together because it’s fun to look back at pieces I had totally forgotten about. Hopefully there will be some new-to-you ones in here as well! Enjoy!
These gems started out looking like this…
1
First up is the oldest makeover of the bunch. I shared this one about six years ago!
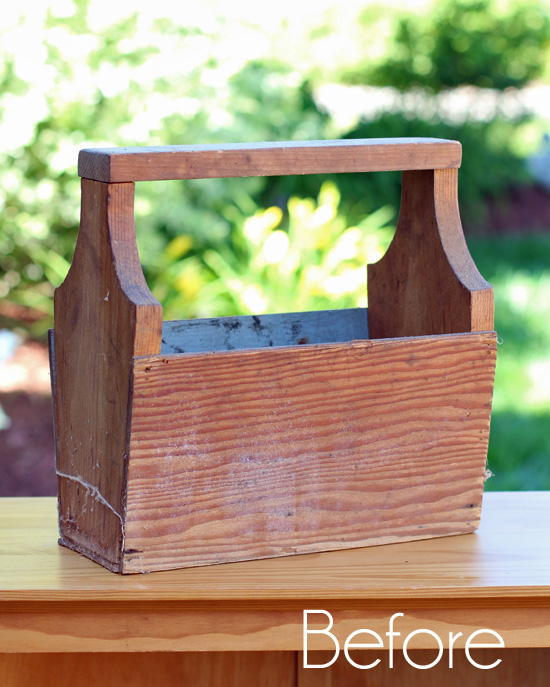
I picked this caddy up at the thrift store:

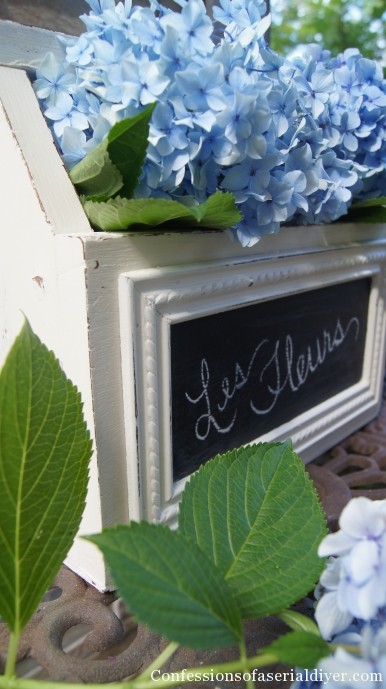
I updated it by adding a chalkboard to one side and trimming it out:
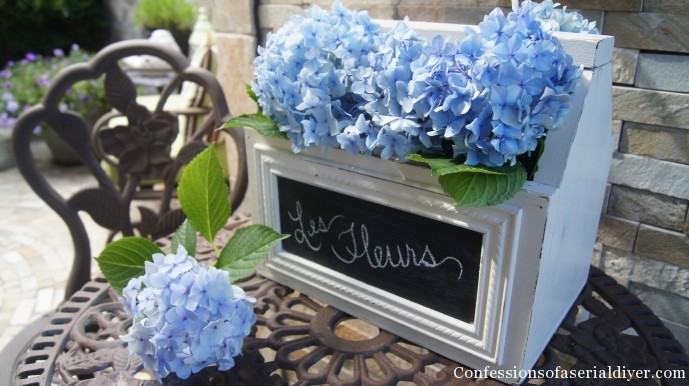
The other side was a failed graphic transfer, but I convinced myself that it looked intentional in the end.
See the whole makeover of this little caddy including what I did to the other side HERE.
2
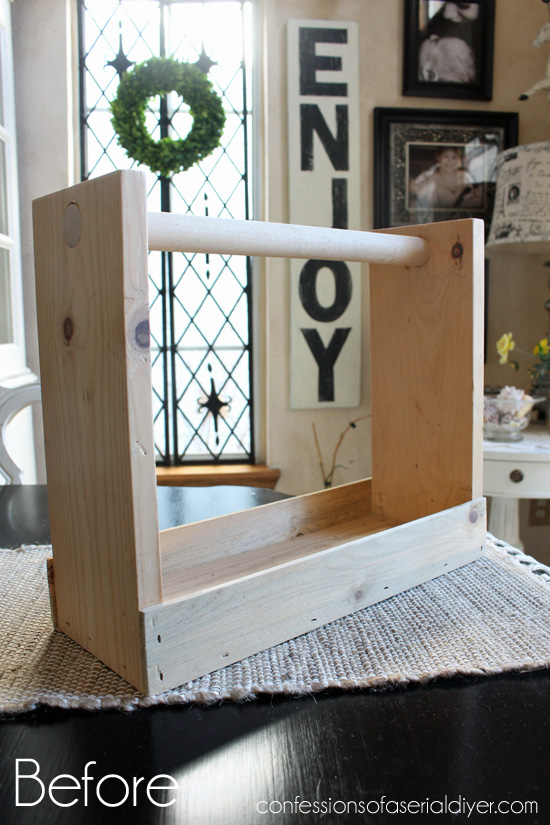
Next up is this caddy I dug out of my Hubby’s Grandma’s shed, complete with cobwebs and all:
I gave this my favorite paint color and a sweet stencil:
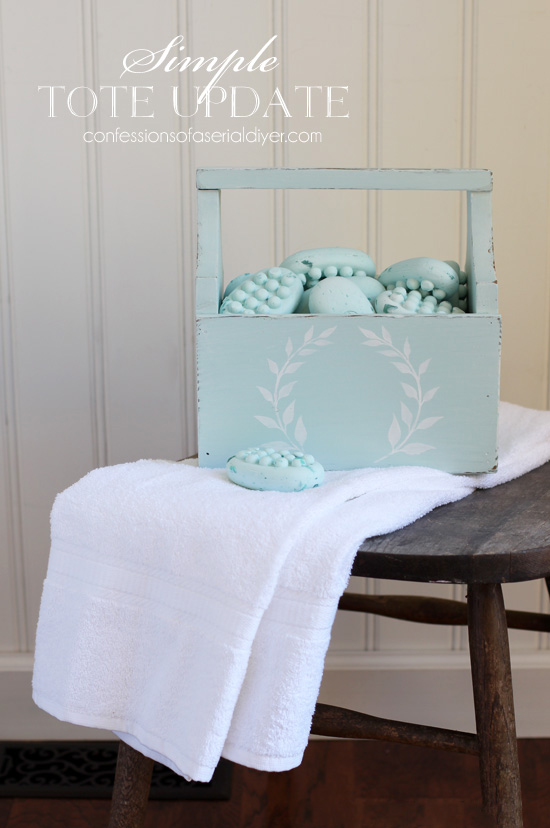
How cute is it now??

I dropped this off at my booth and then went back and got it. 🙂
See more of this makeover HERE.
3
This next tote was super weird but for $2 at an estate sale, I decided to bring it home anyway:
A couple minor alterations and additions and it’s not so weird now:
I was able to cut the tops and add some scrap fence pieces to make it more functional.
Visit this makeover HERE.
4
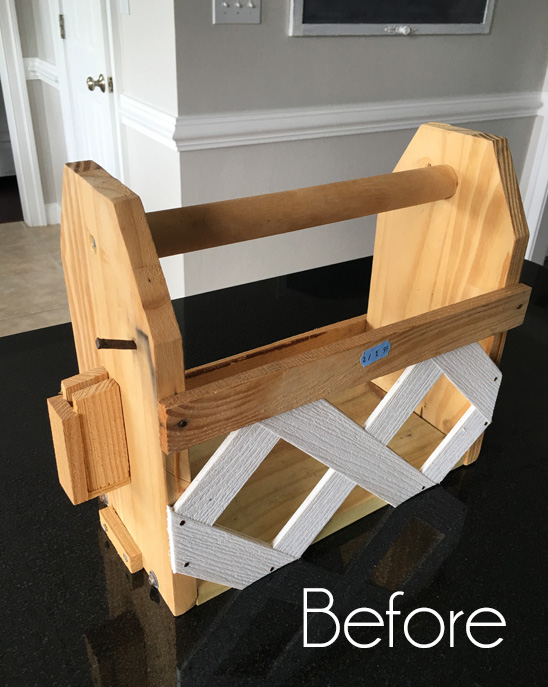
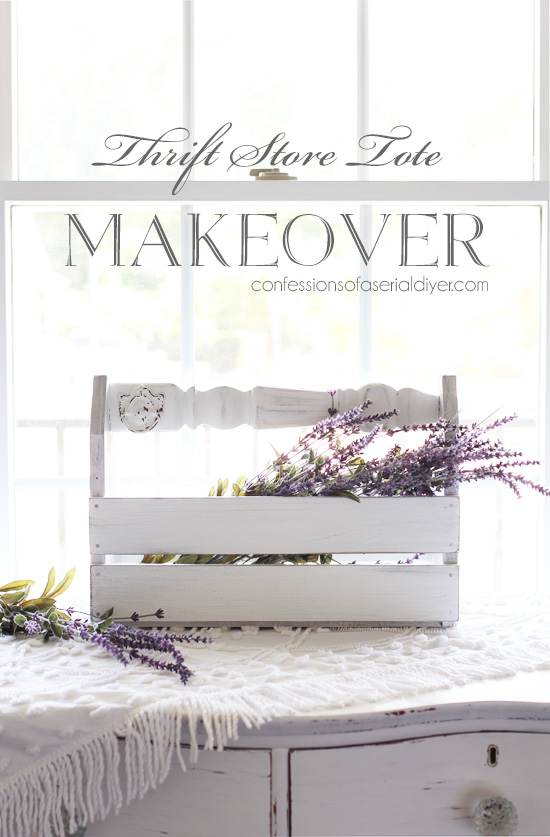
How about this 99¢ CD holder?

Yep, I turned it into a tote!
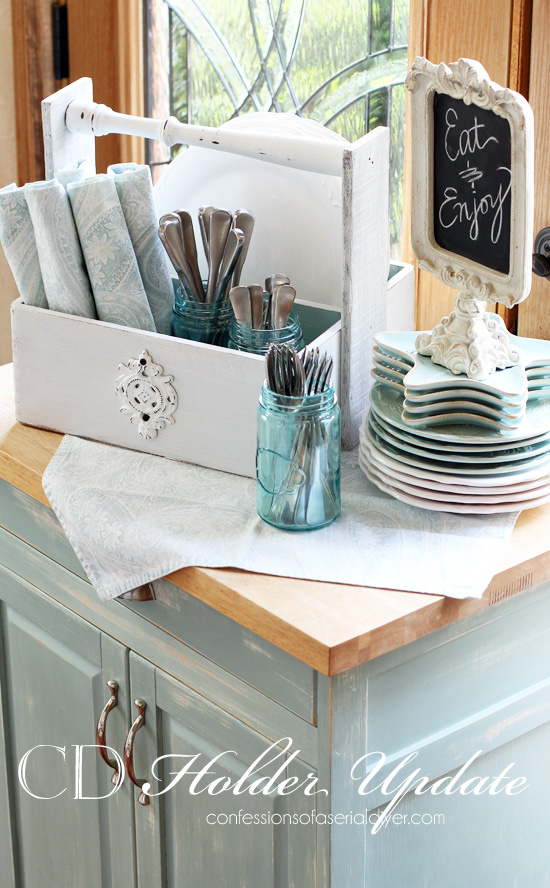
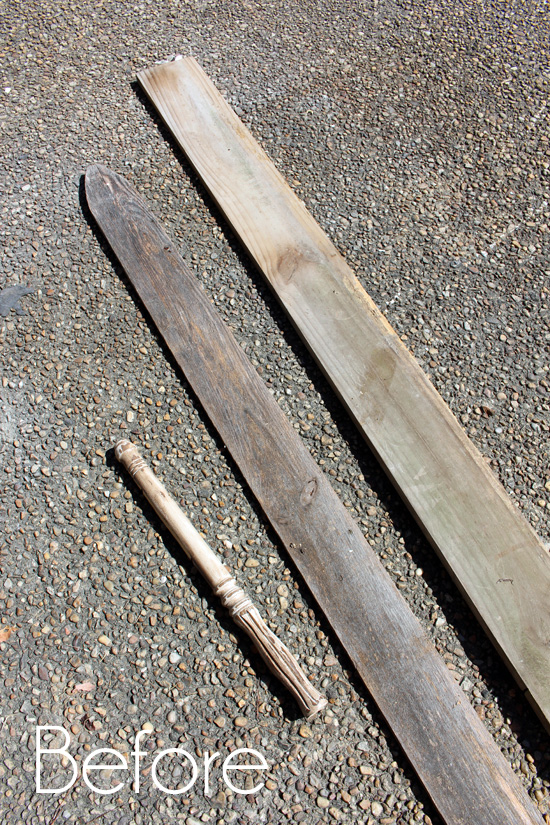
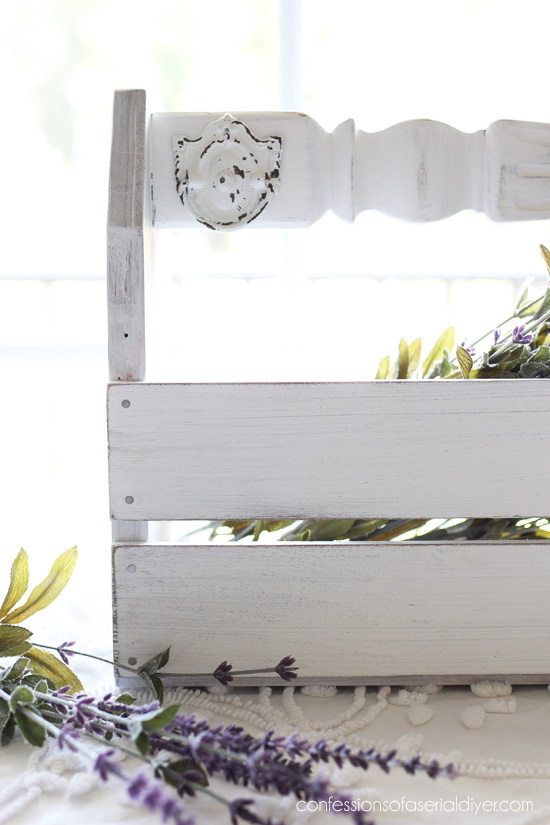
Why not? It works great! More fence pickets here and an old spindle did the trick!
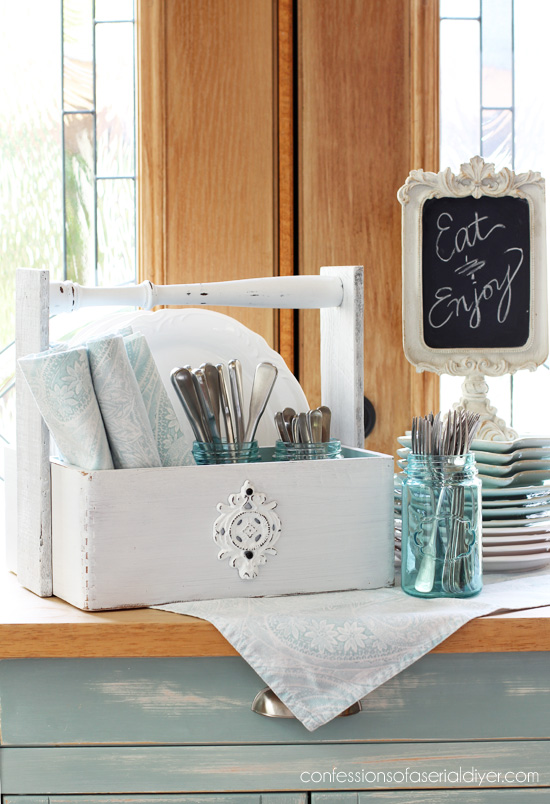
Check out how I did it HERE.
5
I teamed up with some girls to share how we use power tools one Fall and I grabbed these scraps…
The result was this Fall-inspired tote:


You can see how I built it HERE.
6
When I made that tote above, I also made a green one:
Eww…I was really stepping outside of my box with this color and it sat in my booth for forever.
I ended up bringing it home and giving it a redo and it sold right away:

See more on how I redid it HERE.
7
Here is another DIY tote I made way back in the Fall of 2013:
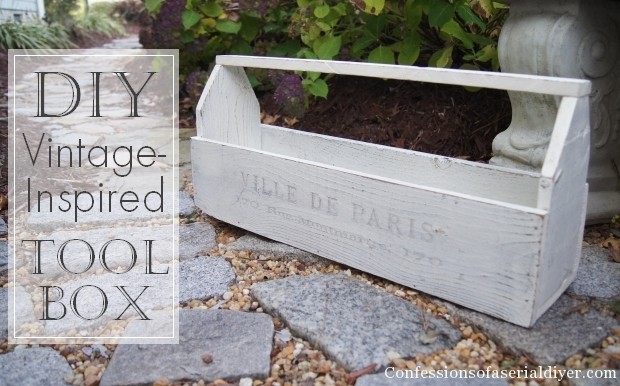
I used old fence pickets to make it:
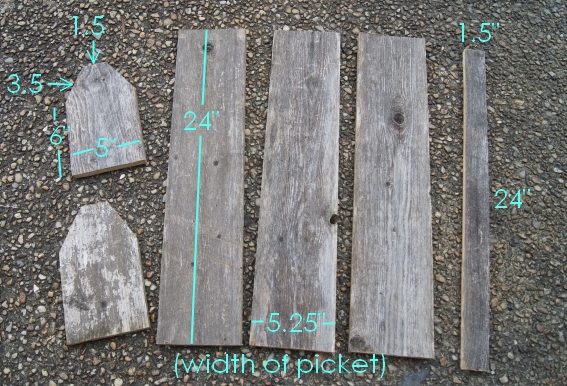
The size was perfect and I made several to sell at the craft market I did that year. I used the pencil method to transfer the letters, but never even painted them in. Instead I just sealed them as is. I loved the faded look of them for this piece.
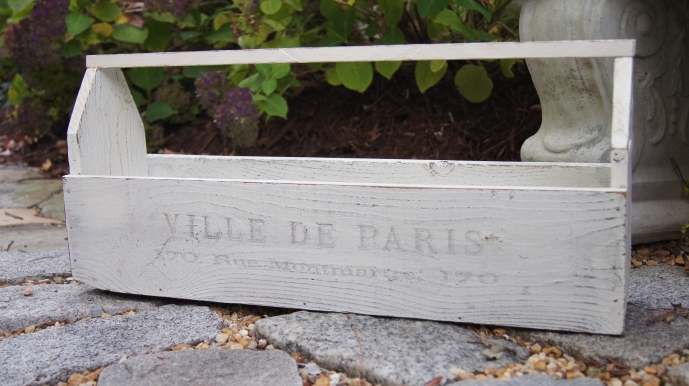
See more on how I built this one HERE.
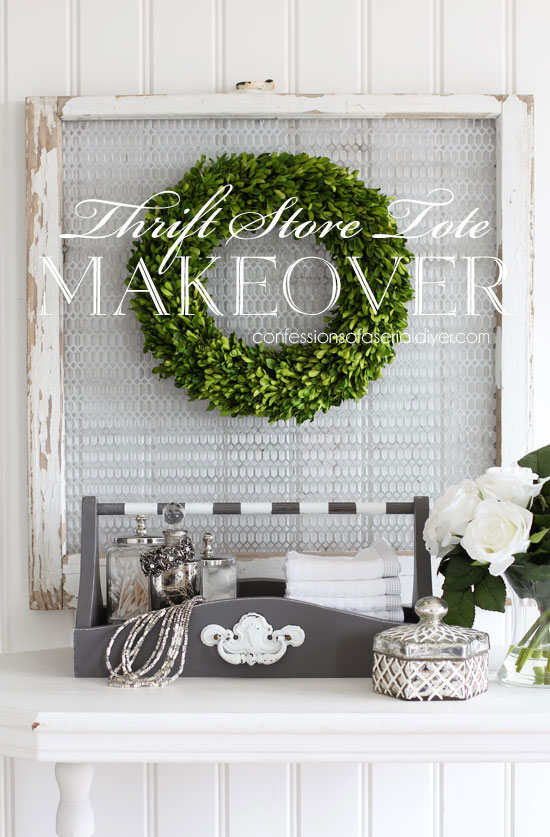
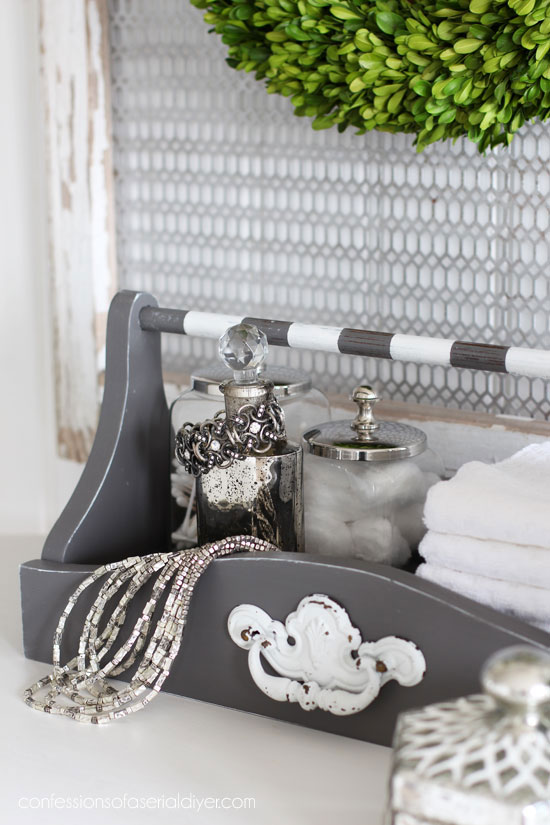
8
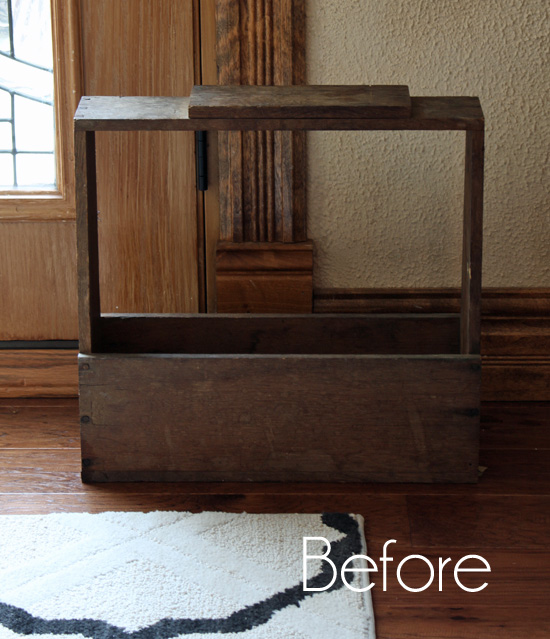
Next up is this very utilitarian looking caddy:
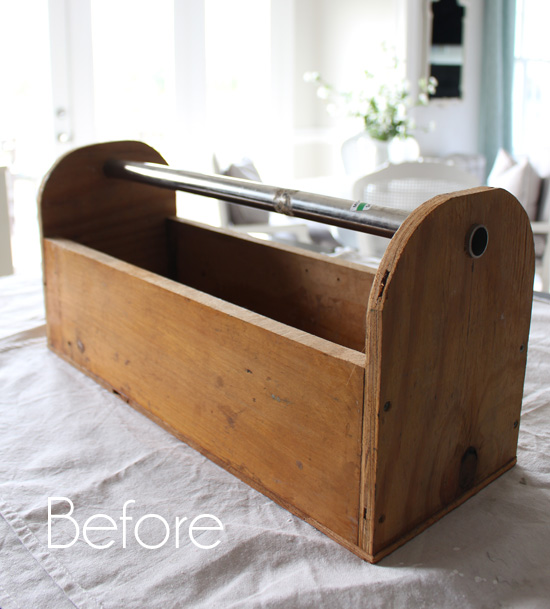
I actually wasn’t sure there was much I could do with this one, but it ended up turning out pretty darned cute:
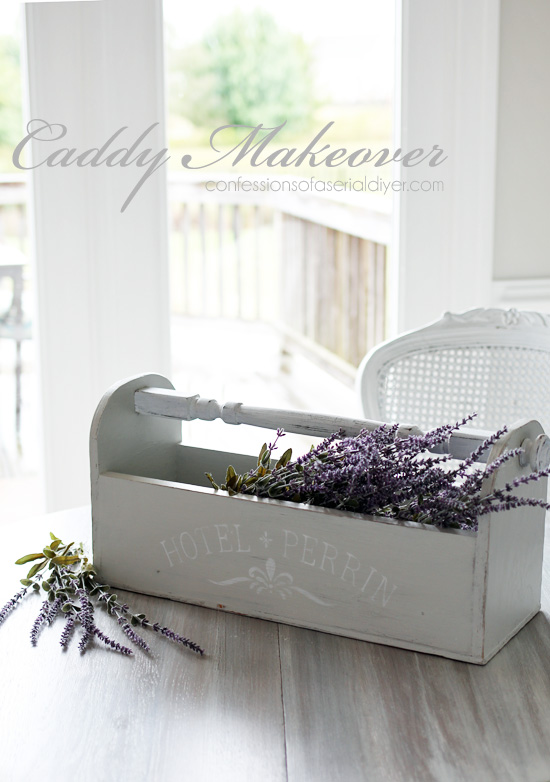
I didn’t have a spindle or dowel long enough to replace the ugly metal handle, so I found this alternative at the Home Depot…

See what it is actually supposed to be HERE! (I kept this one too!)
9
This next one was part of my most recent Painting the Smalls post:
It got a super simple spray paint makeover in this pretty blue:

See this and the other five smalls I shared in that post HERE.
10
This next tote I picked up during one of my thrifting excursions with Nancy for only 99¢
Poor thing! I took pity on it really.
I had to take it apart because the bottom was warped, but then I was able to rebuild it:
I was able to make it larger and adding a new handle gave it personality!
See more of this one and check out what that handle used to be HERE.
11
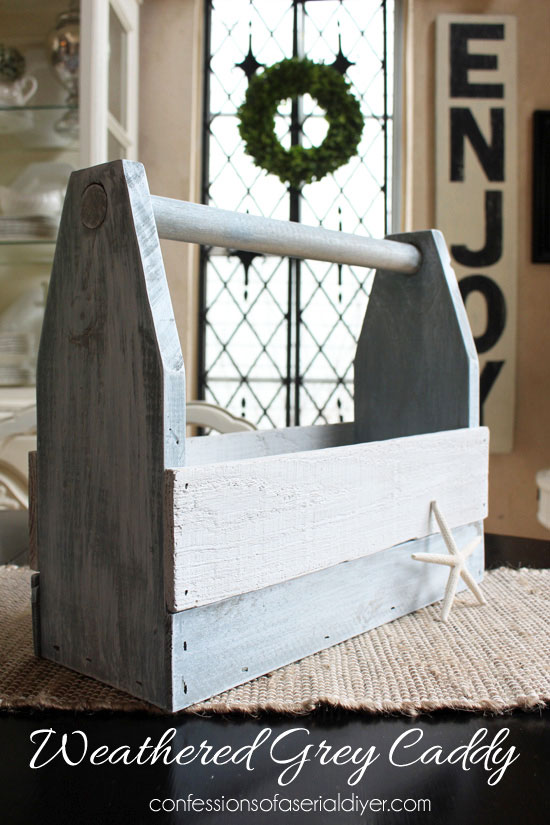
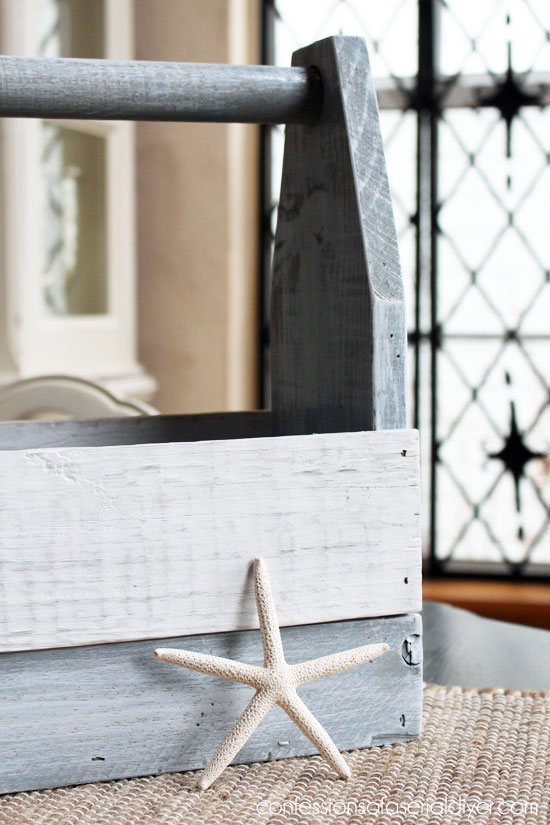
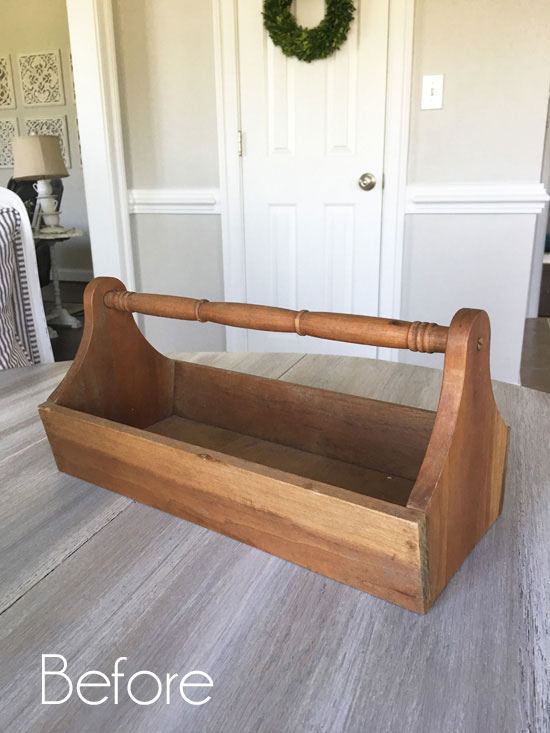
Next up is this rather sad tote I picked up at the antique mall where my booth is:
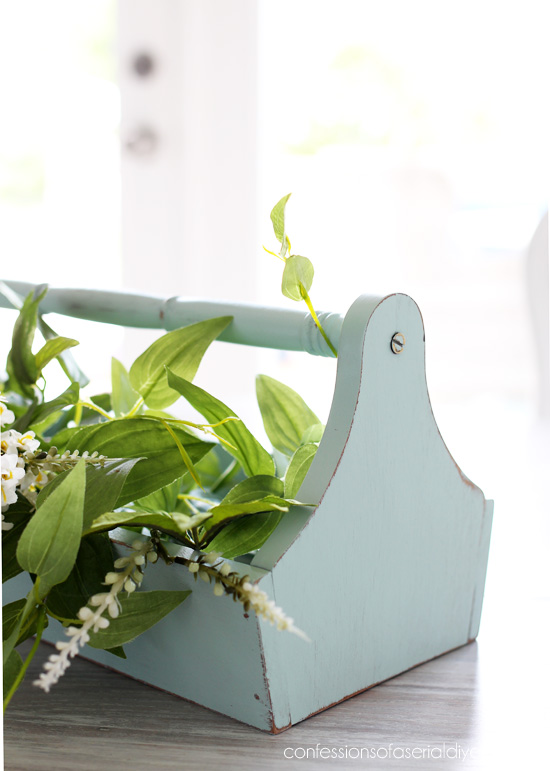
I just knew it could be so much prettier!
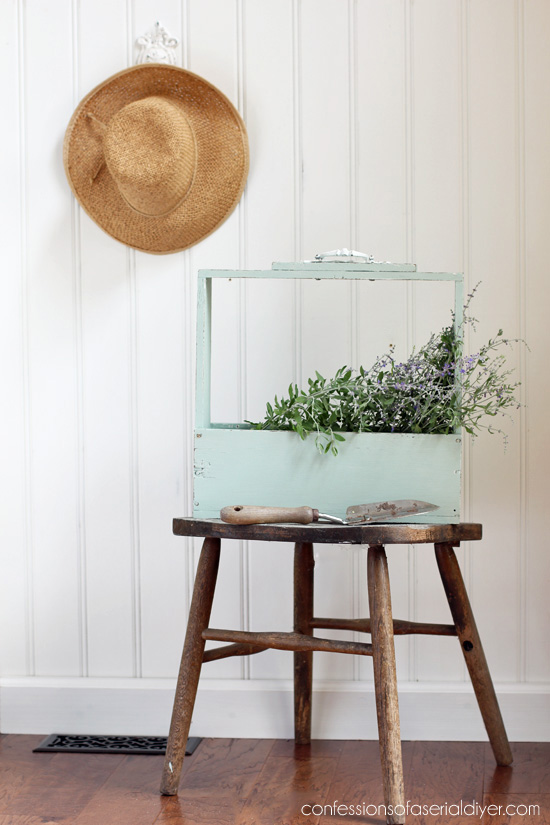
I love this soft green…
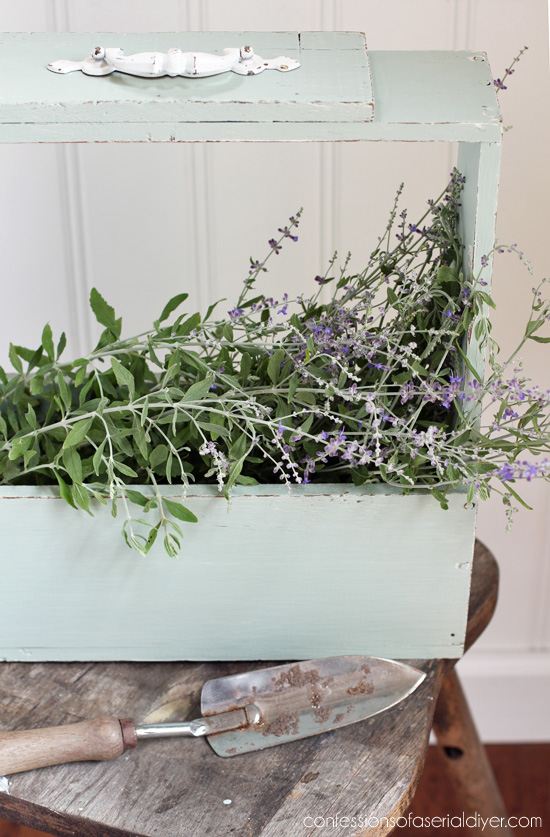
See this makeover HERE.
12
This next one is a favorite as are most projects created from leftover parts. This one started as these pieces I saved from our coffee table redo:
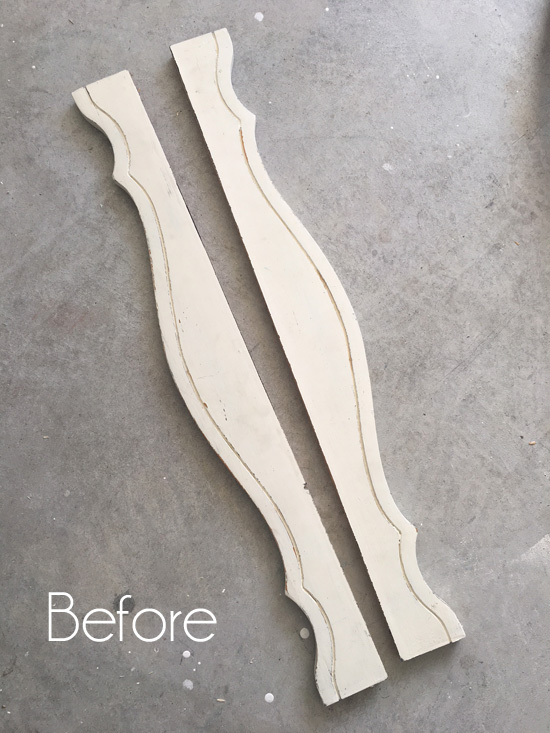
They became this pretty little tote:
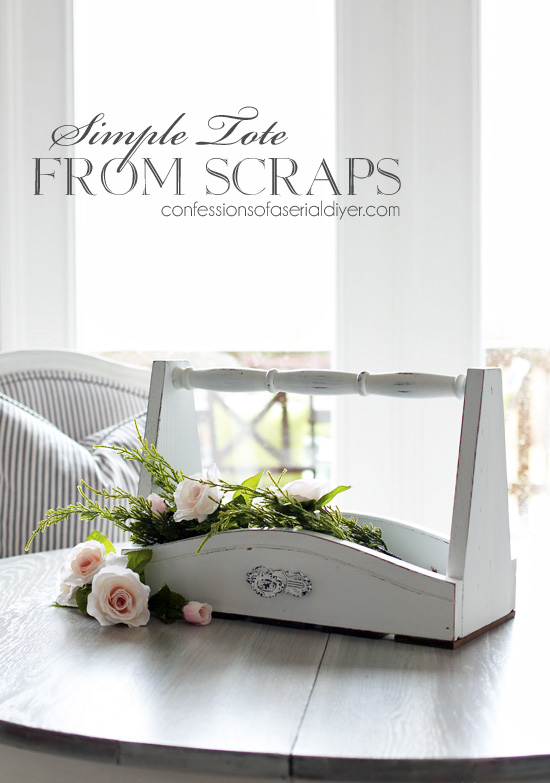

Check out how I built this one HERE.
13
And finally, this one is my most recent weird tote find:

We all guessed at what we thought this may have been used for, but in the end it became a regular functional tote, inspired by the one above:
Adding sides and a bottom gave it function…
Revisit this cutie HERE if you missed it the first time.
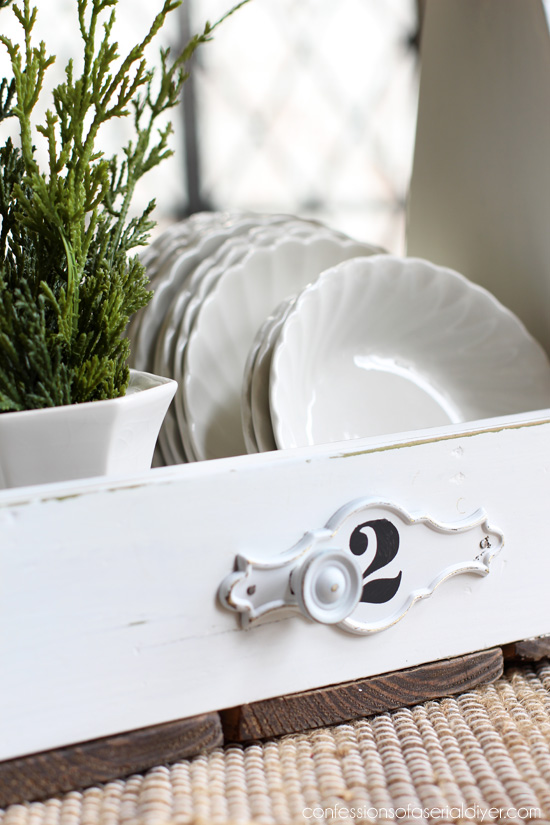
And how about a bonus makeover? This one isn’t a caddy, but I came across it in my archives and it was a fun one. It started as this drawer I had hanging around for forever:

I finally ended up chopping the back end of it off to create this fun storage piece:
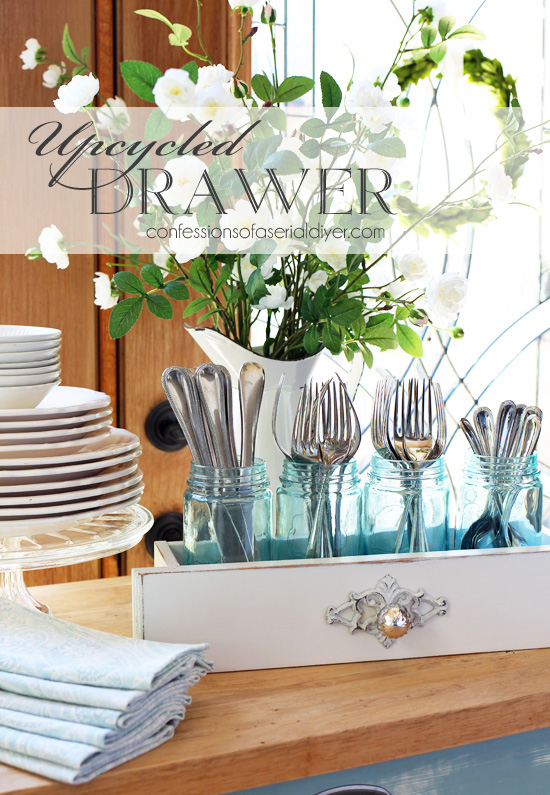
These jars I had from the Target dollar spot fit it perfectly!

See how I cut this drawer down to turn it into a fun new piece HERE.
SO much better!
I hope you enjoyed today’s look back with me. You got a whole bunch of makeovers instead of just one! Any that you hadn’t seen before??
If you liked these, you might like seeing this collection of shelves I put together a while back as well:
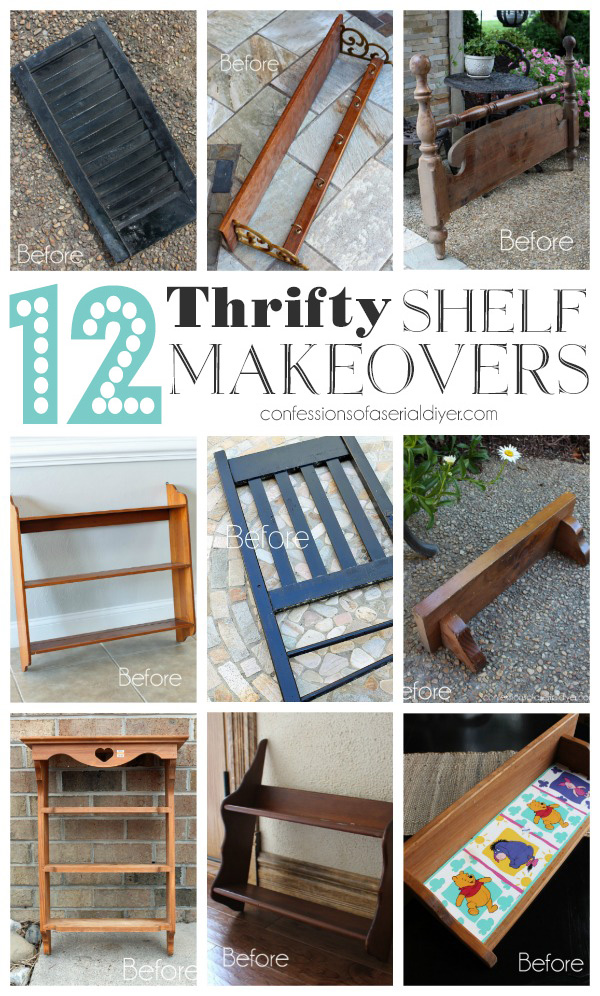
See the afters of this bunch HERE!
Cross your fingers for me that I can get this girl under control by Tuesday:
Have a fantastic weekend!
XO,
![]()
Don’t Miss a Thing!
If you like what you see, there are several ways to follow along!
Email * Facebook * Pinterest * Twitter *Instagram


Christina in SW FL says
BOOM!!! Mind blown with all the cool totes! You KNOW how much I adore totes! I can imagine you making, and selling, a bunch of them. I am always on the lookout for pieces/parts with spindles. Now that I have a truck, I can grab them! 🙂
May the table work out better than you can imagine!
Have a wonderful weekend!
Christy says
Thank you, Christina! I bet it is so nice having a truck…you can collect all kinds of goodies! Hoping you’re right I’m on the table…thanks, friend! Enjoy your weekend as well! XOXO
d brossy says
Such beautiful conversions – who’d have known? How about posting a collection of small cabinets you’ve created or redone? I need to make one for my bathrooms – no storage space other than sink vanity, even that is quite limited so no room for cotton swabs, bandages, etc. I’ve seen a few you’ve done but would be cool to see them all in one place.
Your projects are always creative, even intuitive. Enjoy seeing what you’ve made.
Christy says
Thank you so much!! That’s a great idea for a round up! In the meantime, you can go to the search bar on my blog and type in “cabinet”, and several of my cabinets will come up. 🙂 XOXO
Rose Lefebvre says
You are so amazingly clever and talented! I would take any of those totes!!!
Christy says
Aww you are always so sweet to me, Rose, thank you!! XOXO
Susan Homeroad Stevenson says
I love making totes too Christy these are all beautiful! Pinned
Christy says
Are they so fun to make? Thank you so much, Susan! Have a fantastic weekend! XOXO
Addie says
Awesome Possum!!!! Keep it up!!!!! LOVE it all…I would buy one.
Addie XXOO
Christy says
Thank you so much, Addie!! Hope you have a wonderful weekend! XOXO
Cecilia from Georgia says
Christy, you have such an imagination for trash to treasure!! All these tote boxes and small items are just amazing after you finish with your magic! I have started putting things in a small booth and your article about how to make money in a booth is so helpful. I have never made a chalkboard but since you have such luck with the framed chalkboards, then I’m going to ride that wave too! Good luck with the table leaf…I know it will be another winner! Have a lovely weekend! XOXO
Christy says
Thank you so much, Cecilia! I really appreciate that! I wish you the best with your booth…I really have enjoyed mine! Happy weekend to you! XOXO