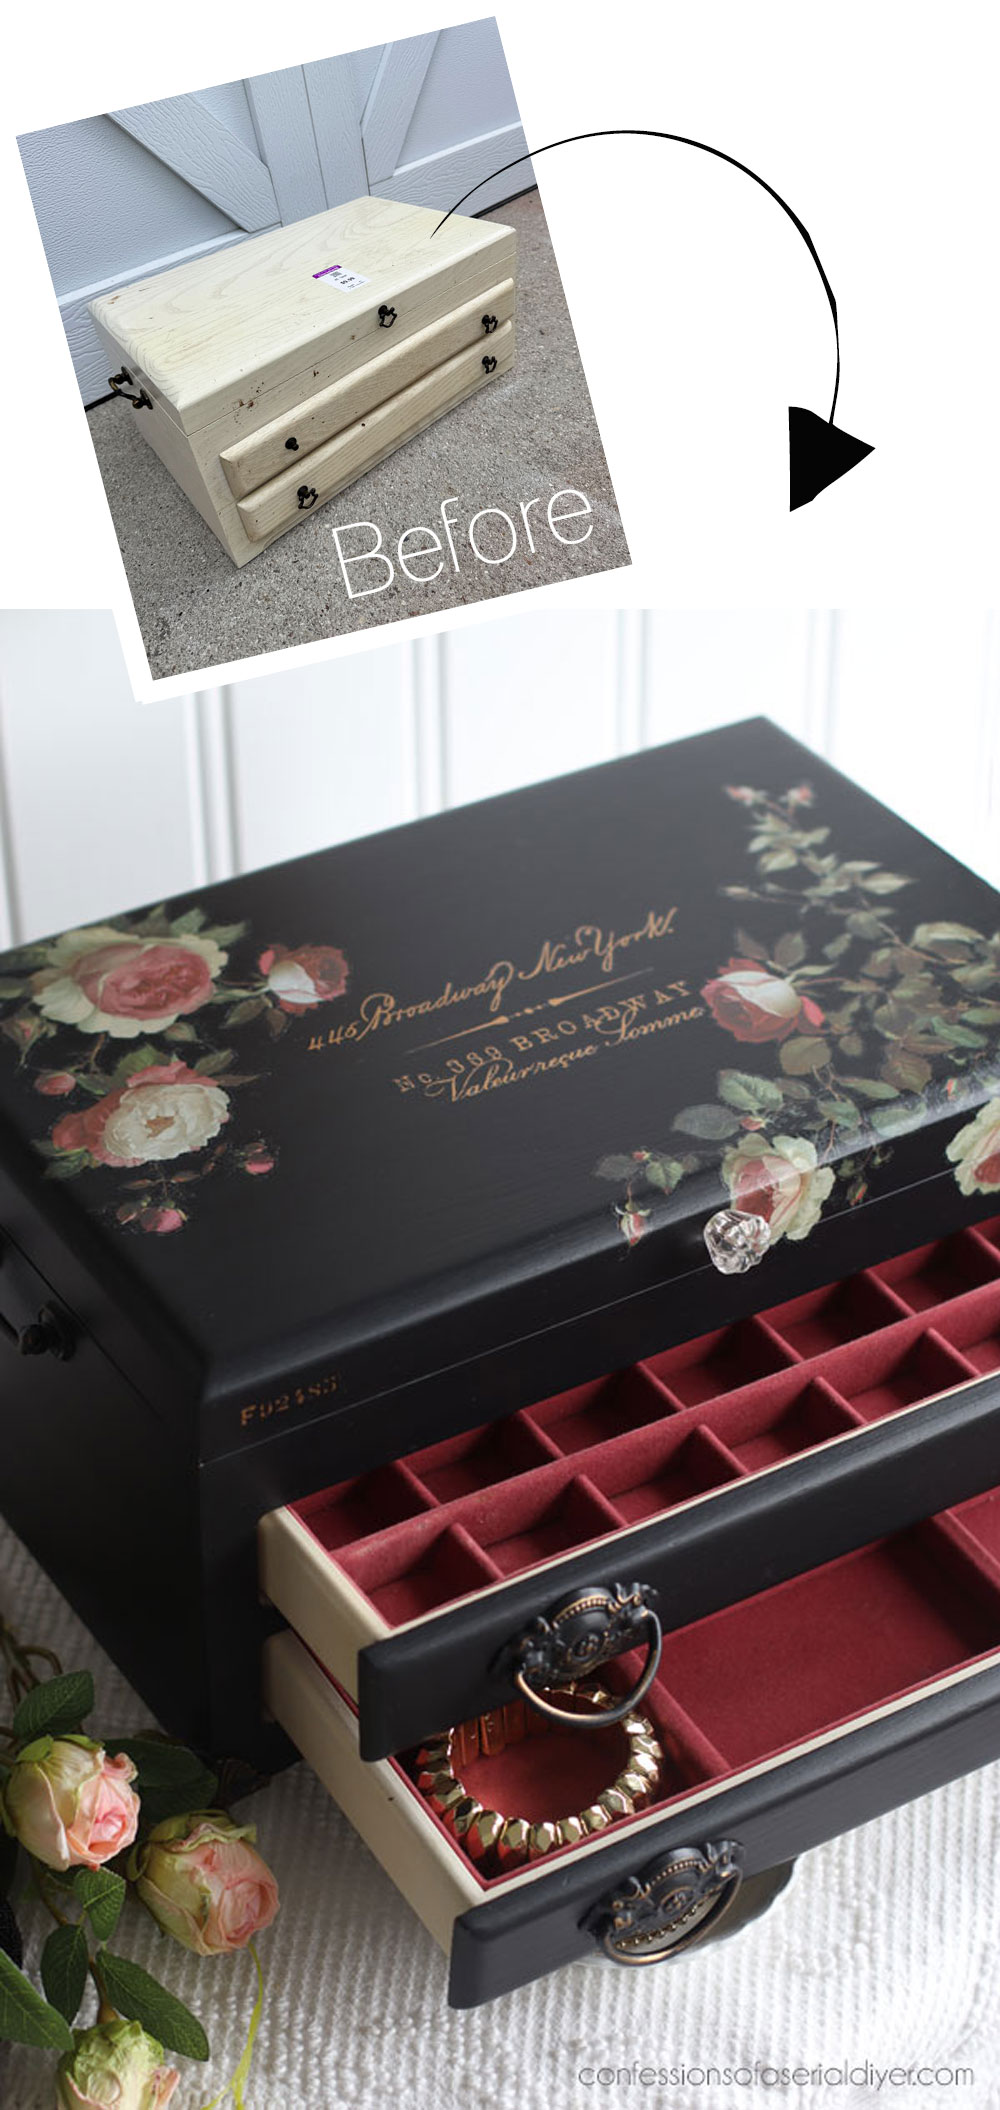
Hello, amazing friends, and welcome to another Trashy Treasures Tuesday!! I’m being joined by my friends at the bottom where they will also be sharing trashy treasures, so look out for those! My contribution this month is an upcycled jewelry box I picked up at the thrift store for $9.99:
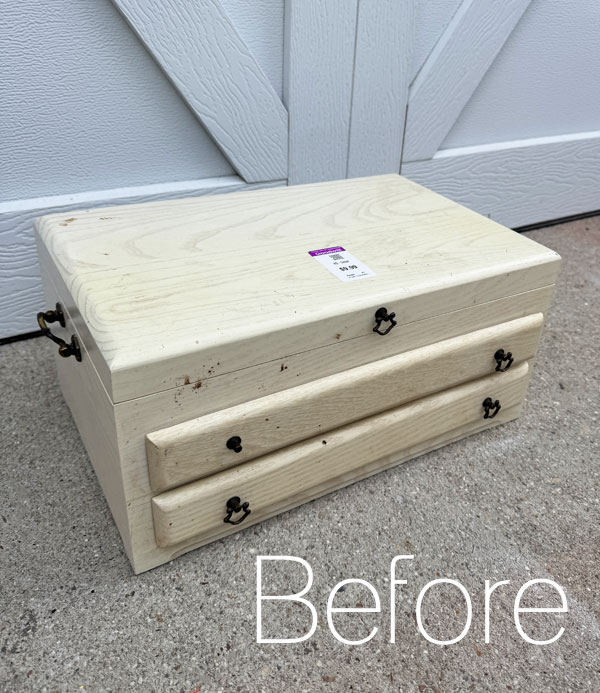
I redo these boxes all the time and I rarely pass them up. Except, this one wasn’t quite what I expected!
It looks like just another flatware box, doesn’t it?? That’s what I thought! When I opened it up at the thrift store, I only noted that it looked pretty nice inside. What a flake I can be! It wasn’t until I got it home and got ready to tear the insides out that I realized it wasn’t a flatware box at all!
It was an actual jewelry box!
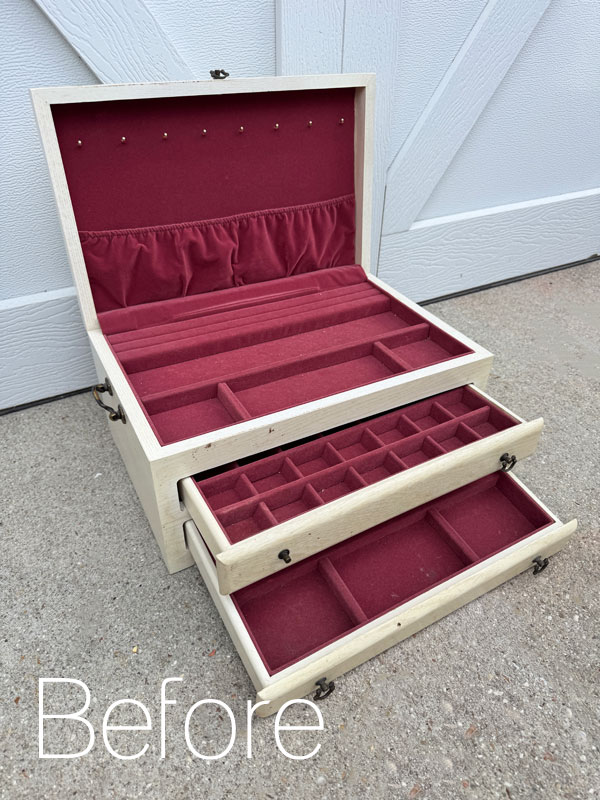
And the inside was in almost perfect condition! Cue the angels singing!
I immediately knew two things:
- I was definitely keeping that lining.
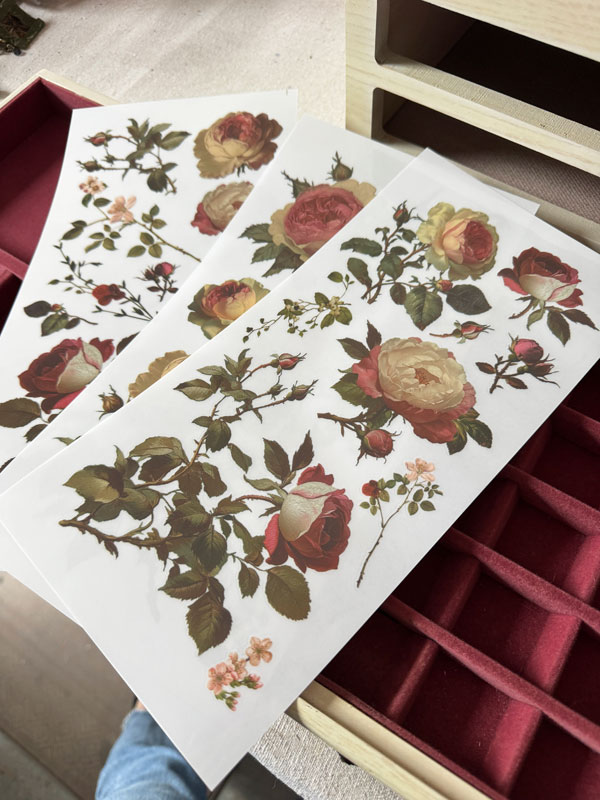
- I had the perfect transfer to coordinate with it, this gorgeous Midnight Rose transfer:
 Broken Hardware
Unfortunately, one of the drawers was missing part of the pull, but me, thinking I am so smart, was just going to take the pull part off the top compartment and add it to the drawer pull where it was missing…easy!
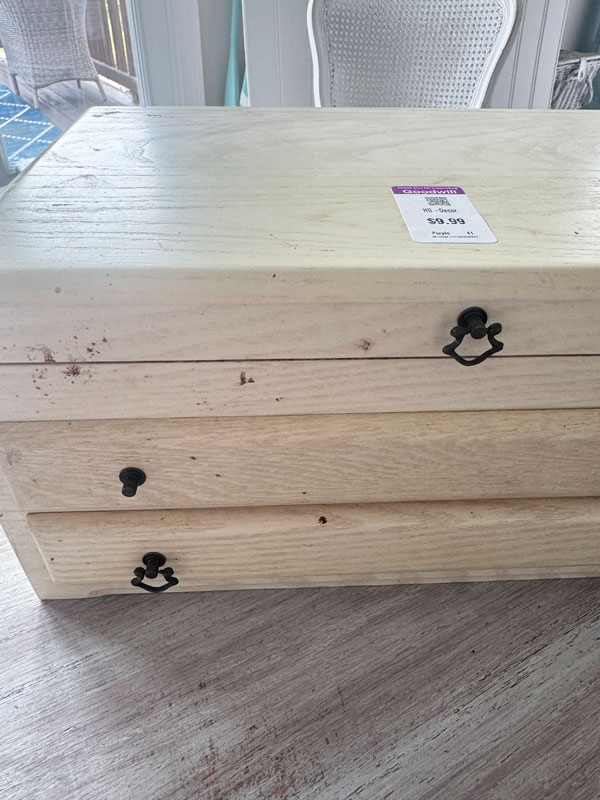
Except, when I tried to pry it off with some pliers, it was so fragile that it broke into three pieces! OH NO! The screw that holds the hardware in place is behind that beautiful lining and I DID NOT want to have to mess with that to get these pulls off.
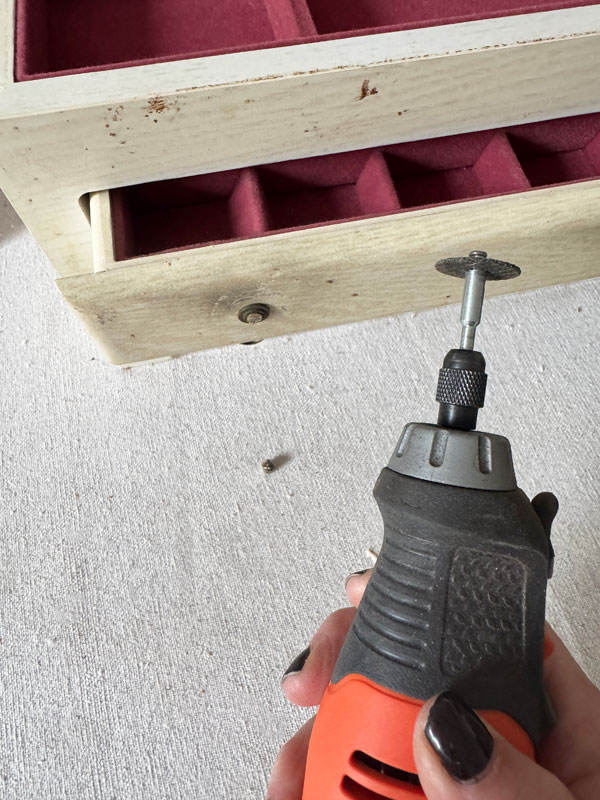
So instead, I used my dremel-like tool with a metal cutting wheel on it to cut the hardware down as close to the surface as possible:
Stay tuned for how I remedied this hardware debacle!
I’ve included a few affiliate links so you can find the products I love.
Clean
Once I had the hardware cut, I got started on giving this jewelry box a good cleaning using White Lightning by mixing two TBSP into a half gallon of warm water:
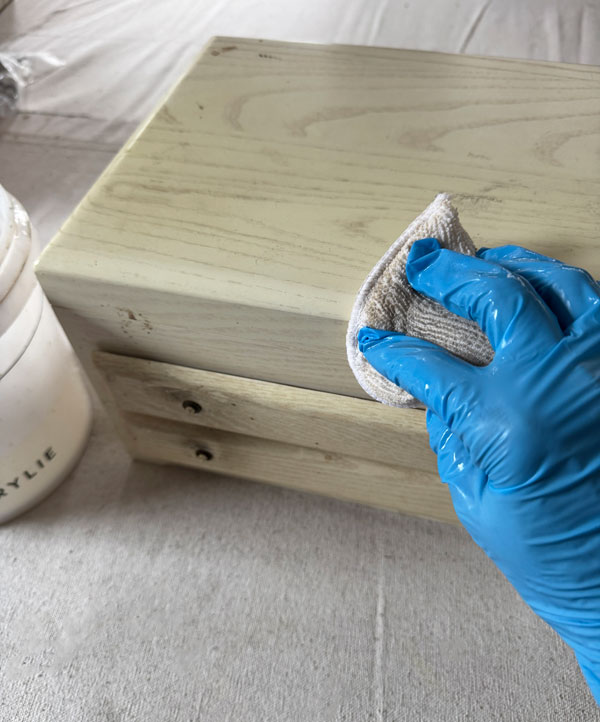
I don’t know what all the marks on this piece were, but they all washed right off.
Paint
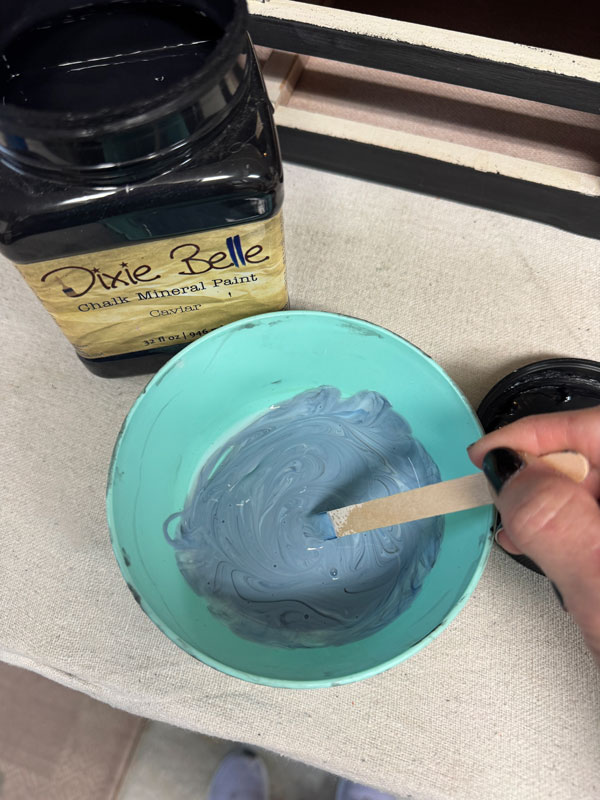
As a base for this beautiful transfer, I chose Caviar:
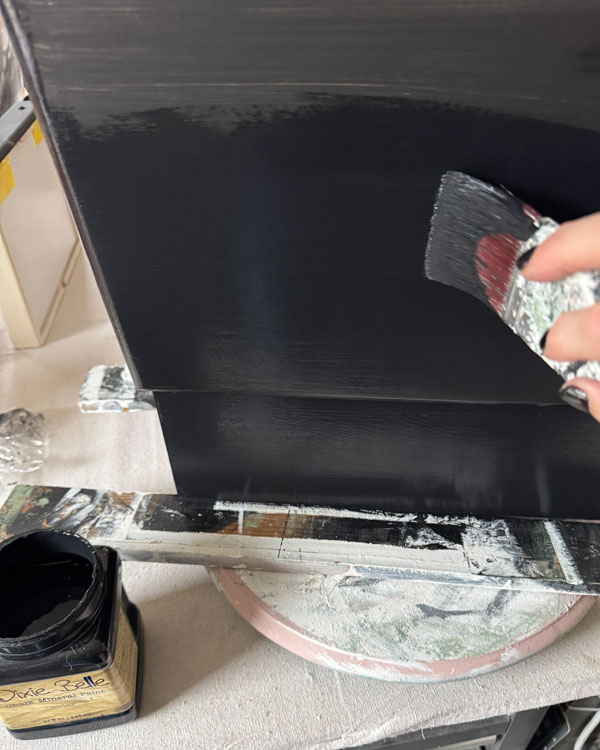
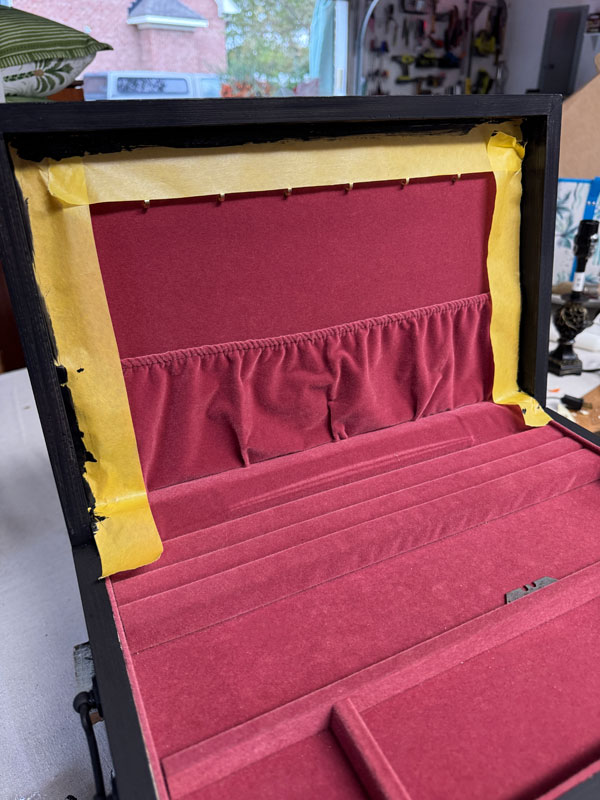
I tried to be really careful not to get paint on the lining, so that was all taped off:
Sand
To make my surface buttery smooth, I sanded all over using one of these fine grit sanding sponges:
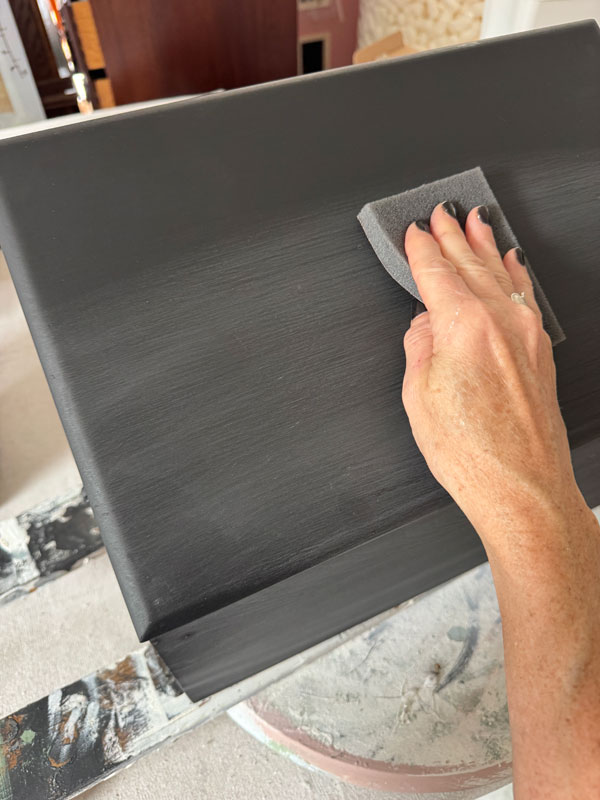
They do a lovely job of smoothing everything out when I don’t want any distressing.
Adding the Transfer
This transfer came with several assorted pieces that you can arrange any way you like. I started with one of the larger pieces in the lower right corner and continued to add to it:
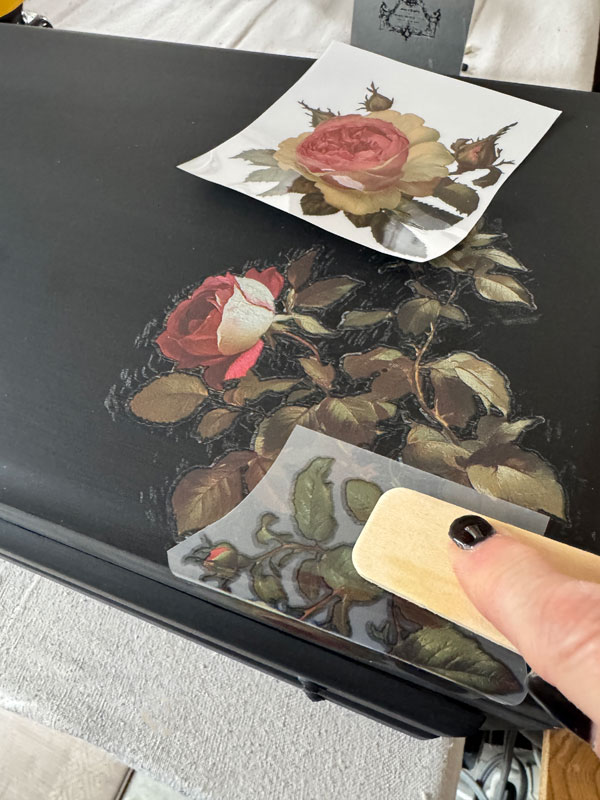
As you can see, burnishing left marks in my paint finish, but sealing completely took those away. I continued on the opposite corner:
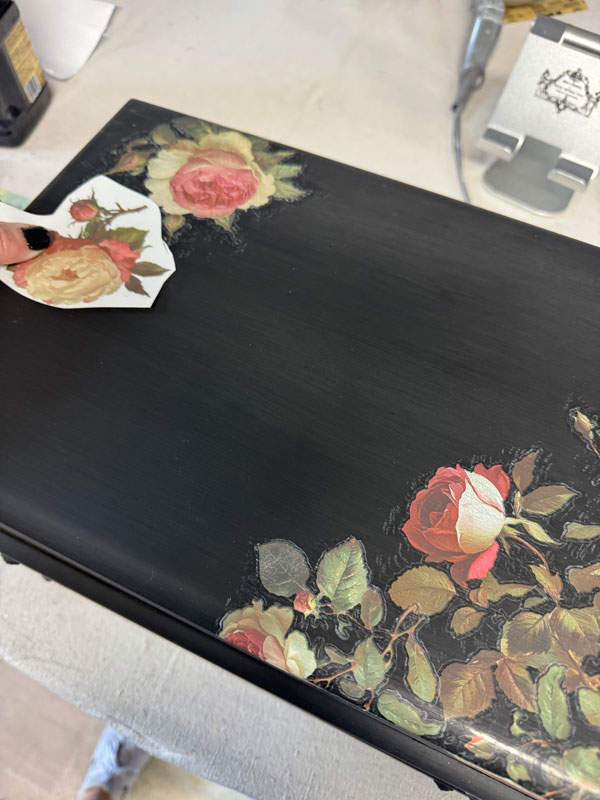
Deciding the placement of my transfers was probably what took the longest on this makeover!
Seal
Once I was finally happy with it, I sealed with Dixie Belle’s Clear Coat in the satin finish, giving it to coats.
On darker finishes, I like to add just a drop or two of paint to the sealer. This gives a nicer overall finish and prevents the “ghosting” you get when you swipe your finger across the surface…
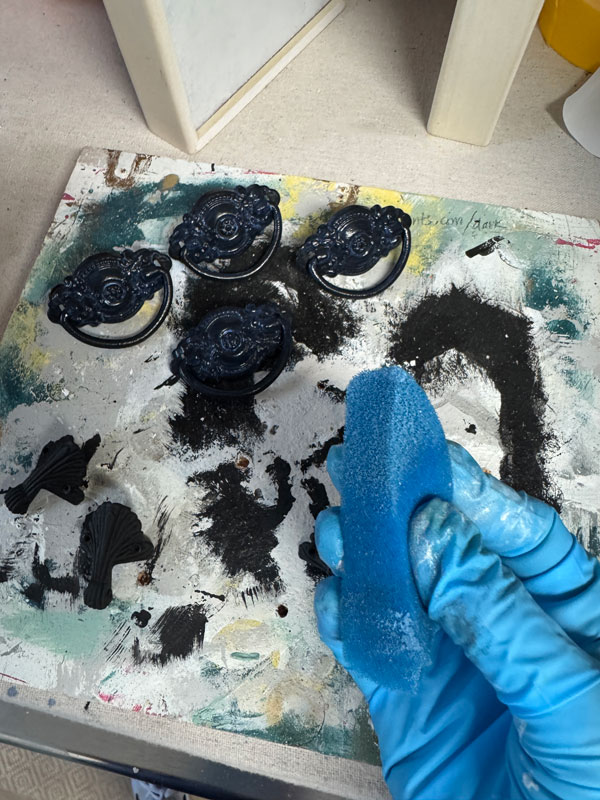
I used this smaller piece of the blue sponge I cut off to seal the narrower and harder to reach parts of the box as well as the new hardware I picked out that had also been painted in Caviar:
The solution to the broken hardware
I found these vintage pulls in my stash that were hollow on the back:
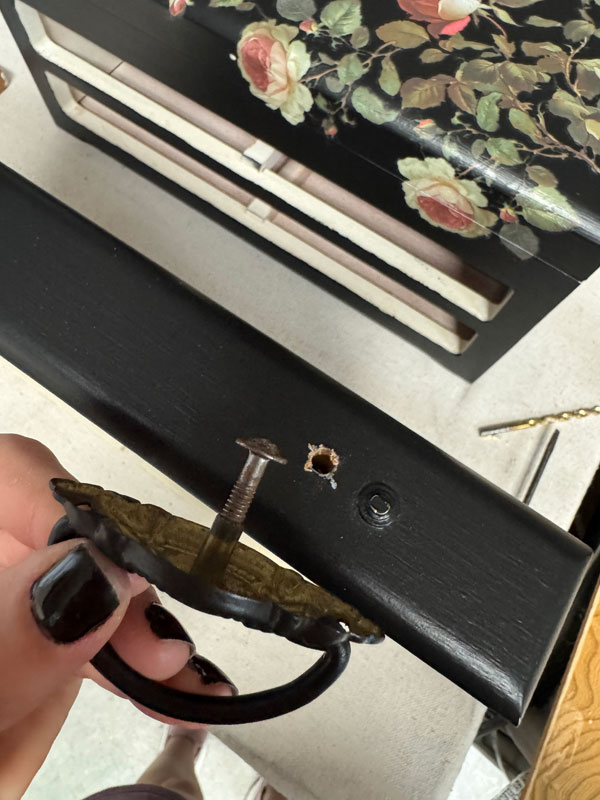
I just drilled new holes and I was able to add them right over the top of the old pulls where I had cut them down!
Did I know how I was going to solve this problem before cutting them? No, I did not, but I sure am glad this worked out!!
I felt like this jewelry box was routing for me the whole time. I could hear it saying keep going…it’s all going to work out!
And it sure did!
$10 Upcycled Jewelry Box Reveal
Let’s see how this beauty turned out, shall we??
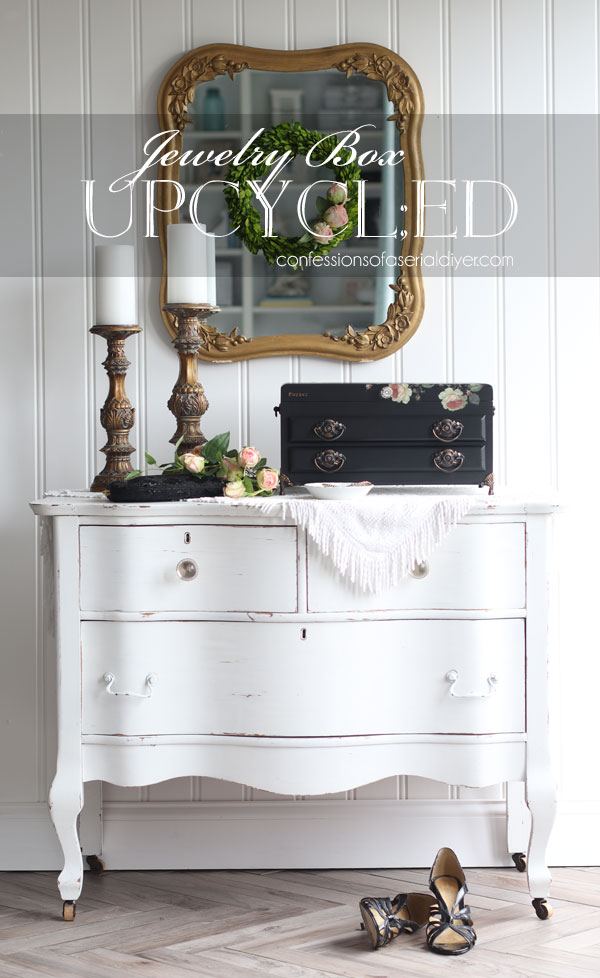
Yes??
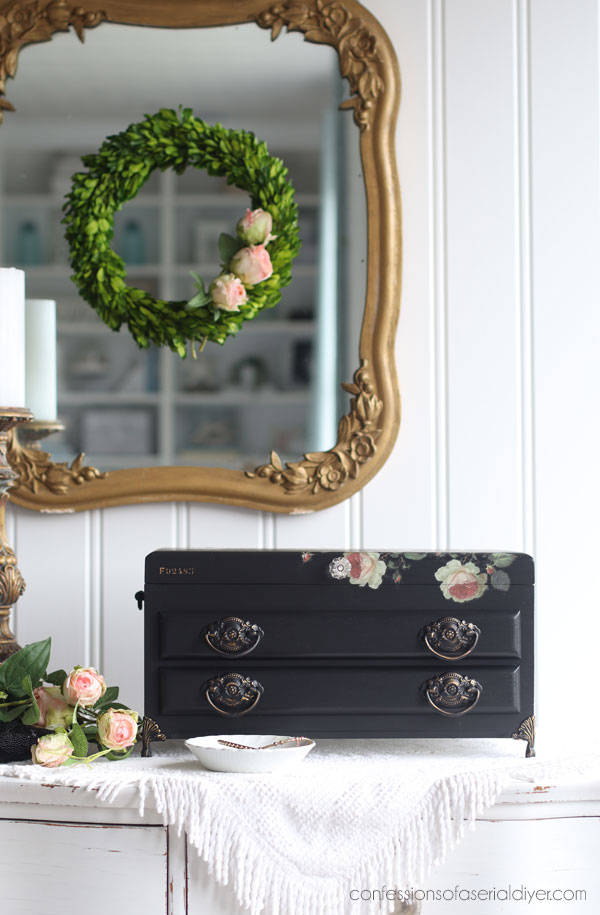
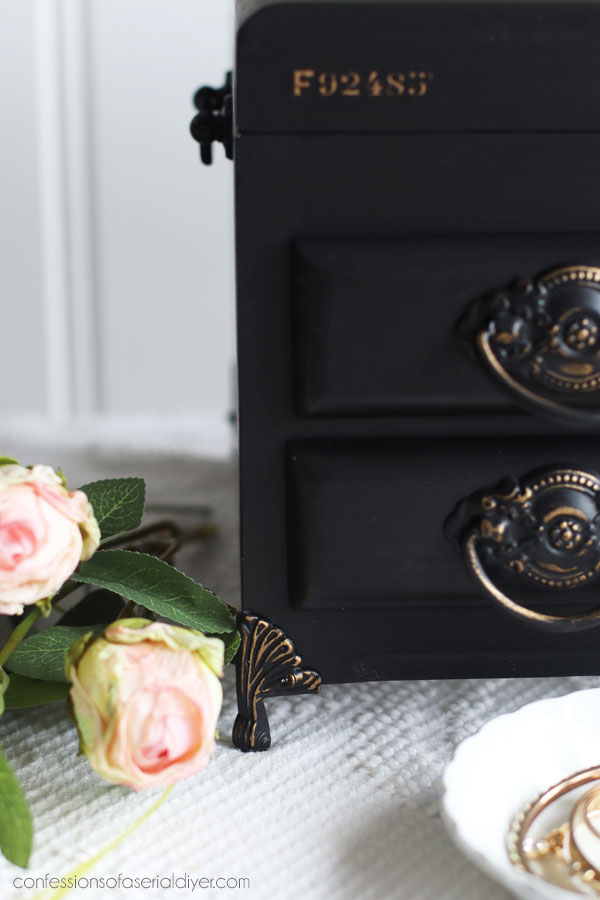
Aren’t these pulls so much better than the original dinky ones?
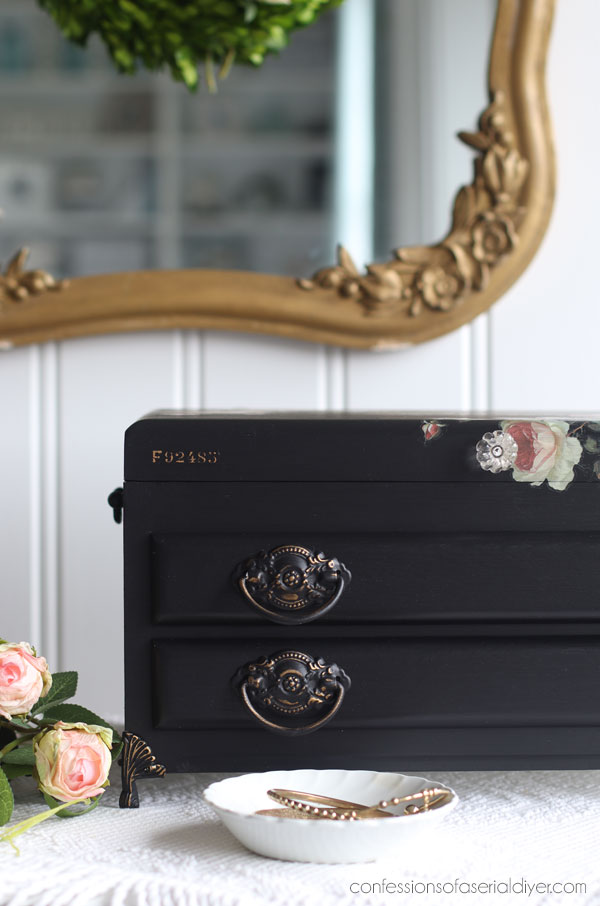
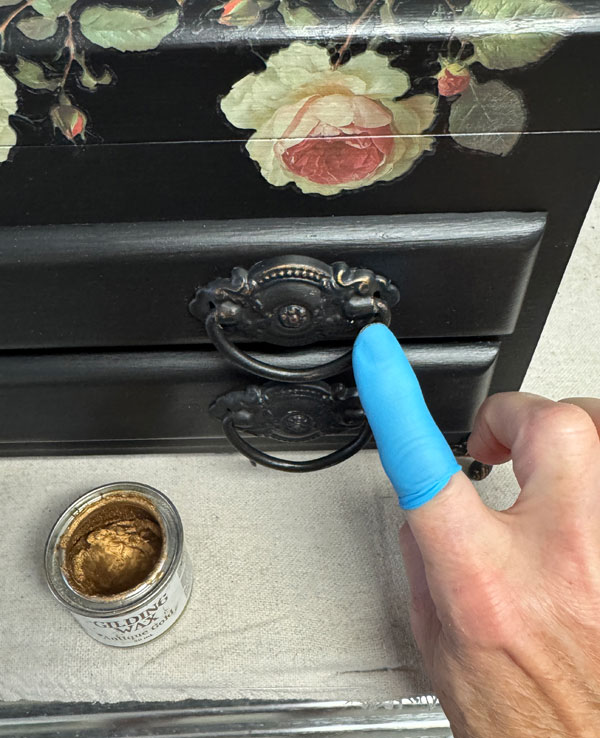
I did hit them up with some Antique Gold Gilding Wax:
SO pretty!
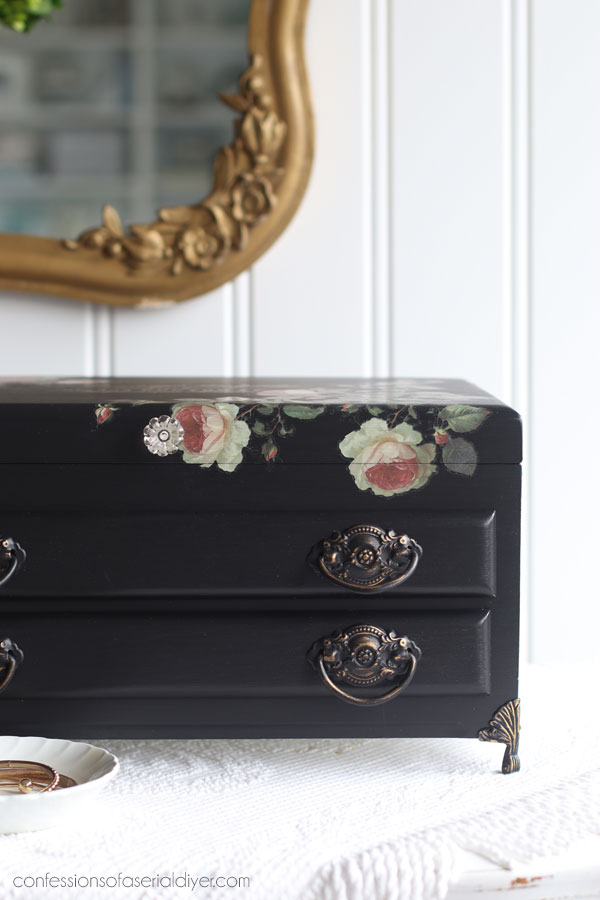
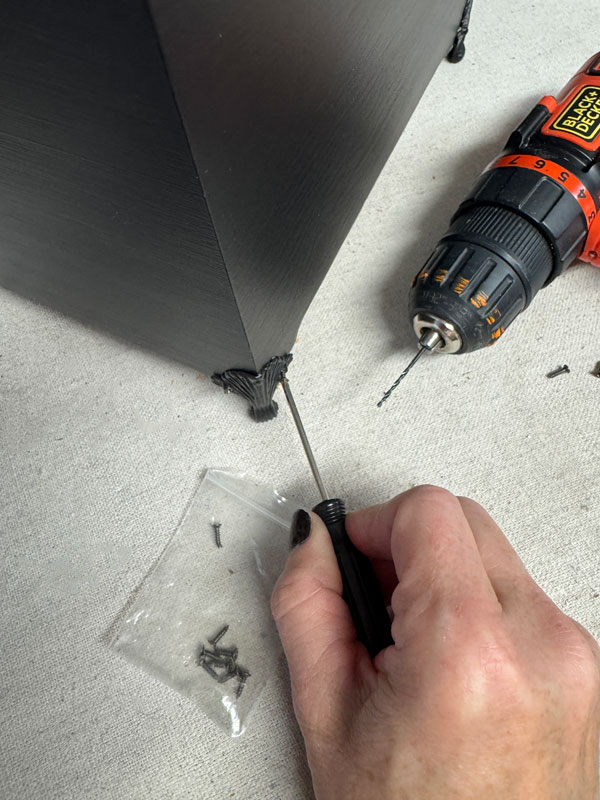
I also added these feet I found on Amazon HERE.
I used E6000 glue as well as screwed them in place with the tiny screws that came with them. Drilling a tiny pilot hole made them easier to attach:
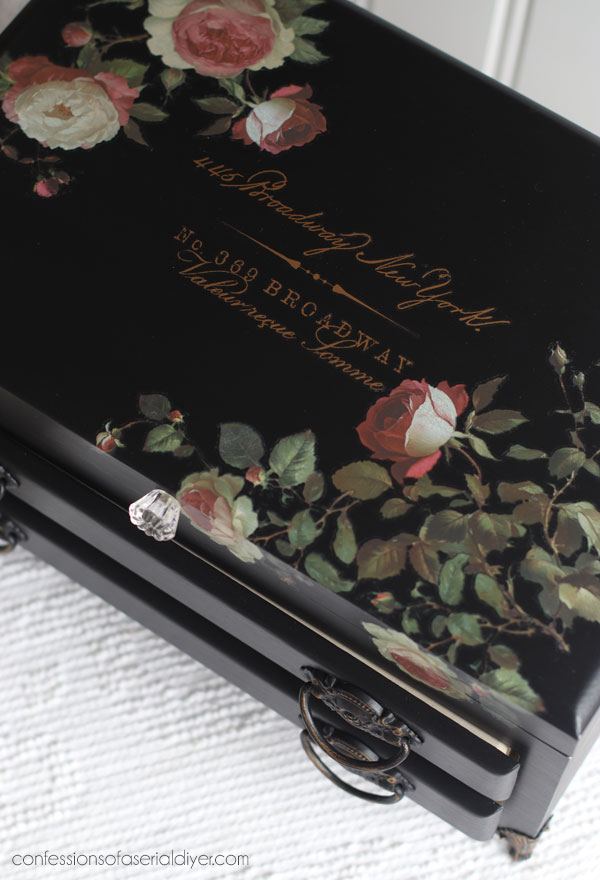
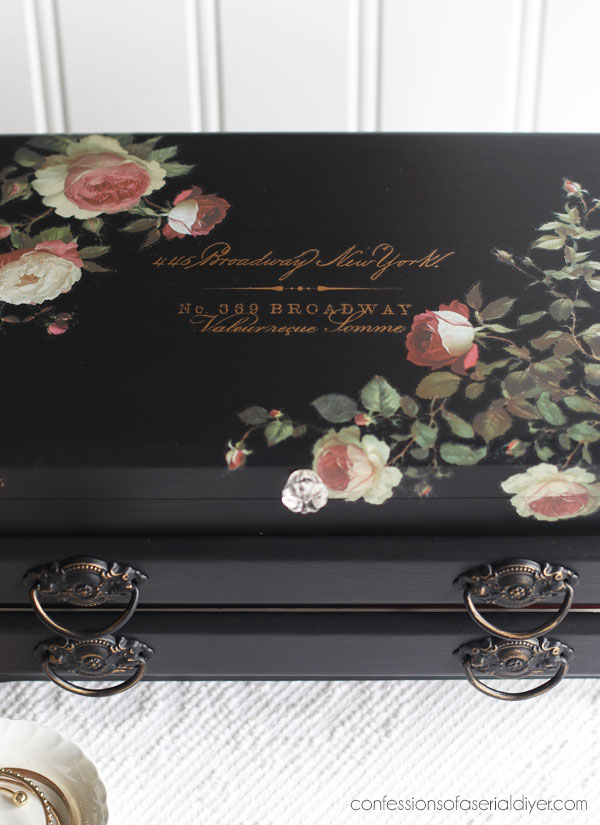
My favorite part might be the top though!
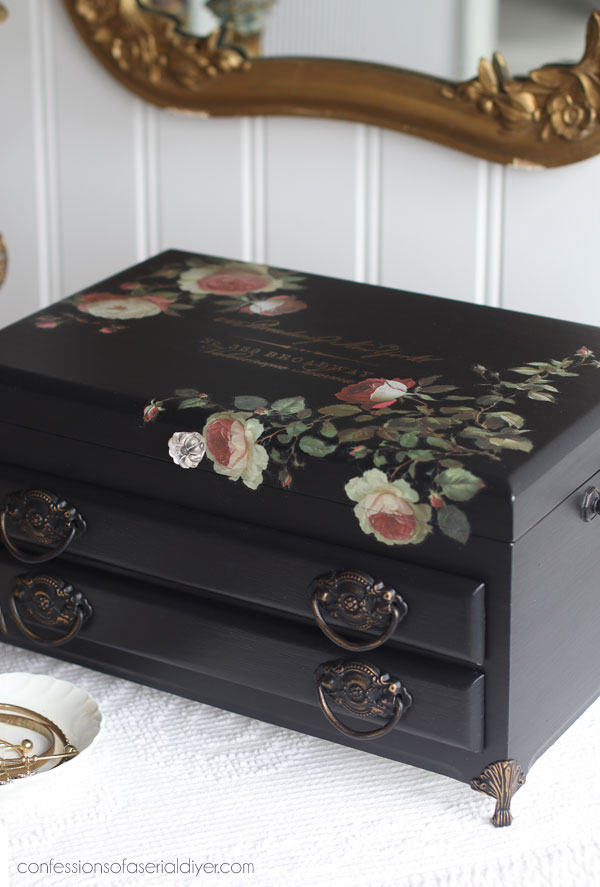
Were you skeptical about the black with this transfer?
They look so pretty together!
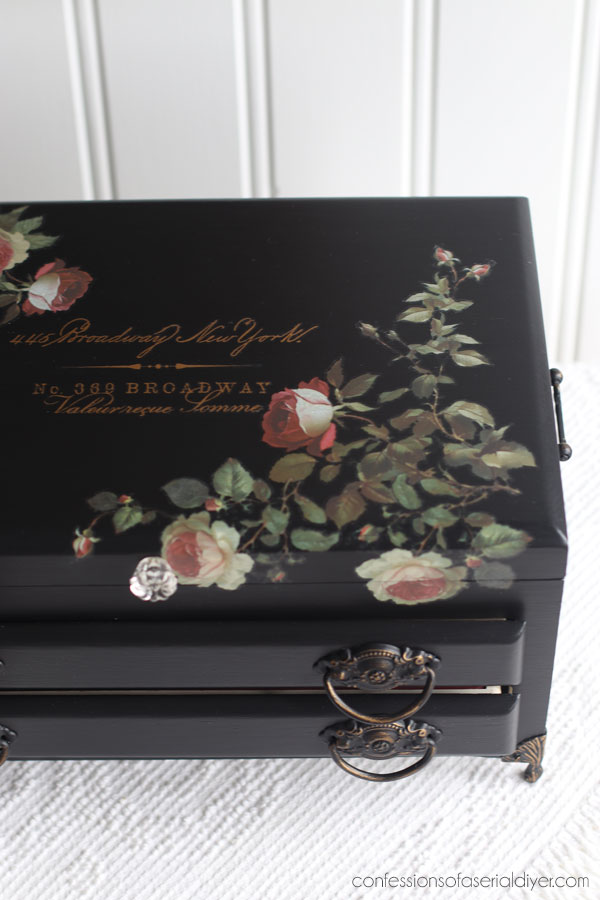
The gold script is from the Queen’s Glory transfer:
The inside
The only thing I did to the inside was use tape to remove anything left behind that was stuck in there. It was in such nice condition!
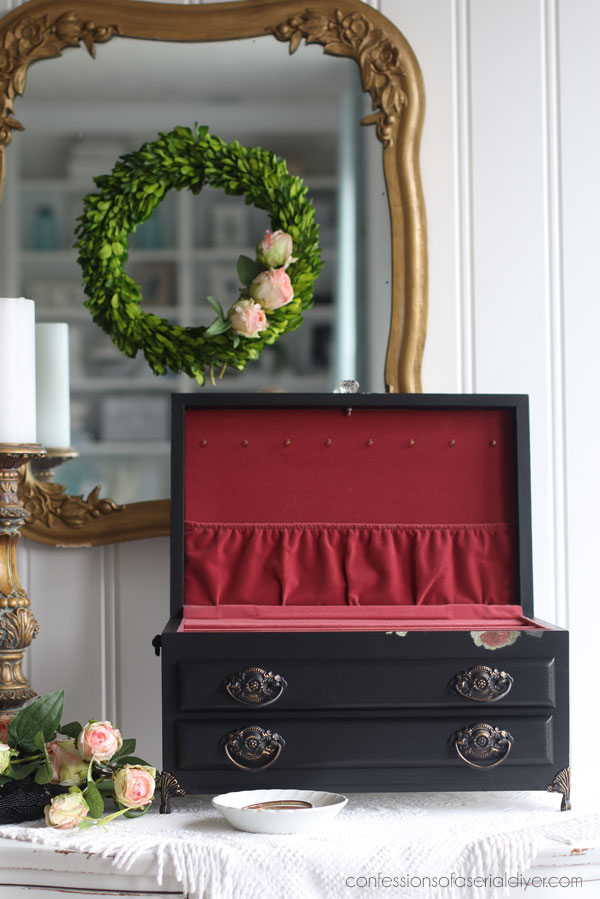
What luck!
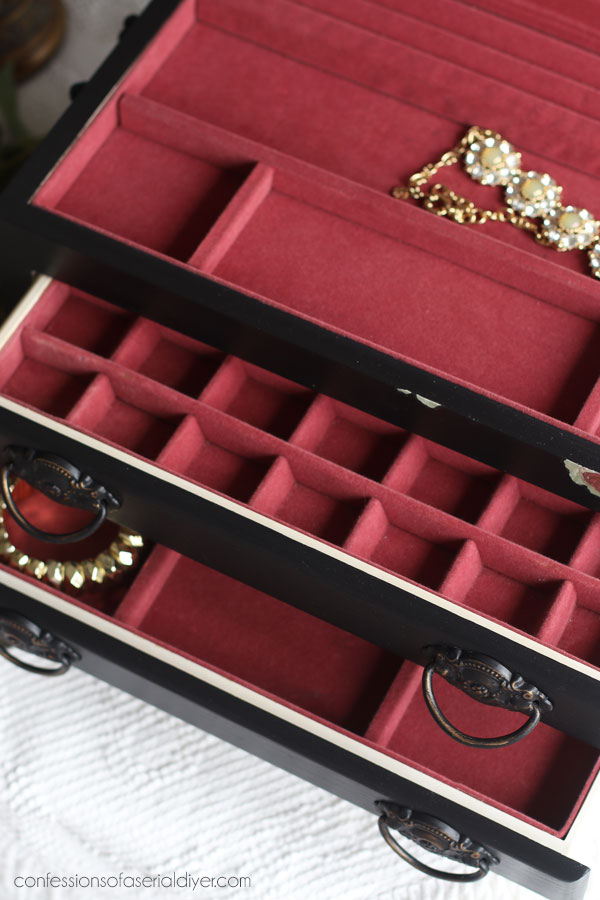
And the transfer coordinates so well…
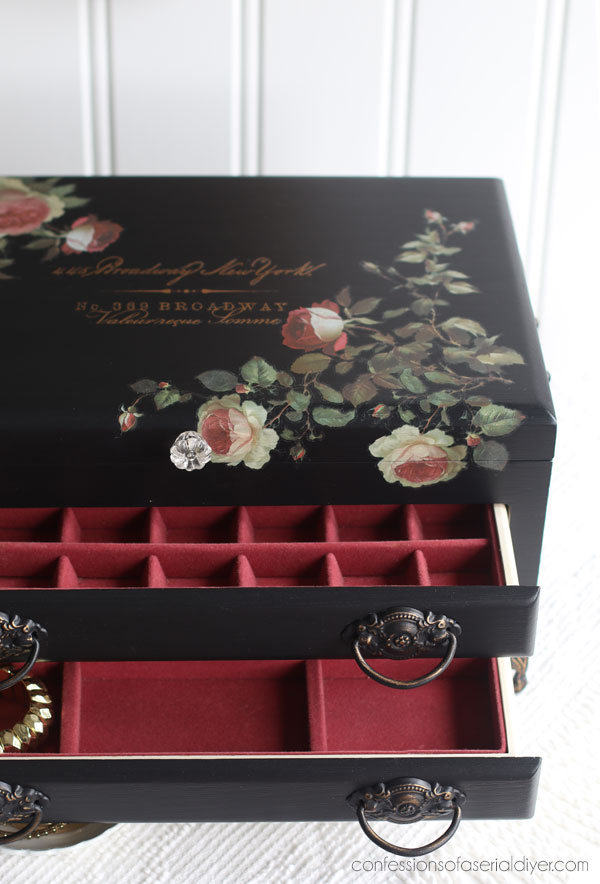
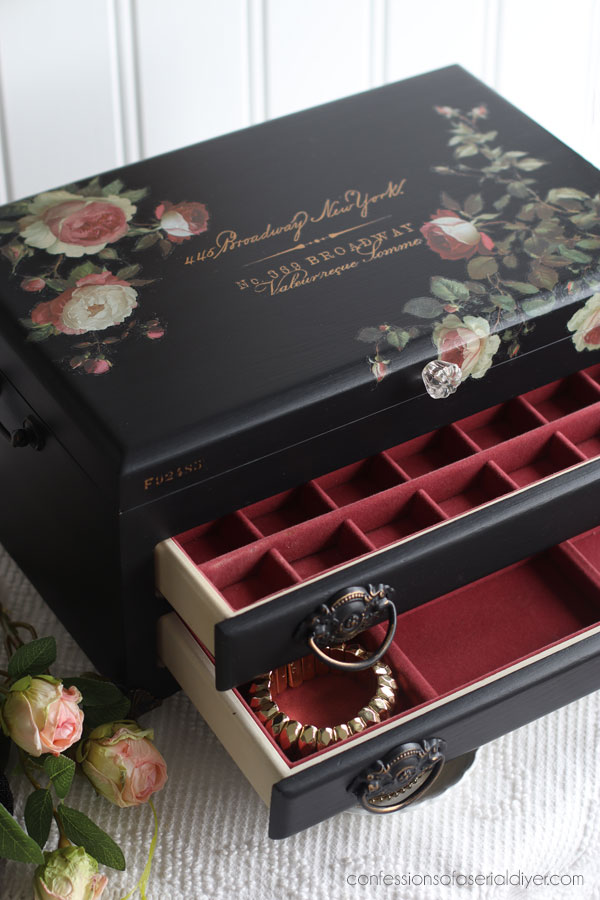
I kept the sides of the drawers the original color since they weren’t yellowed like the outside was:
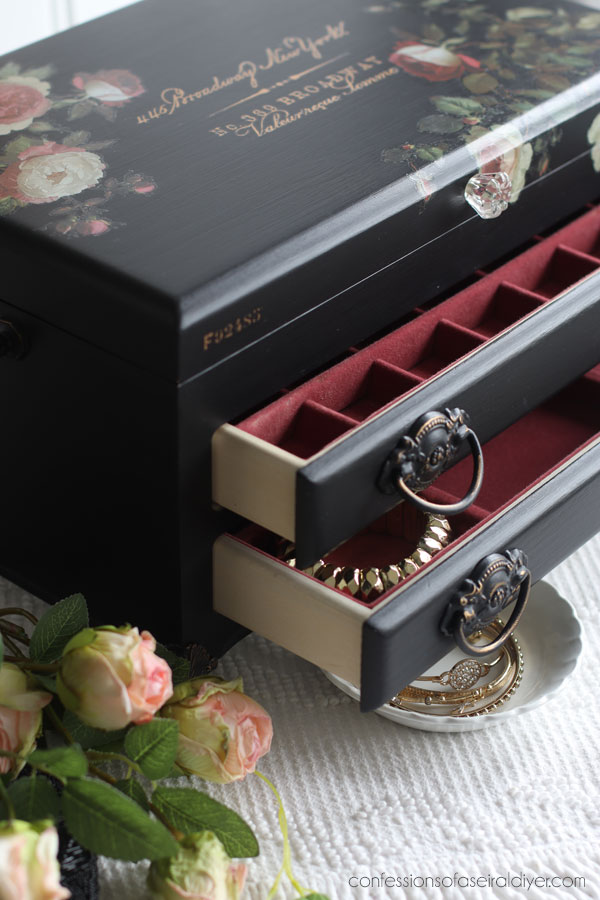
The top pull that I broke was the only one that was able to be removed without disturbing the lining, and I replaced that with a simple glass knob:
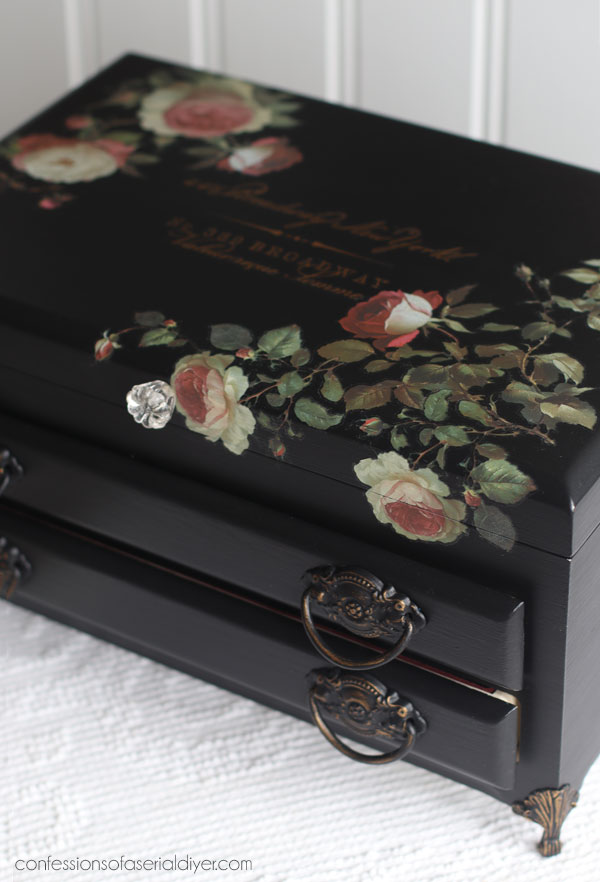
I hope you enjoyed this one as much as I enjoyed redoing it!
I especially loved having those drawers already done for me!
Don’t forget to check out what my Trashy Treasures Crew has for you today as well!
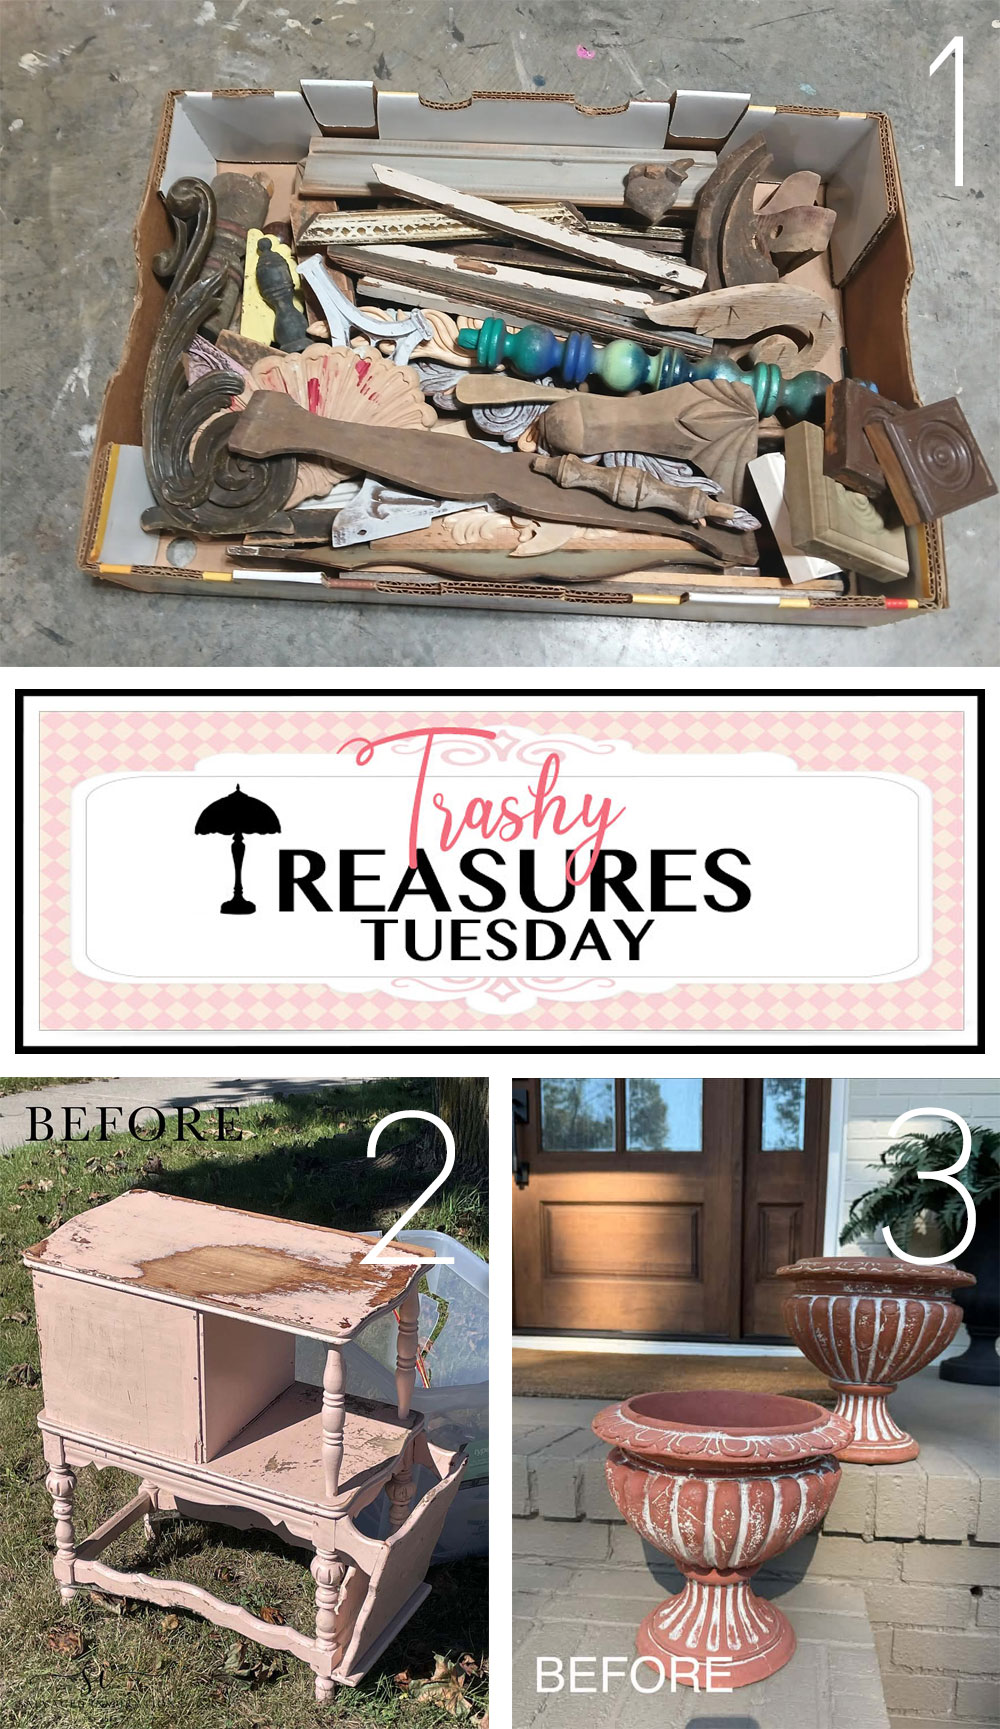
1. Salvaged wood project from Petticoat Junktion
2. Curbside treasure from Salvaged Inspirations
3. Faux finished planters from Artsy Chicks Rule
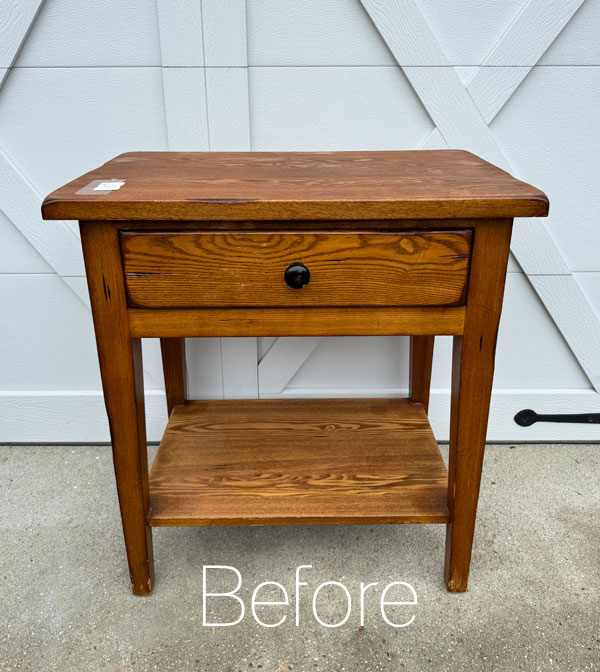
I didn’t have anything too trashy left in my current haul, so I had to go thrifting for something to share today (darn!), but I’ll be back to my haul on Thursday with this chunky table I scored for $12:
See ya then!
XOXO,

Don’t Miss a Thing!
If you like what you see, there are several ways to follow along!
EMAIL * INSTAGRAM * FACEBOOK * PINTEREST

Get FREE SHIPPING on all orders over $50 in my Etsy shop. (No code needed at checkout!) Orders under $50 enjoy $8 flat rate shipping!
Most orders ship same or next business day! Visit my shop below!






Leave a Reply