Hello, amazing friends! Today, I’m back with two fantastic upcycled frames! I didn’t have high hopes for these two, honestly, but I am so thrilled with how they turned out and I hope you love them too!
Let’s dive in!
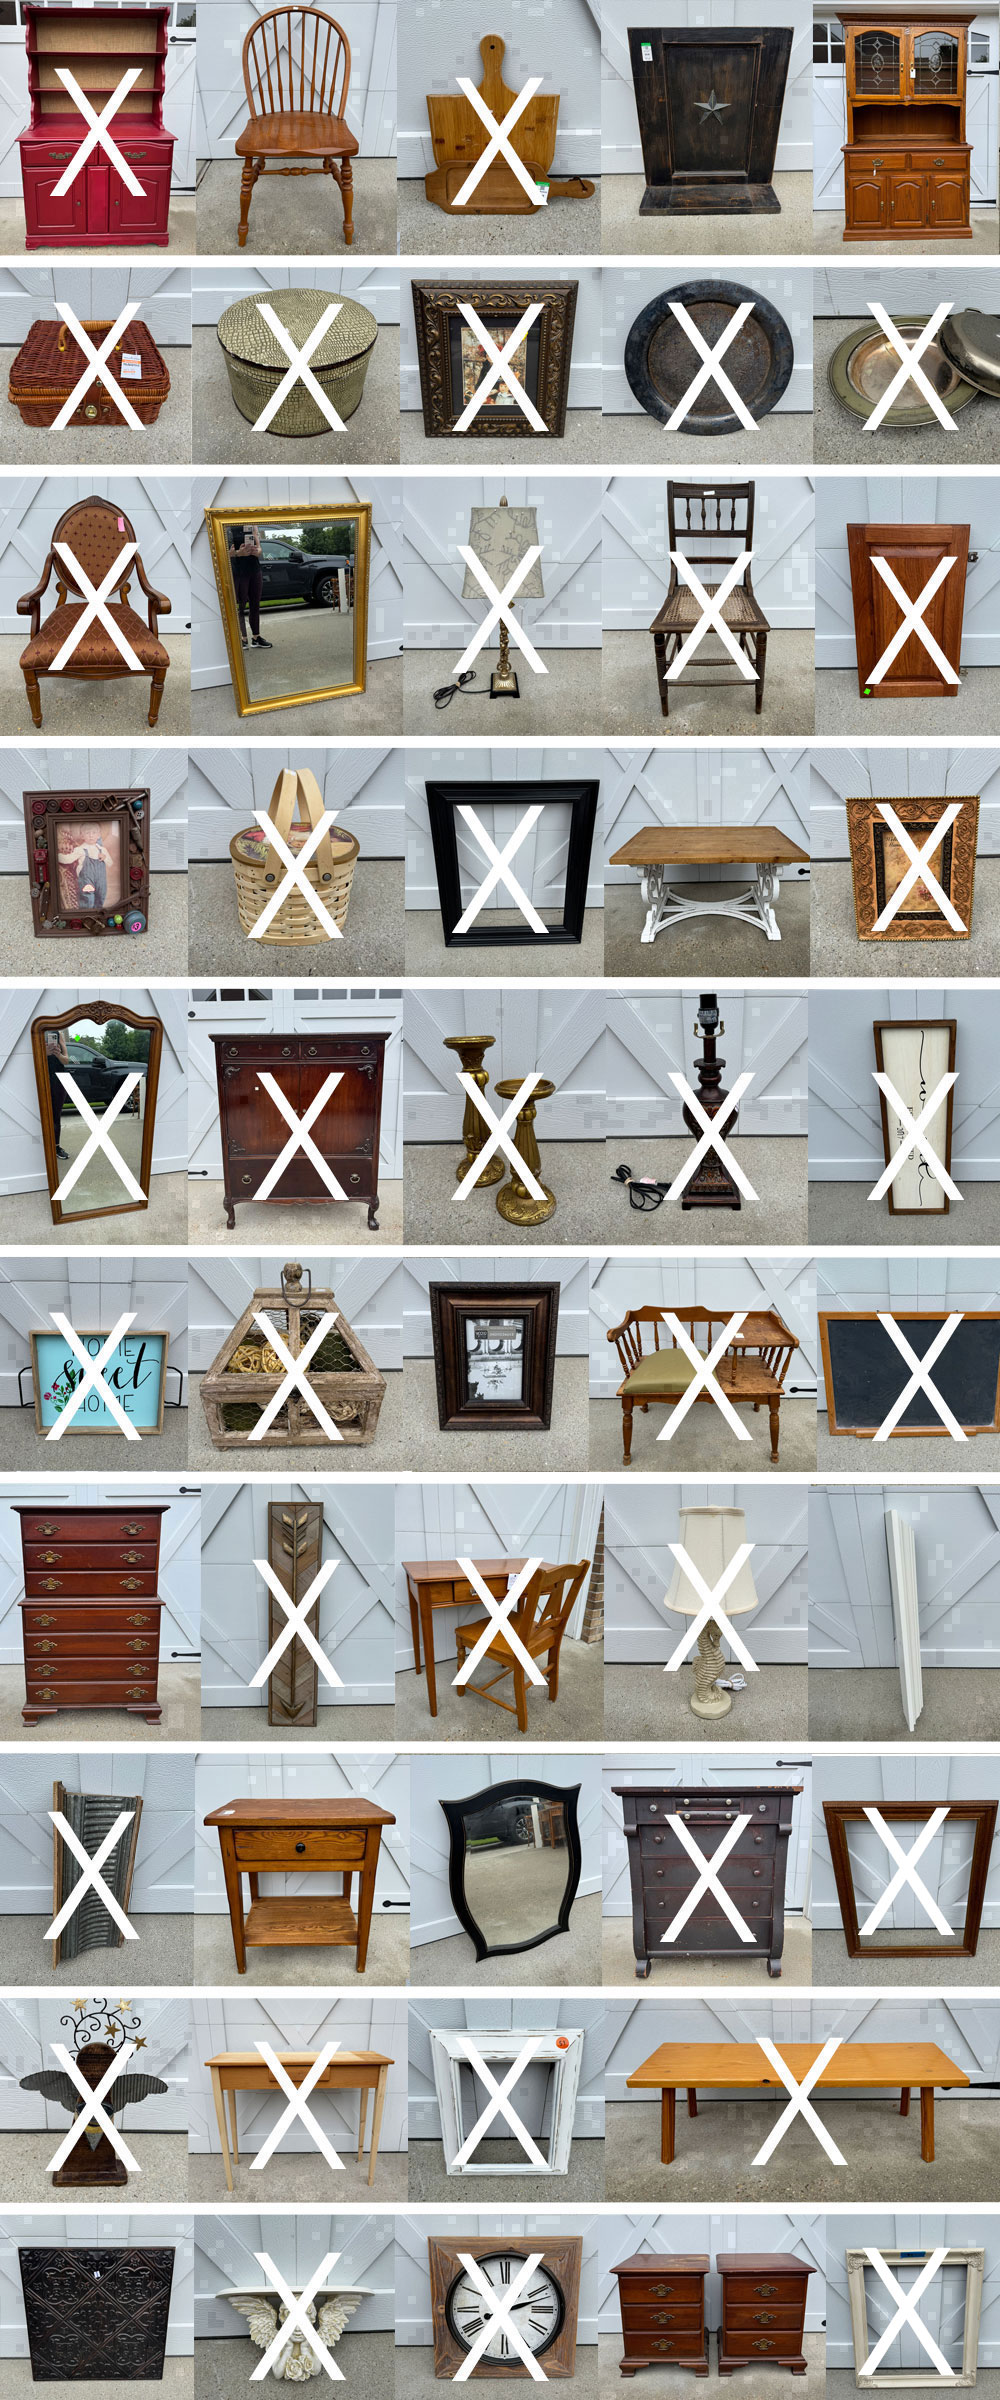
Here are the two frames I’m upcycling today:
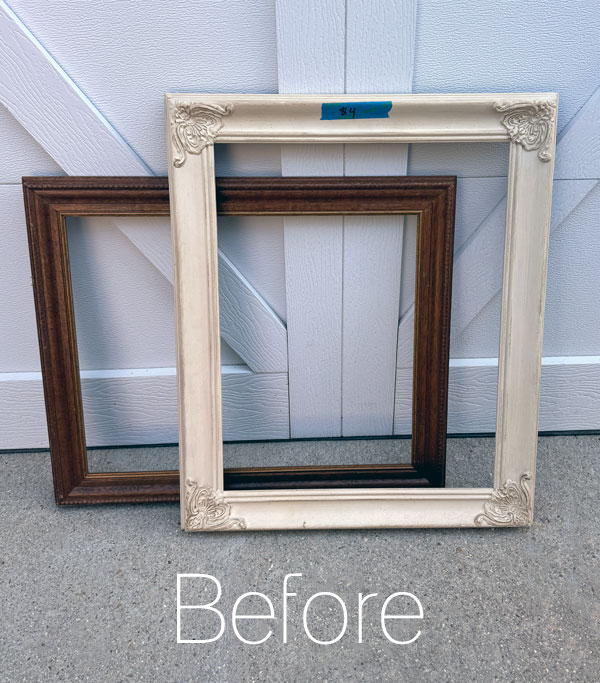
These were both yard sale finds from this spring.
Fantastic Upcycled Frame #1
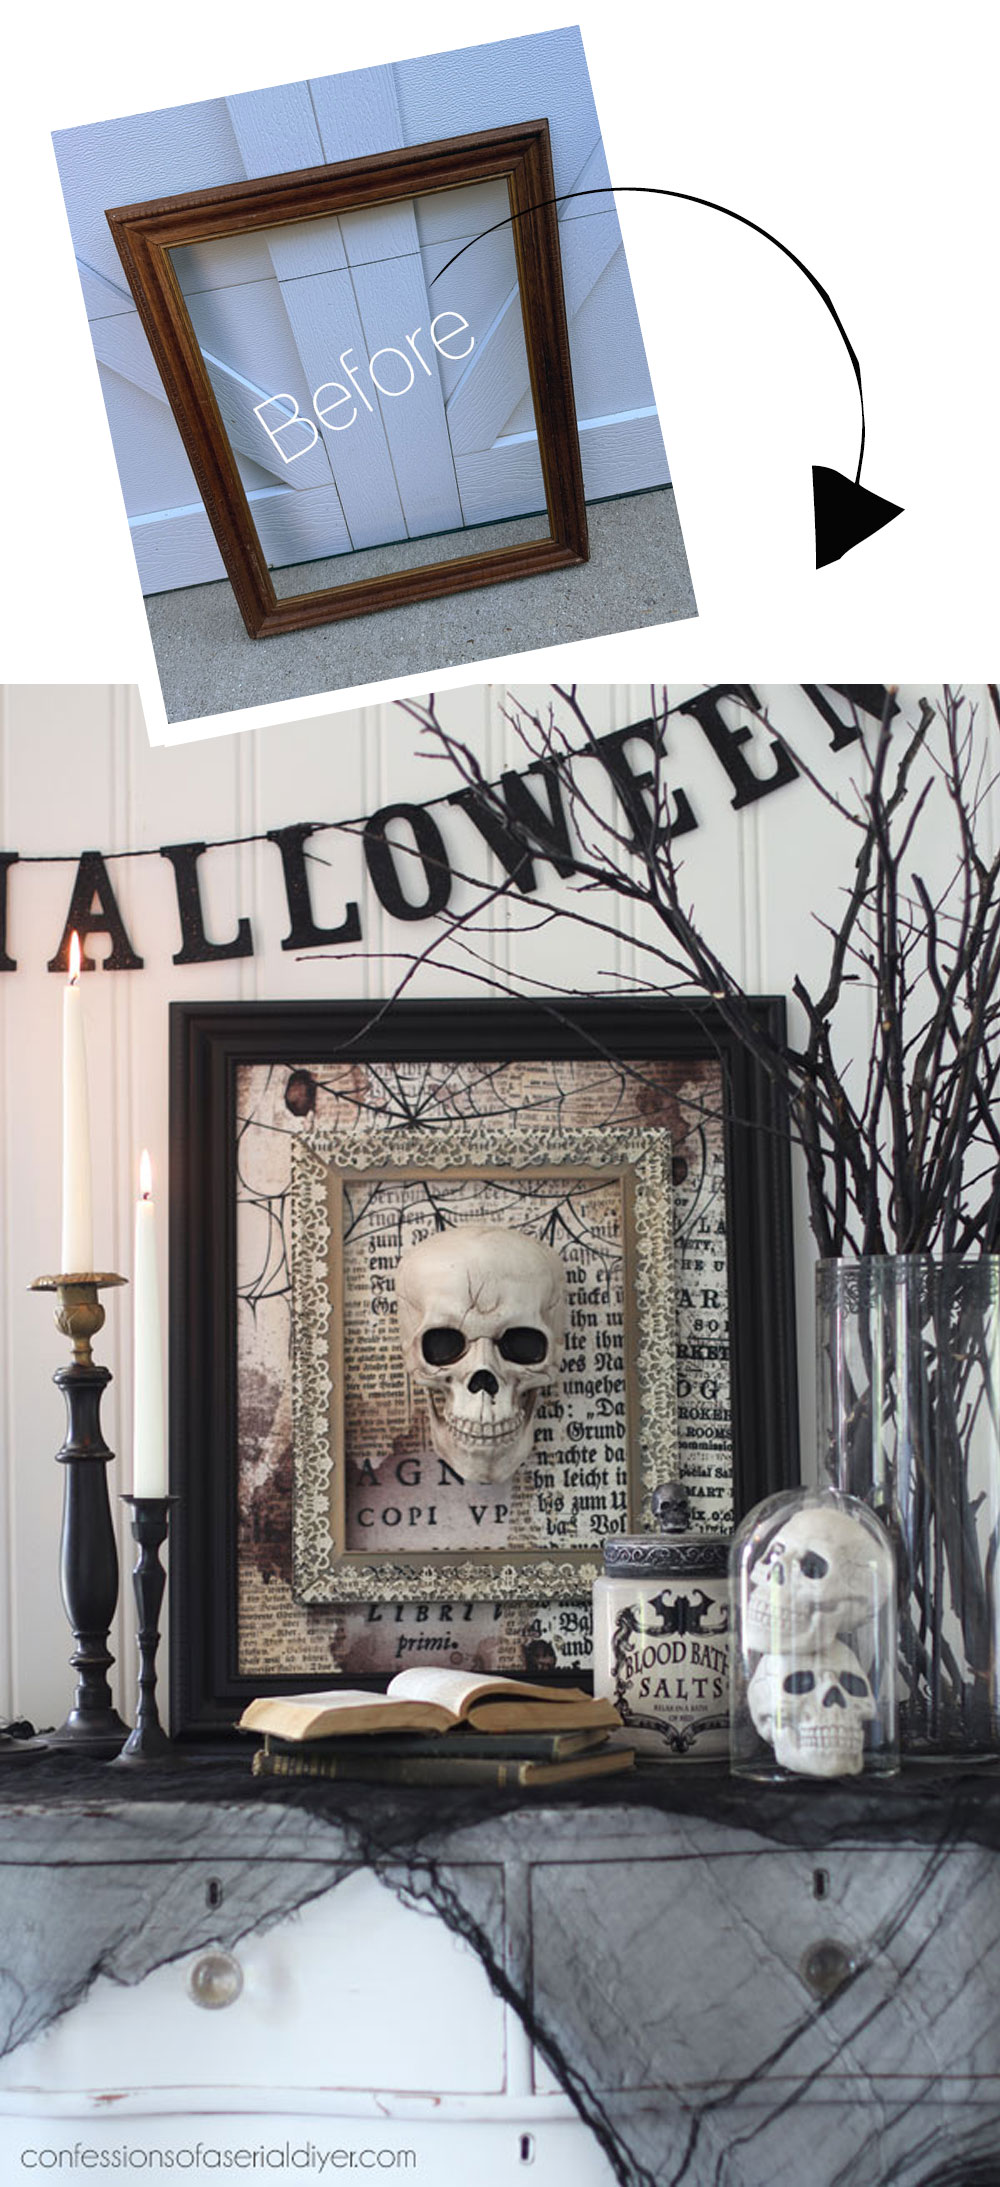
Up first is this ho hum frame I picked up for only a dollar:
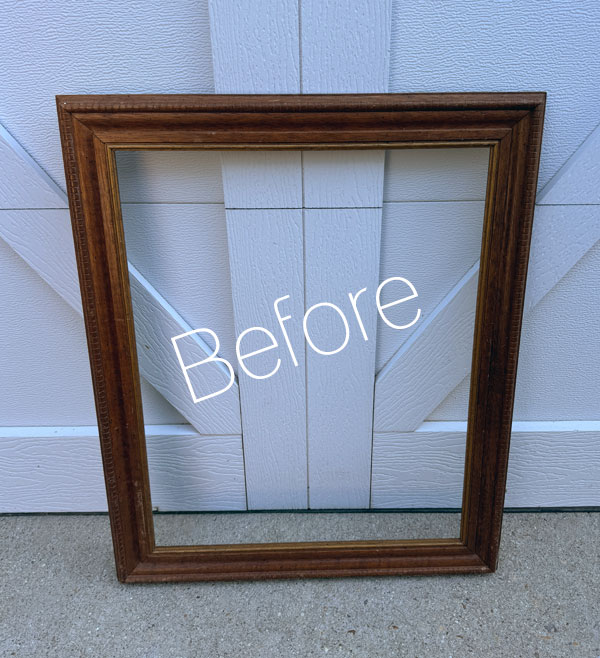
There wasn’t much to it, so you can see why it didn’t spark any excitement in me lol.
But then I started thinking about what I wanted to do with it, and what if I could do something with it for my Halloween display? OK, now I was excited! If you know me, you know I LOVE Halloween!
Here is what I gathered to bring my vision to life:
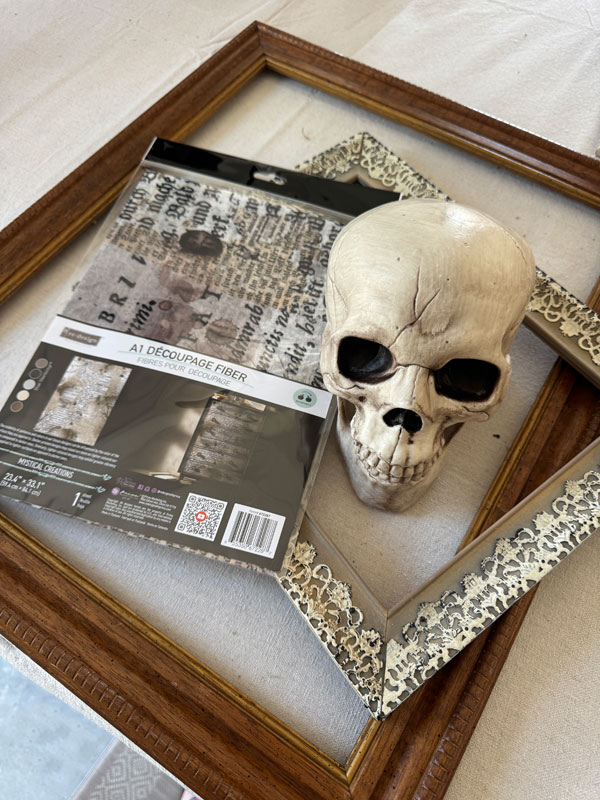
It still doesn’t look like much, but we’ll get there!
After giving both frames a good cleaning with White Lightning, followed by a good rinse, I got started on the good part, paint!
Paint
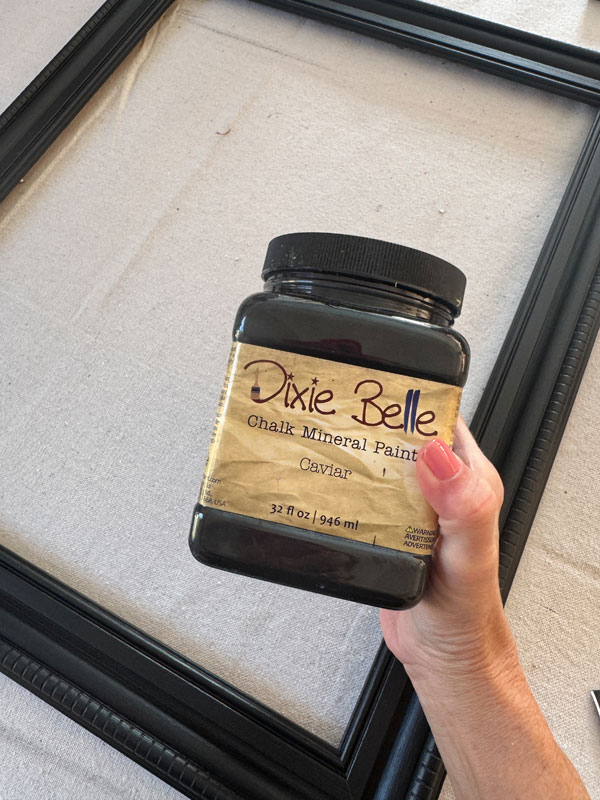
This one got two coats of Dixie Belle’s Caviar:
Seal
Once that was good and dry, I sealed with Clear Coat in the satin finish:
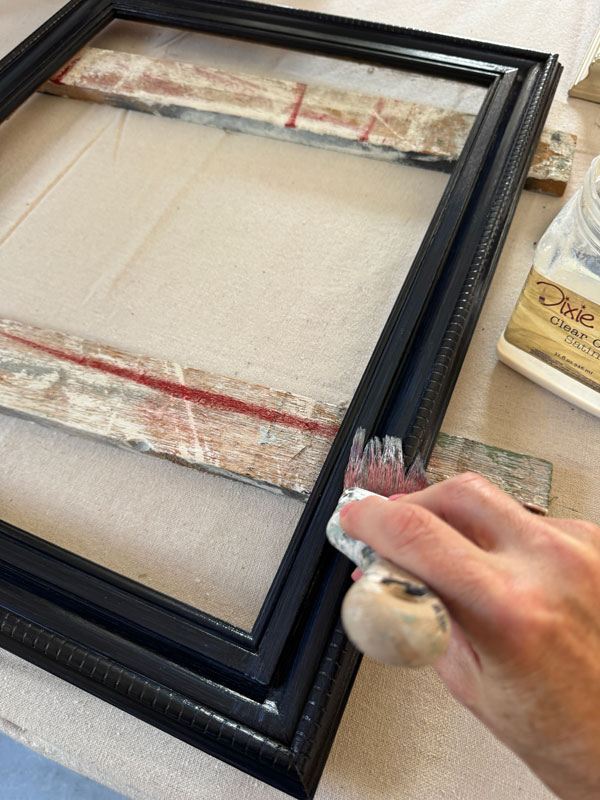
There weren’t much in the way of details on this frame, so I went ahead and sealed it with a brush.
Adding the spook
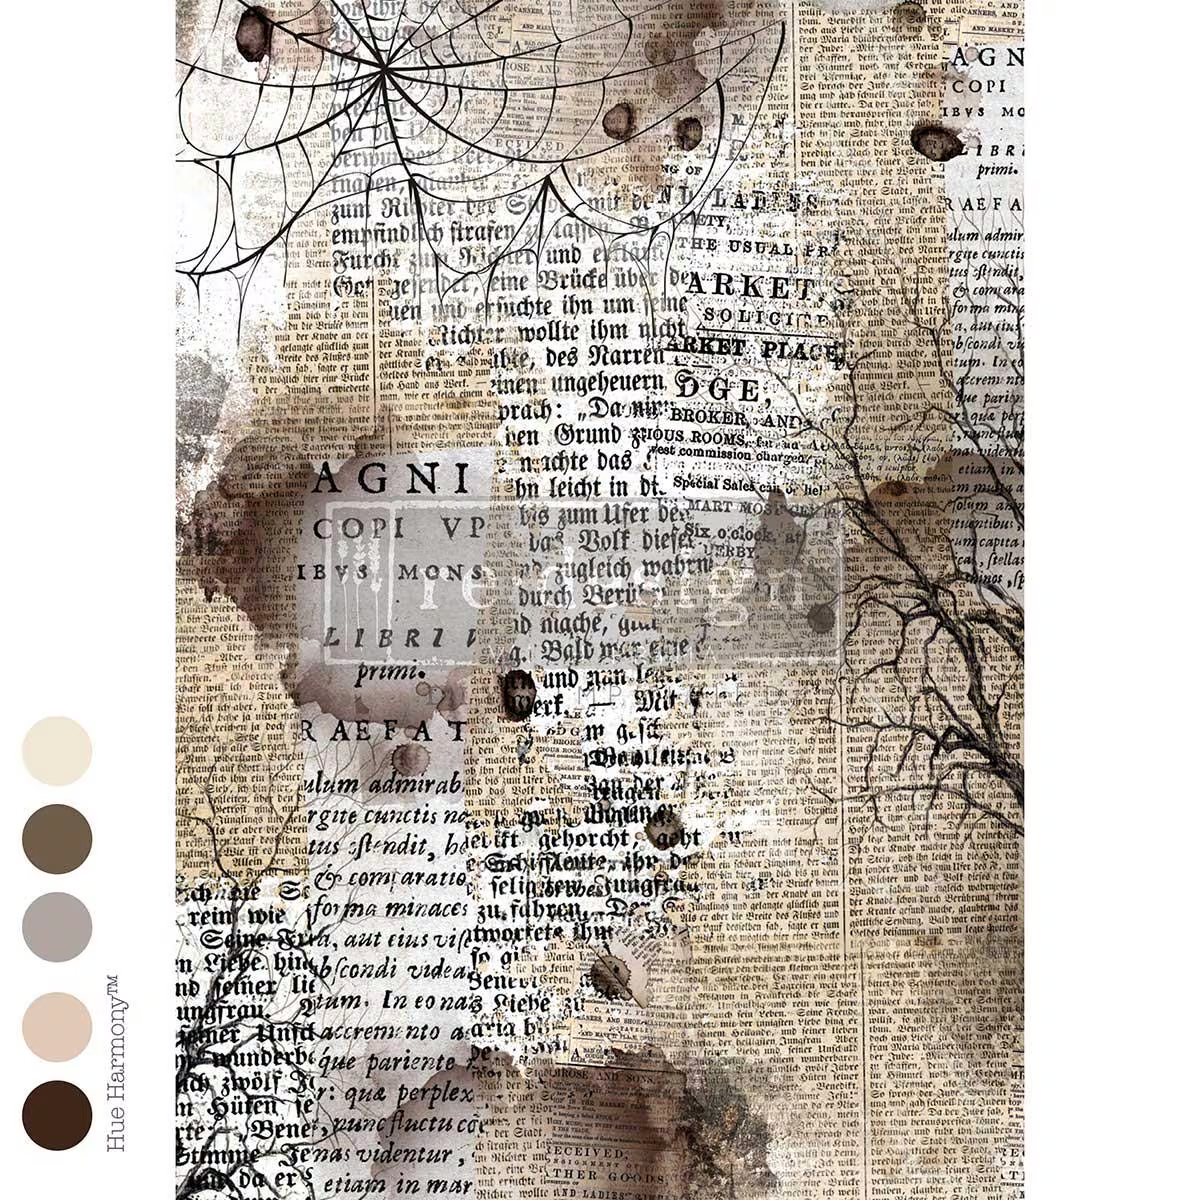
This Mystical Creations Paper from Redesign was my jumping off point for this makeover.
I cut a piece of scrap bead board that was like hard board on the back (like pegboard but without the holes) to fit the frame and gave it one coat of Fluff white:
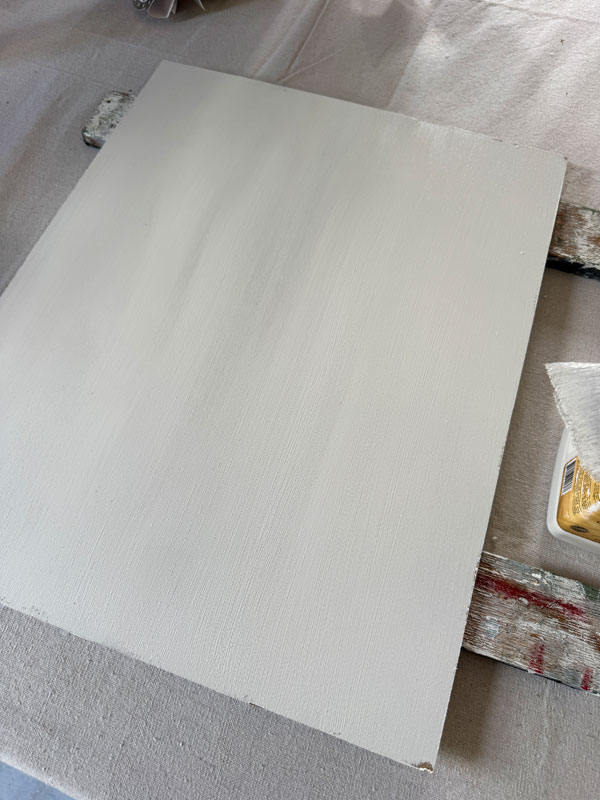
This would give me a nice, bright background for the paper.
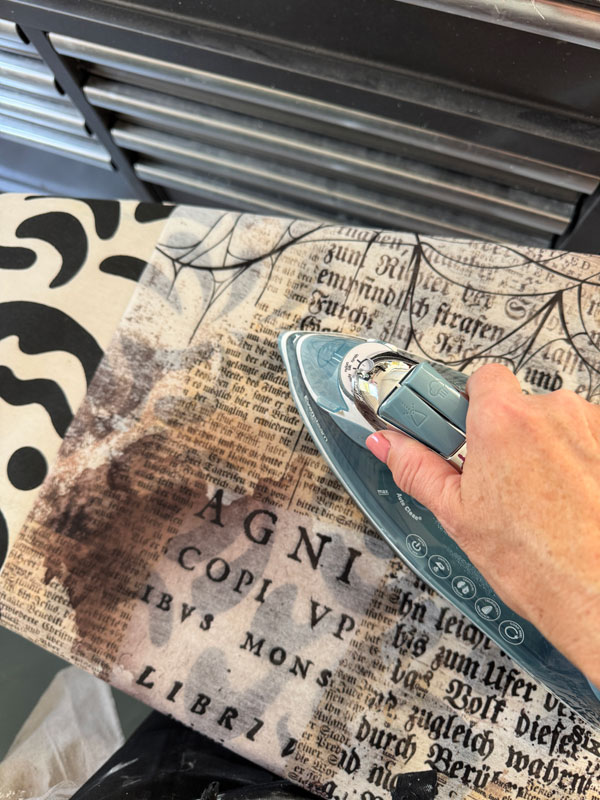
To remove the folds in the paper, I used my iron on the lowest setting:
Applying Decoupage Paper
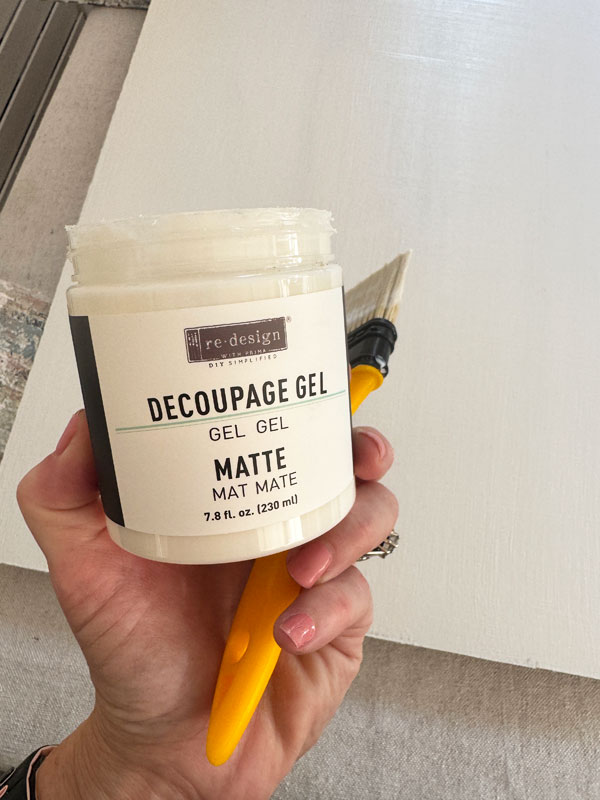
I then added a layer of Decoupage Gel in Matte from Redesign:
I laid out my paper and used a piece of balled up plastic wrap to smooth it out.
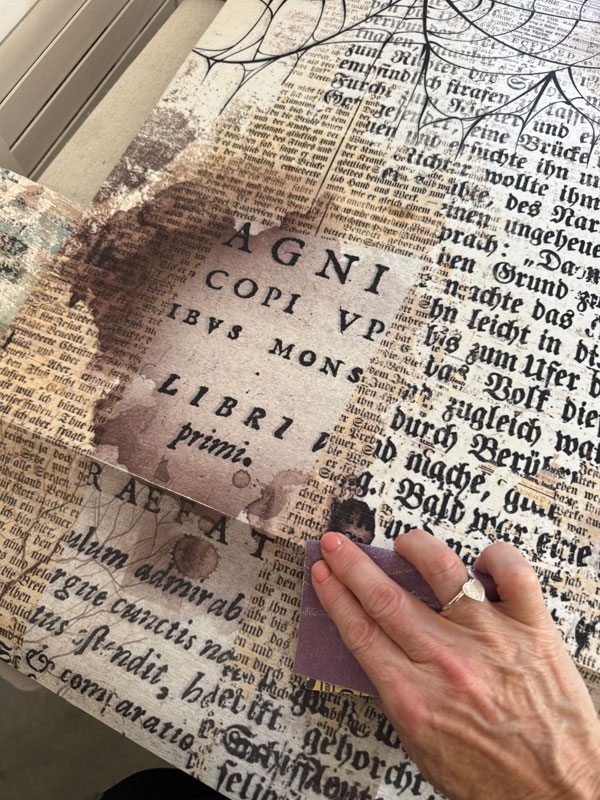
I then used a piece of 220 grit sandpaper along all of the edges to “trim” the paper to fit:
Once I had that removed, I applied another coat of the gel over the top…
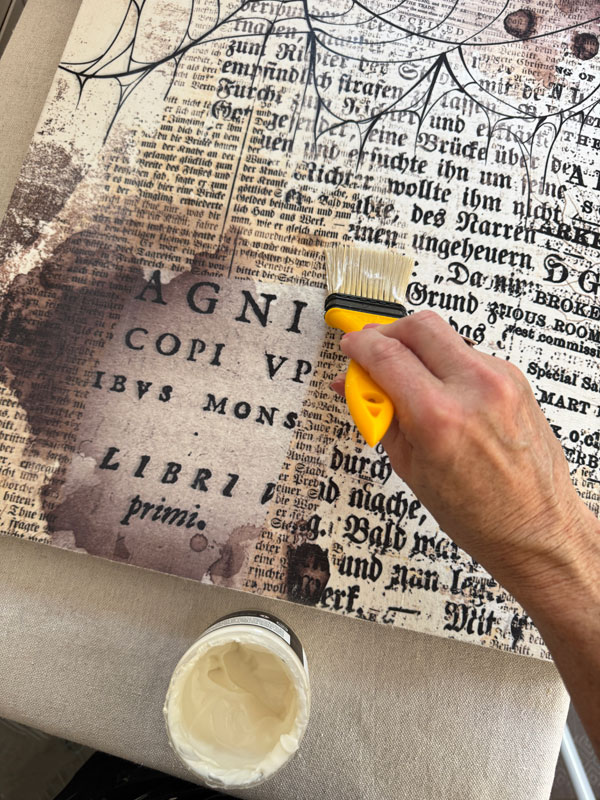
(I prefer a foam brush to apply the top layer, but I didn’t care as much about this one since it is just a Halloween decoration.)
Add the smaller frame
The smaller frame I had in my stash was next. I have had this frame for several years! It isn’t a standard size, it’s a bit taller and so I just never found anything that would fit inside it. It was PERFECT for this project though!
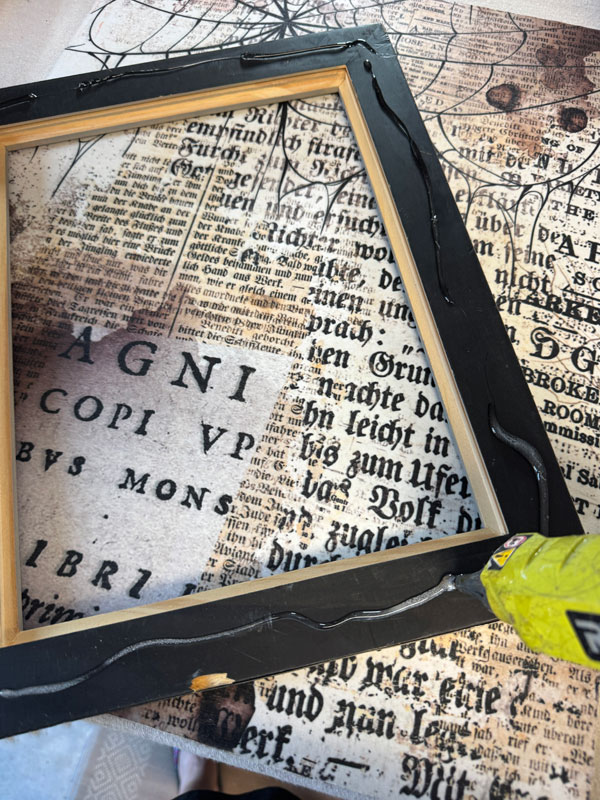
I knew I would secure it from the back with screws, but it can be hard to hold it in place properly while doing that. So, I temporarily held it in place with hot glue:
Then, I secured it from the back, making sure to measure to know where I would need to add my screws…
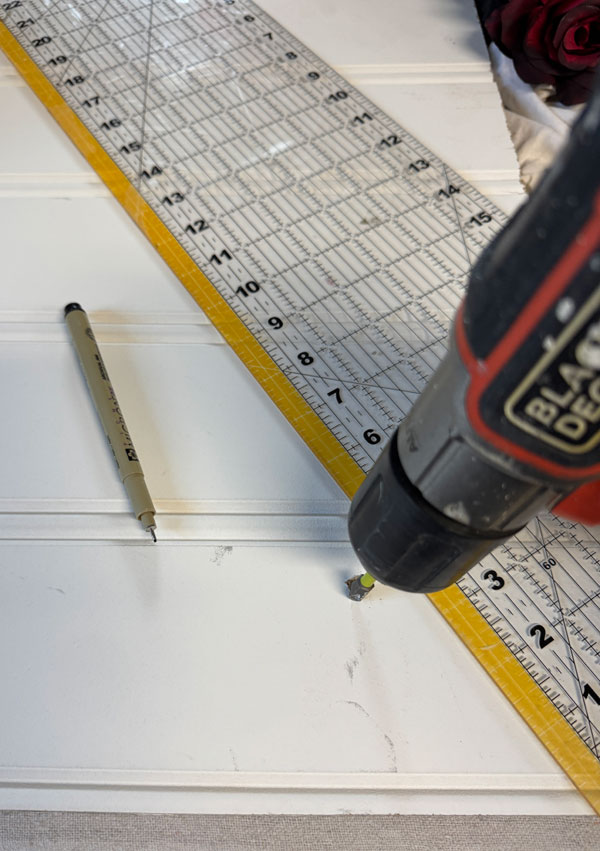
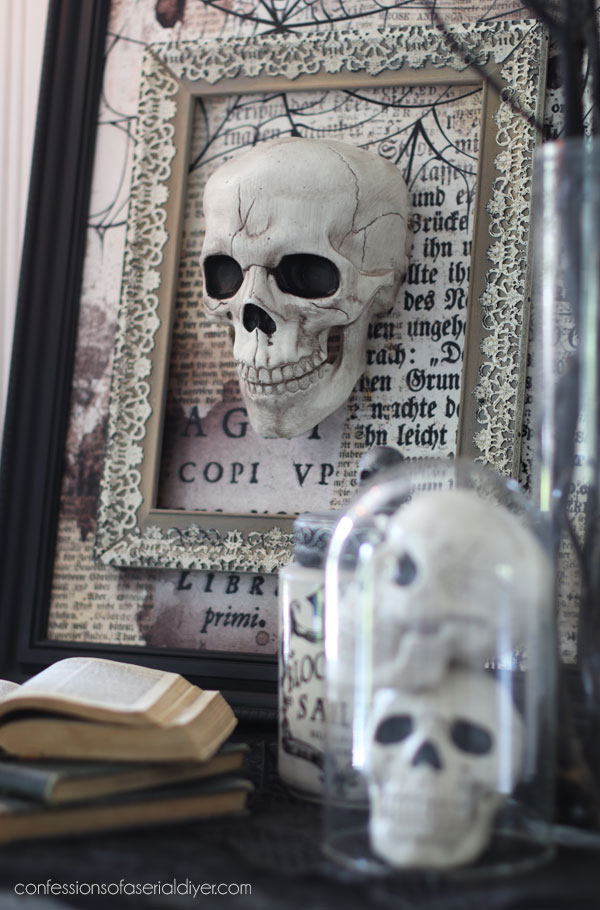
This created a frame inside a frame, perfect for the next part, the skull.
Cutting the main attraction
I would need to find a way to make the back of it flat so I could attach it. After a bit of deliberation on how I was going to do this, I ended up using my jigsaw (with a scroll saw blade) to cut it:
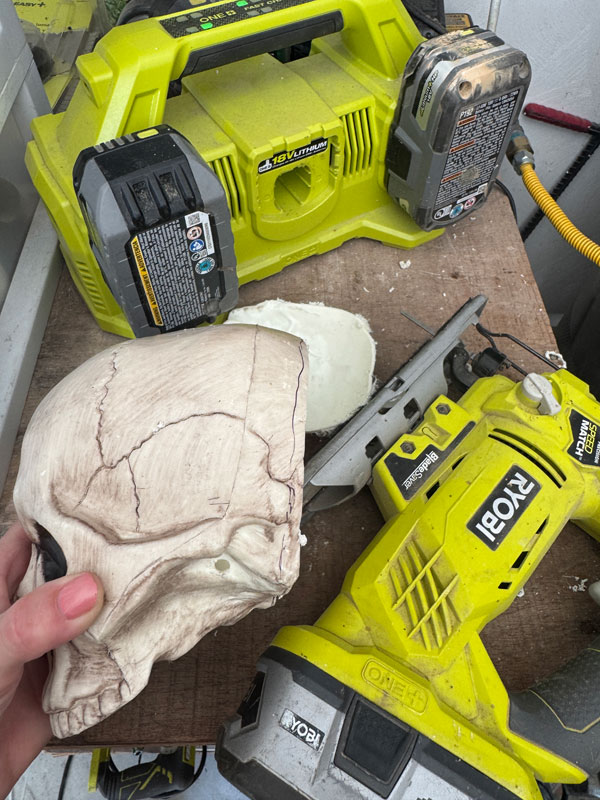
(Imagine my husband’s surprise when he walked around the corner from outside to see me holding a saw in one hand and a skull in the other. Lol!)
I wouldn’t recommend trying this. I used extreme caution as this felt pretty sketchy since there was no way to secure it to cut it. If I had a sharp hand saw, that may have been more comfortable.
Before adding the skull, I secured the decoupaged board into the black frame using my Logan Point Driver.
But how do I attach the skull now?
I ended up cutting a scrap to fit the interior and then screwed it in place on either side:
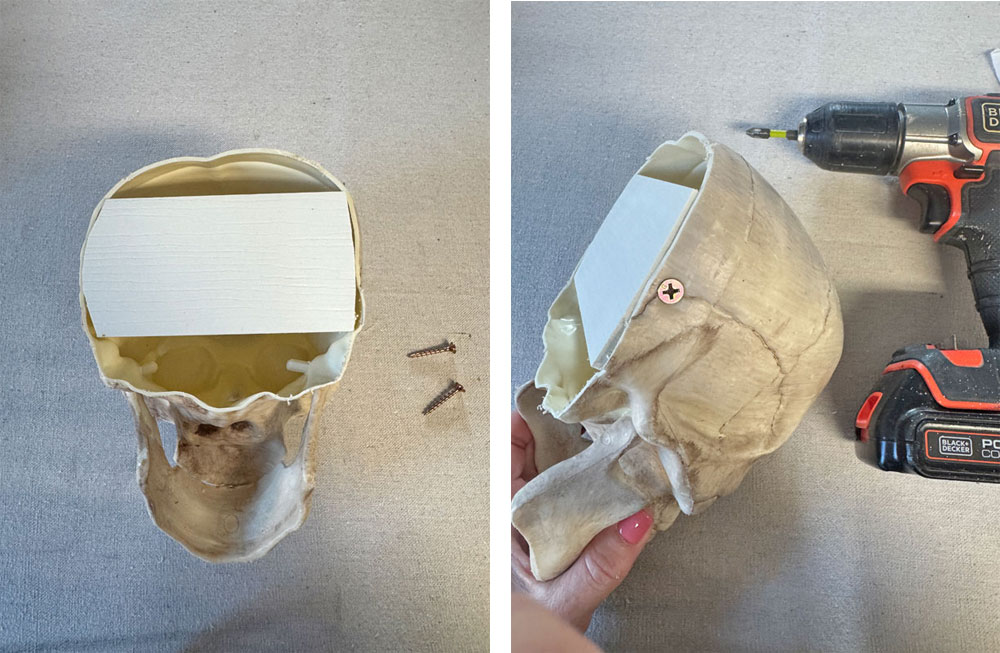
Now I could screw it in from the back just like I did the frame, hot gluing it first to secure it temporarily.
And this Halloween project was complete!
Fantastic Upcycled Frame #1 Reveal
Here is how this awesome project turned out!
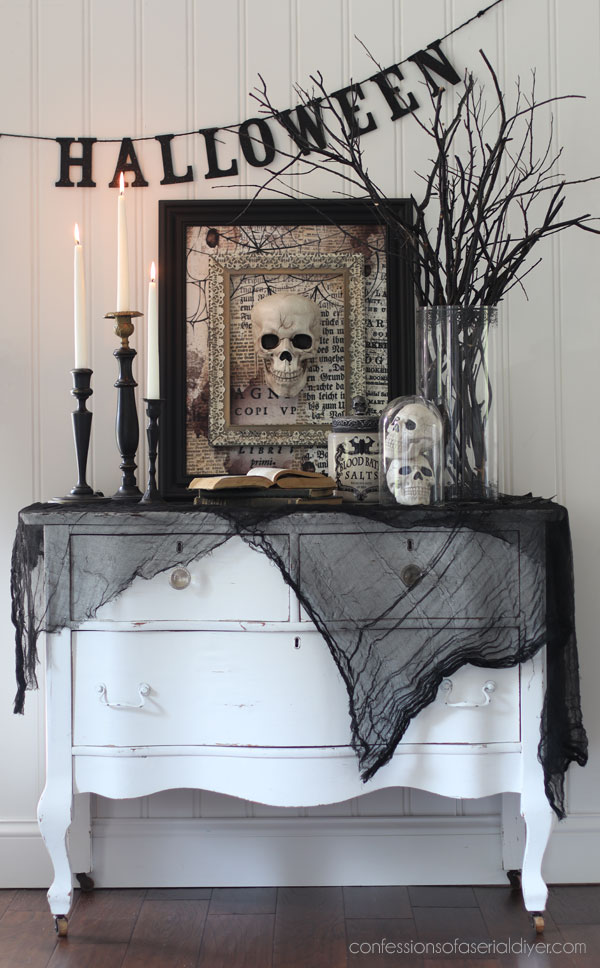
Yes??
Who knew this dumpy frame could be so cool??
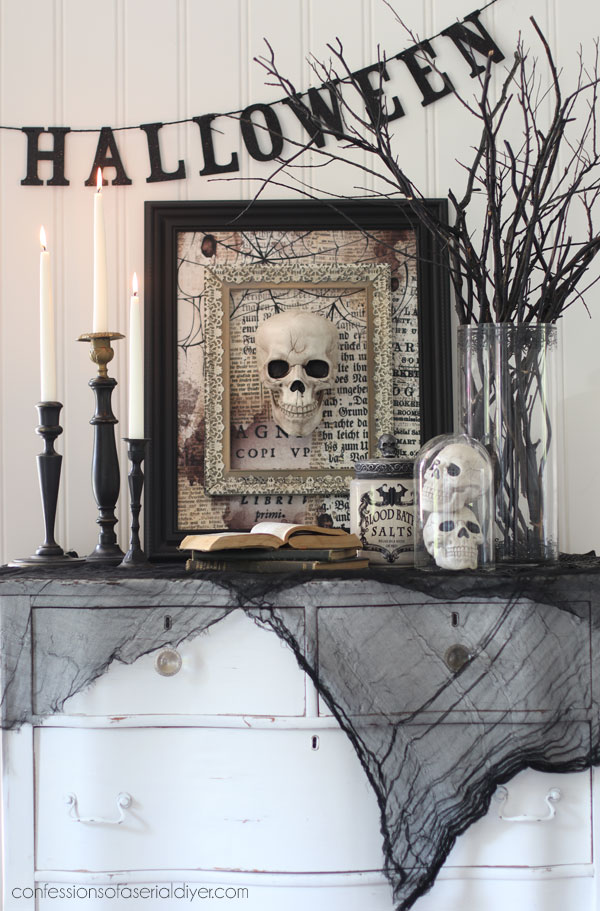
I grabbed just one of my Halloween bins from the attic and the black branches, which usually live on my Skeleton Dinner Party dining room table, and I was able to pull enough to create this vignette!
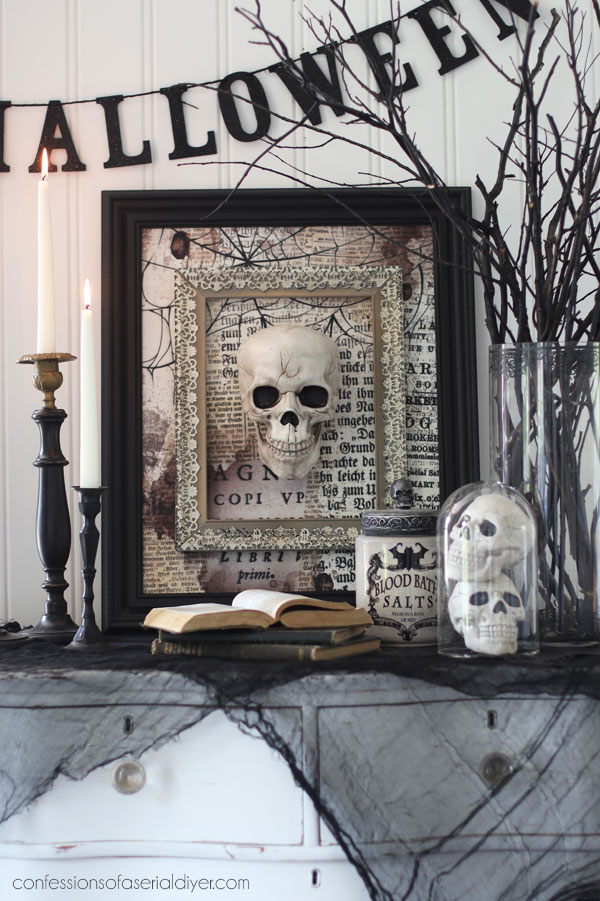
Those books on the bottom are old math books…super scary!
How cool is this paper as a backdrop?
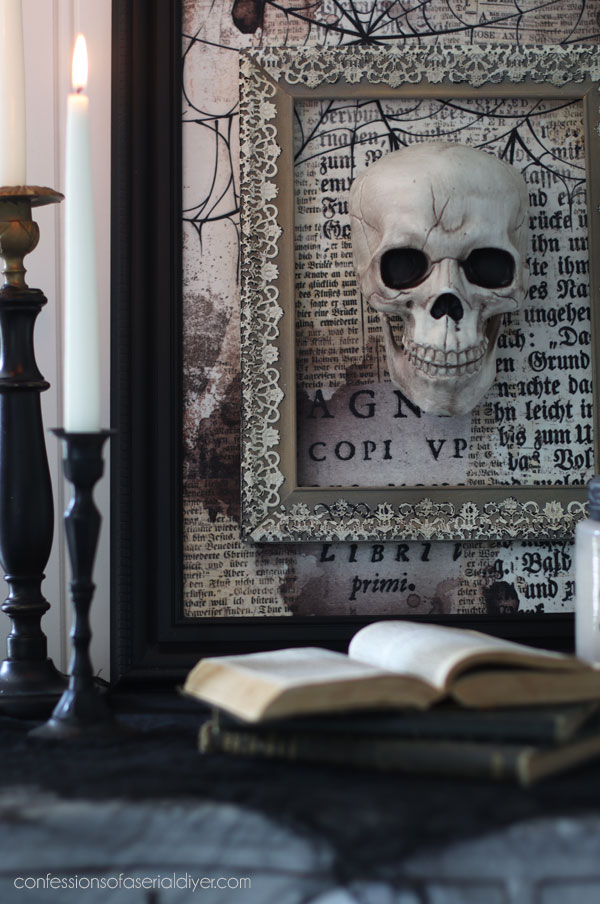
And I love that I was finally able to use this frame! I just love it and I didn’t have to do a thing to it!
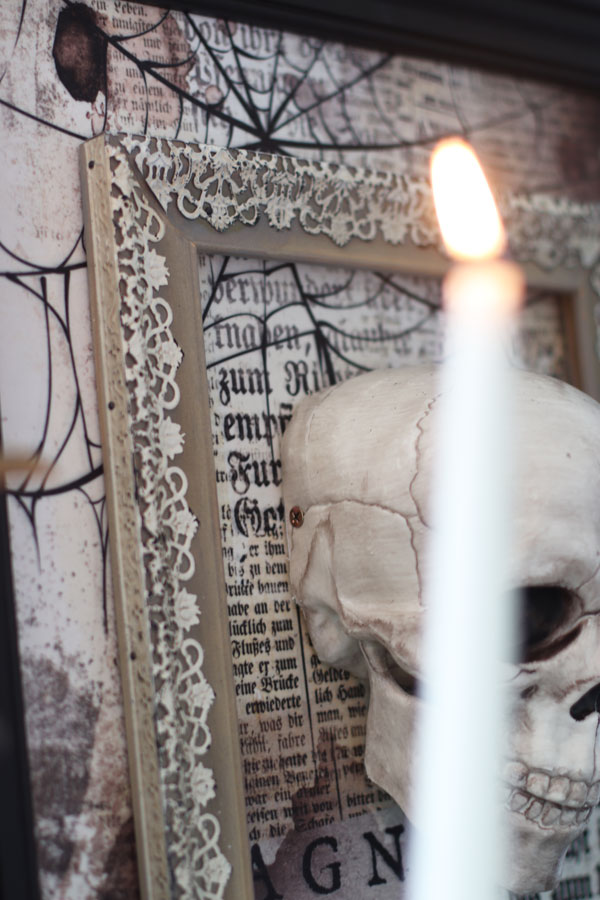
Can you tell I really love Halloween?
Only a week until I get to pull everything down and get decorating!
Fantastic Upcycled Frame #2
If Halloween isn’t for you, then I’ve got you covered!
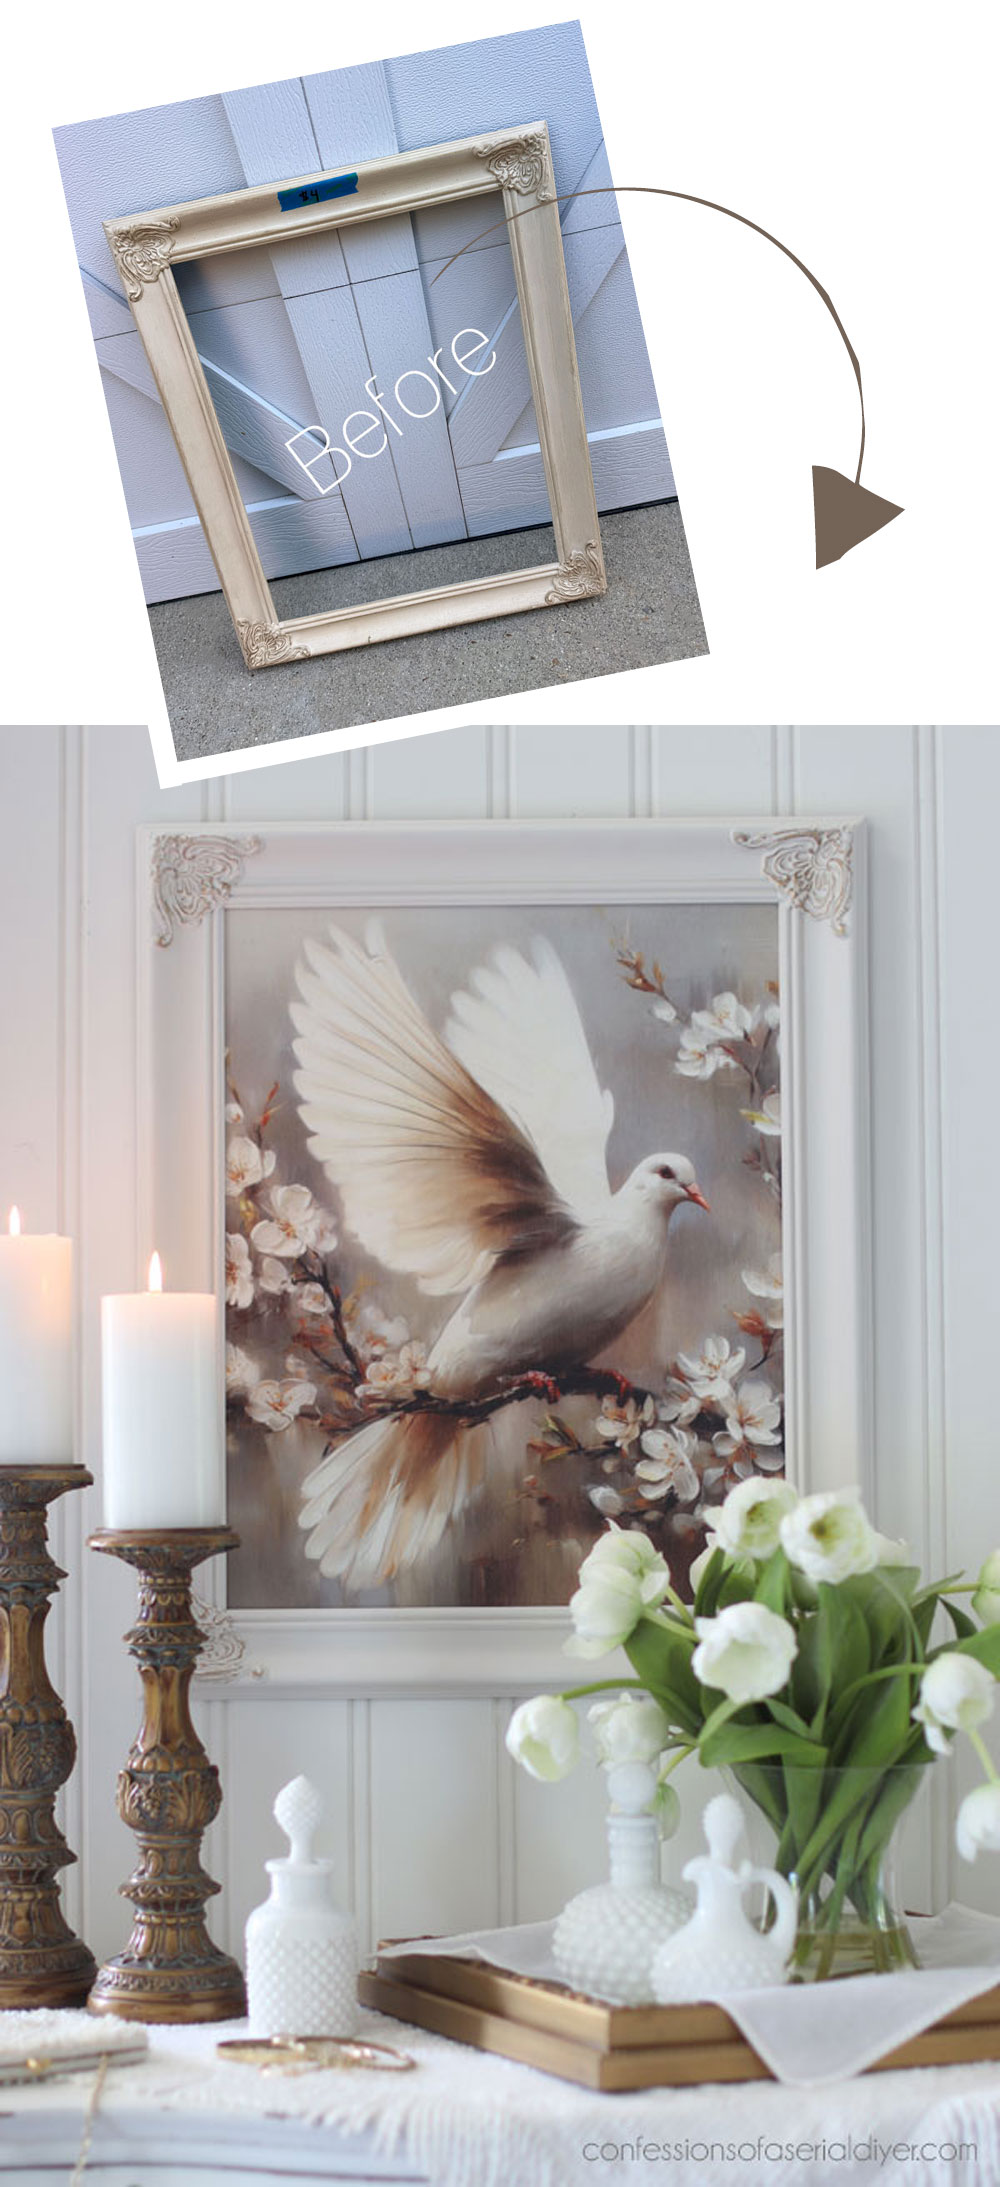
Next up this very pretty frame I picked up, also at a spring yard sale, for $4:
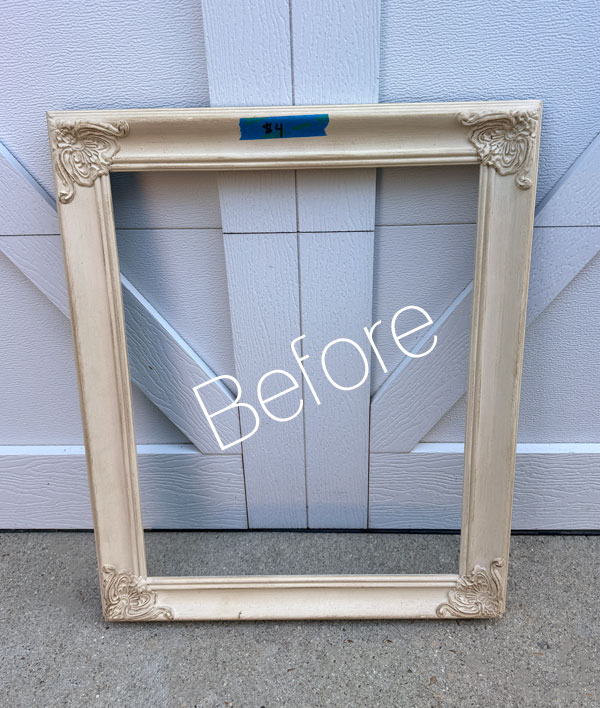
It has a glazed look that I kind of liked as is, and I planned to use this gorgeous Alabaster Grace decoupage paper:
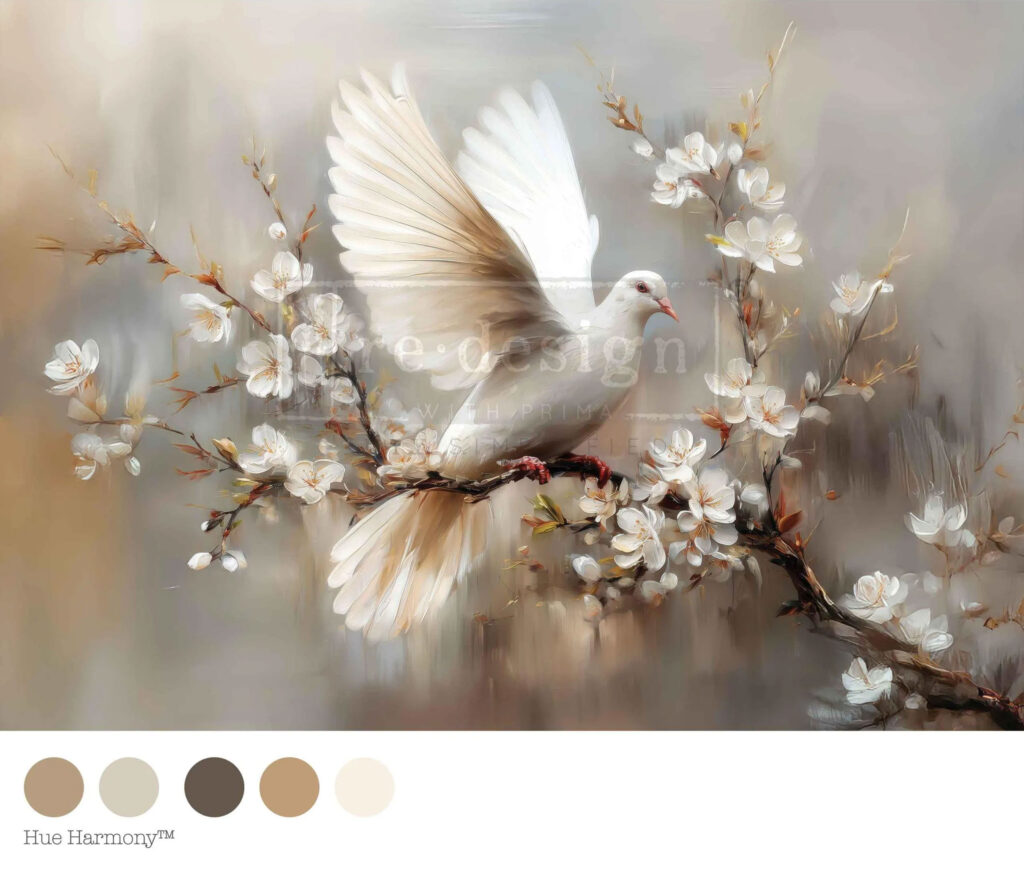
I’ve wanted to use this paper on something since we got it in earlier this year. It’s just so beautiful.
Paint
I had planned on not painting this one at all, but when I laid the paper next to it, it just looked so dull since the dove was bright white. I ended up painting the frame in Fluff from Dixie Belle:
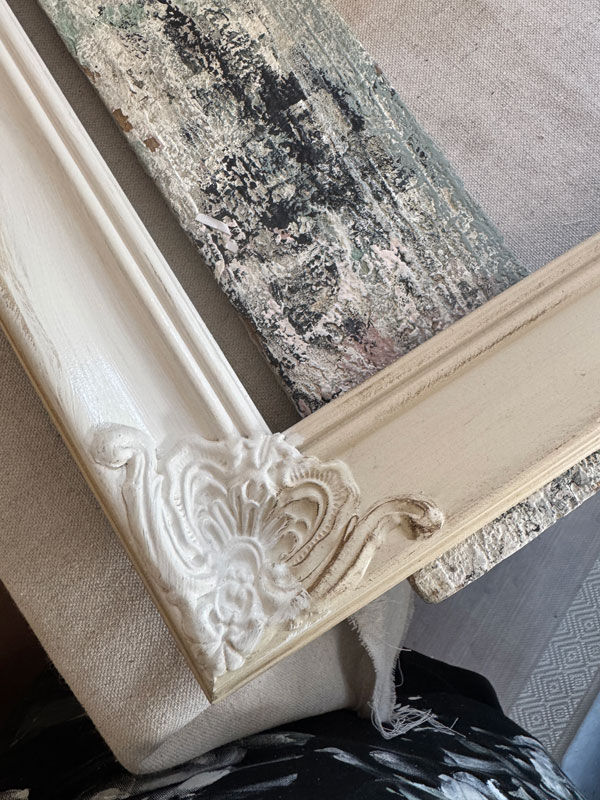
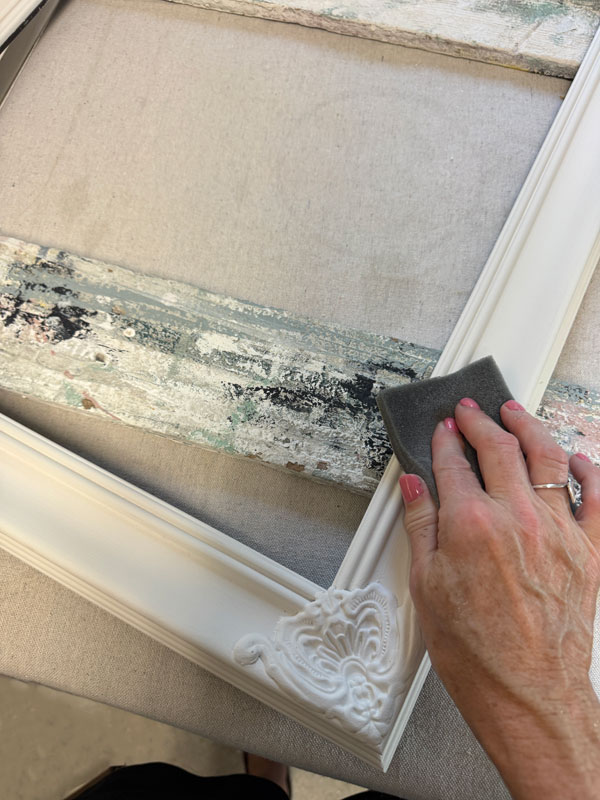
I lightly sanded using a fine grit sanding sponge as I did not want any distressing here, and these are perfect for this.
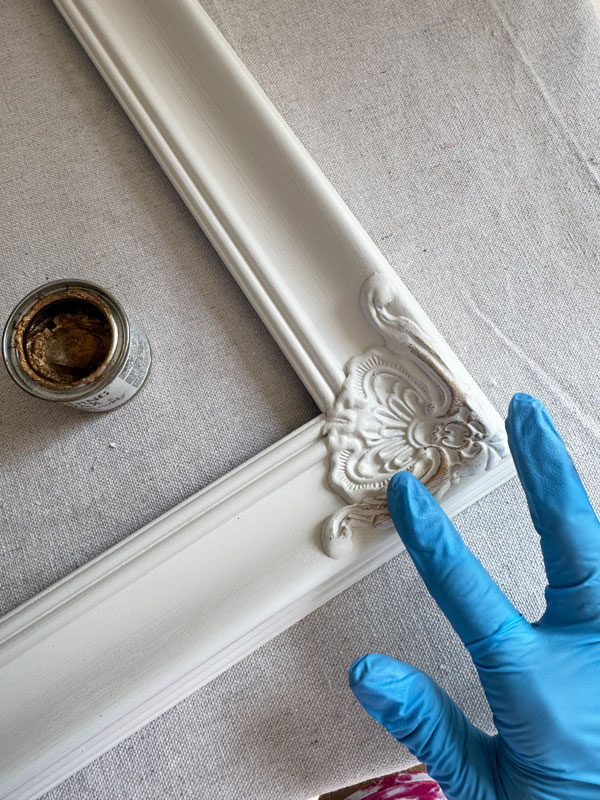
After sealing with Clear Coat in Satin, I highlighted the details with Antique Gold Gilding Wax:
Framing my new “art”
This paper is quite large at 23″ X 33″, but my frame is only 16 X 20, so I would need to frame just the dove, which worked out great!
I did everything the same as the first frame upcycle, except when I was sealing. Instead of using another coat of decoupage gel over the top, I used Satin Clear Coat instead this time. I applied it with a foam brush, first going up and down, and then from side to side on the second coat:
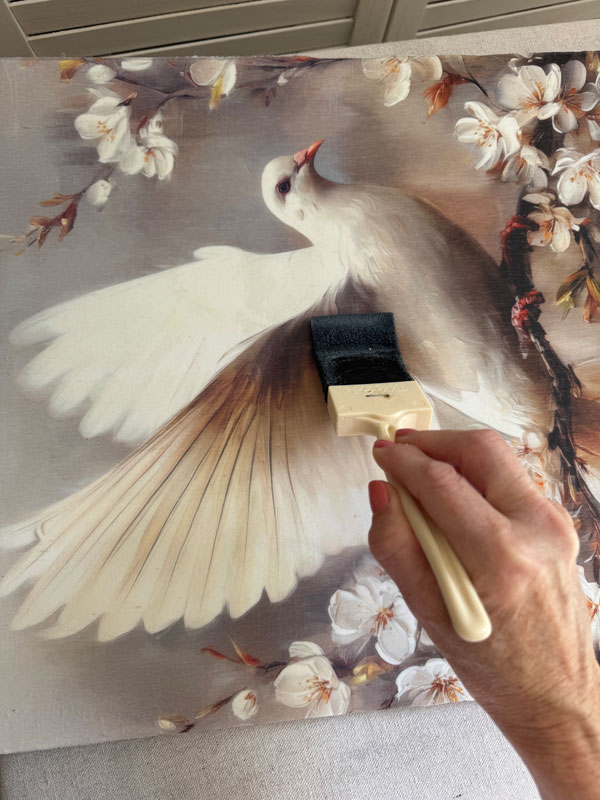
I tried to capture the sheen, but I think it makes it look more like legit artwork:
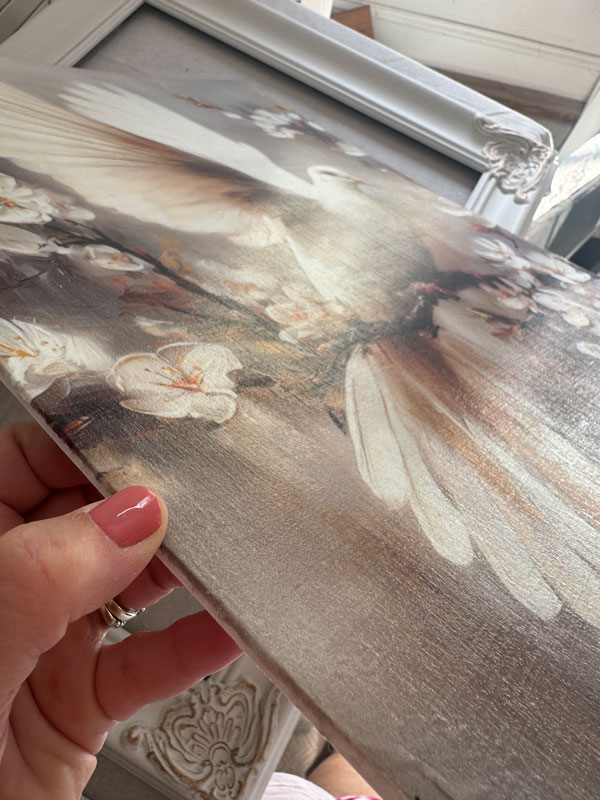
I secured it in the frame and added saw tooth hangers for hanging, and that was it!
Fantastic Upcycled Frame #2 Reveal
Here’s how this one turned out:
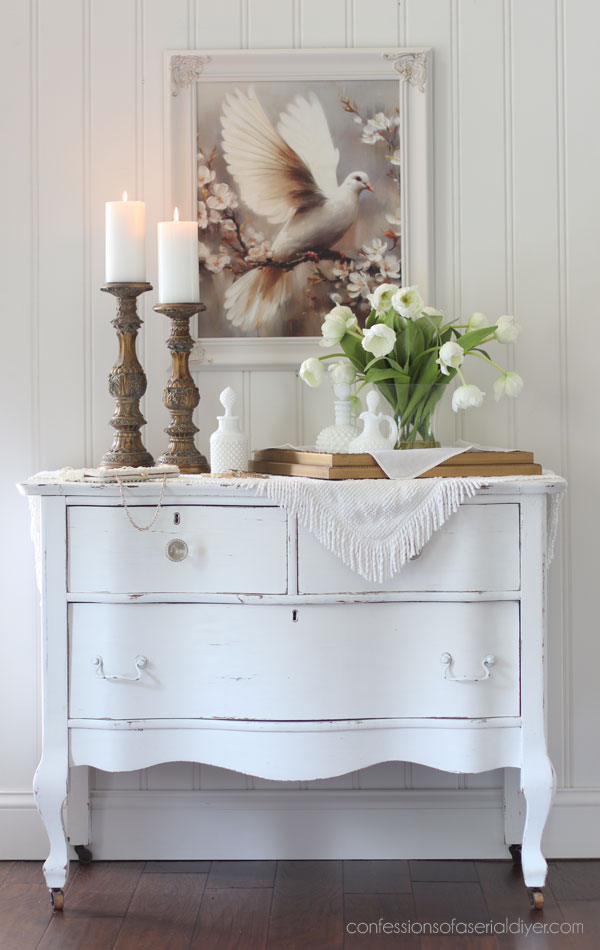
I love that I was able to still use this rather large paper by framing just the dove…
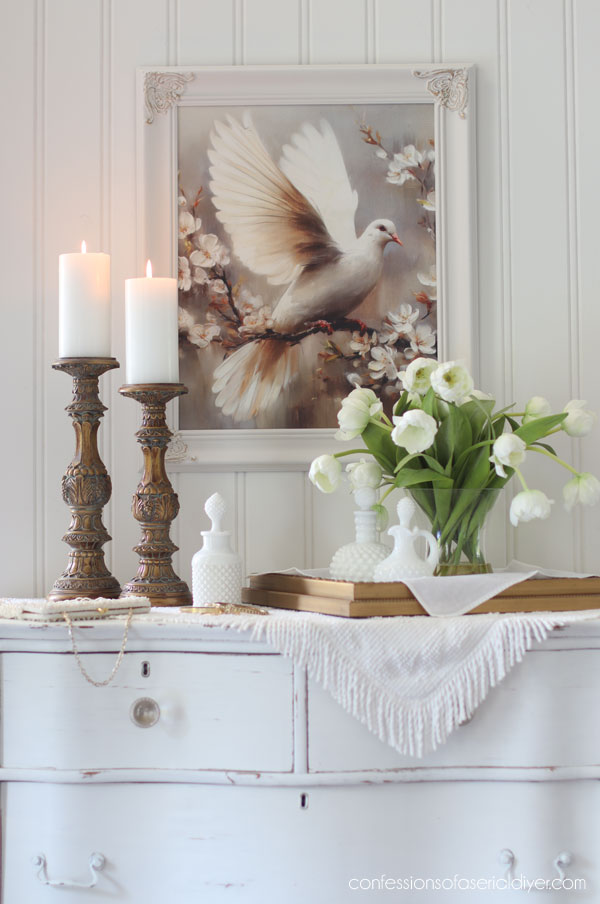
And I think going white on the frame was the right call. What do you think?
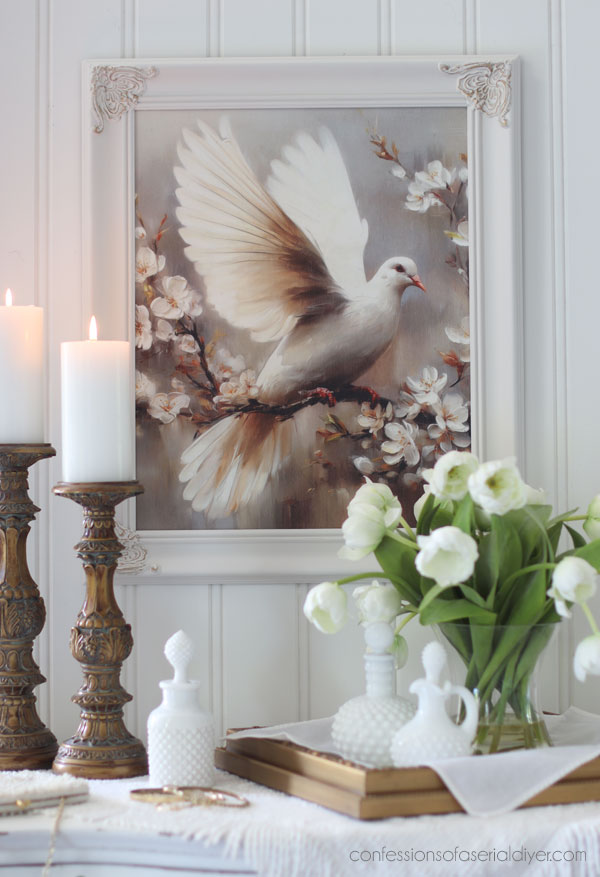
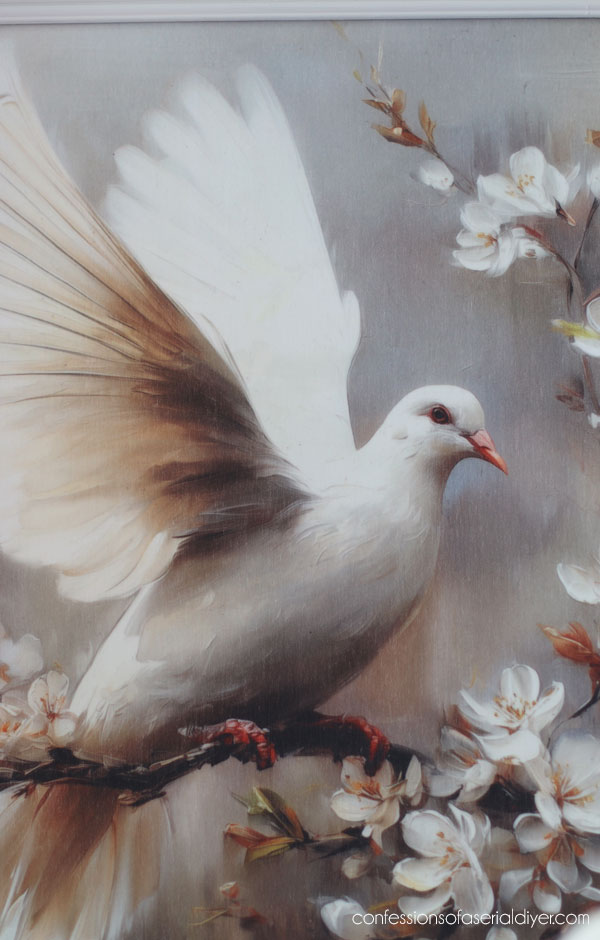
The more fabric like texture of these papers are fantastic as art. Here’s a close up:
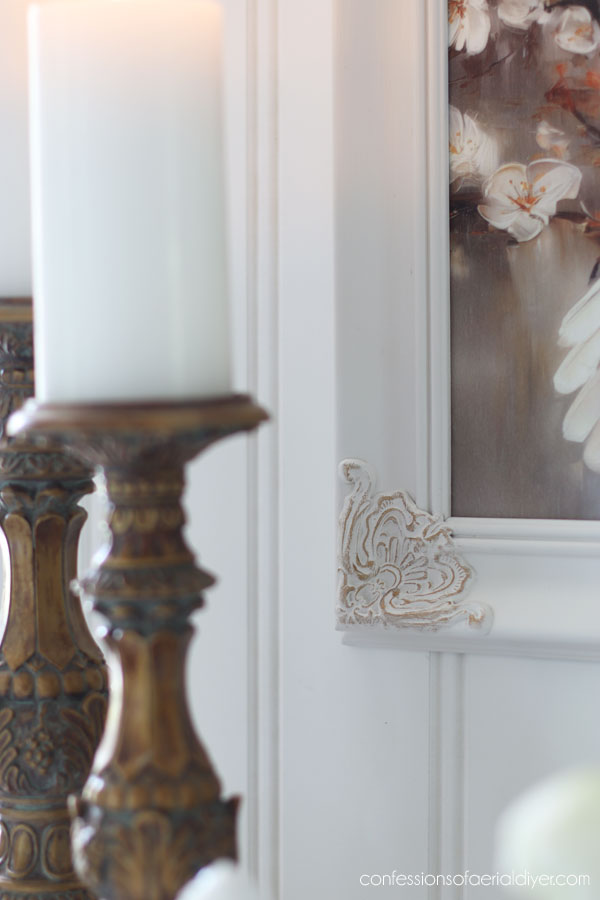
The little bit of gilding wax was just enough to highlight those pretty corners:
I’ll admit that I wasn’t super excited about redoing these two, but I ended up really enjoying giving them new life!
That’s two more pieces complete!
Woohoo!!
**SHOP NEWS**
If you missed the newest additions to my shop, you can see all the new goodies in a post I put together HERE.
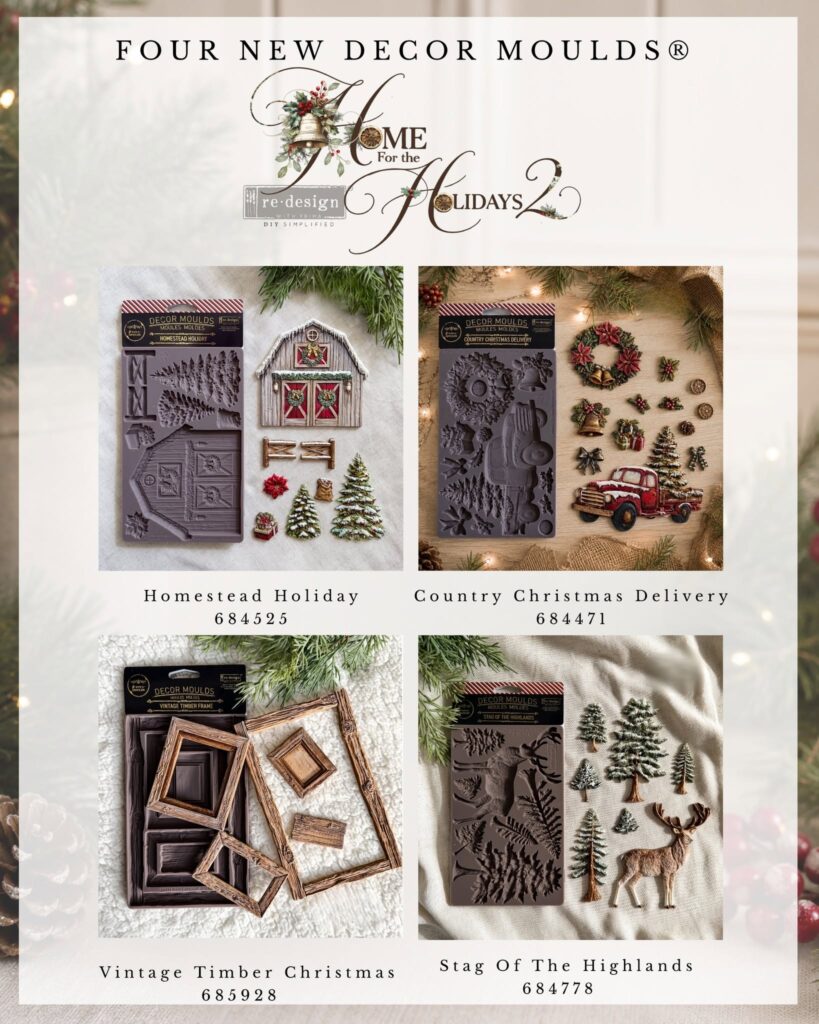
These fabulous holiday moulds are just some of what’s new:
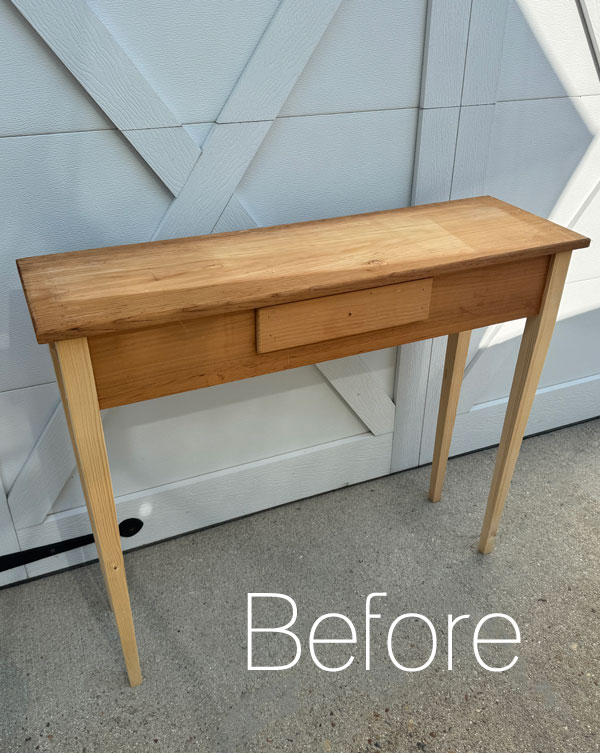
I’ll be back on Thursday with my Furniture Fixer Upper girls sharing what I did with the last of my dad’s console tables:
I hope to see ya then!
UPDATE: See how I gave this piece an identity finally, and I’m sharing three others I redid just like it HERE!
XOXO,

Don’t Miss a Thing!
If you like what you see, there are several ways to follow along!
EMAIL * INSTAGRAM * FACEBOOK * PINTEREST
Get FREE SHIPPING on all orders over $50 in my Etsy shop.
(No code needed at checkout!) Orders under $50 enjoy $8 flat rate shipping!
Most orders ship same or next business day!
Visit my shop HERE or click the image below!



Kathy from Jax says
These are amazing. Love what you did with the Halloween skull. I can’t wait to see all your Halloween sets. It’s like a movie set! You were right to paint the other frame and the gold touches makes it elegant. See you next week.
Christy says
Thank you, Kathy! I’m so looking forward to pulling everything down this weekend! XOXO
Jackie C says
Wow that Halloween picture turned out fantastic. That’s gotta go on your front porch!
I missed your birthday Christy 😭 so I hope it was a goody! Belated birthday wishes ❤️
Christy says
Thank you, Jackie! It will definitely get a good spot in my display! That’s okay…I appreciate the belated wishes just the same! XOXO
Cecilia says
That’s a perfect use for a plain frame! The paper makes a really cool background too. I’ll be on the lookout for this in your Halloween decor! As for the other frame, good call on painting it white. It goes perfectly with the dove. That is one gorgeous paper! Glad you were able to use it as it makes for some beautiful art. It’s always nice when blah pieces end up better than expected. You did it! 😊
Christy says
Thank you, my friend! I love how the first paper has so much depth! And that dove is just so beautiful…glad I had their help on these makeovers! XOXO
Laura J. says
The Halloween frame is my favorite! 💀 You have an endless creative imagination Christy!!! And, you are the master of staging and vignettes!!! Love all you do. Thank you for sharing. Happy Fall! 🎃
Christy says
Aww I appreciate that so much, Laura, thank you!! I do love the staging part! Happy Fall to you as well!! XOXO
Janina says
I may not be into Halloween, but that double-framed skull looks fantastic! I could almost say “beautiful!” 😂 Your Halloween decor is always over-the-top amazing and it’s such fun to see your house décor every year!
Enjoy!
Christy says
Aww thank you, Janina! I’m so glad you enjoy it each year!! Choosing to do something Halloweenish with that frame made it so fun for me! XOXO
Cyndi says
Oh, wow. I did not see that first one coming! (But I should have since I know how much you love Halloween and that you decorate for it like most of us decorate for Christmas. Ha ha!) That turned out amazing! And I LOVE the dove piece. So beautiful!
Christy says
Thanks so much, Cyndi! I’m so excited to have a new piece of Halloween decor to add to the mix!! XOXO
Kimmylouwho says
I just love both of these upcycles! I can’t wait to see your Halloween display again this year! I used to decorate big time for Halloween and it was so fun and all the neighbors loved it! I am sure that your home is a big hit with the trick-or-treaters! I enjoy your posts so much.
Christy says
Thank you, Kimmylouwho! I am so thrilled that you enjoy what I share. That means a lot to me! We will be pulling everything down this weekend and I can’t wait! I often wonder how long I’ll keep it up…I guess until I can’t lol! XOXO
Trisha G says
When I scrolled down to your skull frame, I let out an audible, “Oh, cool!” I never would have thought of doing something like that. It’s going to be a great addition to your display! 🖤
Christy says
Yay I love that reaction, Trisha! Thank you! I was not feeling that one until I had the thought to do something for my Halloween display, and then I was all about it ha ha! XOXO
p says
Wow. Your Halloween frame went places I did not expect !
Great ingenuity – and creativity. Mounting that skull was tricky. So glad you didn’t cut off any fingers in the process 🙂 It looks amazing.
A great addition to your Halloween extravaganza.
Yes on the 2nd frame. I did like it’s original color – but white was the right choice. Using the sealer in both direction created a great professional looking finish. Verry nice.
Christy says
Ha ha thank you, P! I’m glad I can still surprise you every once in a while. I too am glad I still have all my fingers!! XOXO
Caye says
Double your pleasure, double your fun! Two for the price of one was the way to go, Christy. That Halloween compilation is just super; and I love that you painted the frame white to accommodate that gorgeous picture. Will both of these go into your shop?
Christy says
Thank you, Caye! The Halloween one will go in my Halloween set up here at home, but the other will be headed to the shop for sure! XOXO
Mary Kaiser says
I love your skull frame, and the dove one also! So fun to have a new piece for your Halloween display! Looking forward to seeing where you put it! How fun that you have one of your dads console tables left to makeover. You have made over alot of them, can’t wait to see how you do this one, maybe for halloween!
Christy says
Thank you, Mary! Yes, I am especially excited about having a new piece to add to my display! And this will be table #4…kind of sad that it’s the last one, like the end of an era! XOXO
Michele M. says
You are so stinking clever. How much fun is that Halloween art???? And then polar opposites a peace dove, always reminds me of God. SO yep, polar opposites and both SO WELL DONE.
Christy says
Aww thanks, my friend! The Halloween one is my favorite of course, but that dove is so pretty! And yes, polar opposites lol! XOXO