Would you believe I got THREE brand new decor pieces from ONE clearance thrift store basket?? Dear friends, today I’m back sharing another beachy-ish makeover!
I had already created one thing from this basket that you can see HERE, and this is what I did with the rest!
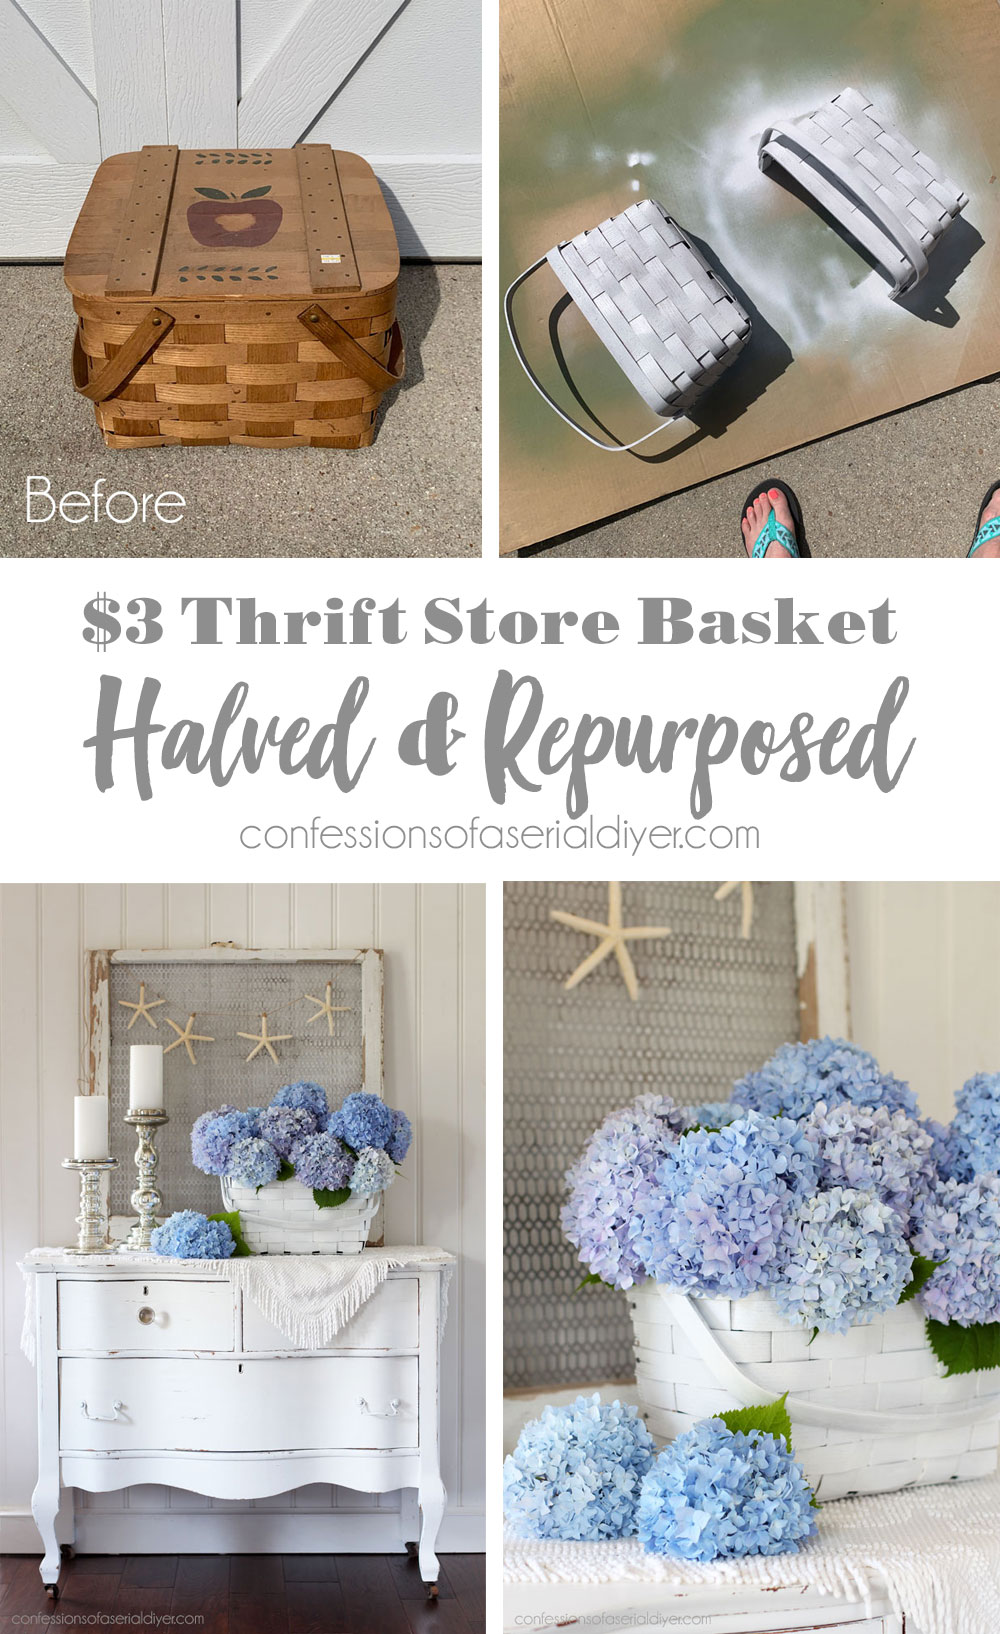
Here is was I started with originally…it was a $3 thrift store find:
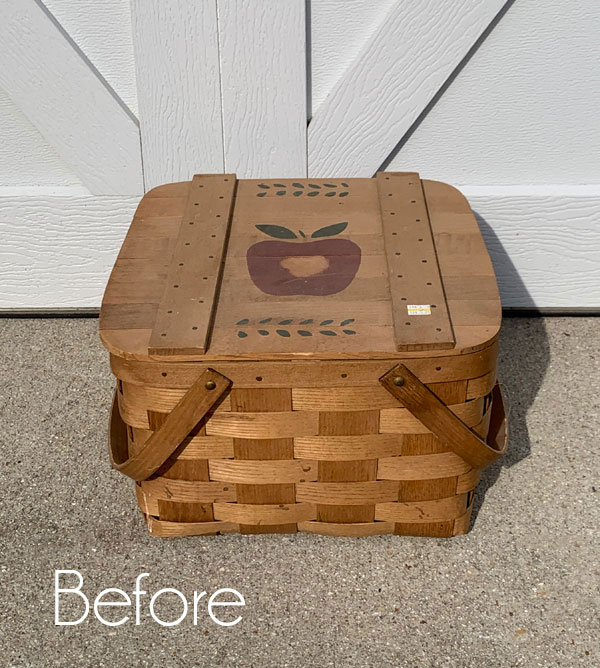
The repurpose of this basket involved sawing it in half. Yes it sure did, and I was so thrilled that it actually worked!
I used my small circular saw to do that. I am missing pictures which never happens but you can hear the whole story of how that happened in that first post I linked to above.
I’ve included a few affiliate links so you can find the products I love.
I’ll reshare the rest of the details though…
PAINTING THE BASKET
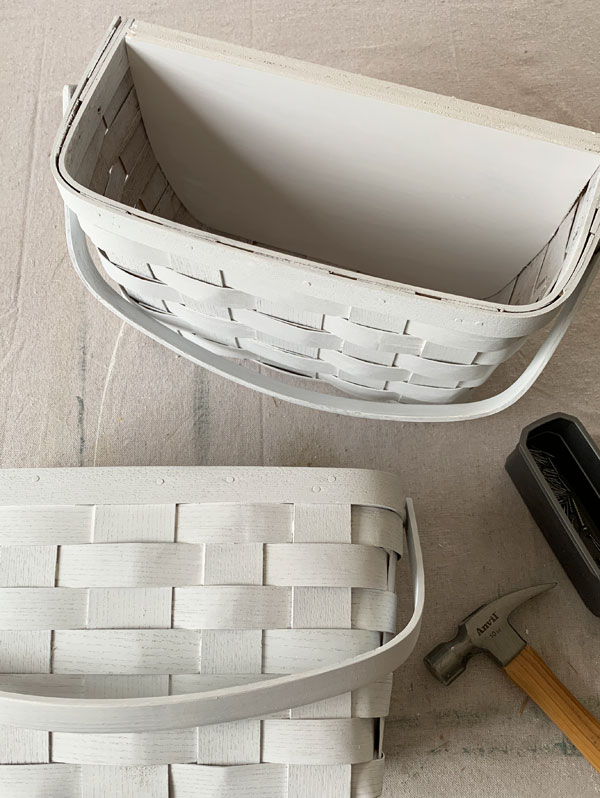
I gave the basket halves a good spray of Rustoleum spray primer to get a quick coat of paint on them:

Then I cut a new back for each basket half with scrap plywood I found in the garage. I just traced around the basket and cut it out with my jigsaw. (Had pics of that too…booo!)
Next, I painted those pieces in Dixie Belle’s Cotton:
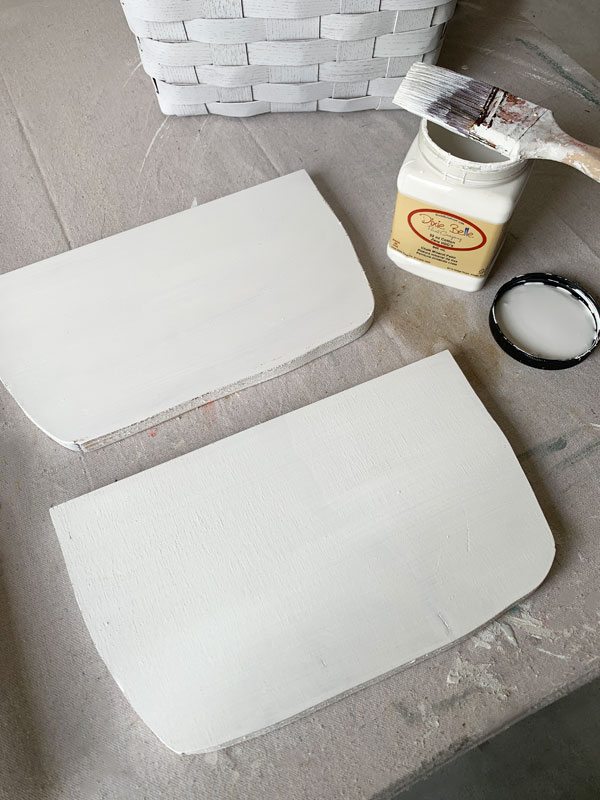
They’re not perfect, but they did the job!
I also hit up the basket halves with a coat of Cotton. The Best Dang Brush is awesome for painting large weave like this!
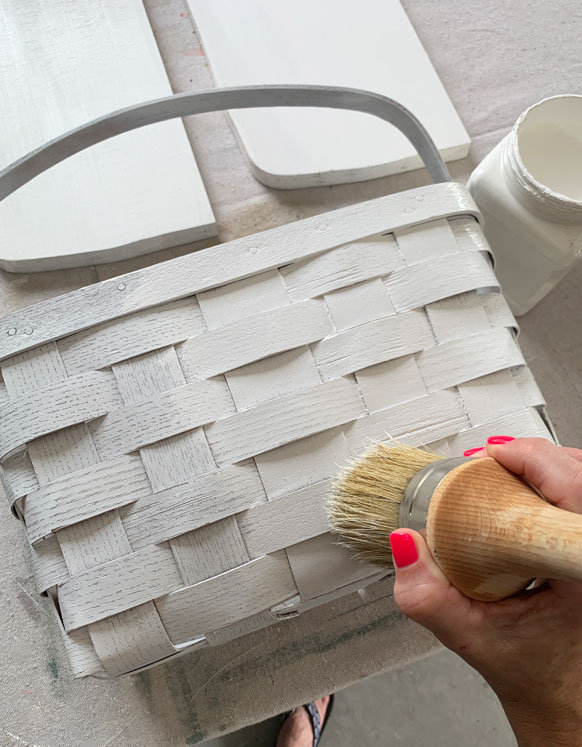
It gets into all those details so easily and makes painting detailed surfaces like this a breeze!
ADDING THE BACKING
Once everything was painted, I attached the new back using small nails…
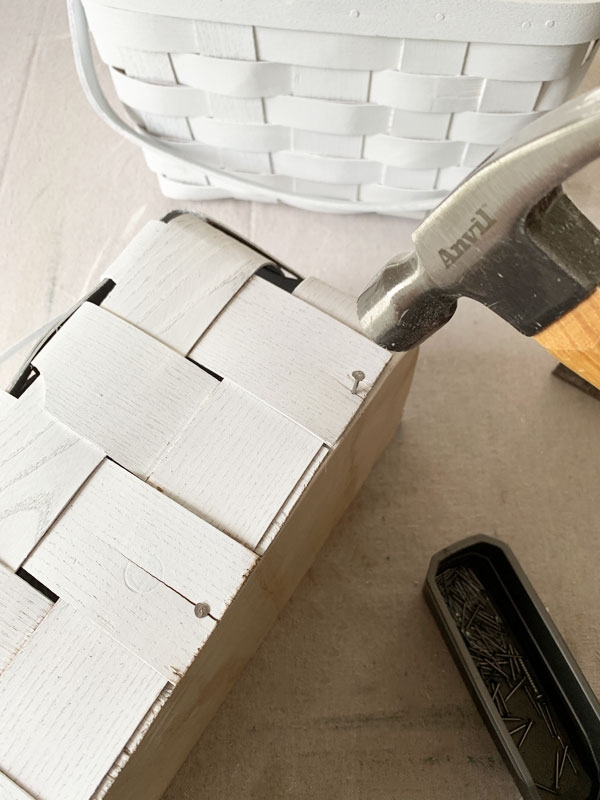
The weave did split in a couple of areas, but that is to be expected. It still held together really well.
Seal
I gave the whole thing a quick spray of Rustoleum Satin Clear spray to seal.
This left me with two half baskets, ready to be used as brand new decor!
For this one, I simply added three glass jars to the inside:

And filled it with hydrangea blooms!
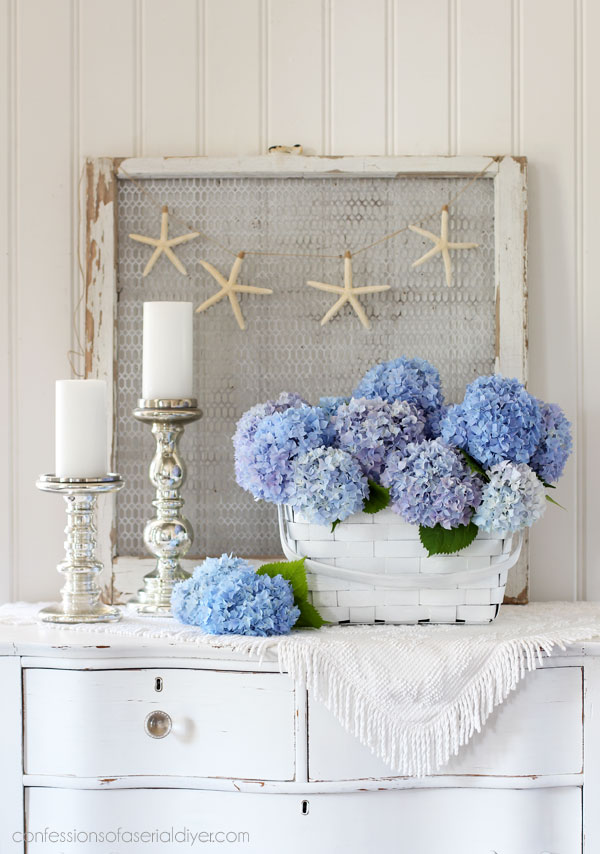
Yes??
You could use any florals you like, but the large hydrangea blooms fill it pretty easily.
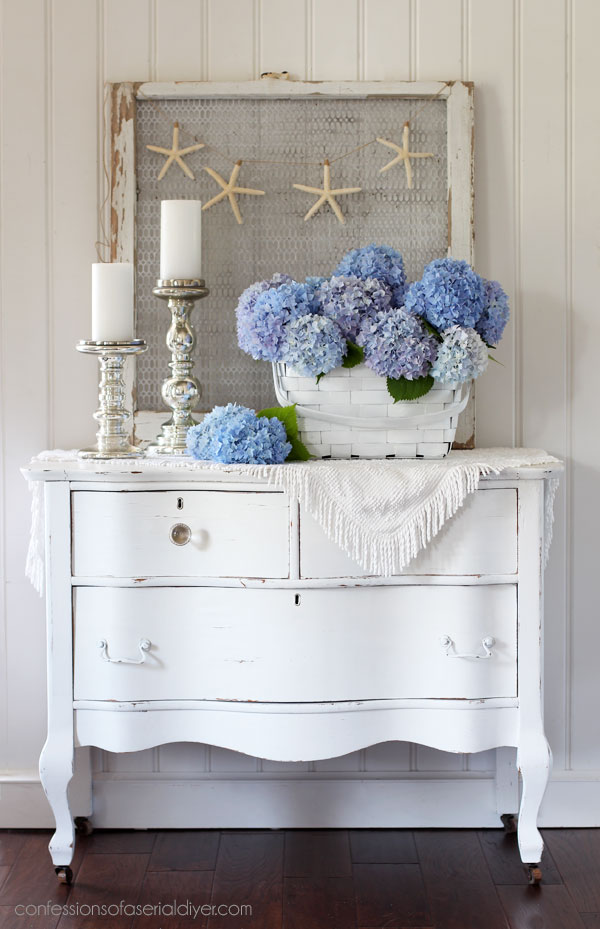
It would be gorgeous on a dresser like I show here, but also on a dining room table or coffee table.
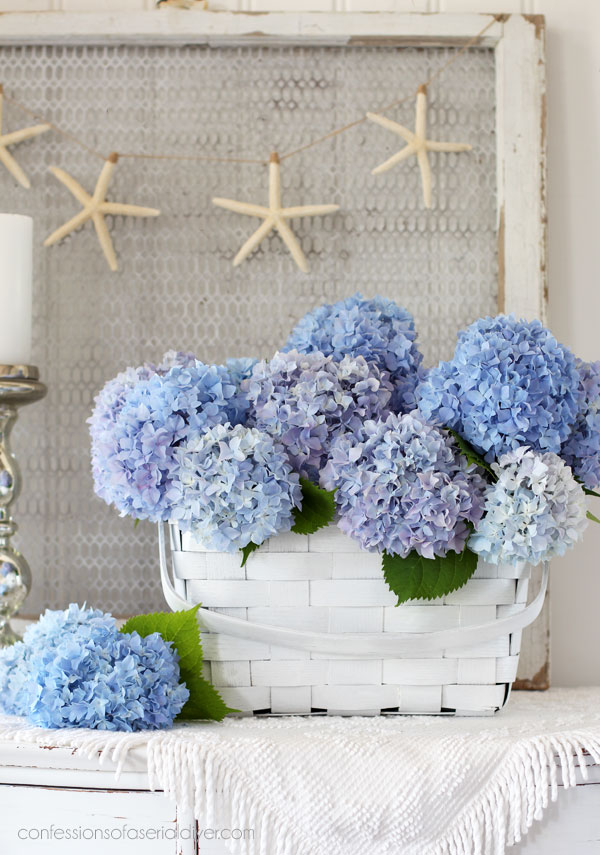
Of course this basket doesn’t have to hold flowers…it would make a great paper plate holder or guest towel holder for the bathroom…lots of possibilities! It could even be hung on a wall.
Here you can see it still looks nice from the back:
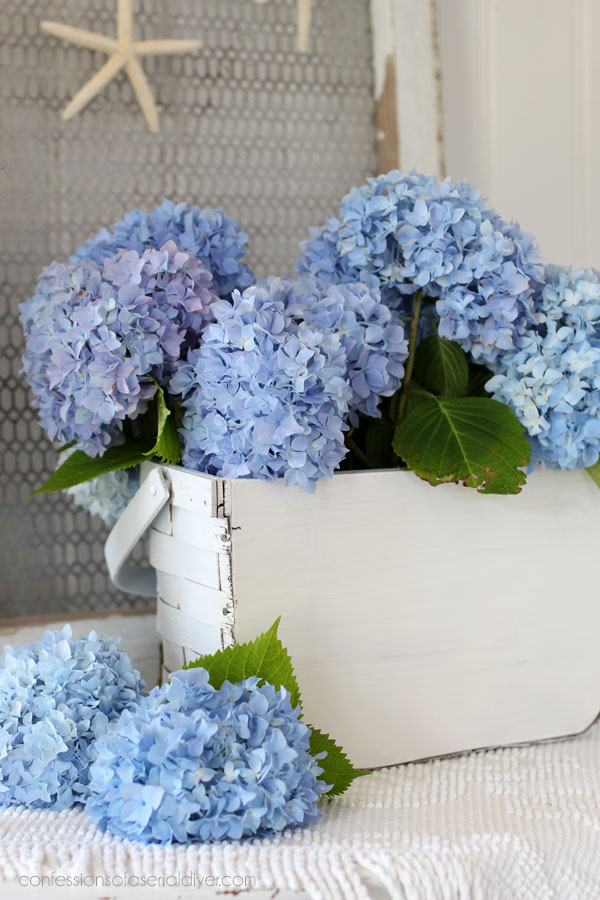
I could have just kept snapping photos of these gorgeous hydrangeas!
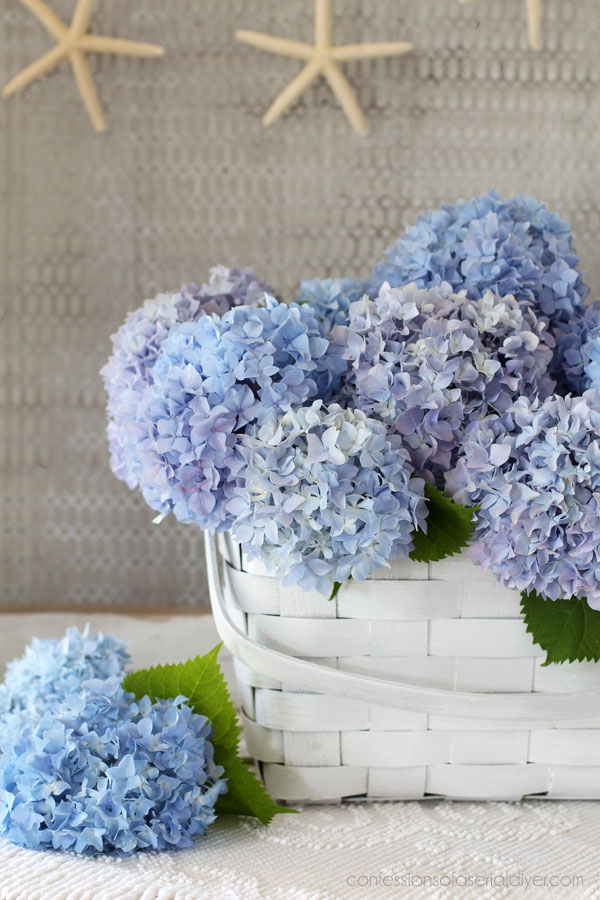
If you missed what I created from the other half, you can see that HERE.
And now for the third new decor piece I squeezed out of this basket!
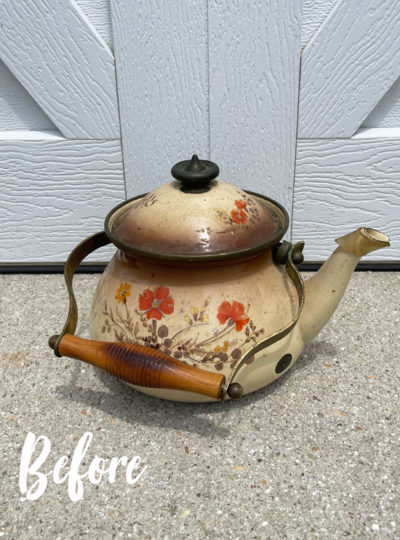
This is what the lid looked like before:
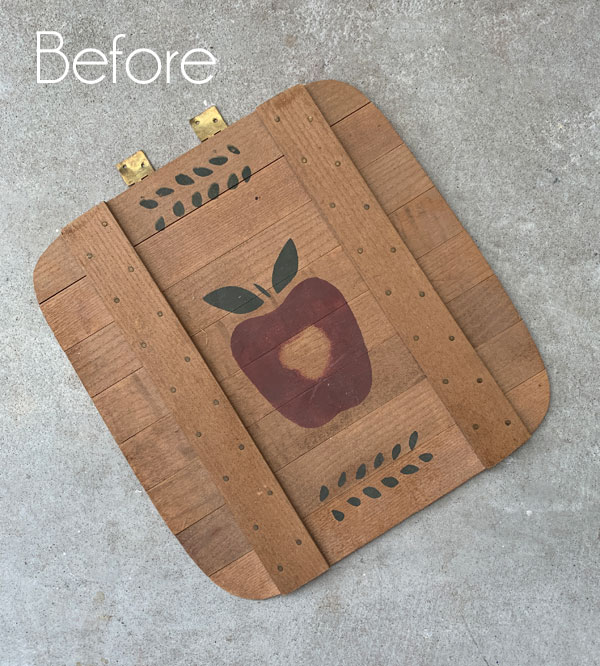
I knew I could do something with that too!
I started by flipping it over and removing the hinges using a flat head screwdriver to pry them off:

I decided to use the flat side to create my third piece.
Paint
I gave it one coat of Cotton as a base, and followed up with a coat of Vintage Duck Egg Blue:
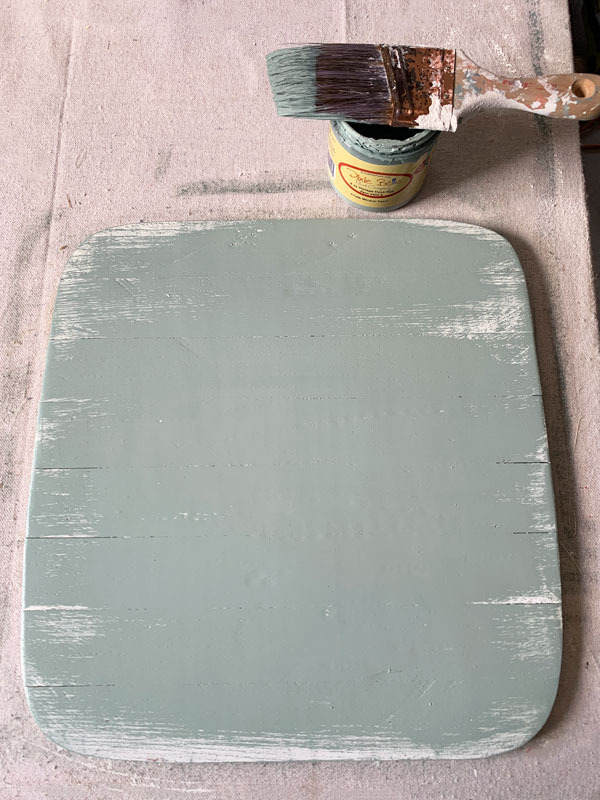
I didn’t quite cover the entire piece as I was going for a more worn, coastal feel.
Stencil
Then I found this fun mermaid stencil in my stash:
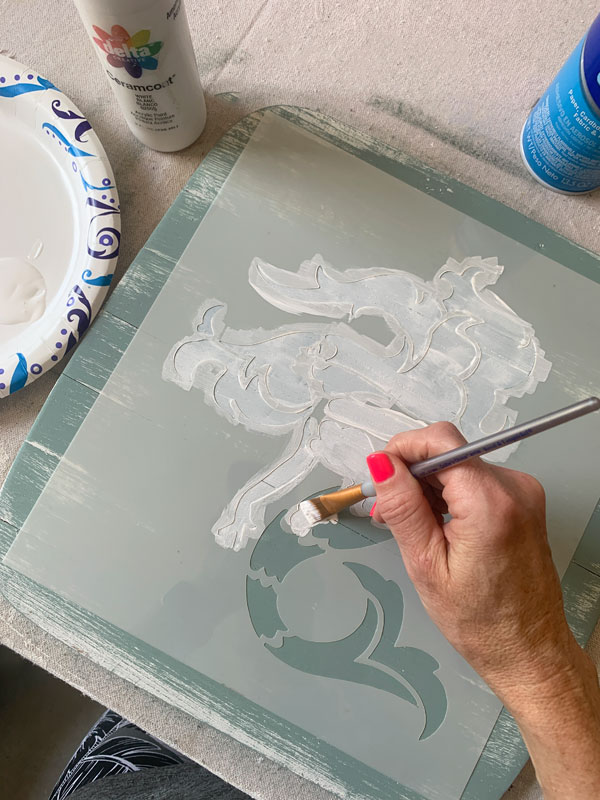
I sprayed the back of it with spray adhesive first. This helps to minimize the paint bleeding under the stencil. As you can see, I prefer to use a small brush to paint in the stencil, brushing away from the edges as much as possible. Acrylic craft paint is my first choice for stencils since it washes off much more easily than the chalk paint.
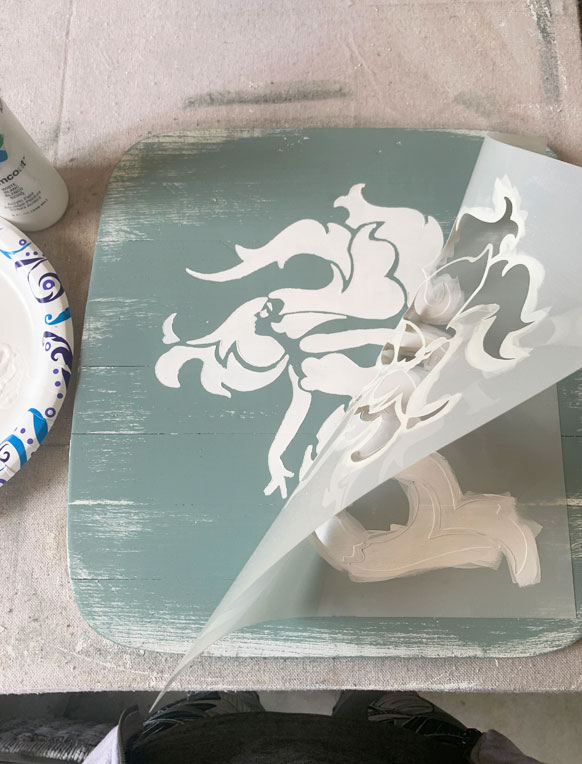
I gave it three coats of paint and immediately removed the stencil:
Then I sanded liberally across the surface using 220 grit sandpaper wrapped around an old sanding sponge:
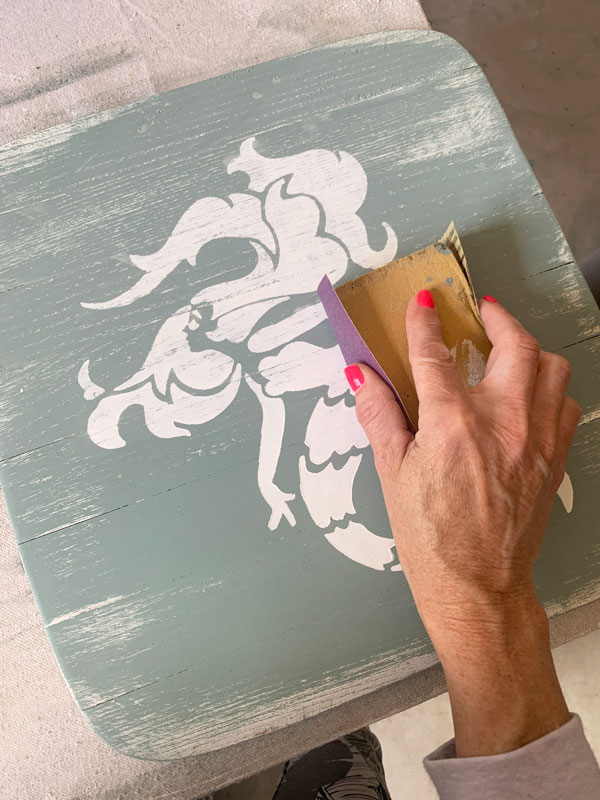
I sealed with Clear Coat in Satin using my blue sponge, added a hanger, and this piece was done!
The After
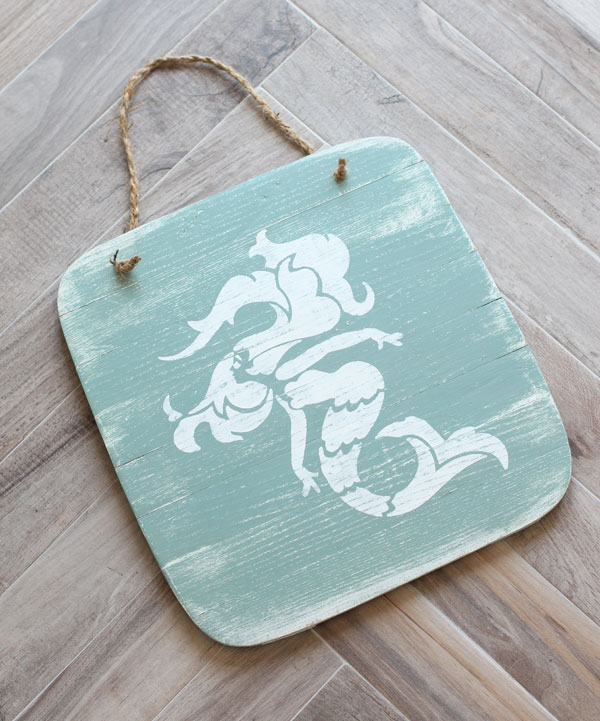
Here is how my new coastal mermaid art turned out:
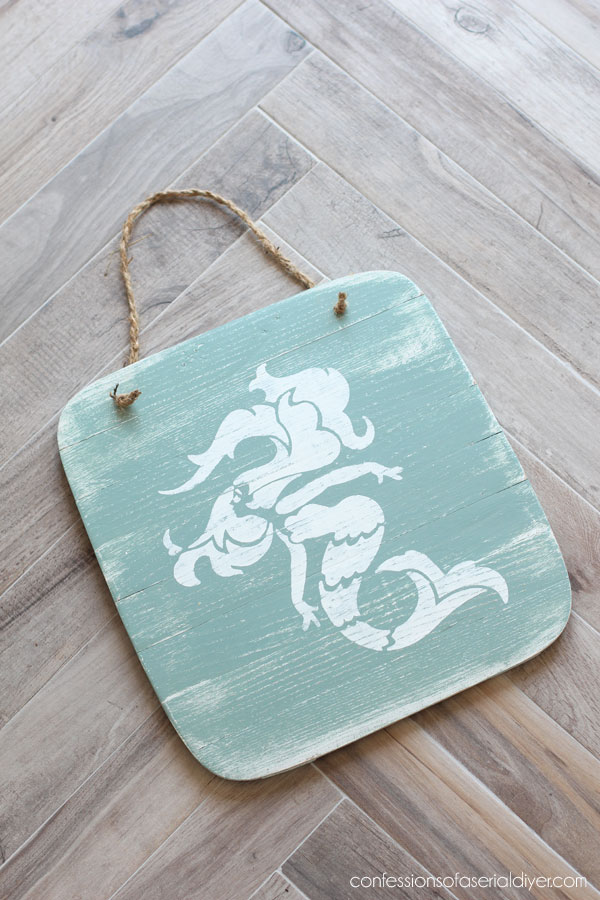
I made the hanger by braiding three strands of jute twine:
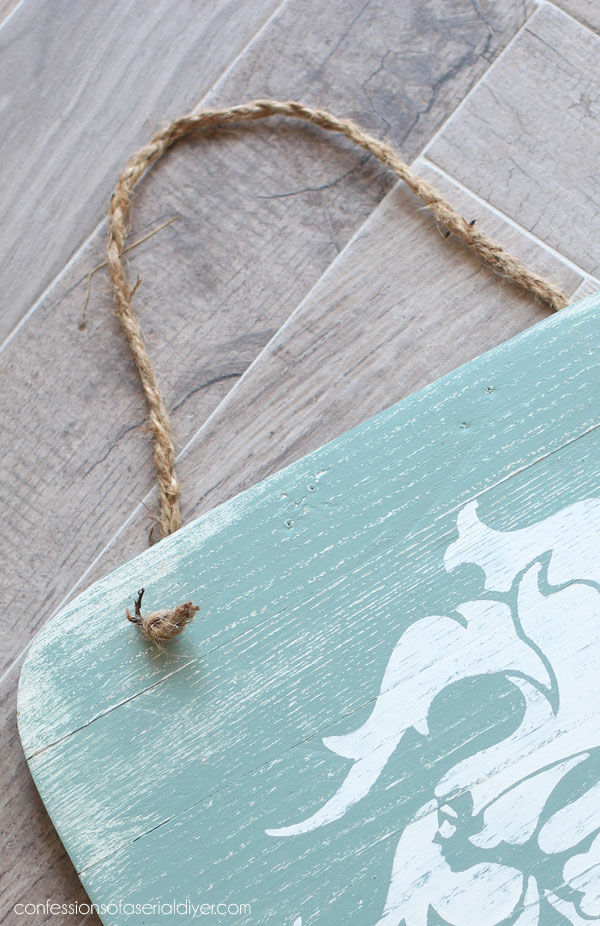
I did have to drill a hole on either side to feed the jute through.
I just love the worn feel of it too…


And here is a peek at all three projects completed from this one basket!
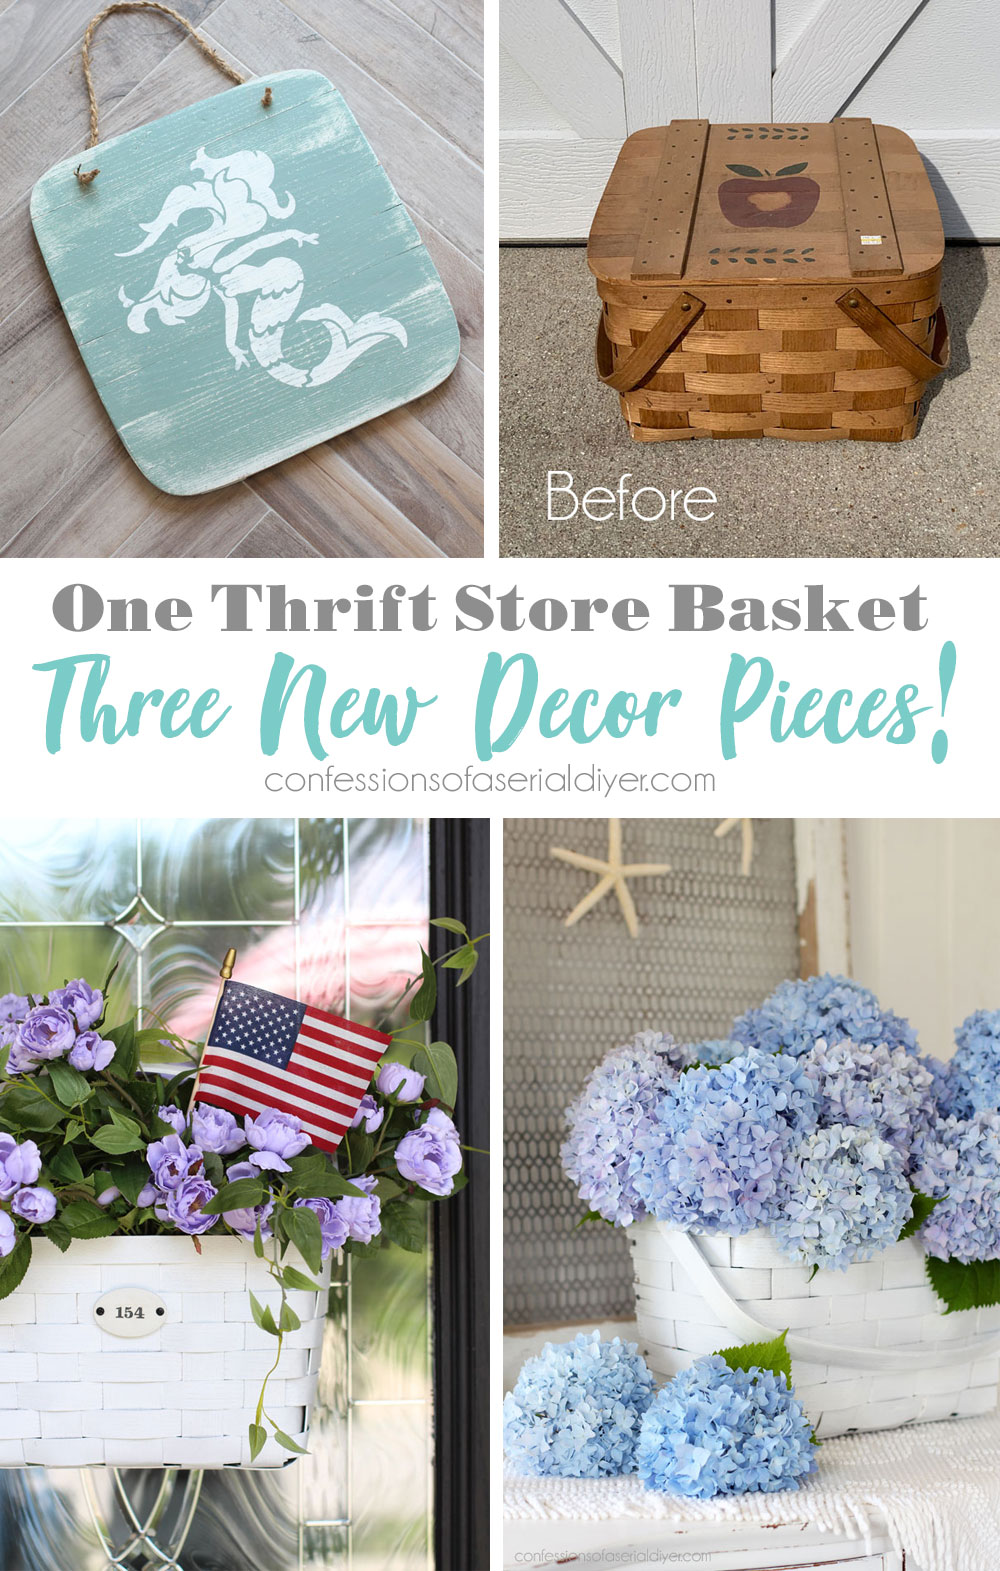
I definitely got my three dollar’s worth out of this one!
If you’ve got a few baskets in need of a makeover, here are 15+ more basket makeovers to inspire you:
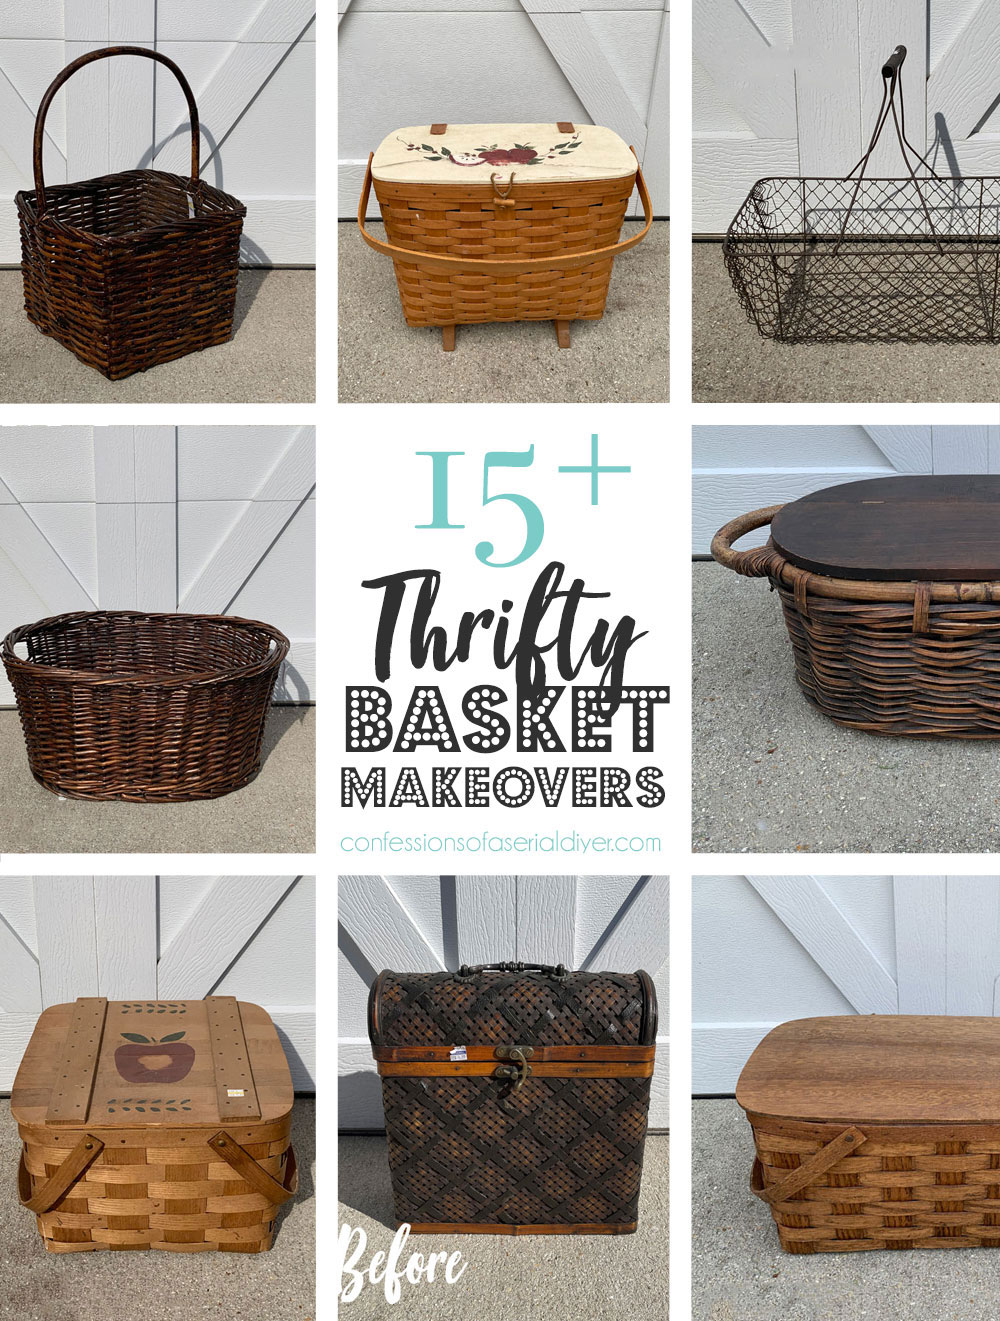
See how these baskets look now HERE!
I’ll be back with this reply on Tuesday:

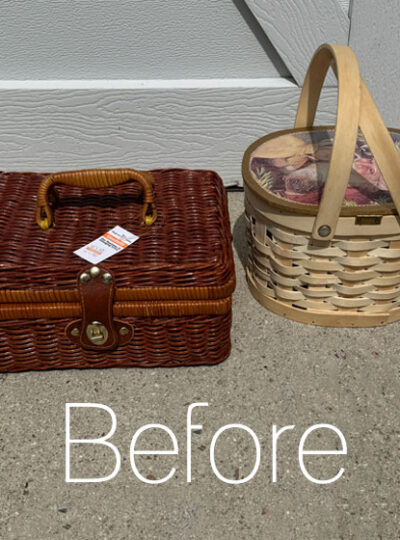
UPDATE: See how I brought these lamps back to life HERE!
Have a fantastic weekend!
XOXO,

Don’t Miss a Thing!
If you like what you see, there are several ways to follow along!
EMAIL * INSTAGRAM * FACEBOOK * PINTEREST







Mary Kaiser says
I remember how cool that was when you did it! Only the Queen of DIY would think of of doing something like that!
Christy says
Ha ha I’m crazy like that! Thank you, my friend! XOXO
Cindy says
I love the idea of basket halves. I thought you were going to hang them on a door. I have a double front door so I’m always looking for two things. Probably wouldn’t hang by the handles, do you think?
Christy says
Hi Cindy! I did hang the other half on our front door and filled it with flowers! It’s really cute for that! XOXO
Sue says
Awesome repurposed basket, Love the Mermaid lid/wall decor!
Christy says
Thank you, Sue! XOXO
Cyndi says
I looove these! That sign in adorable!
Christy says
Thank you, Cyndi! I really got my money’s worth on this one! XOXO
Lana Smith says
Thanks Christy for this idea of cutting the basket in half. Love it. I have a
basket like that and I can’t wait to try your idea. Love all your clever crafts.
Thanks again,
Lana Smith
Tennessee
Christy says
Thank you, Lana! My pleasure! I’m so glad it worked lol. XOXO
Michele M. says
WOW!!!!! That was so clever! The door wreath, the basket for your hydrangeas and the awesome little mermaid plaque. You are so clever, Christy. Well done.
Christy says
Thank you, my friend! Glad I could use it all! XOXO