Welcome back, beautiful friends! I’ve got a sweet vintage swivel mirror makeover to share with you today!
When I was shopping for this haul at the beginning of the year, I came across this table top swivel mirror:

I really liked it, but it was $29. I thought that was too much and passed it on it.
Imagine my surprise when a few stores later, I came across this one:

I loved the spindles on this one and it was only $9.98! That’s more my price range.
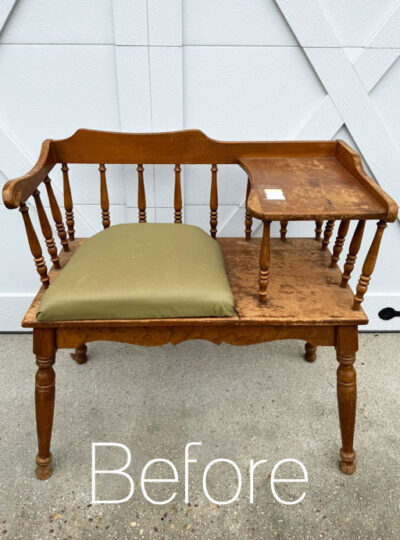
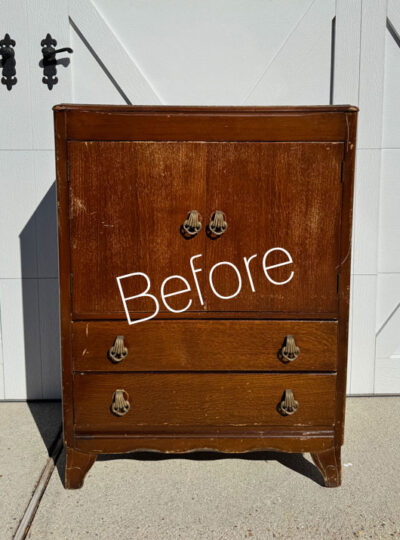
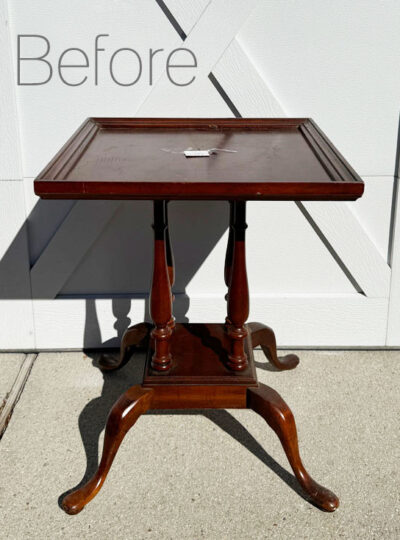
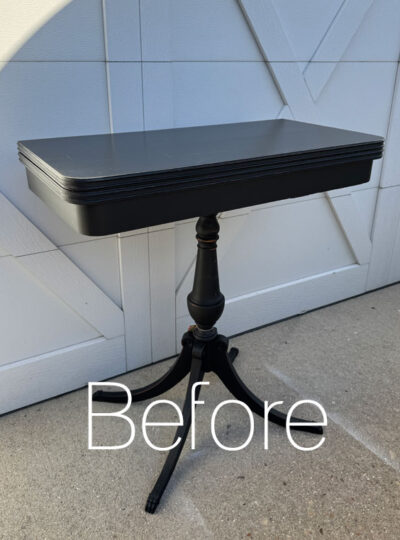
So, in the cart it went, along with these other goodies which have all had their big makeovers already…

I’ve included a few affiliate links so you can find the products I love.
Remove the Mirror
I almost always keep a mirror a mirror, and I did that in this case also, but I like to remove them to be able to do a better job of painting the frame. I also like to be able to set the mirror aside for safe keeping!
This one was held on by a piece of wood with tiny nails that I pried up with this handy tool…

There were these tiny triangles of wood wedging the mirror in place, which is common in these older pieces. I used needle-nose pliers to get a grip on them and pry them off…

Clean
A good cleaning was next. I cleaned everything with White Lightning, adding one TBSP of White Lightning to my tub with a half gallon of warm water.

I used a terrycloth applicator pad for this step. Then, I swapped out the water for clean water and wiped everything down once more.
Paint
Now this is a reddish wood that looks like it might need a base of Bonding BOSS for bleed through, but the stained front had more dark brown in it and those pieces are usually safe from bleed through, so I took my chances and went straight to painting.
(You can always add Bonding BOSS over the paint if it does bleed.)
I chose a 50/50 mix of Vintage Duck Egg Blue and Cotton:

After seeing this same mix on this spindle headboard bench I shared the other day, I knew I wanted to paint these gorgeous spindles the same color.
I made sure to paint the recessed area that holds the mirror also so this color would be reflected around the edge of the mirror rather than the dark brown.

Luckily, I had NO bleed through yay!
Sand
Sanding was next to smooth everything out and highlight those details with a bit of distressing…

Seal
To seal, I used my favorite sealer, Clear Coat in satin, using the blue sponge applicator:

Applying sealer to these spindles was made so much easier using the sponge than a brush would have been.
Reassemble mirror
It was time to reassemble the mirror. You could totally reuse the original pieces to resecure this mirror as I have done many times. For this one, because the backing had become brittle, I decided instead to cut a fresh piece of hard board to protect the mirror, and secured it in place using one of my favorite tools, the Logan Point Driver:

Then, I covered all the ugly using Matte Mod Podge and this pretty patterned Kraft paper:

It comes in a huge roll and has a nice weight to it.
Vintage Swivel Mirror Makeover Reveal
Here is how this vintage piece looks now!

It’s a bit small scale for this dresser, but it would be perfect on a taller, narrower piece like a lingerie chest…

And do you spy what I added?
I thought it could use a little decorative detail on the top there!

I made this using the Enlightened Etchings Decor Mould and Amazing Casting Resin:

It is so easy to create these decorative pieces!
HOW TO USE AMAZING CASTING RESIN
- Mix the liquids 50/50 in the desired amount
- Pour the liquid into the mould
- Find something to do for 15 minutes while it cures
That’s it!
I painted and sealed this piece separately…

Then I used E6000 Glue and spring clamps to secure it in place:

It’s a small addition that adds so much!


I’m a sucker for anything spindly…

And here’s a peek at the finished back:


Sweet and simple!
There are only five things left in this haul:

I’ll be back with those on Tuesday in another edition of Painting the Smalls!

UPDATE: See how these mini makeovers all look now HERE!
Have a wonderful weekend, dear friends!
XOXO,

Don’t Miss a Thing!
If you like what you see, there are several ways to follow along!
EMAIL * INSTAGRAM * FACEBOOK * PINTEREST






Mary Kaiser says
Oh yay score for $9.98!! I love the sprindles and the color you put on this! So pretty now! The piece you added at the top looks like it was always there!
Christy says
Yes…what a great find this was for that price. And you know I love anything spindly! Thank you, my friend! XOXO
Jackie C says
BEAUTIFUL! I swear you’ve got to be the luckiest girl I’ve ever seen. Less than half the price and even prettier than the first one! The decor mold on top set this off! Just what it needed. I love this!
Christy says
Right? I don’t come across these table top mirrors hardly ever, so I was so pleasantly surprised to find two in one day! Thank you, Jackie!! XOXO
Donna Marie says
Much improved!!! Why don’t you paint the dresser the same color???
Christy says
Thank you, Donna! This is my staging dresser that lives in my dining room. I just use it for staging other pieces in my photos so I prefer it to be neutral, but it would look great painted in this color! XOXO
Mary Beth says
What a beautiful makeover! I love the color you chose and the paper on the back adds such a wonderful finishing touch.
Christy says
Thank you so much, Mary Beth! XOXO
Cyndi says
Oh, I love this piece! So pretty!
Christy says
Thank you, Cyndi! XOXO
Denise Zdziennicki says
I love the color, the spindles, and the extra detail you added with the moulding! You made her beee – uuuu – tiful my friend!???? XOXO
Christy says
Aww thank you so much, my dear friend!! XOXO
Cecilia says
Love it , such a pretty color!
Christy says
Thank you, Cecilia! I could paint everything this color lol! XOXO
Marcie Lovett says
I just love those dresser-top mirrors, Christy, and this one is beautiful. When I saw the after photo I wondered how I missed the flourish on the top before, and I thought paint really does make a difference! Then I saw you added it ???? Truly lovely touch for this sweet mirror.
Christy says
Thank you, Marcie! I don’t see them too often, so I was so surprised to come across two in one day. You are right that sometimes the pretty details are missed in their unpainted state lol, but yes, this was an add-on…they are so fun to play with! XOXO
Michele M. says
WOW!!! That is absolutely beautiful, Christy! What a treasure.
Well done!! That “embellishment” you made on top was a great addition.
Christy says
Thank you, Michele! Hope you are enjoying this beautiful Saturday! XOXO
Becky says
That came out even prettier than I expected!
Christy says
Thank you, Becky! Paint does wonders! Hope your weekend is off to a great start! XOXO
p says
I really like the added moulding on this piece. Nice touch !
I love that you added the deco paper on the back. Such pretty finishing details. 🙂
Great score on the price too.
Christy says
Thank you, P! The pretty spindles really made this piece, so just paint and that pretty moulding detail was all it needed! And yes, the price was amazing! XOXO
Sheila says
9.98? That is a definitely a bargain find! And the finished upcycle is definitely worth it! ❤️ everything about this. Very vintage looking. Very Shabby Chic. This could definitely fit into a Rachel Ashwell project back in the day.
Christy says
Thank you, Sheila! Right? Especially when I had just past one up that was much more! I still love Rachel Ashwell! XOXO