Welcome back, amazing friends!! It’s Furniture Fixer Upper day, and I have a redo of a redo to share with you! It’s a vintage game table that I originally redid last February that’s getting its second redo! Be on the lookout for my friends’ makeovers at the bottom of this post!

Here is how I originally found this unique folding game table last fall:

It was a bit wonky as you can see in that photo, but I was willing to take a chance for $10.
What is so cool about this table is that the top twists and unfolds to turn it into a larger table:

Y’all may remember I redid a larger version of this one HERE last year.
I mentioned this one was wonky. You can see that the top is sitting askew in the first before photo. I was able to tighten a screw on the inside that helped.
But, it also had a couple more issues…
One of the legs on the pedestal base was coming apart, so I glued that in place and clamped it until it was stable:

Also, this game table was quite beat up…

I had some sanding to do to make that less of an issue…

Fast forward to the Original After
With all the imperfections, I decided to paint it in Caviar by Dixie Belle. I then sanded and sealed with Clear Coat in Satin.
Makeover #1 Reveal
Here is how redo number one turned out:

This was the simplest of makeovers, but that is all it needed!

The black paint camouflaged all the imperfections beautifully!

Nice, right?
To my booth it went!
You can see it at the back there.

Everything in that group has sold, but this table has been hanging around my booth since I brought it in last February! Mostl likely because of this:
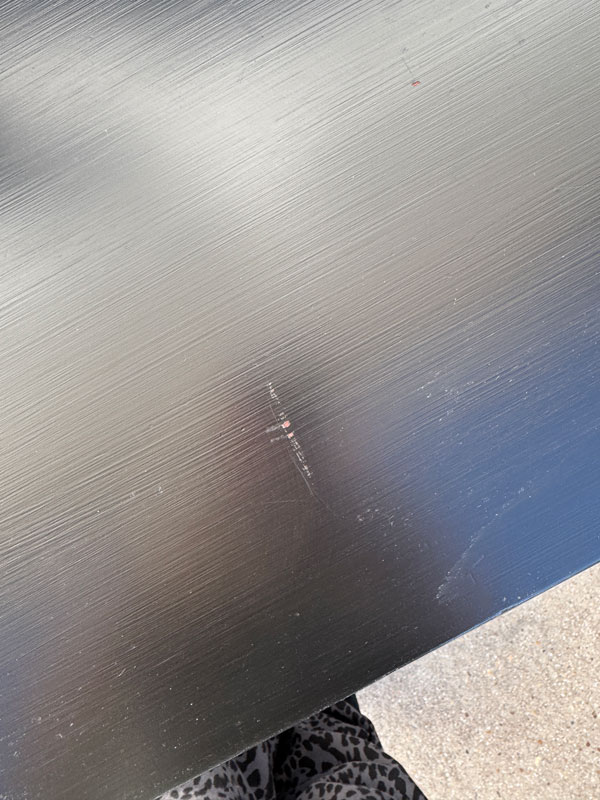
I try to put padded discs on anything that I set on top of my painted pieces since I usually drop them off before the recommended three week cure time, so I know nothing I put on there did that. It looks like someone tried to do a scratch test.
Perhaps here also:
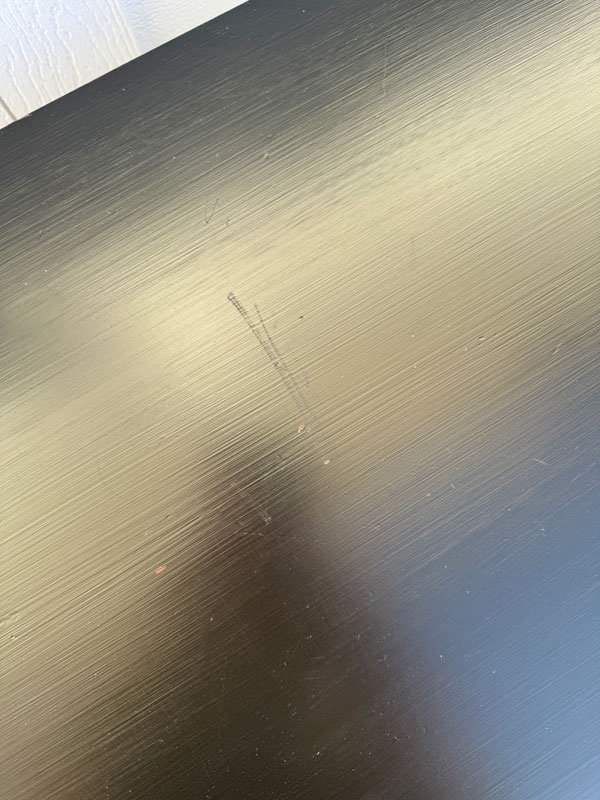
But it also had this area on the inside where the top and bottom meet when it closes:
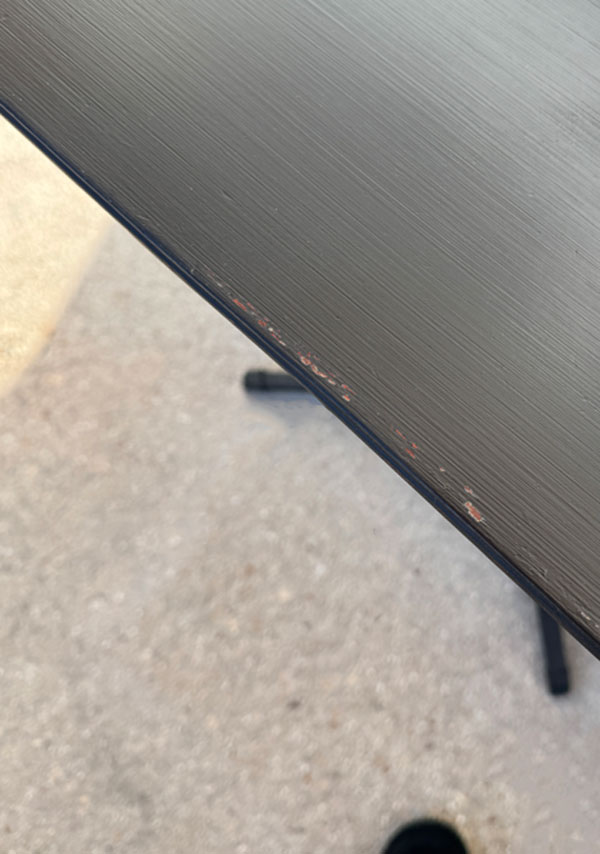
I had a piece of fabric in there to protect it while it cured, but someone had removed it. Paint on paint is a no-no until it has cured.
I tried marking it down and selling it “As Is”, but no takers! So, when I stopped in last week to refresh and restock, I brought it home to fix.
And just in time for Furniture Fixer Upper Day!
I had thought about repainting it in a lighter color, but then I remembered all the imperfections I was trying to cover with the black, so I decided on a new plan!
Instead of repainting it, what if I added a decoupage paper to the top to cover those blemishes?
Adding decoupage paper to the top
I started by sanding the original top just a little. In hindsight, I probably didn’t need to do that and I probably wouldn’t in the future if I do this again down the road.
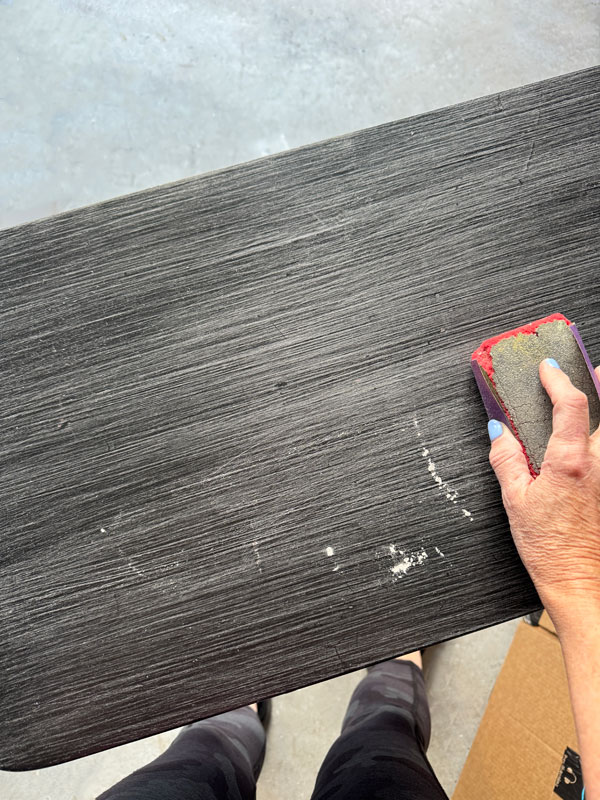
Then, I pulled out this beautiful Silent Beauty decoupage paper, my decoupage gel, and a 2″ Foam n Dandy brush:
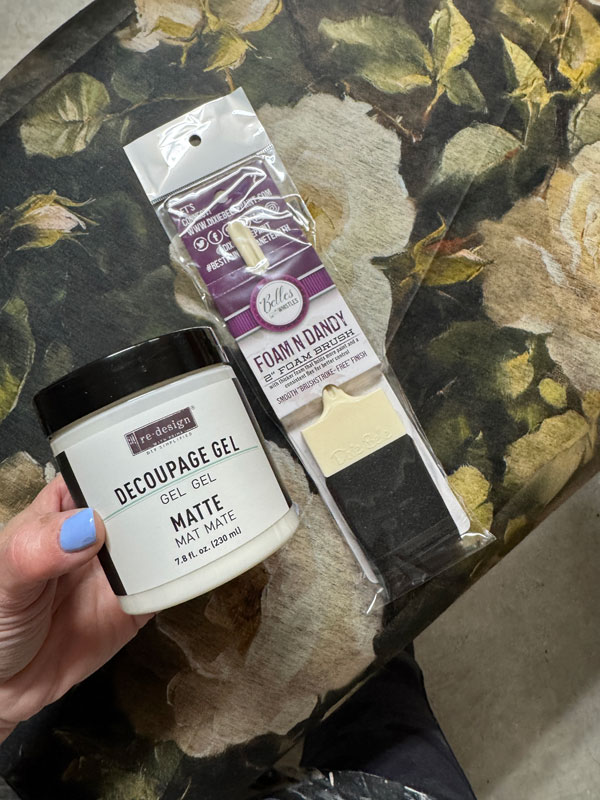
After wiping away any dust from sanding, I applied a layer of the gel with my foam brush:
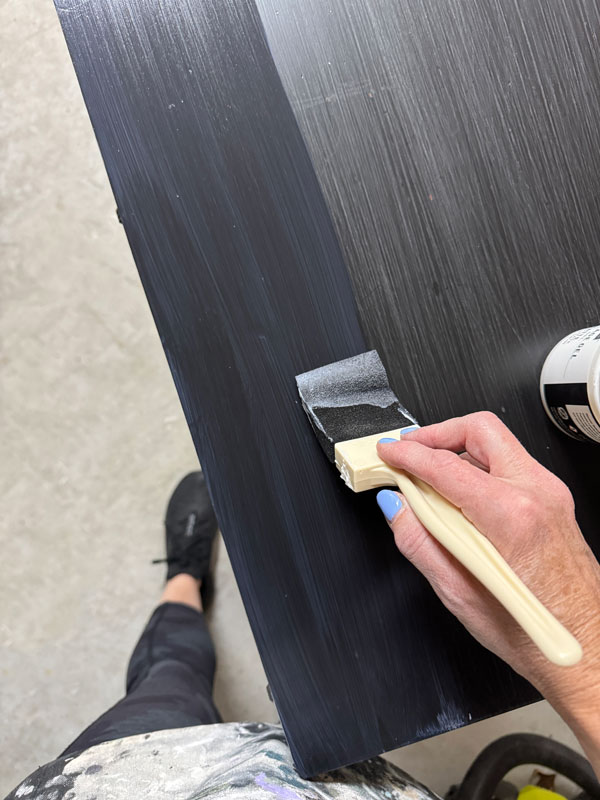
I applied it and smoothed it out with saran wrap…
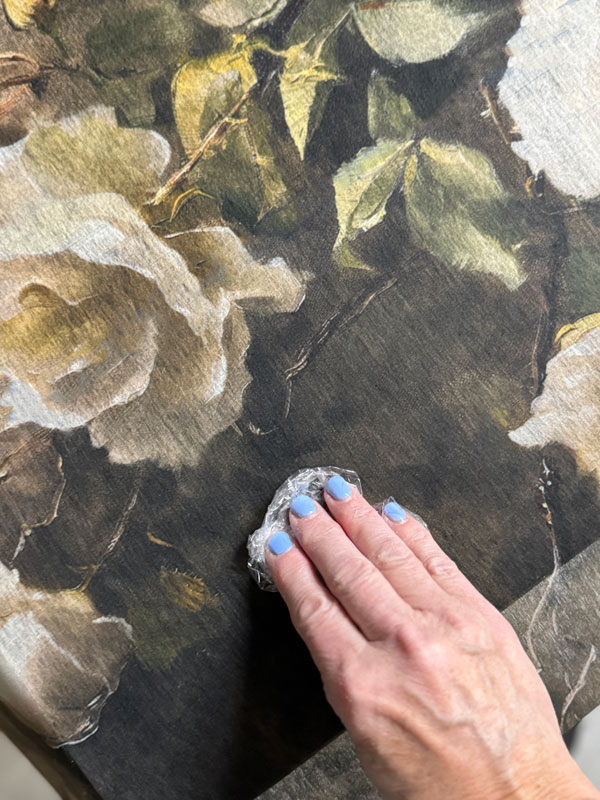
The saran wrap glides smoothly over the top, preserving the integrity of the paper while you smooth it out.
Then, I applied another coat over the top:
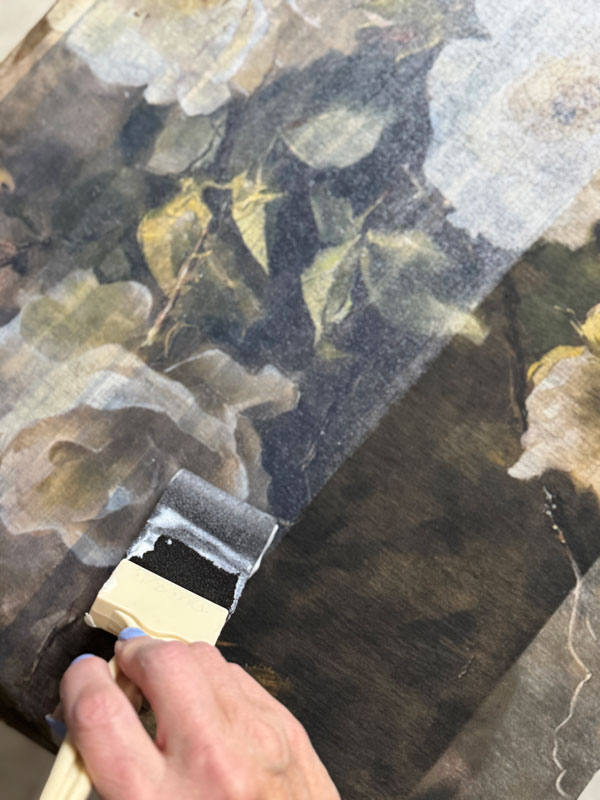
It goes on milky but dries clear. I usually paint the surface below decoupage paper a light color to make the design pop, but I was okay with a moodier look here. It did alter the design a bit and make it darker, as I expected it would.
Before it was even dry, I used 220 grit sandpaper lightly on all the edges to remove the excess paper:
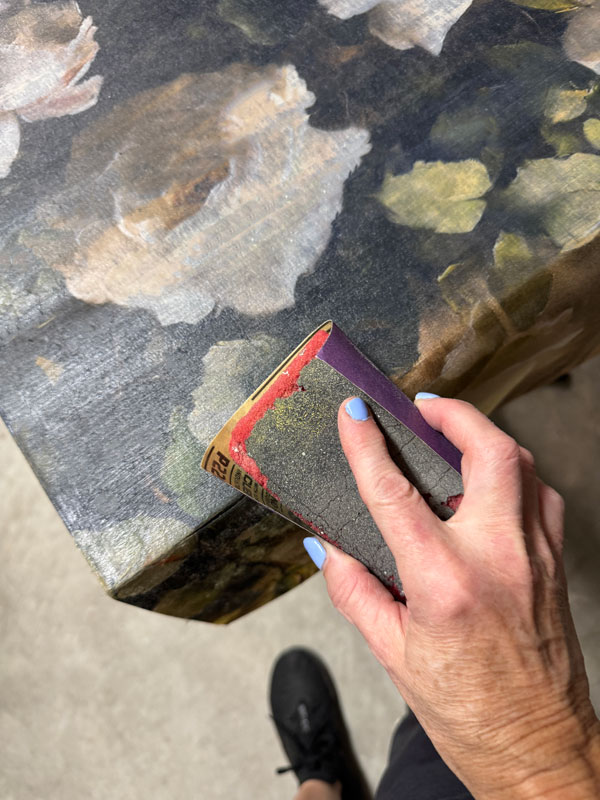
It pulled right apart super easily!
I did two coats of the Decoupage Gel as it is considered a varnish, but I may go back over it with a coat of Clear Coat in Satin, just for additional protection.
How does decoupage paper hold up on a table top?
The last table I decoupaged the top on HERE has resided in our living room for a year and a half, and it has held several cold glasses of water without a coaster. It has help up beautifully! I sealed that one with the satin Clear Coat as well.
Makeover #2 Reveal
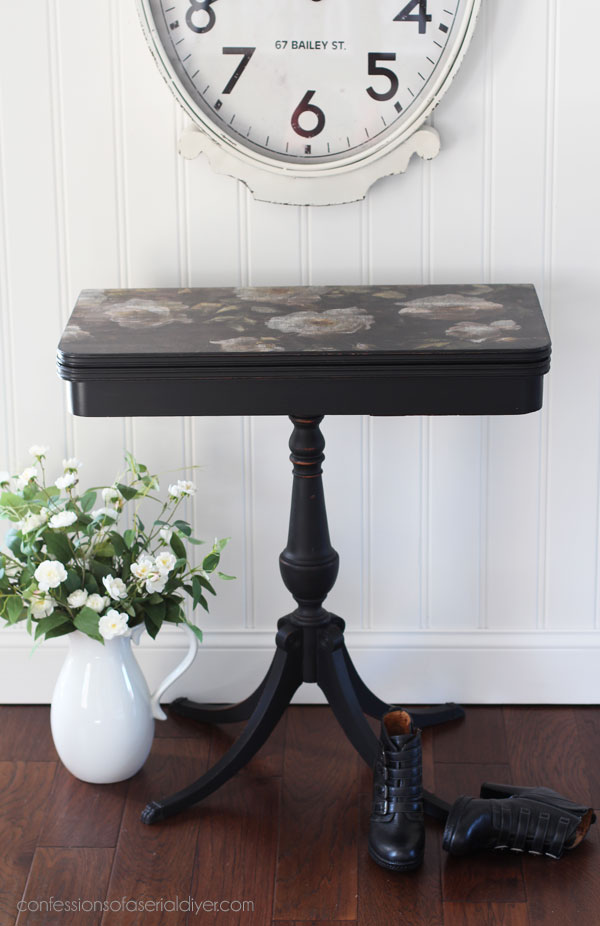
Here is how this table looks now!
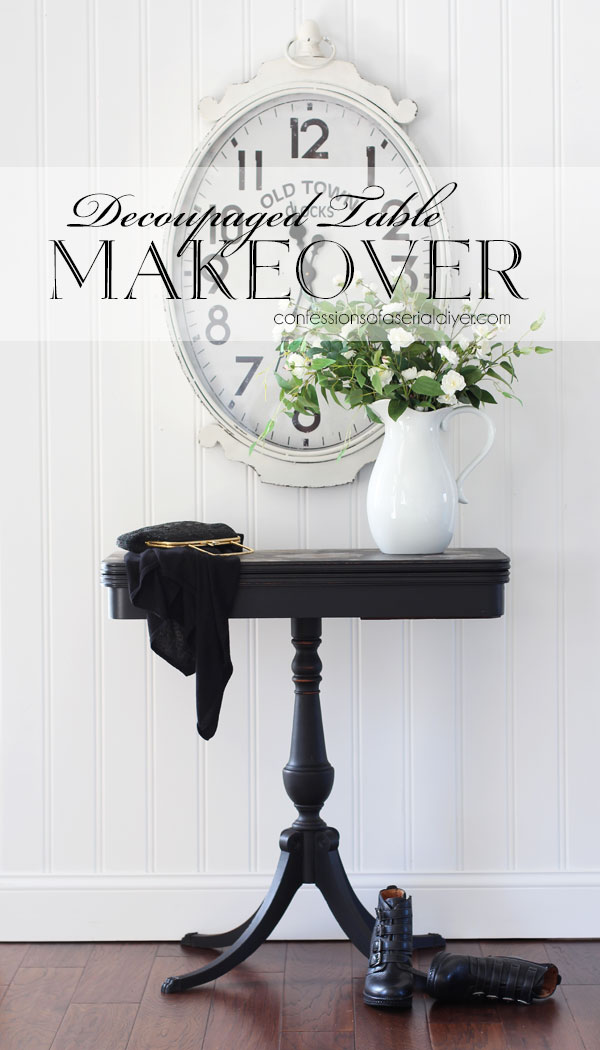
Okay, pretty much the same from this angle!
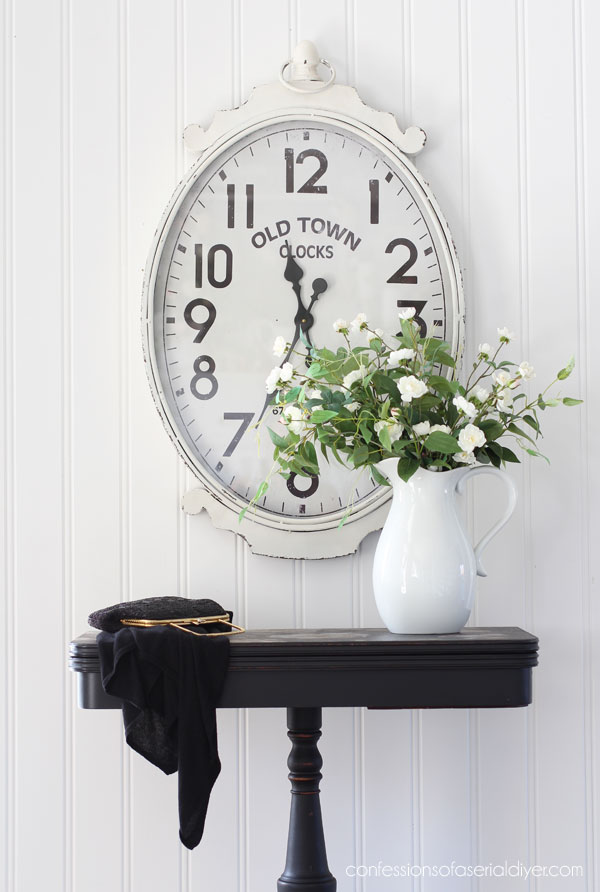
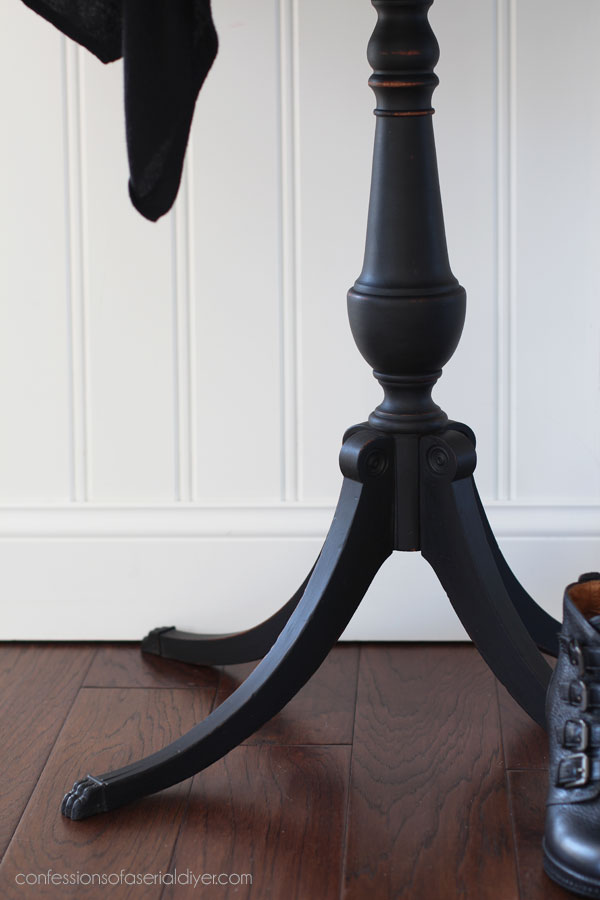
I didn’t need to do a thing to the bottom, thank goodness!
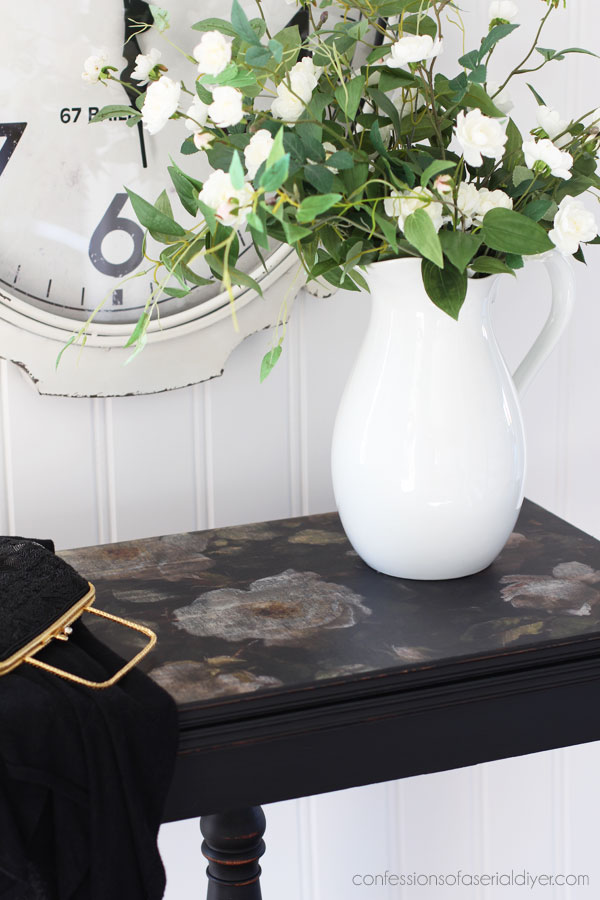
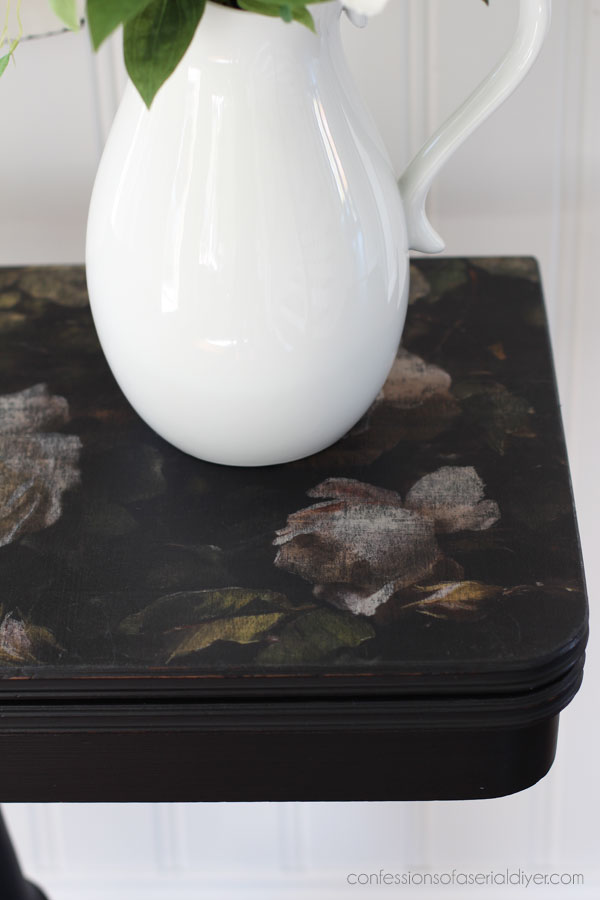
A peek at the new top…
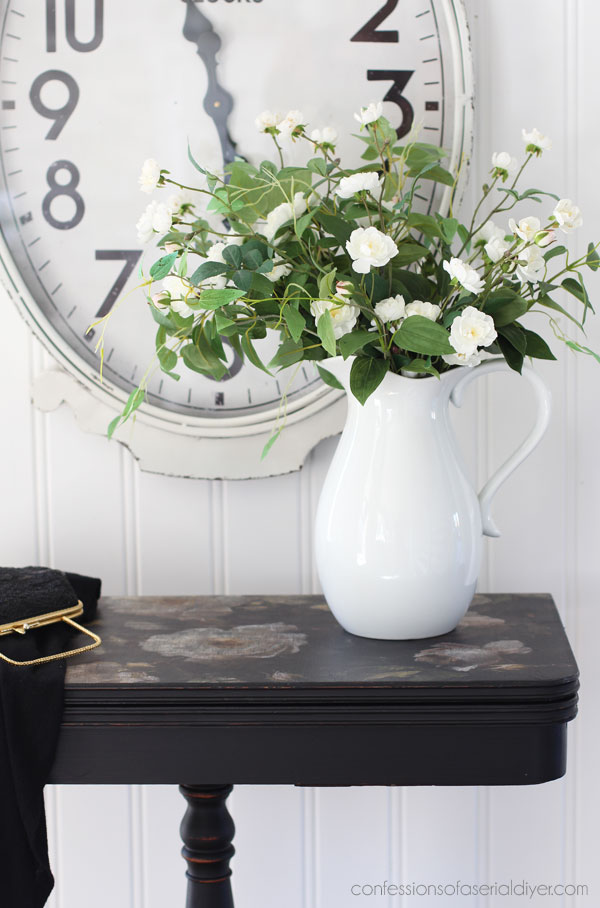
See how applying it to a dark background darkened the image for a more moody look?
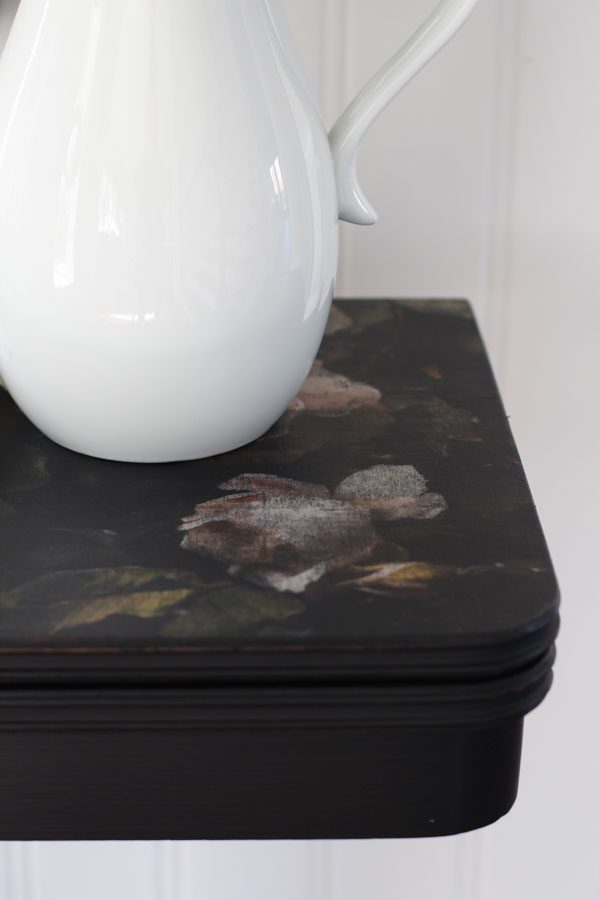
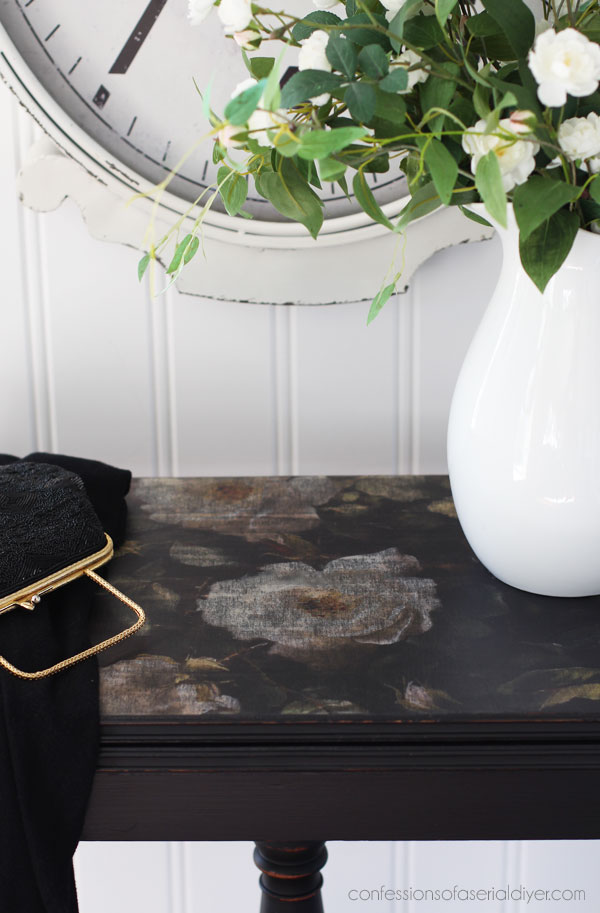
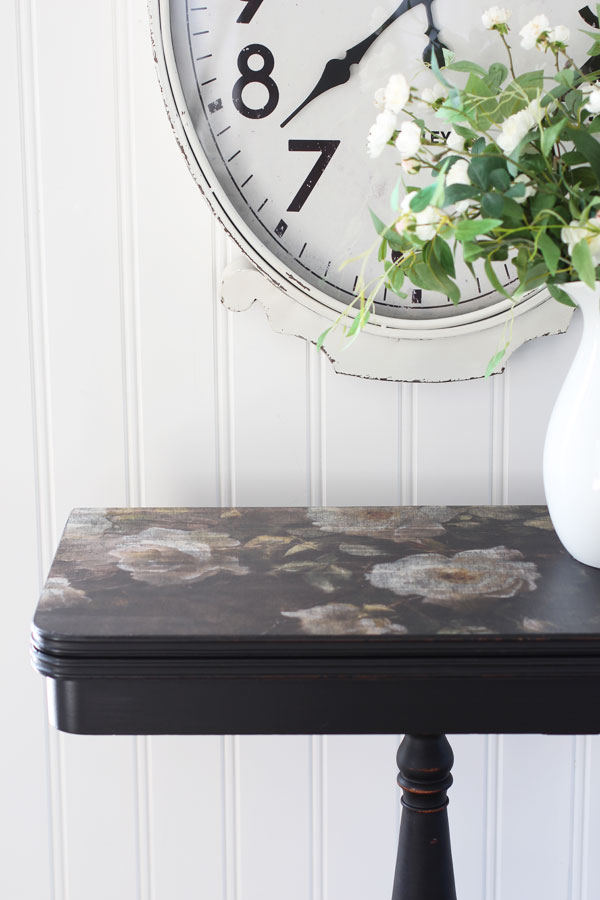
Here it is with nothing on top:
The inside
I fixed the inside also by sanding it smooth, adding another coat of paint and sealing it with two coats of Clear Coat in Satin…
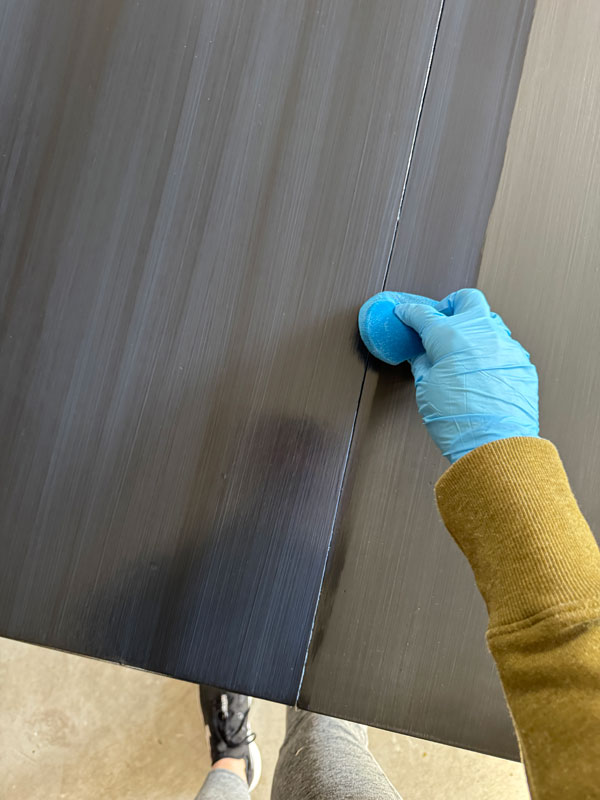
I’ll be much more careful this time to let it cure properly before taking it to my booth! Three weeks is the magic number!
And here it is opened up:
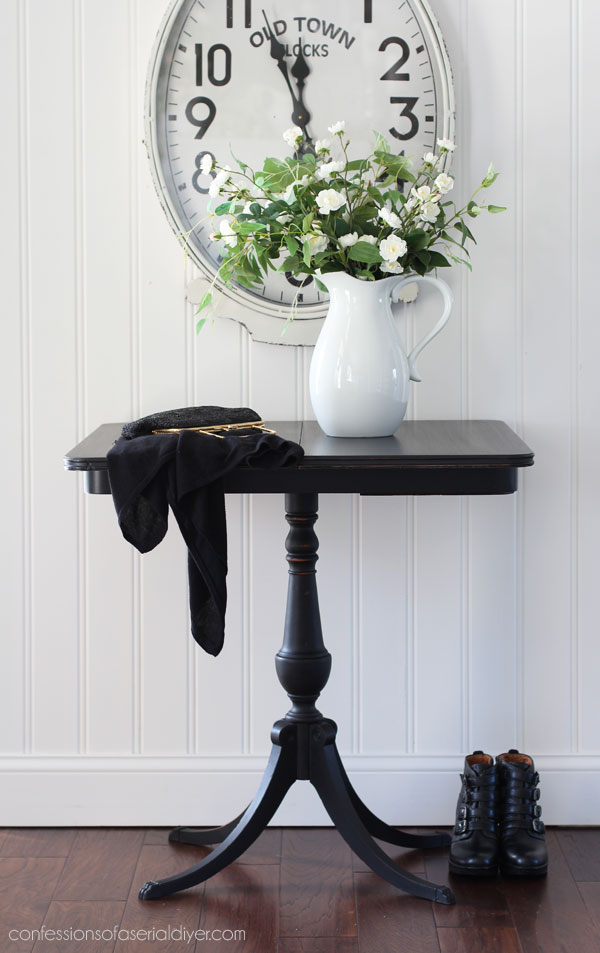
Perfect for a small space! Open it when you need it and close it when you don’t!
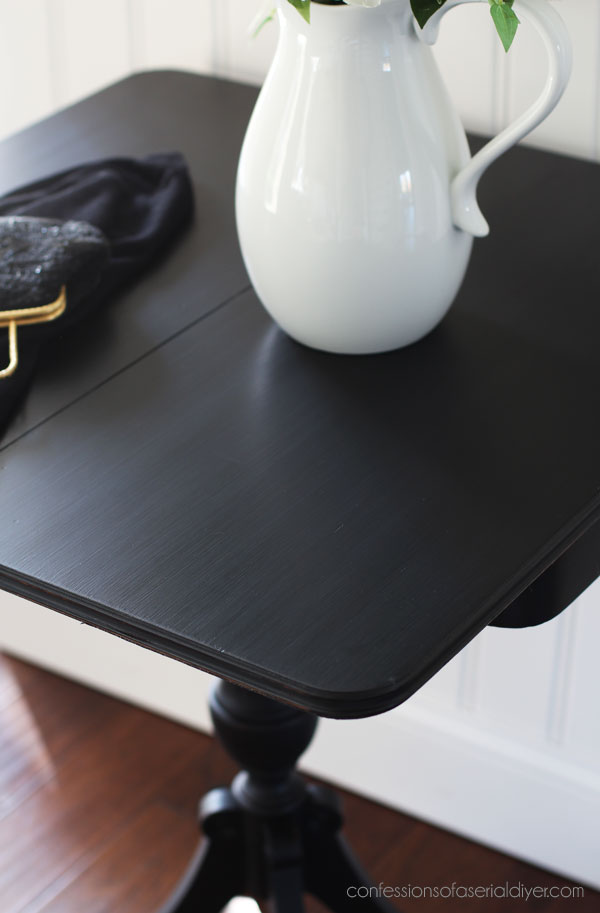
Such a handsome table!
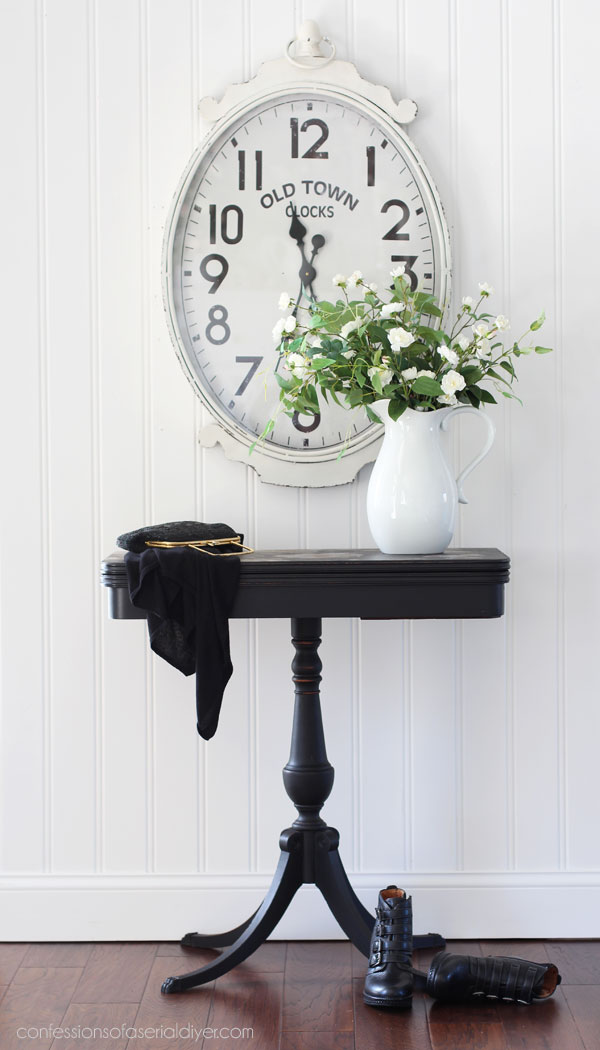
And pretty now too!
I hope you enjoyed this redo of a redo today!
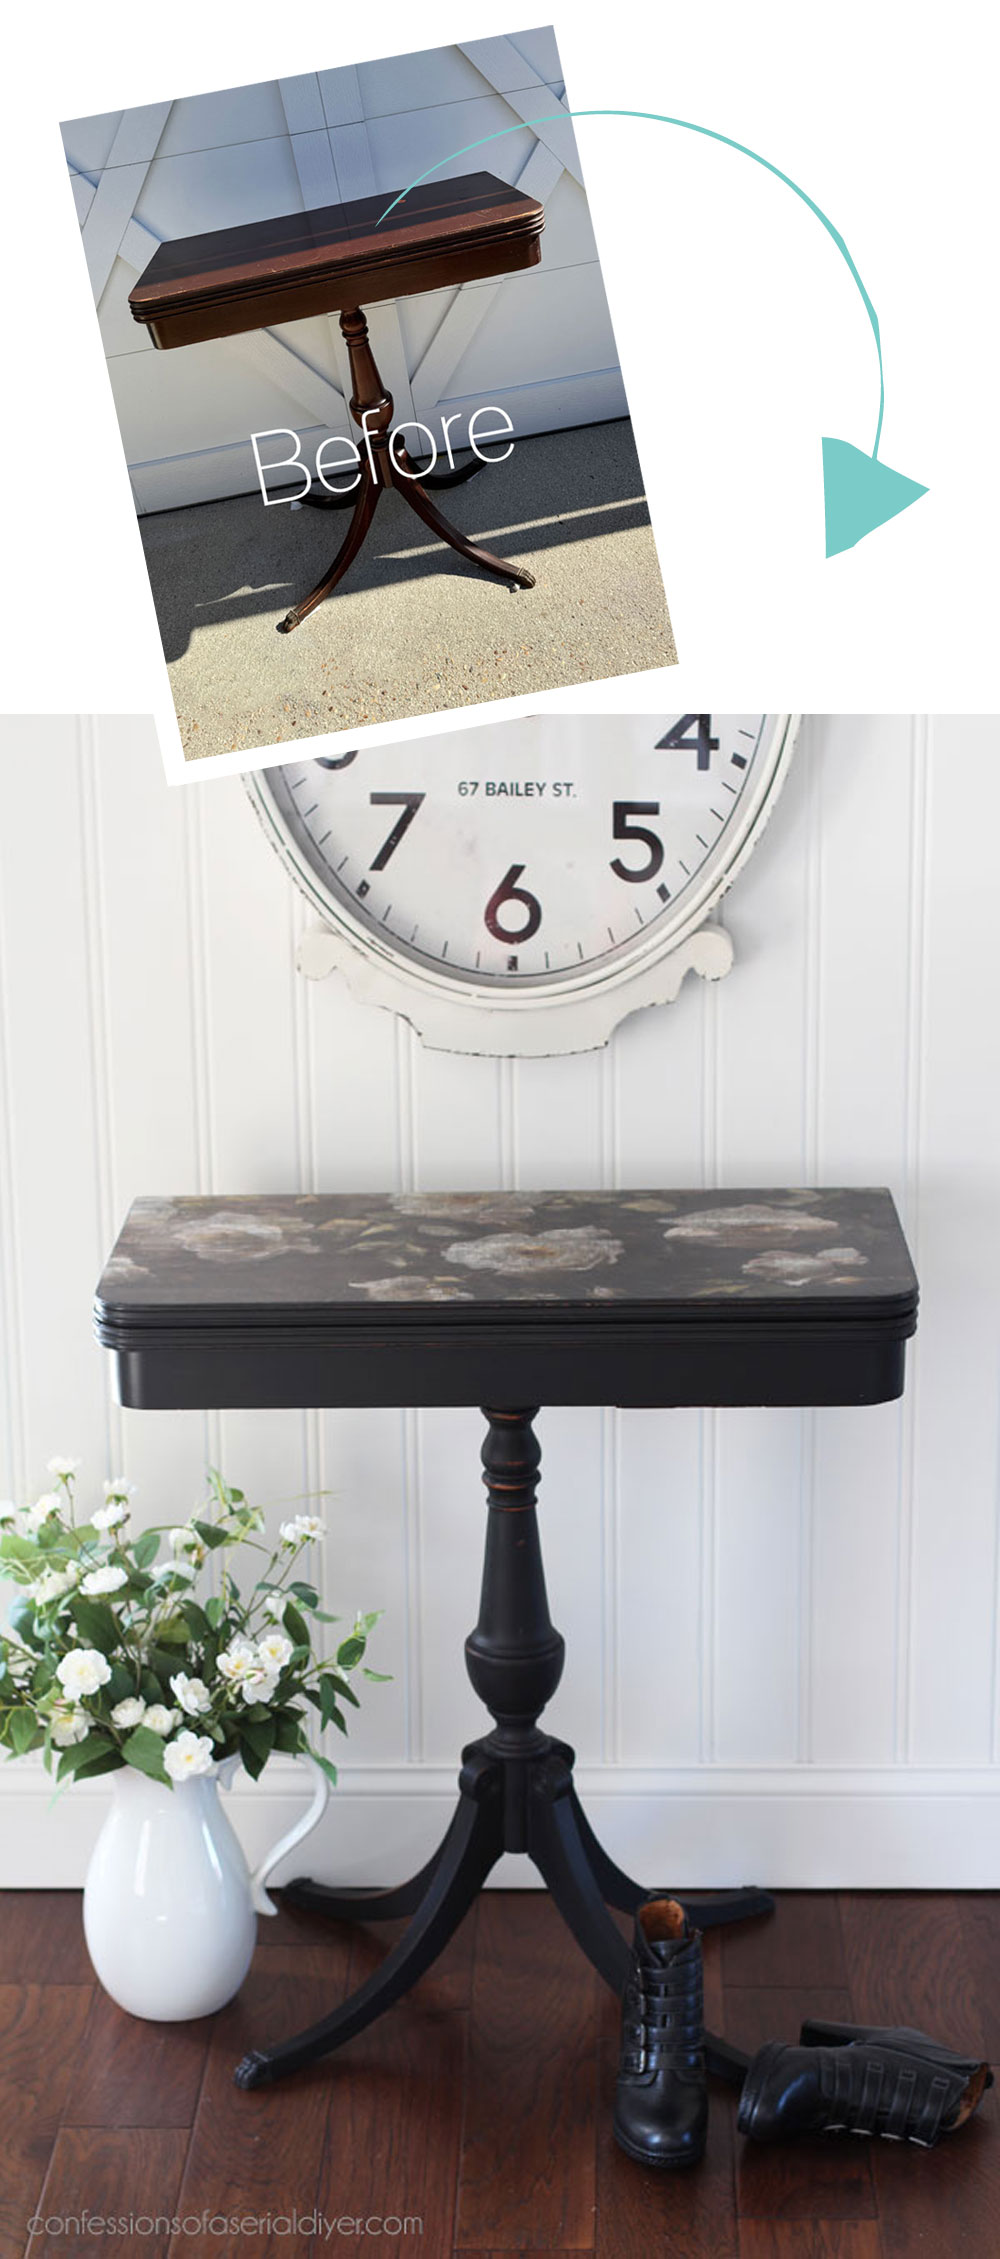
I’d love to know which one you prefer!
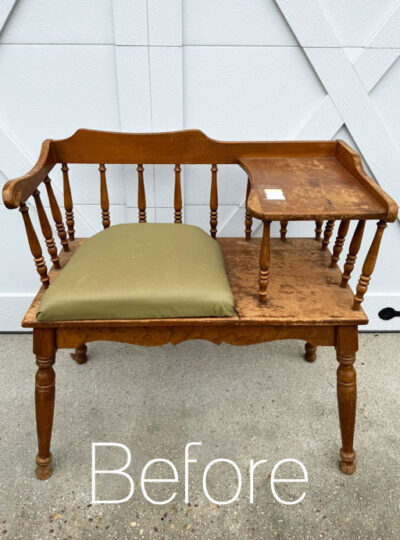
Be sure to check out what my friends are sharing today!

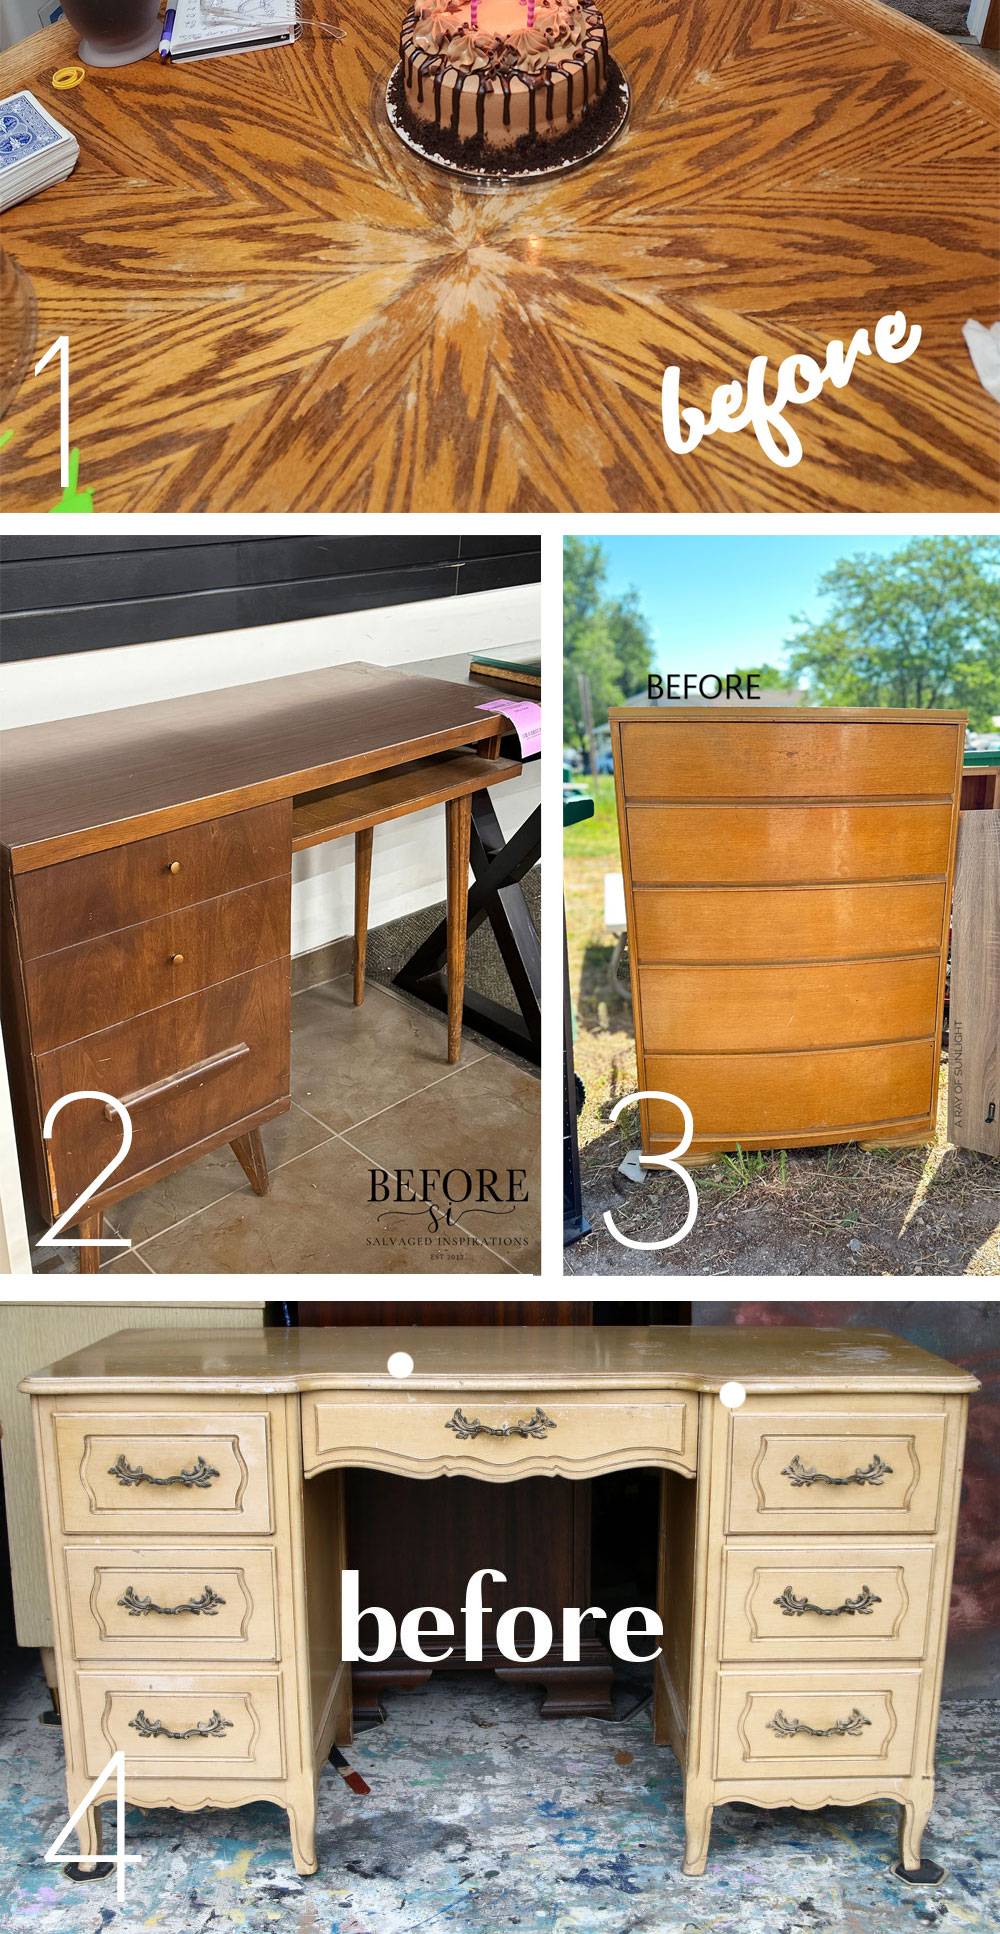
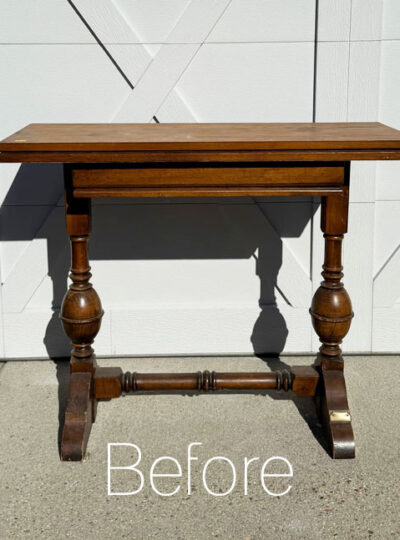
And if you missed the first game table I redid last year:

You can see how that one turned out HERE!
I’ll be back on Tuesday with this flatware box:
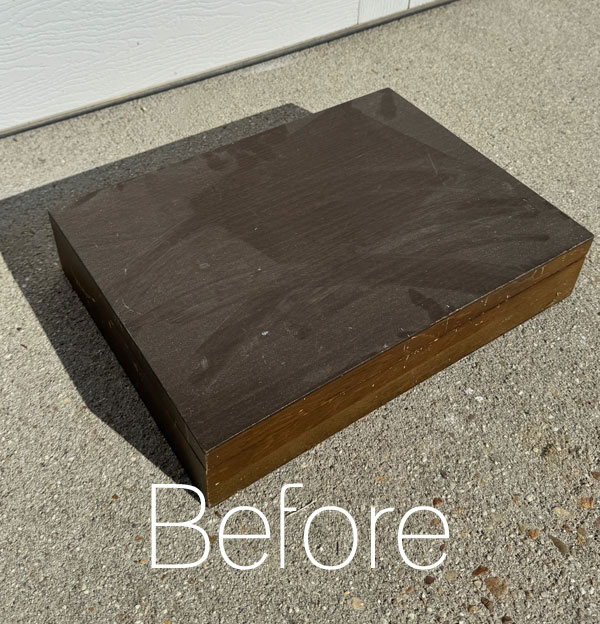
UPDATE: See how festive this box looks now HERE!
Have an amazing weekend!
XOXO,

Don’t Miss a Thing!
If you like what you see, there are several ways to follow along!
EMAIL * INSTAGRAM * FACEBOOK * PINTEREST


Get FREE SHIPPING on all orders over $50. No code needed at checkout! Orders under $50 always enjoy $8 flat rate shipping! Most orders ship same or next business day!




Mary Kaiser says
I Love it both ways! See if I lived closer you wouldn’t had to do a 2nd makeover on it because I would have bought it and it would have been in my house and it wouldn’t have gotten scratched in your booth!! LOL! I do love how this table turned out, so elegant in black!
Christy says
Thank you, Mary! Oh how I wish you were closer lol! Have a great weekend, my friend! XOXO
Janice Redden says
Christy, you know i love them both! The dark paint under the decoupage paper does give it a moody’ish look but also an aged look, as if it’s been there a long time. I know how you feel about what happens to pieces after you leave them……and, the “Mark down” or “repaint” option can be a little maddening. My co-vendor and market staff know I’m adamant about protective pads, etc on painted surfaces. They’re really great about it but ya never know what customers do. A scratch test? Wow!
Christy says
Thanks so much, Janice! I usually try to keep furniture pieces here for 10-14 days to give them a bit of cure time, but I believe I took that one over sooner. That isn’t the first piece that’s been scratched like that. It makes me wonder if they are testing how well the paint works before buying since I sell the paint? Oh well…I got to try a paper over a dark surface, so that was a bonus! And yes, you can’t help what happens when you’re not there! XOXO
Cecilia says
Wow, who would do a scratch test? And why? Were they wondering what the wood looked like? Weird. Anyway, I love the paper on top! It’s perfect. Here’s hoping it finds a home soon (well, after the 3 week curing stage). I’m finally getting my furniture projects done. Fingers crossed they turn out as nice as yours. I’m excited to try the Saran Wrap trick, lol. Have a great weekend!
Christy says
Right? I’m guessing they were testing how well the paint works since I sell the paint? Who knows! I am glad I got to try the paper over the dark paint though. Have fun redoing your pieces…I’m sure they will be lovely! And yes, that saran wrap trick works great! Enjoy your weekend too, my friend! XOXO
Janina says
I REALLY like the moodiness of the decoupage paper over the black. Gorgeous!
Don’t know how I missed that previous table that you have in your house. That is stunning, too, though I really like the drama of the black!
I think this is the first time that I’ve seen the decoupage paper being used on a table top but that is just a spectacular look. It definitely makes them one-of-a-kind.
I bet someone snaps this up quickly.
And yes, definitely a good plan to let these pieces cure before some gnarly customer comes along and wrecks them. 😕
Christy says
Thank you, Janina! I am loving the moodiness too! At least this gave me a chance to try that. I love the look of the paper on top too, and it has held up surprising well on mine! XOXO
Gail Frye says
I was so interested in your redo on this table, but midway through your photo images did not appear – they were perfect until they suddenly disappeared. I also had a problem getting on your Tuesday post – I was repeatedly ‘told’ it was a problem with CloudFace. Just thought you should know. I am a regular reader of your blog for years and have never had a single problem accessing your posts or getting images. Thanks!
Christy says
Thank you for your sharing that, Gail! Tuesday, there were several sites that use Cloudflare that were down for a couple of hours. (They bring the signal of our webpages closer to you for faster load times.) I haven’t heard of any issues today though…I’m so sorry about that! XOXO
MARYBETH says
I have a side table that is not made of wood. The top has some areas where the paint has come off. Some of the spots may have gotten wet and are a little swollen. What can I use to fill in and then sand it so it is all smooth and uniform?
Christy says
Hi Marybeth! You will likely need to sand any raised areas smooth and then fill them. I usually use Dixie Mud for filling holes and gouges in real wood, but for particle board, I might try something tougher like Bondo. It’s really stinky but super tough and dries super fast. Then you can sand the area and paint. I hope that helps! XOXO
Jackie C says
this is gorgeous (and people are crazy, how rude). The paper on top looks fabulous, and I love the moody look. Excited for your sale, I have a bunch of things favored. I appreciate you! Have a great weekend
Christy says
Thank you, Jackie! Right? I am excited that I got to try this though! I appreciate you too, my friend! Glad you are getting ready early for the sale woohoo! XOXO
Cyndi says
OMG! I loved it before in the classic black with a touch of gold, but this is beautiful too! I love the decoupage paper on it. Great idea!
Christy says
Thanks so much, Cyndi! It is definitely more unique! XOXO
Liz Shivel says
Hi Christy, this redo of your redo is beautiful! I like the first version for sure, but this redo with the decoupage paper is perfect! It’s lovely and moody, love it!
Christy says
Thank you so much, Liz! I think I prefer this one…more unique for sure! XOXO
Darlene Spence says
Oh my, the perfect redo fix on this piece. So gorgeous and unique. I like how your mind works. Creative and clever! Wouldn’t it be fun to work for you at your shop. Surrounded by awesome things. With love from Texas!
Christy says
Thank you, Darlene! I’m so glad you like it! It would be amazing to have someone to create with!! XOXO
Susan Ross Hill says
Perfection. Sometimes “Plan B” looks like “Plan A” and this is one of those times!
Christy says
Ha ha, so true! I am loving plan B lol! Thanks so much, Susan! XOXO
Denise - Salvaged Inspirations says
ooolalaaa I LOVE the dark moody florals – beautiful! And what an awesome way to hide imperfections! Pinned XOXO
Christy says
Thank you so much, my friend! This might have been the easiest fix ever lol! XOXO
Trish says
Christy, I love it! That was the magic touch it needed. Wow! I’m in love with the moody look. So elegant. ♥️
Christy says
I’m so glad you like it, Trish, thank you!! I am loving the moody look too! XOXO
Caye says
Oh Christy, I just love the new look! It’s so much better than just plain black. The black undercoat makes that moody effect, and for what it is, that’s just perfect. It makes a quiet statement. Great job, girl!
Christy says
Thanks so much, Caye! It is definitely more unique now, that’s for sure! XOXO
Kimmylouwho says
Great fix! I love the muted tone of the paper on the black! It will be a super table for someone! Wish I lived on the east coast to visit your shop.
Christy says
Thank you, Kimmylouwho! This was a great opportunity to try the paper over a dark surface, and I wish you could visit too!
Marcie Lovett says
I liked it before because you can’t go wrong with a sharp black vintage game table, but I think addition of the decoupage paper makes it even better now! Hopefully, people will keep their hands to themselves and someone will snap it up quickly 😁
Christy says
Ha ha yes, I hope it gets snapped up more quickly this time! And I agree that the paper really adds something more special! Thank you, my friend! XOXO
Gail Wilson says
Christy,
I’m sad that your beautiful table didn’t find a home the first time around. It’s so unique. I was really confused why the decoupage paper disappeared when opened. I had to scroll back up to see how that happened.
I do love the new look with the decoupage paper. Isn’t it cool that it looks so different depending on the color of the furniture?
Pinned!
gail
Christy says
Thank you, my friend! Ha ha yep, it folds open. I love these tables…I’ve done one more before like it and I have another one in my queue! And yes, I love that the paper took on this moodier tone over the black! Have a great weekend! XOXO
p says
Wow. Just wow. I LOVE the moody subtle look of the paper over the black surface. So subtle and elegant. I assumed you would refinish the top…
But your creative wisdom came thru ! Gorgeous fix.
I did love the original simple black table, but this is unique and a special statement piece. The right person will surely spot this unique piece.
It’s great to see the effects of the papers over darker colors….
So elegant.
And exactly correct – sometimes plan be is better.
Christy says
I’m so glad you like this version, P, thank you! I did have plans to refinish the top originally, but plan B came to me, and yes, it’s funny how plan B is sometimes how it was always meant to be! XOXO
Michele M. says
Oh my gosh it is gorgeous. Im telling you I so need that table and wish I owned it – but now? I know it will sell. It’s AMAZING.
Christy says
Thank you so much, my friend!! Funny you should mention the Gator Hide. Because this table would likely get heavy use, I did go back and add two coats of Gator Hide both on the top and on the inside the first time around. It’s especially good if you need a waterproof finish. You can tell in the “before” that it is quite shiny as the Gator Hide is a bit shinier than the Clear Coat. I have had great results with the Clear Coat alone, so this time I just stuck with that. Hope you are having a wonderful weekend so far! XOXO
Michele M. says
ps
Why didn’t you seal with Gatorhide vs just a sealant?
Kathy Owen says
Scratch test….had that happen before! But I love the table so much more now so I guess that person did you a favor! Kathy
Christy says
Thank you, Kathy! Yes, they sure did! Sometimes plan B is even better ha ha! XOXO