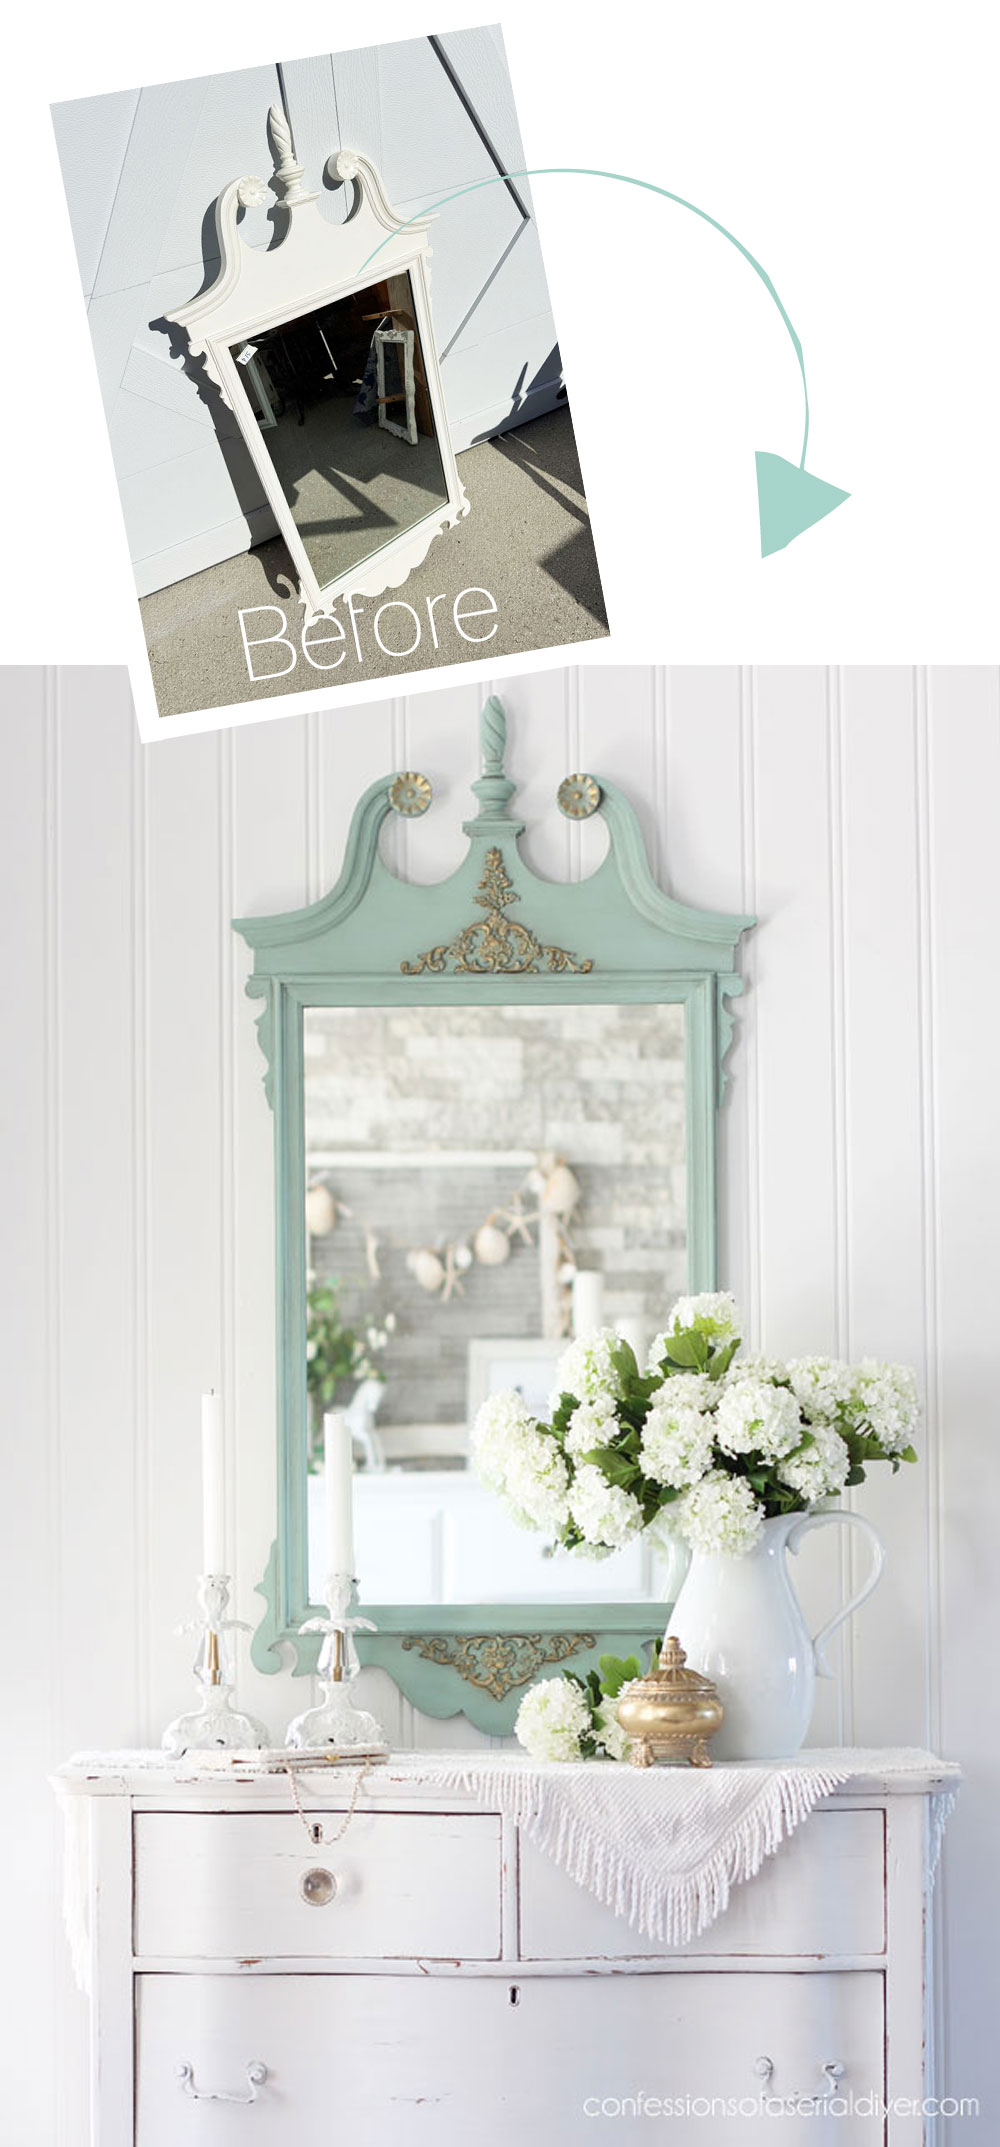
Hello, beautiful friends, and welcome back! I’m back to my haul today sharing how you can update a mirror with moulds! I found this mirror at a yard sale this summer:
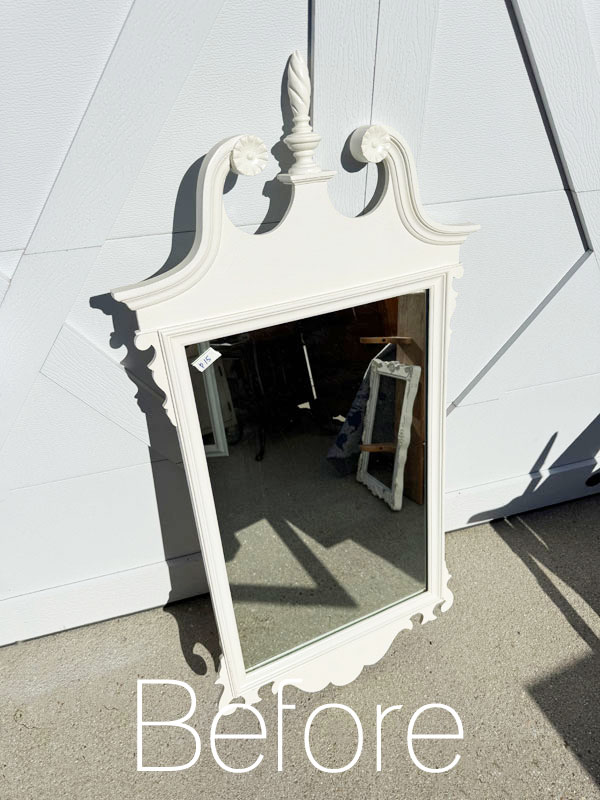
It was marked $15, but I offered $10, and they accepted.
It apppears that it is already done and good to go here, right? Well, it was painted in traditional satin latex paint which I don’t love for decor items. It was quite shiny. I like to leave that to kitchen cabinets!
I knew I wanted to repaint it, but I also wanted to fancy it up a bit!
Clean
Because it was already painted, I just gave it a quick wipe down with a damp cloth. Had it not been painted, I would have cleaned it with White Lightning.
Sand
I then lightly sanded the surface. This is not really necessary when using chalk paint to repaint, but I did it just in case since the surface was quite shiny.
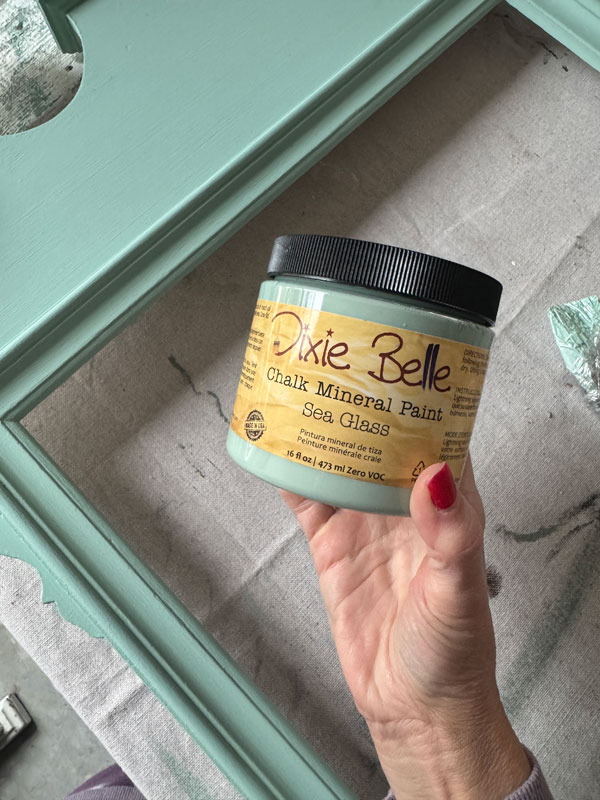
Paint
Next, I gave it two coats of Sea Glass:
Sand Again
When it was dry, I sanded once more using a fine grit sanding sponge (since I did not want to distress it and allow the white to peek through):
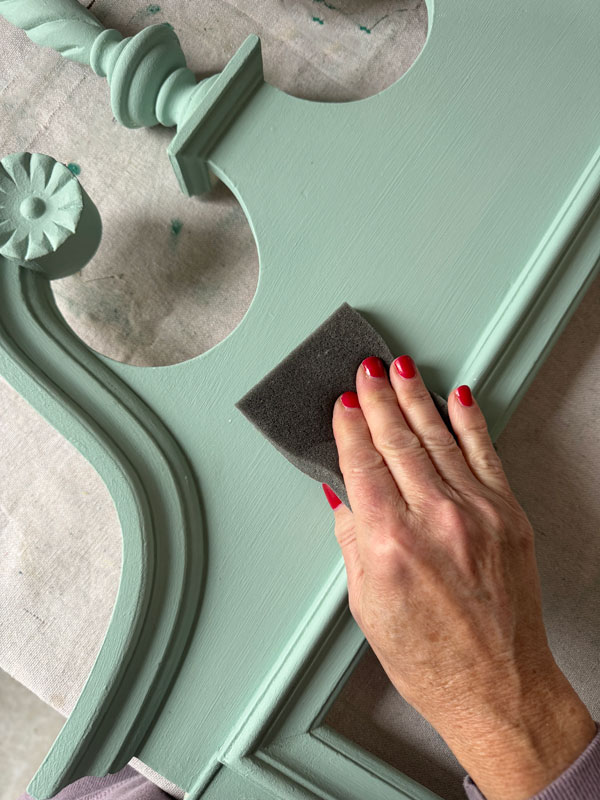
These sponges are great for that. Use more traditional 220 grit sandpaper if you prefer a distressed finish.
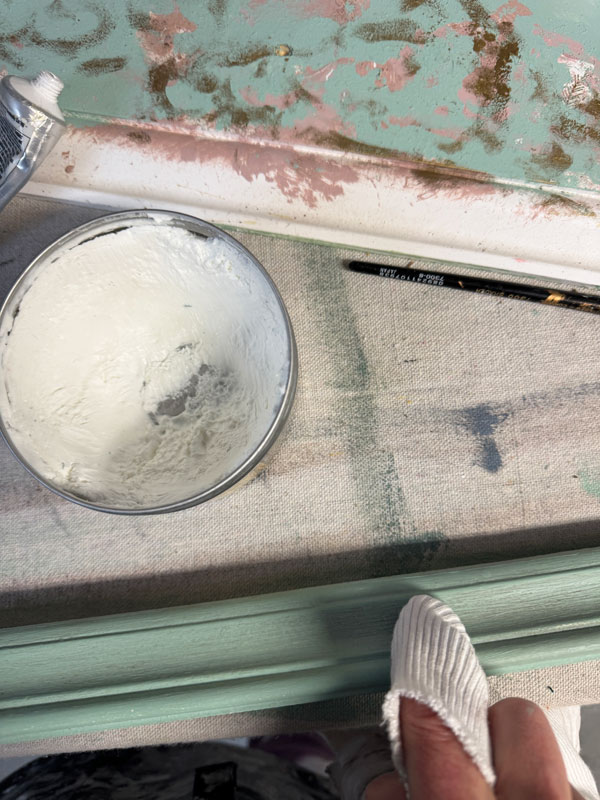
Seal with wax
To seal, I chose Clear Best Dang Wax, applying it with the Best Dang Brush:
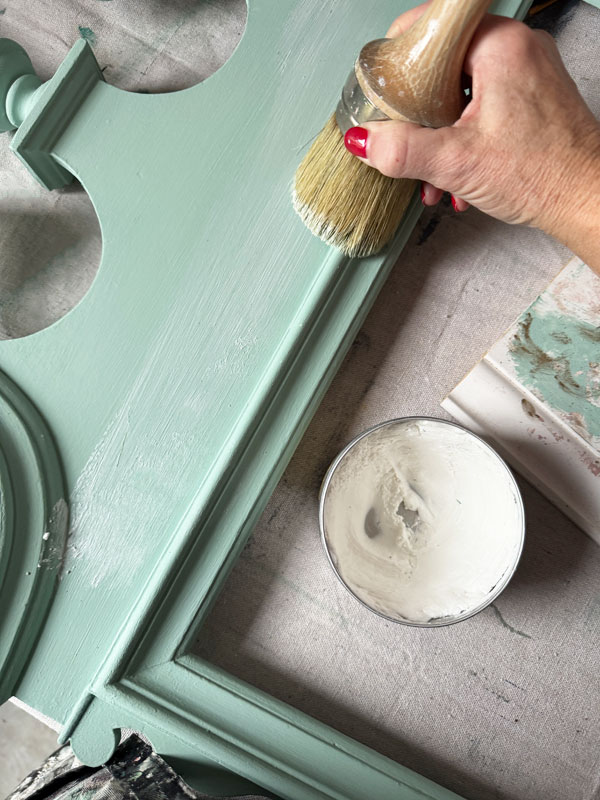
Then, I used a clean, soft cloth to buff the wax in and remove any excess:

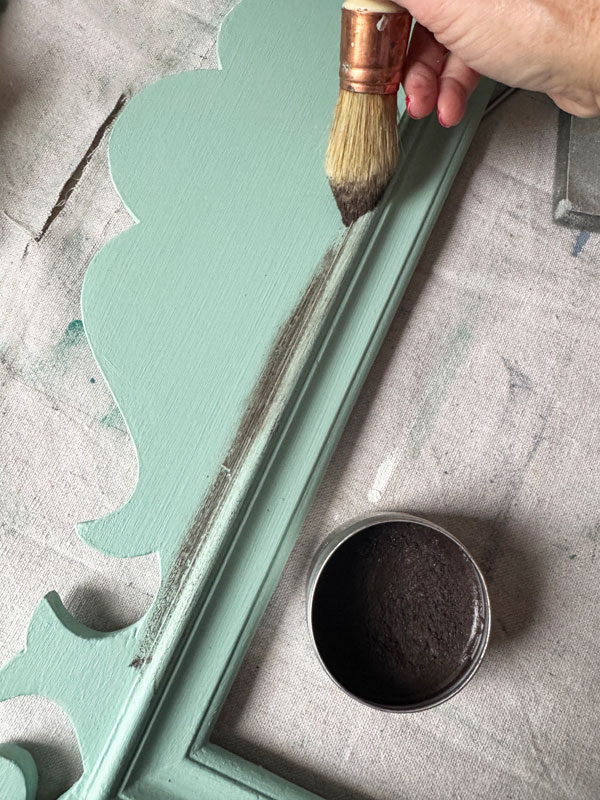
Adding Age with Brown Wax
I didn’t want to distress this time because for this fancier version of this mirror, I didn’t want the original white paint to show through. However, I still wanted to add a little something more and chose t0 highlight with brown wax to give it some age.
Using my French Tip Brush, I added the wax more in the crevices…
And then dabbed the wax off and went over it again to blend it in. I did a light brushing over the whole surface…

I continued all the way around adding the brown wax and wiping it back…

It’s important to use a base of Clear wax or the porous chalk paint will really soak up the brown wax. If you want to remove even more of the darker wax, you can use the clear wax like an eraser:
I kept playing with it until I had a look I was happy with!
Update a Mirror with Moulds
This mirror was very traditional and I knew I wanted to add some more details.
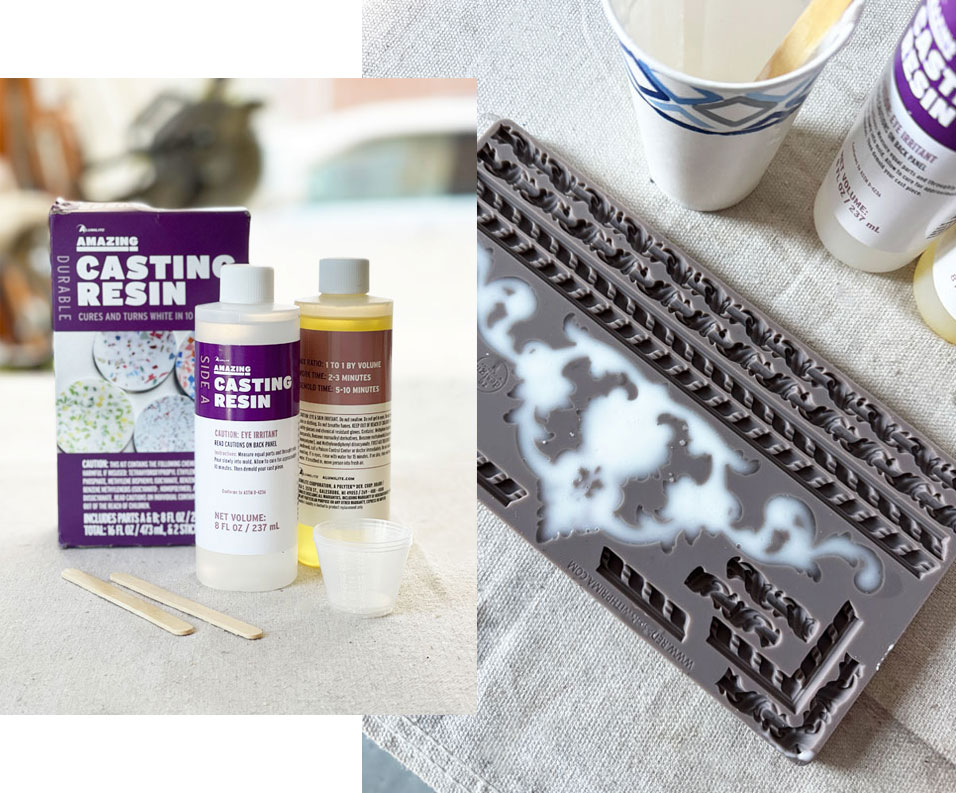
To do that, I pulled out one of this season’s new moulds, the Regal Flourish Mould and Amazing Casting Resin:
Redesign with Prima’s moulds are often limited run, so this may no longer be available if you are viewing this long after the posting date.
HOW TO USE AMAZING CASTING RESIN
- Mix the two liquids 50/50 in the desired amount
- Pour the mixed liquid into the mould
- Be patient for 15 minutes while it cures (I can be really impatient lol!)
That’s it!
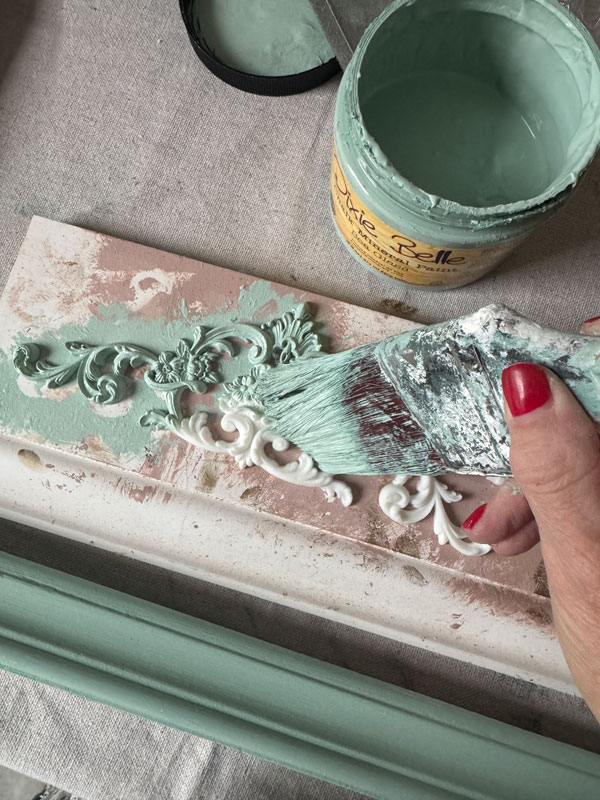
They come out solid white, but I painted them in the Sea Glass also:
Gilding Wax
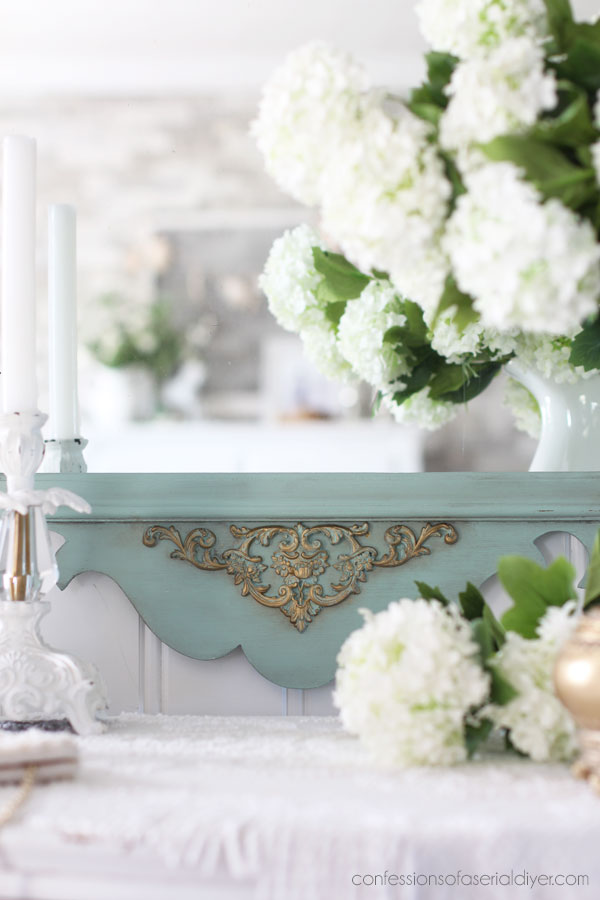
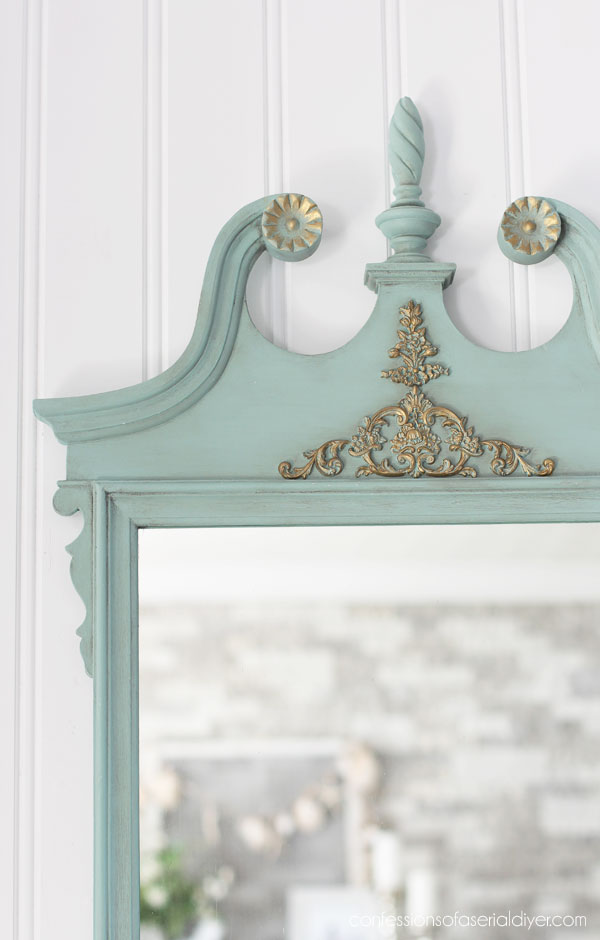
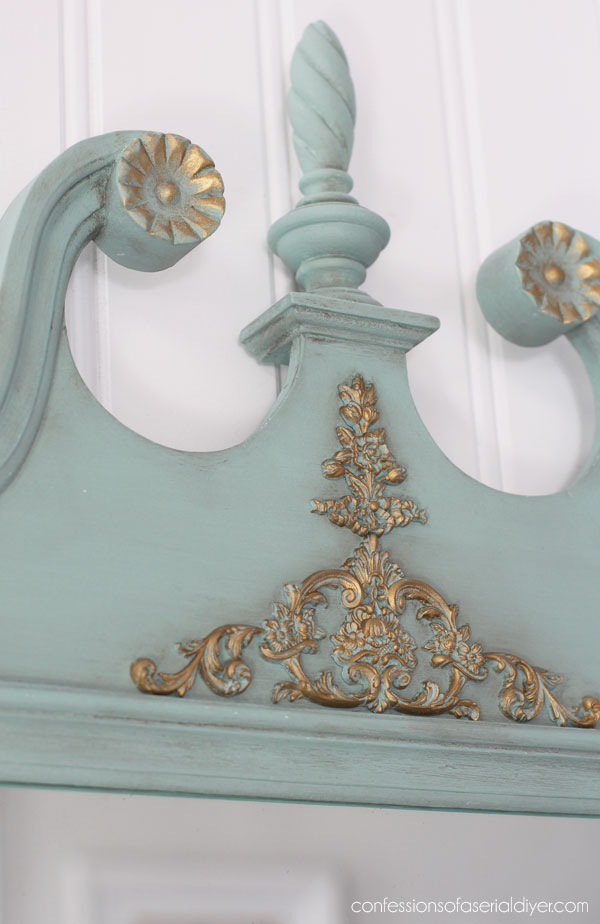
Adding gold Gilding Wax with a tiny brush to all the details was next:

Attach the Resin Pieces
Once I had those done, I glued them in place using E6000 glue and let them sit overnight to dry. I then used the brown wax to highlight around the moulds a bit as well.
Then I put to the mirror back together, and I was done!
Update a mirror with Moulds, the reveal
Here is how this $10 yard sale mirror looks now!
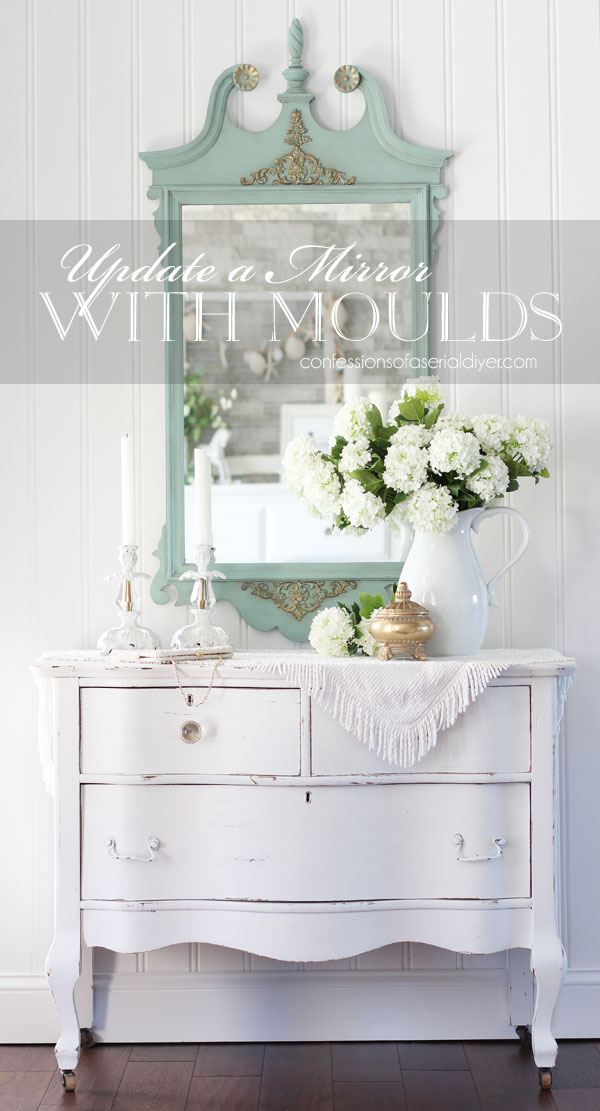
A little fancier, no?
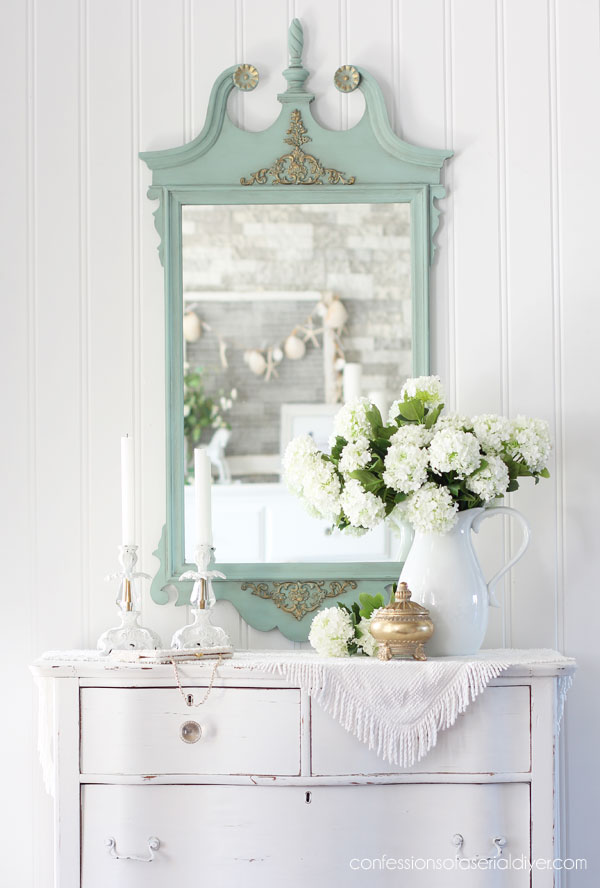
I love this mould!! I had hoped to use some of the straight and corner pieces on this mirror also, but there really was no need to keep adding.
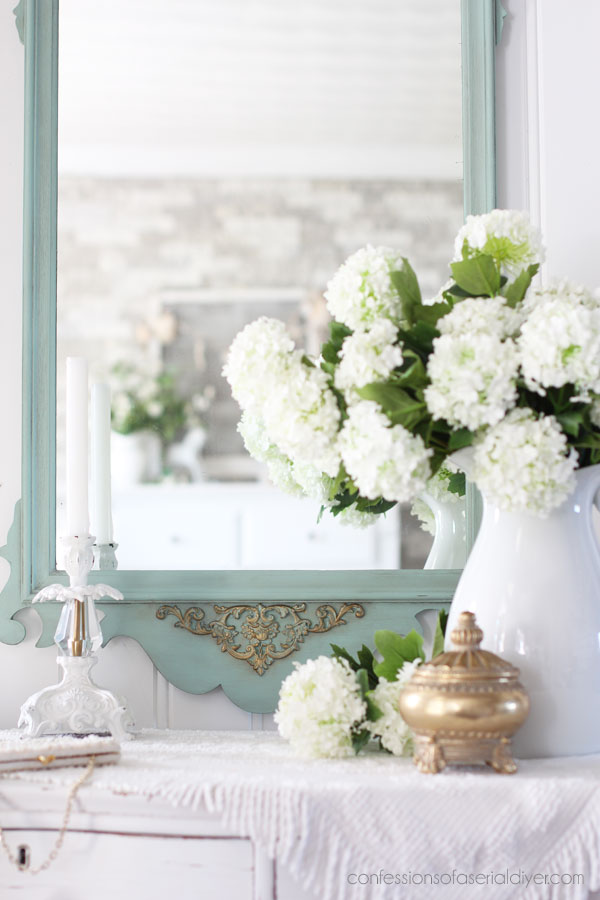
And the aging I did with the brown wax wasn’t overdone…
I wanted it to look aged without looking dirty. I don’t know if I achieved that, but I hope so!
Both of the pieces I used here to create the decorative piece on the top of this mirror are included in this mould.

It doesn’t sound like me to take something white and paint it a color lol, but here we are!
I hope y’all enjoyed this one! Maybe it gave you an idea for a mirror you have that might need a little fancy?
One more done from this haul!
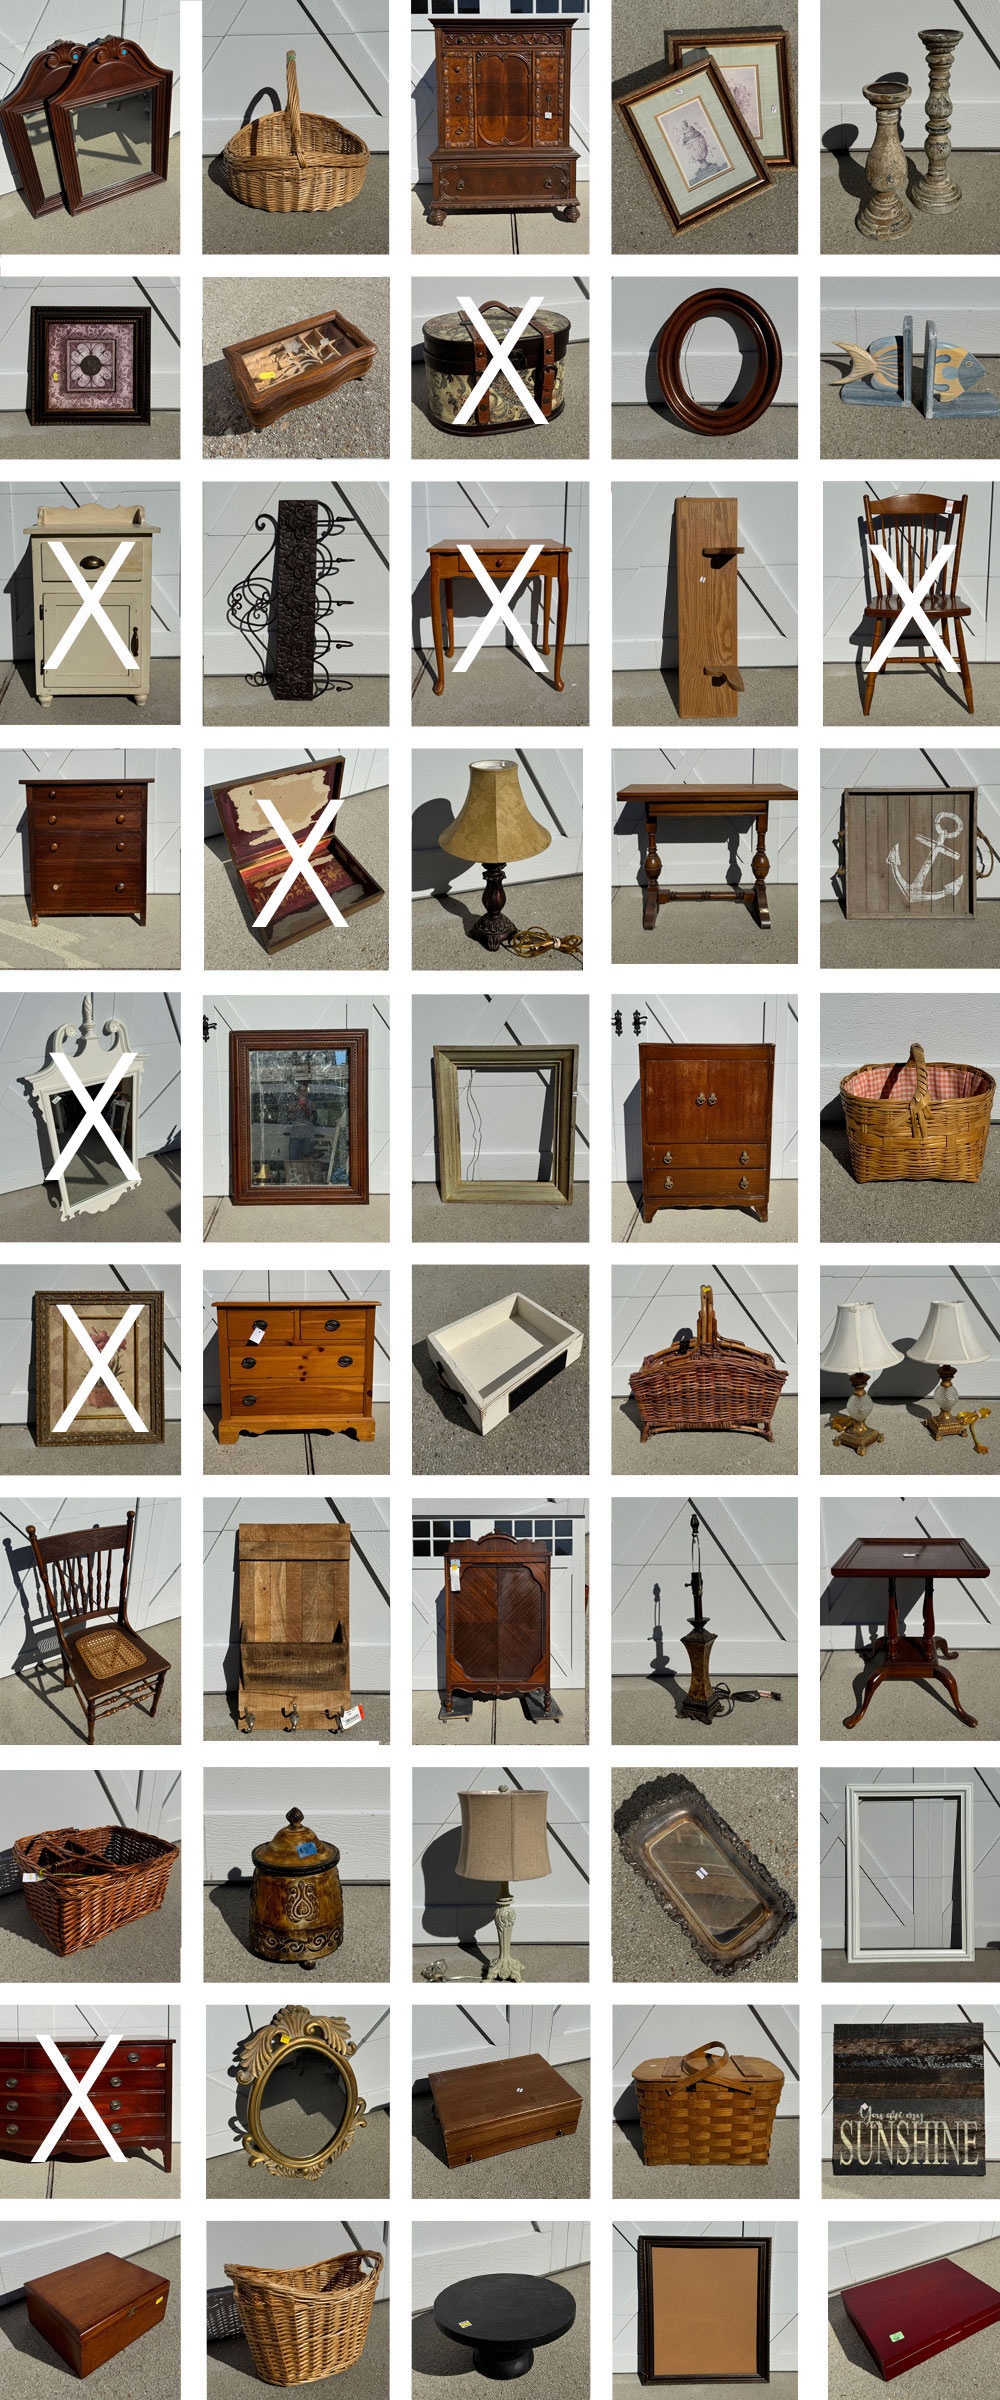
See everything I’ve completed from this haul so far at the links below:
Update a Flatware Box for the Holidays!
Yellow Painted Chair
Trashed $10 Thrift Store Table Makeover
Round Wooden Storage Case
Washstand Cabinet Makeover
Vintage Mahogany Dresser Makeover
I’ll be back with my Trashy Treasures crew on Tuesday sharing what I did with this small chest:
UPDATE: This little chest got the most elegant makeover HERE!
See ya then!
XOXO,

Don’t Miss a Thing!
If you like what you see, there are several ways to follow along!
EMAIL * INSTAGRAM * FACEBOOK * PINTEREST


Get FREE SHIPPING on all orders over $50. No code needed at checkout! Orders under $50 always enjoy $8 flat rate shipping! Most orders ship same or next business day!


Mary Kaiser says
Oh it is so beautiful now! I actually think the color brought it up a notch, doesn’t happen often that I think a color is better than white, but this time it did! I love how it turned out!
Christy says
Thank you, my friend! I have to agree! Isn’t that funny? Have a fantastic weekend! XOXO
Charleen says
The 🪞 is lovely. You have a sense of when to go big or stop. Less is more some times.. Love the sea glass color . Have a blessed day
Christy says
Thanks so much, Charleen! I’m so glad you like it! XOXO
Janice Redden says
Uh oh…lost my post. Anyway, Christy, it is beautiful. The moulds add so much to it and highlighting them with the gilding wax adds the right finishing touch. You were pretty lucky that the previous paint job was done well enough that you didn’t have to strip it or do a major sand before doing your magic! I’m sure we’ve all passed on many good pieces for that reason.
Christy says
Thank you, Janice! I tend to pass on already painted items more these days as you know they can be more work, but the original paint job was done really well, so that was lucky! Have a great weekend, my friend! XOXO
Julie A. Henry says
Beautiful!!!! I so look forward to your emails. I have a question about the products, how long is the shelf life on them? I’ve ordered small and big sizes of the products. I haven’t opened any as I haven’t had time to start the big items I want to redo. I have chalk paints, boss, wax, mudd etc. I’m hoping to redo my bedroom set but probably not till this summer as I live in upstate ny, north of syracuse……snow country! lol Thanks for any advice, have a great weekend. Julie Henry
Christy says
Thanks so much, Julie! I have paint, wax, etc, that is several years old that I am still using! If it’s unopened, even better. Once air gets in there, the paint will start to thicken, but it is water based, so adding a little water and stirring well will bring it right back if that happens. I have not experience thickening in the same way with Bonding BOSS, and the Mud as well as the wax stays fresh for a very long time, so you are good! XOXO
Cecilia says
Oh that really turned out great! The sea glass actually looks better than the white in my opinion. I love it! The moulds and gold highlights are just what it needed to really bring out its elegance too. Nope, the brown wax doesn’t make it look dirty. Perfect aging!
😊Cecilia
Christy says
Thank you, Cecilia! It isn’t often I would paint over white, but I prefer the Sea Glass too. This one didn’t need much, but the little bit added a lot I think! XOXO
Nana Diana says
I am so glad I saw this today. I have an almost identical mirror in my basement. It is still brown wood and I didn’t want to paint it ‘shiny white’ either. lol. After the holidays I have a new project now. Love the color here. Diana
Christy says
Oh yay!! Well I am so glad I shared this today then! Have fun redoing yours! XOXO
Lizzy says
So pretty! I wasn’t sure about the color, but it works. 🙂
Christy says
Thank you, Lizzy!! XOXO
Geri Davis says
So very pretty!! It looks much better than the plain white!
Christy says
Thank you, Geri! I agree! XOXO
p says
Painting over white…??? HaHa. But Seaglass is a good color choice. Glossy white was not great for this piece.
I do like sinple lines, but this looked too plain / unfinished.
She now looks dressed up and ready for the holidays 🙂
So many molds. I must be tough to pick the right one.
The moulds let the scrolled sides stand out too. Nice !
Christy says
Right? So unlike me ha ha! I agree it needed something and these mould pieces were just the thing…and yes, so many to choose from lol! Thank you, P! XOXO
Jewels says
Christy, This might just be my favorite makeover you have done. I love the color and flourishes you added!
Christy says
Oh yay, I’m so glad you love this one! Thank you, Jewels! XOXO
Lani says
Oh, wow! Perfection! I love those molds and they added just the pop the mirror needed. I like the color you painted it too 🙂
Christy says
Thanks so much, Lani! I always love what small changes can do to a piece! XOXO
Cyndi says
This turned out SO pretty! The dark wax gives it some depth. It definitely doesn’t look dirty. And the gilding and moulds help to bring it to life. I love it!
Christy says
Thank you, Cyndi! I wasn’t sure I would do much with this mirror when I bought it, but I’m so glad I changed it up! XOXO
Caye says
The original look was too stark for my taste, so I’m glad you decided to soften it up. The dark wax was not overdone in my opinion and I think it helped soften the lines. Your appliques are just perfect for this piece, and using the gold gilding was really made for a “rich” look. Good job!
Christy says
Thank you, Caye! It was too stark for me too before. And I’ve been wanting to use that mould, so this was the perfect piece to try them on! Hope you are enjoying your weekend so far! XOXO
Anita says
Love this mirror! I would gladly take it off your hands if I wasn’t so far away on the West Coast of Canada. Green is one of my favourite home decor colours and I love how you embellished this with wax and moulds. Really so perfect! Thank you for sharing. ❤️
Christy says
Thank you so much, Anita! Yeah, you are a bit far away lol. I’m so glad you like it! XOXO