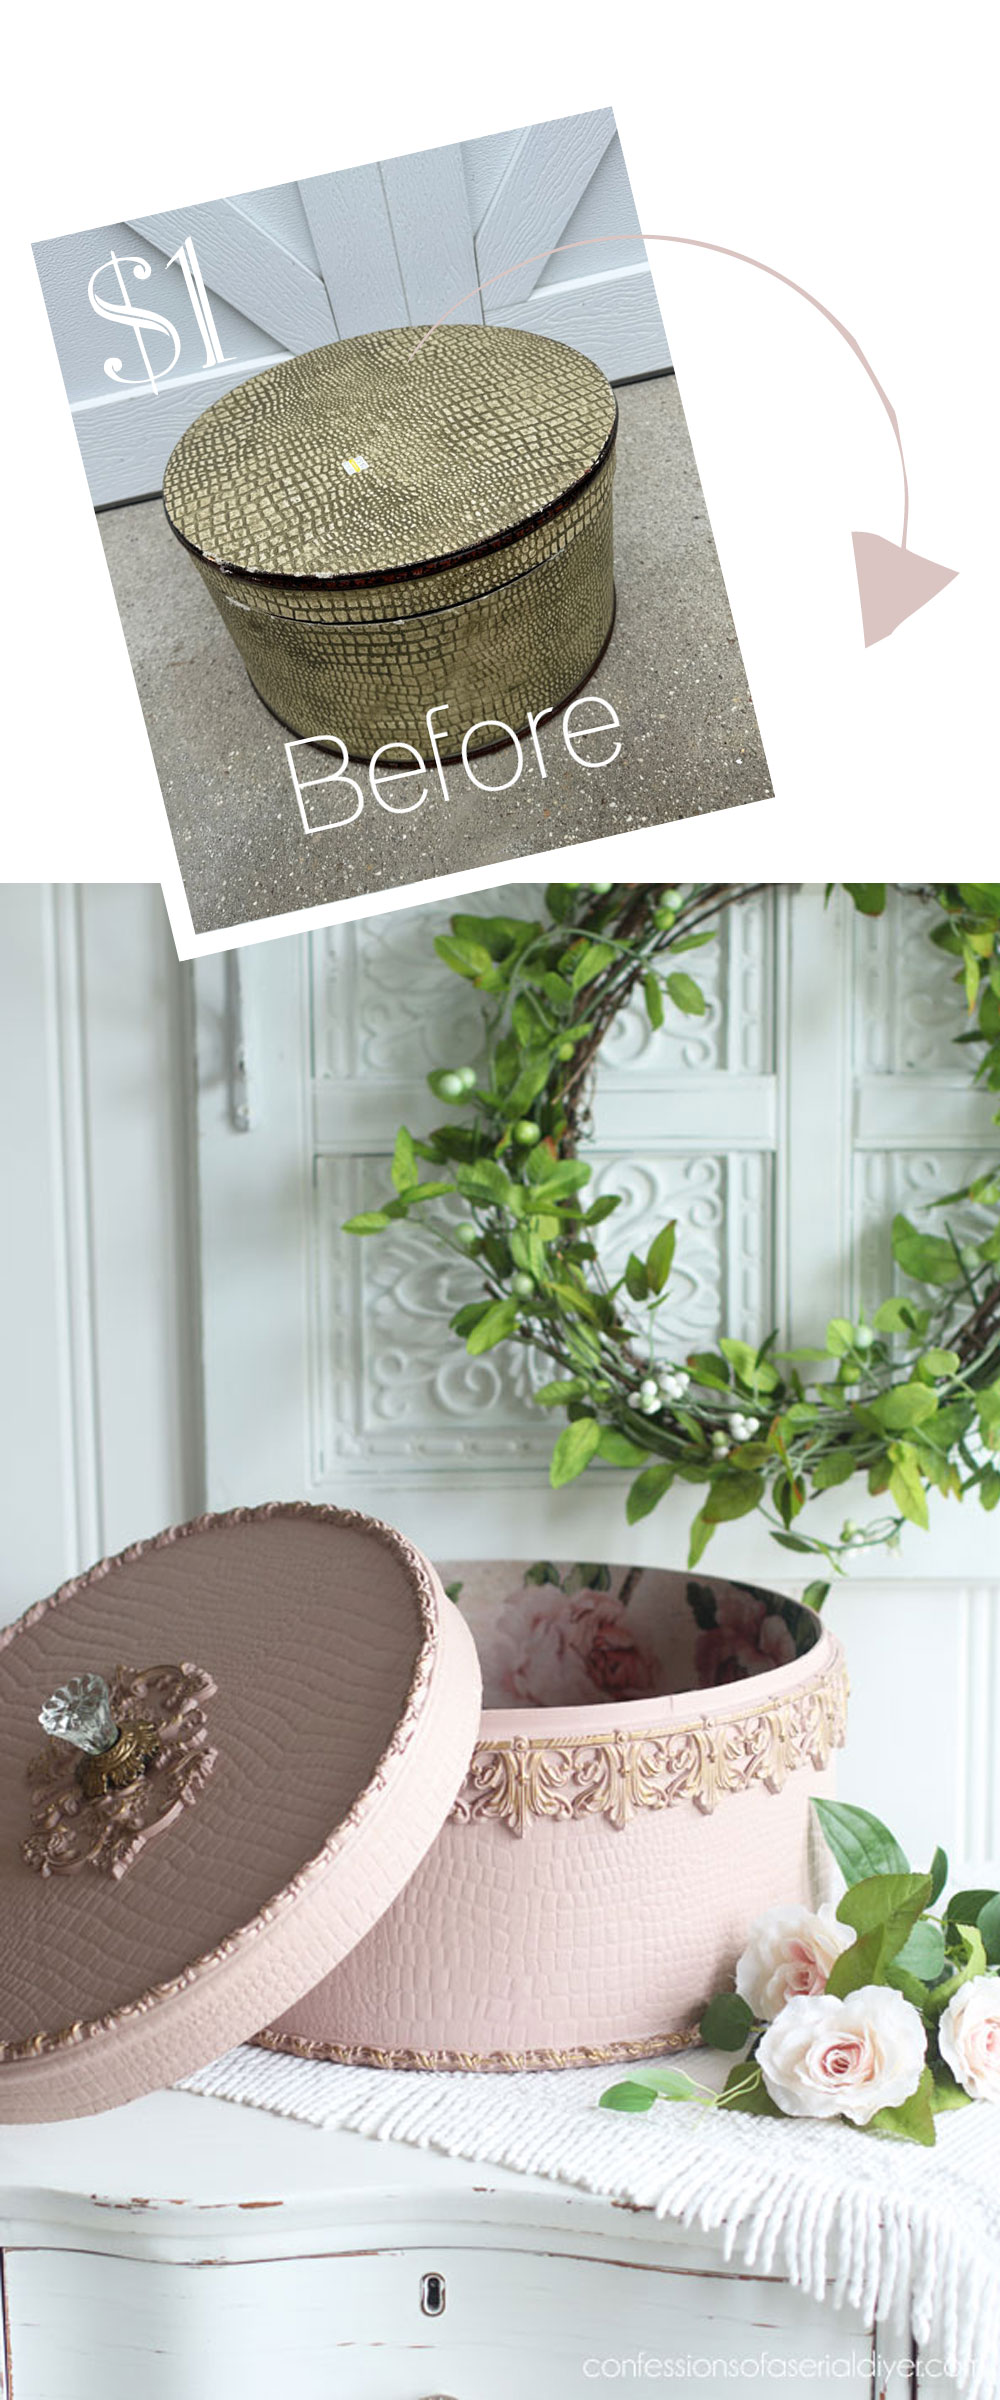
Hello, lovelies!! Today, I have the prettiest hatbox makeover to share with you! You definitely won’t recognize it when it’s done! I originally found this hatbox at the thrift store for $4.99:
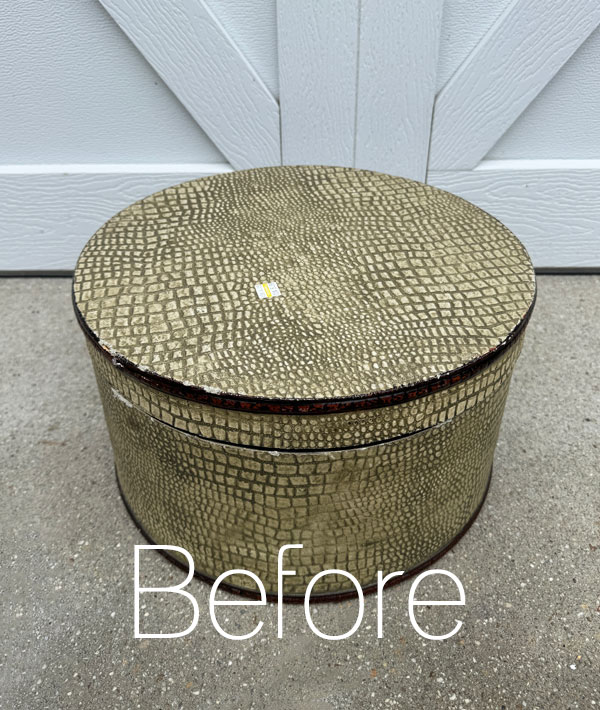
I pushed it around in my cart for a bit before I decided to put it back due to the damage you can see on the edges there. I stopped back in at that shop not too long after on a Monday, and all yellow tags that day were only ONE dollar!
This box was still there, and for that price, I had nothing to lose!
I’ve included a few affiliate links so you can find the products I love.
Clean
Like most makeovers, this one started with a good cleaning using my go-to paint prep cleaner, White Lightning from Dixie Belle. I simply mix 1 tablespoon into a half gallon of warm water, and I’m ready to go.
These terry cloth applicator pads are perfect for the job and can be tossed in the wash:
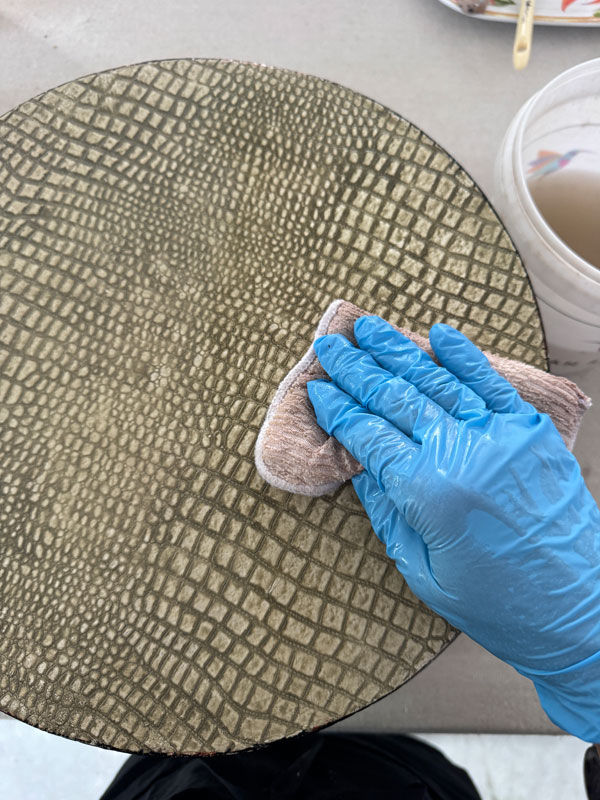
White Lightning is a degreaser and a deglosser and gloves are recommended.
Once it was good and clean, I rinsed with clean water and I was ready for paint.
Paint
I chose this lovely Tea Rose color for this piece:
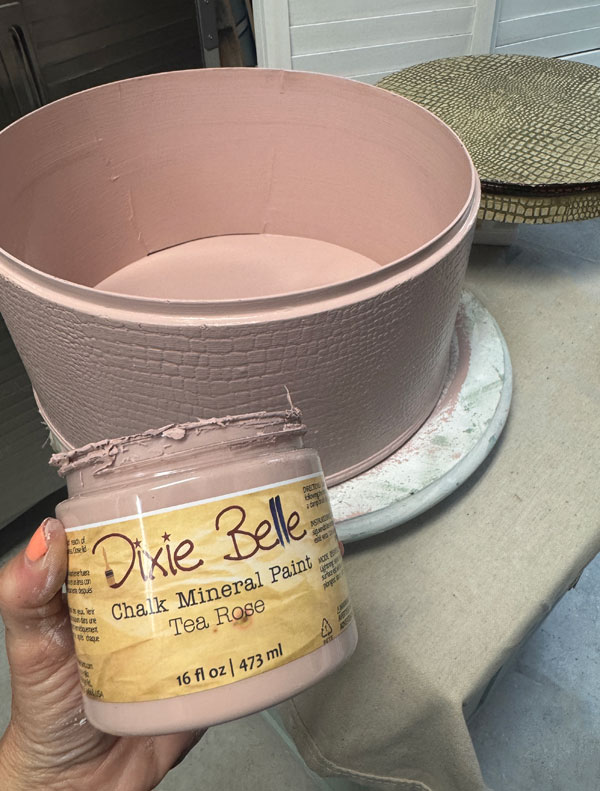
Y’all know I love this color! Some of my favorite pieces like this one HERE and this one HERE have been redone in this sweet color!
I gave it two coats for solid coverage inside and out.
Adding details with moulds
Then, I started playing around with what moulds I wanted to use to embellish this box. I ended up choosing to use the Enlightened Etchings mould:
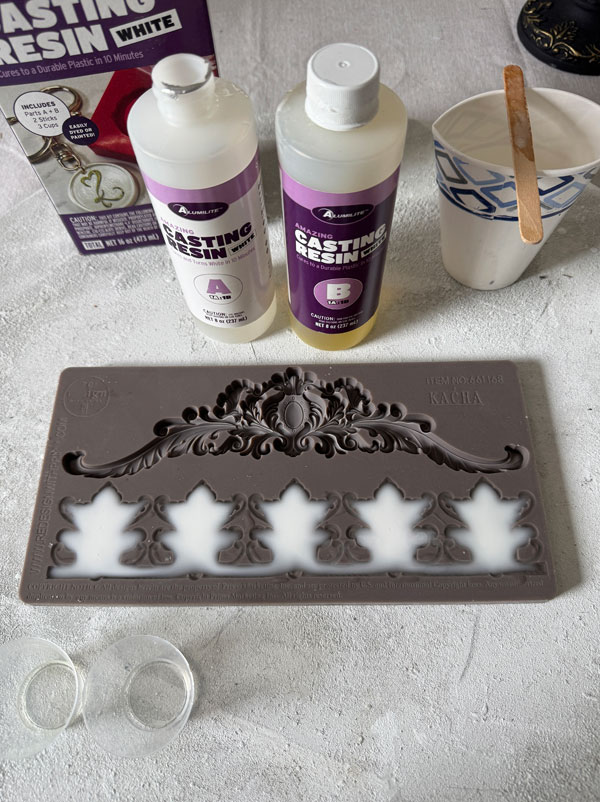
I cast about five pieces using using Amazing Casting Resin which is so EASY to use! Just mix equal parts of both liquids and pour. In about 12 minutes or so, the casting is ready!
I removed them right away while they were still warm and laid them over the side of the box like so:
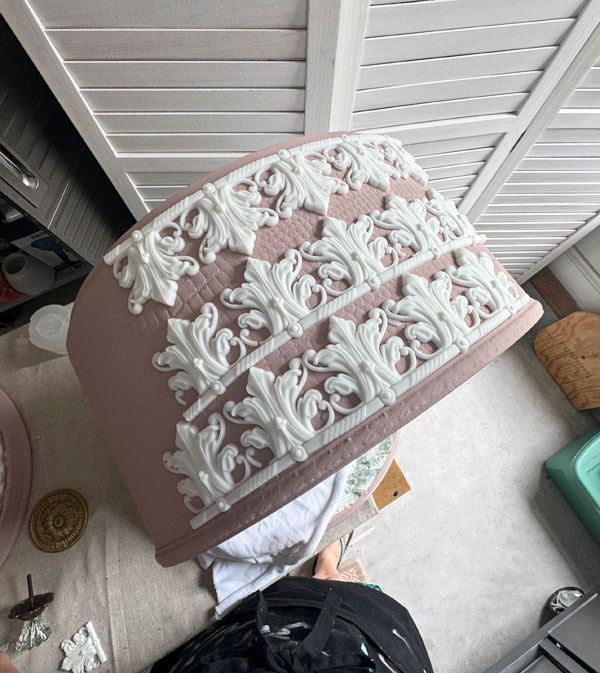
I left them to cure like that for a bit, so they would be easy to add to my box. You can usually use a hair dryer or the microwave to warm them up which will make them pliable, but this is much easier.
Next, I attached them to the top of the box all the way around using Titebond Quick and Thick Glue:
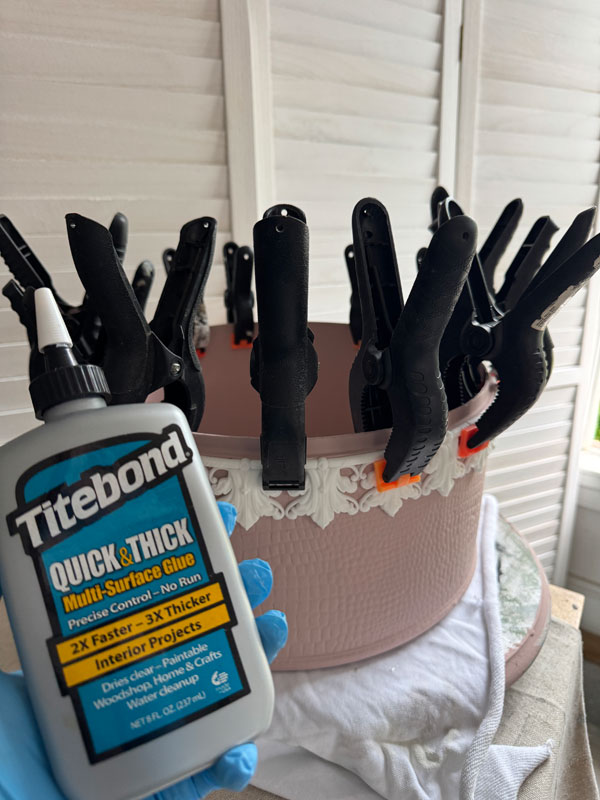
My Dad’s spring clamps that he passed along to me are perfect for this! Thanks, Dad!
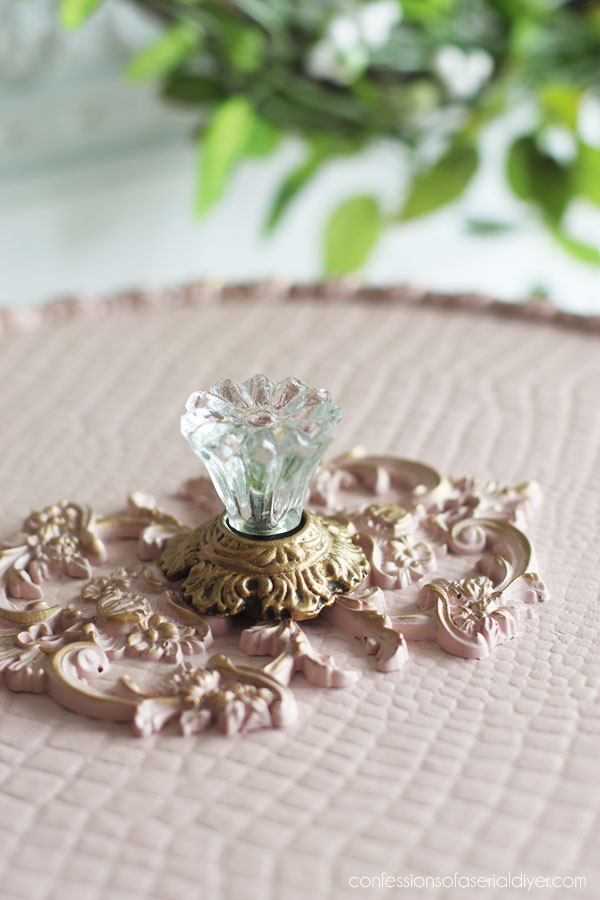
I also added these pieces to the center of the top, made from the Regal Flourish Mould:
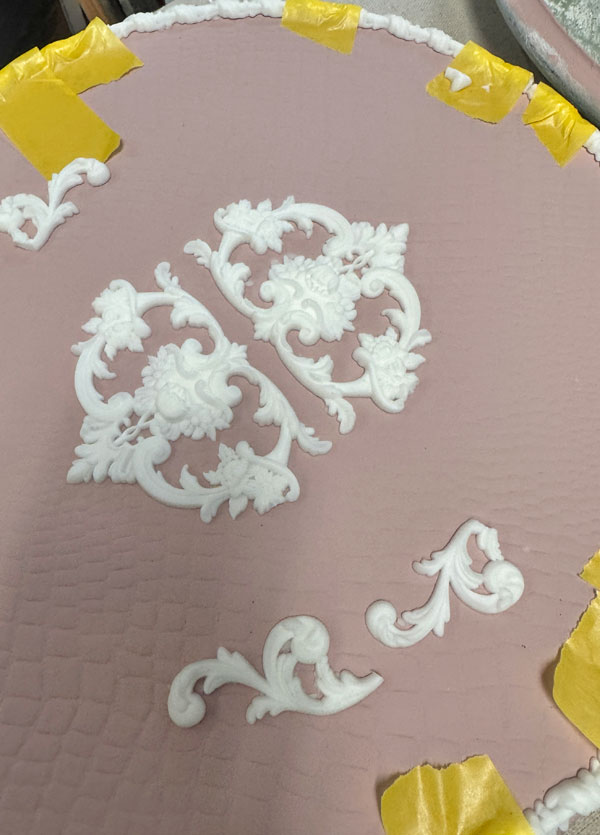
I did cut the ends off. And then from the same mould, you can barely see the outer edge molding that I taped in place as it cured.
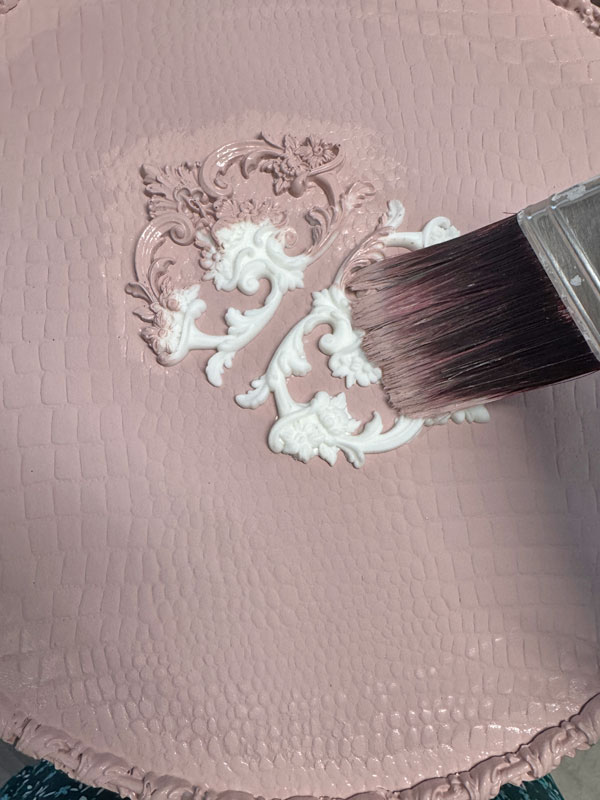
Everything got painted in Tea Rose also…
Seal
To seal over all that detail, I used Clear Rustoleum spray in the satin finish.
Highlight the Mouldings with Gilding Wax
Finally, to highlight all that gorgeous detail, I used Antique Gold Gilding Wax:
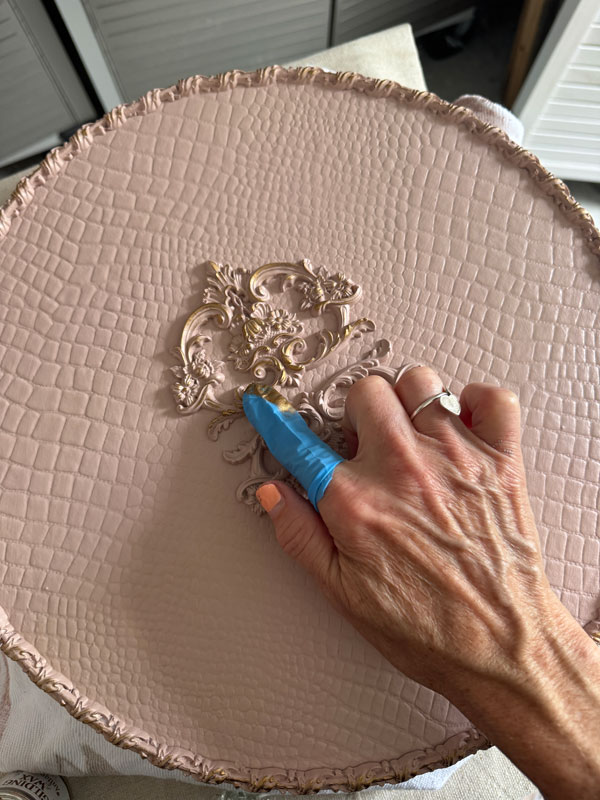
That beach vacation manicure is hanging on for dear life ha ha! And you can see the thinner trim I added to the edges (from that same Regal Flourish mould) better here.
Gilding wax is oil based, so it can go on last, but I have forgotten in the past and added it before sealing, and it has done fine.
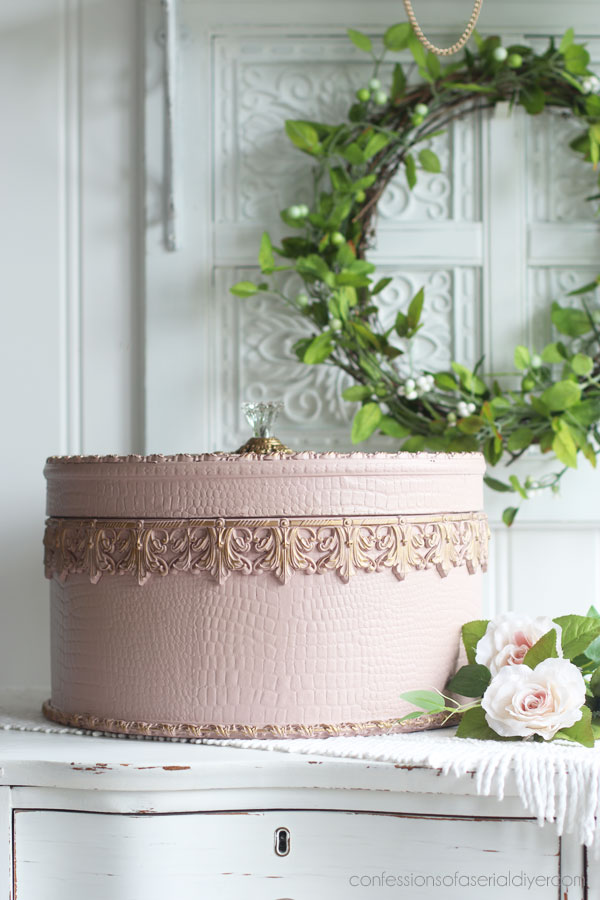
The Prettiest Hatbox Makeover Reveal
How about this hatbox now??
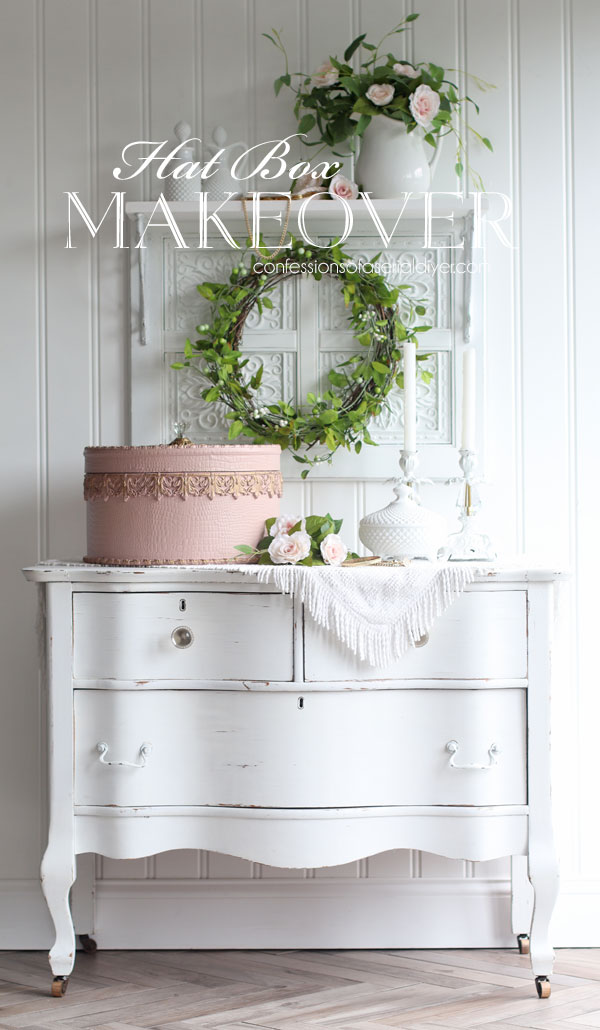
It almost looks like a cake, doesn’t it?
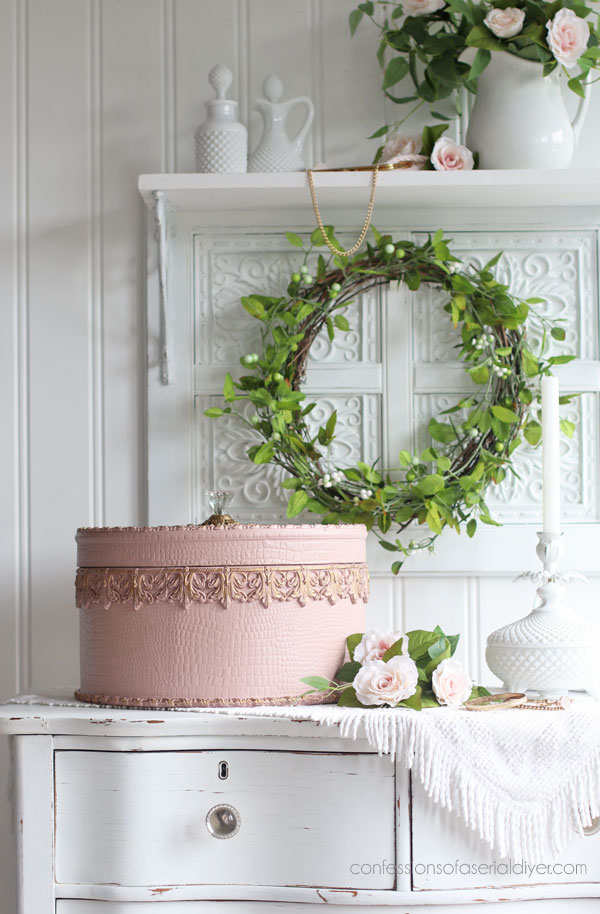
The detail around the edge is my favorite and that alone adds so much!
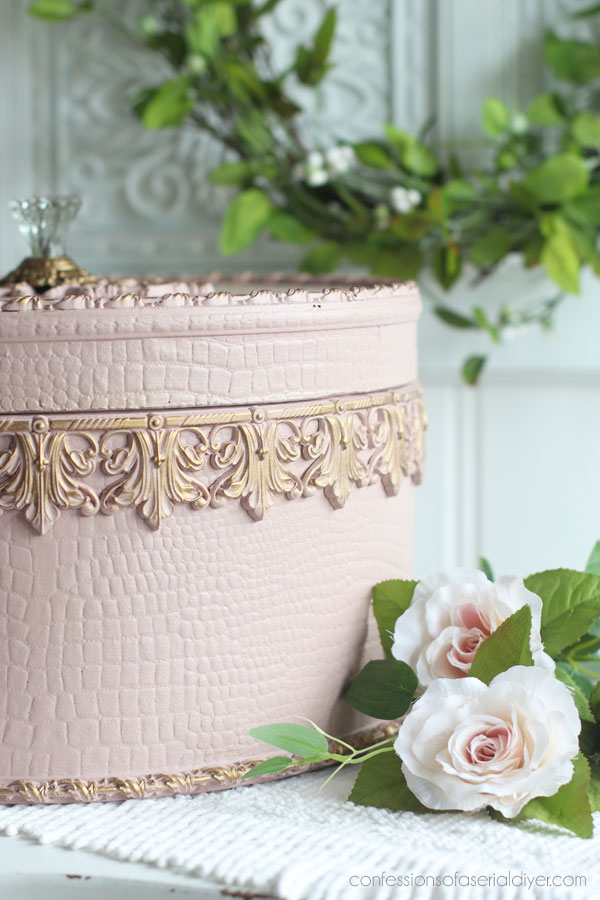
But the more narrow trim around the edges, while subtle, adds so much too!
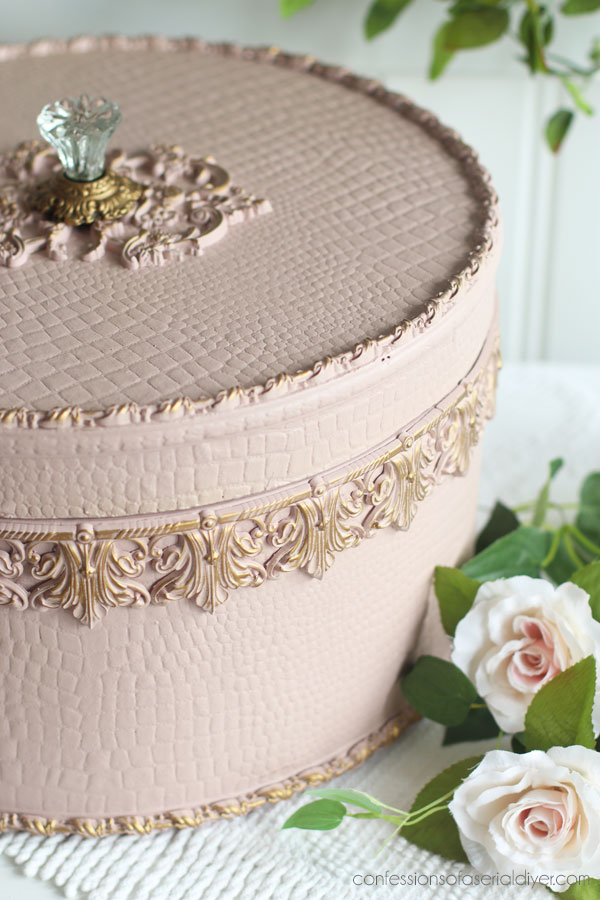
And it covered right over the damaged areas.
I decided to add a glass knob to the top for a little more pretty!
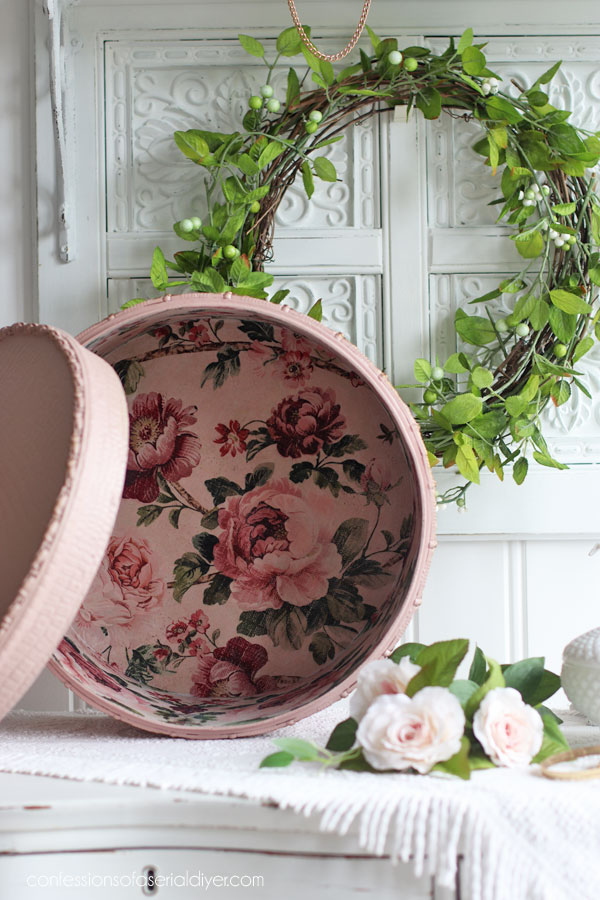
The inside
Of course I had to make the inside pretty too!
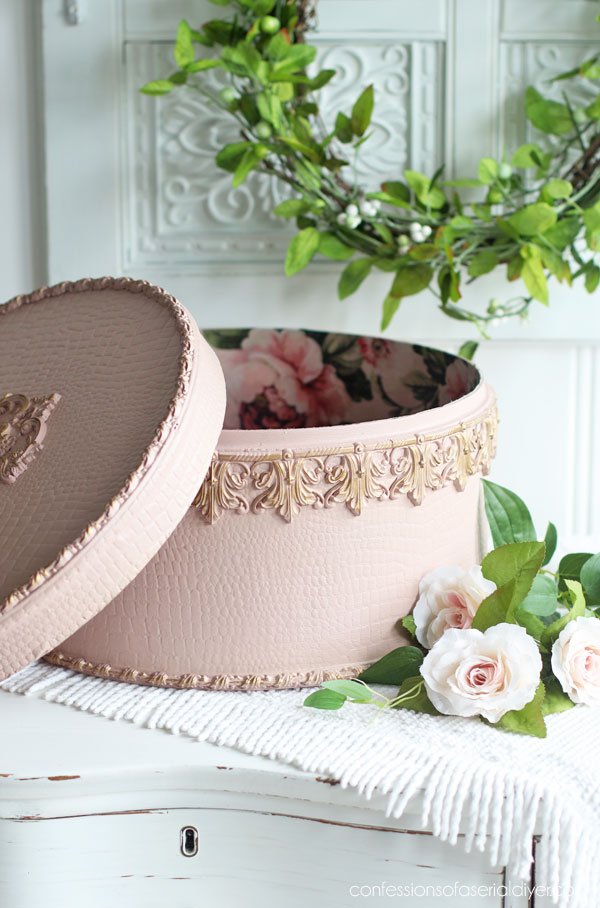
I just got the Timeless Blooms decoupage paper back in stock, and I couldn’t wait to use it here:
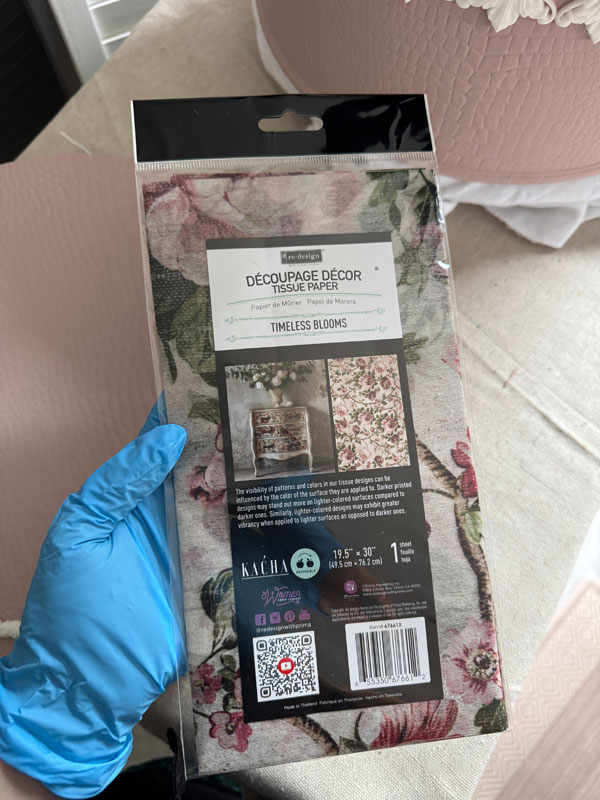
You may have noticed that the price of the decoupage papers has recently gone up. That is Redesign’s choice, not mine, but for the impact they have, they are still reasonable!
Lining the Inside with Decoupage Paper
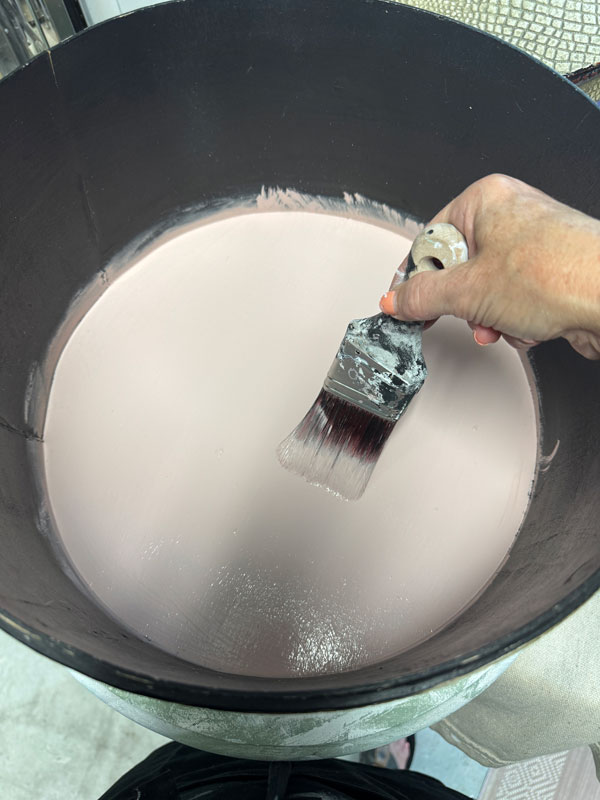
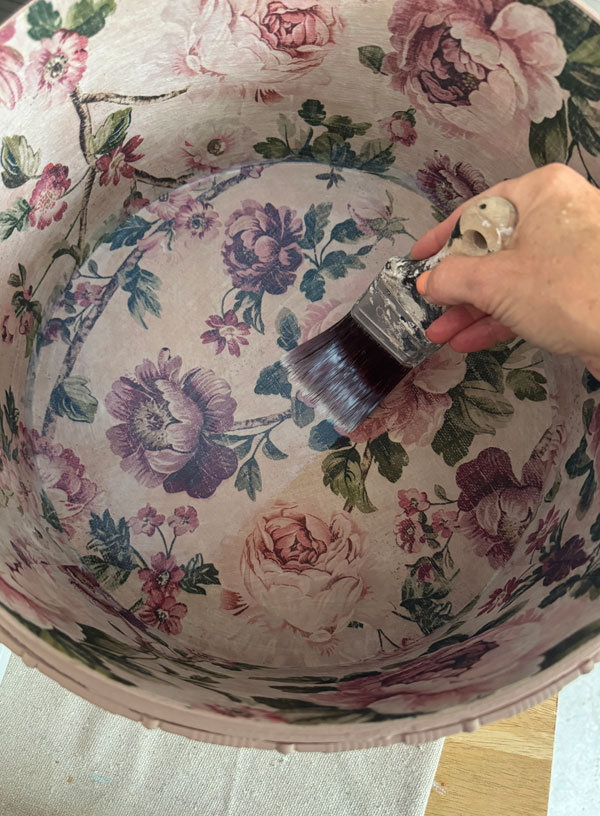
This is the only before photo I have of the inside, and as you can see I started by painting the interior first…
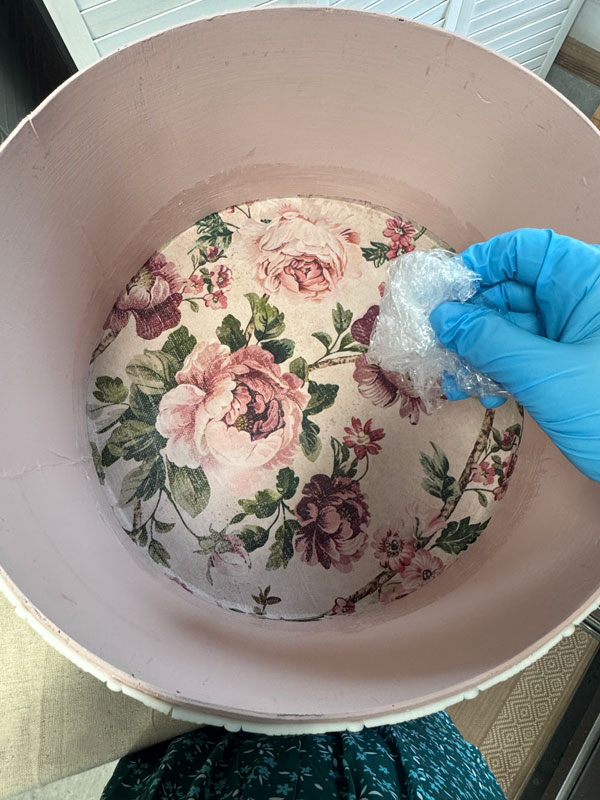
Then, I cut a circular piece for the bottom of the inside. I traced around the lid to get a piece slightly larger than the actual bottom.
I applied a coat of Redesign’s matte Decoupage Gel and then laid my paper. I then used a balled up piece of plastic wrap to smooth the paper in place…
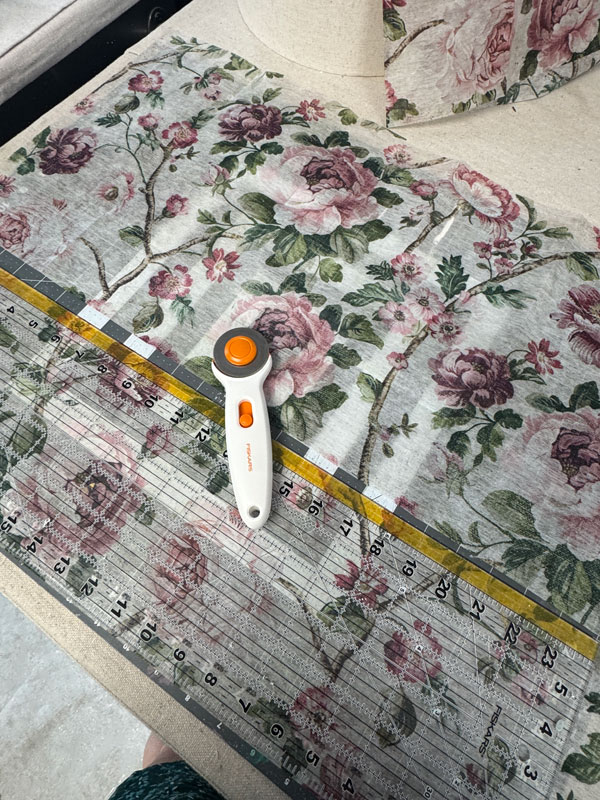
For the sides, I used my rotary cutter, cutting mat, and straight edge to get nice, straight cuts:
I applied decoupage gel once again, and I ended up using a synthetic chip brush this time which worked really well!
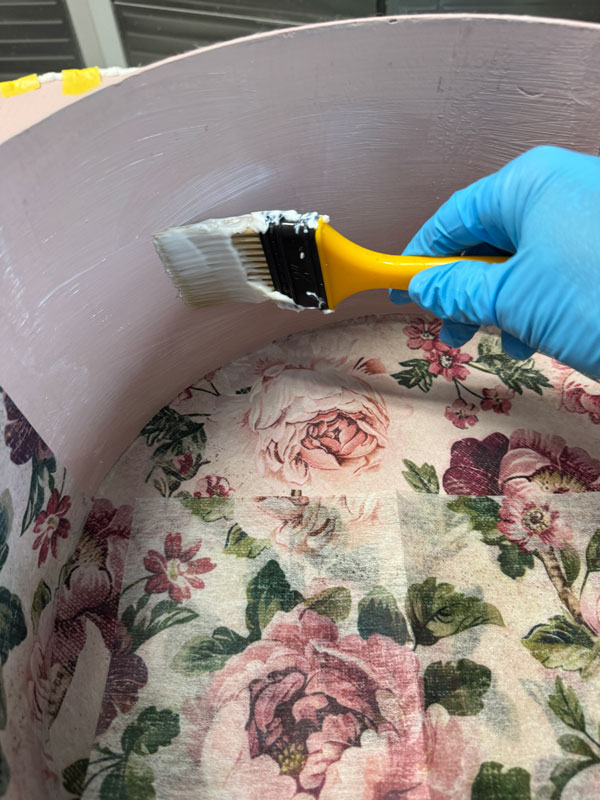
Once I had all the paper smoothed into place, I sealed with Clear Coat in Satin using one of my Mini Angle brushes:
You can also use the decoupage gel to seal.
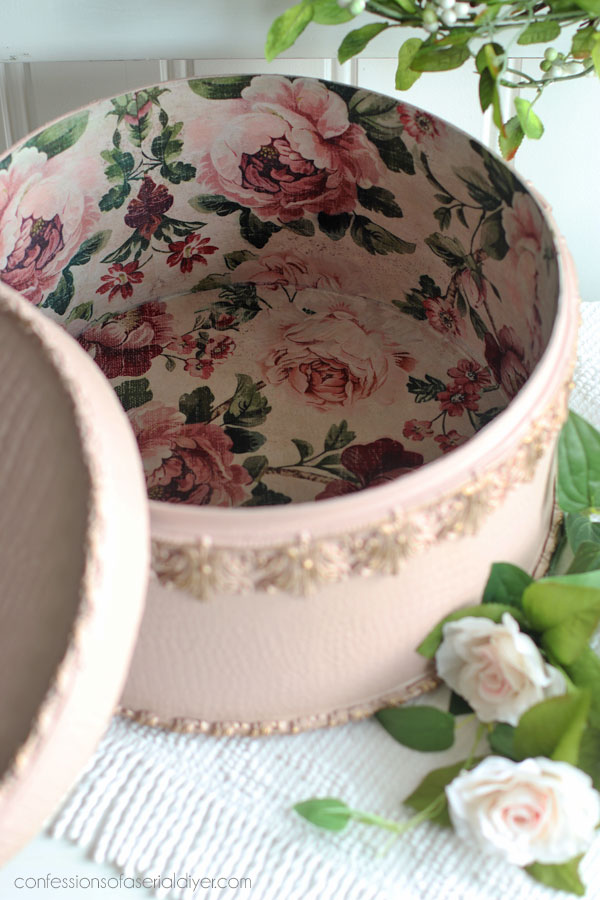
It’s so pretty!!
I was thrilled to see this paper coming back!
And that’s the prettiest hatbox makeover!
Definitely worth that dollar spent now!!
And one more done!!
See anything you may have missed below:
Painting the Smalls #42
Painted Hutch Makeover
Update Thrift Store Lamps with Paint!
Vintage Telephone Table
Repurposing Hobby Lobby Art
Unfinished Wood Table Makeover
Apothecary Empire Dresser
As we will be celebrating our nation’s 250th anniversary this Saturday, I’m not exactly sure if I’ll get something new done, so we’ll see! I’ll be back on Tuesday with something either way!
Happy Independence Day to all my friends in the USA!! Be safe and stay cool out there!! ❤️🤍💙
XOXO,

Don’t Miss a Thing!
If you like what you see, there are several ways to follow along!
EMAIL * INSTAGRAM * FACEBOOK * PINTEREST

Get FREE SHIPPING on all orders over $50 in my Etsy shop. (No code needed at checkout!) Orders under $50 enjoy $8 flat rate shipping!
Most orders ship same or next business day! Visit my shop below!


Mary Kaiser says
Oh my is that beautiful now! I love how that turned out. Love that color so much, and it does look like a cake lol! That will be sold very quickly from your booth. When my daughter was little I had a hat box that she put all her dress up jewerly in and I kept it inside a larger box with all her dress up clothes. This hat box would have been left out because it is so pretty.
Christy says
Thank you, Mary! What a great idea for it! I was thinking doll clothes lol, but I love it for dress up clothes! XOXO
Denise says
Your makeover of that sad little hatbox is truly amazing! It is now a work of art and would be a stand out in any room it is placed. It is absolutely stunning. As always, your attention to detail is wonderful. What a perfect piece. Thanks for sharing!!
Christy says
Aww thank you so much, Denise! A few moulds did wonders!! XOXO
Kathy Cannon says
Sooo pretty! Reminds me exactly of a vintage cake storer/taker lol!Fabulous finish!
Christy says
Thank you, Kathy! Yes it sure does look like one! XOXO
Lori Troxclair says
This hat box is absolutely beautiful !!
Christy says
Thanks so much, Lori! XOXO
Cecilia says
Wow! That was a dollar well spent! Love the molded details and of course, the paper inside is gorgeous. So much better now! Hope you have a fantastic 4th! 🧨 🎇
😊Cecilia
Christy says
Right? I’m so glad it was still there when I went back! Thank you, Cecilia! You too, my friend! XOXO
Jackie C says
OH MY! What a transformation. This is gorgeous‼️
Christy says
Thank you so much, Jackie!! XOXO
Fran says
An absolute work of art!
Christy says
Aww thank you, Fran! XOXO
susan says
Love, love love!
Christy says
Thank you, Susan! XOXO
Allita says
Christy, this turned out so beautifully. All the decorative touches were already so special, but then I saw the inside and that paper just really puts this over the top. What a perfect addition! Love your creative vision. 🙂 Someone is going to be thrilled to add that to their space.
Christy says
Thank you so much, Allita! It was such a great blank canvas to play with! XOXO
Rebecca Payne says
This is an Awesome makeover. I love the color and tissue paper you choose.
Christy says
I’m so glad you like it, Rebecca, thank you!! XOXO
Judy Osment says
Love the hat box, it’s beautiful!
Christy says
Thank you so much, Judy! XOXO
Cyndi says
OMG! Gorgeous!!! Those moulds are incredible. And the papered inside…Wow!
Christy says
Thanks so much, Cyndi! Isn’t it amazing what a few moulds can do? XOXO
Josee says
Very cool! You have such a vision. God bless and happy 4th!
Christy says
Thank you, Josee!! Happy 4th to you too! XOXO