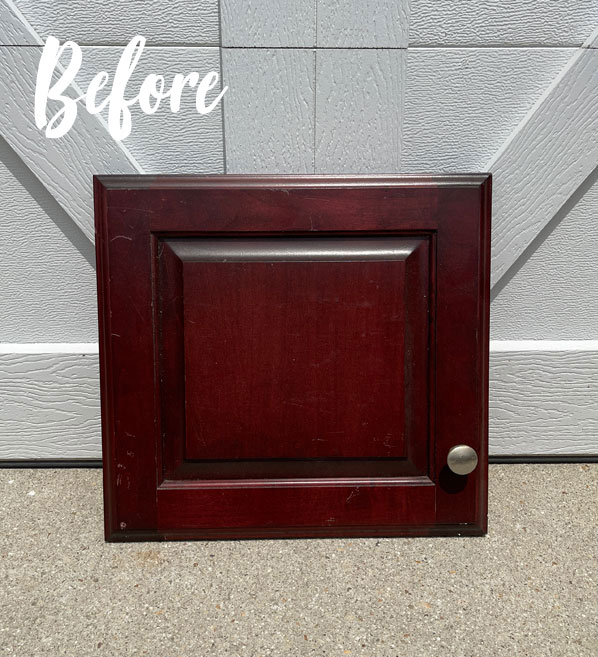
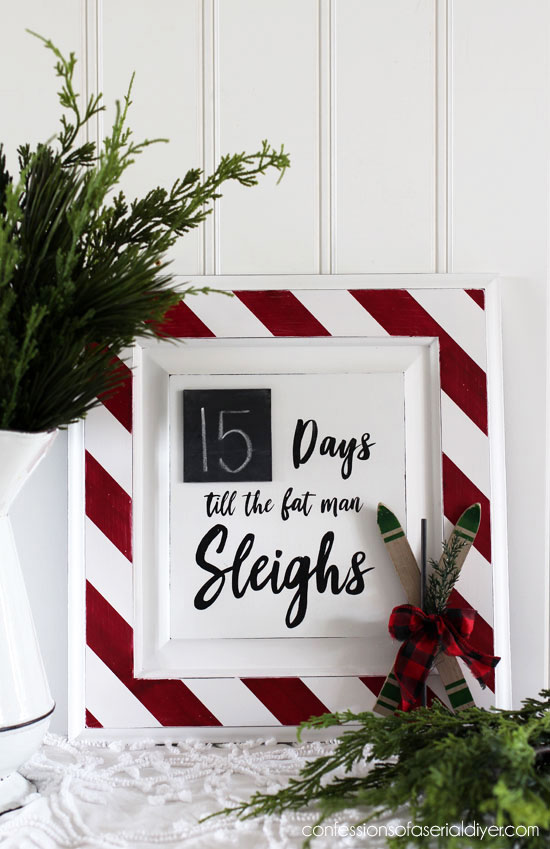
Beautiful friends, welcome back! Today I’m sharing a DIY Christmas Countdown I made using this cabinet door that came from above our stove:
Here is where it once hung:
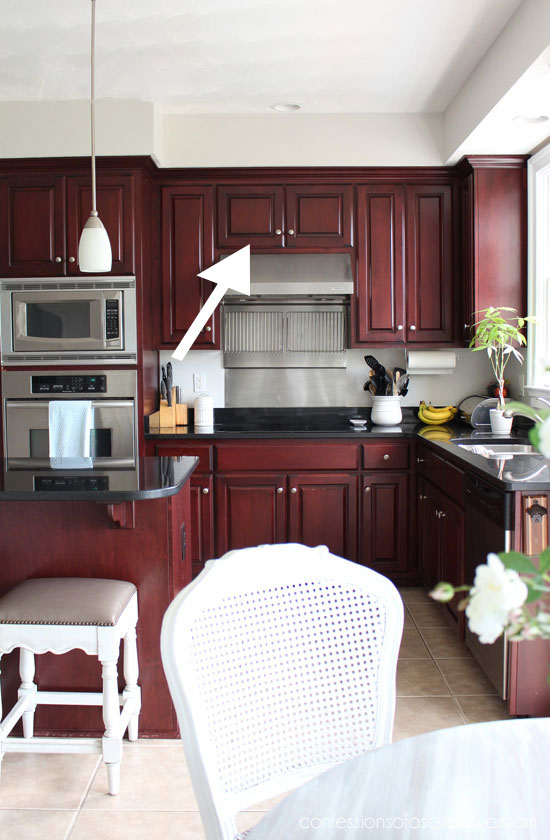
I removed those two cabinet doors above the stove to build a custom range hood instead.
SEE WHAT OUR KITCHEN LOOKS LIKE NOW HERE! SO much better!
I’ve included a few affiliate links so you can find the products I use.
My hubby likes to taunt me by pretending he’s going to trash perfectly good things like this, but he knows better! And I would not hesitate to dig it back out.
It hung around a while, but I finally got around to doing something with it. (This is an older project but I thought it deserved another visit!)
When I was deciding what to do with this cabinet door, I knew I wanted to make some sort of countdown to Christmas.
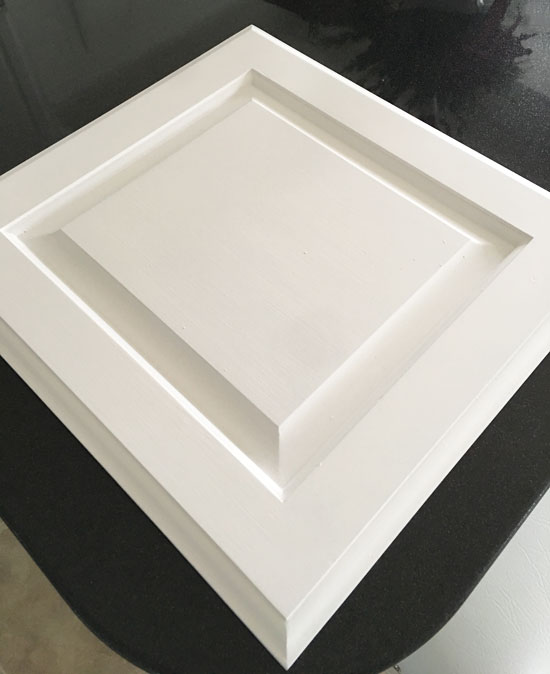
I started by painting the door. It took three coats…
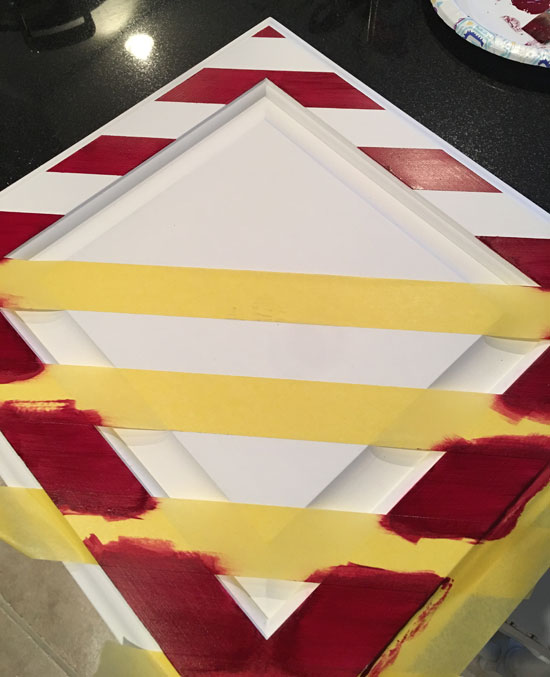
Then I used my favorite painter’s tape, FrogTape for delicate Surfaces, to add diagonal stripes to the outer frame. (See how I measure out my stripes perfectly HERE.)
I painted them in with craft paint in Black Cherry:
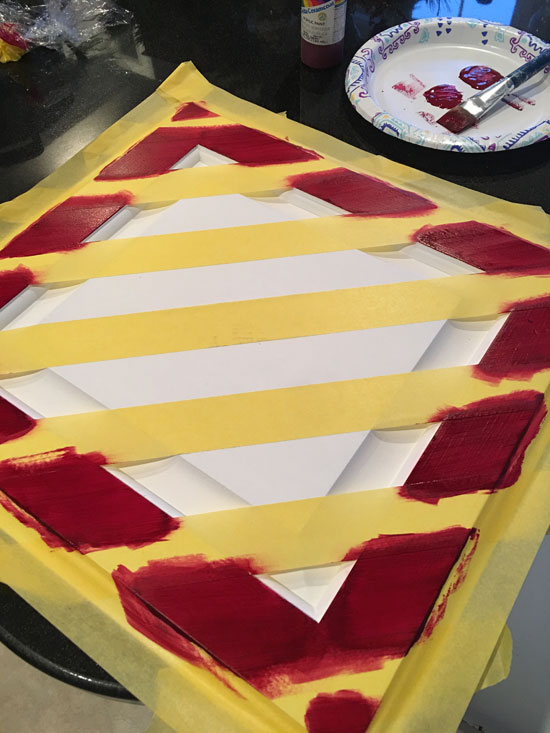
I wanted this deep Cherry color, but we didn’t have Fiery Sky in Silk at the time or I would have used that.
This also took three coats.
I pulled the tape off while the paint was still wet:
Love those nice crisp lines the FrogTape gives!
Then I created a graphic in Photoshop Elements and uploaded it to my Silhouette Cameo machine. I used to use my Cameo all the time before we had all the fun transfers and such to play with.
I printed the graphic on contact paper to create a “stencil”. I like to use contact paper because it is easy to come by and cheaper, but I usually have to end up adding all the tiny center pieces of the letters by hand, which can be tedious. I’ve used this transfer paper and it makes it much easier.
Then I applied the graphic to the door and painted it in with Delta Black acrylic craft paint using a small brush:
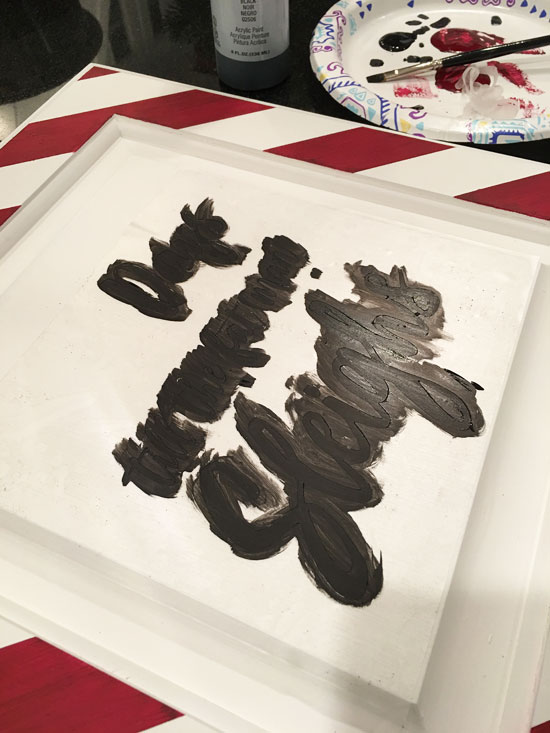
I gave it two coats and then removed it while it was still wet. I waited to remove all the little pieces left behind, using this tool, until it was dry.
If you don’t have a silhouette, you can transfer this the old school way using the method I share HERE.
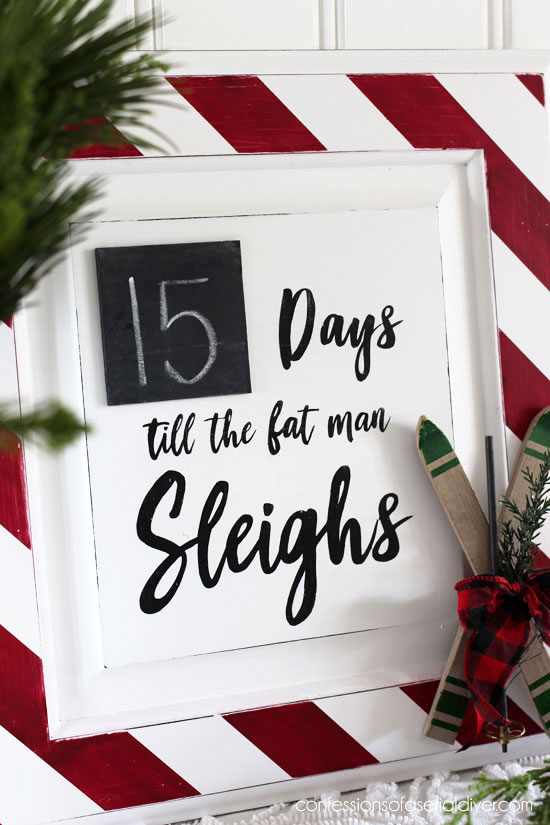
Here is what it says!
(Click on the image for a free PDF download if you want to use it.) 
These are for personal use only, please. I hope Santa isn’t offended. I mean it in the most loving way.
And here’s one in the reverse as you will need it in the reverse if you use the old school transfer method:
Once the paint was dry, I sanded lightly all over and sealed with Clear Wax.
Christmas Countdown from a Cabinet Door
This was such a fun way to repurpose this door that was headed for the trash!

Don’t freak out! We have more that 15 days until Christmas ha ha! I think it is now 25 days until the big day.
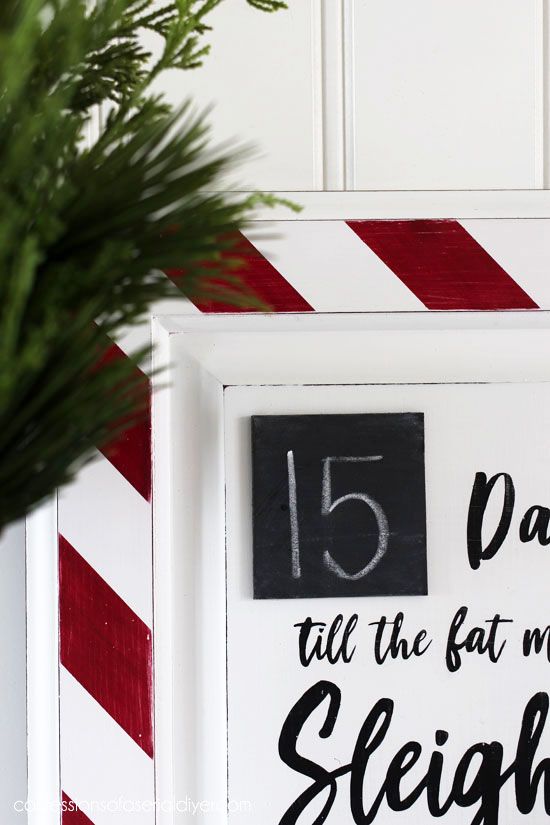
For the chalkboard portion, I cut a small square of hardboard and sprayed it with Rust-Oleum’s chalkboard spray paint.
I attached that with Gorilla glue…
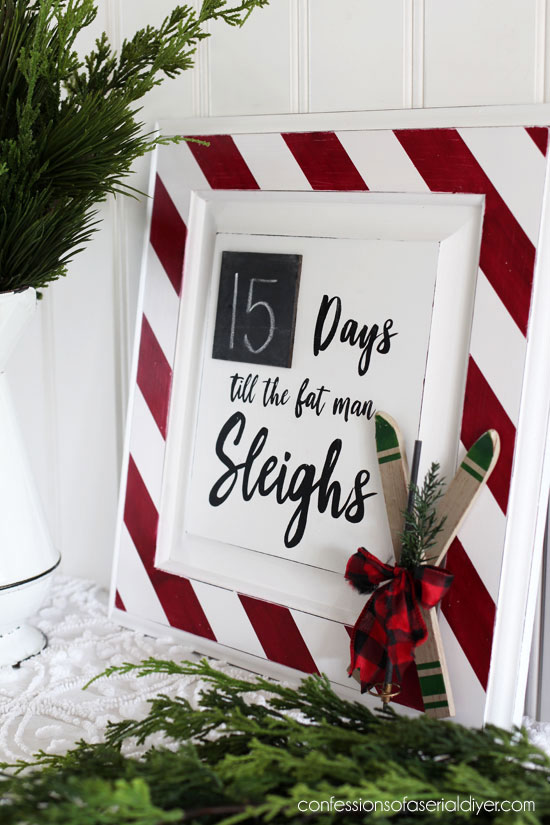
This little set of skis I found as an ornament made a cute addition to the bottom corner:
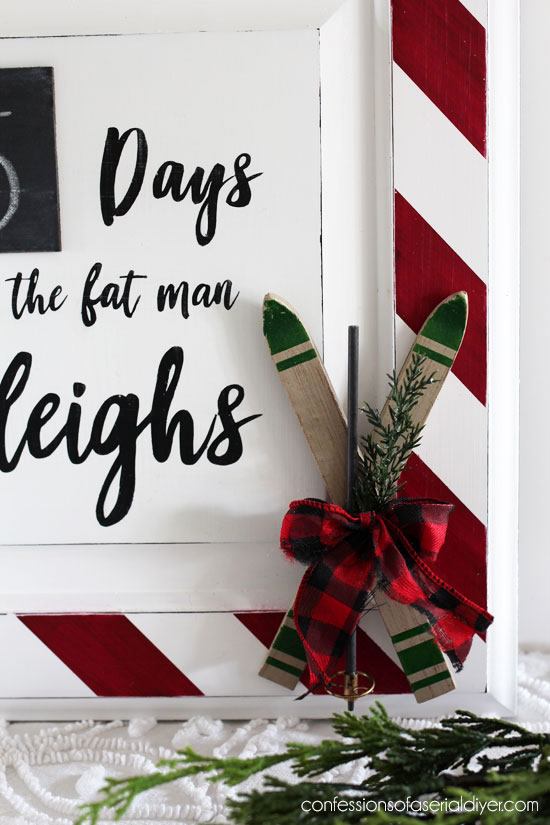
And they covered up the hole that was there.
I attached them using Gorilla glue as well.
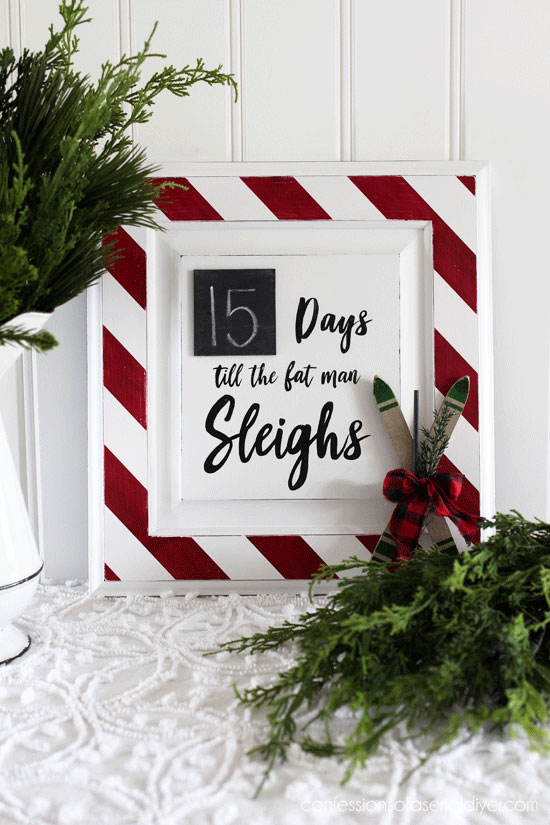
And here it is hanging in our kitchen!

I hope you enjoyed this whimsical Christmas project today!
You might enjoy this one too!

See what I did with these skis HERE!
And what did I do with the other cabinet door I removed from above the stove??
You can check that out HERE!
I’ll be back here on Tuesday with a brand new post sharing what I did with this case:
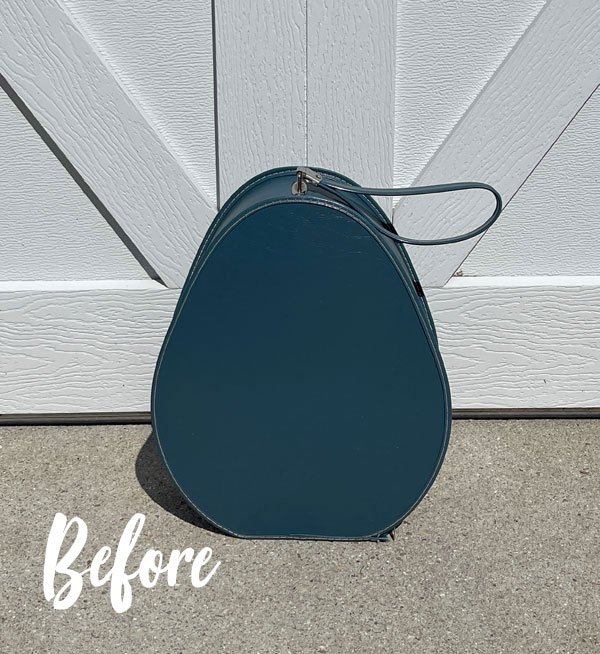
UPDATE: See how pretty this case turned out HERE now!
Have a fabulous weekend!
XOXO,

Don’t Miss a Thing!
If you like what you see, there are several ways to follow along!
EMAIL * INSTAGRAM * FACEBOOK * PINTEREST


Mary Kaiser says
I remember when you did this one, and I loved it then and I love still! I love the stipes on it, so cute!
Christy says
Thank you, Mary! This one was definitely a keeper! Have a great weekend! XOXO
Nana Diana says
Both doors turned out to be adorable deco pieces. LOVE the Christmas one-what a fun idea. Have a wonderful week!
Christy says
Thank you, Diana! I never met a cabinet door I didn’t like lol…they are like blank canvases! XOXO
Christine says
OK, Christy, that’s adorable!!
Christy says
Thank you so much, Christine! XOXO
Michele M. says
Christy, that is just incredible. You are so danged clever.
That is SO cute! And wow – you really did transform that kitchen of yours!
It’s nice to see the before again – just wow.
Christy says
Thank you so much, my friend! It’s hard to look back at those old photos of that sea of darkness ha ha! XOXO
Marietta Wilson says
Thankyou
Christy says
My pleasure! XOXO
Hannah Reyor says
What a great idea for an advent! You did such a good job on the stripy too. Love it. 🥰 Hannah
Christy says
Thank you, Hannah! It’s very candy cane-esque ha ha! XOXO
Debra Hubbs says
This is so cute and then made even cuter with those little skis. Love it!
Christy says
Thanks, Debra! The skis were an attempt to cover the knob hole ha ha! 😀 XOXO
Caye Cooper says
Greetings Cristy! I just LOVE your cabinet door redo! Good job!
No offense, but I’m not a stripe kinda gal, but in small amounts I can handle it–and THIS I can easily smile. Just as cute as can be, madam, and at some point, I may just borrow the idea. THANKS!
Christy says
Hi Caye! Thank you!! I feel like stripes are very coastal…probably why I gravitate towards them, but here they are more festive, and I’m so glad you like them! Borrow away, my friend! XOXO
Zefi Famelis says
Love it. Such a good idea.
Christy says
Thank you so much, Zefi! XOXO