Hello, sweet friends! If you missed it, I finally finished my Fall haul last week with these oars. That means I was practically out of things to make over! I have been shopping though, and I’m hoping to share my brand new haul on Thursday! So today, I’ve got a pretty painted dressing table and mirror that I originally shared in 2021.
I bought this dressing table/desk from my sister’s husband’s late grandfather’s estate sale for $50. I found several items at that estate sale including this farmhouse hutch, this secretary, and the frame that I used to make this super cute fall wreath.
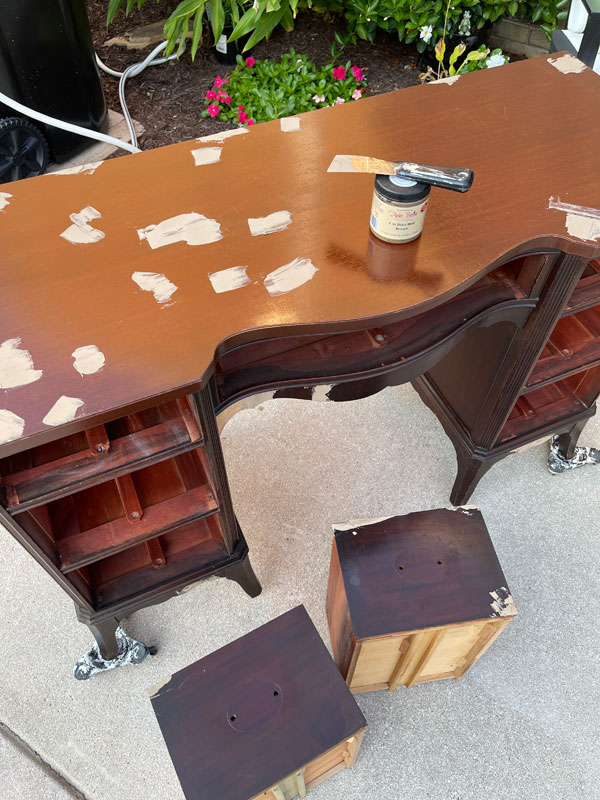
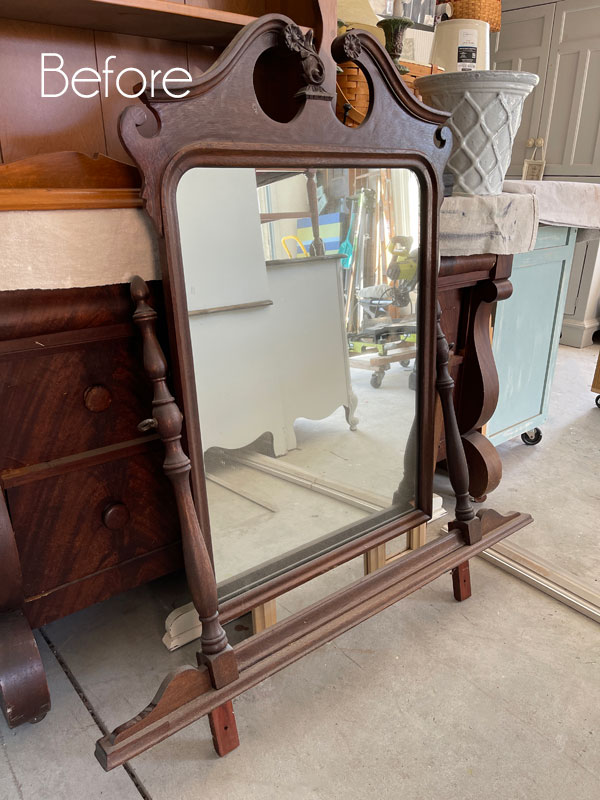
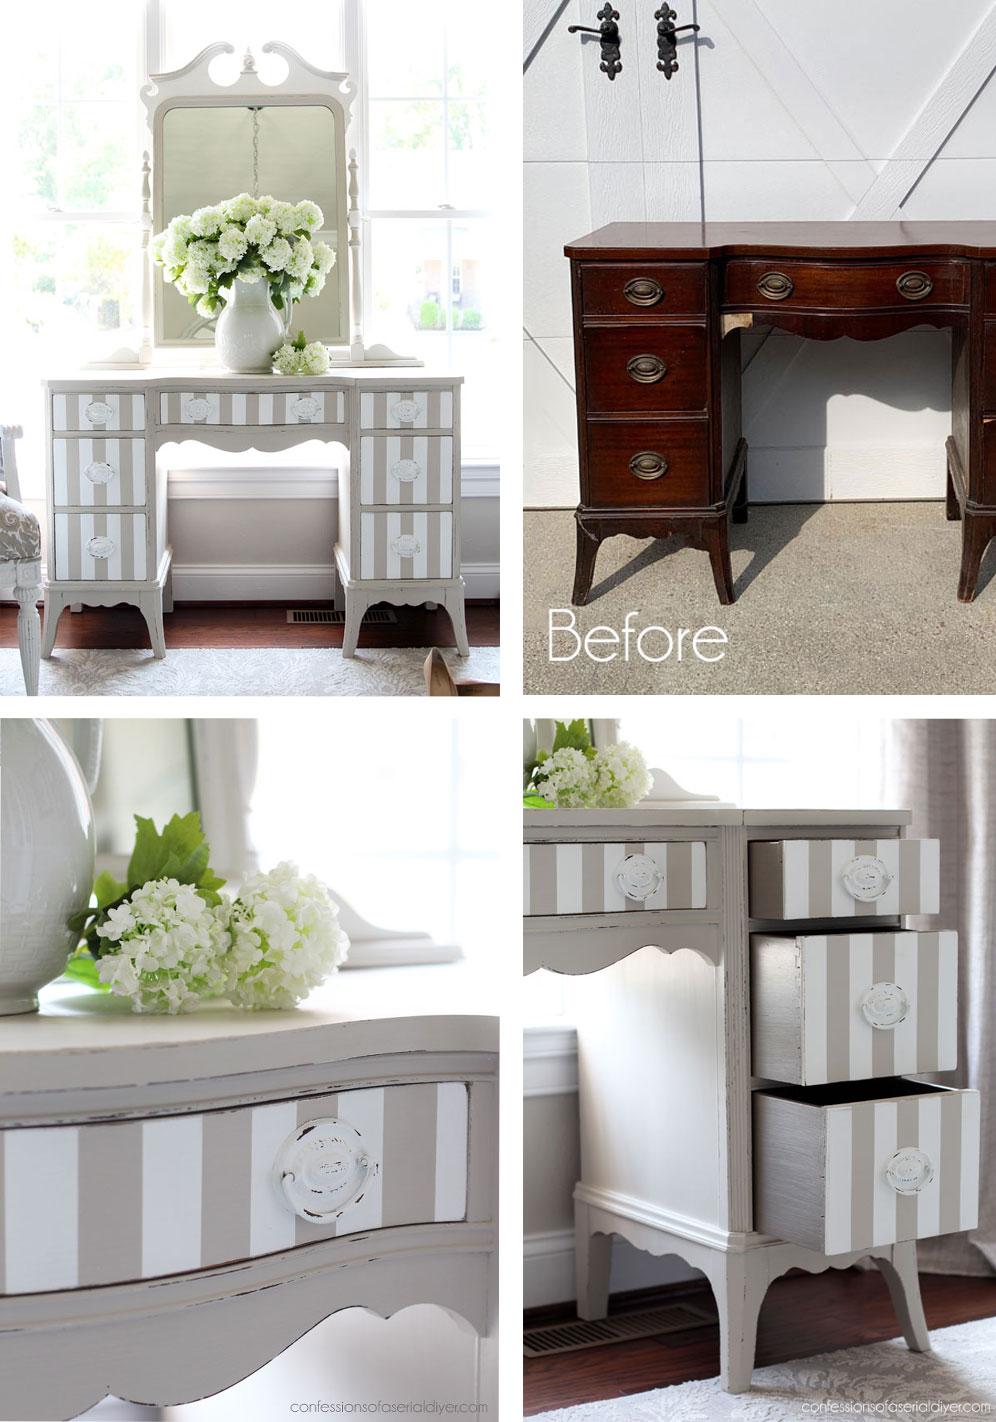
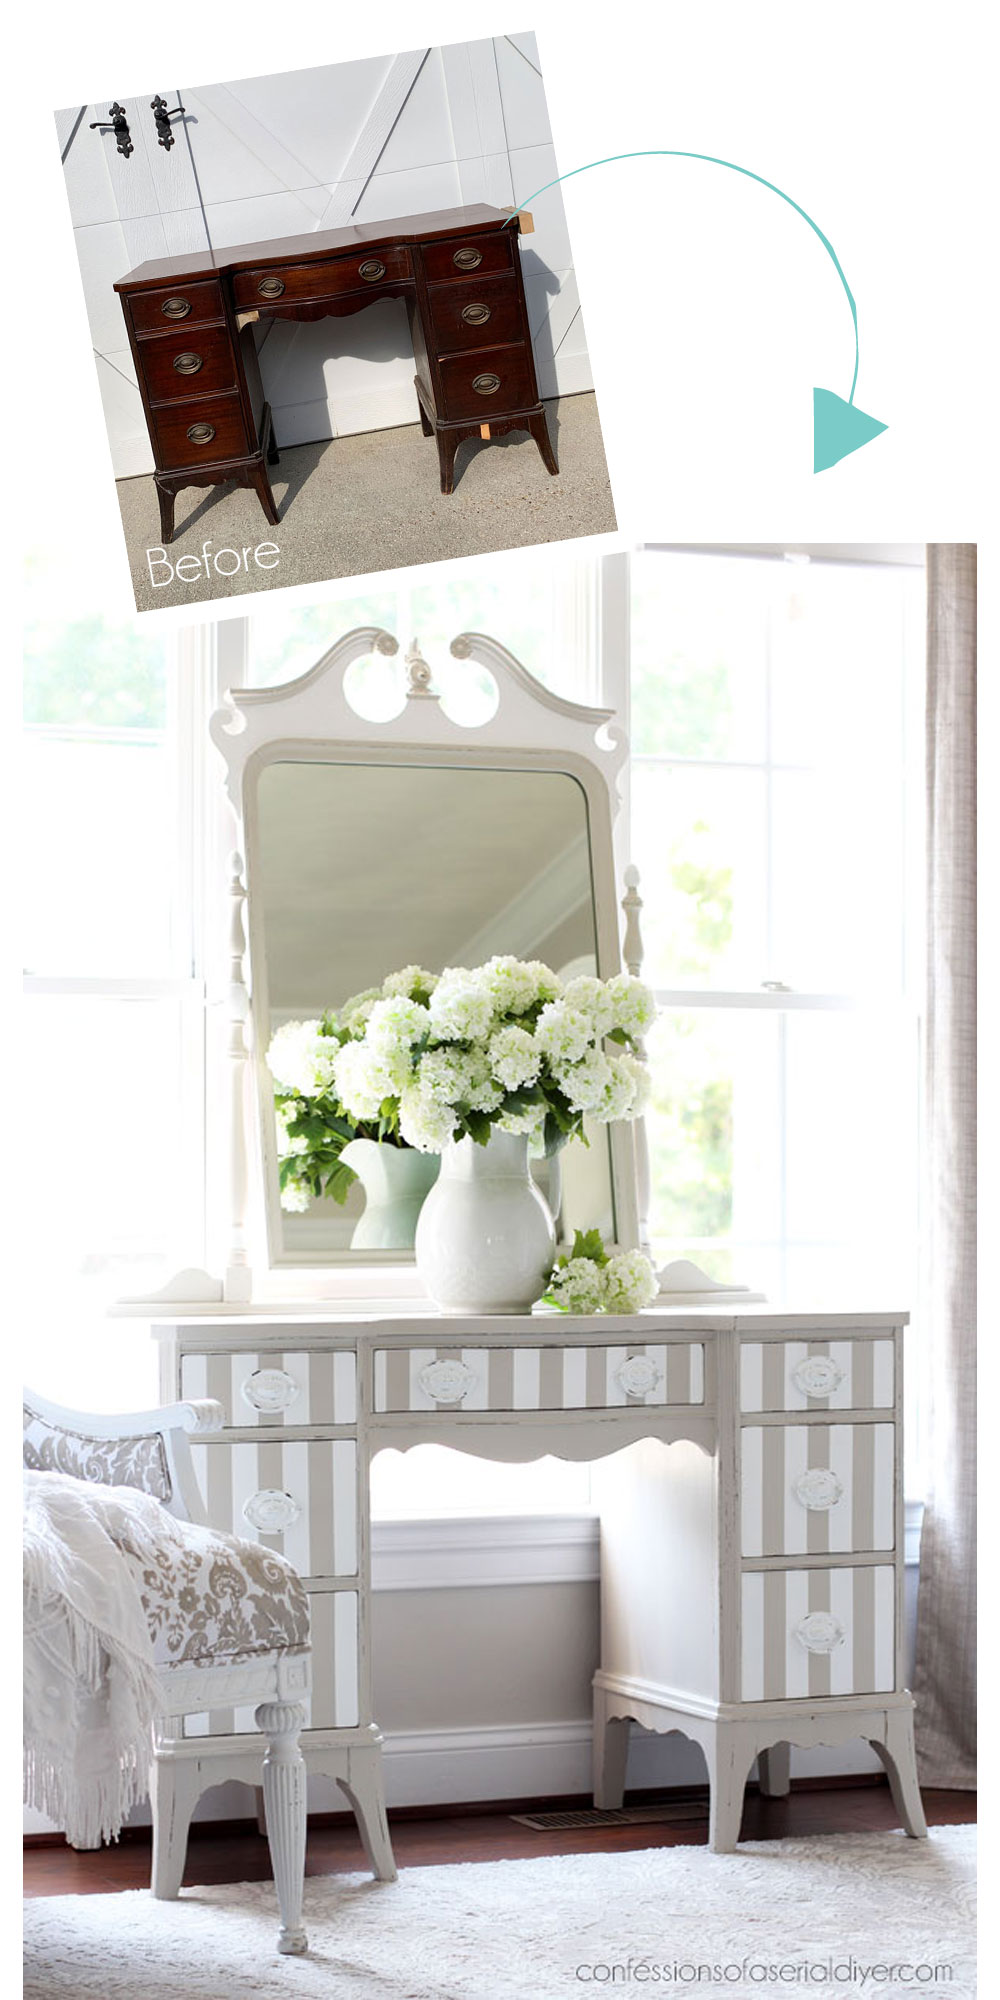
Today’s dressing table started out like this:
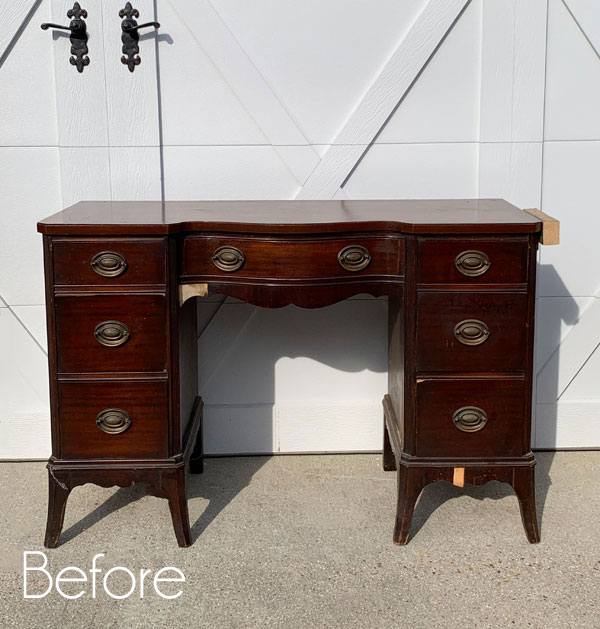
This piece needed a ton of TLC!
I’ve included a few affiliate links so you can find the products I love.
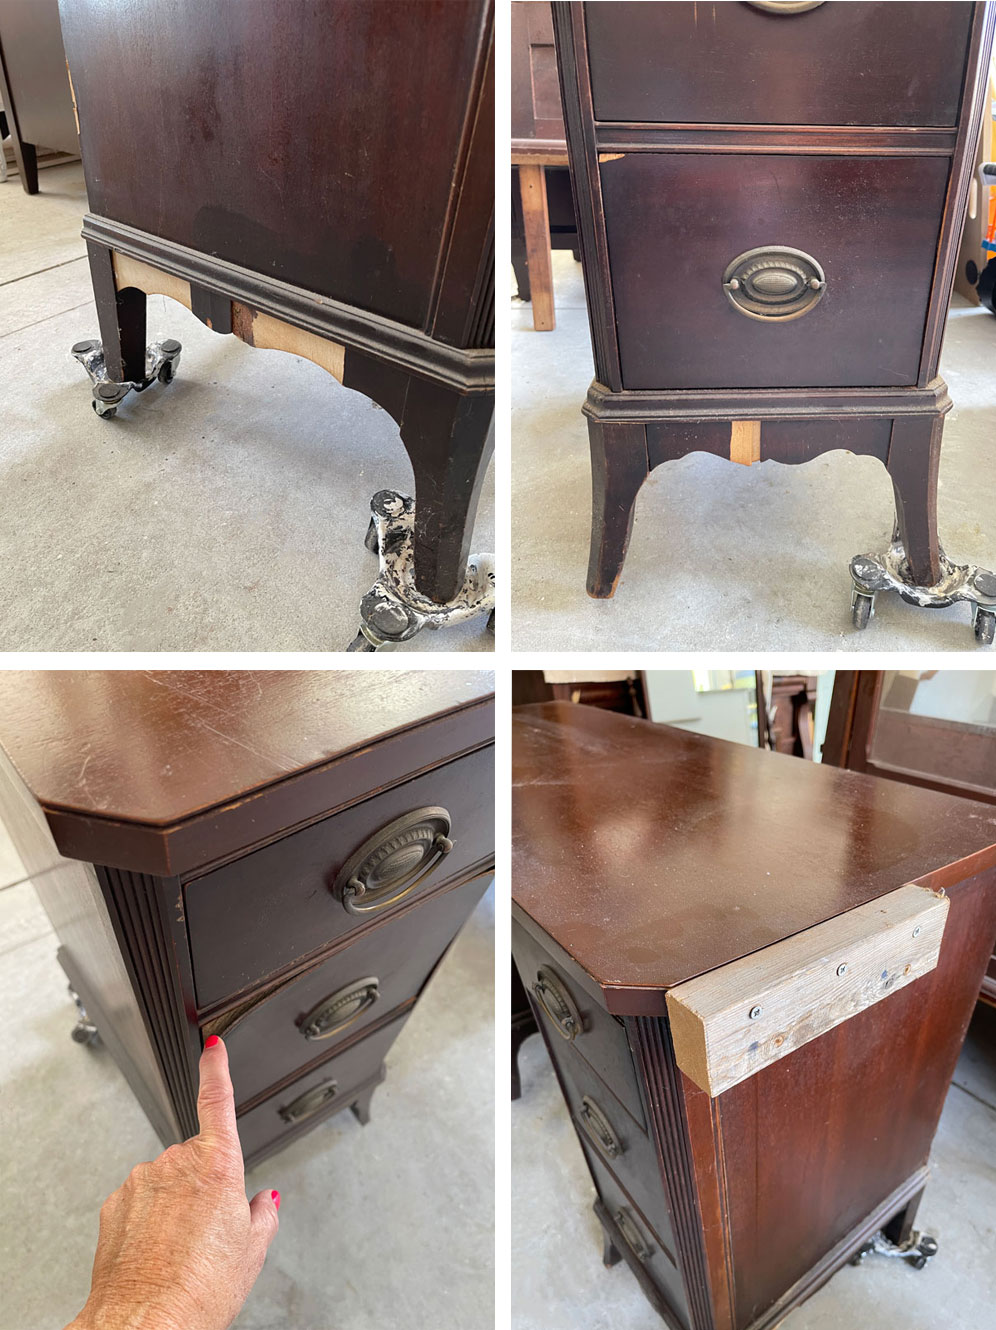
That bottom right photo shows a random piece of wood screwed into the right side. They said it had something to do with fishing poles??
Much of the veneer was loose, including the sides, the top, on some of the drawers, and all around the edges at the bottom. Some pieces of the missing veneer were saved in a drawer, and I was able to glue them back in place with wood glue. A couple of areas were missing too much and the rest was so dry that it easily came off and I just sanded it smooth.
Lots of repairs were needed…
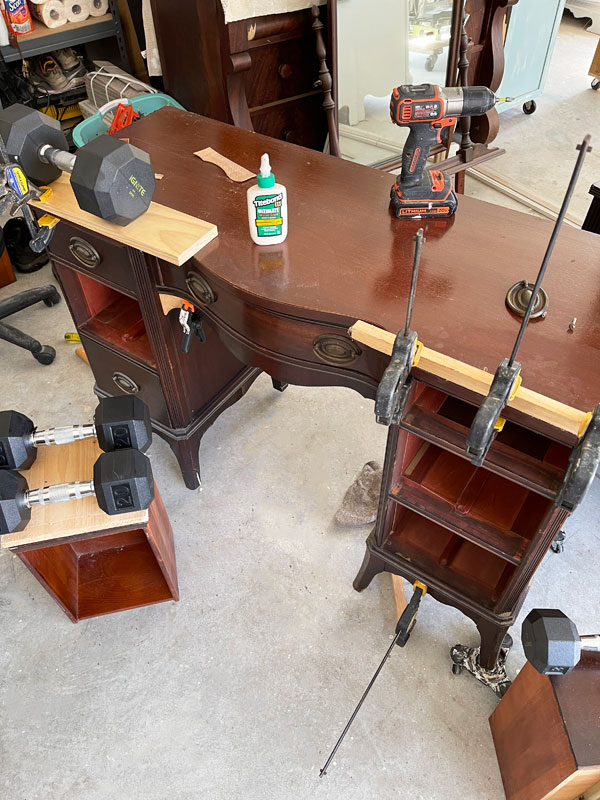
I put my weights to good use!
A good cleaning
Next, this piece needed a good cleaning!
I mixed up a half gallon of warm water and one TBSP of White Lightning in a small tub and got to cleaning:
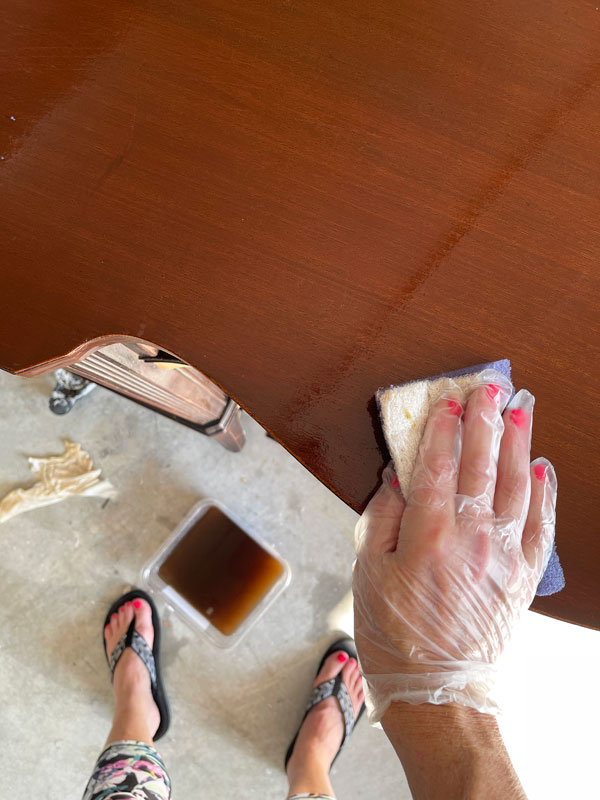
Look at that water!! I swapped it out for clean water and gave everything another wipe down. I like to clean before patching because the wood filler is water soluble.
Filling and patching
After the surfaces were dry, I used Dixie Mud in brown to fill the missing veneer and the many deep scratches that were on the top:
I hand-sanded those areas once they were dry (don’t rush this part!) and then cleaned up with the shop vac and gave everything a wipe down with a clean cloth.
Getting rid of the musty odor
Then it was time to tackle the odor that came with this piece. It just smelled a bit old, and didn’t want anyone to open the drawers and smell that.
I used a brush to apply BOSS in clear to the entire interior:
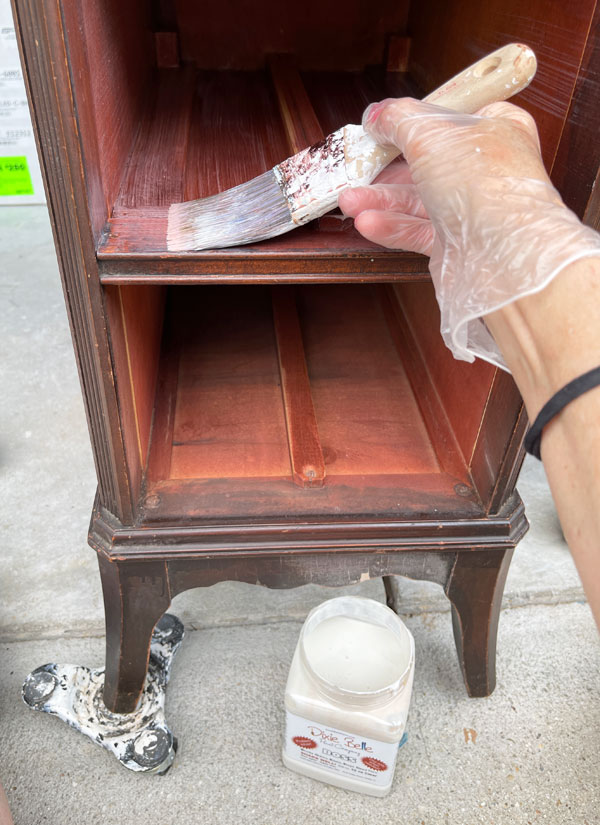
While I do still have some BOSS in stock, it has been replaced by Bonding BOSS which combines Slick Stick and BOSS into one convenient product. You now get the stain and odor blocking power of BOSS with the amazing adhesion properties of Slick Stick!

Preventing bleed through
These red woods are definitely bleeders! They will bleed through every layer of paint, no matter what kind of paint you use. I like to get ahead of the bleed-through by applying a coat of BOSS to the areas I plan to paint.
I chose the white formula of BOSS this time as it acts almost like a coat of paint:
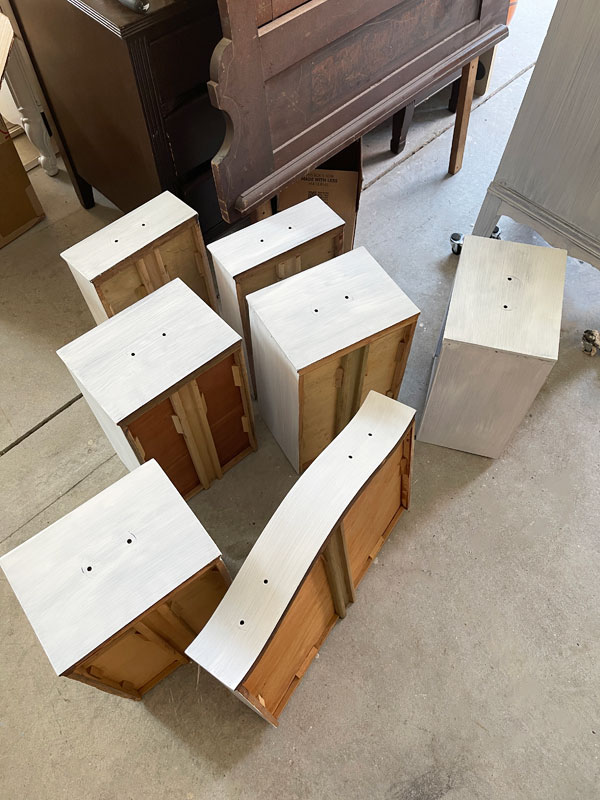
The new Bonding BOSS comes in the same colors: white, clear and gray.
I allowed the BOSS to dry overnight. One coat almost always does the trick as was the case here.
Painting the dressing table
Finally, the fun part…paint! I chose a color I sell really well: Sawmill Gravy.
It went on beautifully! My preferred brush to paint with is a mini angle brush…
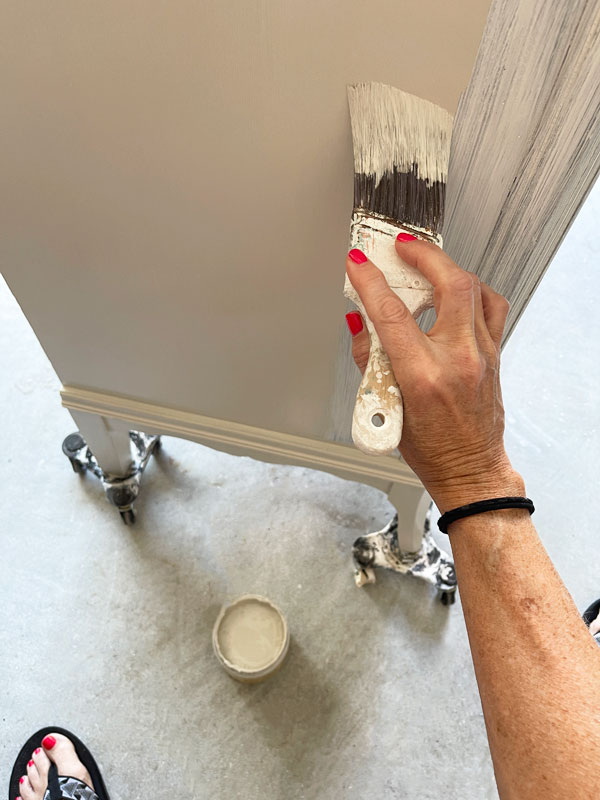
This color goes on almost like a sand color, but it dries a touch more taupe and I just LOVE it!! As you can see I got excellent coverage over the white BOSS but chose to give it two coats.
(Find those dolly wheels I have the legs on HERE.)
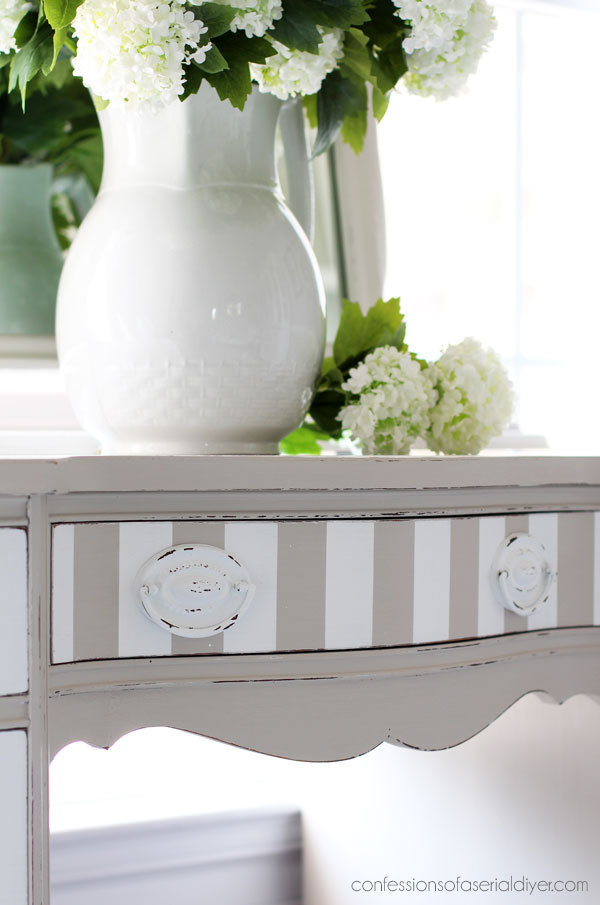
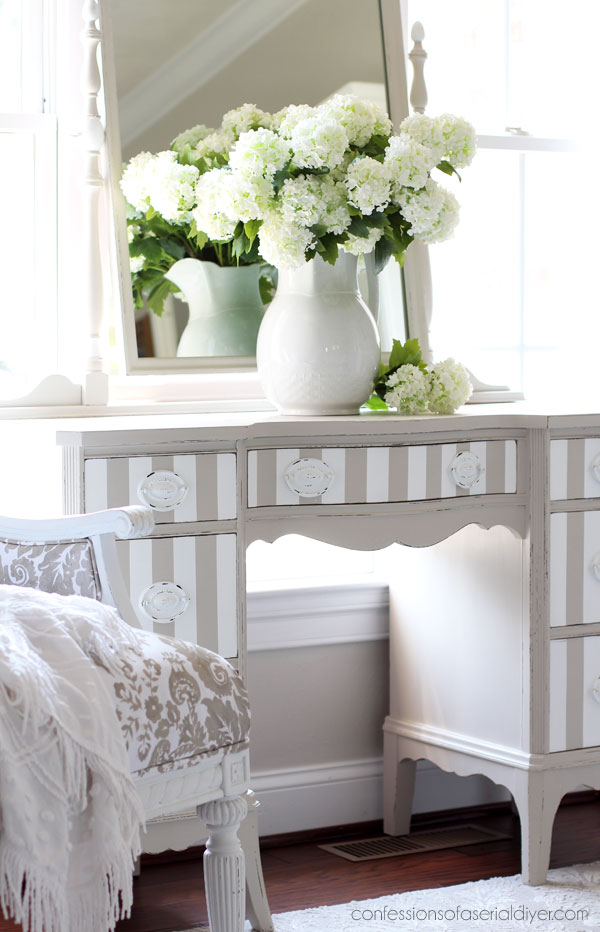
Adding Stripes
Y’all know I love my stripes, and I just couldn’t resist adding some in Cotton. They are such a cost-effective way to add some personality to a piece of furniture. Before transfers, our options for embellishing were much more limited!
My absolute favorite tape for this is FrogTape for delicate surfaces. It gives me perfectly crisp lines every time:
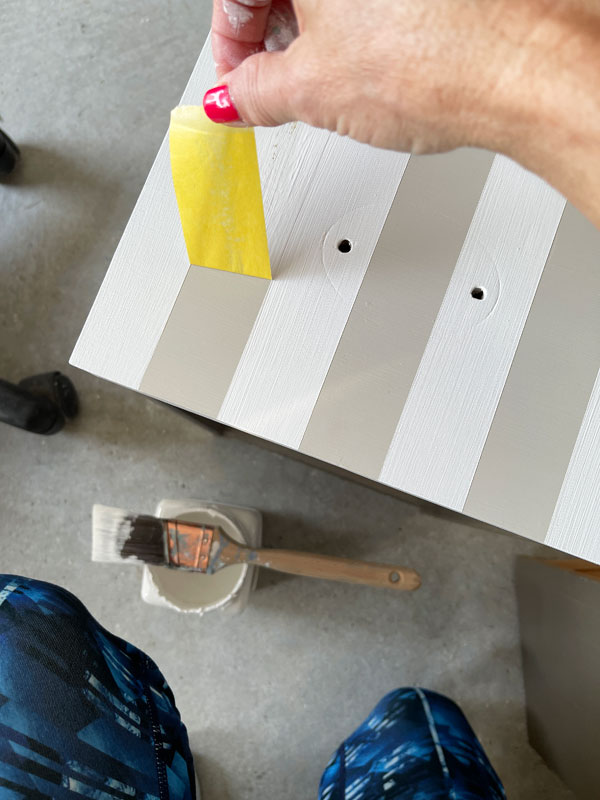
You can see how easily I space out my stripes HERE.
I gave them two coats and then immediately removed the tape.
Once the paint was dry, I sanded lightly all over with 220 grit sandpaper wrapped around an old sanding sponge, hitting the edges and raised areas a bit harder to distress.
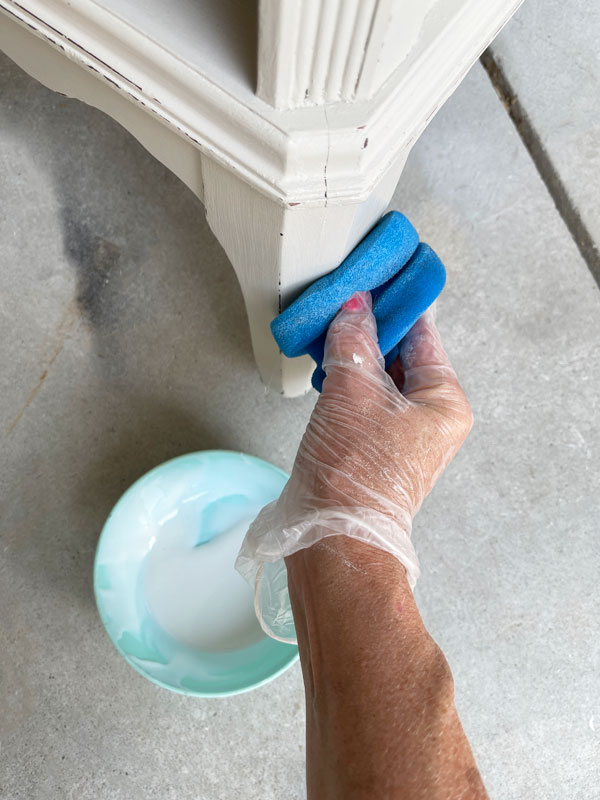
Sealing the dressing table
I used my shop vac to vacuum up all the sanding dust and then it was time to seal.
I applied Clear Coat in Satin using the blue sponge applicator:
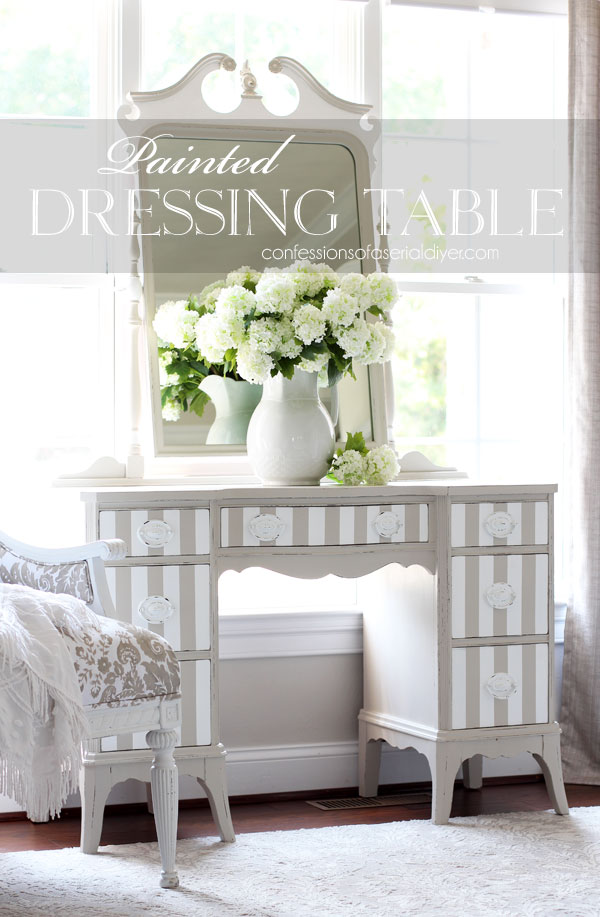
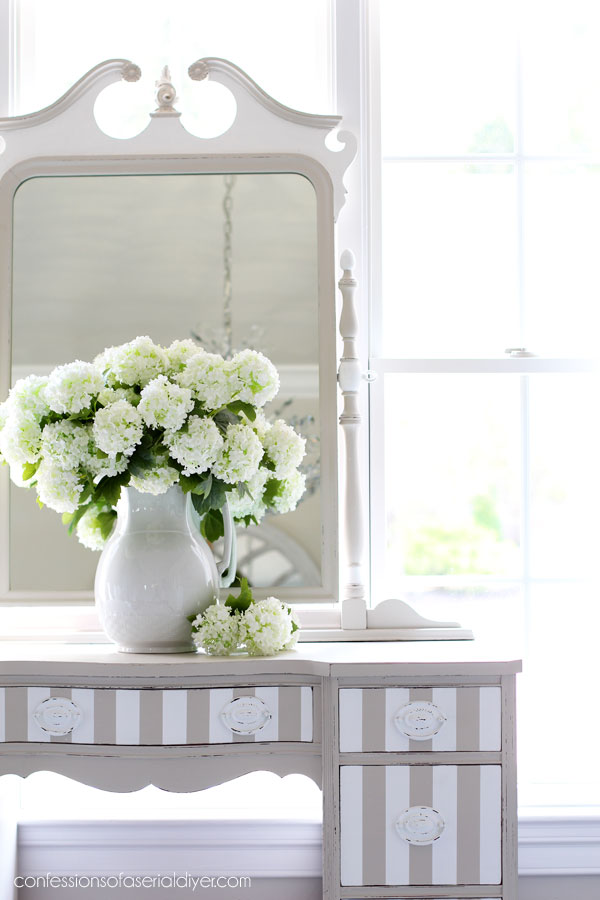
The Big reveal of this pretty painted dressing table
Ready for the big reveal of this painted dressing table??
Tada!
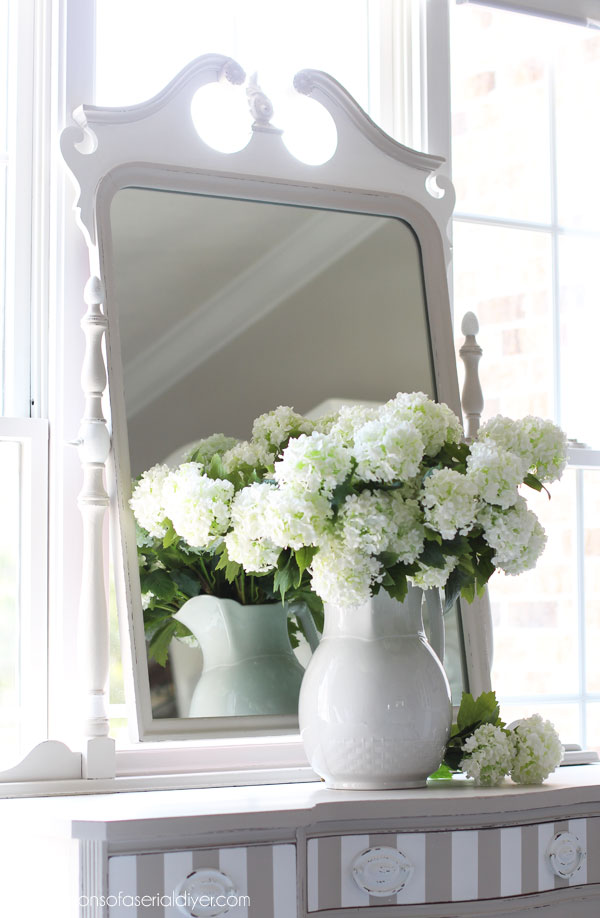
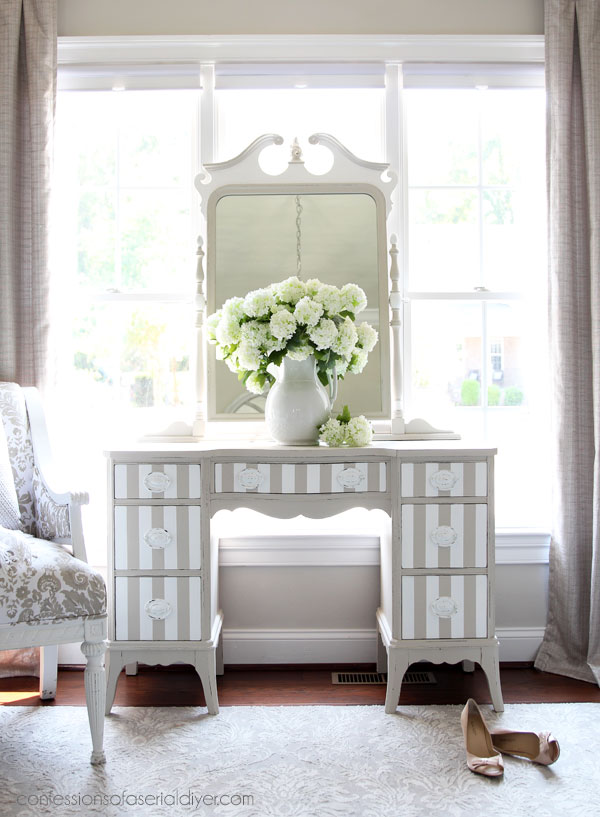
And this is the mirror!
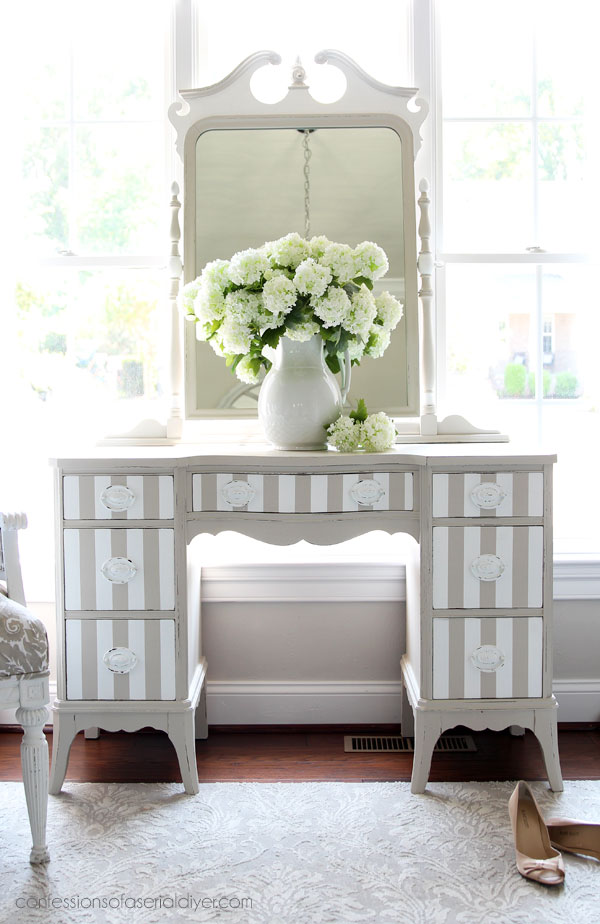
It did not come with the mirror.
I’ve been hanging onto this mirror I picked up at the thrift store for $10 for probably a couple of years now, and when I brought this dressing table home, I just knew it would make a perfect match!
Here is what the mirror looked like before:
I painted it mostly in the Sawmill Gravy and then went back and painted some areas in Cotton:
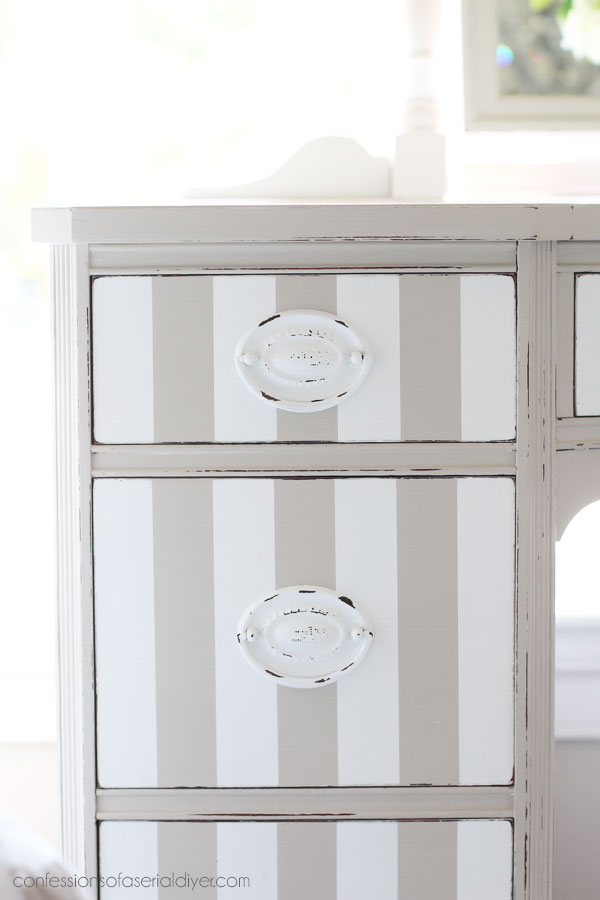
I love this style of hardware, so I knew I wanted to reuse it.
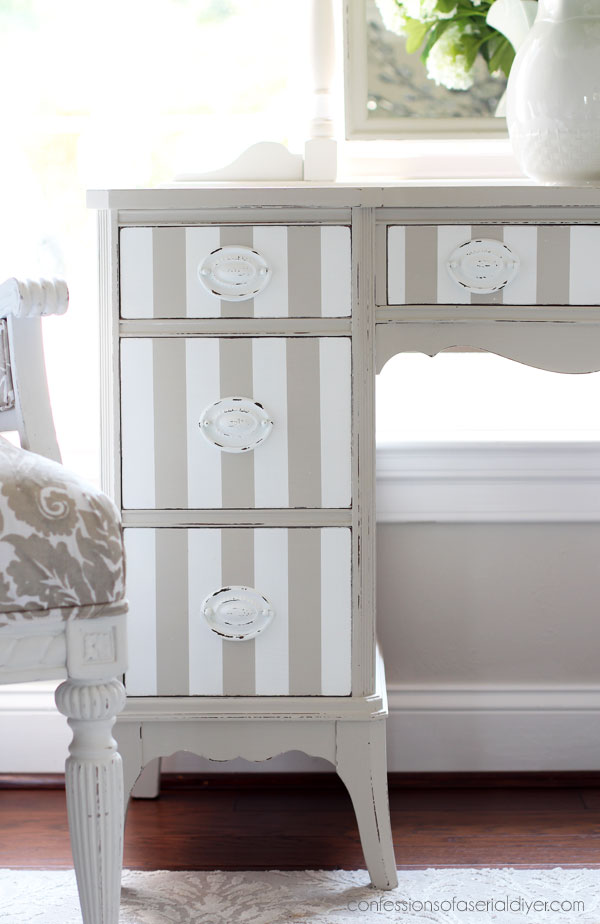
I gave them one quick coat of Rustoleum spray primer followed by two coats of Cotton and then scratched some of the paint back off with my finger nail to shabby them up a bit.
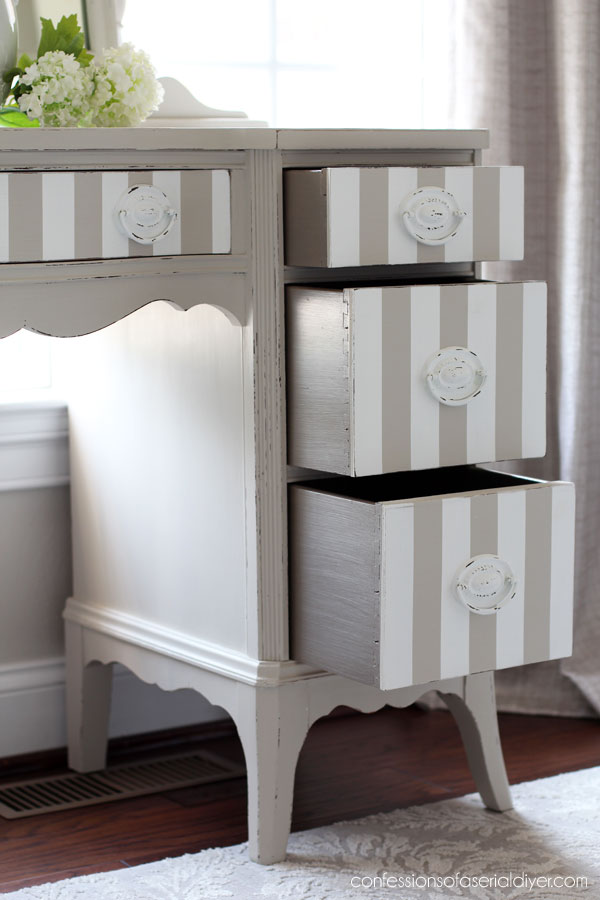
The drawers were not in the best shape, so I decided to paint not only the fronts, but the rest of them as well!
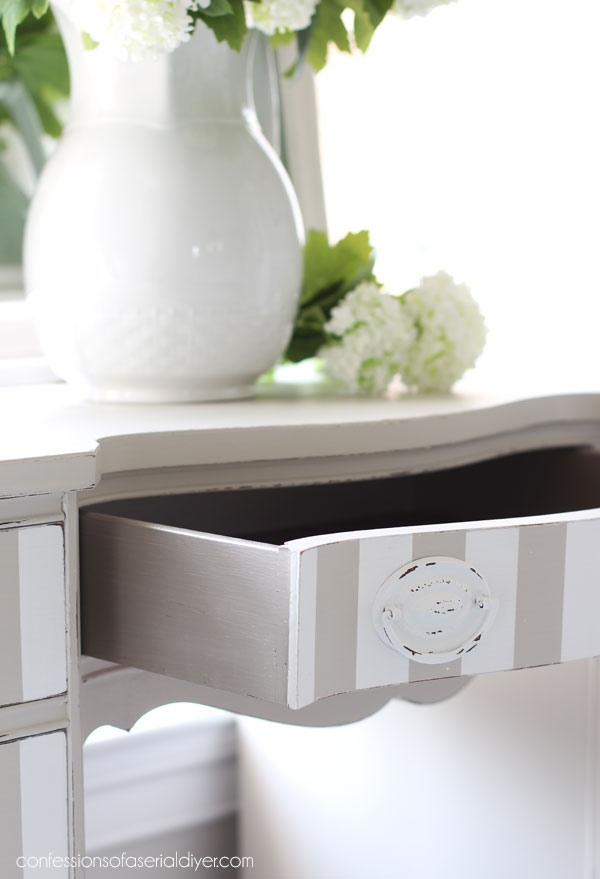
I chose my favorite Moonshine Metallic, Steel Magnolia for some suprise bling when you open the drawers!
*TIP*
The metallics go on a bit sheer, so you want to paint a base color that closely matches the metallic. The perfect base color for Steel Magnolia is Driftwood. The Sawmill Gravy is a bit too light. I actually used that and ended up having to do three coats of the metallic on top for full coverage.
The great thing about the Moonshine Metallics is that they are self sealing, so there was no need to add a topcoat!
I worked for three days pretty much all day to bring this piece back to life, but it was so worth it!
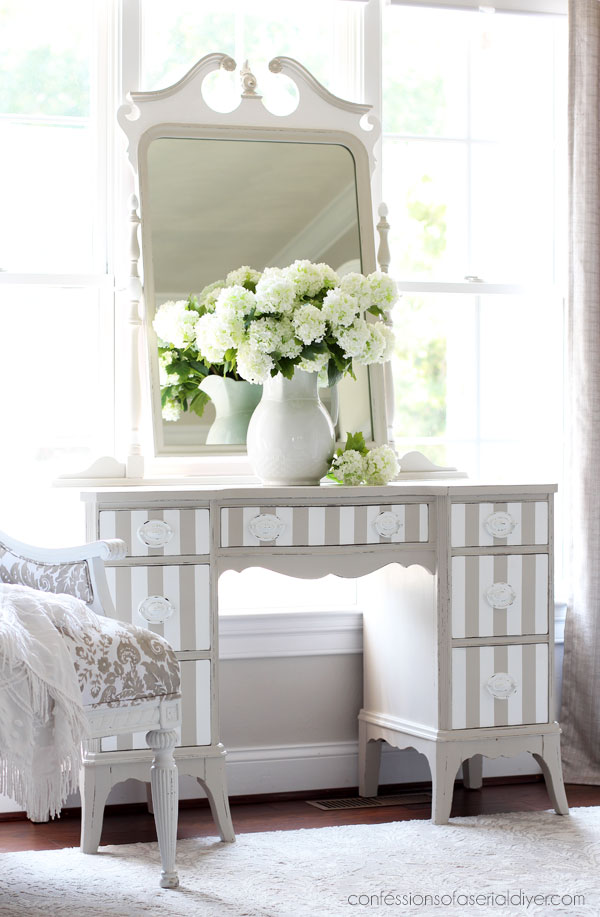
So soft and feminine!
What about a bench??
I redid this one to match:
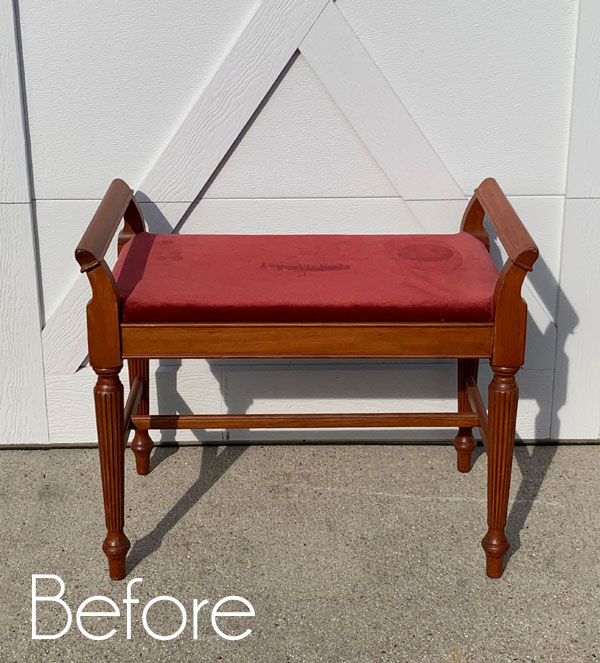
I found it at the same estate sale but didn’t think it matched at first.
See what you think of it HERE!
I hope to have my new haul photographed and ready to share on Thursday!
XOXO,

Don’t Miss a Thing!
If you like what you see, there are several ways to follow along!
EMAIL * INSTAGRAM * FACEBOOK * PINTEREST


Mary Kasier says
I remember when you did this piece, I also remember how beautiful it turned out! How exciting that you will have a new haul to work on, I love the way you are doing a group of things and then working through them one by one! It is so fun to watch!
Christy says
Thank you, Mary! I am so excited to share what I’ve found, and I enjoy working through them piece by piece also. It keeps me on track! XOXO
Nana Diana says
That looks fantastic, Christy. Did I read that right? Did you actually peel the veneer off in one place or did you remove it all? “A couple of areas were missing too much and the rest was so dry that it easily came off and I just sanded it smooth.”
Whatever you did it looks great and the mirror and bench are the perfect finishing touches. Love it!
Christy says
Thank you so much, Diana! I did peel off the veneer in some places around the bottom where I could easily remove the whole piece. Once painted and sanded you would never know! I also filled some areas of missing veneer in with wood filler. I’m s glad I was able to fix it and make it shine again! Have a great day, my friend! XOXO
Patricia Marshall says
What a beautiful makeover. I love seeing what you’re working on and look forward to the end results. Thank you for sharing.
Patricia
Christy says
Thank you so much, Patricia! That makes me so happy! XOXO
Victoria Hempe says
You are my favorite DIY artist. Everything you refinish is amazing!! I love the dressing table and the mirror is perfect. You are inspirational and I have found so many ideas from you. Keep up the wonderful redos.
Christy says
Aww I appreciate that so much, Victoria, thank you!! I am thrilled that you enjoy what I share! XOXO
Lorrie Stephens says
Thank you Christy!
I have this exact dressing table and have been putting it aside (feel overwhelmed with such a large piece)
And now I feel like I can do it after seeing your post!
Your step by step photos and instructions are so helpful!
Awesome work and thank you for sharing ????
Christy says
Oh awesome! I am so glad this was helpful! You can total do this! XOXO
addie says
Oh!!! I see you use your weights much the same as I do….lol
Love that you save pieces, the mirror, and end up using them . I am a saver , NOT a hoarder!!!! ….some may disagree. My son….but when he needs something he knows who to come to.
Go 49ers!!!……xoxo
I am rooting for them but I think the Chief’s are going to win ;(….Save us from Taylor!!!!
Christy says
Ha ha yes! Thank you! I save too much sometimes if you ask the hubby, but I am always thrilled when I can use something. Then I say to the hubby, “See, I was able to use that!” Go 49ers!!! XOXO
Marietta says
That’s not the same vanity you silly women! (Just kidding.) I don’t know where you get your ideas lady, but they are always very impressive. Love seeing this again and being reminded of the miracles you bring about. You go, girl!
(PS, thanks again for a quick-ship on the items I order from you.)
Christy says
Aww thank you, Marietta!! You are the sweetest!! And you are so welcome! happy creating!! XOXO
Christina says
Lovely set! I love how to assembled all of these different pieces and made them work so well together. Question about Dixie Mud I bought recently from your Etsy shop: Do you refridgerate it after you open the jar? It says to do so on the label, but I wonder if it’s necessary. Thank you!
Christy says
Thank you, Christina! It is suggested to refrigerate Mud as some have had issues with mold. I have never experienced that in my climate here in VA, and I do not refrigerate it, so it may have to do with where you live? XOXO