Hello, sweet friends! I’m back with not one, but three items from my current and never ending haul lol. I have three thrifty frame upcycles for you!
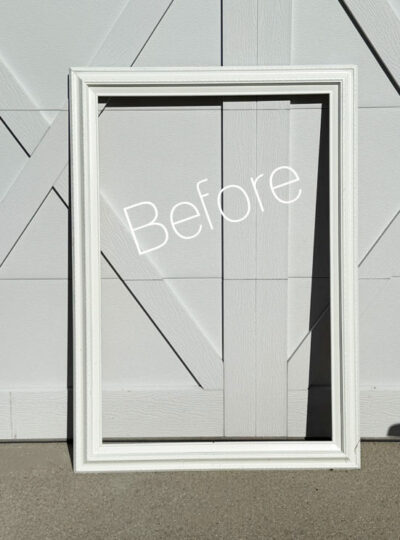
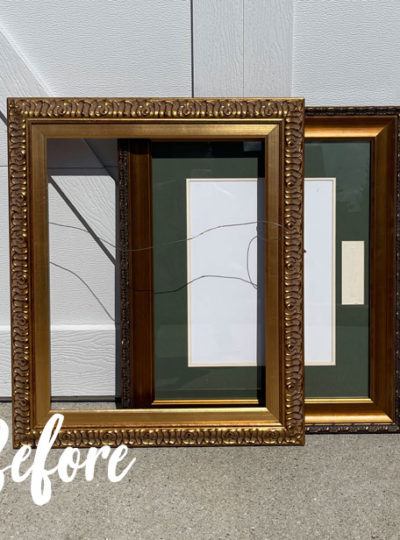
Here are the three frames I’m redoing:
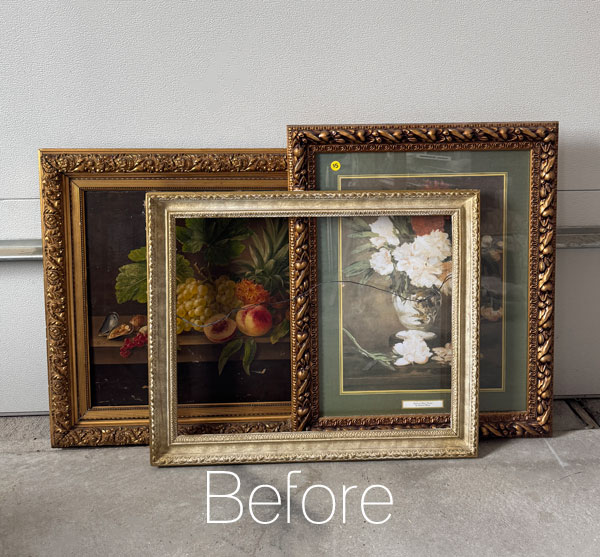
You may be expecting to see more new colors from Dixie Belle’s new Southern Roots Collection. (See them in my last post HERE if you missed them.) However, I was working ahead for my next two posts since my sister is coming in town for a week, and I hadn’t realized these colors would be revealed by the time these items were shared.
I promise to share another new color next Thursday though!
Back to today’s frames! I got all three for $13!
I’ve included a few affiliate links so you can find the products I love.
Thrifty Frame Upcycle #1
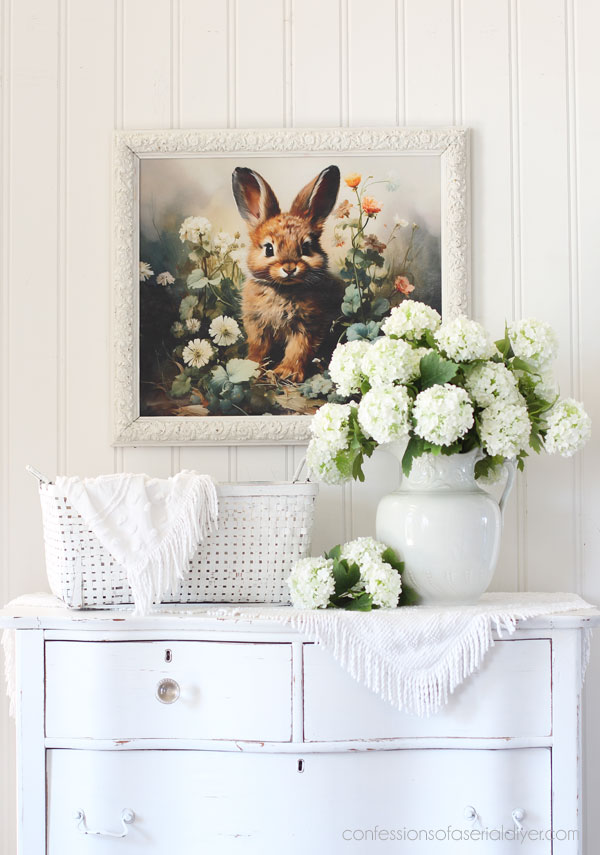
Up first is this chunky frame I found at a yard sale in the fall for only $5:
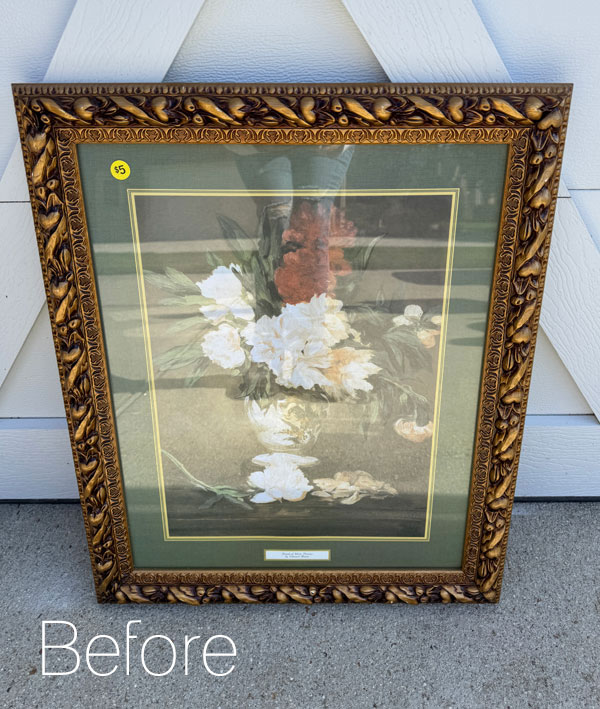
We’re still about a month out from Easter and I knew I wanted to use a couple of these frames for some fun bunny art for my booth.
You may remember when I redid two smaller frames HERE and several more HERE at the holidays, several of them using the Bunny Wonderland decoupage paper.
I did keep one, but every other one sold, so why not add some of these larger prints and see how they do?
I started all three by removing anything that remained in the frames, and giving them a good wipe down.
Spray Prime
Then, to get a quick first coat on, I spray primed with Rustoleum primer:
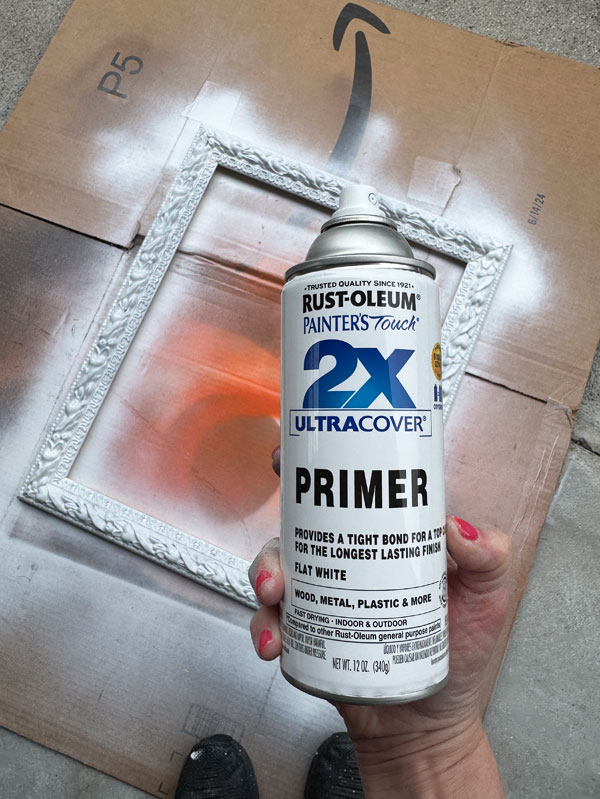
That’s just easier with all those nooks and crannies.
Paint
Next, I gave them each a coat of paint using my Best Dang Brush to get into all those details easily. I used Cotton on this one:
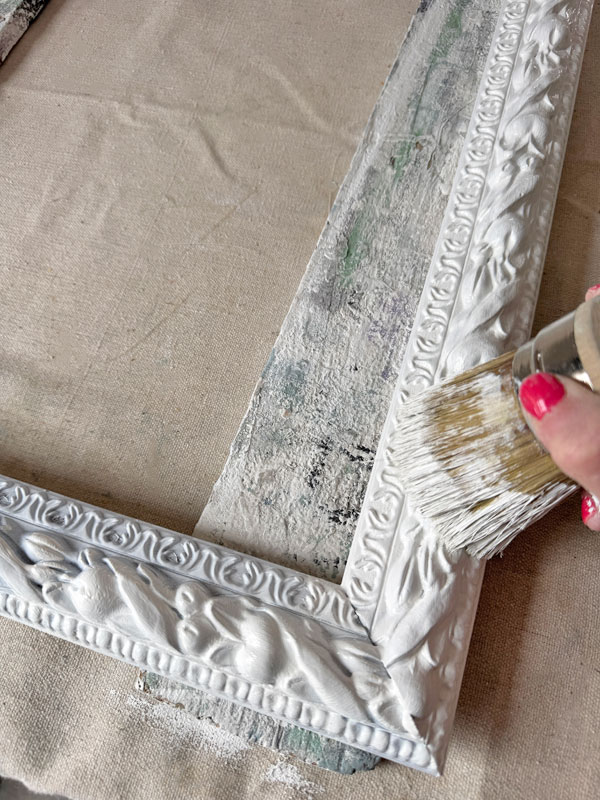
Be sure to wash your brush soon after you’re done as it is more difficult to clean dried out paint from the natural bristles if you wait longer than a few hours. However, if you forget, grab a small wire brush to help get it clean again! (I use those to clean all my brushes. )
Sand
I sanded lightly all over with 220 grit sandpaper once it was dry to make the details stand out a bit more. You could also use a colored wax or gilding wax to highlight them.
Seal
To seal, I gave all three a quick coat of clear Satin Spray from Rustoleum. I wouldn’t use that on furniture, but for something small and detailed like this, it’s much easier.
Turning this frame into Art
Now to create some fun art for the season with the Dreamy Bunnies 3-pack of decoupage papers! This set comes with three designs, and I am using two of them today.
I first cut a piece of foam core to fit the frame. If the back of your existing art is already white, you can use that, and if it is rigid enough, you can paint it also. A white back ground really makes the colors pop.
Next, I applied Redesign’s matte Decoupage Gel using a 2″ Foam n Dandy foam brush:
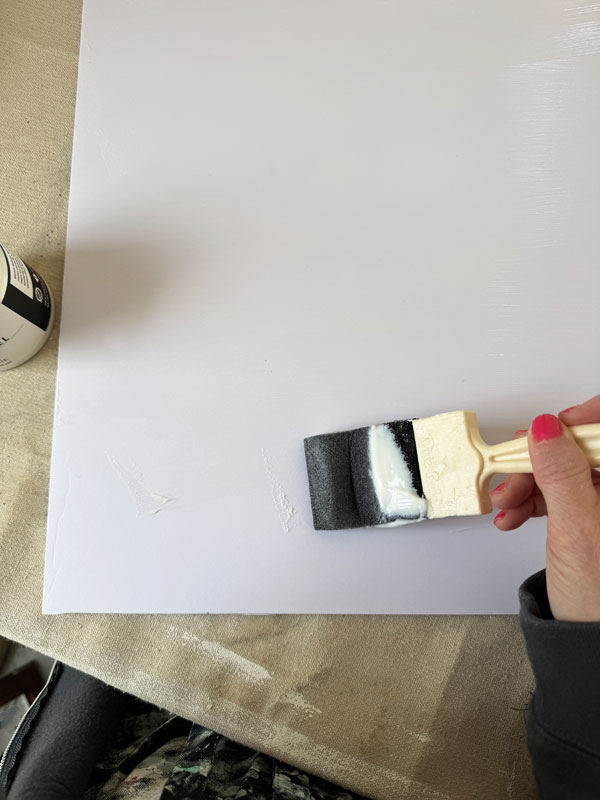
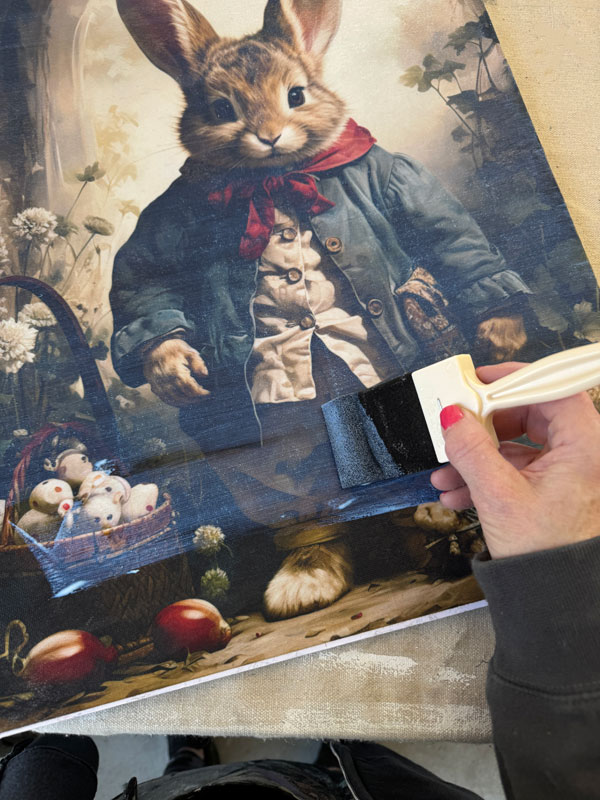
Then I laid out my paper, smoothing out any creases and applied another coat of the gel over the top…
After securing the new artwork into my frame ( I share how on the next one.), this first frame upcycle was complete!
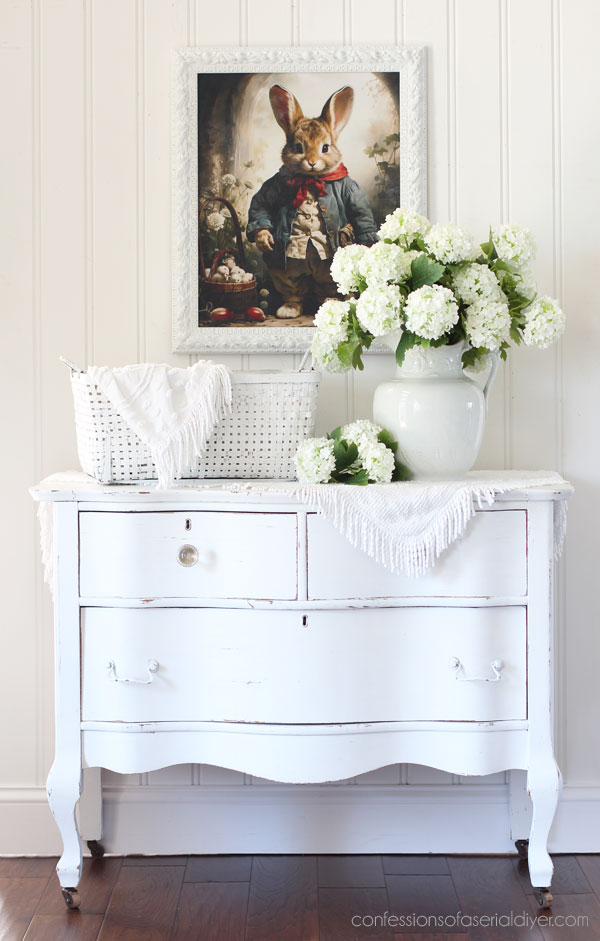
How handsome is he?
He would be such a whimsical addition to any living space for the Easter holiday!
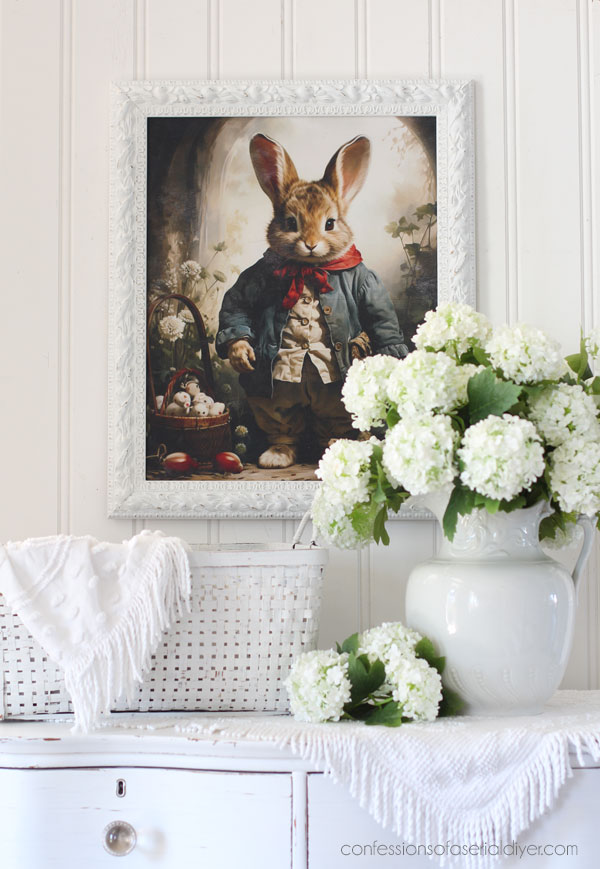
Here’s a closer look at the frame…
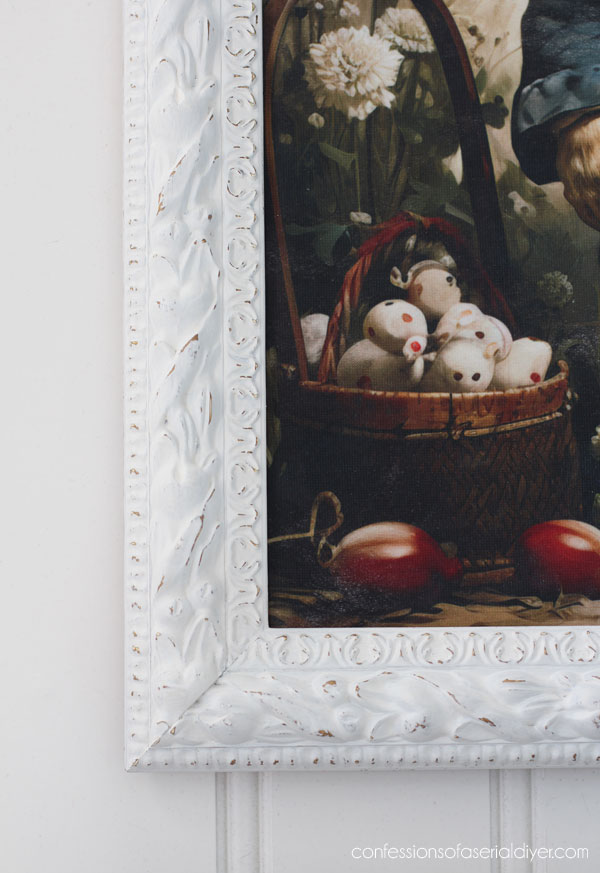
The fabric-like texture of this decoupage paper really makes it look like a painting if you aren’t right up on it.
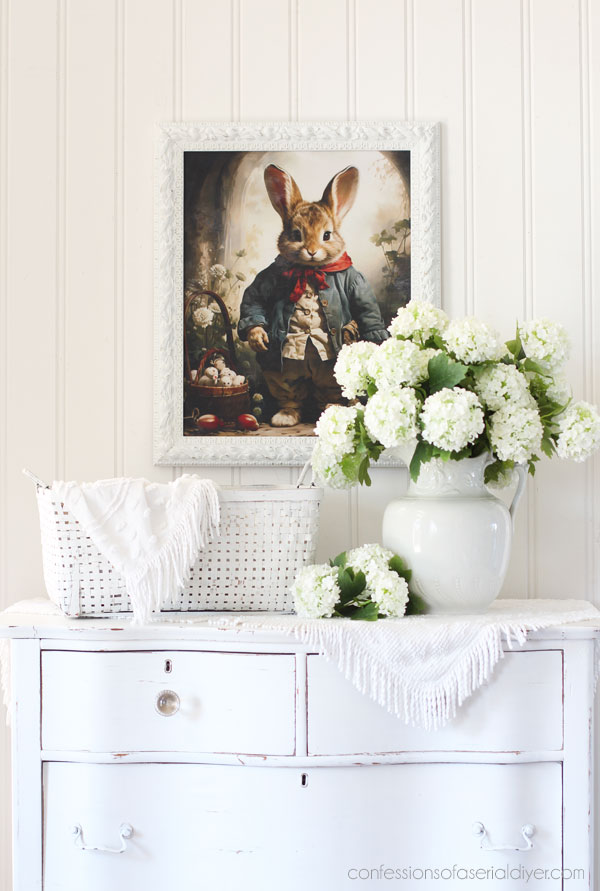
And that is the first one done!
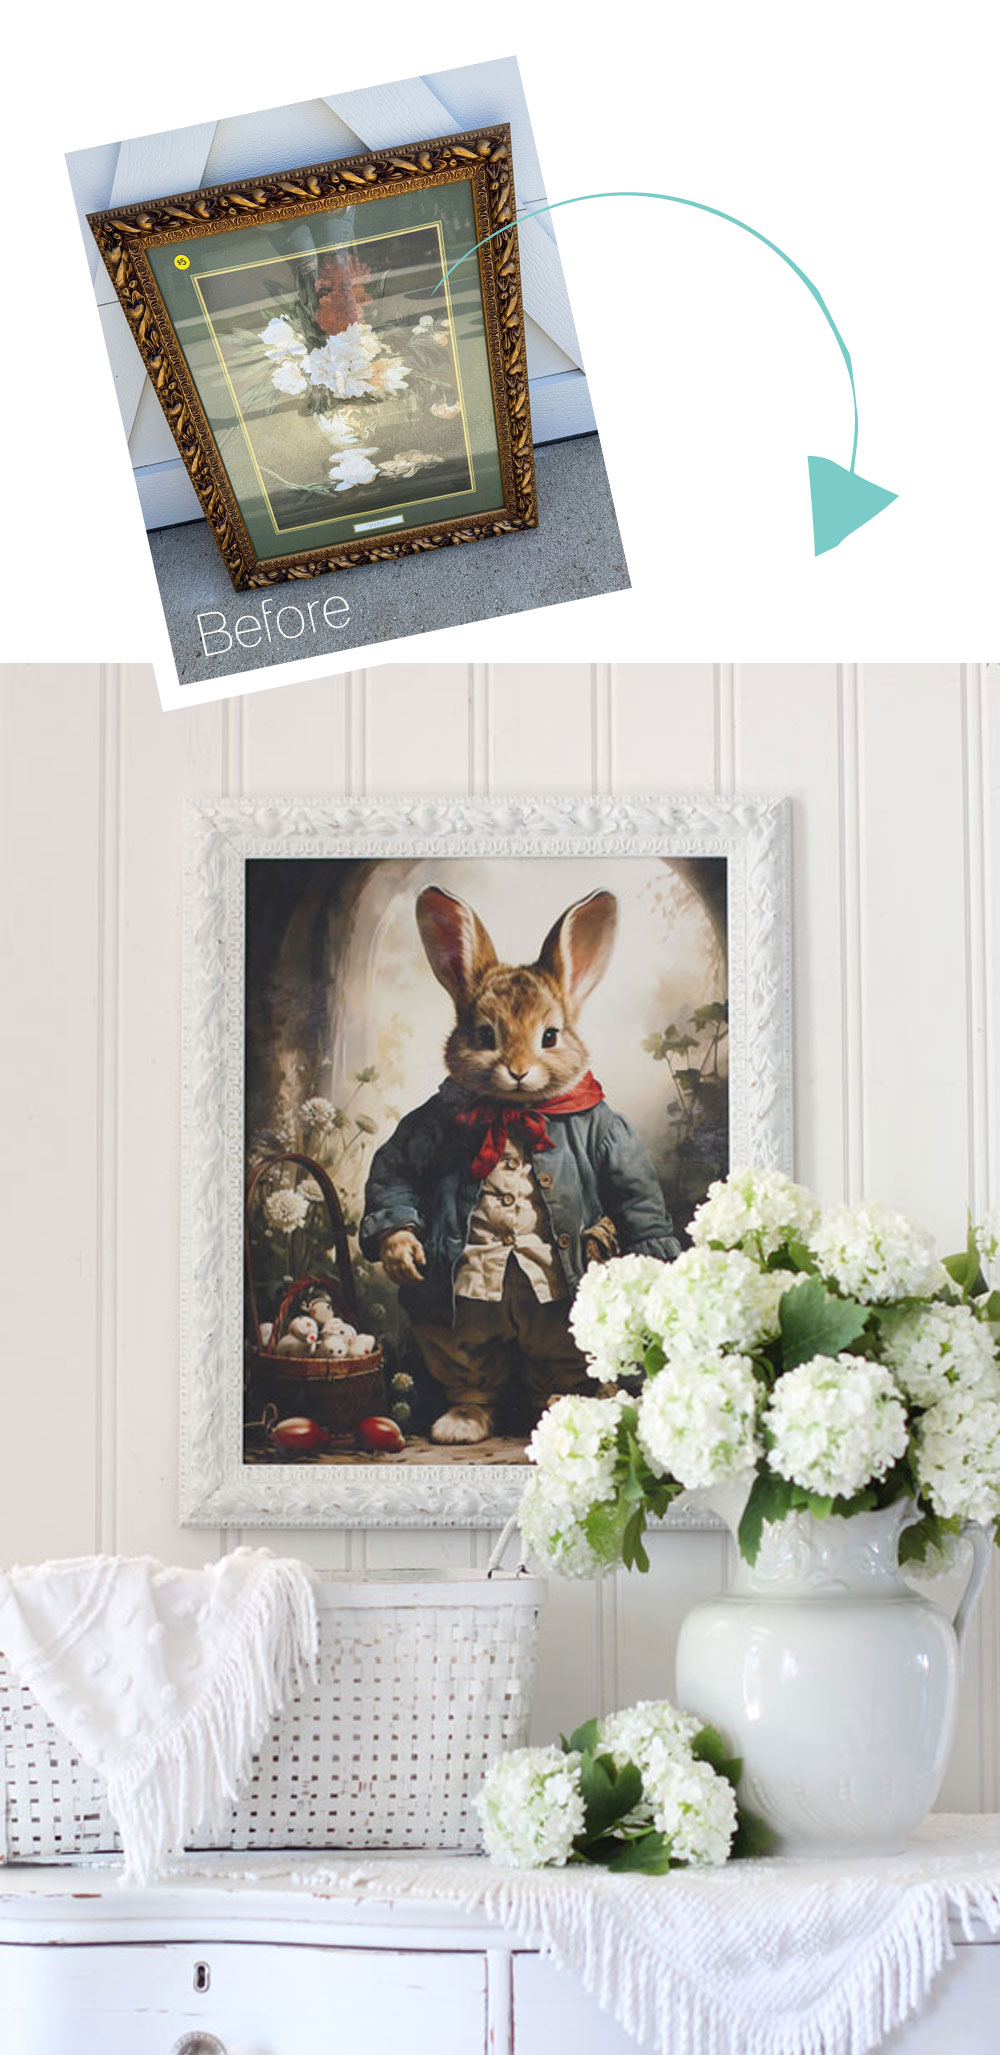
Thrifty Frame Upcycle #2
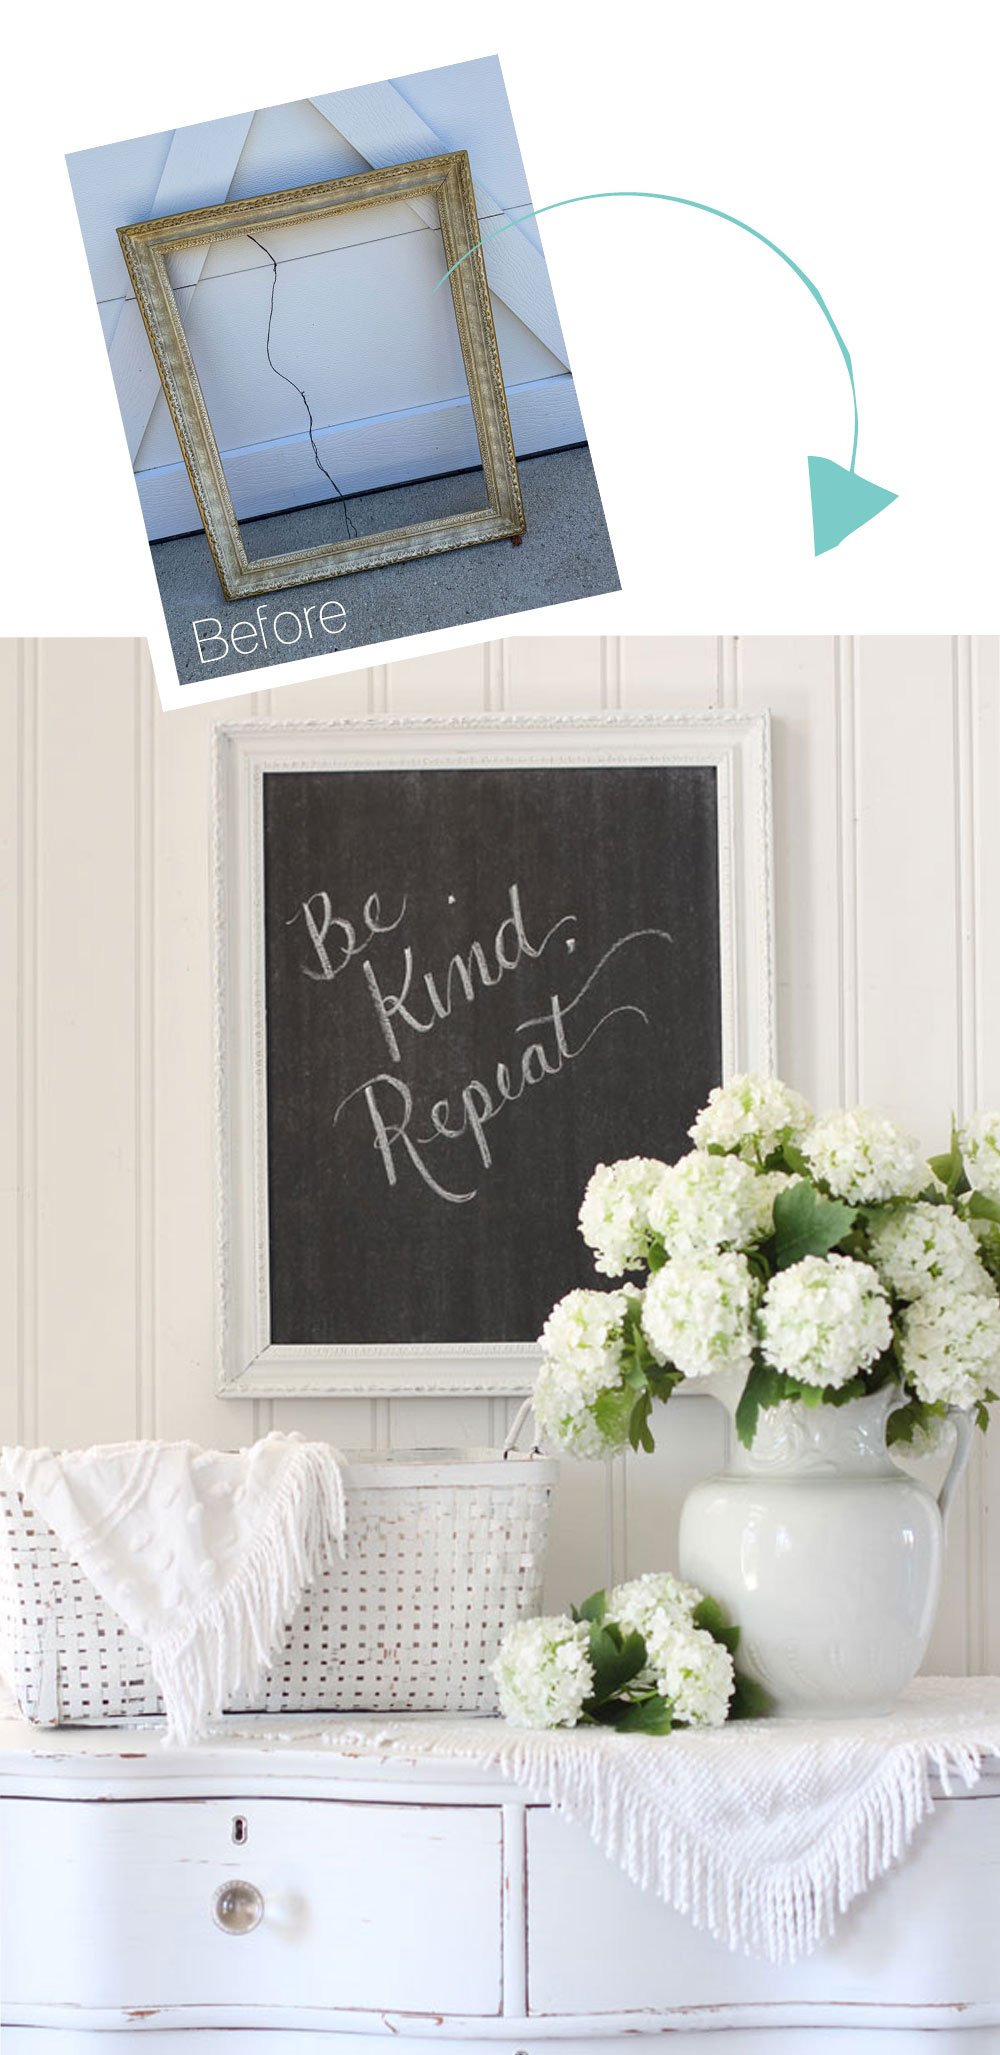
Next up is this lone frame I scored for $1.99 at the thrift store:
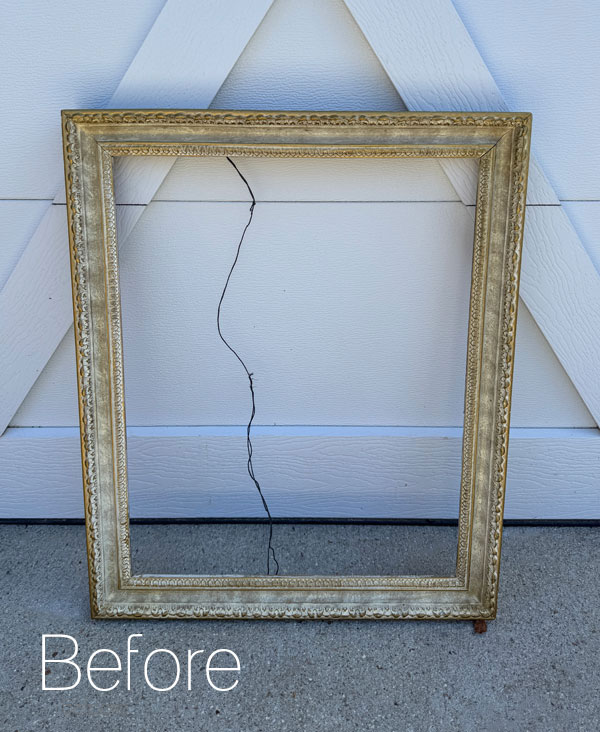
I had planned to use the bunny decoupage papers in all three frames, however, when I saw what was in the frame from above…this hardboard:
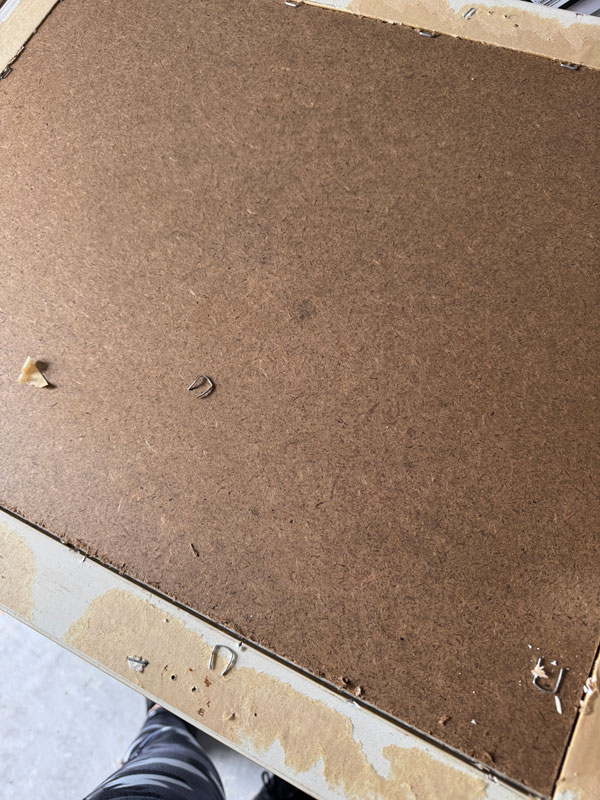
I knew this one needed to become a chalkboard! That is what I buy to use for my chalk boards, and since they still sell for me, my mind was made up!
(This frame is the exact dimensions of that first one, so I chose to turn this more plain frame into the chalk board and save the fancier frames for the bunnies.)
This one was primed, painted, and sealed the exact same way as the first one.
Then, I gave the hardboard a couple of coats of Rustoleum Chalkboard Spray Paint:
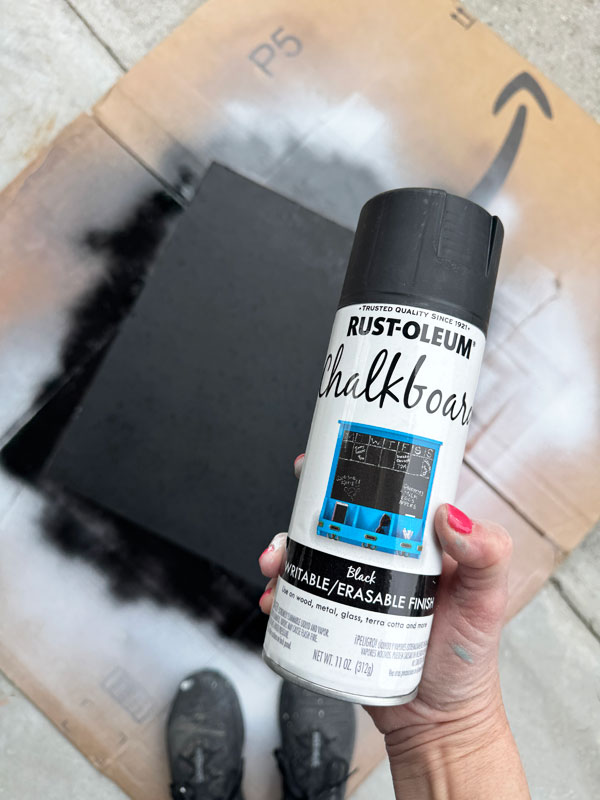
It’s like I’m doing a post to promote Rustoleum, but I promise I’m not lol. I just love their products the best when I need to use a spray!
I then seasoned my new chalkboard with chalk, covering the surface completely:
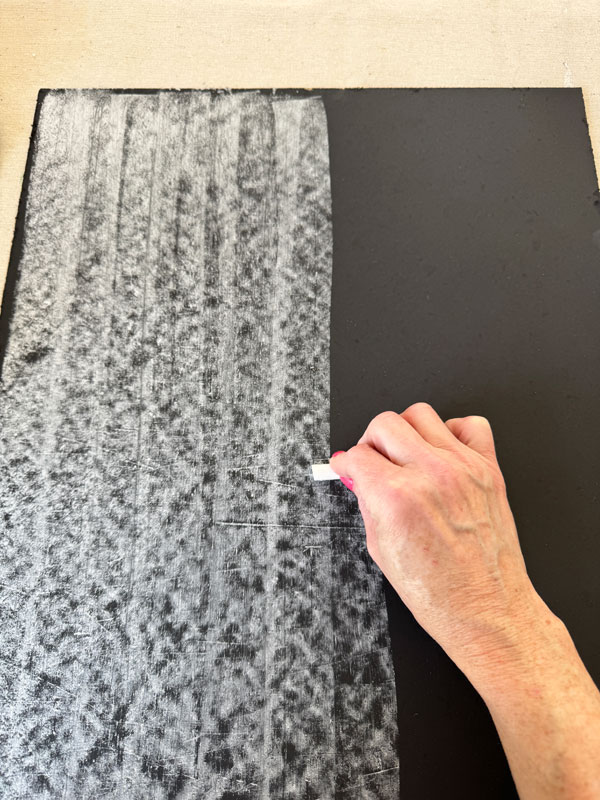
And then wiping it back off with a clean cloth.
I secured it the frame using my Logan Point Driver:
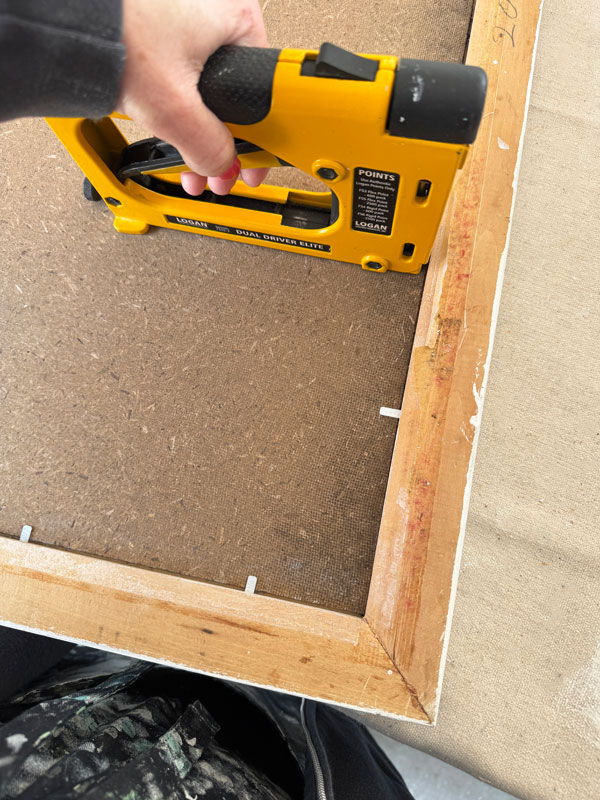
This hardboard was a bit rougher than what I normally choose, but it still worked fantastically!
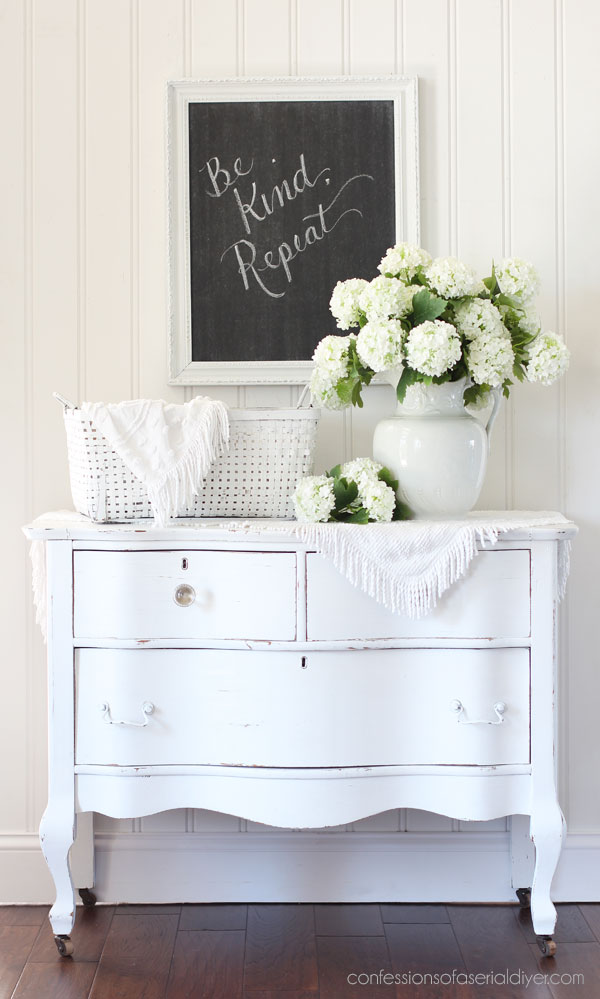
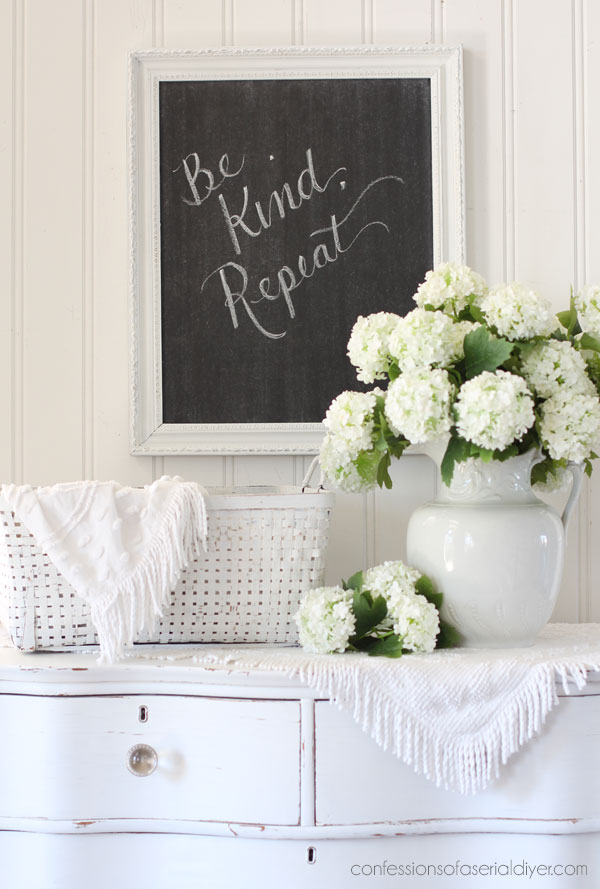
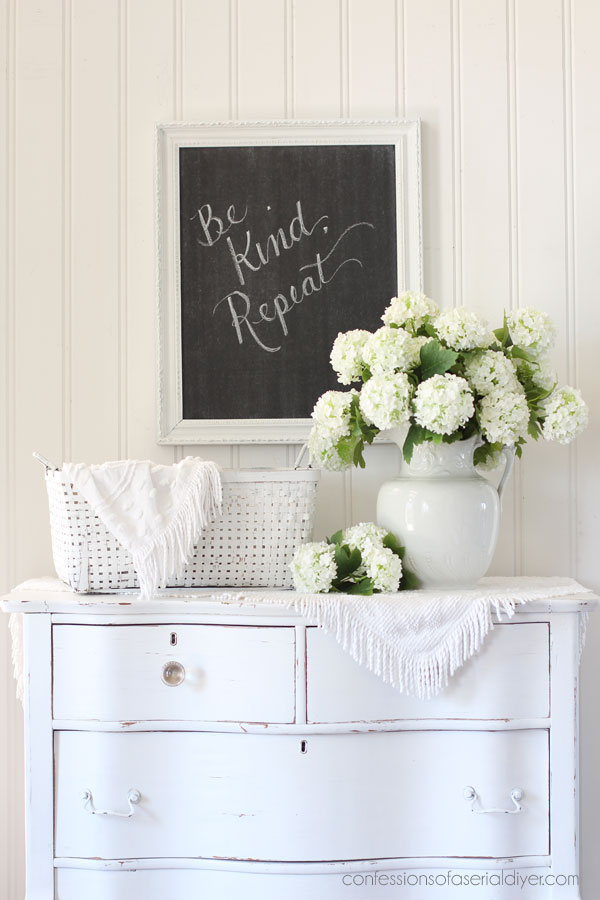
I didn’t even have to change the staging ha ha!
Thrifty Frame Upcycle #3
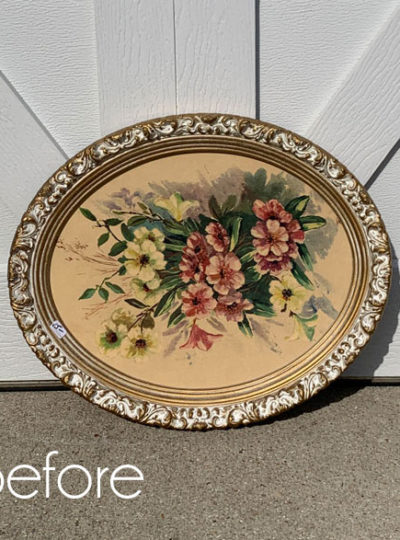
This next one was a deal at $5.99 at the thrift store:
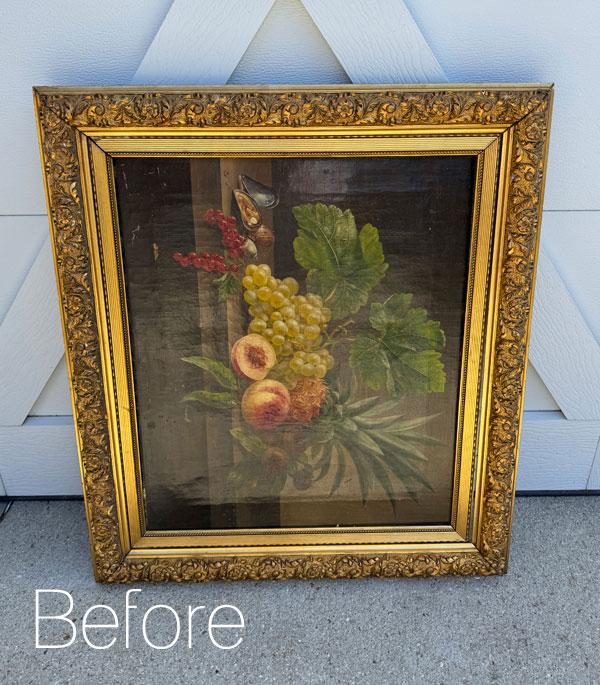
However, the print inside had mold growing on the back, and when I started painting the frame, the inside frame was missing in some areas and you could really see it, so that had to go too.
I was still left with a nice sized frame with lovely details. I primed, painted, and sealed the same way as the first two, except I used Fluff White on this one which isn’t quite as bright:
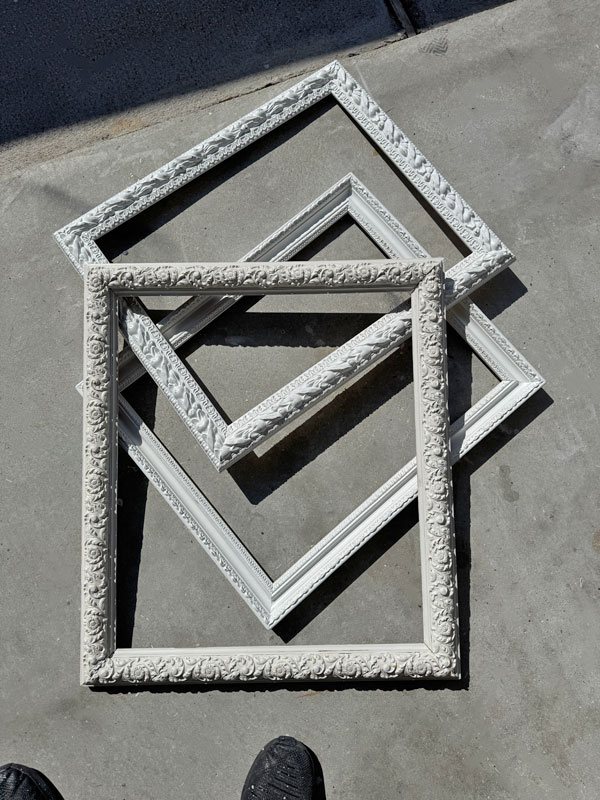
Instead of sanding, I wet distressed this one. As soon as it was dry, I used a wet cloth to rub paint off here and there.
And here is the cutie I chose for this one:
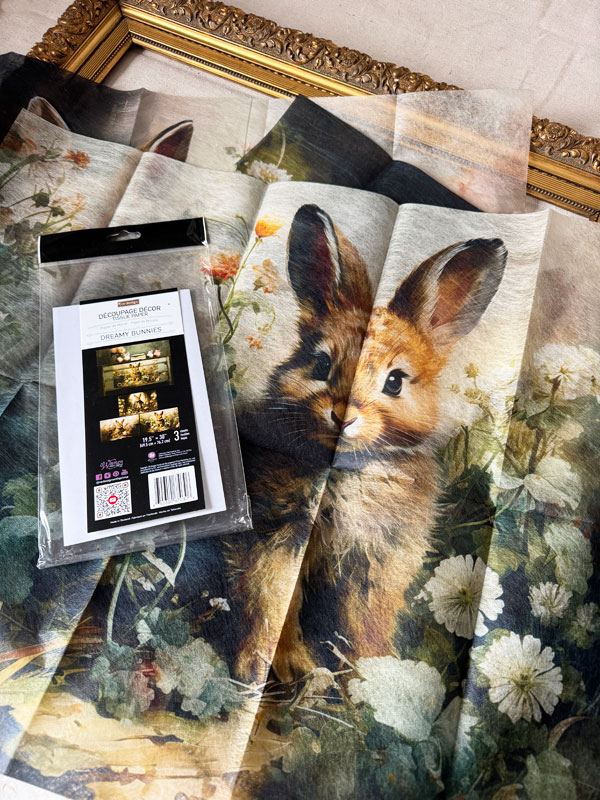
I forgot to mention with the first one, but the easiest way to get the wrinkles out of these papers is with a hair dryer on the warm setting (not hot!)…
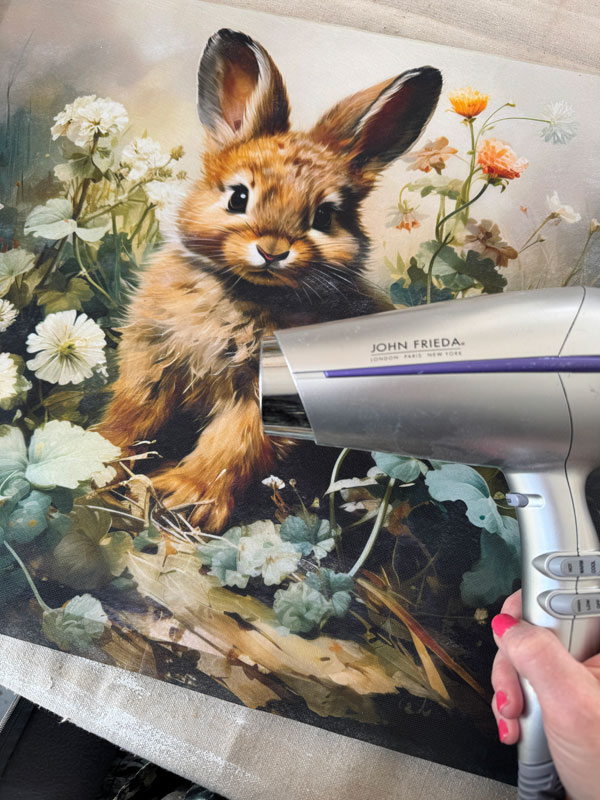
I added this one to foam core just the same way as the first, using Redesign’s matte Decoupage Gel.
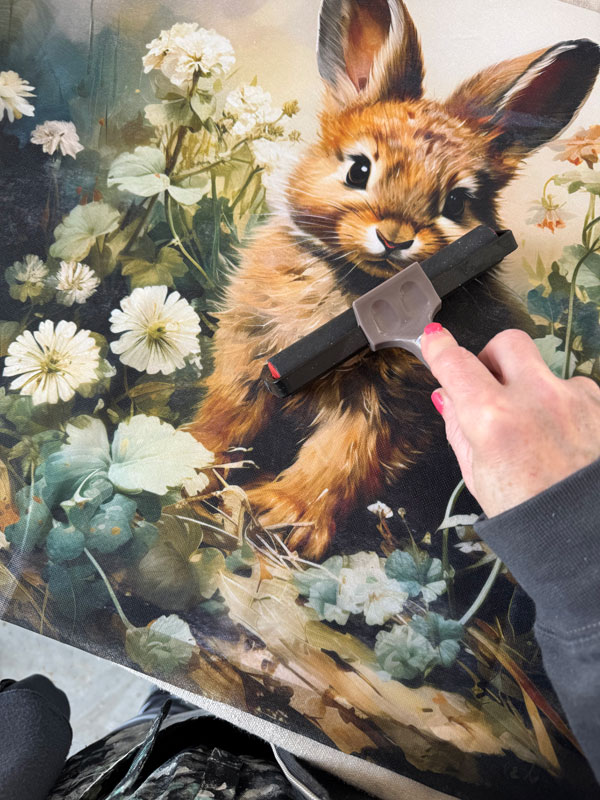
A rubber brayer works great for smoothing out the transfer and stops you from getting the gel on your hands…it is very sticky!
I saved the best for last because this one is my favorite!
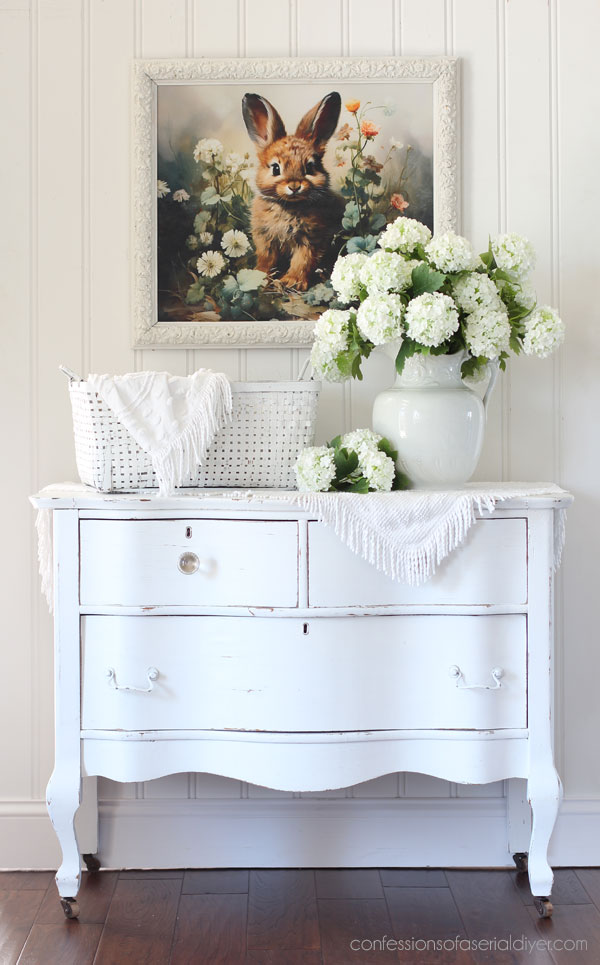
I mean, how darling is that face??

The colors in these papers are so vibrant!
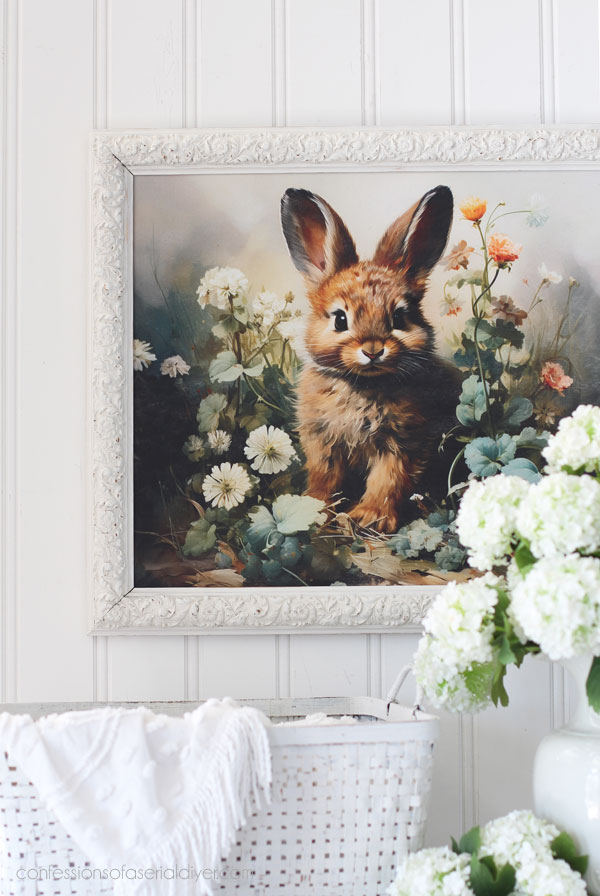
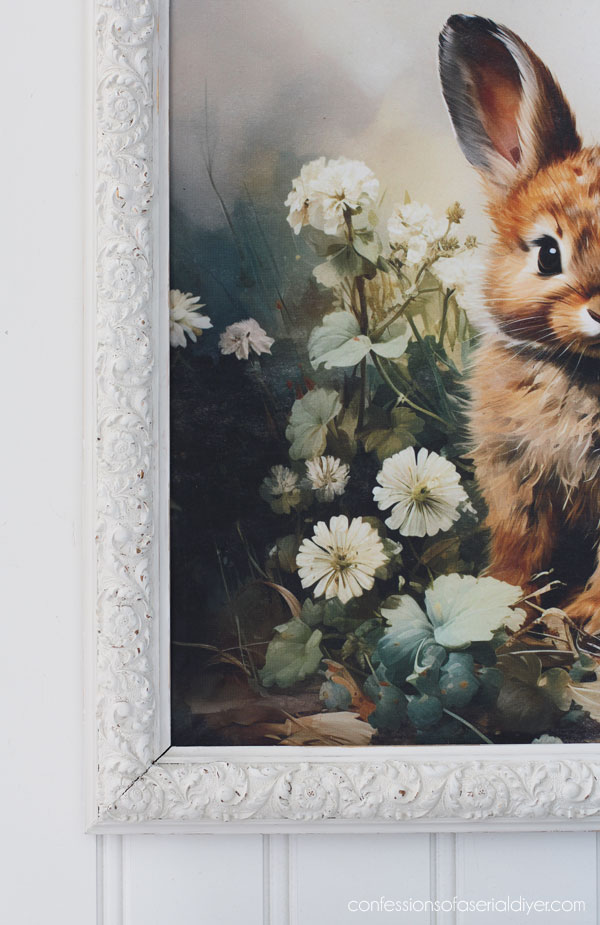
A closer look at the pretty details of this frame:
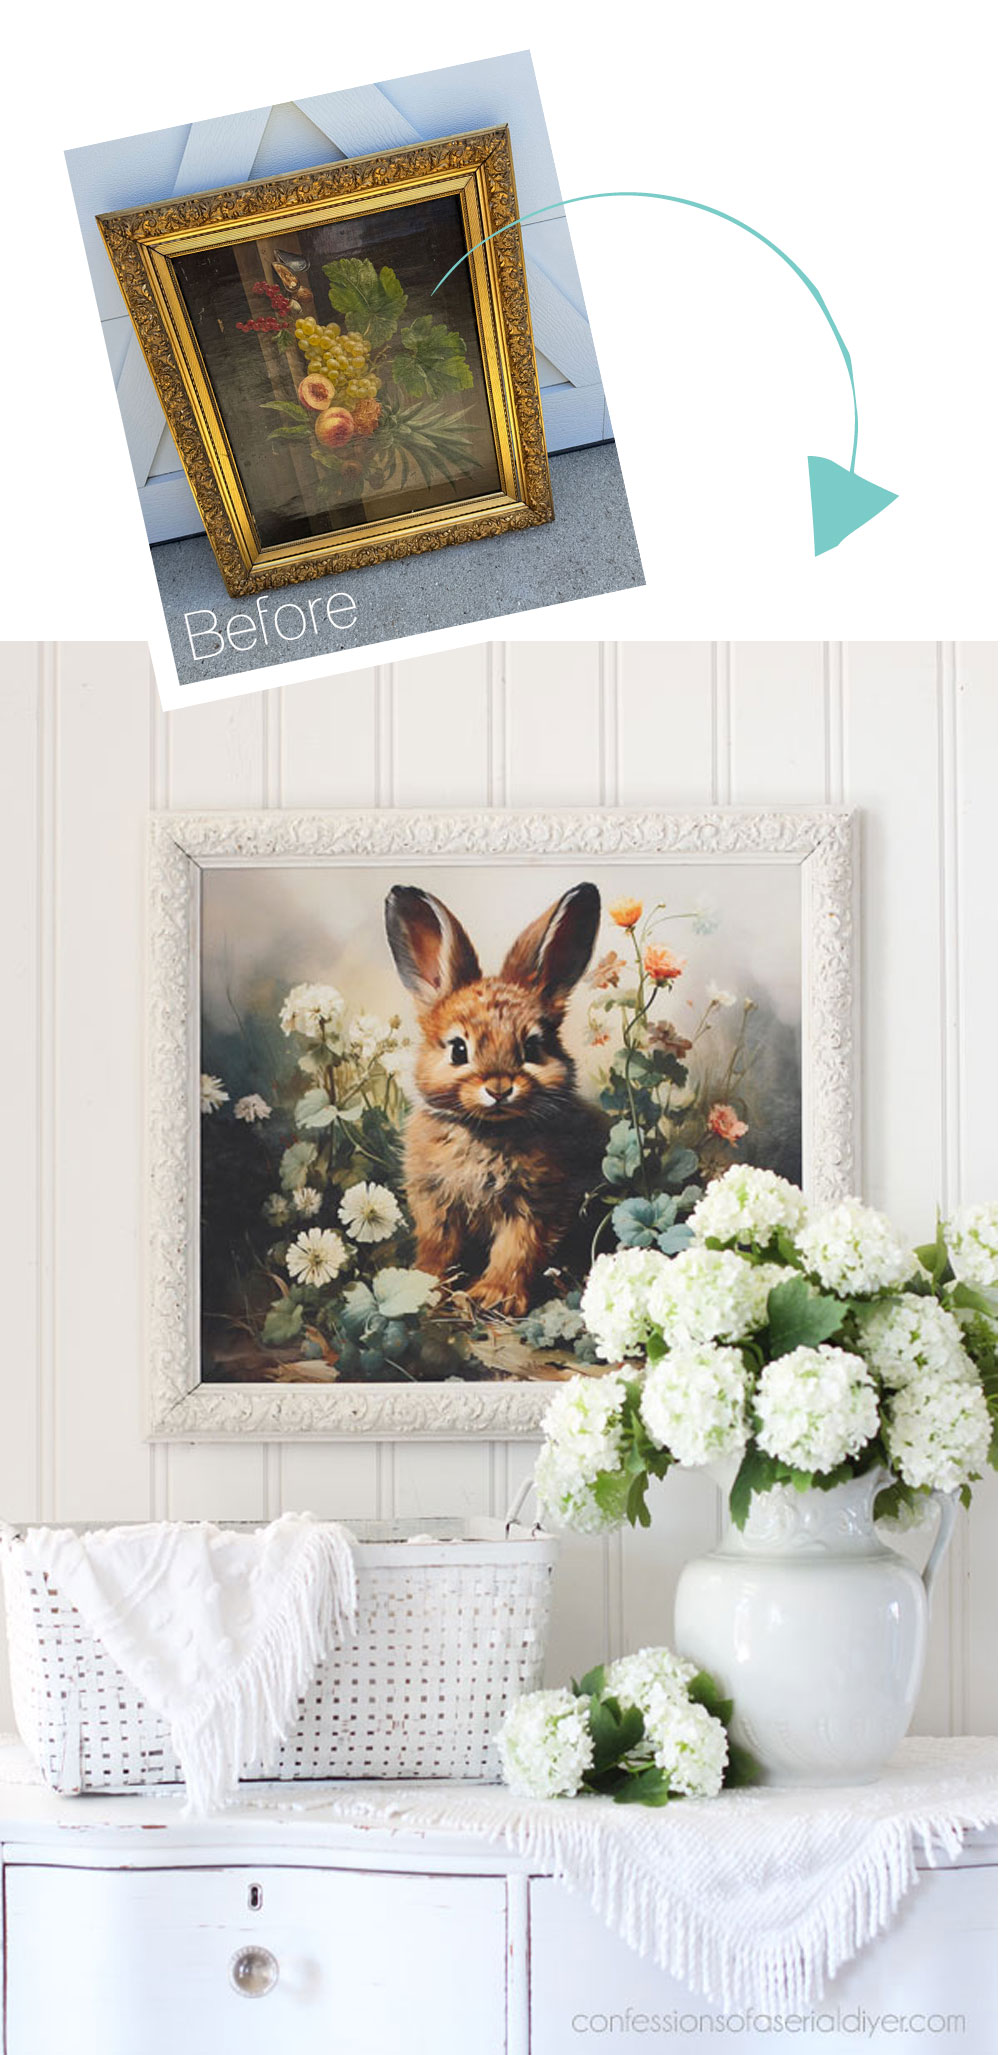
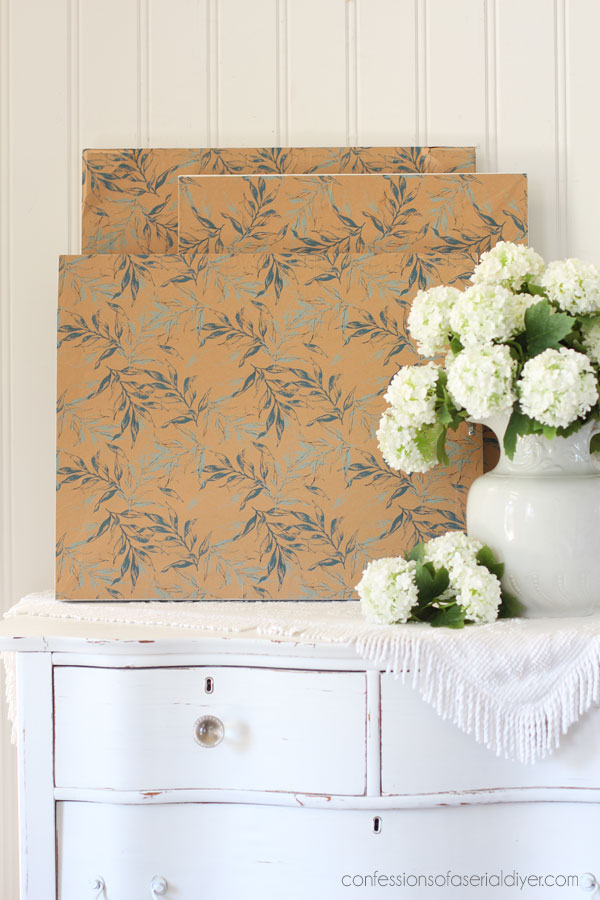
I did cover the backs as well with this pretty printed kraft paper:
And that’s three thrifty frame upcycles!
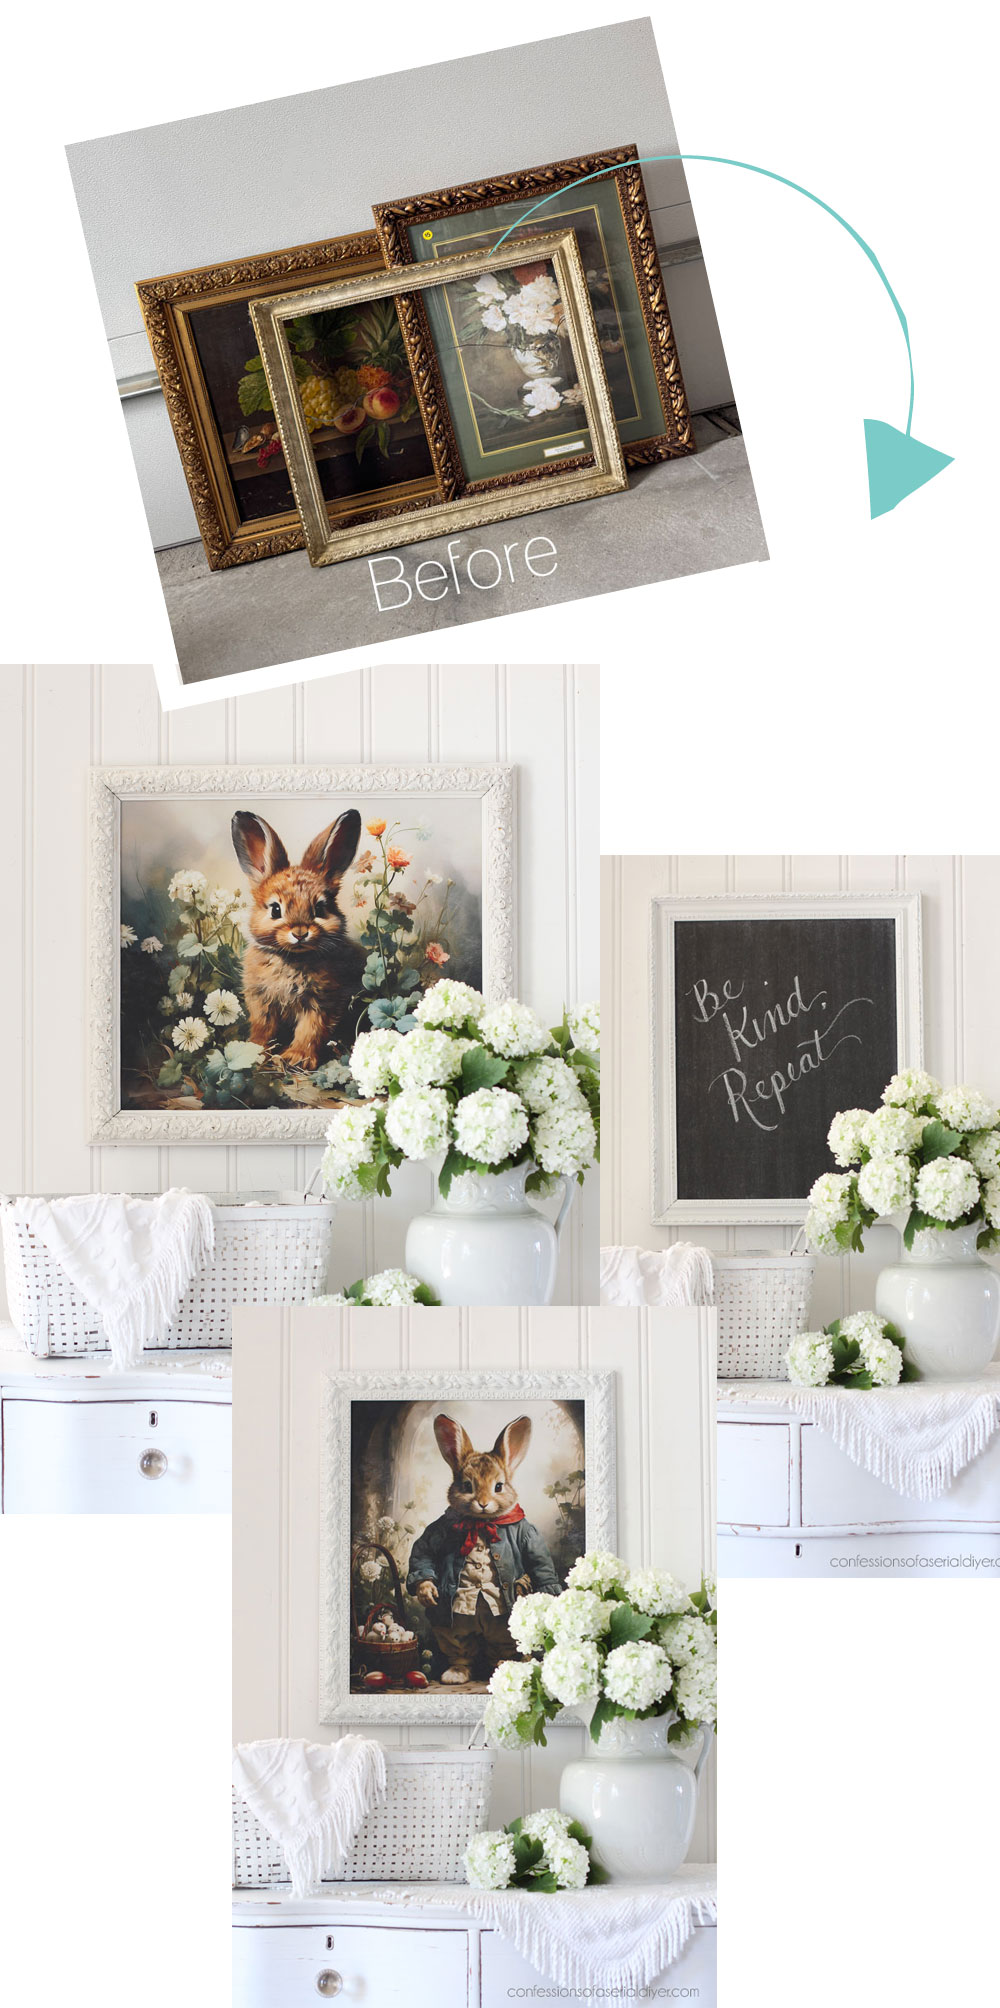
And three more pieces crossed off the list!
**Shop NEWS**
Be sure to check out the SALE TAB in my Etsy shop! Many of you took advantage of some Belles and Whistles transfers, decoupage papers, and stencils that are now on clearance, and I just added 27 large Redesign with Prima transfers!
All 30-33% off while supplies last!
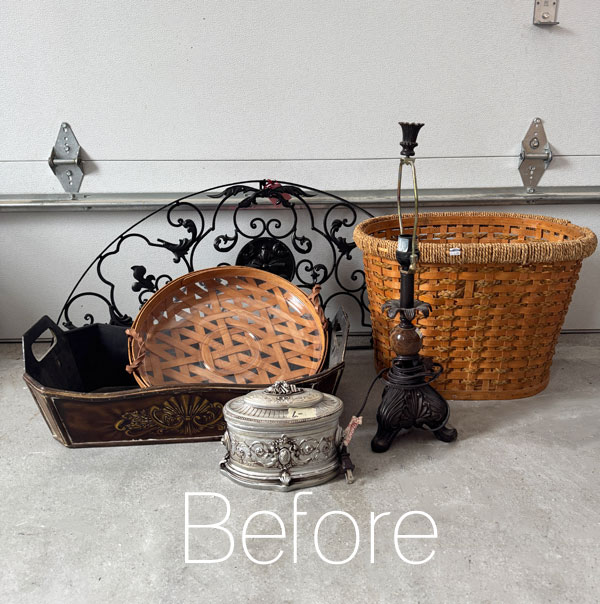
I’ll be back on Tuesday with another round of smalls to knock a bunch more off the list:
Have a lovely weekend, friends!
UPDATE! These smalls are ready for their big reveal HERE!
XOXO,

Don’t Miss a Thing!
If you like what you see, there are several ways to follow along!
EMAIL * INSTAGRAM * FACEBOOK * PINTEREST


Get FREE SHIPPING on all orders over $50. No code needed at checkout! Orders under $50 always enjoy $8 flat rate shipping! Most orders ship same or next business day!




Mary Kaiser says
Oh so cute! Perfect timing for Easter! Those will sell fast in your booth, I know I would buy one if I could go to your booth! My favorite is the last one also!
Christy says
Thank you, Mary! I had several frames left in this haul and I wanted to add some fun things to my booth, so this worked out great! XOXO
Kathy W says
Good morning, Christy.
The bunnies are ADORABLE!!! Perfect timing to put in your booth. They won’t stick around for long, I am sure!! I appreciate you sharing the other Rustoleum products you use. Very helpful!! Thank you!! Have a great weekend!!
Kathy W
oxox
Christy says
Thank you, Kathy! I dropped them off yesterday and they look so cute in there! I do love easy and Rustoleum comes in handy for pieces like this for sure! Enjoy your weekend also! XOXO
Janice Redden says
Christy, these are absolutely precious! What is it about bunnies – they just make you smile!! Lovin’ the haul…..
You have a great weekend, too!
Christy says
Thank you, Janice! I know, right? They have the sweetest faces! XOXO
Cyndi says
How cute!! I love all three of these! (BTW, I bought “your” logan point driver a few years ago and that thing is SO nice to have, and right now I am waiting for “your” Ryobi cat sander to be delivered. I am looking forward to hitting some pieces of furniture with it!)
Christy says
Thank you, Cyndi! And yay!! I love that thing and use all the time. My husband actually bought it for me many many years ago for Christmas and didn’t really even know what it did. He was trying to be supportive of my DIY adventures. I told him it’s one of the best gifts ever lol. And that smaller sander is so nice…I find myself reaching for that one more and more! XOXO
Caye says
These precious bunnies are just too sweet! Let us know how they sold, because I’m positive they will fly out of your shop!
I am going to Michaels today and get some foam core. Do you ever have to cut it to fit? Would a scissors work?
Have a great weekend! XXOO
Christy says
I am so in love with their sweet faces! I will keep y’all posted whether they sell or not. I have a cutting mat that I use when I cut fabric, etc with my rotary blade, and so I use an exacto knife and a straight edge (long ruler) to cut my foam core on that. I imagine you could use scissors though as the edges don’t have to be perfect since they’re in a frame. Enjoy your weekend too, my friend! XOXO
Lorri says
Those bunnies are way to cute!! Thank you for the tip of foam core for the backing on the frames. I usually use the backing that comes with the frame depending on its condition. Yes that last bunny frame just steals your heart.❤️ You will have no problem selling that one.
Christy says
Aren’t they the sweetest? You are so welcome…the foam core has worked wonderfully, but you can always paint the backing that came withe frame as well if it’s in good shape. I think they’ll sell well, but also, they are so cute in my booth that I don’t mind if they hang around a bit lol! XOXO
Ansje says
Super cute!!!
Christy says
Thank you, Ansje! XOXO
Michele M. says
Oh, how CUTE!!!! All three are just perfect, Christy!
Christy says
Thank you, Michele! XOXO
Cecilia says
Oh my goodness! That last one is too cute! And the first one is a very dapper looking rabbit. ???? I bet they will sell quickly. So adorable!
Christy says
Thank you, Cecilia! I just dropped them by my booth on Wednesday and they looked so cute in there! XOXO
Josee says
As usual, just lovely!
Christy says
Thank you so much, Josee! XOXO
ZOYA K RAUSCH says
Good morning, Christy, I have a question about the Logan point stapler that you recommended for frames.
I need to know if it is pretty easy to squeeze the handle of it. My hands do not have tons of strength in them and my husband is leaning towards a pneumatic point stapler which would be much easier to use but I would have to depend on him to plug and unplug from the air hose and that is even harder on my hands!
I read all the reviews but couldn’t find the right answer, so I decided to come to my FAVORITE PRO!! lol!
Christy says
Hi Zoya!! You are the sweetest! I find that it is much like the pressure used for a staple gun…maybe a bit lighter. Also consider that unlike a manual staple gun, where you will use it so much in a project like upholstery, for example, that it would be difficult to continue squeezing the handle for that extended period of time, using the point driver to secure art/ mirrors into their frames is much quicker. I think you would be fine using it. I hope that helps! XOXO
ZOYA K RAUSCH says
Thanks so much Christy!! I thoroughly enjoy reading your
posts/emails. I love all the tours of your booths and am so envious of it. Wish I didn’t live so far away in Texas!
Christy says
You are so welcome! Happy to add my two cents lol. Thank you, my friend! XOXO
Trish says
The bunnies are so sweet. Great choices and great job as always. Love that you share projects that could be seasonal decor. I don’t know if you mentioned it but it doesn’t look like you used any of the glass. Do you dispose of the glass from the original frame?
Christy says
Thank you, Trish! I had intended to keep the glass from the one that had it originally, but it broke. Without it, it looks more like a painting though! XOXO
Catherine Cave says
LOVE, LOVE, LOVE the bunnies!! Where did you get them? Did I miss that in the links?
Christy says
Thank you, Catherine! Yes, I included a link for them, but I have one left that you can find in my shop here: https://theserialdiyer.etsy.com/listing/1661219726/dreamy-bunnies-3-pack-decoupage-decor I do have more on the way though! They are so sweet! XOXO