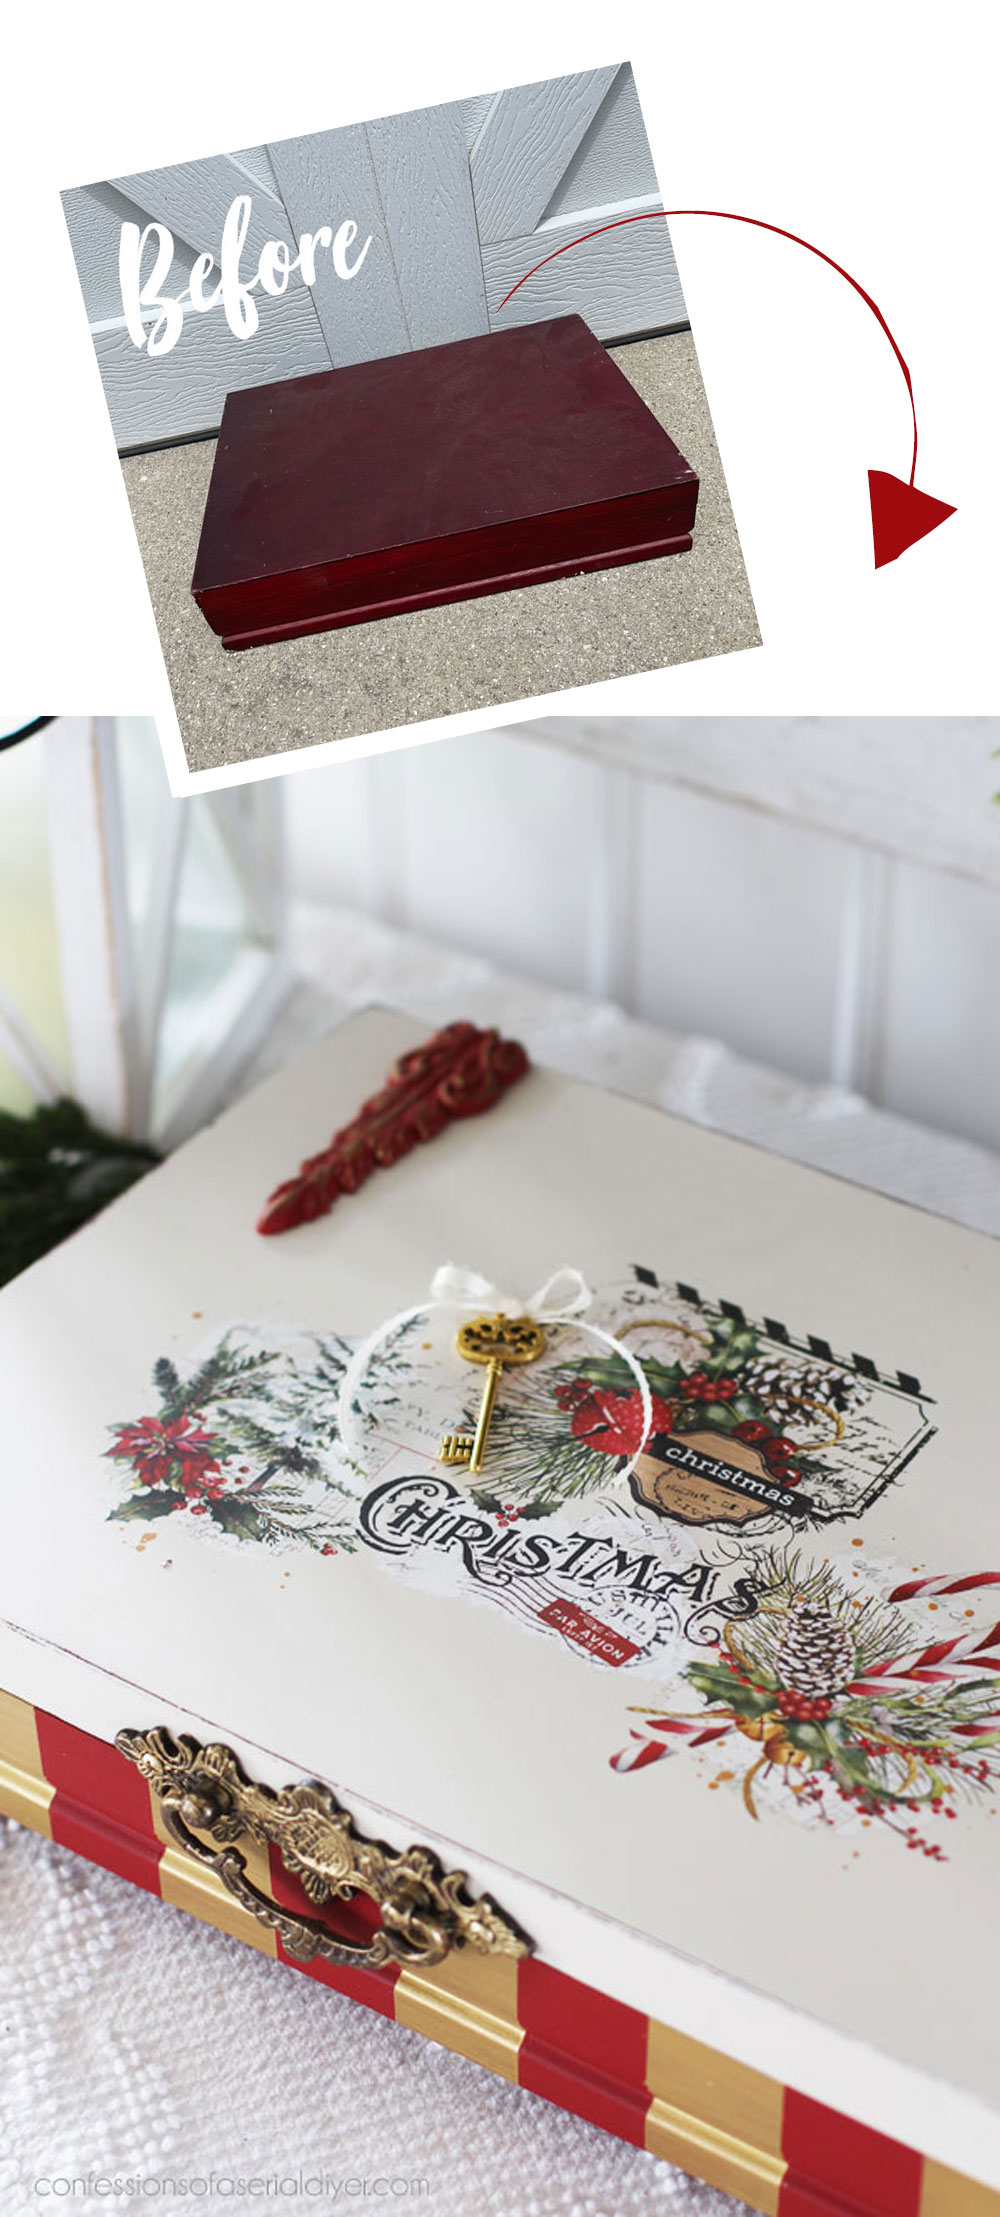
Hello, lovely friends! I’m back today sharing how to turn an old flatware box into a Christmas box!
Here is what I started with:
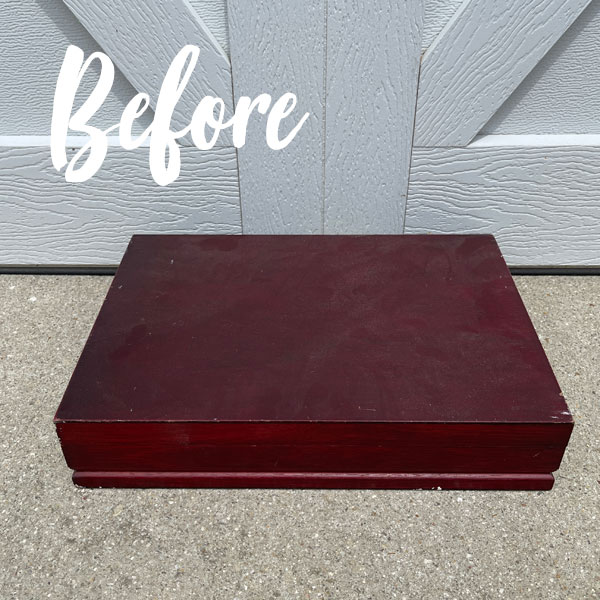
I picked this old flatware box up at the thrift store for half off of $3.75…a steal! It was definitely coming home with me for that price!
Like most makeovers, I started with a good cleaning with White Lightning and then a quick rinse.
Remove the insides
Then I needed to tackle the least fun part of these flatware box makeovers, removing the insides!
It looked like this to start:

The red actually would have been perfect for a Christmas makeover, but I removed it before I knew which direction I wanted to go…
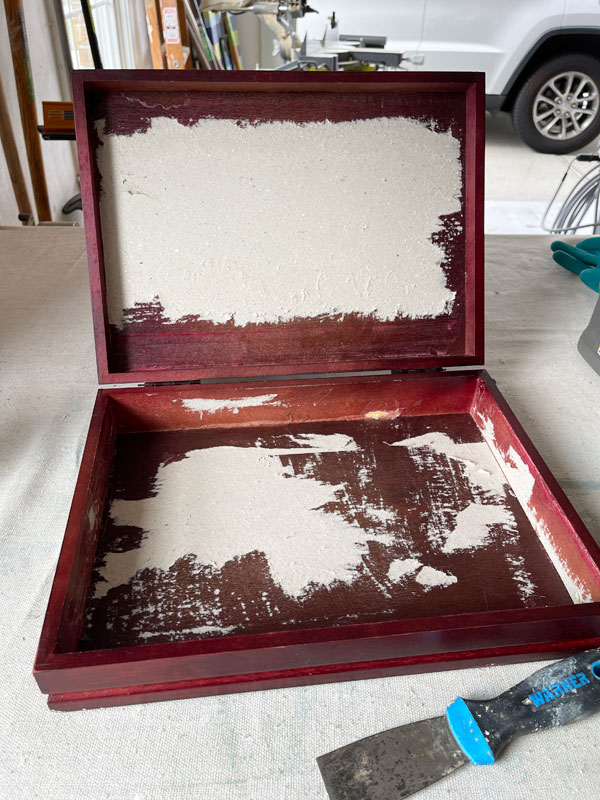
Don’t worry about removing every last bit of glue, paper, etc on the interior since it will be covered anyway.
I’ve included a few affiliate links so you can find the products I love.
Paint
Next, it was time for paint! I chose Drop Cloth for the top and Barn Red for the bottom:
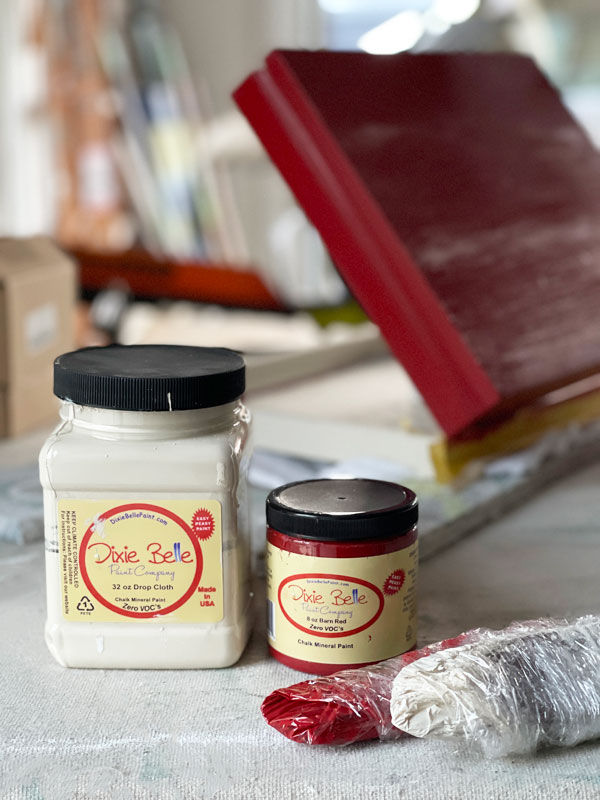
It took two coats for each.
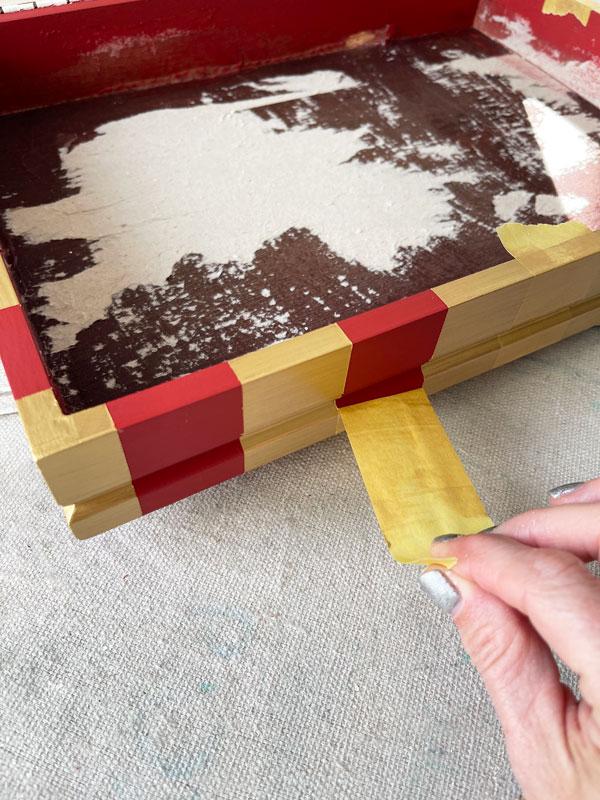
Once that was dry, I reached for Gold Digger, one of the Moonshine Metallics and added a stripe all the way around the bottom.
It took three coats, and I removed the FrogTape for Delicate Surfaces (my favorite painting tape) as soon as I applied the third coat:
Embellishing the top
Then it was time for the fun part…the embellishing!
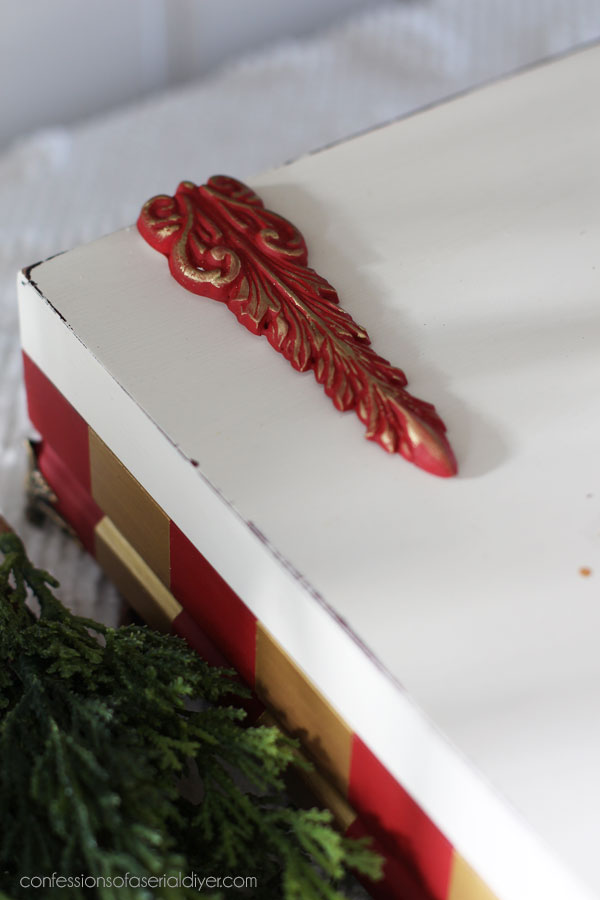
I started with these moulds I had made for another project but never used. (They are no longer available, but they are called Royal Fountains.)
I do offer 30 molds in my shop HERE and they are all 20% off right now! This one could be cut and used similarly. (There are a couple of holidays ones as well!)
Both pieces got painted in Barn Red:
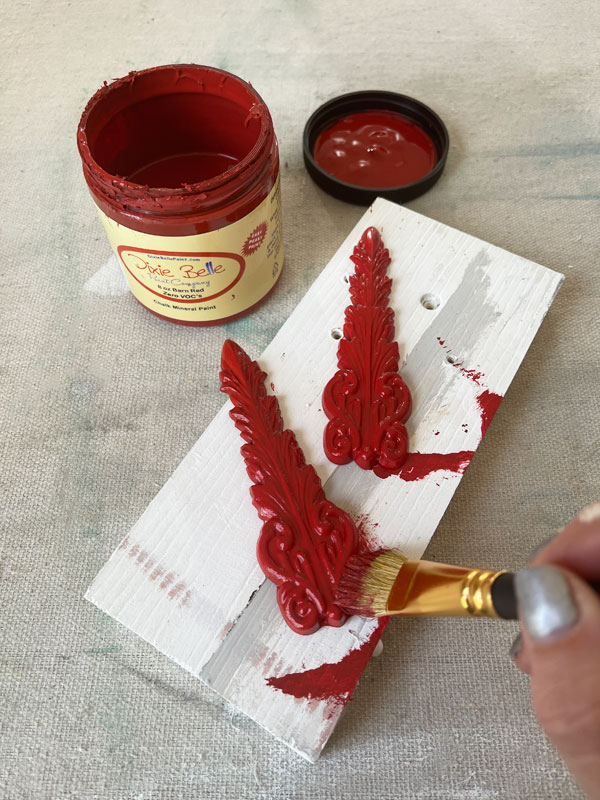
Barn Red is a perfect holiday red!
Once that was dry, I used a little bit of Gold Gilding Wax to highlight the details.
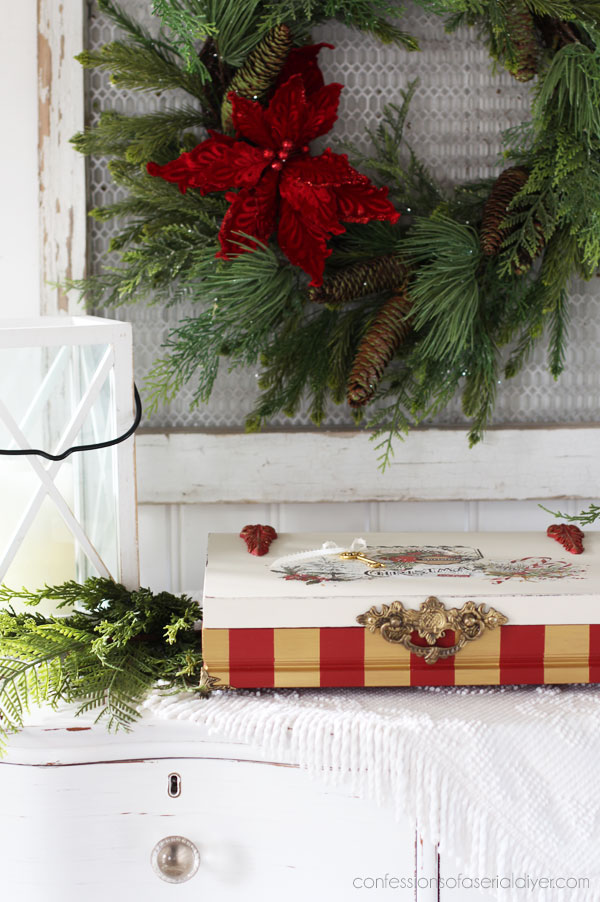
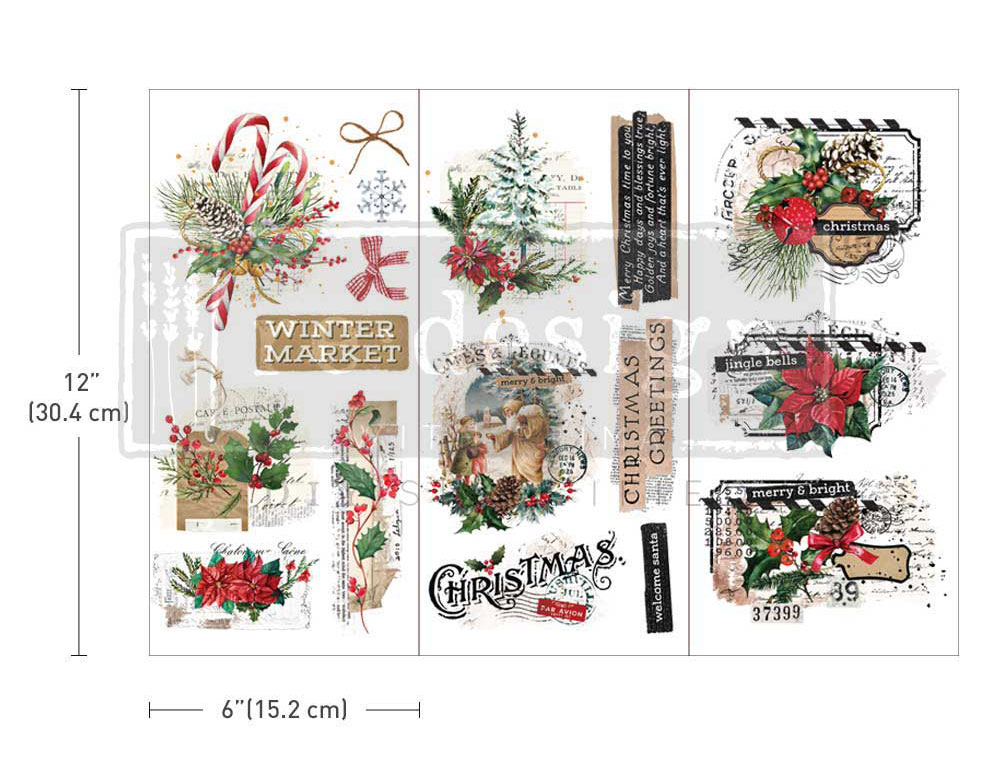
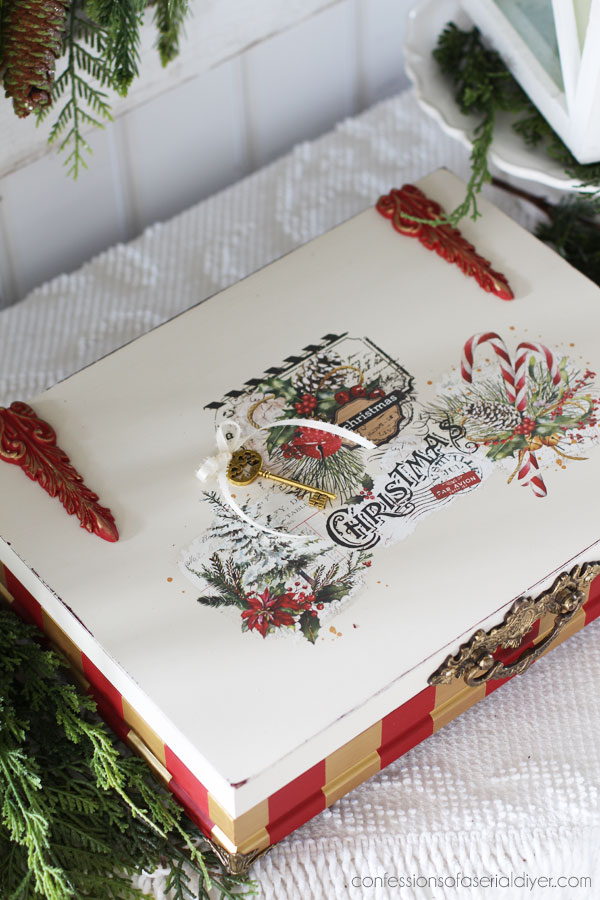
Then, to turn this box flatware box into a Christmas box, I pulled out this Xmas Tag Transfer that I just love:
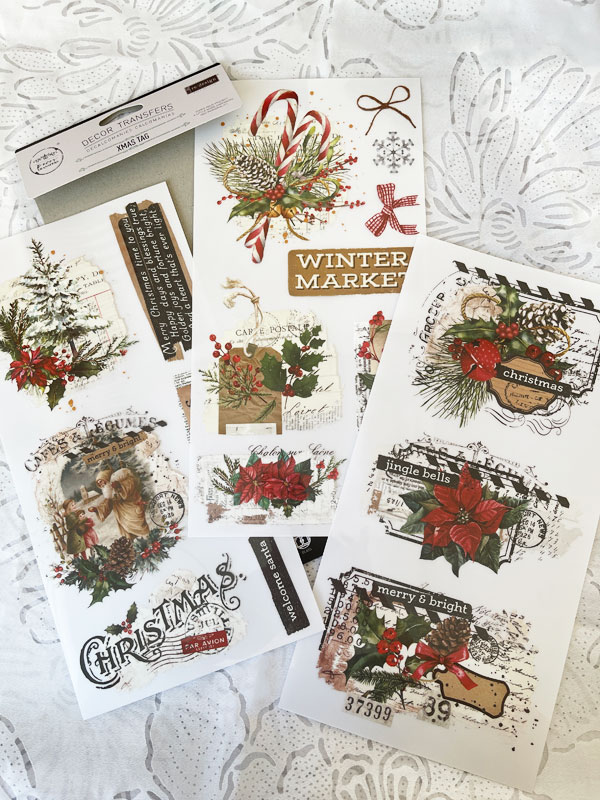
As the name implies, it is perfect for Christmas Tags but also the perfect size for many other small projects!
For today’s flatware box turned Christmas Box, I used a few together!
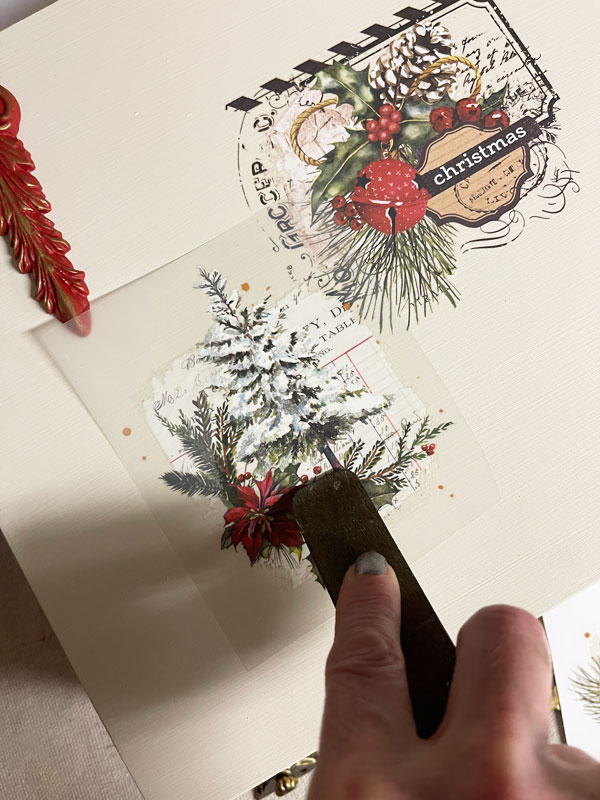
I laid them out how I liked first…
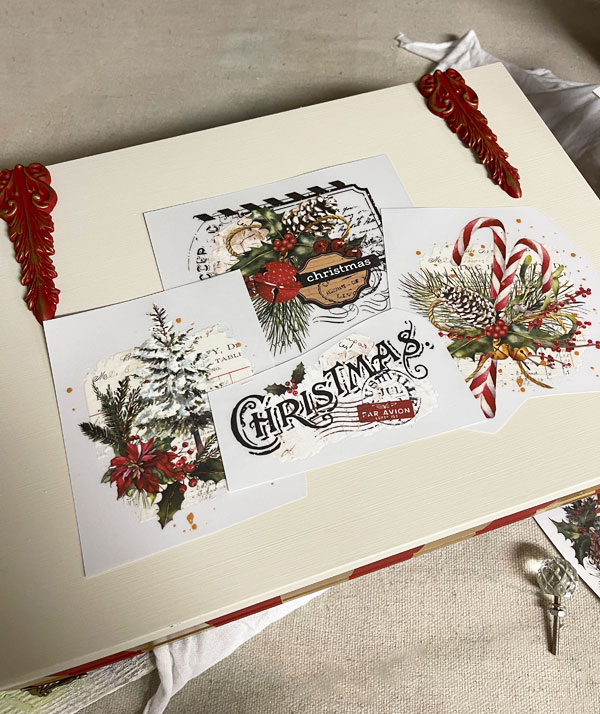
(The painted moulds weren’t glued in place yet.)
Then I used the included burnishing stick to burnish the images to the top:
Once they were all in place, I sealed the entire box with Best Dang Wax in clear using my Best Dang Brush:
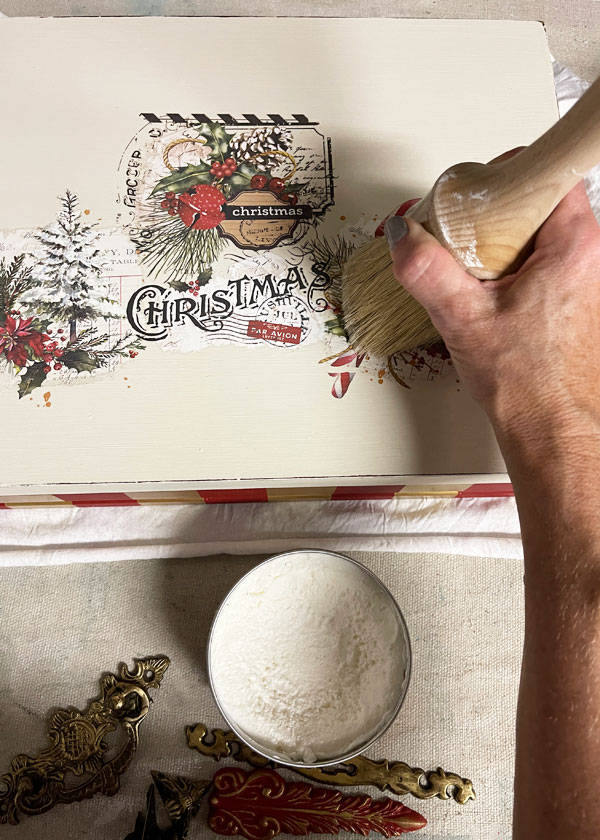
I would normally use Satin Clear Coat for sealing something like this, but I already had this out.
Once that was good and dry, I attached the moulds with E6000 glue (They have a no stink version now!!) and let that dry for several hours.
Then I added a pretty pull to the front that I had left over from redoing my Mom’s Oak Dresser, and these cute feet I am loving so much right now!
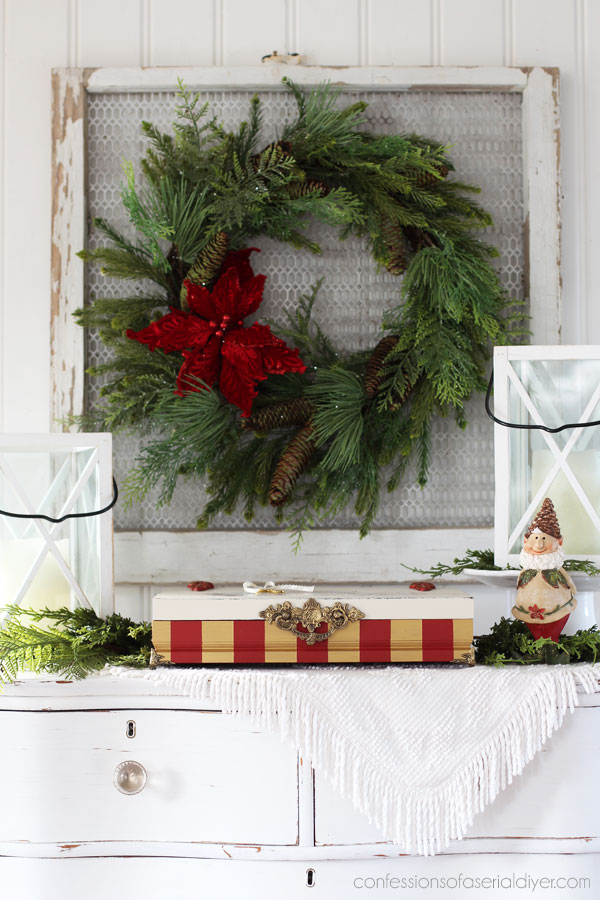
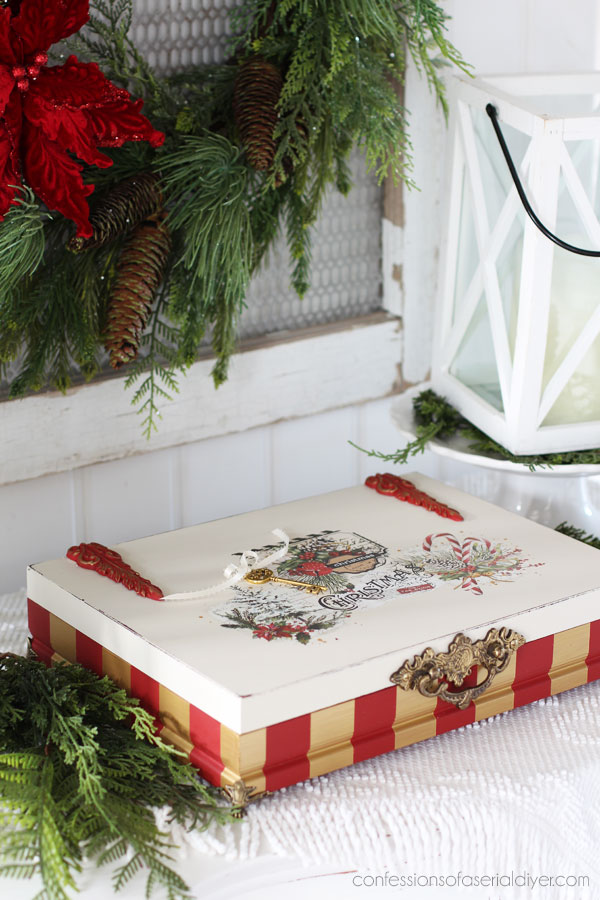
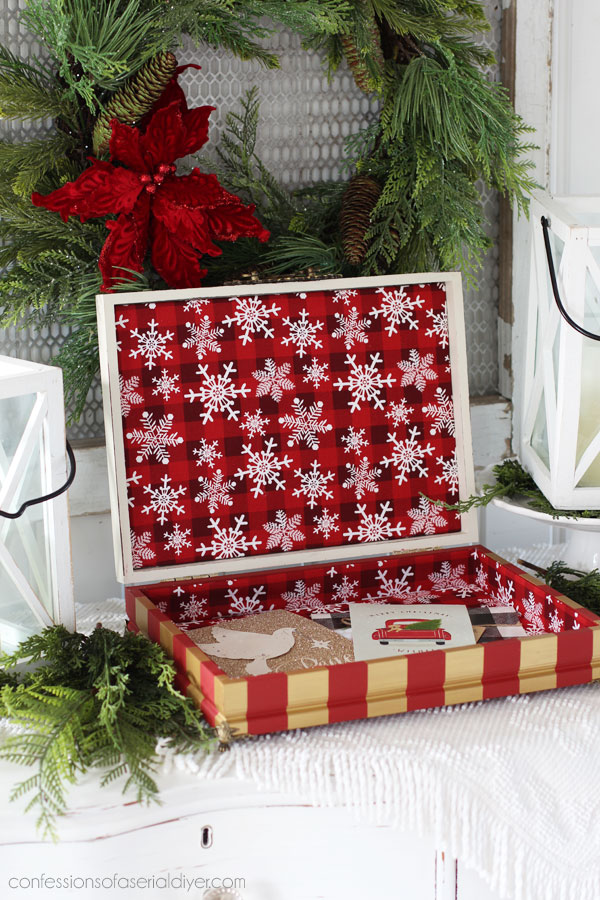
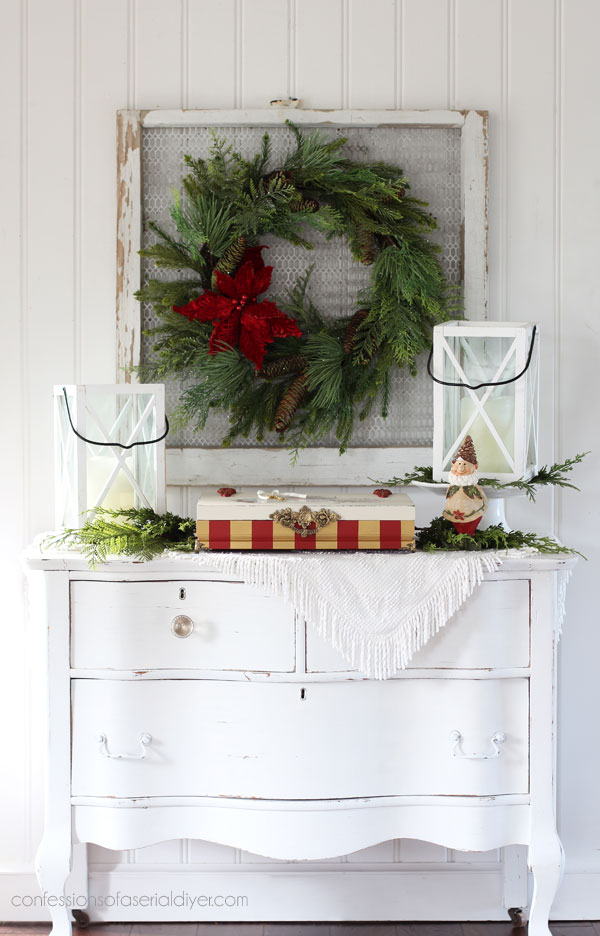
The result
Here is how this plain thrift store clearance flatware box got a little fancier for the holidays…
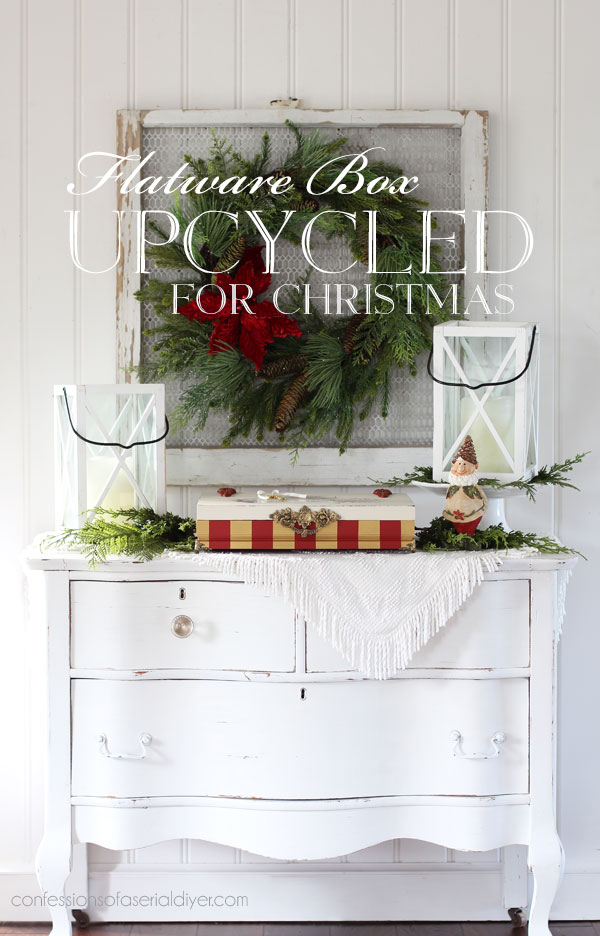
The stripes are bit bold, but I love it for Christmas!
In contrast to our very neutral decor year round, I enjoy lots of color in our home at the holidays!
Isn’t that pull gorgeous??
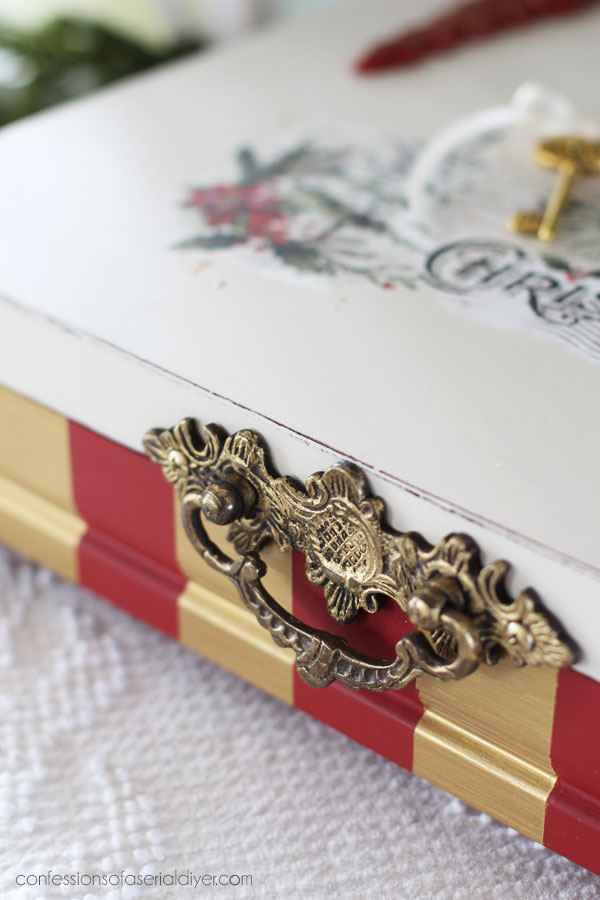
And you can really see the sheen of the gold paint so much better in that photo above.
Let’s get a look at the top…
I wanted to add a little something with some dimension to the top and that’s where the moulds come in…
You can see how easy they are to make with Amazing Casting Resin HERE.
I also found this pack of gold keys in my stash that I picked up at Michael’s forever ago:

I thought it was a cute addition to the top with a little added ribbon…
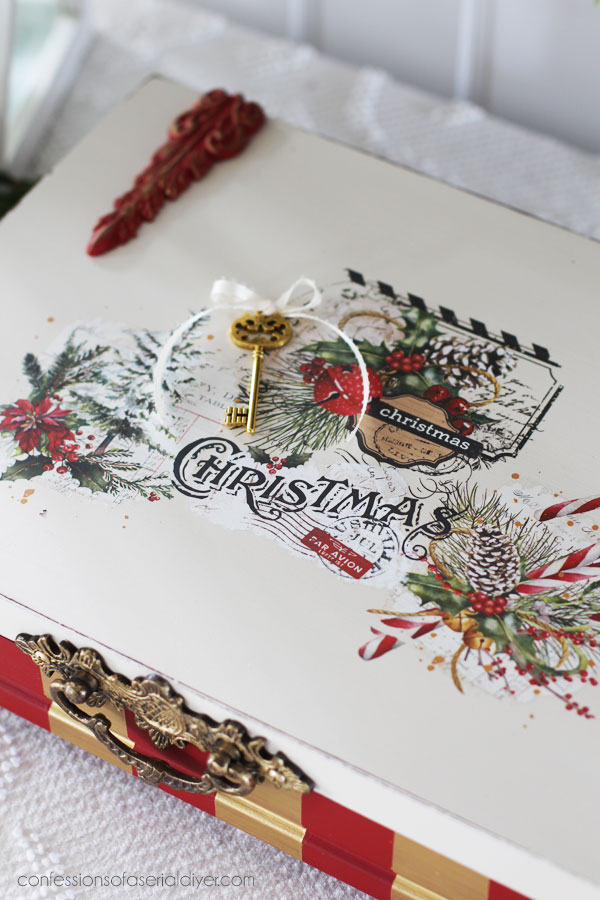
I just hot glued the ribbon to the box to hold it in place.
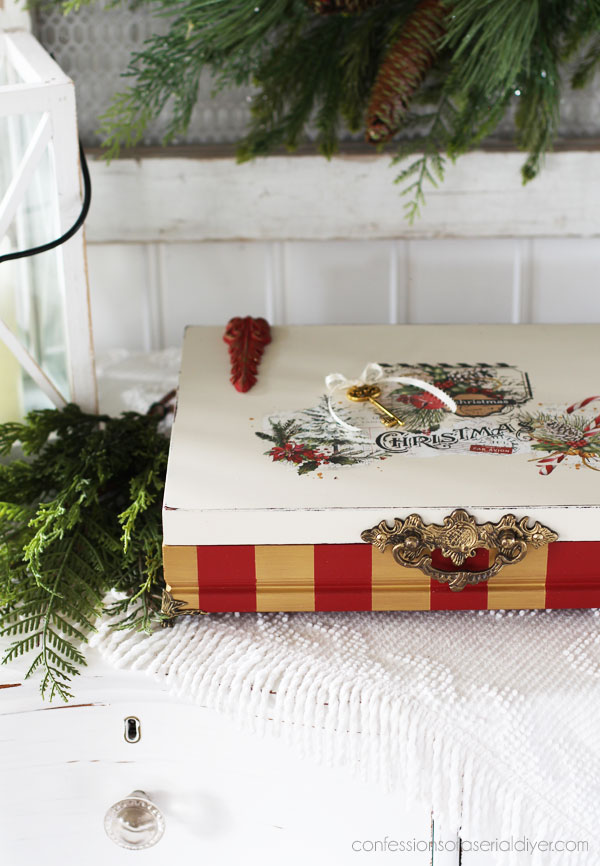
Again, the feet really add so much! You can find them on Amazon HERE.
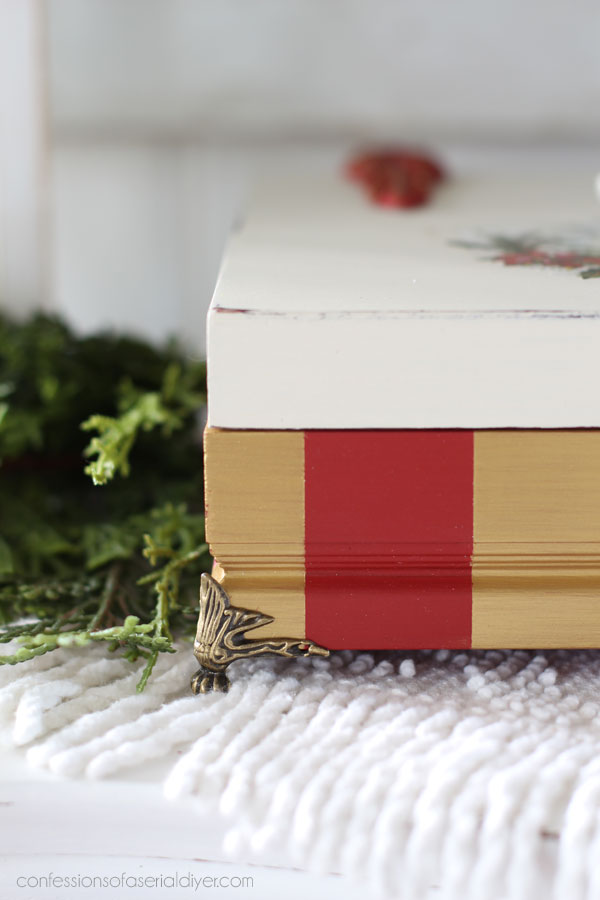
I hit those and the pull up with a little Gold Gilding wax as well to brighten them up a bit.
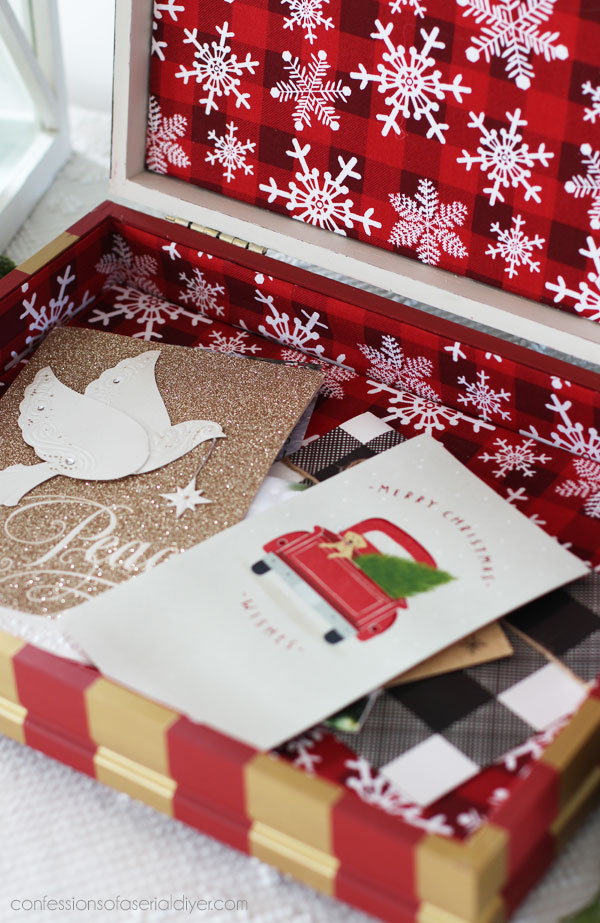
The Inside
Here’s a reminder of what the inside looked like once I removed the lining:
I lined it using fabric I found at Walmart…
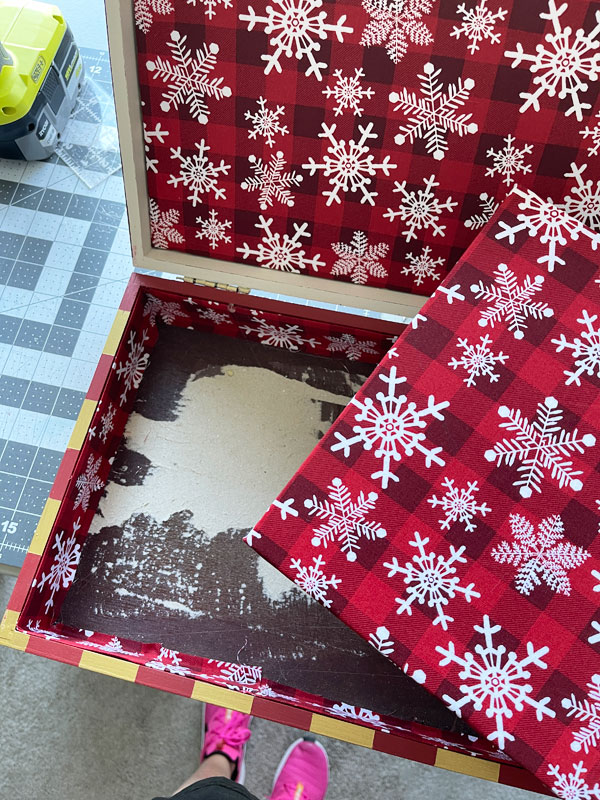
The choices were very limited, but this did the job.
See how I line boxes with fabric in my simple tutorial HERE.
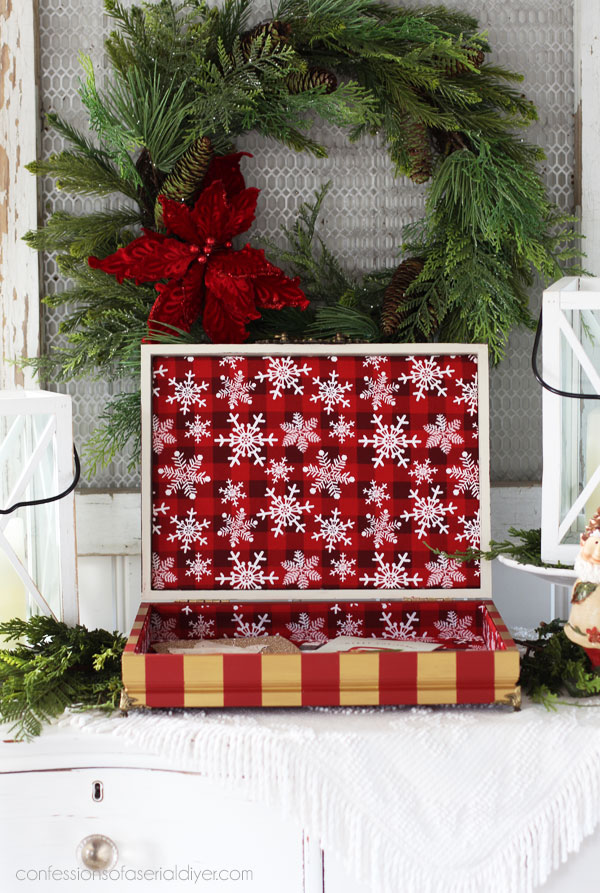
This box would be perfect to hold holiday cards!!
I still send cards, do you? And I love getting them in the mail!
These boxes are so fun to redo!
And by redoing this one for the holidays, I got to play with colors I don’t usually use throughout the year.
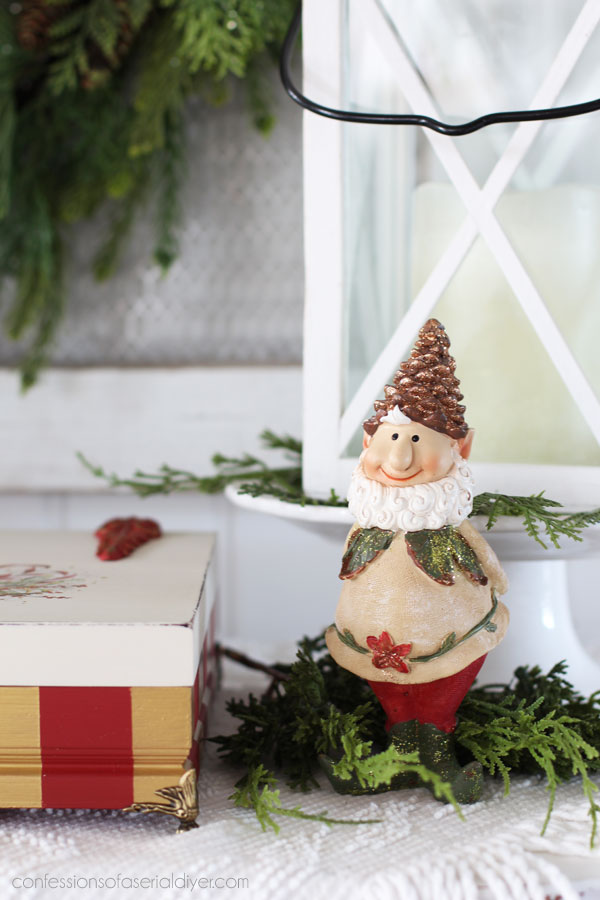
My elf was so excited to be out of storage…he thought it was Christmas already!
Here are a few more holiday transfers I carry that you might like:
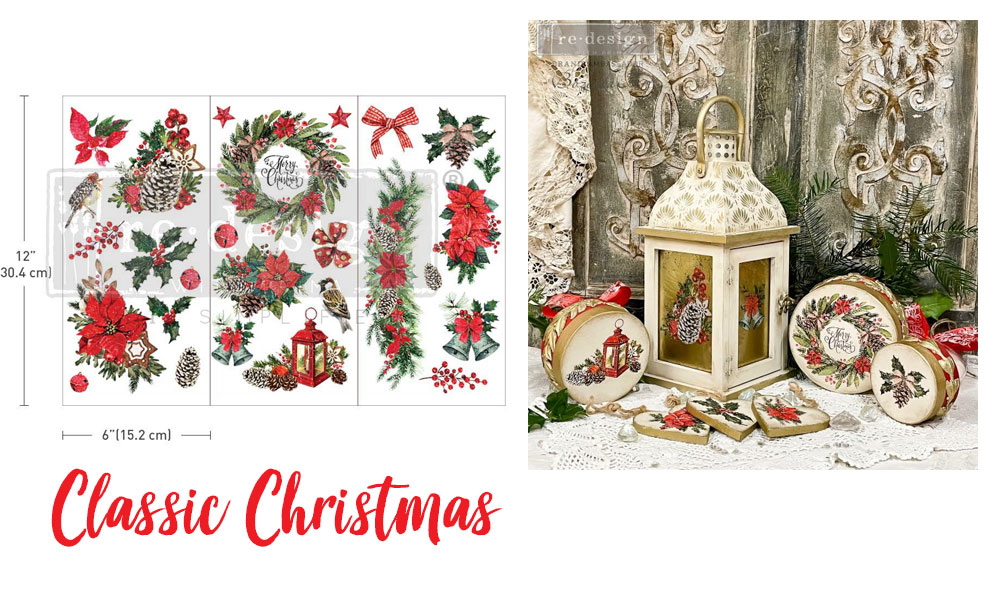
Classic Christmas:
Holiday Spirit: 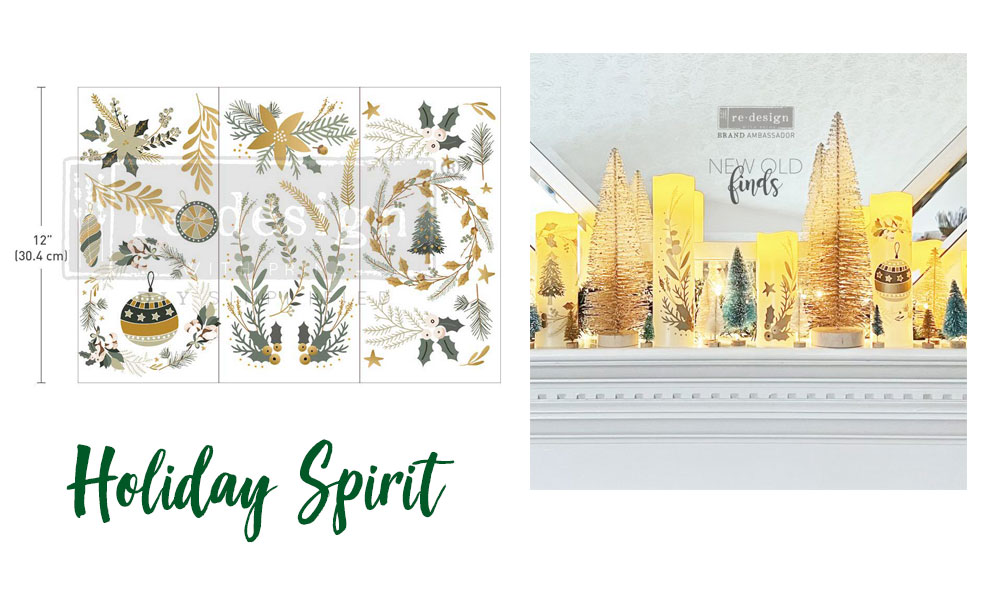
A Gilded Moment:

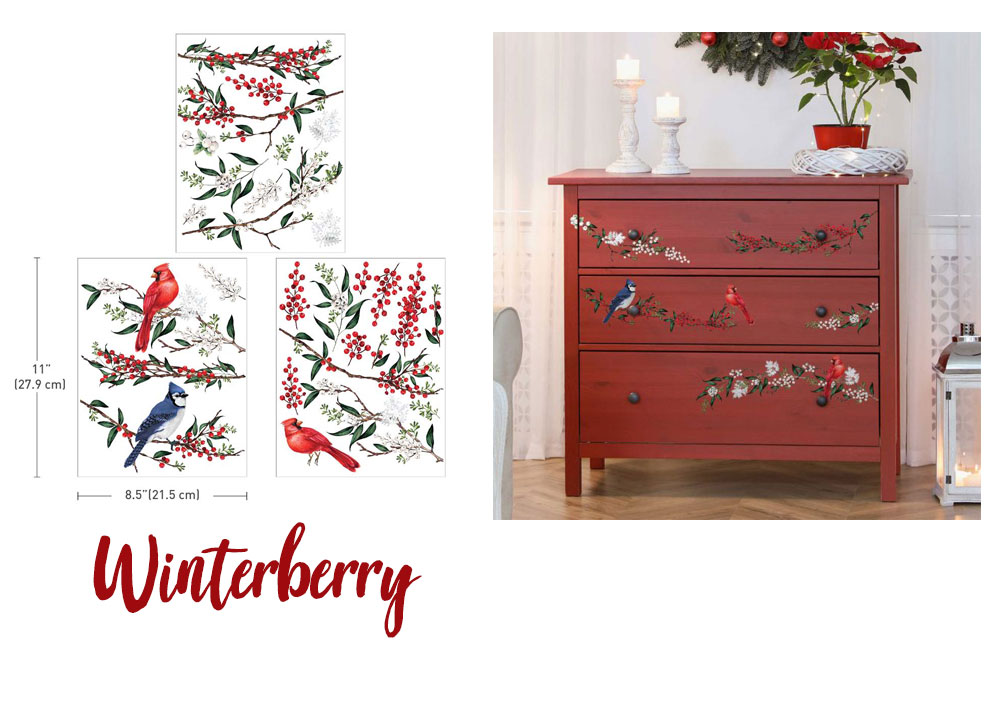
Winterberry:
Holiday Traditions: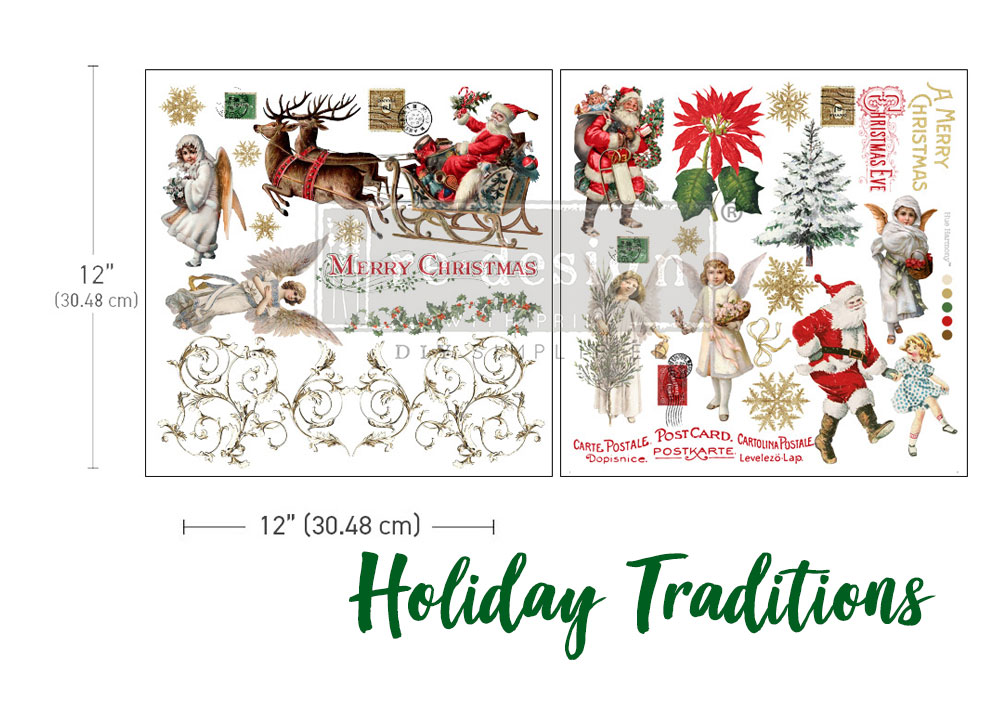
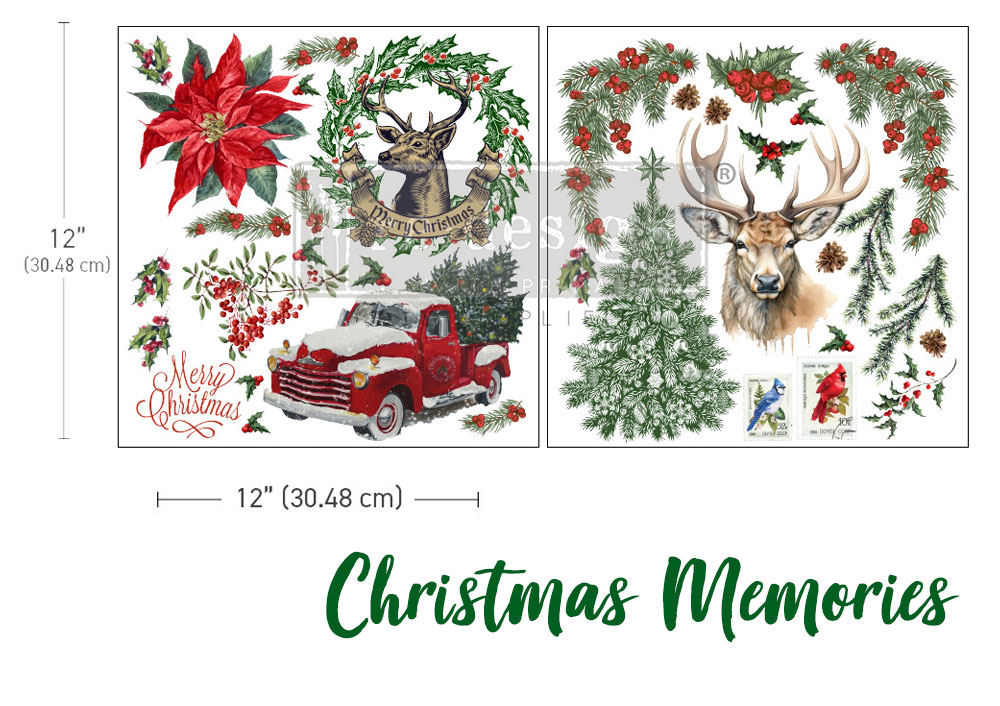
Christmas Memories:
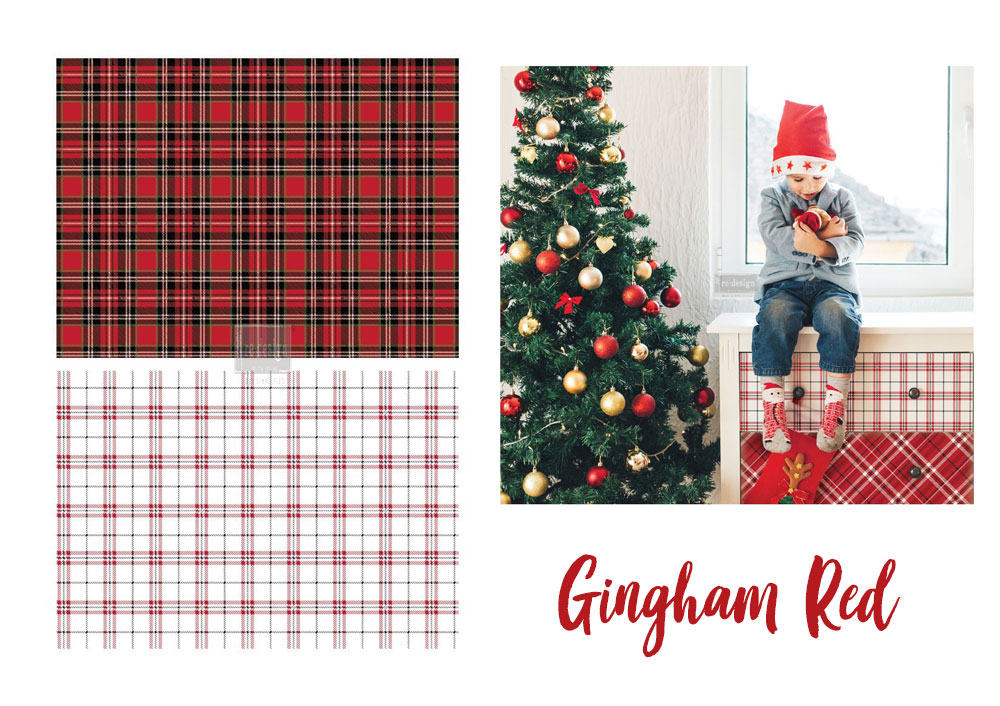
Gingham Red
My favorite might still be the Xmas Tag Transfer though!
Christmas will be here before we know it! At least I’m ready to collect those cards.
Find tons of transfer inspiration for furniture HERE…

And for non-furniture too HERE!
I’ll be back on Tuesday with this chair from my current haul…
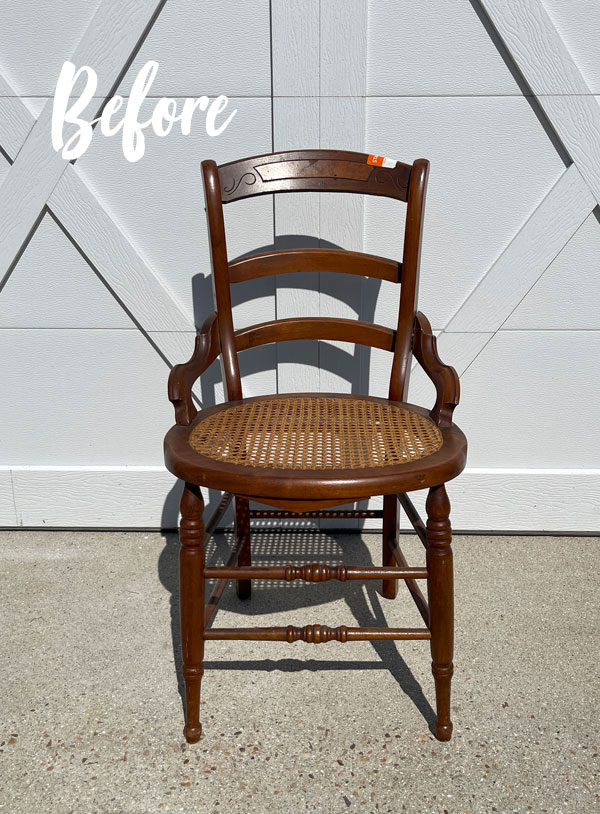
UPDATE! See how fresh and new this chair looks now HERE!
Have an amazing weekend, dear friends!
XOXO,

Don’t Miss a Thing!
If you like what you see, there are several ways to follow along!
EMAIL * INSTAGRAM * FACEBOOK * PINTEREST


Get FREE SHIPPING on all orders over $50. No code needed at checkout! Orders under $50 always enjoy $8 flat rate shipping! Most orders ship same or next business day!


Mary Kaiser says
I remember this one and how beautiful it turned out! You always take every thing over the top beautiful! I ha!ve my fingers crossed for the win on the contest! I have to go now, going into your Etsy shop to go shopping!
Christy says
Aww thank you, my friend! Your package is packed up and on its way woohoo! XOXO
Jane says
Christy, what a fabulous makeover! I will never pass by a flatware box again after seeing yours!
Christy says
Thank you, Jane! There are so many ways to reimagine them for sure! XOXO
Sue Cox says
This is a real charmer–perfect for holiday cards or to save letters to Santa. I always enjoy how you manage to turn these ordinary little boxes into something special.
Christy says
Thank you, Sue! Yes! That is what I used it for last year and it was perfect! These boxes have so many possibilities! XOXO
Kathy says
Hi Christy. Thank you soooo much for showing your Christmas box again from last year. For me, the timing was PERFECT!!! I was at a stopping point with a project; several drawers from a taller old jewelry box. I decided I was going to redo each small drawer into trinket/storage boxes. I was at a stand still because I could not remove all the velvet covered cardboard that was glued to the inside. After pulling out as much as I could, I was left with the pieces of cardboard that would not budge from the inside!! Ugh!! But, then, in reading your Christmas box post, it included your fantastic way to deal with the mess I created when “trying” to remove the lining of the drawers. I was so happy to discover I didn’t have to remove all of it at all. Woo-hoo!! Thank you for including the most helpful link to covering the inside of boxes in today’s blog. Back to MY “smalls” project. 🙂
Christy says
OH wonderful! I’m so glad the timing worked out so well for you!! Enjoy! XOXO
Sue says
I love how the Christmas box turned out, very nostalgic! I love the idea of keeping memories in a box. I will look for a box to do this, thank you for the inspiration!
Christy says
Thank you, Sue! I see these really plain ones quite often, so hopefully, you’ll come across one! XOXO
Nana Diana says
Clever and very Christmasy. Have a wonderful day-xo Diana
Christy says
Thank you, Diana! You too! XOXO
Robin Stephens says
That has to be one of the most unique, creative and adorable pieces you’ve ever created (IMO). Uh-door-uh-ble! IDK if this tip will help you or not….but, I love buying used cigar boxes (they’re real wood) that I purchase from cigar stores for $1 per. I use them as risers, and for general storage. They’re unique! I could see you recreating them in a multitude of ways with your paint and panache. ♥️ I just purchased several from the one in New Town (Williamsburg) but you probably have cigar shops much closer. Give them a look-see!
Christy says
Thank you so much, Robin! That is a wonderful tip!! Might have to hunt a store down now lol! XOXO
Jackie C says
Love the red and gold together!
Christy says
Thank you, Jackie! XOXO
Sharon Kolesar says
How do I print out your instructions? I would like to redo an old flatware box my mother bought for me years ago at a garage sale. Thank you.
Christy says
Hi Sharon! Unfortunately, there isn’t a printable version, but you could just take notes maybe?
Michele M. says
SO CUTE!!!
And that’s an excellent sale going on, whoo hoo!!!! ♥♥♥
Christy says
Thank you, Michele!! And yes, ma’am!! Have a wonderful weekend! XOXO
Corrine Brzys says
The Christmas box is darling! I love boxes. I really love this idea, and also the reminder about the 20% off sale! I made my purchase just a moment ago, and I wanted to thank you for the free shipping over $50. Have a lovely week! Going to be a busy one with Thanksgiving, but my reward is a craftathon Friday. lol
xox
Cory
Christy says
Thank you, Cory! I love boxes too…so many fun ways to reimagine them! You order will ship tomorrow…I sure do appreciate your business! Have fun with your craftathon…sounds like my kind of Black Friday lol! XOXO