Hi sweet Friends, I’m back today sharing how to easily update a wall shelf with fabric. I’ve been a busy bee decorating our house and my parents’ house for the holidays this week, so this post is an oldie that was worth a replay!
I originally shared this makeover back in 2018. It was a piece that I found while out thrifting with my blogging bestie, Nancy from Artsy Chicks Rule:

We took that photo that day in front of our old house. She and I caught that thrifting day all on video so we could share it with you as part of our Thrift Shop Shakedown series.
We visited all of my favorite thrift stores in search of something we could each make over.
You can watch that video here if you like:
(If you have any trouble viewing, you can see it HERE.)
I found this cute shelf at our very first stop of the day:

It was $6.98, and I rarely pass up a cute shelf. They are just so functional!
I’ve included a few affiliate links so you can find the products I love.
Clean
All projects, especially wood, start with a good cleaning with White Lightning. I didn’t know about it back then, but I’ve since learned that proper prep is so important!
Paint
The color I chose is very similar to this 50/50 mix of French Linen and Fluff:

Painting took no time at all since this piece wasn’t very large.
Seal
Then, I sealed the shelf with clear wax.
Adding a back
An easy way to make a simple shelf like this look so much nicer is to add a backing. I do that often like HERE and HERE.
For the back of this one, I cut a piece of hardboard using my mini circular saw.

This saw is great for cutting pieces like this. It is small so it’s easy to handle. Just line this notch up with your pencil line…

I get nice super straight cuts every time!
Then I did a dry fit to be sure it was a good fit. I also painted the board white so it would be nice and white through my fabric.
I applied a layer of matte Mod Podge and adhered my fabric.
Here it is in pictures:
 I cut the excess fabric off with a fresh razor blade.
There is no need to add another layer of MP over the top.
I attached the new fabric-covered backing to my shelf using my nail gun.
Here is how it looks all together

Who knew this dated shelf could be so much more sophisticated?
This is fabric I had left over from my dining room chairs, so it was basically free. 🙂

Adding fabric to the back really dressed up this otherwise plain shelf.

Here’s a close up of the fabric:

I love that it adds a little texture to this sweet shelf. The fabric originally came from Hobby Lobby.
It looks pretty dressed up with a few pieces of my thrifted ironstone…

Perfect for a dining space!

But how cute would it be in a nursery or in a child’s bedroom to hold all sorts of treasures?

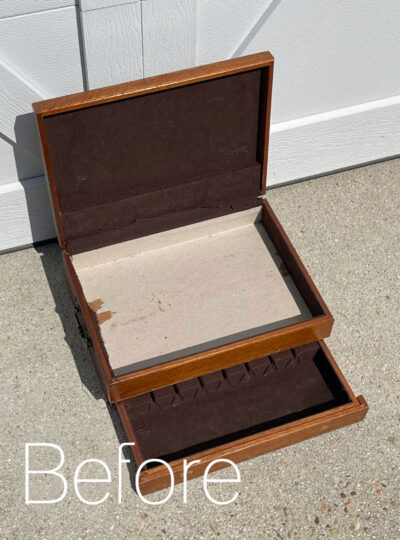
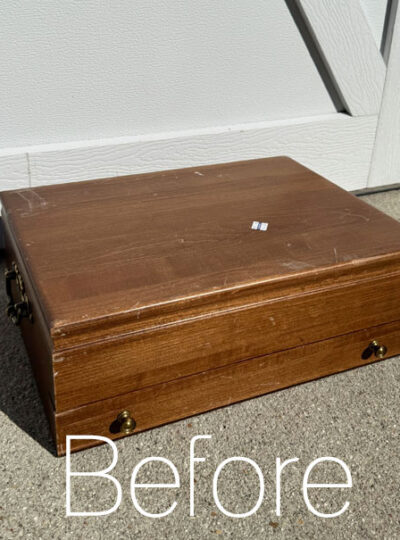
This is what Nancy found that day, this breadbox that she found on our very last stop:

Visit Nancy HERE to see what she did with her breadbox!
I’ll be back with my Trashy Treasure girls sharing what I made from the rest of this table on Tuesday:

If you missed what I did with the top, you can see that HERE!
UPDATE! See what I did with the rest of the parts HERE now!
Have a fantastic weekend!
XOXO,

Don’t Miss a Thing!
If you like what you see, there are several ways to follow along!
EMAIL * INSTAGRAM * FACEBOOK * PINTEREST

Get FREE SHIPPING on all orders over $50. No code needed at checkout! Orders under $50 always enjoy $8 flat rate shipping! Most orders ship same or next business day!




Mary Kaiser says
Oh I so remember that cute shelf! I loved how it turned out! when your done cleaning your parents home, and yours, come on to Michigan to clean mine, but I must warn you it is 17 degrees this morning, and we had snow and wind so it is bitter cold! I will make you homemade hot cocoa though! I know, so tempting LOL!
Christy says
Thank you, my friend! Ha ha! We had a balmy 27 degrees here yesterday morning which is COLD for us lol…no snow though, so that is tempting!???? XOXO
Kathy W says
Hi and good morning, Christy!!! First of all, I do remember that shelf. It looks so pretty with just a simple makeover (you make all your “makeovers” look so simple!! Lol. I now have another item to add to MY shopping list when I am thrifting. ???? Secondly, I received my order from you!!!! Thank you for such a fast turnaround!! I am very excited to start using the transfers I ordered. Thanks again!! Have a wonderful day!!
Kathy W
oxox
Christy says
Thank you so much, Kathy! And woohoo!! Have a blast getting creative, my friend!! XOXO
Cecilia says
That’s a good one! Love how adding a back and the fabric added so much personality! I cheated (lol) and put my Christmas decor out before thanksgiving. I seldom do that but as we weren’t hosting Thanksgiving this year, I was eager together my Christmas things out. My goodies are due to arrive tomorrow! I got things for at least three projects. I can’t wait to dive into them. I should totally do the prep work today so I’ll be ready to go. I’ll see if I have time as I’m in the middle of doing some Christmas paintings. Can’t wait!
????Cecilia
Christy says
Thank you, Cecilia! The fabric made all the difference. I love that you got your decor up early. Thanksgiving was so late this year, so I think many people did that. I was hosting, so I waited, but it’s just about done now yay! And woohoo!! I’m so glad I was able to discount just about everything year this year…happy creating, my friend! XOXO
Patricia says
Love the finished shelf. The display you used is stunning. This gives me so many ideas. Thank you for sharing. Merry Christmas to you and yours.
Christy says
Aww thank you so much, Patricia! It is always a pleasure to share! Merry Christmas to you as well! XOXO
Nancy @ Artsy Chicks Rule says
Aw I miss those days!! Love this pretty shelf!! xoxo
Christy says
Me too!! XOXOXO
Michele M. says
I love the 50/50 color those two make. And your stripes are always a winner. And I loved your old video. Your pic with Nancy is just too adorable. What a fun day for you both.
Christy says
Thank you, Michele! Yes, you know I love a stripe lol! I miss those old days…it’s been too long since we’ve thrifted together! XOXO