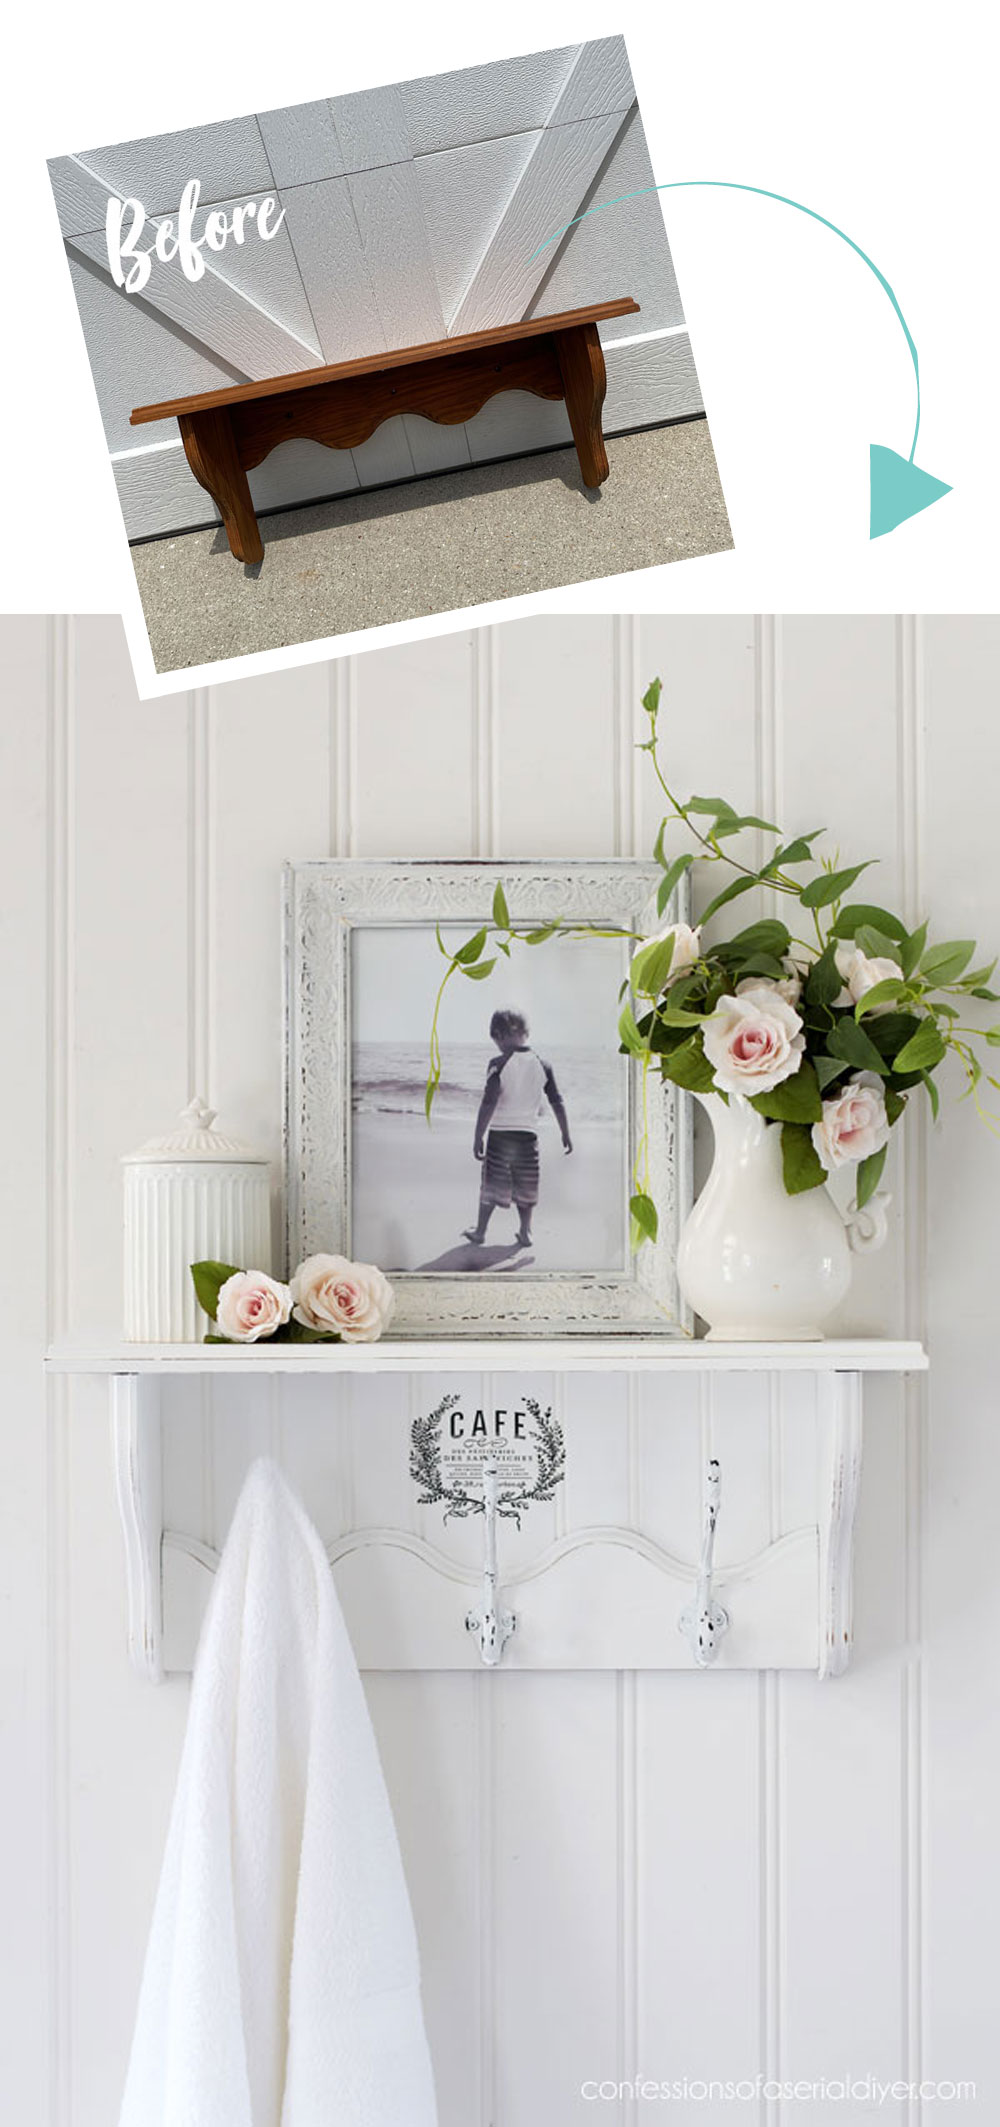
Welcome back, amazing friends! I am so thrilled that you are here! Today, I’m sharing a simple way to update a thrift store shelf. It’s another piece from my new haul!
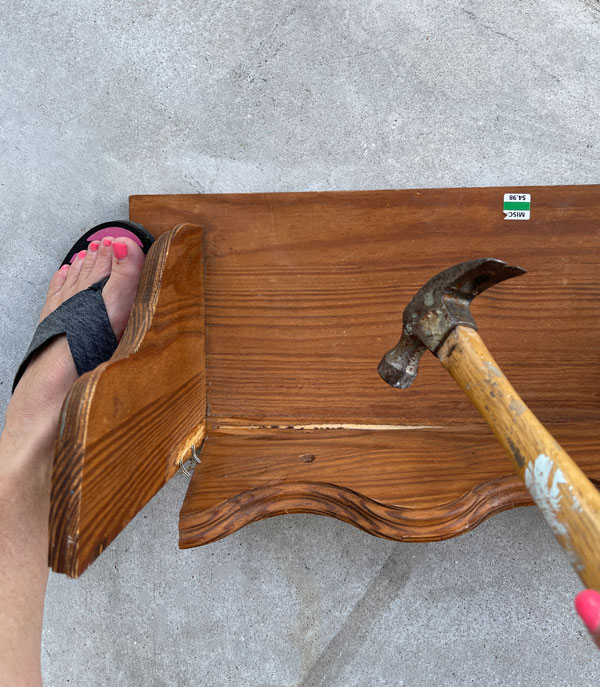
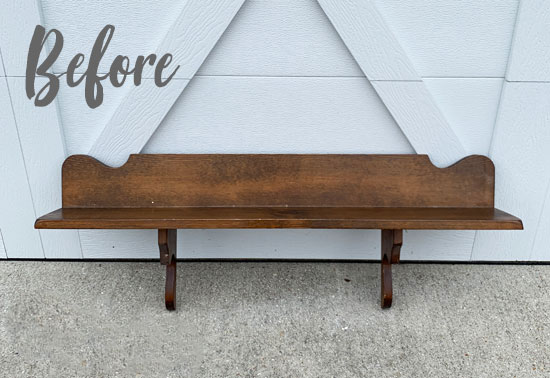
Today’s project piece is this dated shelf that I picked up for $5 at the thrift store:

I thought the wavy piece across the bottom is what made it a bit dated, but I knew I could remove that. Otherwise, it was well made and solid and…I thought I could make it cute!
Shelves sell well since they are so versatile and can be used in just about any room of the house!
Since I knew right away that I wanted to remove the wavy piece, I started there:
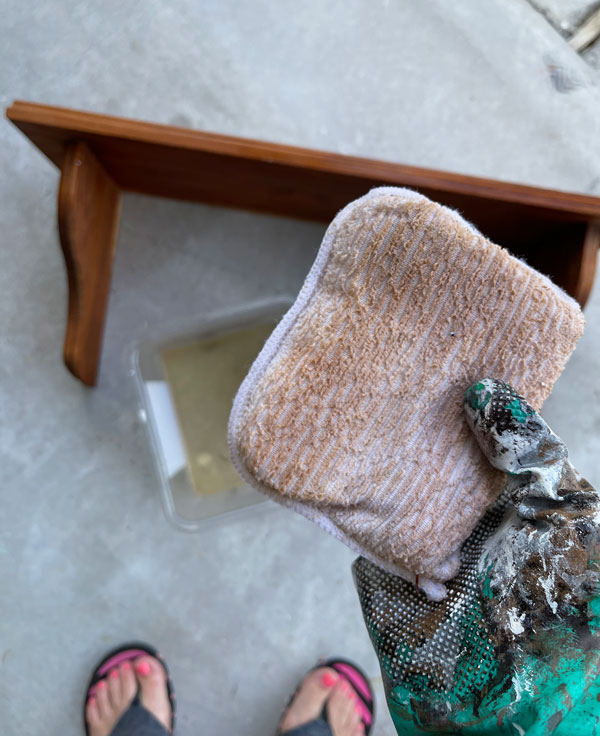
Clean
The next step was a good cleaning, which I did with the help of White Lightning. I just added a TBSP to a tub filled with a half gallon of warm water and gave this shelf a good wipe down. Look at those orangey tannins I was getting on my applicator pad from this shelf:
I knew I would need to BOSS this piece or that would bleed through every paint layer. It seems whoever stained this shelf never sealed it.
BOSS
I gave it a good coat of BOSS in white to seal in those pesky tannins:
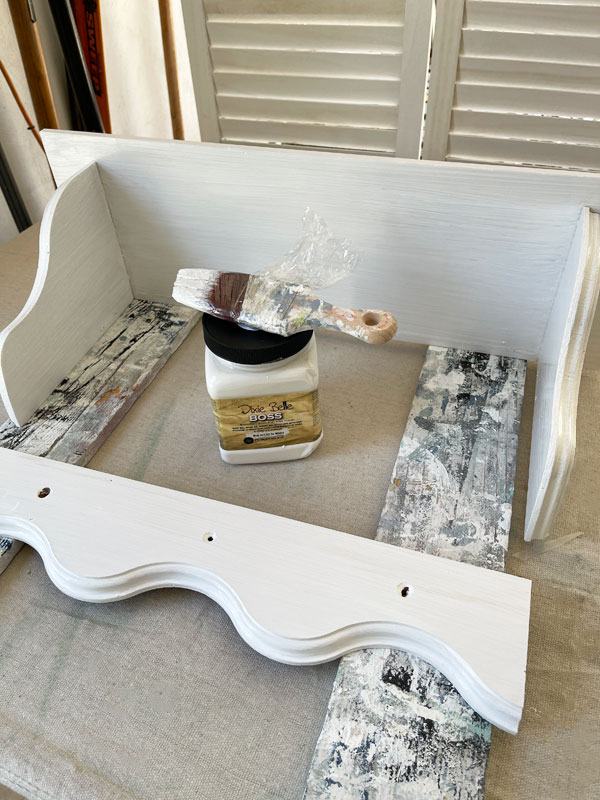
I let that sit overnight to be sure it was good and dry. Proper dry time is key with BOSS!
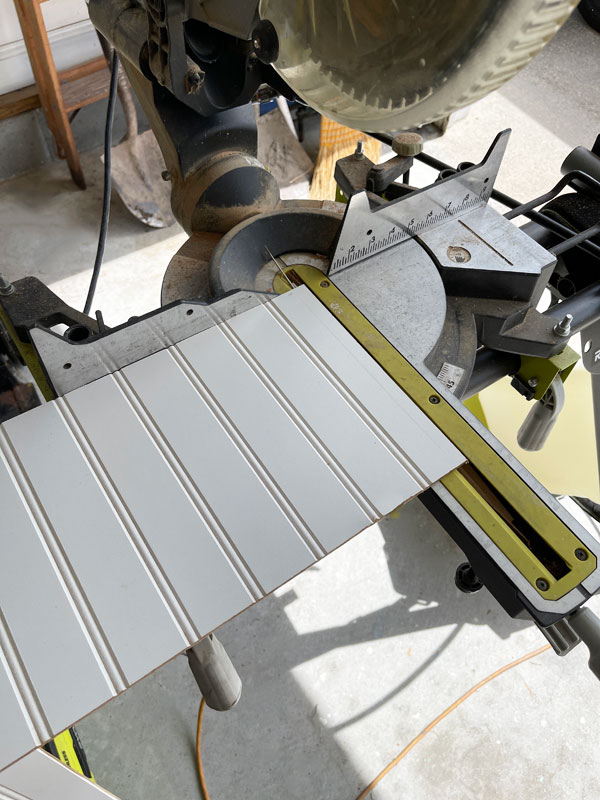
Paint
Before painting, I needed to cut my new backing for the shelf, which I did out of bead board…
Then everything got two coats of Cotton. Cotton normally takes three coats, but the white BOSS took the place of one coat.
Adding a mini Transfer
I decided that the bead board I planned to use as my new backing could use a little embellishment, so I reached for my set of mini transfers, the Classic Vintage Labels transfer set:
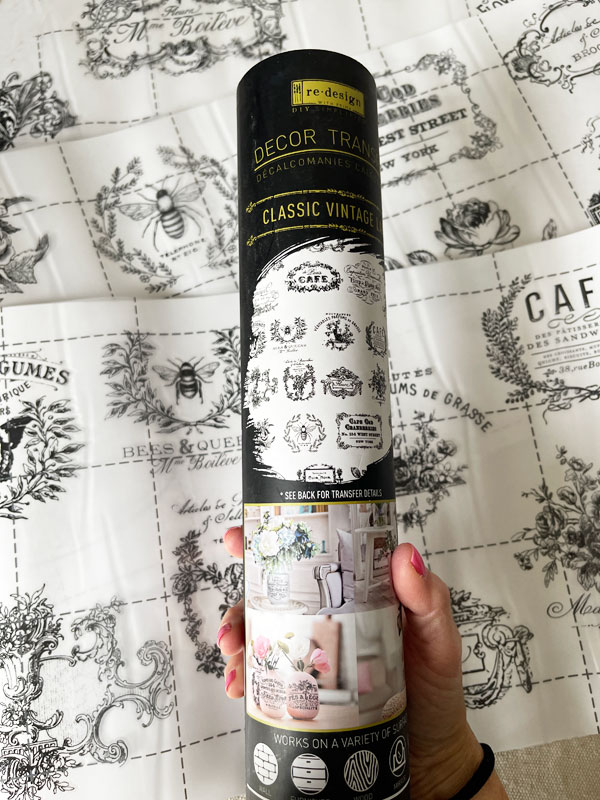
This set has 27 mini transfers in all, so just over a dollar per mini transfer, and you can update 27 smalls!
This transfer is available HERE!
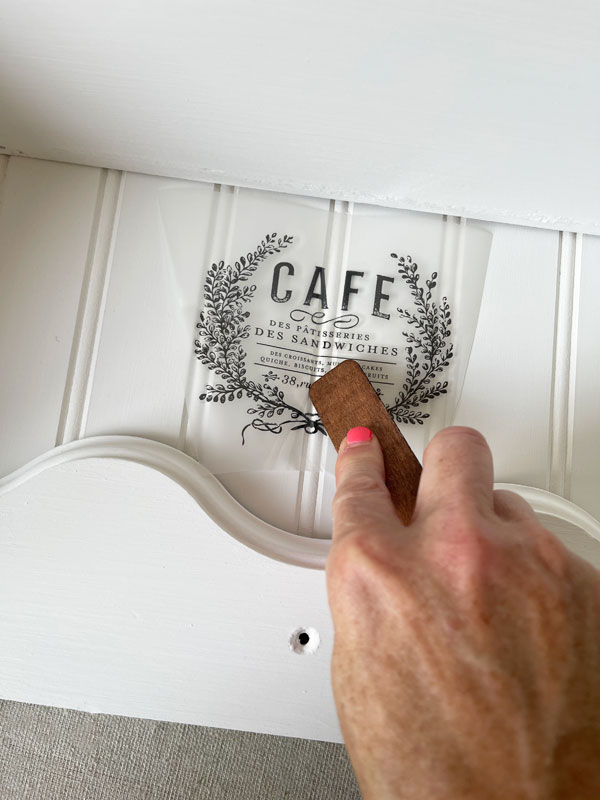
I dry fit everything together once the paint was dry to determine placement for the mini transfer I chose. Then I started burnishing in the crack of the bead board first (that did not sound right lol), then I kept moving, making sure the transfer made it into the crevices. (Did that sound better?)
Sand
I sanded everything with 220 grit sandpaper once the paint was dry to smooth it out and distress a bit here and there. I did not sand across the transfer, but you could if you wanted it distressed a bit also.
Seal
Before assembling everything, I sealed with Clear Coat in Satin using my blue sponge applicator:
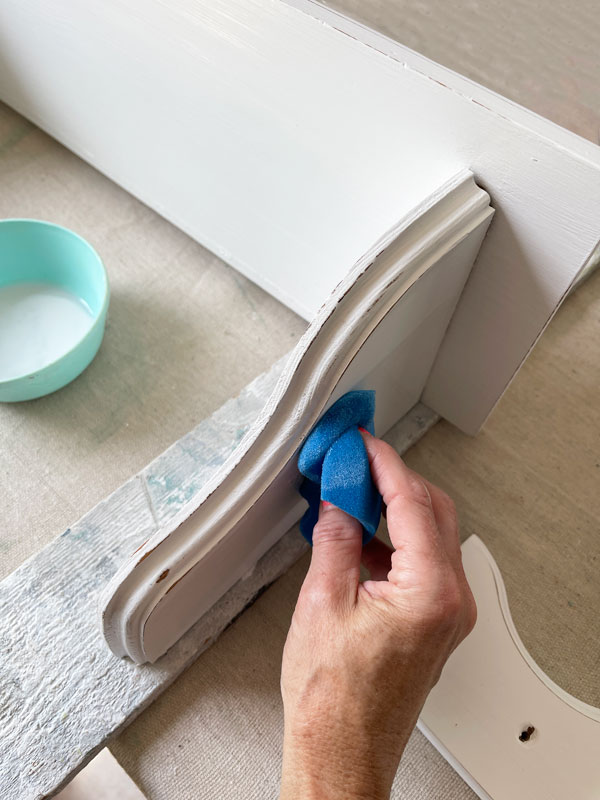
I cut the top of the sponge straight across, which helps to get right into those corners.
Finally, I assembled everything, using my nail gun to reattach the wavy piece I had removed. I attached the bead board backing with small finishing nails.
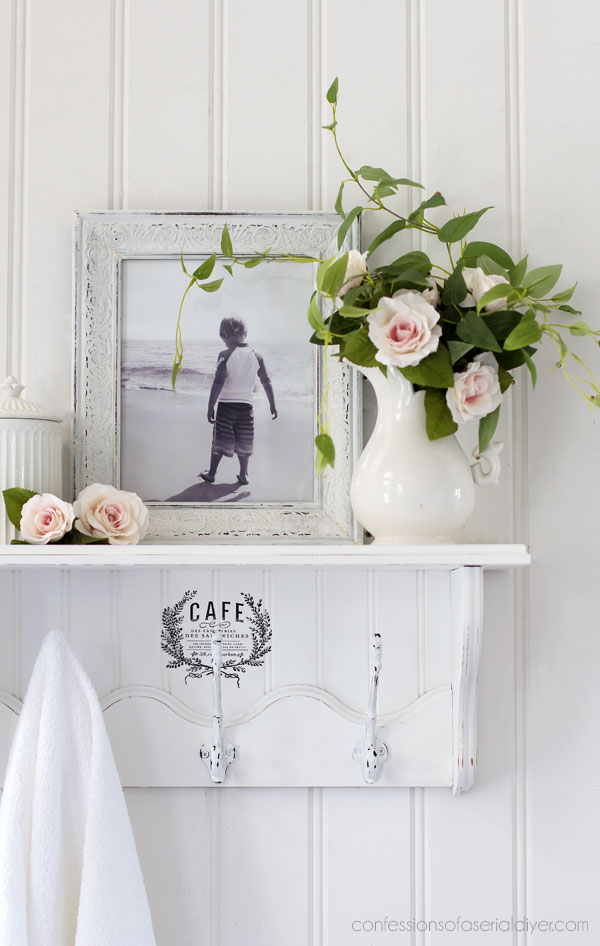
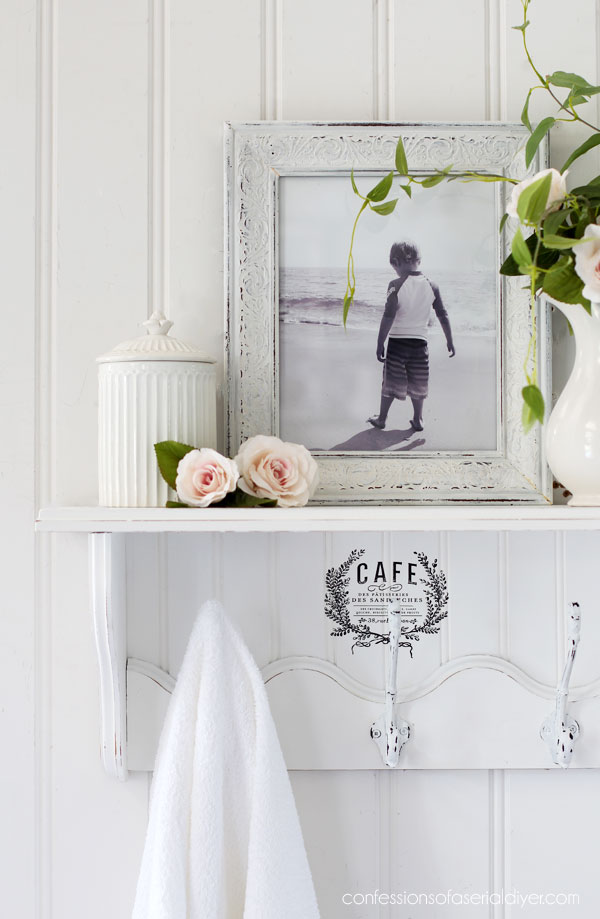
The After
Here is how this once dated shelf looks now!
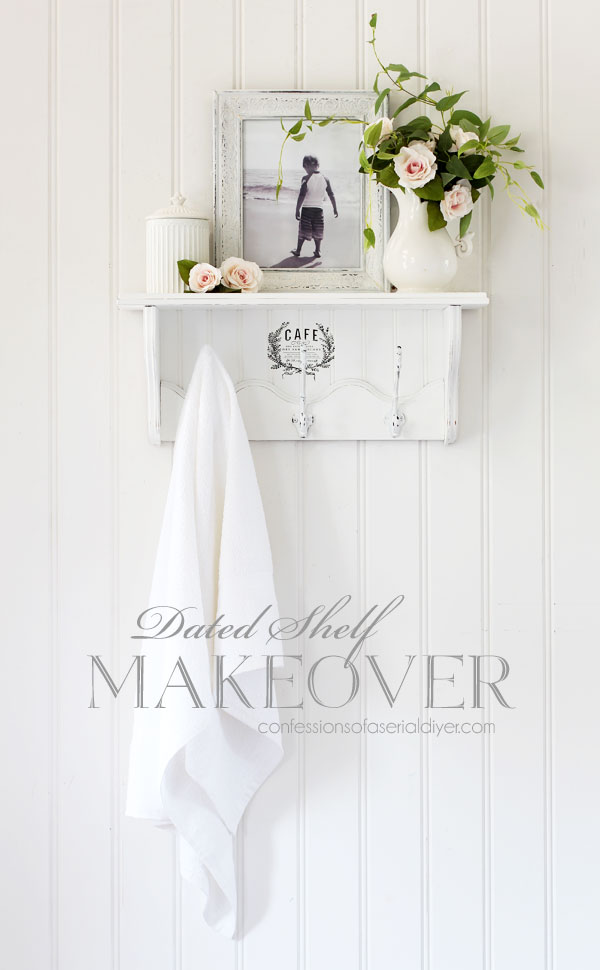
As you can see, I decided to reuse the piece I had originally whacked off. I just turned it upside down and moved it to the bottom instead!
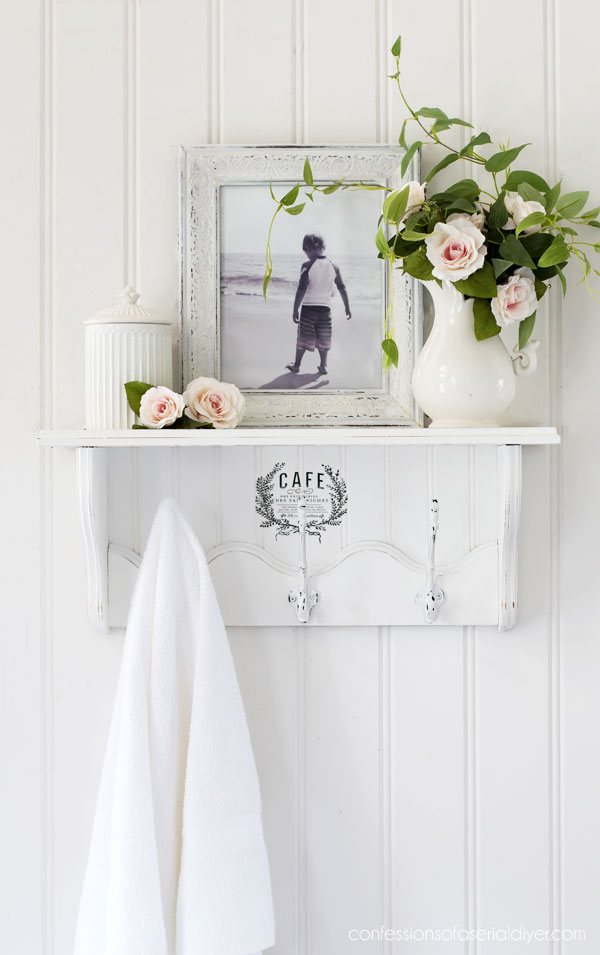
It gave me something solid to attach the new hooks to, and it was FREE!
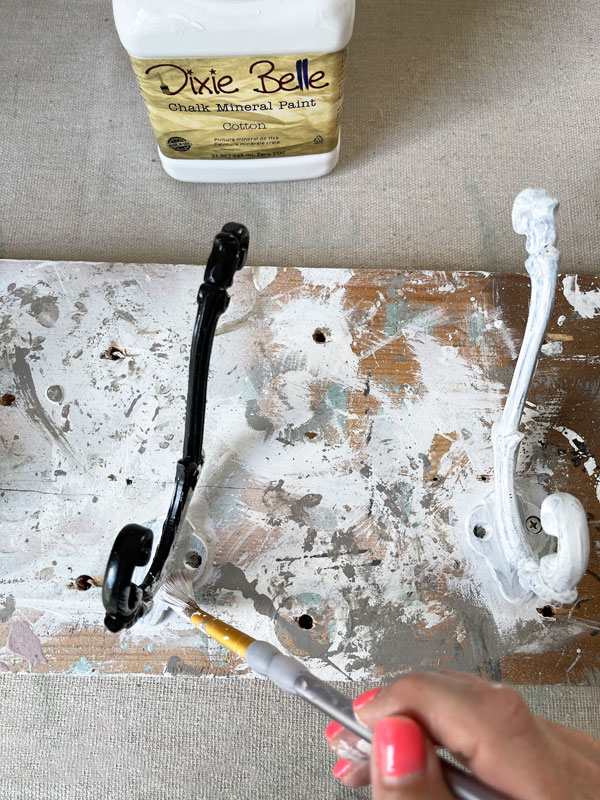
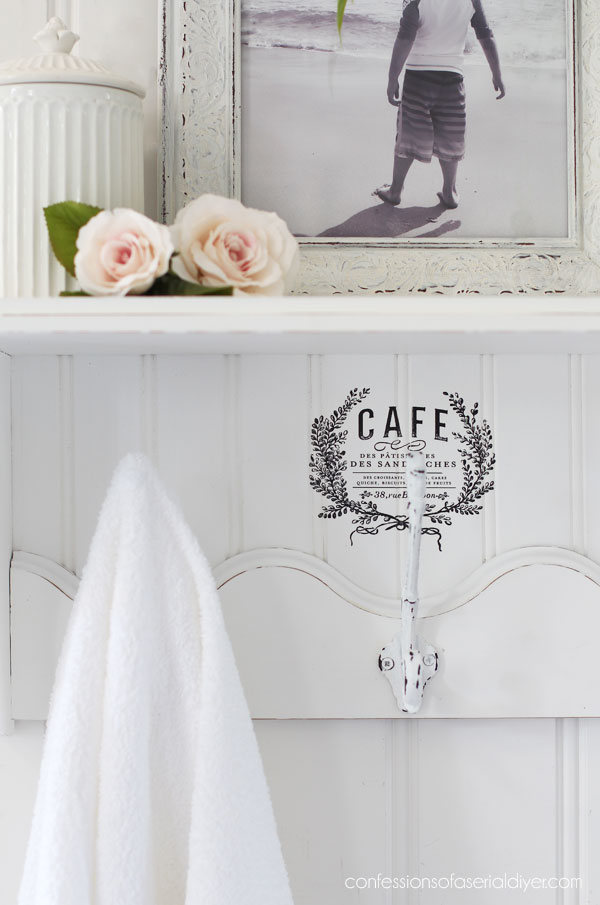
The hooks came from Hobby Lobby, but they were originally black.
I painted them with two coats of Cotton:
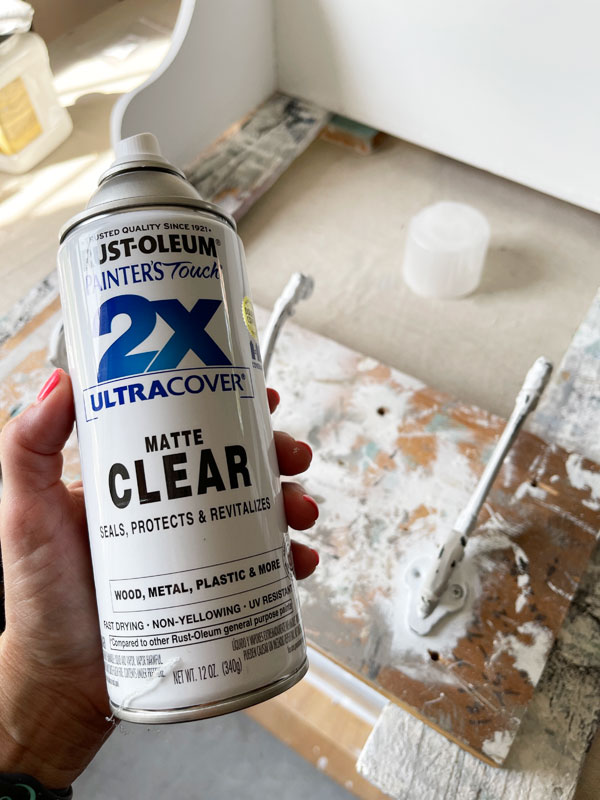
After distressing them quite a bit, I used a spray matte sealer from Rustoleum to seal them:
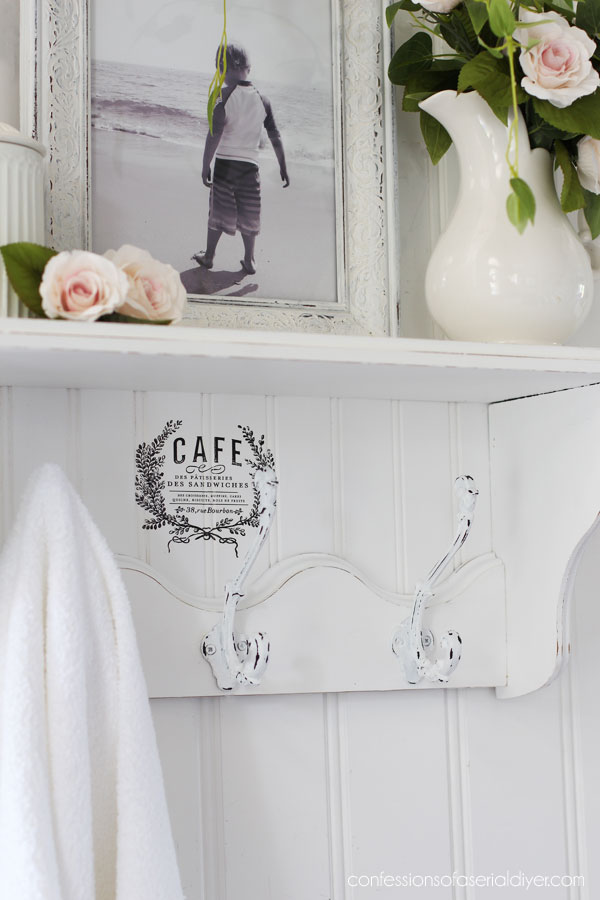
The transfer adds just a little something extra!
A small shelf like this could work just about anywhere!
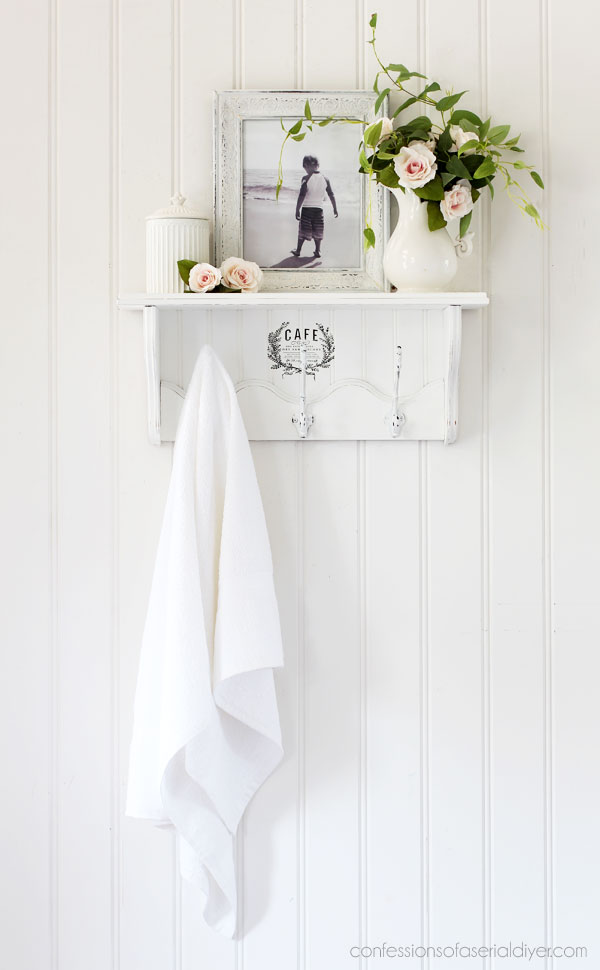
I was so happy to give this sturdy shelf a fresh update!
And that is one more piece crossed off the list.
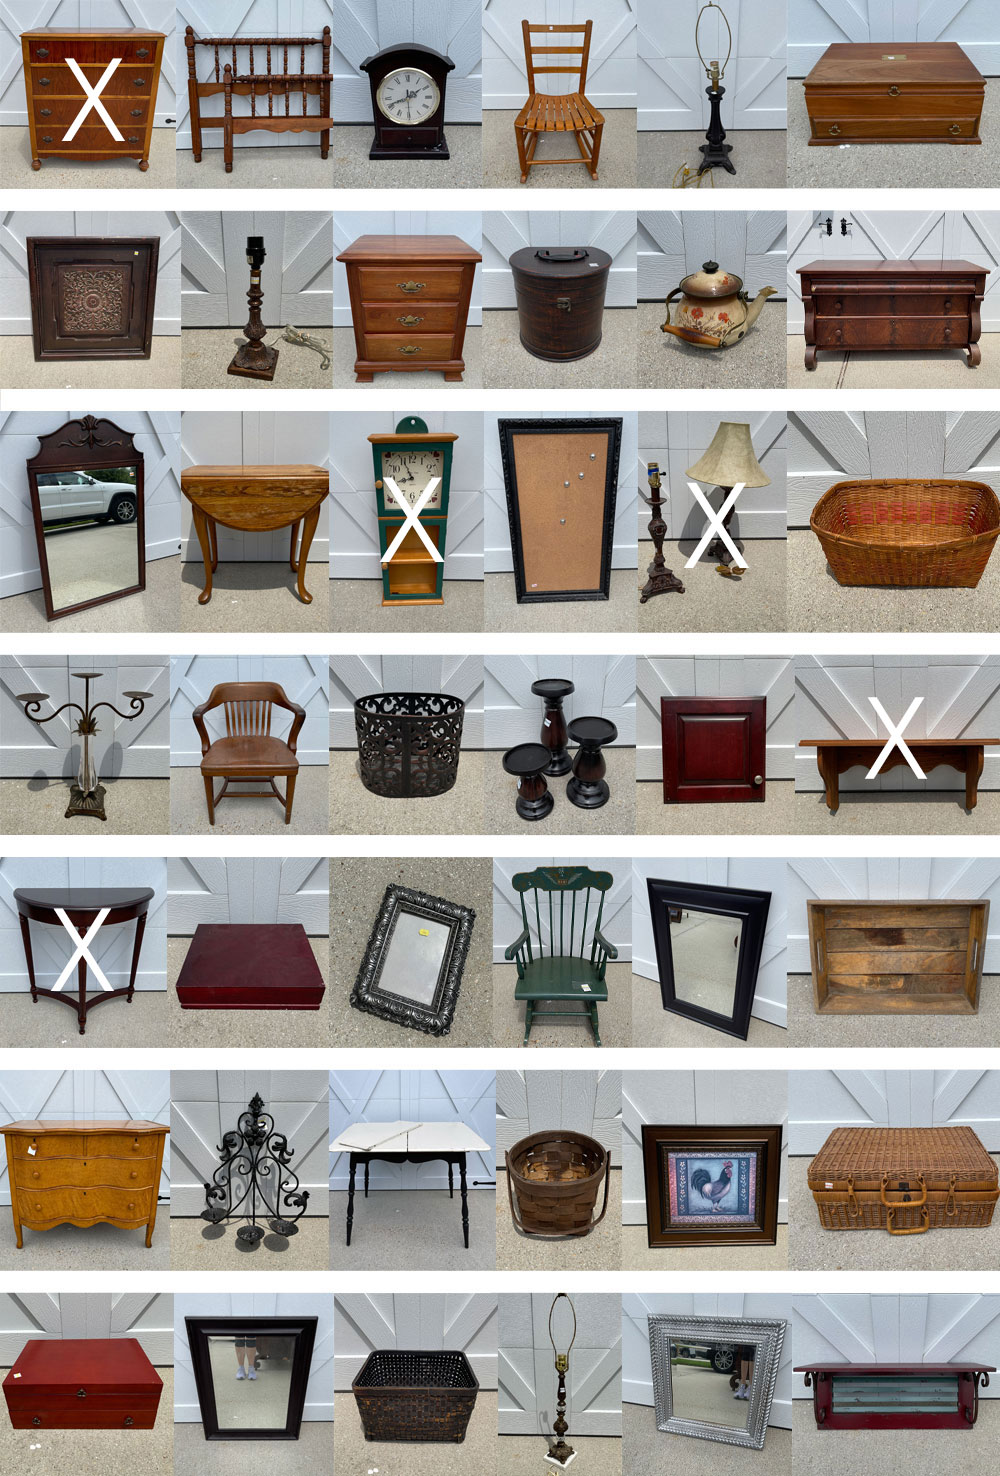
Many more to go!
See what I’ve redone so far at these links:
80’s Clock Repurposed
Stenciled Demilune Table
DIY Fabric Lamp Shades & $5 Thrift Store Lamps
Thrift Store Dresser Makeover
I hope you all have a wonderful weekend wherever you are, and I’ll see ya Tuesday with another shelf:
UPDATE: See how this odd shelf looks now HERE!
XOXO,

Don’t Miss a Thing!
If you like what you see, there are several ways to follow along!
EMAIL * INSTAGRAM * FACEBOOK * PINTEREST


Get FREE SHIPPING on all orders over $50. No code needed at checkout! Orders under $50 always enjoy $8 flat rate shipping! Most orders ship same or next business day!


Mary Kaiser says
Oooh it is so beautiful now!! I see shelves like this all the time at the thrift store, I will have to get one to do this treatment on it. I love that it is more cottage style and sweet now!
Christy says
Thank you, Mary! Yes, definitely more cottage inspired now! XOXO
shan says
Love it so much now! What a perfect up-do!
Christy says
Thank you so much, Shan! XOXO
Petra says
I really like this Christy and I’m glad you still used the ‘wavy’ bit ☺️ I’m sure it will be whipped up!
Christy says
Thank you, Petra! I’m glad I was able to reuse that part! XOXO
Cecilia says
I absolutely love the way this turned out! Brilliant reuse of the wavy piece too. I have a small shelf that needs making over – it has small drawers so could be useful in a small bathroom.
Oh I have a question- what type of gloves do you use when applying the cleaner? Thanks for all the inspiration!
😊 Cecilia
Christy says
Thank you so much, Cecilia! Ooh I bet one with small drawers is so cute! As far as gloves go, I usually keep a box of disposable nitrile gloves on hand. I have recently run out, so I’m using my staining gloves lol! XOXO
Janice Holt says
I saw where you painted the wavy piece and couldn’t figure out why since you removed it. Well then I saw and that was a great idea. It looks totally different upside down and turned out great. Ended up being a beautiful shelf. Another great job as usual.
Christy says
Thank you, Janice! I hadn’t intended to keep that part, but then as I was playing around with it, it made for a great brace across the bottom instead lol! XOXO
Kim says
Totally agree!
Jackie C says
I REALLY love what you did with the wavy piece. I would never have thought of doing that. This will fly out of your booth!
Christy says
Thank you so much, Jackie! I hadn’t intended to reuse it when I was removing it but then needed a brace for across the bottom and voila lol! XOXO
Kay says
What a wonderful transformation! Always love to see your creative solutions to update small and large pieces!!
Christy says
Thank you so much, Kay! XOXO
Denise Cox says
Looks great!! And what a clever “reincarnation” of the the wavy board…😉!!!
Christy says
Thanks so much, Denise! XOXO
Karen R says
Super job, and a nice twist adding the beadboard. You continue to give me new great ideas.
Christy says
Thank you so much, Karen! I love that! XOXO
Val says
Hi Christy, The shelf turned out amazing! I didn´t expect you to reuse the wavy piece so this was really the cherry on top of the cake! The hooks also added an extra use to the shelf which was, in my opinion, a very good idea. Although we know how much creative you are, You keep surprising us with your talent ! Thank you for sharing!
Christy says
Aww thank you so much, Val! I’m so glad I can still surprise you ha ha! XOXO
Rebecca says
So cute! Amazing, as always. I want to apply a large transfer (Somewhere in France) across bead board, and I’m nervous about messing it up. Any tips?
Christy says
Thank you, Rebecca! I would line it up and then only fold back the backing on the first few inches until you get that part of the transfer adhered, and then just unroll the backing a few inches at a time while you work it into the groves. Another option would be to cut it apart and do it piece by piece. They’re really easy to match back up. And that is one of my favorite transfers! Good luck! XOXO
Cheryl Atkinson says
Hi Christy! I always know that a regular shelf with not just be a regular shelf after you are finished with it. This one turned out really pretty. I’m saving for this transfer. Thank you again for all of your wonderful inspiration.
Christy says
Aww thank you, Cheryl! You’ll be able to embellish so many things with this one transfer…a great investment! XOXO
Cyndi says
I’m always a little nervous when your posts start off with you taking a hammer to the piece, (ha ha!) but, as usual, it turned out great! So clever!
Christy says
Ha ha! That is so funny! Had I know I was going to reuse that scalloped piece, I would have been more gentle lol. Thanks, Cyndi! XOXO
Marcie Lovett says
Why the heck is she painting the wavy part she removed? Ohhhh 😁
I wouldn’t have thought the transfer would work on the beadboard, but there ya go. And the upside down curvy piece gives it a beachy look. Another hit out of the park, Christy.
Christy says
Ha ha thank you, Marcie! I decided to use that piece after all lol! XOXO
Mary Smart says
Brilliant idea to use the wood piece you took off and turn it upside down to put the hooks on it! Scalloped edges are so in right now too!
Christy says
Thank you so much, Mary! XOXO
Celia says
Turned out great Christy, did you change the side brackets or is my depth perception off!
Christy says
Thank you, Celia! The brackets are the same. 🙂 XOXO
Susan says
It shrank! 😂
It looked so much bigger when it was brown! Funny, that!
It turned out so cute! 🌷
Christy says
Ha ha it sure did! Thanks, Susan! XOXO
Cheryl Acampora says
So cute! I love that you put the wavy piece back. The transfer just enhances it, too. Watch out folks if she picks up a hammer..LOL!!
Christy says
Ha ha thank you, Cheryl!! That hammer has earned its keep around here lol! XOXO
Char says
Are you clever turning the wavy bit upside down! Perfection!
Christy says
Thank you so much, Char!! XOXO
Sonja Hansen says
Such a clever way to use and keep the “wavy” dated piece. Looks like what it was supposed to be all along. You have a great eye for clever things. Thanks for sharing.
Christy says
Aww thank you so much, Sonja! XOXO
Dalila says
That reconfigured bottom piece really does wonders for this shelf! Love it!
Christy says
Right? Thank you, Dalila!! XOXO
Constance Colvin says
Well, it’s darling…….
Christy says
Thank you, Connie! XOXO
Mary says
I can’t think of anything to add that hasn’t already been said above, Christy…but just want to say Brilliant use of the wavy piece! Boy does that change the shelf or what. Much much more appealing after your touch!
Thanks for sharing! Keep up the great work!
Christy says
Thank you so much, Mary! I’m so glad I was able to use that wavy piece after all! XOXO
Rose Lefebvre says
Great for a bathroom. I hate towel bars and prefer hooks and this is a great idea for that.
Christy says
Ooh yes! Just right for a bathroom!! Hope you are enjoying a wonderful weekend so far! XOXO
Michele M. says
That is super cute, Christy!
Christy says
Thanks so much, Michele! XOXO