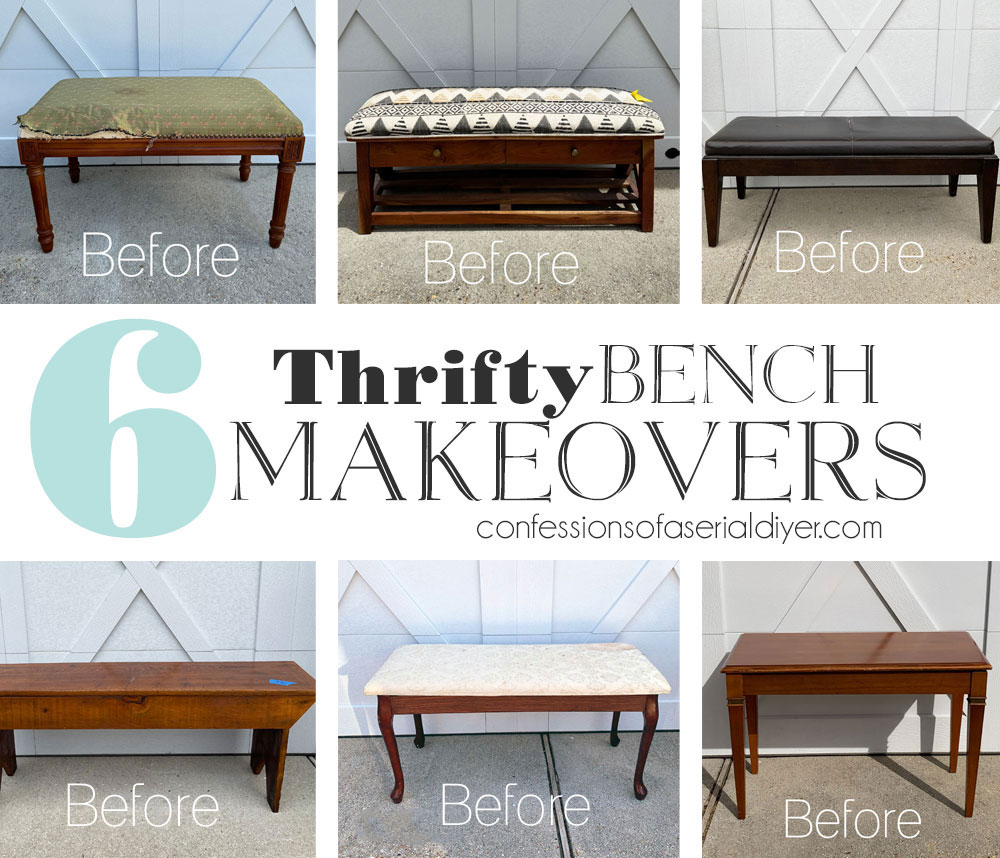
Hello, dear friends! I’ve got a fun round today that includes SIX amazing thrifty bench makeovers! These are night and day, y’all!!
I’ll start with the oldest one and work my way to the most recent. I’ve included the links to the original makeovers where you’ll find more details at the bottom of each makeover.
Enjoy!
I’ve included a few affiliate links so you can find the products I love.
Six Thrifty Bench Makeovers
Thrifty Bench Makeover #1
Up first is this queen Anne bench I acquired from a sweet friend, Dianne, back in 2020:
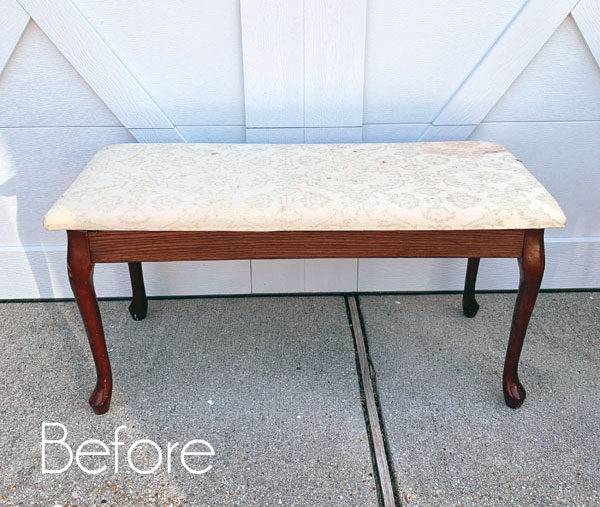
Nothing beats free, and this was in pretty good condition aside from a stain on one of the corners on the top.
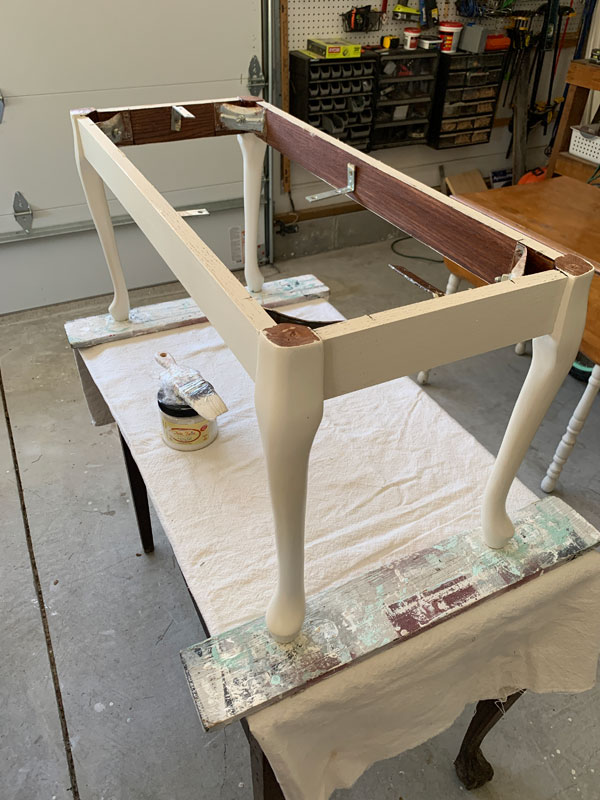
I removed the top and gave it a couple of coats of Dixie Belle’s Drop cloth:
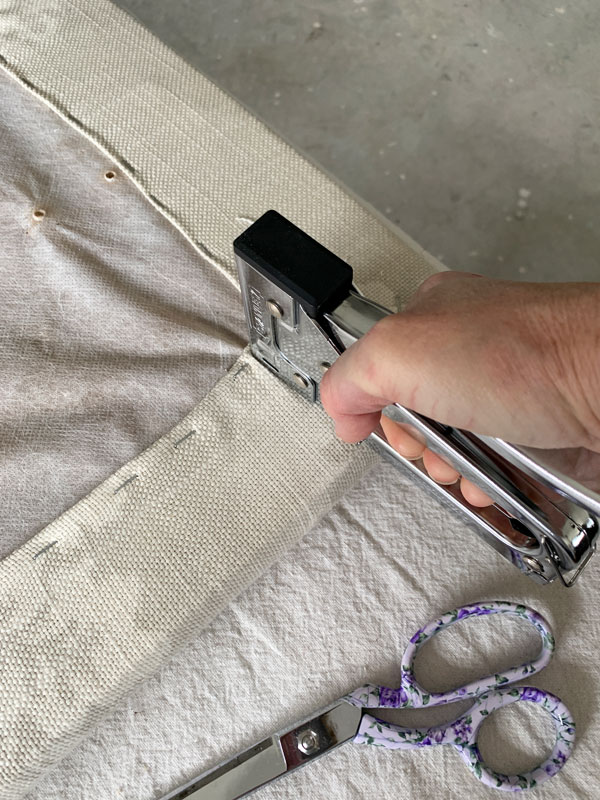
After sanding and sealing, it was time to recover the top. Since the original foam was in good shape, I just covered right over it in a gorgeous fabric I had on hand.
The After
Here is how this one looked when I was done:
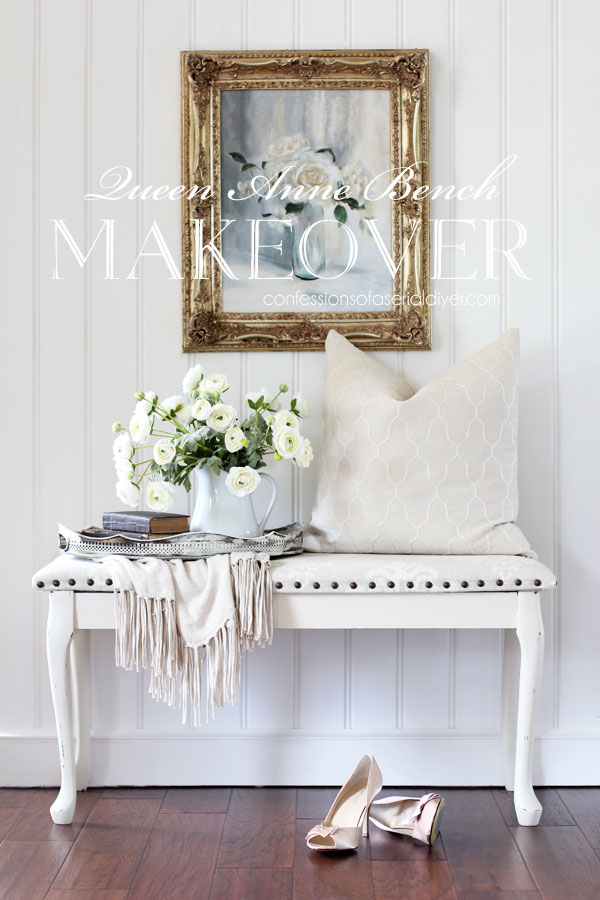
As you can see, I went a step further and added some nail head detail to the top edge all the way around…
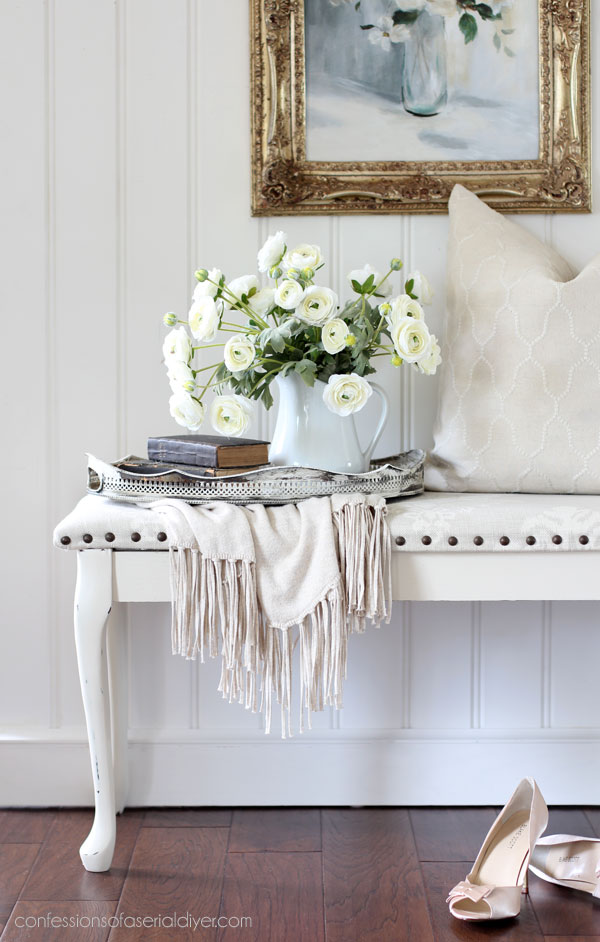
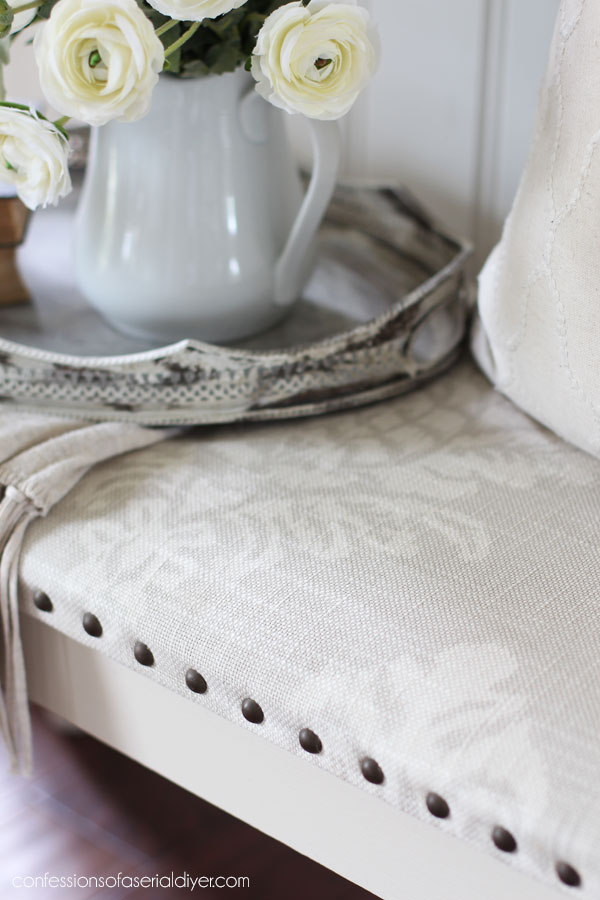
You just can’t beat free! Thanks again, Dianne! See the mirror she also gifted me and what I did with that HERE.
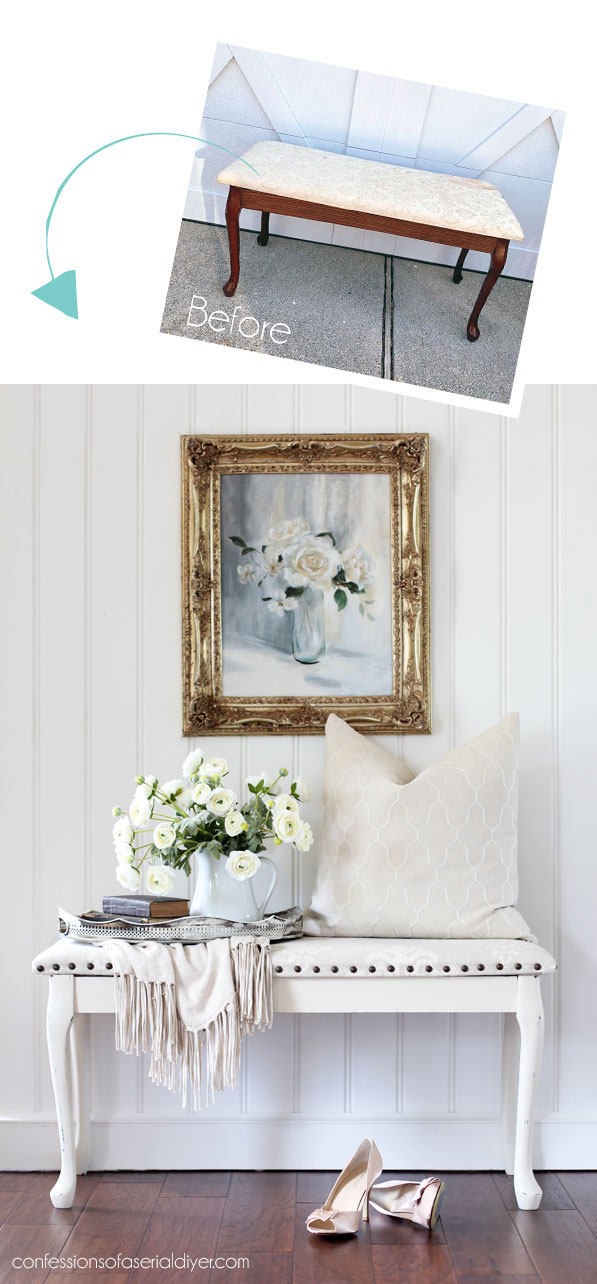
See more of this one in the original makeover HERE.
Thrifty Bench Makeover #2
This next one was another freebie, this time from my sweet MIL. They had been using it in their garage, but it was starting to show wear on the top:
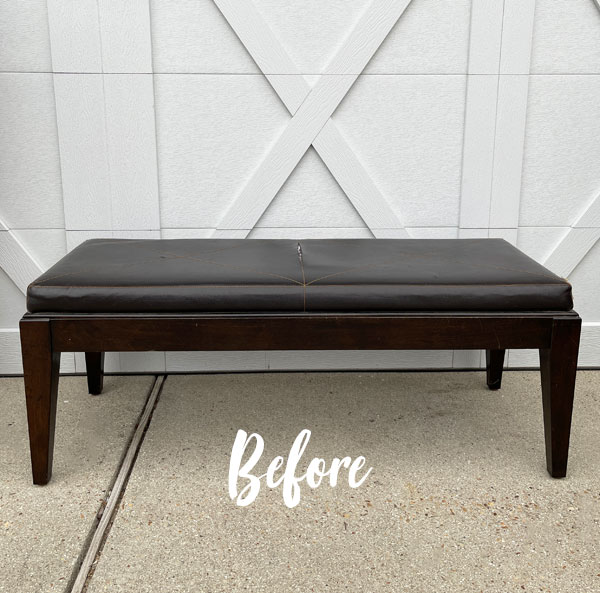
I had originally intended to swap the legs out, but I ended up embracing them!
After seeing the weird situation that what was under that upholstery, I removed the top and swapped it out for wood planks instead:

Everything was then painted in two coats of Cotton:
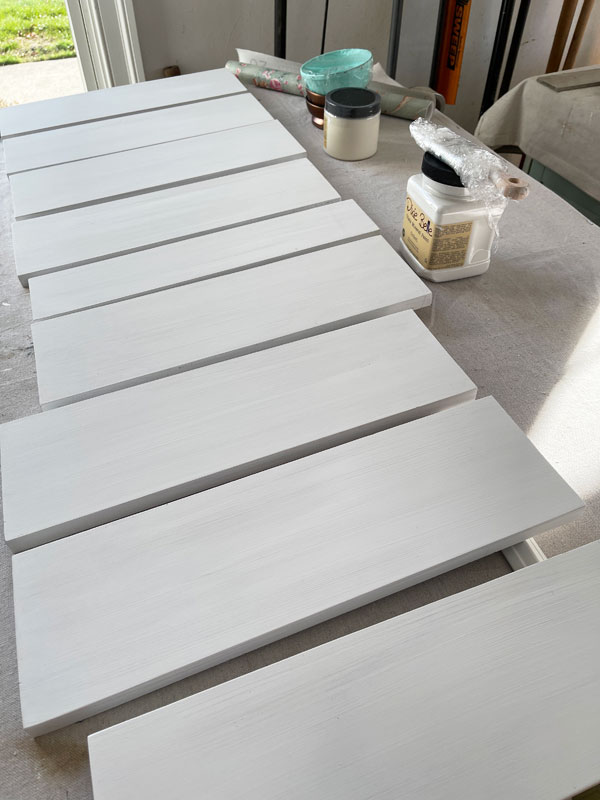
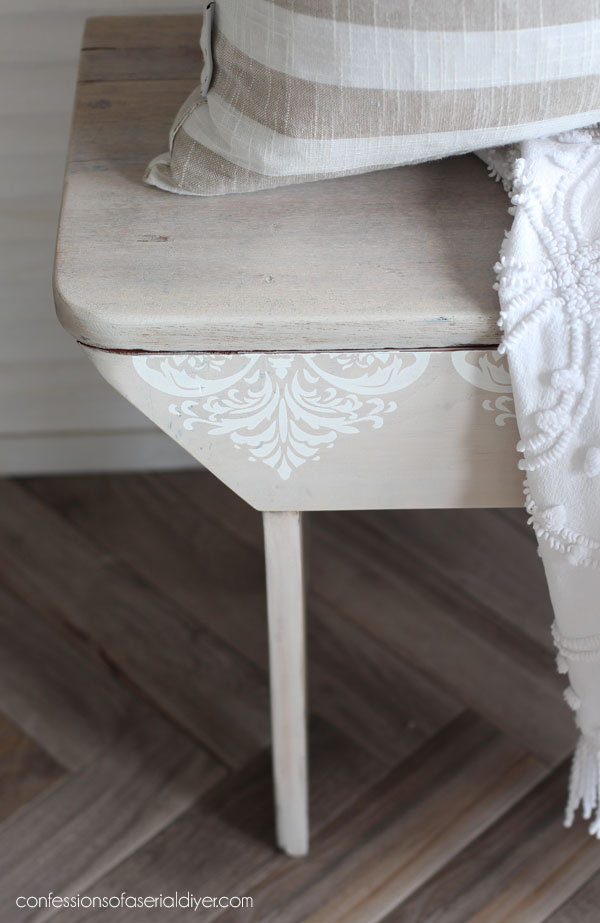
Then I attached my new seat to the base using my Ryobi nail gun. It still needed a little something though, so to add a little more personality to the top, I chose this stencil I found on Amazon:
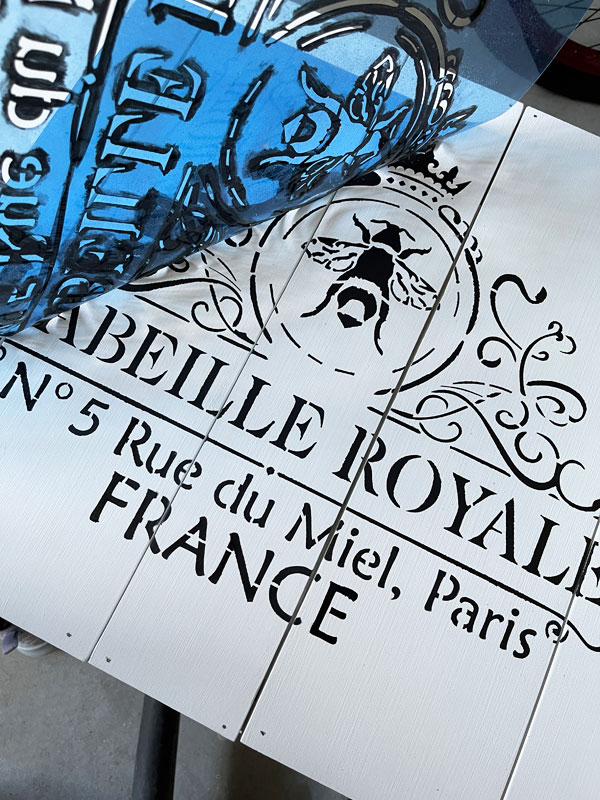
I filled in all those breaks that give it away as a stencil and then I used my distressing block and Caviar paint to faux distress the edges a bit.
Everything was sealed with Clear Coat in Satin using the blue sponge applicator.
The After
Here is how this one looked when I was done:
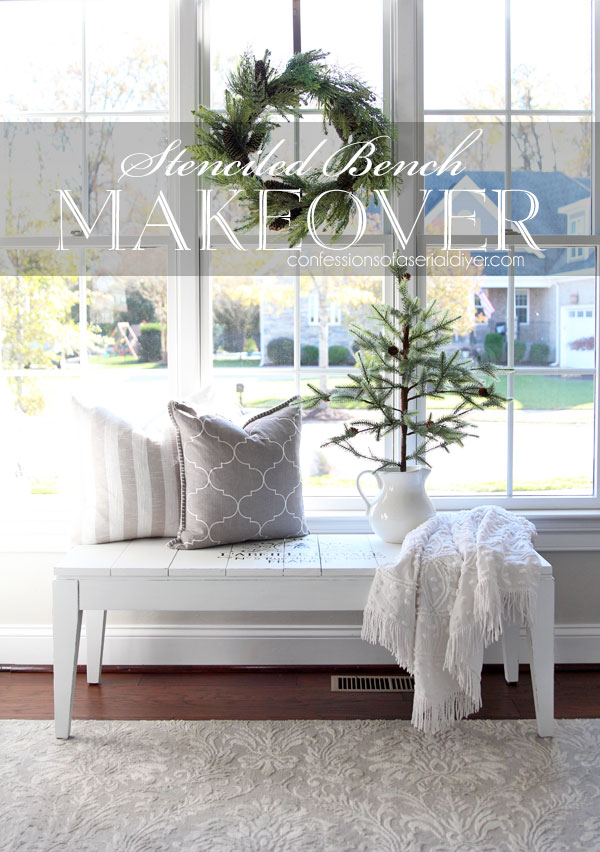
I didn’t mind the legs so much once I was done!
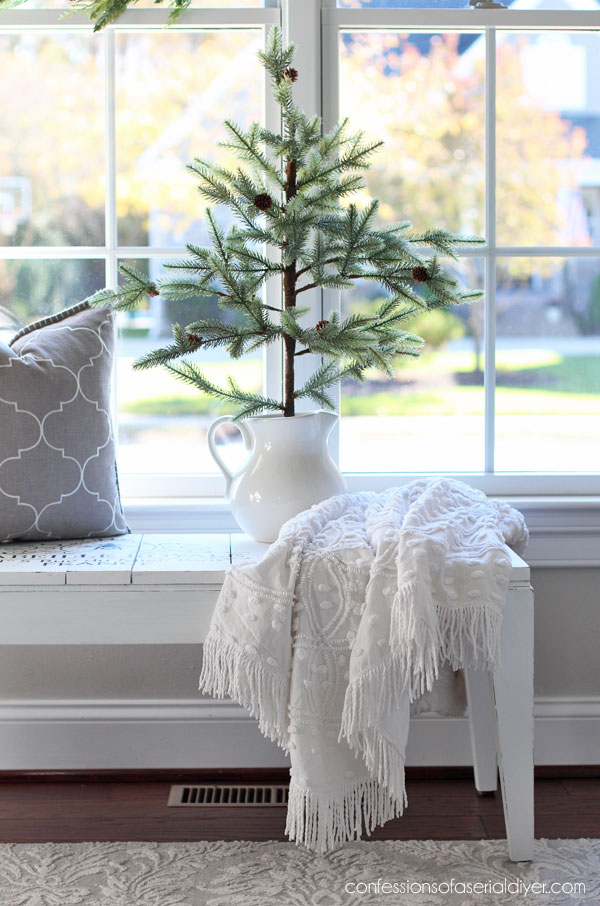
The stencil was just what it needed on top to add a little personality!
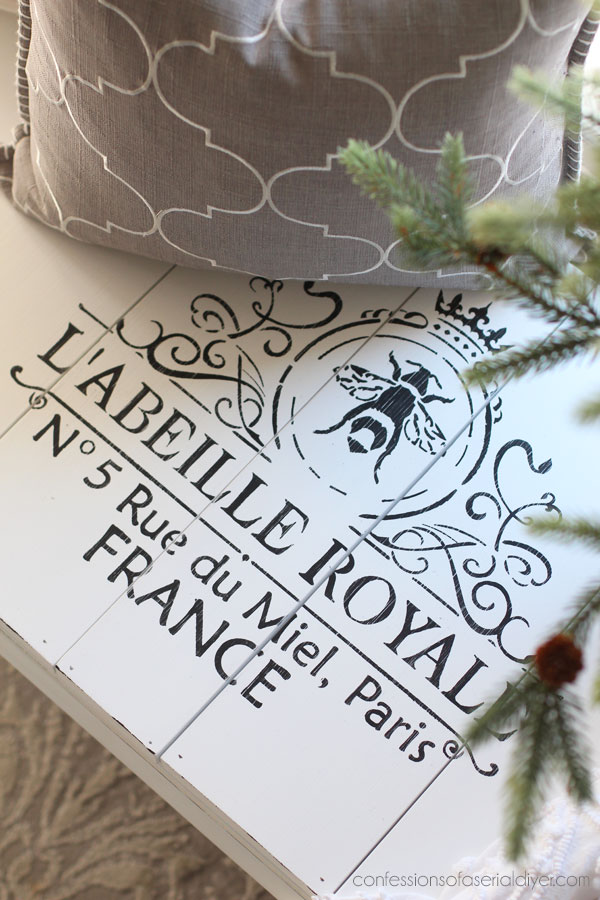
It went from box store boring to totally cute!
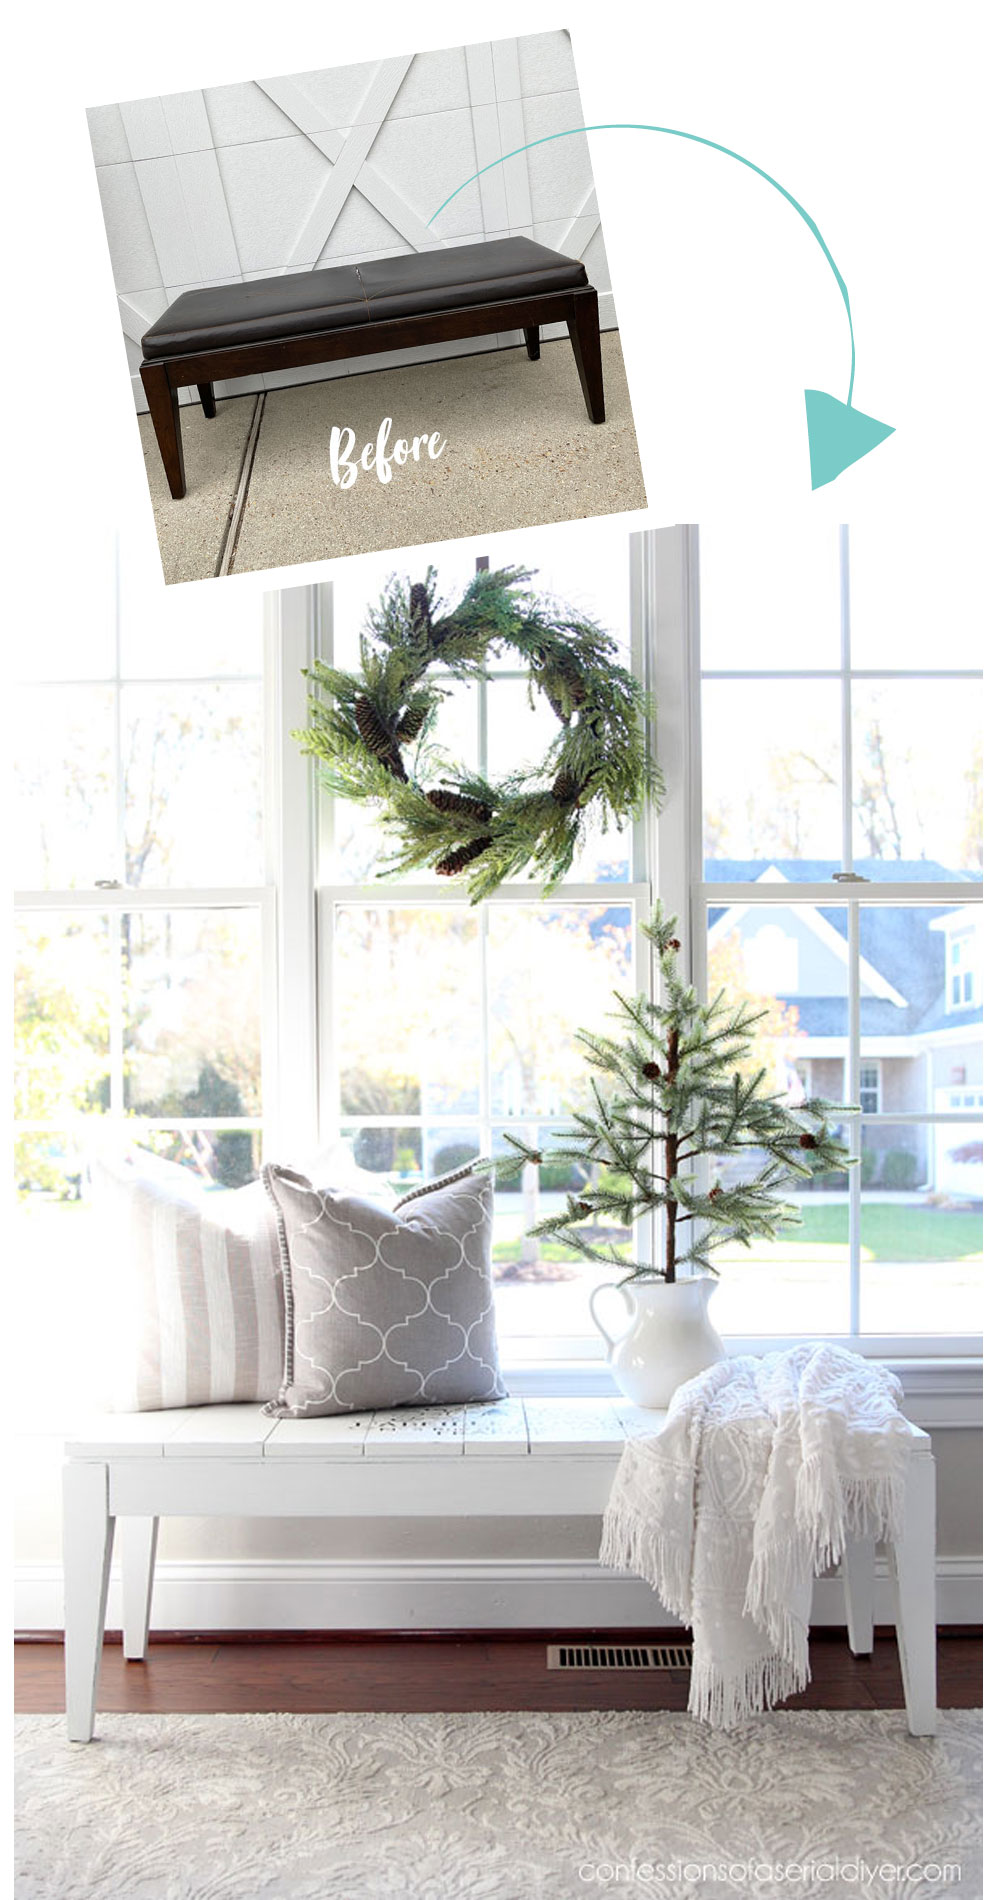
See more details of this one in the original makeover HERE.
Thrifty Bench Makeover #3
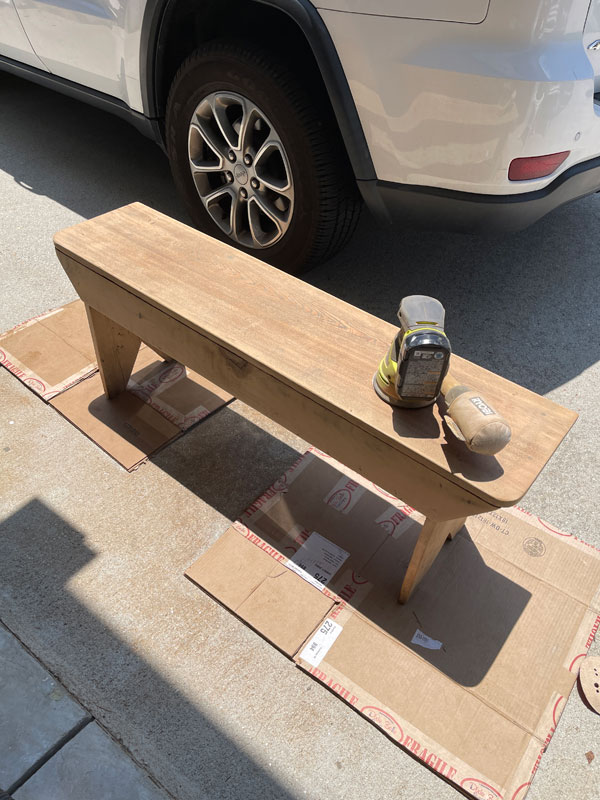
Bench number three started out as this $20 yard sale find:
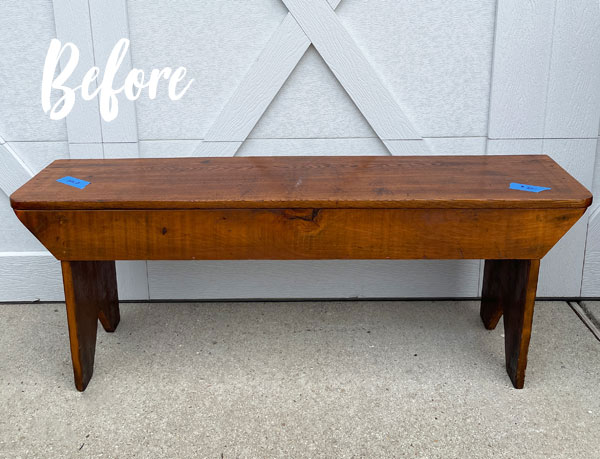
I knew I wanted to stain this one, so I started with a good sanding first:
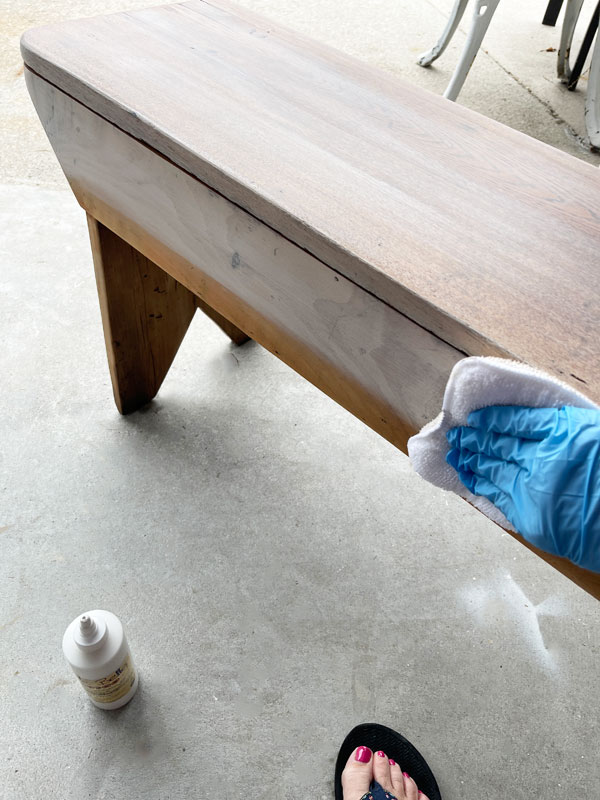
That was followed by a couple of coats of Dixie Belle’s Voodoo Gel Stain in White Magic:
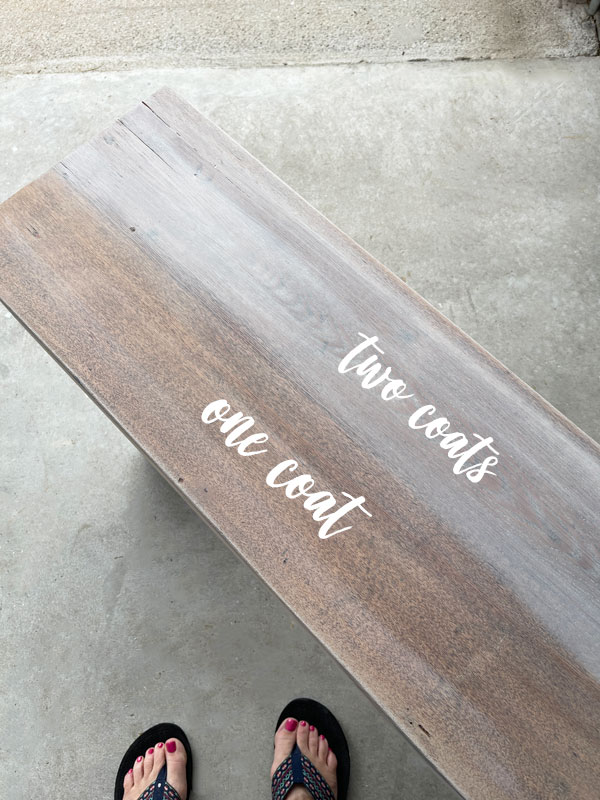
Here is one coat verses two:
The Voodoo gel stains are so easy to work with because they are water based. That means:
- No harsh fumes
- Easy water clean-up
- It dries super fast
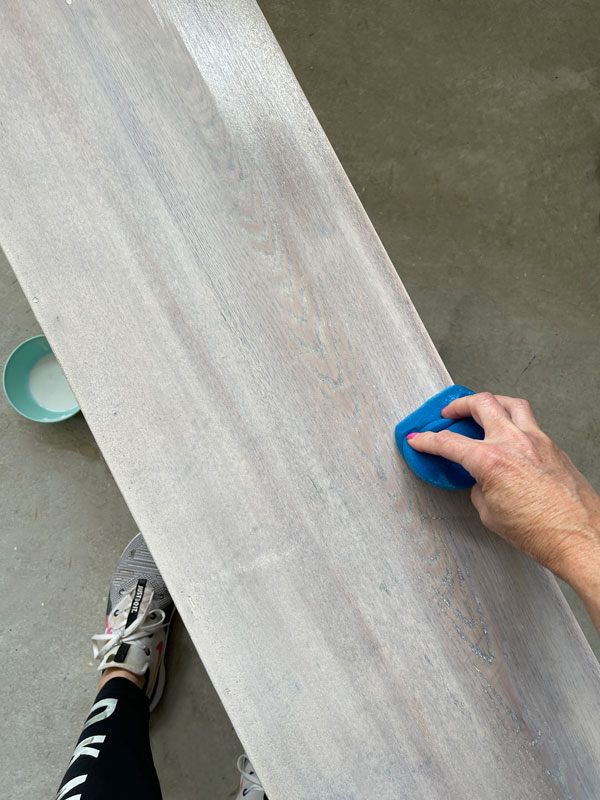
To seal the surface, I reached for my go-to sealer, Clear Coat in Satin, and applied it with my blue sponge applicator:
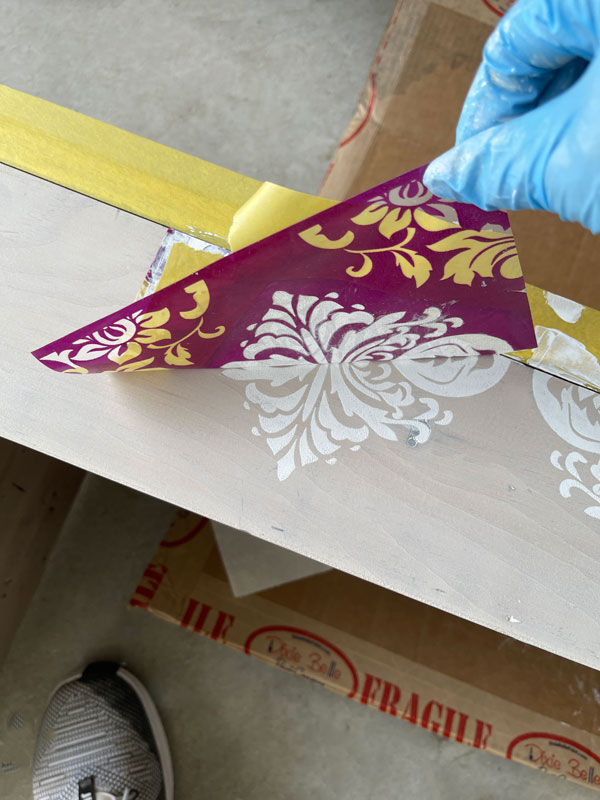
But I wasn’t done there! I dug through my stencils and pulled out this Silkscreen stencil that is part of the Belles and Whistles Roses Silkscreen stencil set:
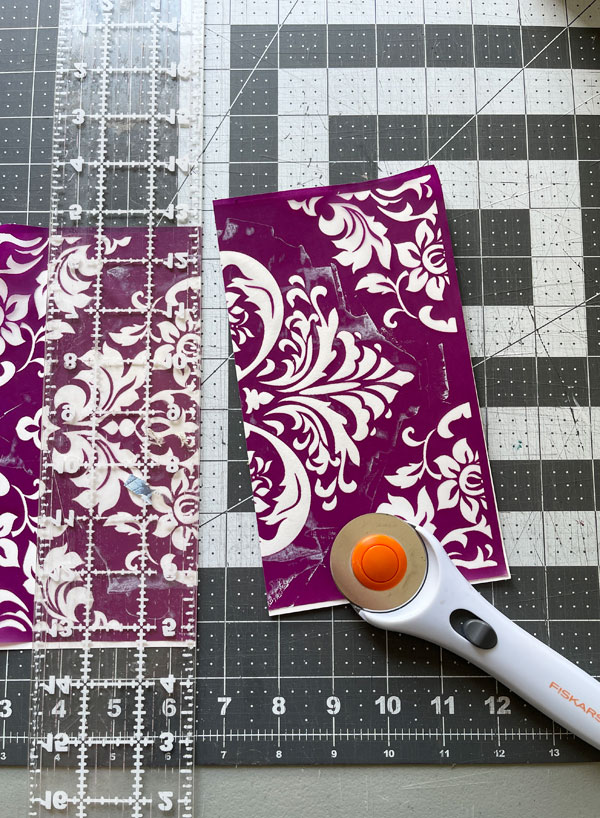
Cutting it in half gave me a design that I loved for the front!
The After
Here is how this one ended up:
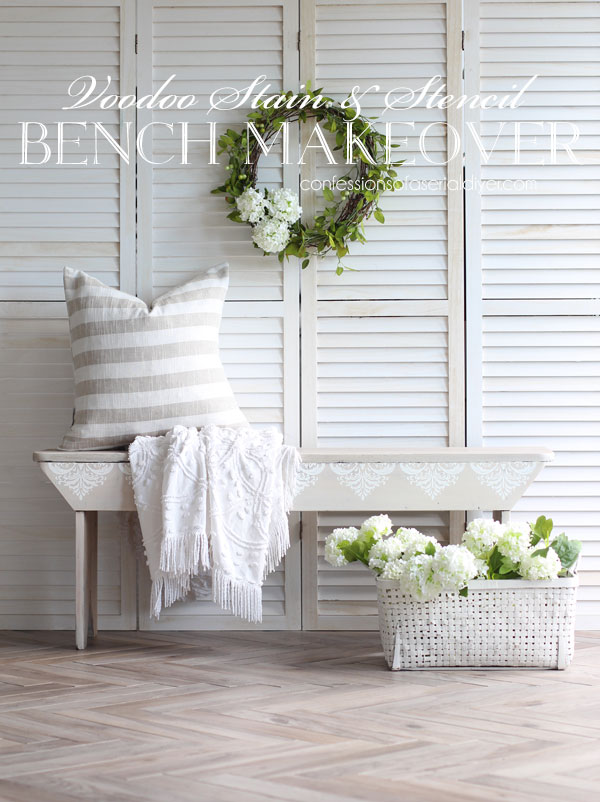
I love this one so much!
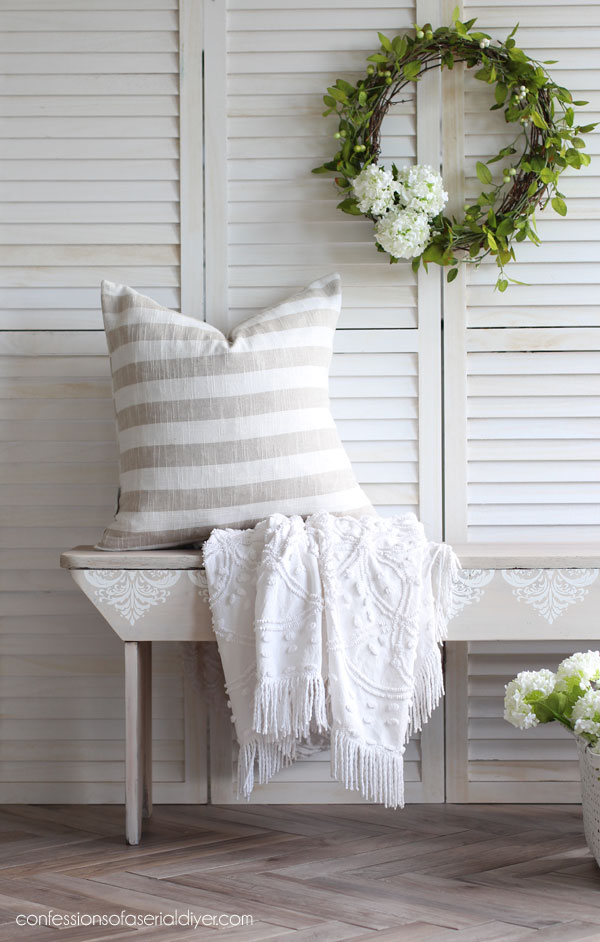
The stencil fit perfectly across the front!
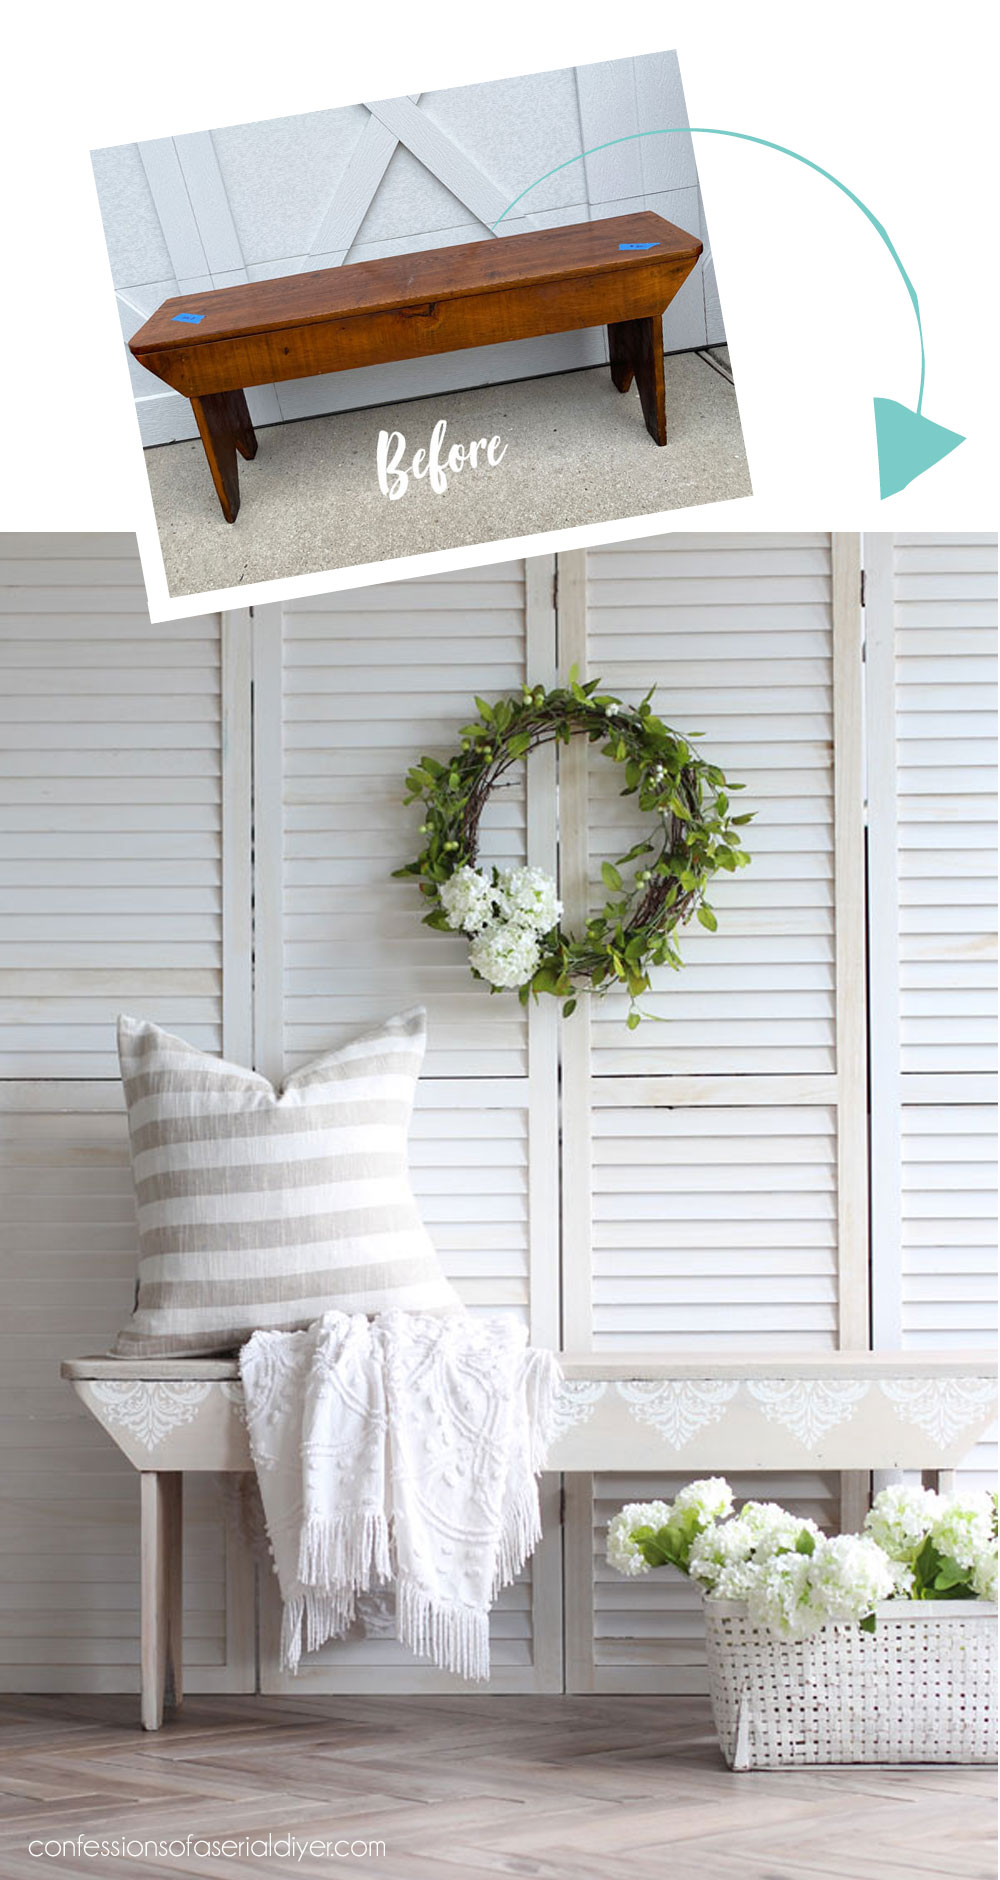
See more details on applying Voodoo gel stain and how EASY it is to use silkscreen stencils in the original makeover HERE!
Thrifty Bench Makeover #4
This next one was a $15 yard sale find from my own neighborhood:
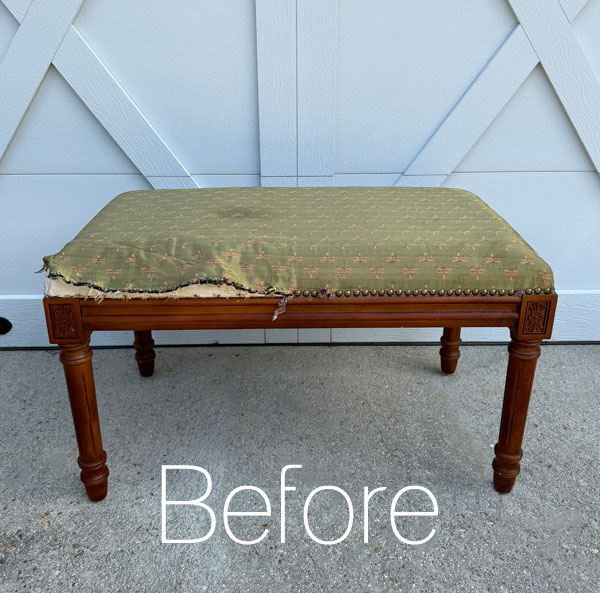
The bones were in excellent condition, but the top needed some help! It looked like the previous owner started to remove all those nail heads and gave up.
I can totally understand why because removing those were no joke!
I had to use a hammer and screwdriver to pry them up enough to use this tool to remove them the rest of the way…
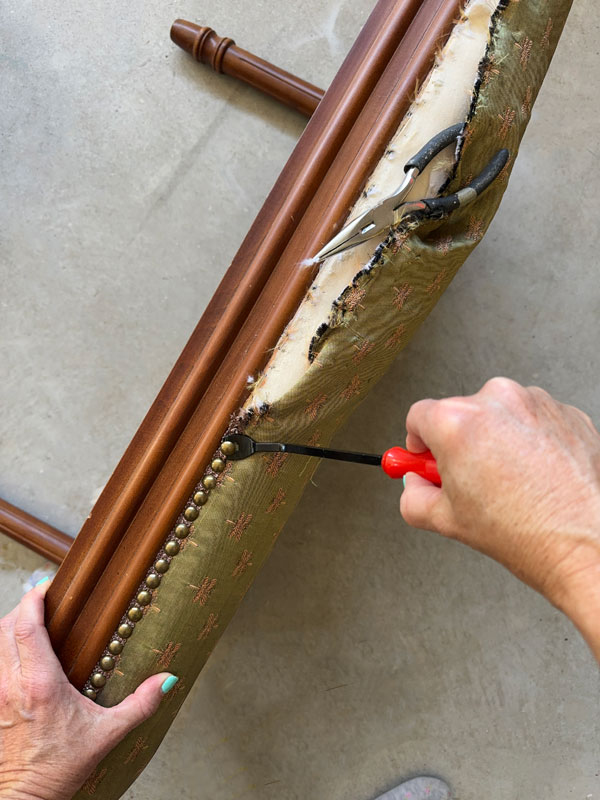
I painted the base of this bench with a custom mix of about 25% Hurricane Gray with about 75% Cotton:
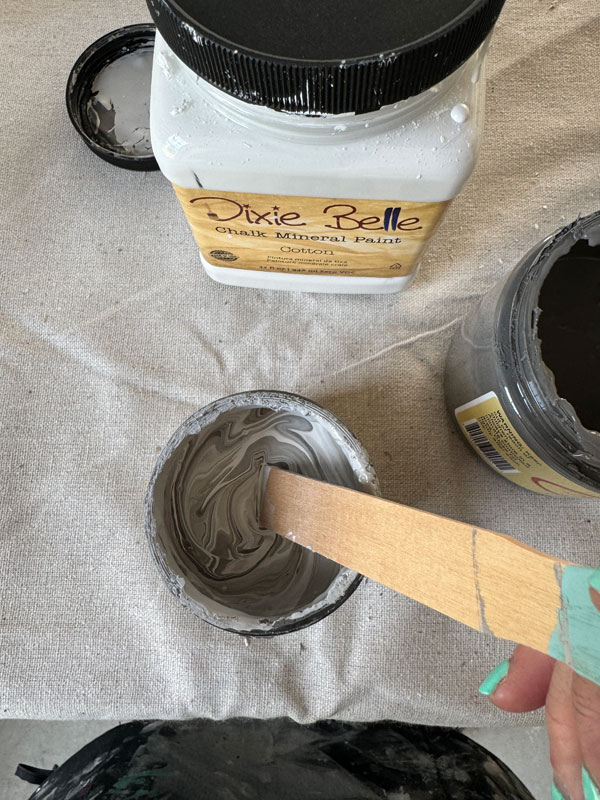
It yields a lovely, soft gray…
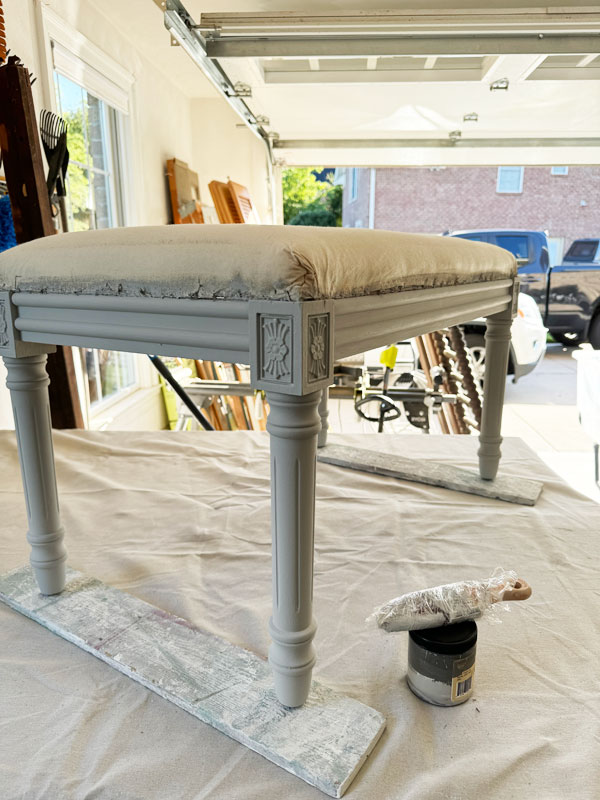
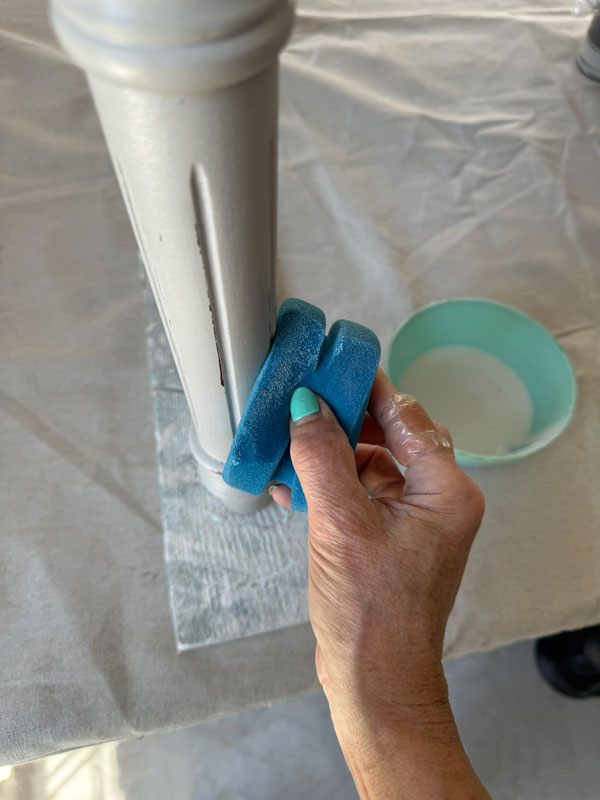
I then sanded and sealed with Clear Coat in Satin once again, using the blue sponge applicator to apply it.
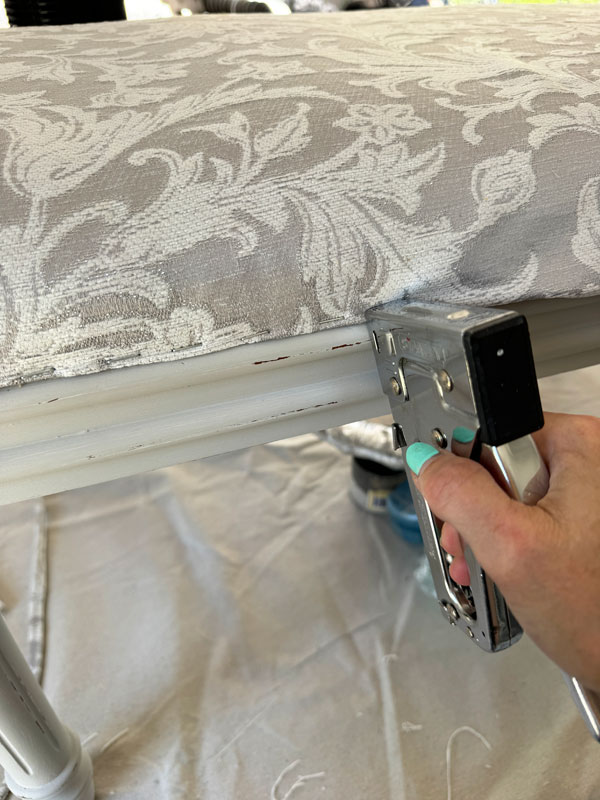
I chose this soft gray to go with the remnants of this nice weight shower curtain that made for gorgeous upholstery fabric…
The After
Let’s see how this one looks now!
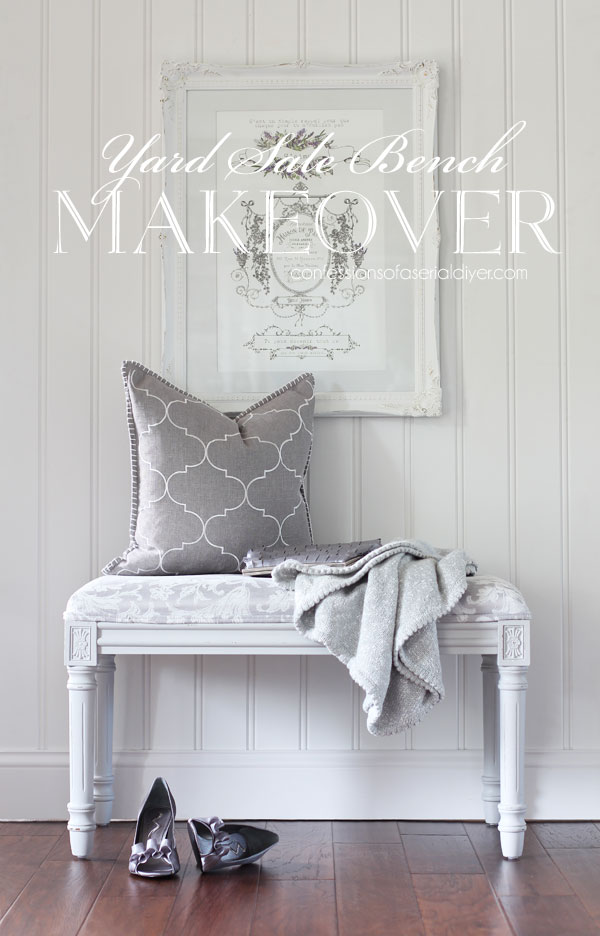
Much better than the before!

As you can see, I also made double welt trim to match to finish off those edges…
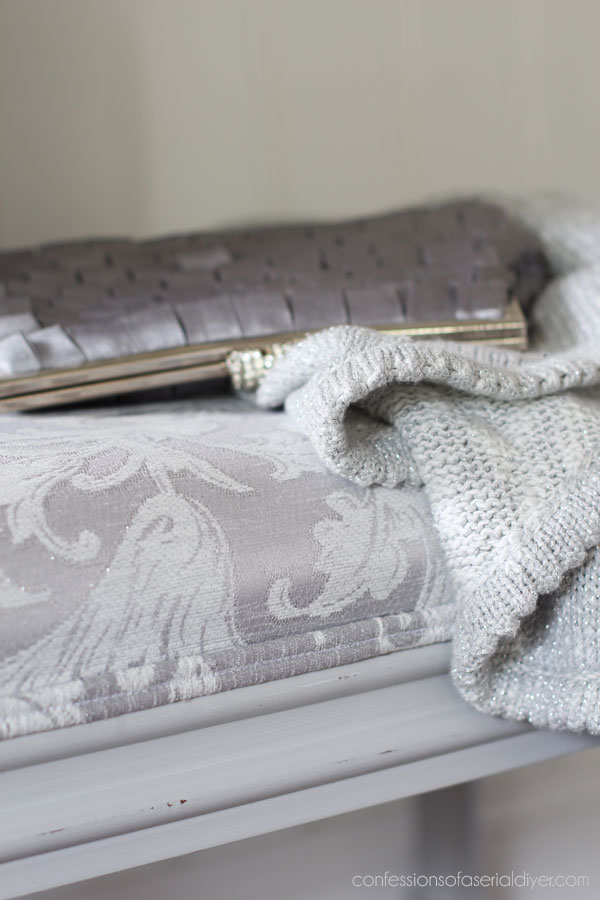
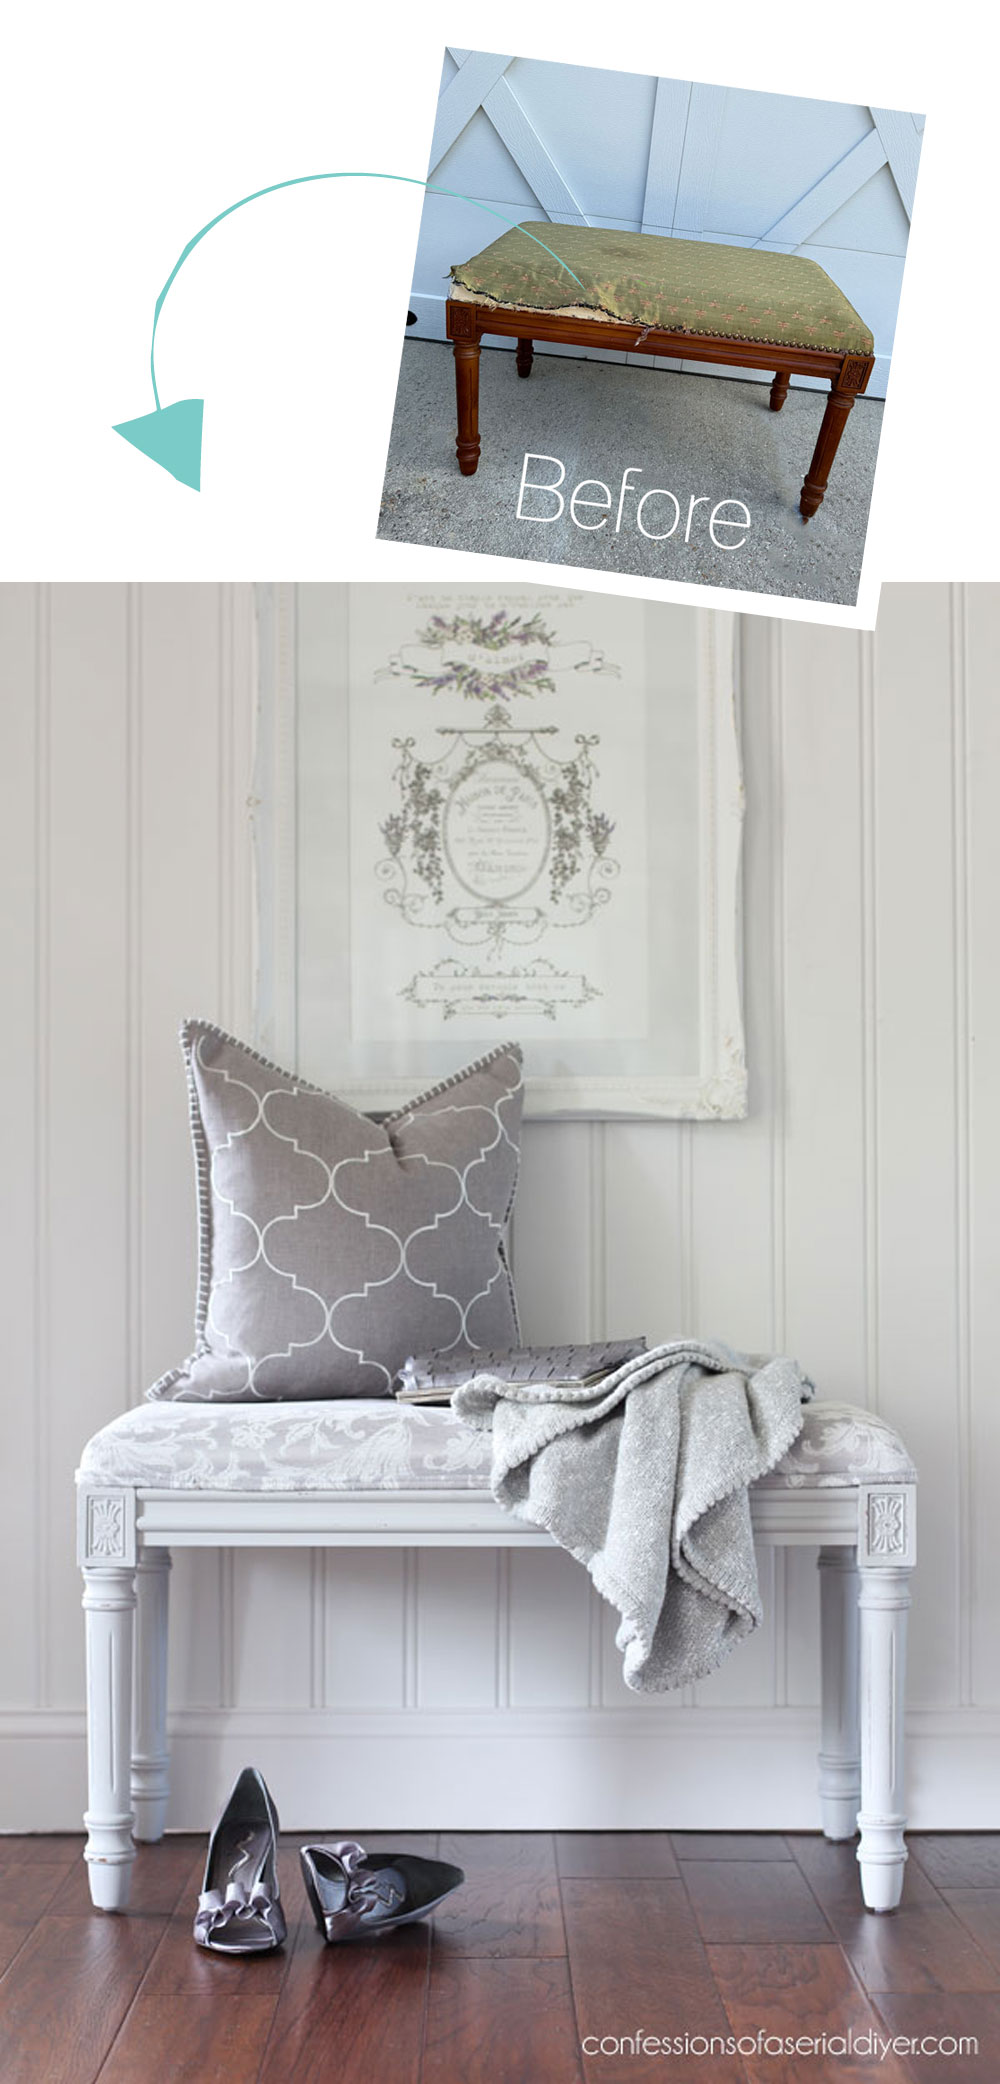
See more of this makeover as well as how I made that double welt trim HERE!
Thrifty Bench Makeover #5
At number five is this piano bench that got not one redo, but two! Here is how I found it for $12 minus 20% at the thrift store:

And here is how the first makeover turned out:
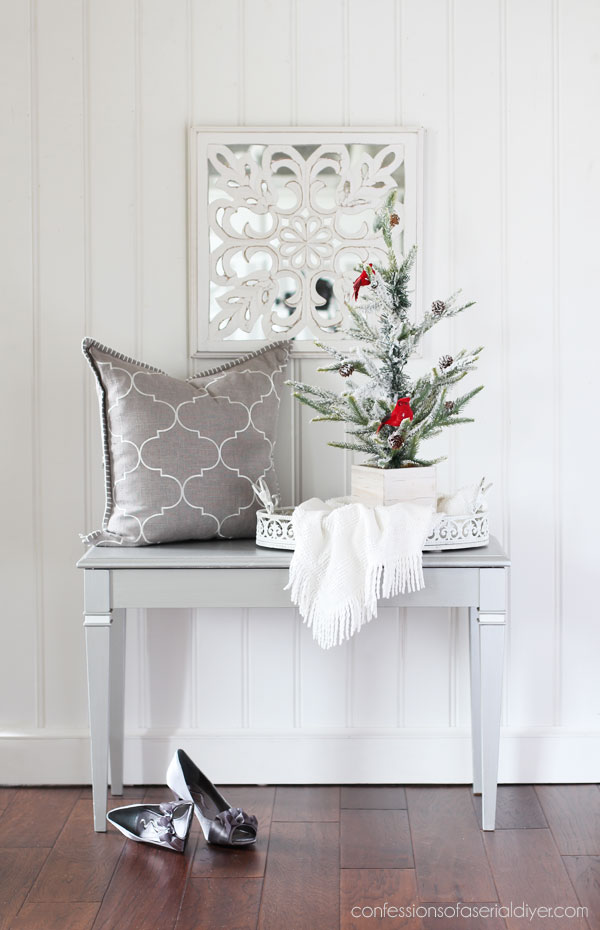
I went with Silver Bullet from the Moonshine Metallics line on this first version.
It lived at the bottom of our bed for a while, but it eventually got booted to garage duty. Unfortunately, it took a bit of a beating out there. When we got in the new Southern Roots Collection from Dixie Belle, I was excited to try one of the new colors, and this bench was the perfect candidate!
I sanded the top completely to smooth out the imperfections and then gave the bottom two coats of Thicket:

For the top, I once again pulled out my favorite Voodoo gel stain, White Magic, for the top:

It took three coats this time to get the coverage I was after:

Everything was sealed with Clear Coat in Satin using a blue sponge applicator.
The After
Ready to see it now??

Simple enough! I added this Luxe Ornamenta Decor Poly applique to the front for an added detail…
 Here’s a better look at the white stained top:

In hindsight, I maybe should have gone with a more natural color on the top.
But the real star of this take-two makeover is this fabulous Sunny Daze decoupage paper by Belles and Whistles I added to the inside!

How fun is that?
This color was such a great choice to go with this paper!

The rest of the interior was just painted:


See more of this makeover including how I added that paper in the original post HERE.
Thrifty Bench Makeover #6
And finally, this one is probably the furthest from where it started. It was a $20 thrift store find:

I didn’t think this was going to be an easy makeover, but I always sell benches, so I went ahead and got it.
I removed the top first and then gave it a quick first coat with my Homeright Sprayer in Cotton:

The next color to go on was one of my favorites, Vintage Duck Egg Blue that I lightened 50/50 with Cotton. I love to get lighter versions of many colors this way. I brushed that coat on by hand using my favorite mini angle brush:

I wanted to be able to see the white beneath when I sanded for a beachy feel.
And instead of reupholstering the bench top, I chose instead to replace it with wood planks which I painted the same way. I sealed everything once again in Clear Coat in Satin using a blue sponge applicator:

After attaching the wood planks with wood glue and my Ryobi cordless nail gun, this makeover was complete!
The After
Here is how this one ended up!

I loved this one so much! It looks like a completely different bench, doesn’t it?

It was these cross pieces on the side that led me to ditching the padded top. They reminded me of a lifeguard stand…

Coastal was the only way to go!
The drawers were in pristine condition, so I left those as is…

Big difference, right??

See the original makeover of this one HERE!
And that’s six amazing thrifty bench makeovers!
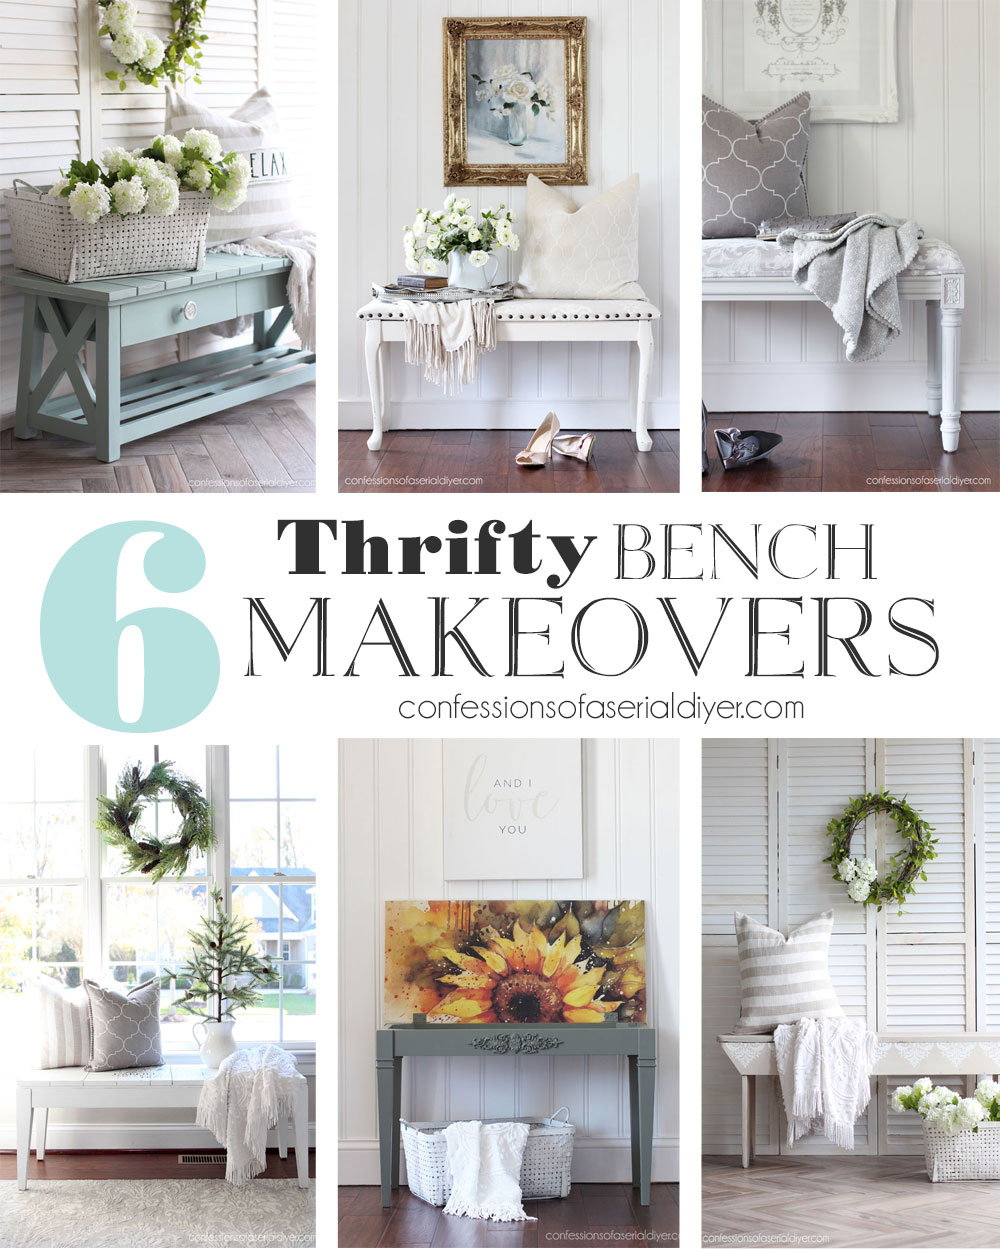
I rarely pass up a bench. They can be used in so many spaces throughout your house!
And if you missed this super simple bench I just shared last week:
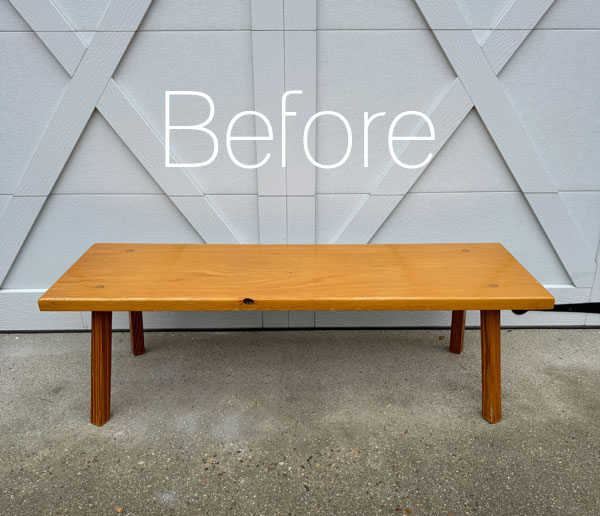
You can see that one HERE!
Do you have a favorite? Share in the comments!
I’ll be back on Tuesday with this pretty chair:
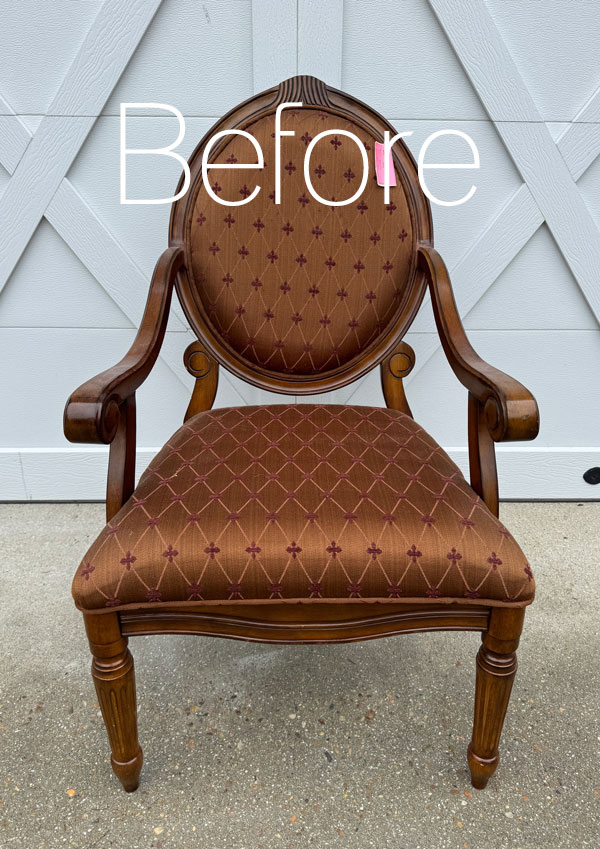
I’ll see y’all then!
UPDATE: See how this chair got a whole new feel HERE now!
XOXO,

Don’t Miss a Thing!
If you like what you see, there are several ways to follow along!
EMAIL * INSTAGRAM * FACEBOOK * PINTEREST

Get FREE SHIPPING on all orders over $50 in my Etsy shop. (No code needed at checkout!) Orders under $50 enjoy $8 flat rate shipping!
Most orders ship same or next business day! Visit my shop below!





Mary Kaiser says
Oh they are all fantastic! My favorite is the lash one with the drawers! That color was amazing, plus I love a bench with a place to sit and storage drawers, that is a win/win!
Christy says
Thank you, my friend! I love that one too! And yes, those drawers would be great for mittens, hats, etc! XOXO
Nana Diana says
Those all turned out great. I love the vision you have for things and I’m sure it changes even as you are working on a project.
I can’t tell you how many of those benches I made that look like #3 (back in the 80s). My girlfriend and I had one at a sale and everyone wanted one. So, I made quite a few. Probably 20-25? That was “country” all the way. lol
Happy upcoming weekend. Diana
Christy says
Thank you, Diana! My plans for sure do often change mid project…they kind of lead me where they want to go. And I totally believe that you sold those benches like hotcakes! It was so nice to buy those “country” pieces because they were so affordable! Happy weekend to you as well! XOXO
Josee says
You truly turn trash into treasure. I love to see your work and I wish you much success in your business.
Christy says
Aww thank you, my friend! I appreciate that so much! XOXO
LeAnne says
I love every single one of them! It’s hard to pick a favorite. I wish your shop wasn’t so far away from me. 🙂
Thanks,
LeAnne
Christy says
Thank you, LeAnne! I wish my shop was closer! XOXO
christy mittag says
Thank you for combining several of the same into one post. It gives us all several ways and techniques to refinish the same piece of furniture! I LOVE how you transformed #5 with 2 different colors. You mentioned for the top that a more “natural” stain would have been better. I agree. What color of stain would you have used in retrospect? Thanks for your lovely ideas!!
Christy says
My pleasure! I’m glad it’s helpful to see them all together in one post. I think I might have gone with maybe Charred Hickory…a warmer tone that would also go with the paper inside. Thank you, Christy! XOXO
Cecilia says
I think my favorite is the blue one, number six. I like the piano bench but I think I’d want that beautiful sunflower paper on top where I could see it all the time. It’s too pretty to hide! All turned out great.
😊 Cecilia
Christy says
I love that one too! And for the sunflower one, I agree, but I thought it could be lovely sitting open with a few plants inside maybe? The sunflowers are too pretty to hide! Thank you, my friend! XOXO
Christine says
love them all!
Christy says
Thank you, Christine! XOXO
Caye says
Hi Christy: I really like all of them! But if you twisted my arm to force me to choose, I guess I’d pick those that you “planked”. For me it is such an unusual application and one I would never have thought of. Good job(s), of course.
Christy says
Thank you, Caye! Ha ha… you are funny! I like the wood planks too. They really change the look completely! XOXO
Kathy from Jax says
I love all of them. I thought the blue one looked like a beach bench for sure. I also love the way I can find other orojects too in case I want to revisit. Can’t wait to see what you do next.
Christy says
Thank you, my friend! That blue one was probably my favorite of the bunch! Glad you enjoyed them! XOXO
Geri Davis says
Love them all! The plank one gave me the inspiration to redo an old beat up coffee table to do basically the same thing! It sold very quickly! I love benches and I definitely have a stool fetish, always picking them up at yard sales!!
Thanks for the bench updates!!
Christy says
Thank you, Geri! I love that one you were inspired by one of them…I’m not surprised your table sold quickly! Yes, I too love any kind of bench, stool, etc! XOXO