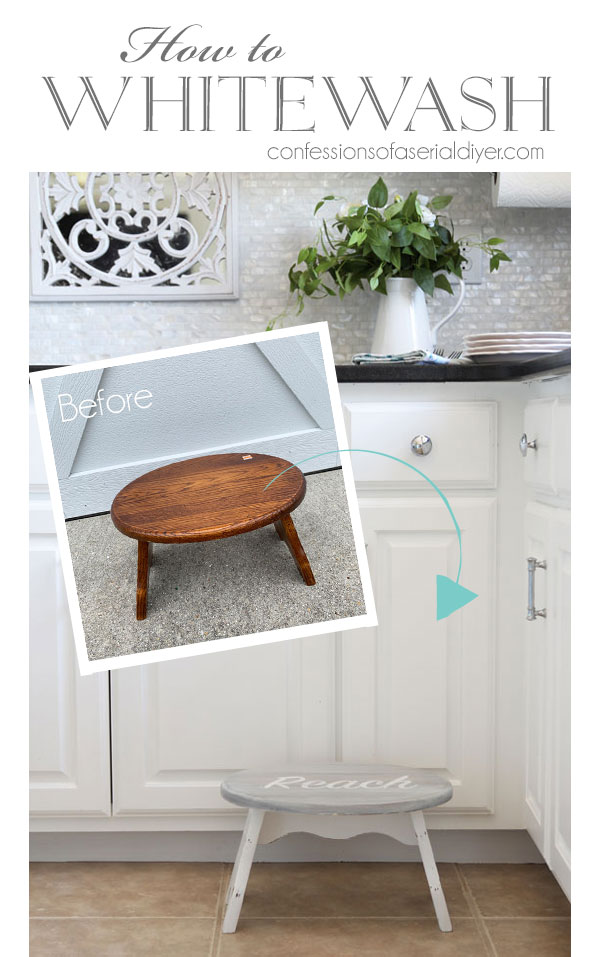
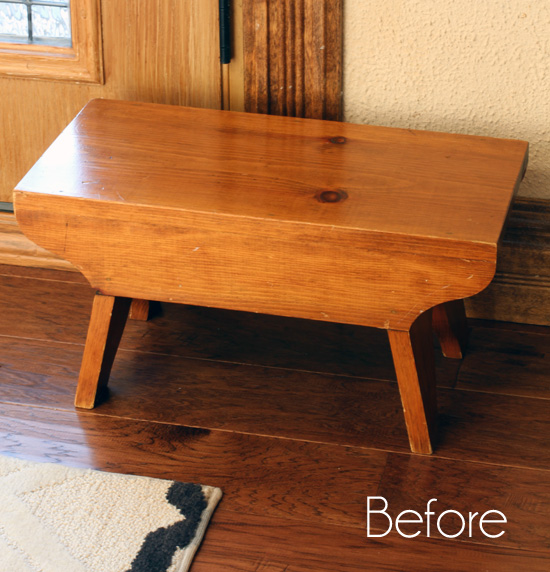
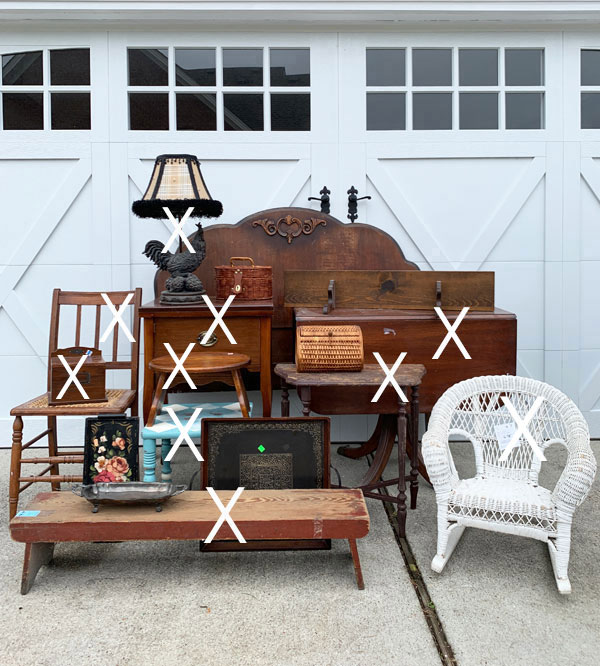
Hello sweet friends! Today I’m continuing through my Haul of Shame with this little stool I picked up for a few dollars at the thrift store:
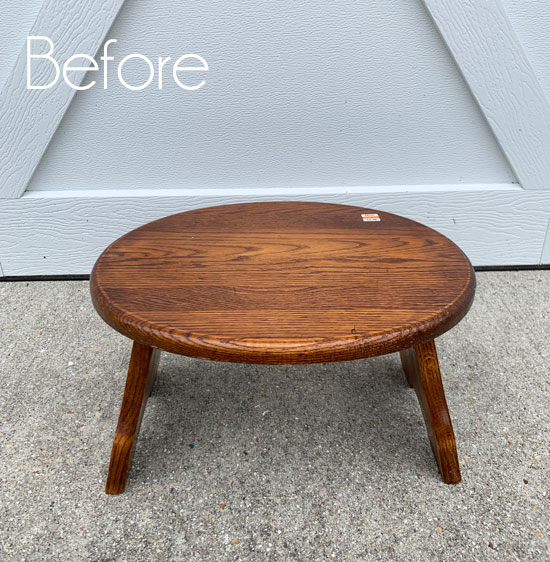
I had several people purchase the supplies for the whitewashing technique that I used on my drop leaf table a couple of weeks ago, and so I really wanted to create a video to demonstrate how easy is it to whitewash furniture!
This piece was the perfect piece for that.
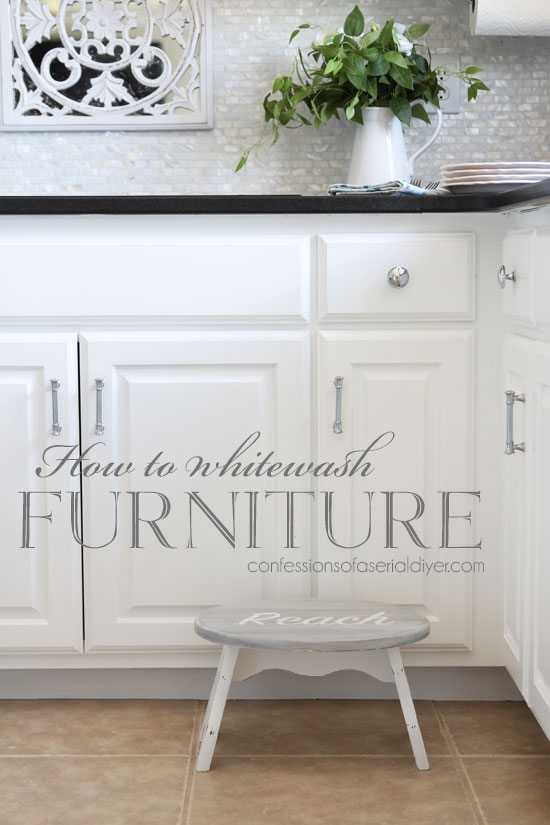
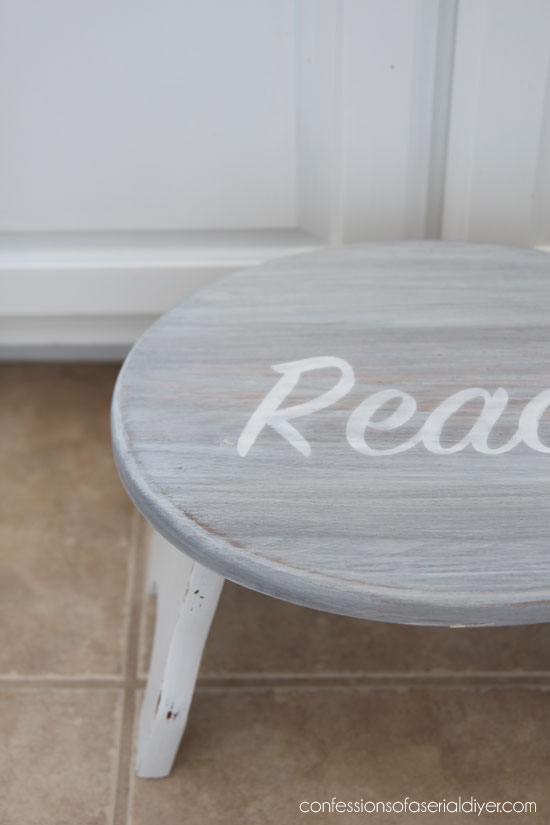
I love this look and this finish can hide all the imperfections!
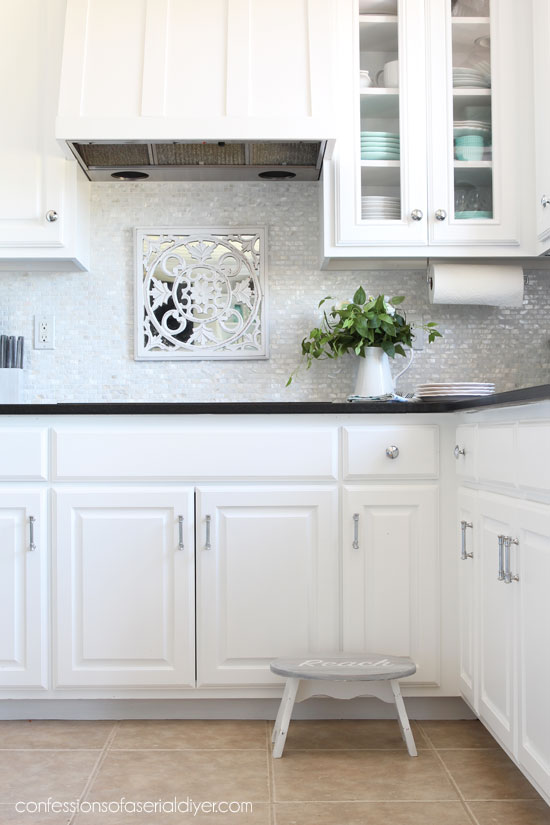
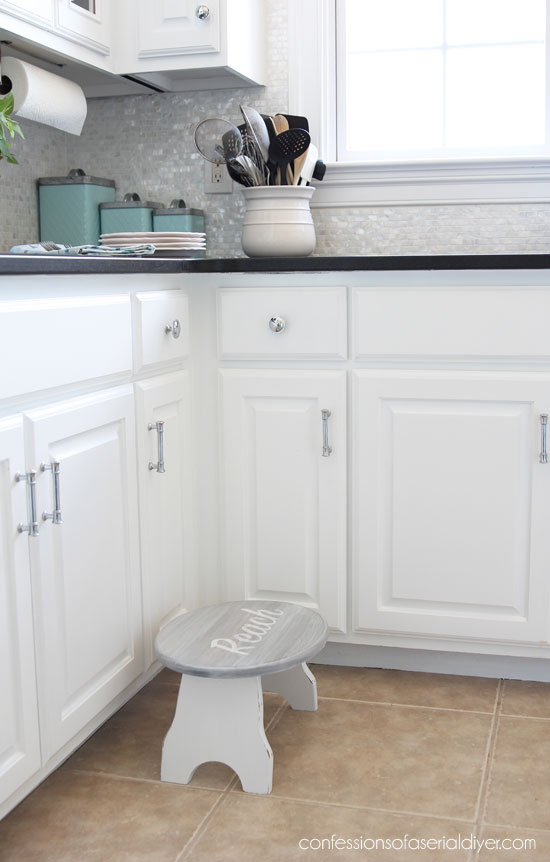
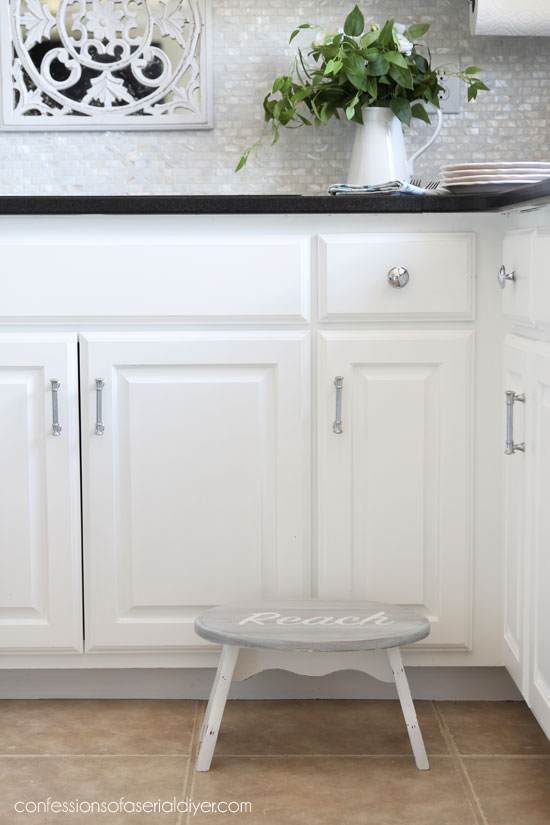
It looks perfectly at home in our kitchen!
Remember when our kitchen looked like this:
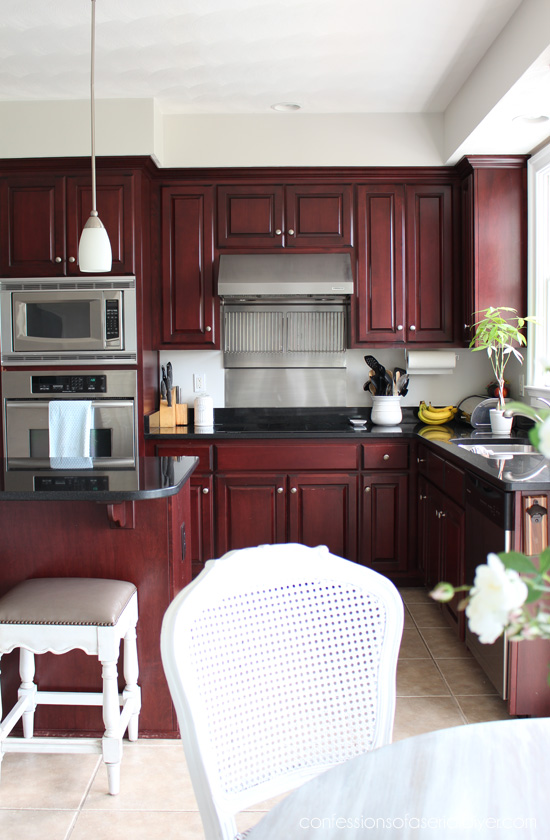
Bleh.
It’s hard to believe it’s been a year already! You can see our Big Kitchen Reveal HERE if you missed it!
It was a total DIY job and it is holding up great so far!
Here is a step-by-step video tutorial of how I whitewashed the top of this stool:
(View it on my YouTube channel HERE if you have any trouble viewing.)
Here are the supplies I used to create the whitewashed finish:
- Dixie Belle’s Up in Smoke VooDoo Gel Stain
- Dixie Belle’s Cotton Chalk Mineral Paint
- Water
- Paint stirrer
- Two clean soft cloths
- Gloves
- Paint or sponge brush
- Cup or bowl for mixing paint and water
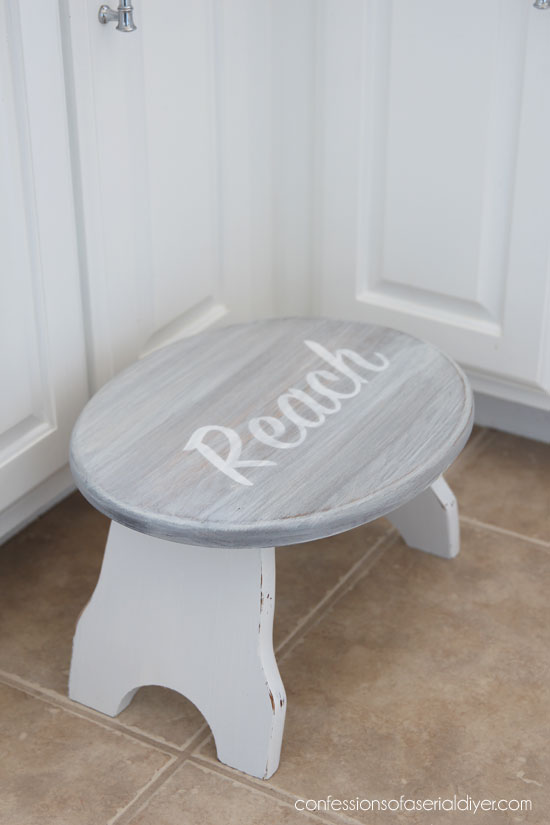
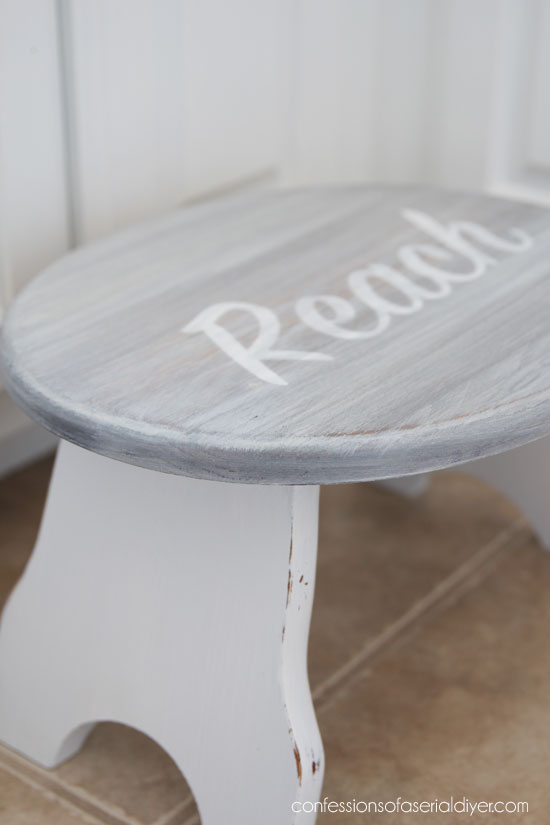
I painted the base of the stool in Dixie Belle’s Cotton.
For the letters on top, I used my Silhouette Cameo to cut a “stencil” from clear contact paper. Then I filled in the letters with white acrylic craft paint:
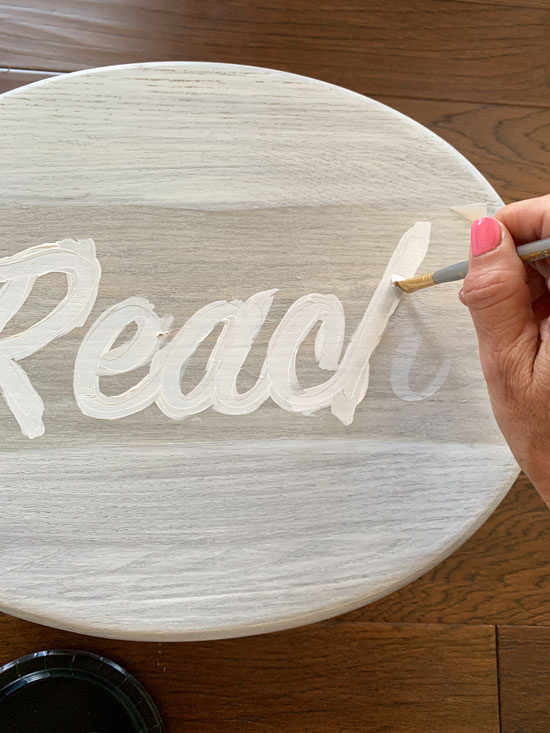
I used a small brush and brushed the paint on in the direction of the letters as if I was painting the letters myself without a stencil.
I removed the contact paper after the second coat…
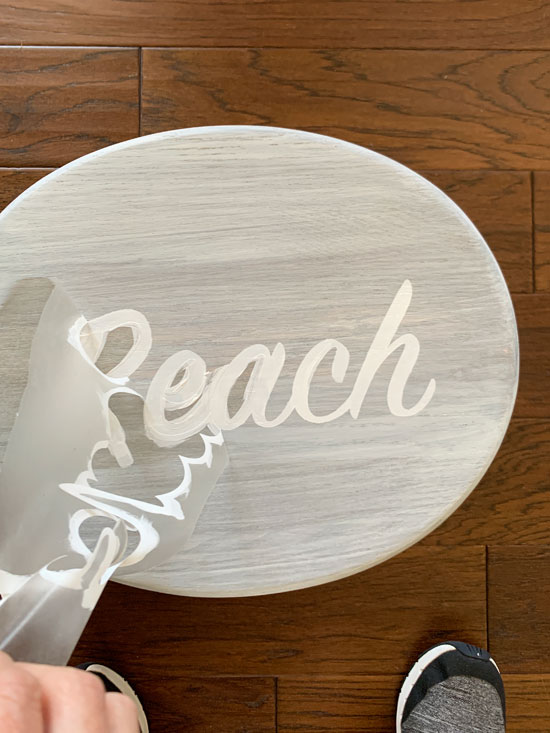
When the paint was dry, I lightly sanded across the top to smooth out any imperfections. I had a request to share more detail on how I use my silhouette to add letters to projects, and I will do that in a future post.
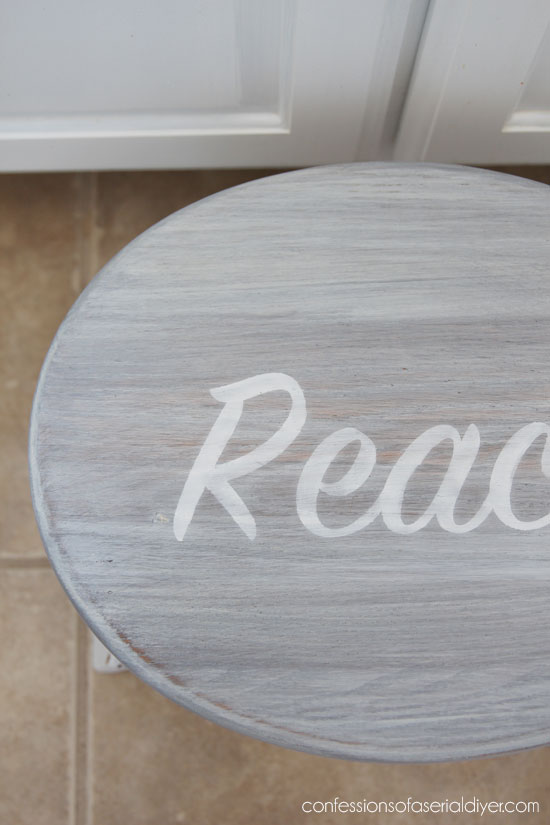
I sealed with Dixie Belle’s Satin Clear Coat using the blue sponge applicator. I should have used Gator Hide for the top of the stool for extra durability since it will need to withstand a lot of wear, and I may still go back and apply a coat to the top only.
If you liked this one, you’ll like this one too:
See how this one looks now HERE!
That’s another one done!
There’s not too many left to go!
If you missed any or want to revisit any, see them all at the links below:
$6 Thrift Store Bench Makeover
Drop Leaf Table Makeover & How to Apply Sealer with a Sponge
I will be back next week with these baskets:
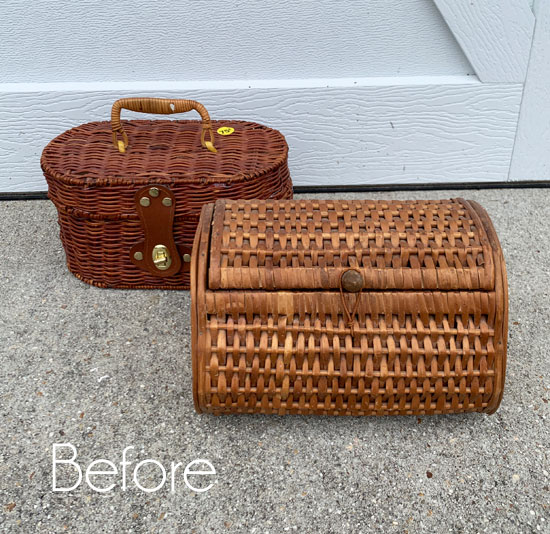
UPDATE: See how they look now HERE!
Have a beautiful weekend!
XOXO,
![]()
Don’t Miss a Thing!
If you like what you see, there are several ways to follow along!
Email * Facebook * Pinterest * Twitter *Instagram


")
")


Cecillia says
That is a cool technique! The stool looks great. Your kitchen makeover is one of my favorites – the transformation is amazing!
Hugs, Cecilia
Christy says
Aww thank you, Cecilia! Our kitchen is easily my favorite room in our house! XOXO
Cecilia from Ga says
Cute! You have the most original words that you put on your pieces. I painted a stool and thought about putting a word on it but coulldn’t come up with something cute. “Reach” is perfect! You better get the Gator Hide on it before little feet start using it!! XOXO
Christy says
Thank you, Cecilia! Yes, I already added a coat of Gator Hide to the top lol! XOXO
Christina in SW FL says
Christy this is super cute! 🙂 I love little step stools so the flash back to the other stool was fun as well. 🙂 Love this white washed look. The video was super helpful. I hope there wasn’t much (if any) stray paint on your table.
Have a great rest of your week.
Christy says
Thank you, Christina! I’m glad the video was helpful. And I did get sprinkles of paint on my counter, but it came off easily! have a great weekend! XOXO
Mary Kaiser says
It turned out so adorable. I love little stools like that. I think I may have one down in my stash, now I know what to do with it. Have a fun weekend and congrats to your little brother and his wife.
Christy says
Thanks, Mary! Everyone could use a little stool, right? Have a great weekend! XOXO
Cathy Farmer says
Thanks so much. I just took a job on one of those big round oak pedestal tables and this is the exact look my client is looking for, you shared just in time.
Christy says
Well, good timing then for sure! Good luck with it! XOXO
Sheila DelCharco says
Thank you for the video tutorial! I may do this technique on my bedroom dresser!
Christy says
My pleasure, Sheila! That would be beautiful! XOXO
Becky says
So pretty and simple!
Christy says
Thank you, Becky!! XOXO
sharon austin says
So cute. And I am still totally in love with your kitchen!!
Christy says
Aww thank you, Sharon! It’s my favorite room in the house! XOXO
Joanne from AZ says
Hi Christy, love that makeover! Sometimes it’s those littles that make the most impact. May I ask where you purchased the wood mirror you hung on your kitchen tile?
I’m sure the Wedding willl be awesome especially if you are putting some decor touches on it.
Thank you!
Christy says
Thank you, Joanne! I found the mirror at HomeGoods. Pretty much everything I own that isn’t second-hand, is from there lol! We have a hot day ahead for the wedding but no rain so here’s hoping it goes smoothly! Thanks! XOXO
Cheryl Atkinson says
Christy, great tutorial. If i get a piece that i can do this technique on, i will be ordering Up in Smoke from you. So cute.
Christy says
Thank you, Cheryl! It is really easy to do! XOXO
Mary says
Really cute stool make-over, you make it look very do able. Well done and keep up the good work. Best wishes for your bro, hope the weather is good for you all.
Christy says
Thank you, Mary! It is totally do-able! Thanks for the wedding wishes…it will be toasty, but no rain so that’s a plus! XOXO
Marcie Lovett says
Yay! Cross another one off the list! This turned out so cute, Christy. I love that look and how it’s so easy to achieve.
I just did a weathered driftwood finish on a table top that was in terrible shape and had to be painted. It looks okay, but not as nice as yours. I’m hoping to try your technique on a piece that’s in better condition to start with. Thanks for another informative video!
Christy says
Yes!! Girl you know I am so happy to be getting through this plie! Thank you…this look is really easy for sure…one of my favorite finishes! XOXO
Nancy @ Artsy Chicks Rule says
That’s perfect!! Reach, love it! 🙂 xoxo
Christy says
Right? Ha ha! Thanks, girlie! XOXO
Kate says
I usually am not in favor of paint, but I have to say you are opening my mind to the possibilities of paint. I love how you hold yourself accountable with the photo of your stuff. I enjoy reading your post every week.
Christy says
Thank you, Kate! I’m glad I could sway you a bit ha ha. The photos help me to stay on track for sure! Good luck on the giveaway! XO
Pat says
I love the look of this whitewashing! Just gorgeous! Is it necessary to sand to bare wood before using this technique or can you whitewash on top of stained wood?
Christy says
Thank you, Pat! I always sand down to the bare wood. If it were oil-based, I think you could get away with not sanding all the way, but this is water-based. XO
Shirley says
Wow I have been on your pages for hours now and always love what I see. I got to this page from another little stool makeover. Then on to the drawer, the trays from frames , the dresser, the bed and breakfast sign and so on and so on. I sure wish I still had the energy I used to because I really love doing things like this but the health has let me down and I just can’t work as fast. I still try to do what I can but I always have your wonderful pages to keep me busy and dreaming when I need it. Thanks for all you share and all you do!
Oh I almost forgot…the backsplash in the kitchen…I want to use the mother of pearl too but I’d really like to know how hard/easy that is to clean? How is it with oils that are used? Do spaghetti sauces stain it or will it just wi-e right off? There’s a lot of sauces and gravy’s used around here and my bunch is not careful with things. Does it chip or break easily? Thanks!
Christy says
Oh funny…I find myself going down the rabbit hole as well…visiting a bunch of older projects ha ha! I am so thrilled that I can offer creative inspiration when you need it! As for the backsplash, it is a dream! We cook in our kitchen six days a week and it still looks like new. I didn’t even seal the grout! I learned when my Hubby splashed red wine on the grout, that a spritz of Tilex with bleach made it look like new! Not a single chip or crack either. 🙂 XOXO