
Are you one of those people whose eyes scan every curbside trash pile in hopes of finding a potential treasure? That’s me! I can’t not slow down and ogle at what has been left for the taking. But asking my Hubby to slow down for said curbside trash pile is like asking him to donate one of his eyeballs. Seriously!
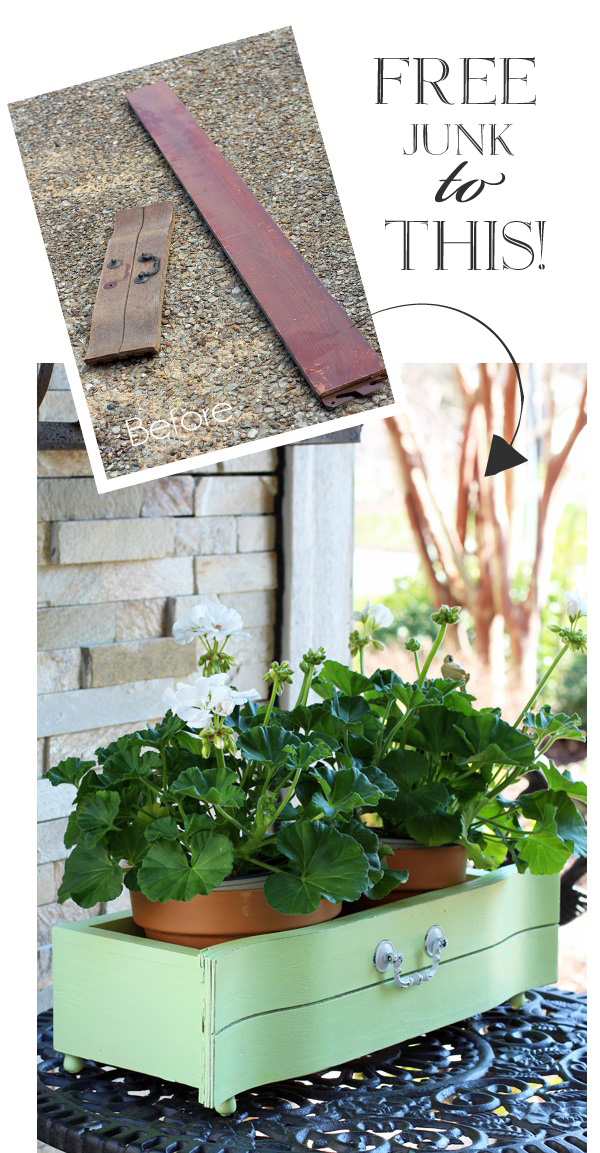
Friends, we’ve made it to thrifty transformation #17, and today I bring you…a rescue from the trash pile!
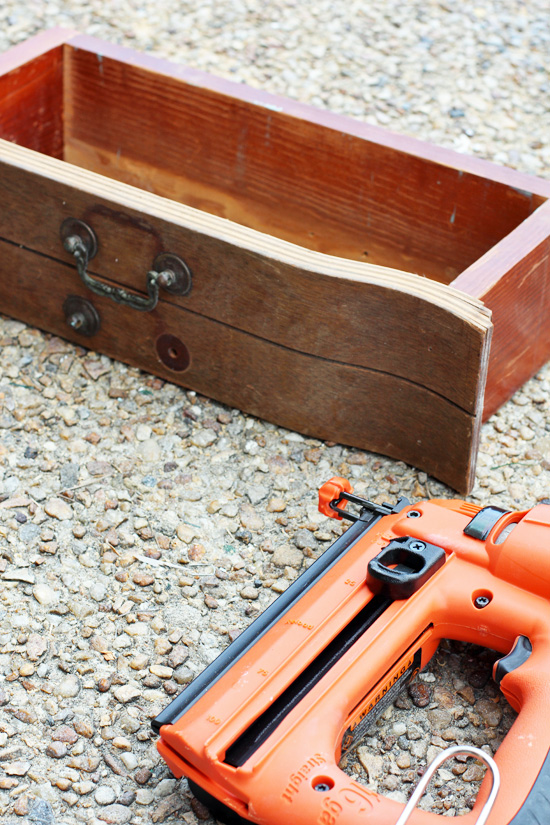
My Hubby did stop for me after I pleaded that this particular piece I saw was practically begging to be rescued. Except the only thing that was actually salvageable was this drawer…front. Yes not even the whole drawer:
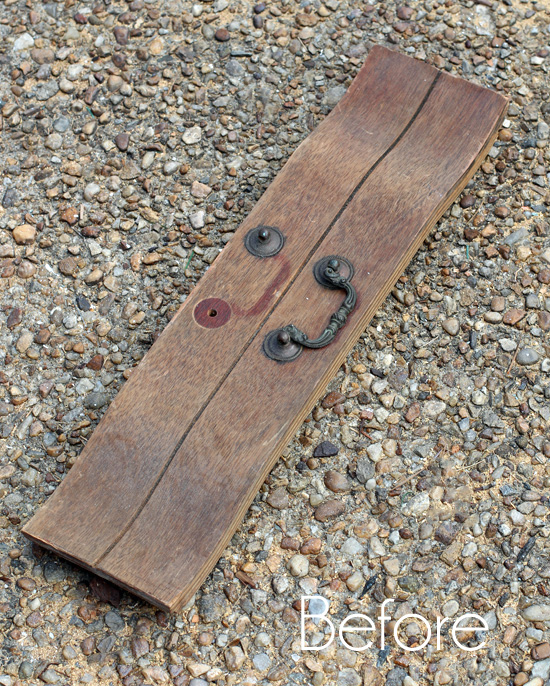
Then I had to listen to how he couldn’t believe he pulled over just for that. I was double determined I was going to find a use for that dang drawer front.
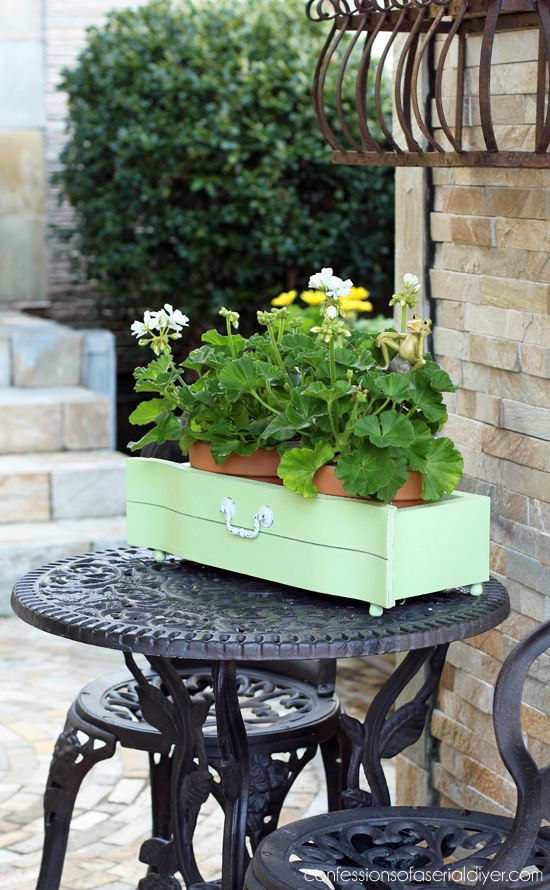
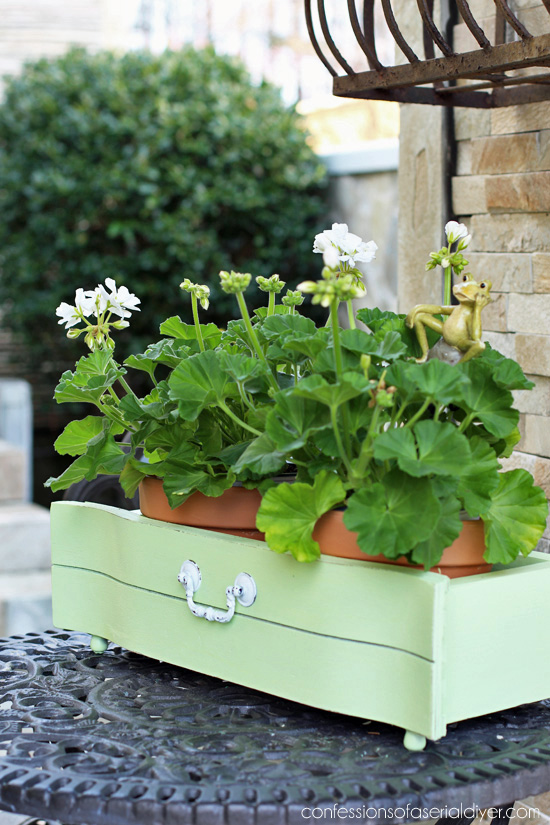
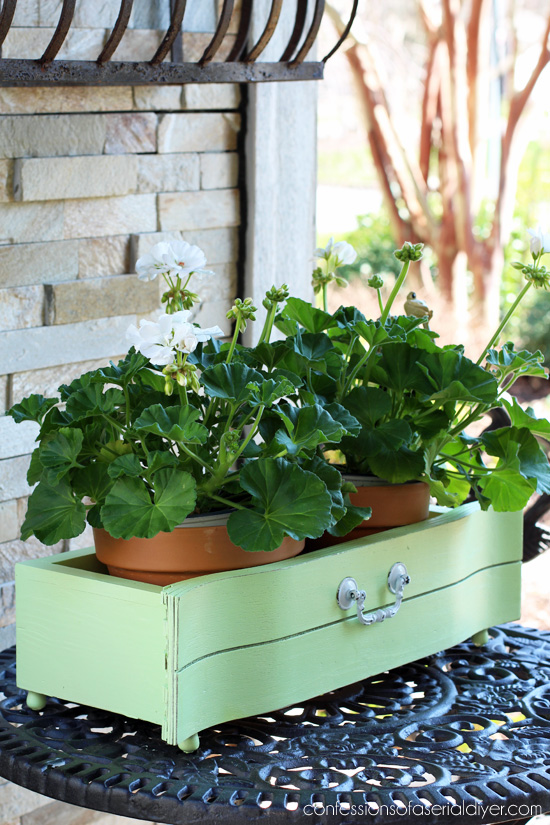
Mission accomplished.
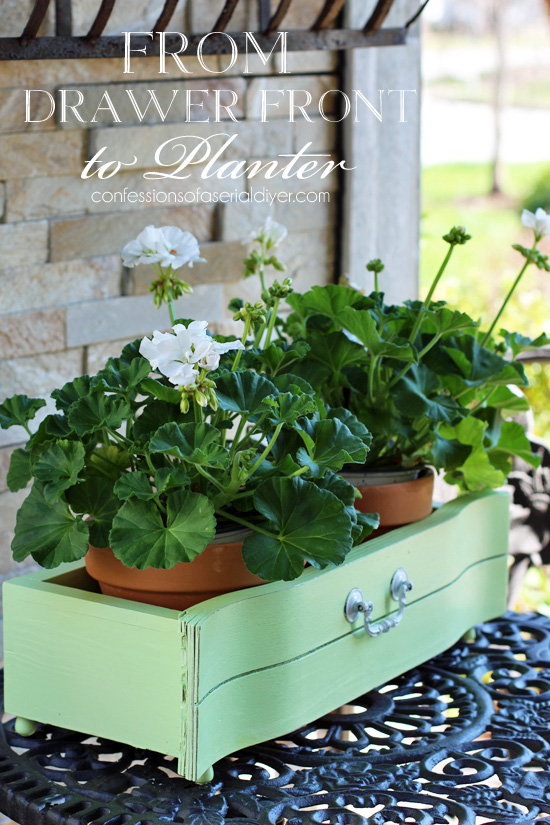
I sure did find a use for that sad old drawer front, didn’t I? I’m sharing this today also as part of our Tool Girl Challenge where I and few talented gals share simple projects created using power tools. This month’s theme is Spring and since I also needed it to be a thrifty transformation, this worked put perfectly!
Be sure to check out my friends’ projects at the bottom.
Guess what else worked out perfectly? It’s green! Nobody will be pinchin me today!
I’ve included links to the products I use for your convenience. See my full disclosure here.
Making this was pretty simple. I started with this drawer front and this old bed rail left over from this Headboard Bench that I made during last year’s March Madness Series:

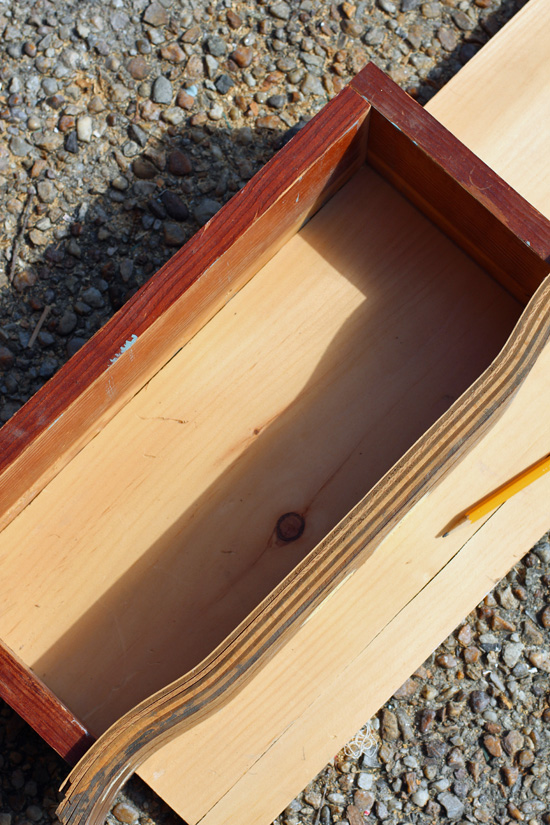
I cut my pieces to the size I wanted using my miter saw:
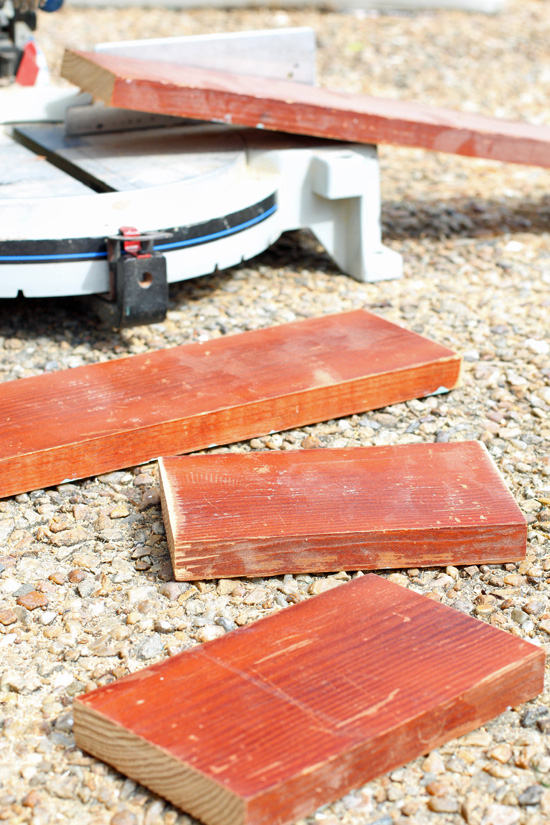
I used two six inch clay pots as a guide for determining the size I needed.
Then I used my nail gun to attach the pieces I cut, to the drawer front…
Regular hammer and finishing nails would work just fine as well.
Next it needed a bottom. I grabbed a piece of scrap wood and traced the outline of the inside of my planter with a pencil.
I cut it out using my jig saw:
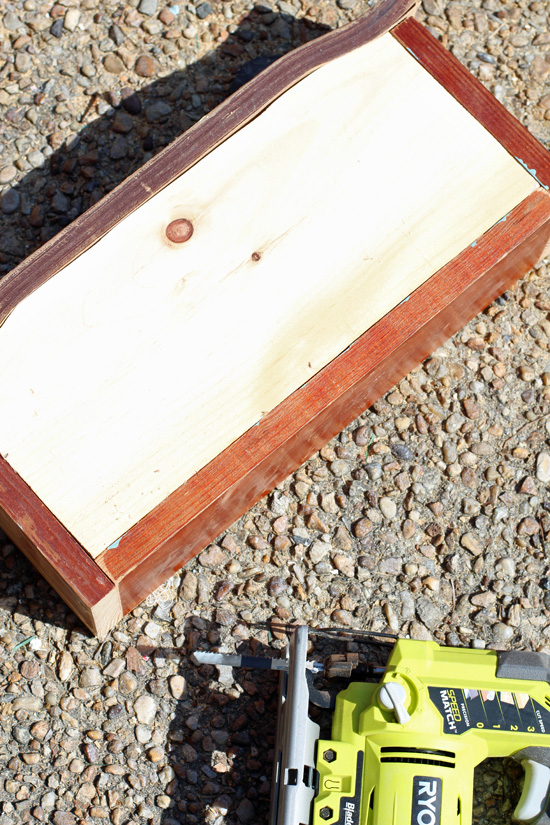
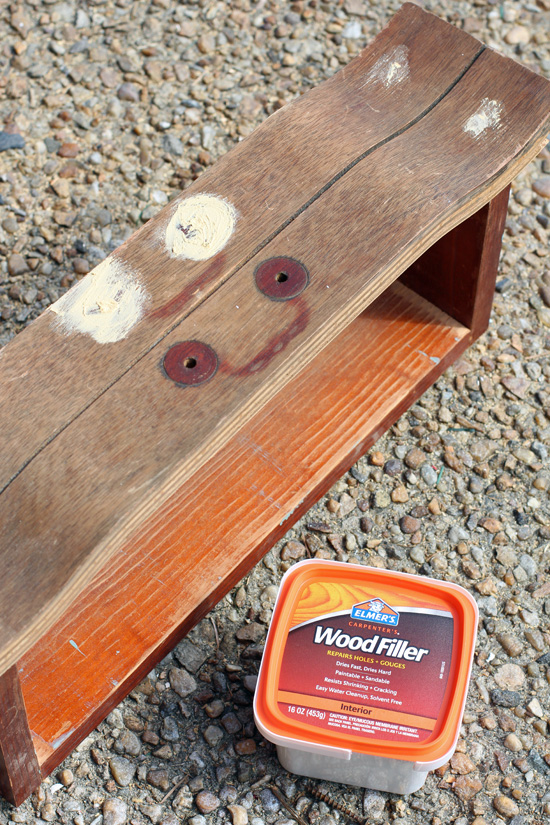
Whew that’s a bright photo, but you get the idea. I secured the bottom in place with my nail gun, sanded any rough surfaces, and filled all the holes with wood filler.
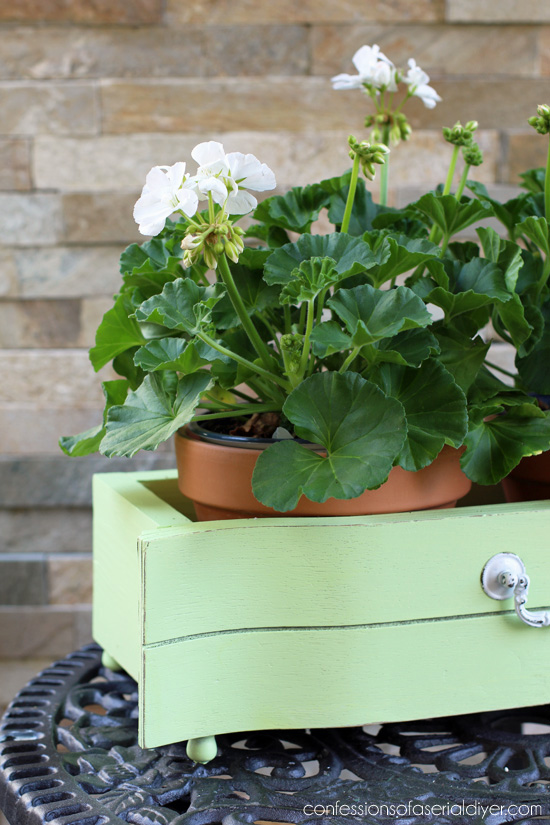
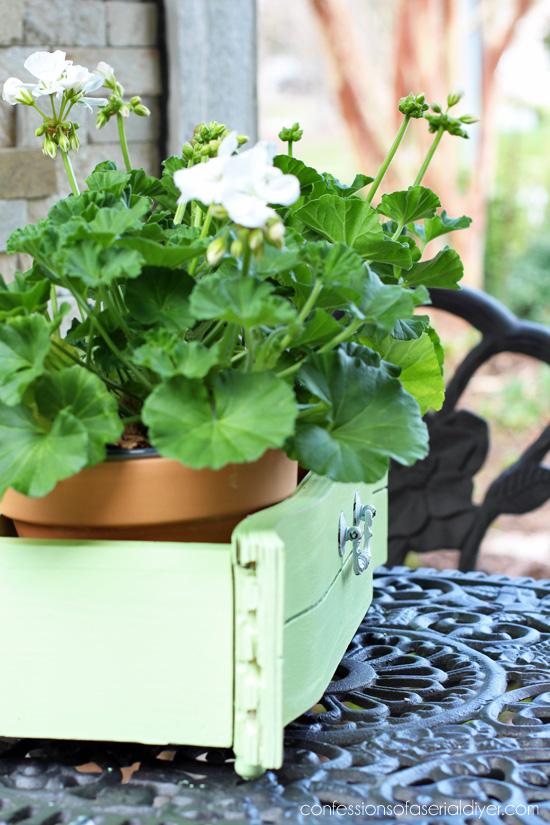
I decided to add little feet as well…
They are small wooden pieces called candle cups that my Dad had in his woodworking supplies that he gave me. They looked like mini bun feet to me, and I’ve seen them at Michaels with all of their unfinished wood pieces.
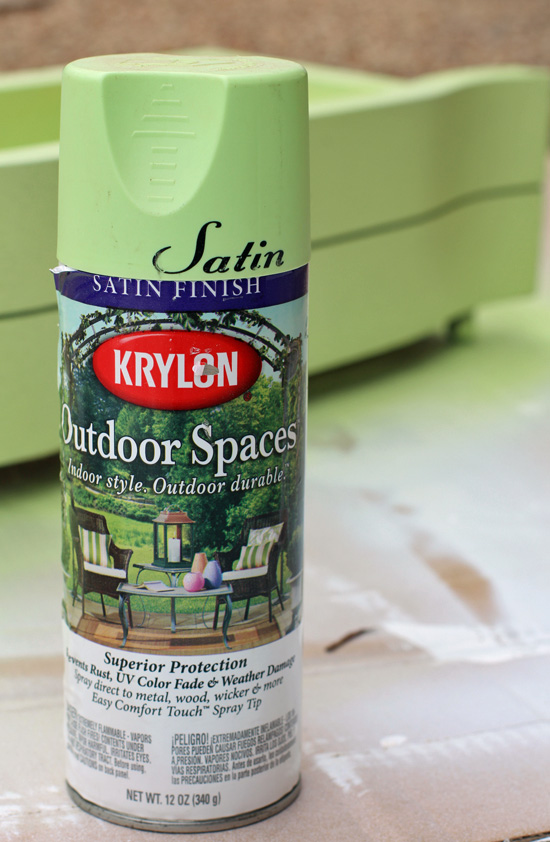
The last part was to paint. I already had this pretty green outdoor spray paint that I found at an estate sale. (Great resource for spray paint!)
I love it for my outdoor space, and I actually used it on these wind chimes I created for this same tool group last year:
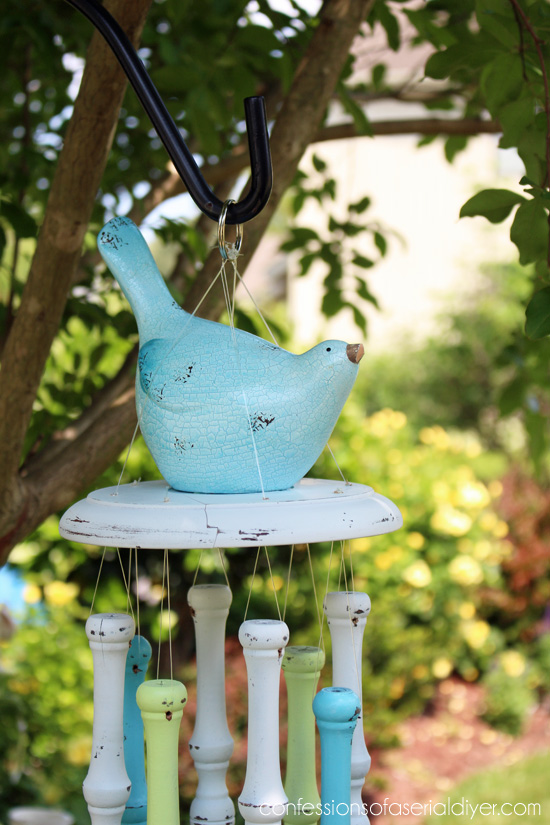
I left them out in my garden all season and the paint held up really well. Actually all the paint held up well.
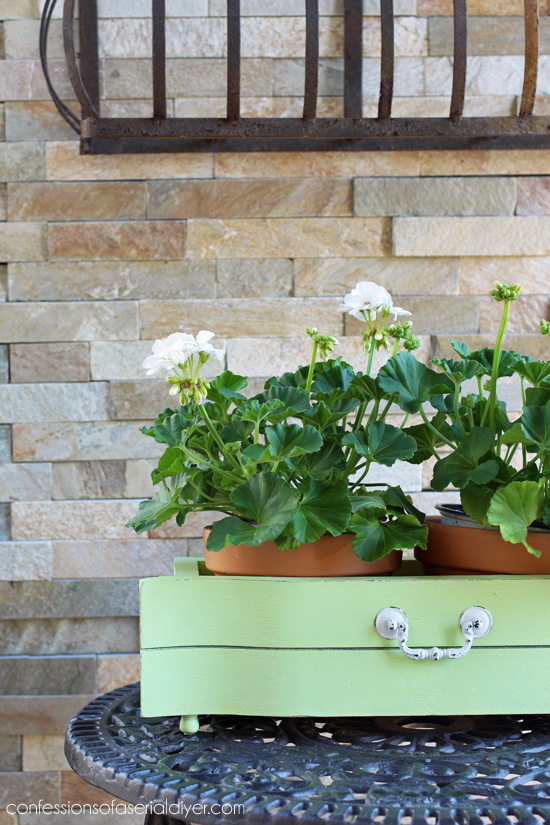
And now they’ll match my new planter!
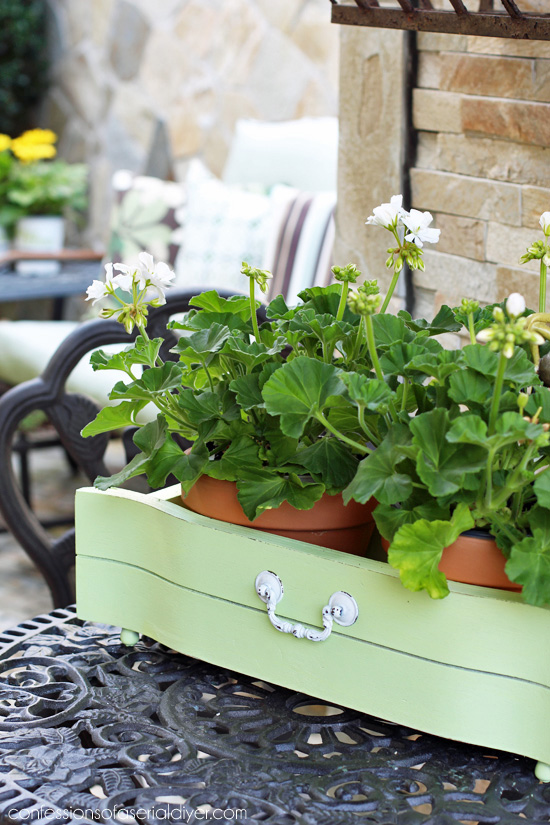
I kept my geraniums in pots so I could take the pots out to water, since this is not engineered to handle moisture.
I also have it on a table in a covered area.
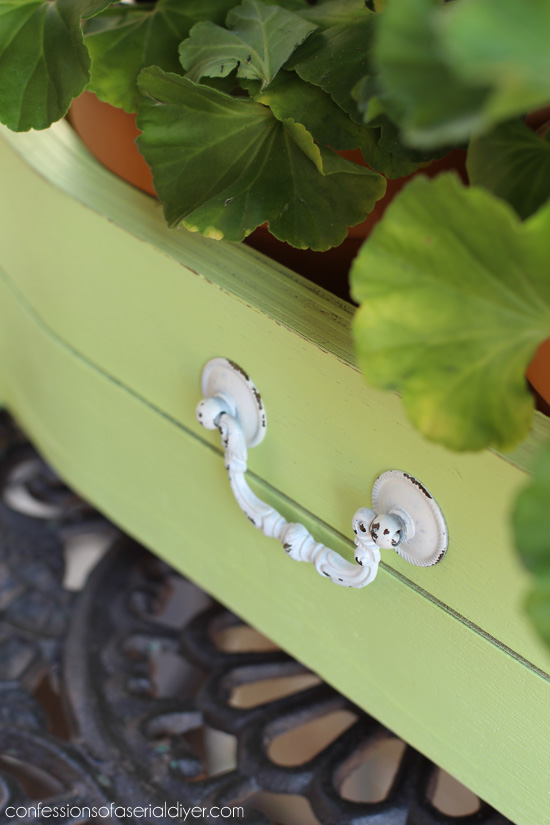
One of the original handles didn’t make it so I filled in the bottom holes. The other handle got a couple of coats of white spray paint.

Here’s a peek at my Friends’ projects I promised earlier…visit each project at the links below!
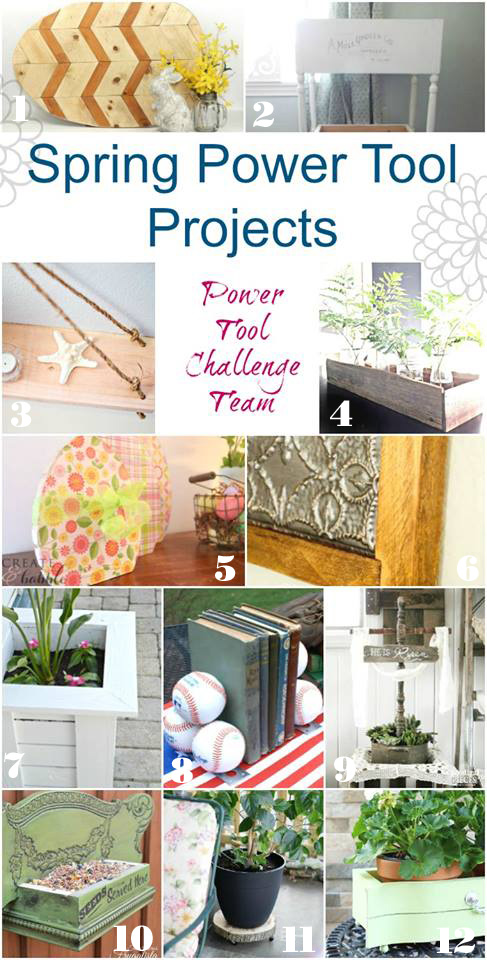
1. Chevron Wood Easter Egg by Kim Six Fix
2. Fruit and Vegetable Bin by Designs By Studio C
3. Wooden Swing Shelf by Domestically Speaking
4. Planter Box Centerpiece by Refresh Restyle
5. RestyleWooden Easter Eggs by Create And Babble
6. Rustic 3 Panel Wall Decor by Designed Decor
7. Key West DIY Wood Planter Box by H2OBungalow
8. Baseball Bookends by Virginia Sweet Pea
9. Repurposed Easter Cross by Prodigal Pieces
10. Chair Back Bird Feeder by Interior Frugalista
11. Wood Slice Rolling Plant Stand by My Repurposed Life
12.Upcycled Drawer Front Planter by yours truly 🙂
I’ll be back tomorrow sharing how I changed the entire look and feel of this little Frenchy table:
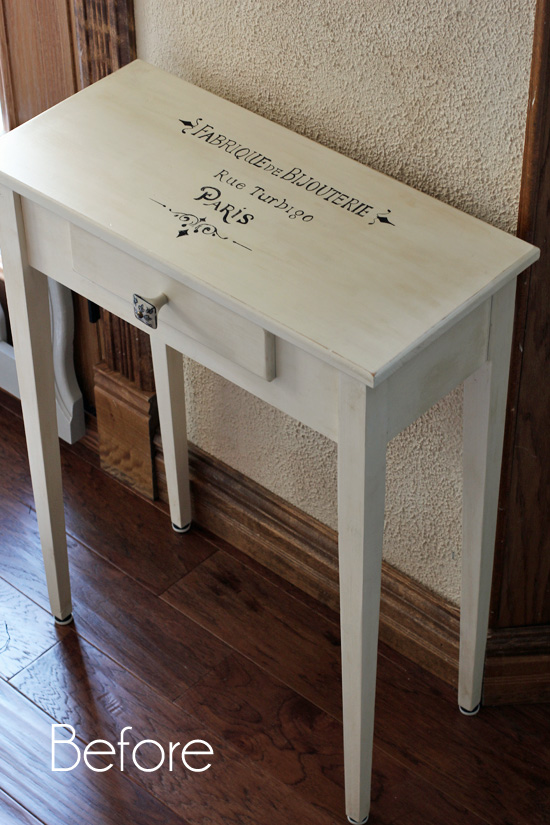
UPDATE: See how I updated this little table HERE now!
If you missed any of my thrifty transformations in this fun series so far, you can catch up here:
1. Wooden Tote Redo 2. Candlestick Update 3. DIY Jewelry Storage 4. Mini Shelf Makeover
5. Shutter Cabinet 6. DIY Tray from and Old Picture 7. The Perfect Necklace Holder 8. 80’s Shelf Updated
9. $5 Yard Sale Dresser Redo 10. $5 Thrift Store Lamp Makeover 11. Jewelry/Trinket Holder 12. 80’s Clock Reimagined
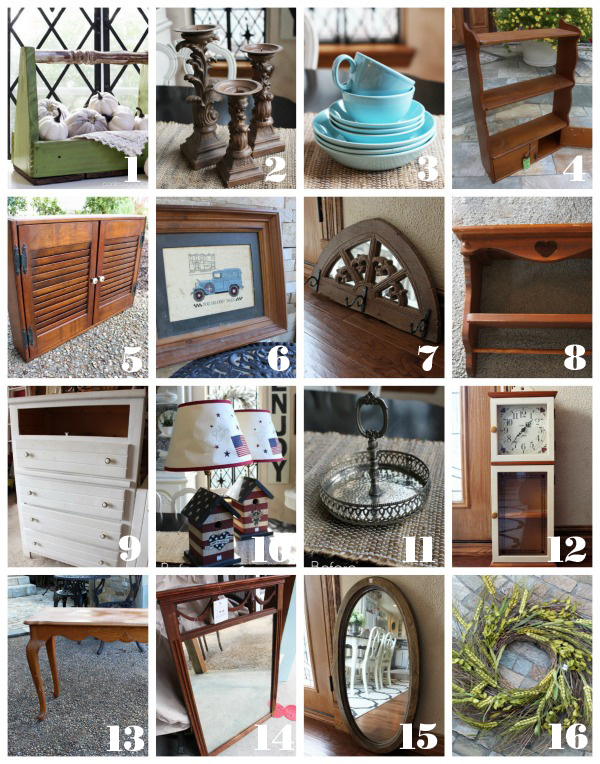
13. Patterned Sofa Table 14. Antique Mirror Repurposed 15. Oval Rosette Mirror 16. Spring Bird Nest Wreath
XOXO,
![]()
Don’t Miss a Thing!
If you like what you see, there are several ways to follow along!
Email * Facebook * Pinterest * Hometalk * Twitter * Instagram

I love to share at these great parties:
The Happy Housie Design Dining and Diapers Liz Marie Blog Funky Junk Interiors Savvy Southern Style Tatertots and Jello DIY Show Off Between Naps on the Porch Just a Girl and Her Blog Sand and Sisal Interior Frugalista


Joanne Taggart says
Nice drawer transformation Christy! You filled the holes so well it doesn’t even show. And putting on the little feet(what a cute name) really does something for it. Is a jigsaw lightweight and does it cut curvy corners? I think I’m going to learn about this one. Thanks!
Christy K. James says
Thanks, Joanne! A jig saw is a great saw to have because it can cut straight lines, corners, you name it. I like the Ryobi one I linked to because it’s cordless and not too heavy. 🙂
Sue says
How do you do it? I love it when you reinvent!!! Great job. xoxo
Christy K. James says
Thanks, Sue!! This one was quick and easy…my kind of project! XOXO
Jenna says
Wow, how cute is this! I need some power tools!
Christy K. James says
Thanks, Jenna!! Yes…there is so much you can do with just a few tools! XO
Melissa's Antiques says
Absolutely love this project!
Christy K. James says
Thanks so much, Melissa! Now to get the rest of my outdoor space ready for Spring! 🙂
Cher @ Designs by Studio C says
What a beautiful planter! I absolutely love the curve of the drawer front and especially the color of the paint! 🙂
Christy K. James says
Thanks, Cher! I’m just happy I finally was able to use that old drawer front for something! XO
Wendy says
Hi Christy, For your planter I might suggest drilling a couple of holes in the bottom for drainage if you are going to use it as is. Just in case of rainy days that will fill that planter. Because it is only painted wood I would have also lined the inside with something that repels water. I am not sure the outdoor paint will do the trick in this case. A couple of examples could be: If you can find an old plastic planter that will fit inside that would be perfect. It will not be noticeable and will also act as a bit of a water shield against the wood. You could also line it with heavy duty plastic used for vapor barriers as well. I am thinking though that if you can find a similar product in a brush-on or spray can that they use for truck bed liners that would absolutely do the trick. I would not want to see such a lovely planter rot out on the bottom inside.
Christy K. James says
Thanks for the tips, Wendy! I purposely left the plants in terra cotta pots so I could remove them to water, but now you’ve given me couple of ideas for waterproofing. 🙂
Wendy says
Rustoleum carries a truck bed spray or brush-on for truck bed liners. I found it online. Hope this helps.
Christy K. James says
Thanks!
Marie, the Interior Frugalista says
Love this idea Christy – so pretty! Love the color and those little feet from your dad’s stash are perfect. Nothing goes to waste with us DIYers, eh!
Christy K. James says
Thanks, Marie! Absolutely nothing goes to waste lol! XO
Eileen says
That is clever….and so are you!
Christy K. James says
Thanks so much, Eileen…you are so sweet! XO
Maggie M says
Ingenius! I love all of your craftiness Christy:)
Maggie M says
Or, rather, your wood working skills!
Christy K. James says
Ha ha! I am quite comfortable with power tools, but trust me that has evolved over a LONG time! 🙂
Suzanne says
You are so clever and imaginative! I love everything you magically change.
Christy K. James says
Aww thank you so much, Suzanne!! XOXO
Treva says
I have to admit when I saw the piece of the trash pile you talked your husband into pulling over for I was on his side. But you diffenently have earned the right to say I told you so to your sweet husband. Tell us how many times have you said it? ? LOL
You always have that little finishing touch that adds so much.
I just love the little box.
Christy K. James says
Ha ha…thanks, Treva! This drawer came off of a beautiful piece, but when I got closer, sadly it was just so weather damaged that there was no hope for it. I am glad (and so was he) that I was able to turn that one piece into something though. 🙂
Larissa ~ Prodigal Pieces says
You are rockin’ the DIY, girl! I love that you saved that one piece. ( I would have too!)
Christy K. James says
Ha ha of course! I saved everything that could be saved, which amounted to one drawer front with a missing handle lol!
Paula@Sweetpea says
I definitely brake for trash piles and have my hubby trained to do so as well. The drawer front makes a perfect planter. I know you are happy to have a few summer flowers out. Geraniums are one of my favorites. It’s a tad bit too early to plant them in my area but in a month I will be ready.
Christy K. James says
My Hubby would never stop for a trash pile on his own. If he had his way, he would set the entire contents of the garage, aka my workshop, in the driveway and throw a match on it ha ha! I know this is how he feels, but honestly he rarely complains. Geraniums are a favorite of mine as well. Hopefully we wont have any more really cold spells now. 🙂
Stacye Hixson says
You have such awesome ideas. Your ingenious!
Christy K. James says
Aww you are so sweet, thank you!!
Maryann @ Domestically Speaking says
That is so cute! My mom would love that in her garden. I love that green too!
Christy K. James says
Thanks, Maryann! XO
Chris says
Perfect as always. So simple and so charming!
Christy K. James says
Aww thanks, Chris! XOXO
Addie says
Girl!!! You’re sav’in the landfills one project at a time!!! This is a good one!!!
God Bless,
Addie
Christy K. James says
I’m trying ha ha! So glad you like this one, Addie! XOXO
Wendi @ H2OBungalow says
You have an amazing eye for trash! LOL Seriously, the things you come up with are a hoot..and cute to boot! My hubby is the same way, he HATES when I want to stop for a something on the side of the road 🙂 Awesome project!
Christy K. James says
Ha ha…Thanks, Wendi!!
Vivian says
I love it!! You do amazing things with what most would think is useless!!
Christy K. James says
Aww thanks, Vivian! I guess I have an eye for trash! ????
Debbie @ Refresh Restyle says
Beautiful! Love the color and the idea! Please get a table to put your saw on, I see you squatting on that pretty driveway making cuts 😉 Love your project!
Christy K. James says
Thanks, Debbie…ha ha! I usually have it up on my table saw, but when I cut long boards, it’s easier to work it on the ground. I guess I’m just used to it lol. I could use the squats anyway! 😉
Kim Six says
That color and those little legs? Oh my gosh! This is the just the prettiest!
Christy K. James says
Thanks, Kim! I’m just so excited I can finally start getting ready for the warmer weather!
DeDe @Designed Decor says
So cute. I want to make one of these to hang on the side of my shed! I am hopeful for this spring it will get done!
Christy K. James says
Thanks, DeDe! That would be so cute! XO