Hello, beautiful friends!! Today, I’ve got another makeover to share from my latest haul. I couldn’t wait to update an old DIY toolbox that I found at the thrift store for $6.98.
I always grab this type of box when I see it…there are so many possibilities, and I just love them!
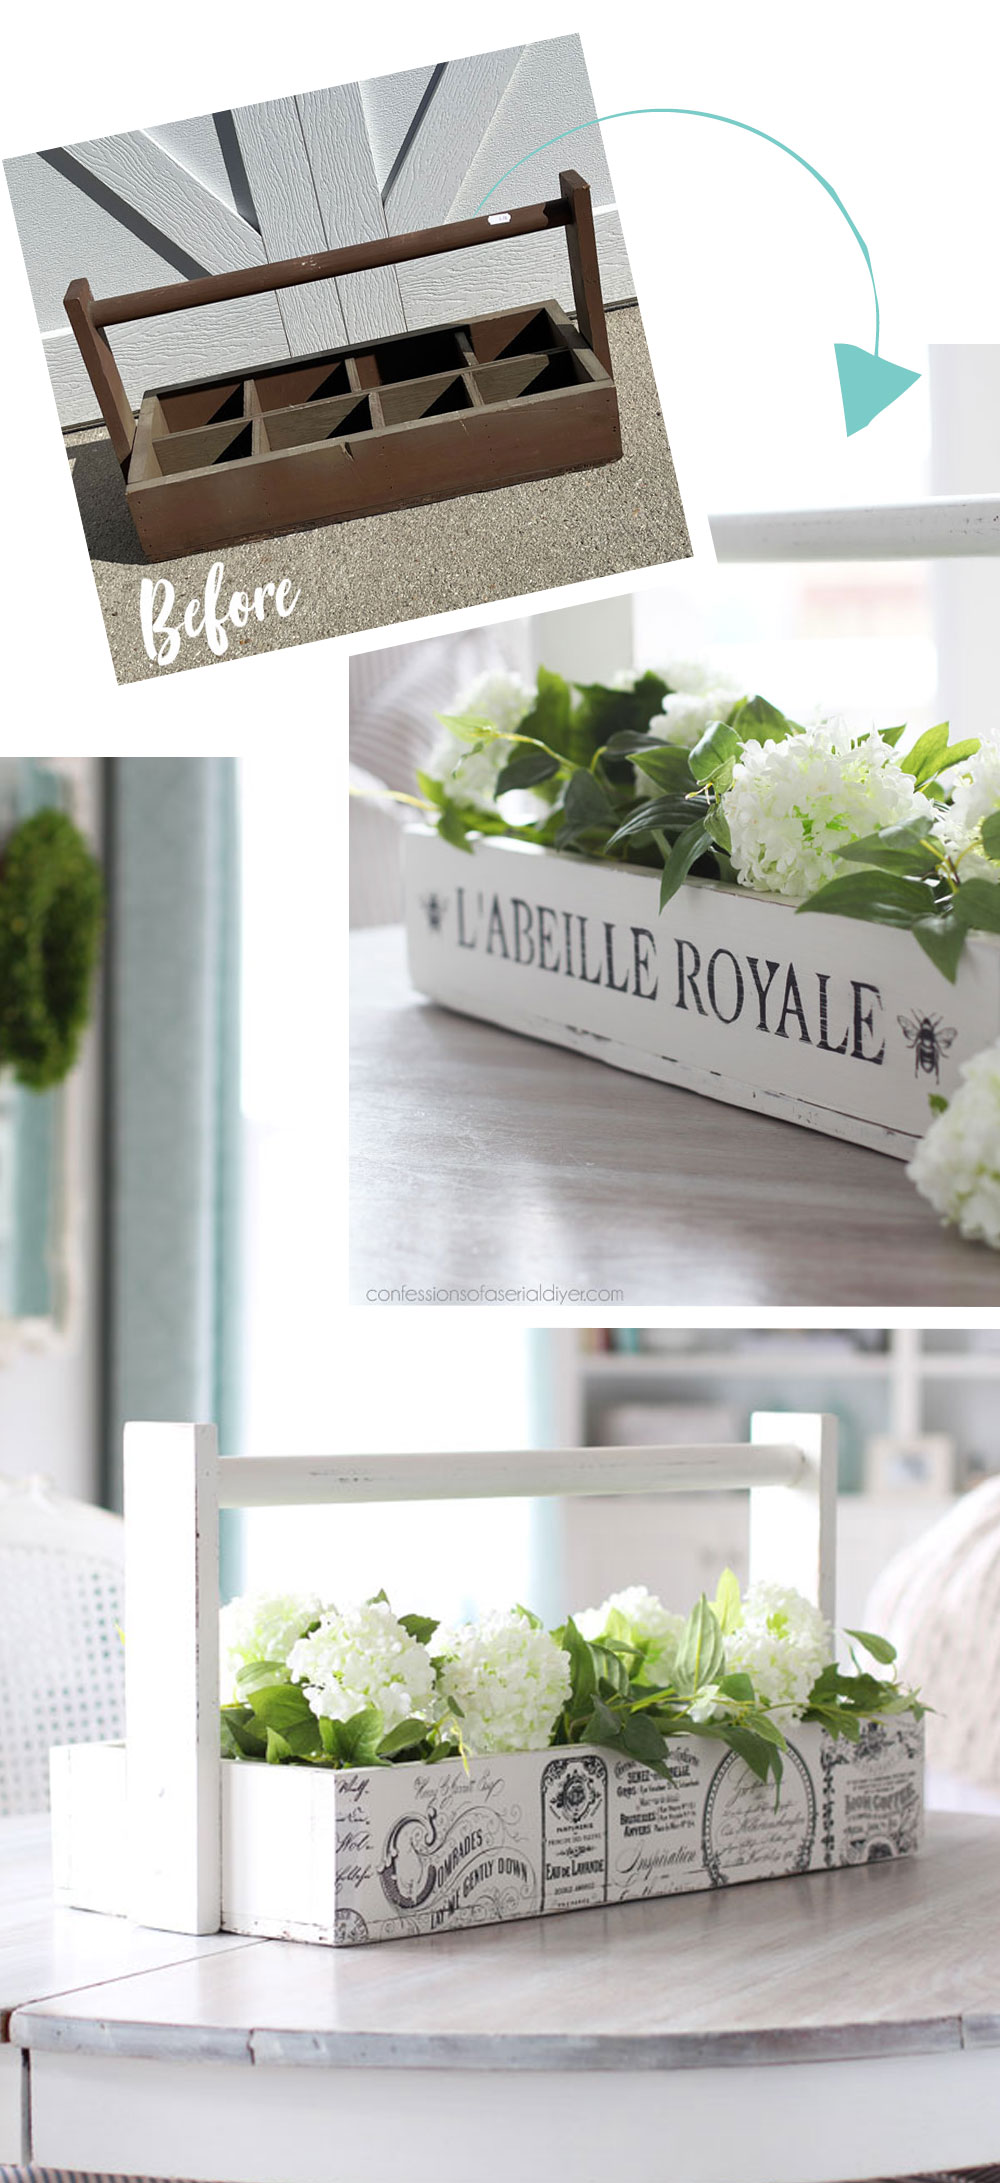
I grabbed this one as soon as I saw it:
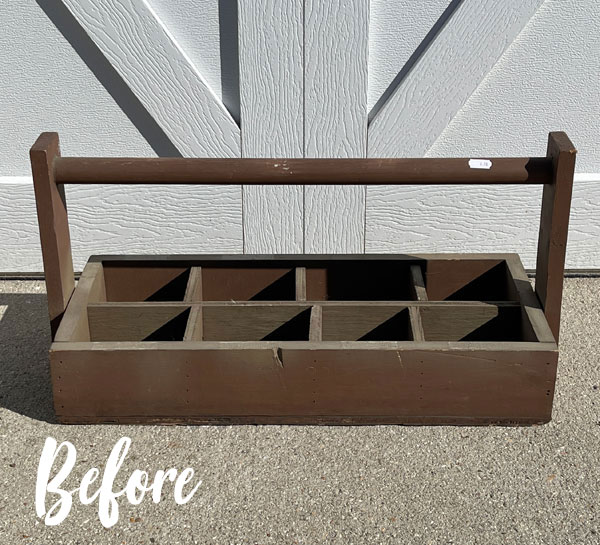
This probably wasn’t used for tools, maybe to start seeds in? Or…to organize seed packets? Or maybe it was just intended to be a planter?
Whatever it was originally used for, this thang was dir-ty!
I’ve included a few affiliate links so you can find the products I love.
Making a couple of alterations
I wasn’t sure how functional it would be as is, so I chose to remove the smaller dividers:
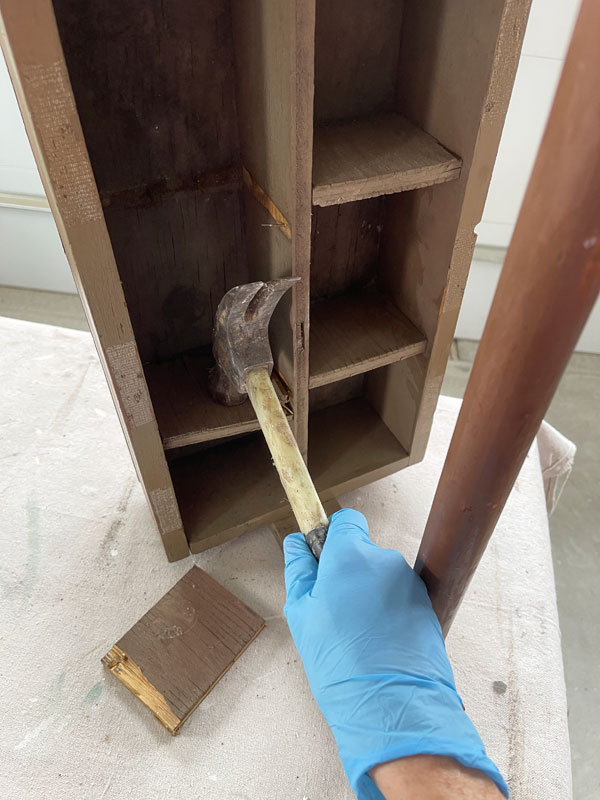
A few good whacks with my hammer and they were out, but a bunch of nails from a nail gun were left behind ready to stab me in all directions:
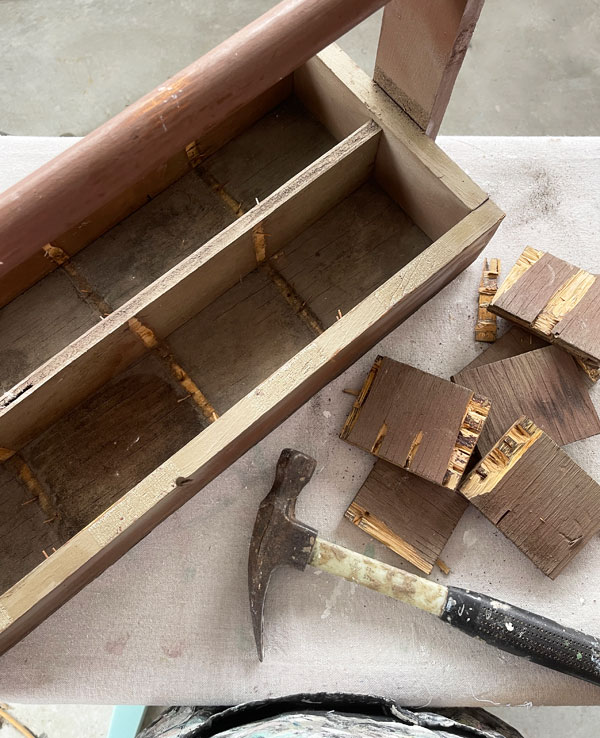
I used a set of needle-nose pliers to remove them:
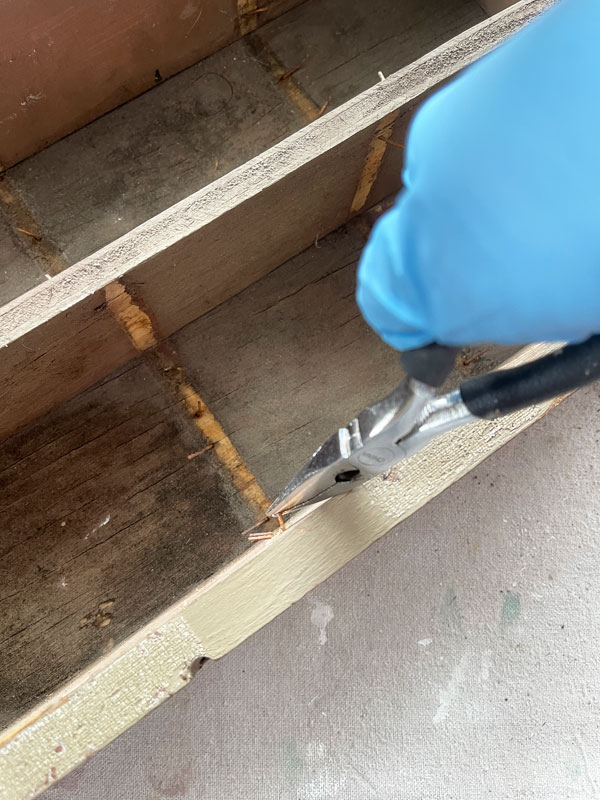
*TIP*
Here’s a tip when it comes to removing the nails from a nail gun. Instead of trying to pound them out from he other side or trying to pull them through which will cause more damage, grab the tip with needle nose pliers, and rock it back and forth until it breaks off. It will likely break right off at the exit site, leaving behind a smooth surface.
Clean
Once I had all the nails removed, I gave the inside a good vacuum with my shop vac and brush attachment.
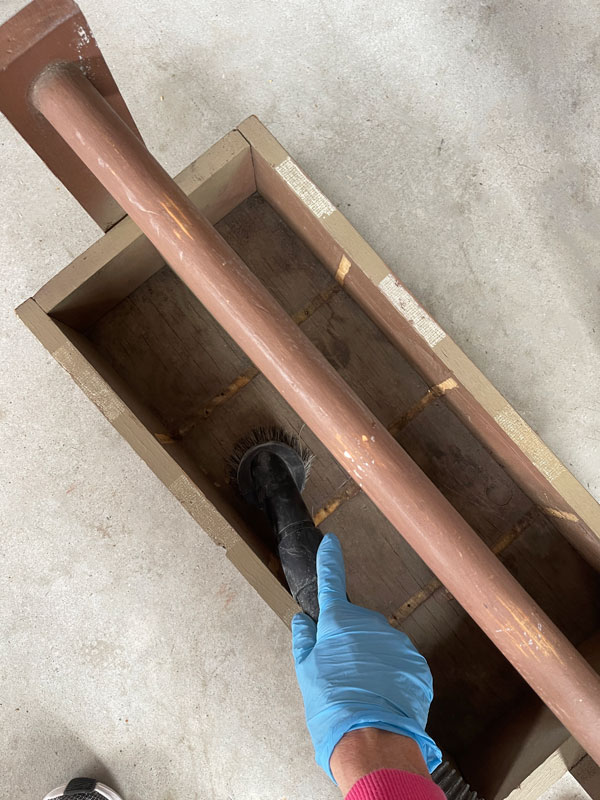
Then I got to scrubbing! I used White Lightning and a terrycloth pad to get it as clean as possible.
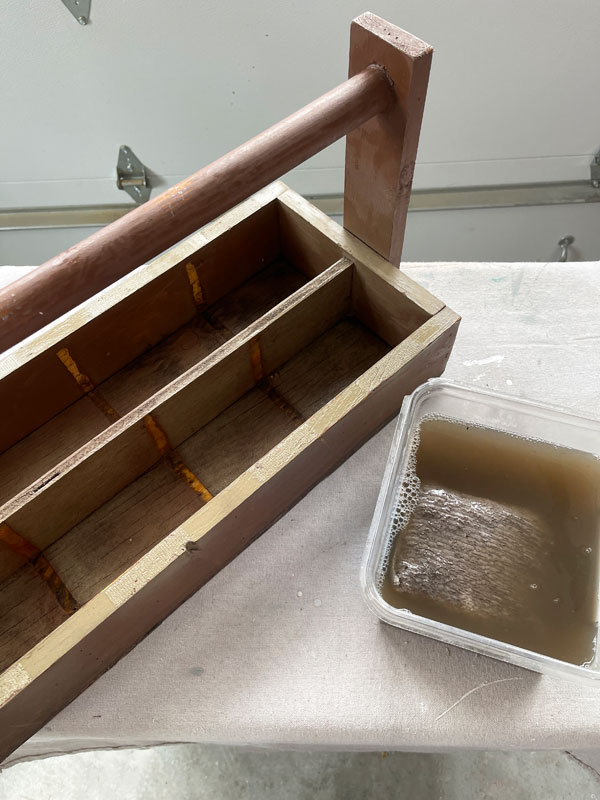
Look at that water! I told y’all it was dirty! To clean, I mixed one TBSP of White Lightning in a small tub and wiped it down good. Then, I swapped out my water for clean water and wiped it down once more to remove any lingering dirt and residue.
Fill the holes
Next, I filled the holes with Dixie Mud:
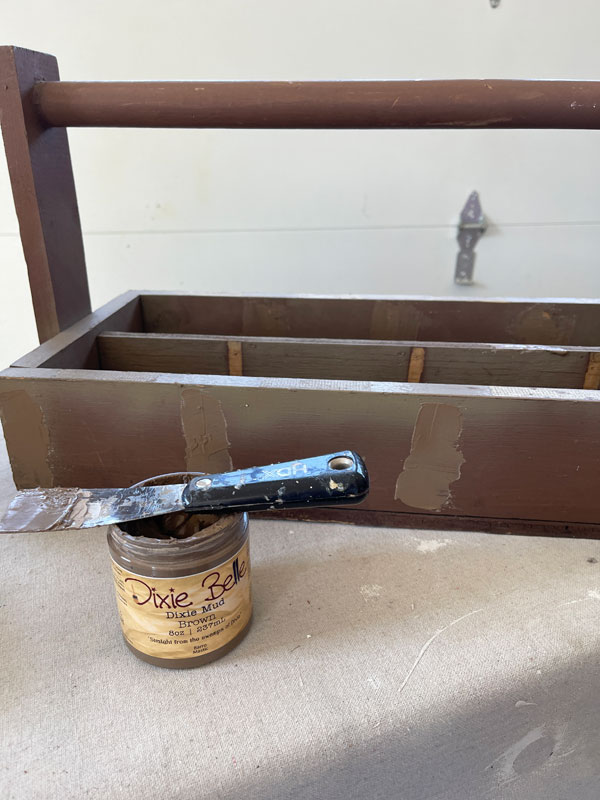
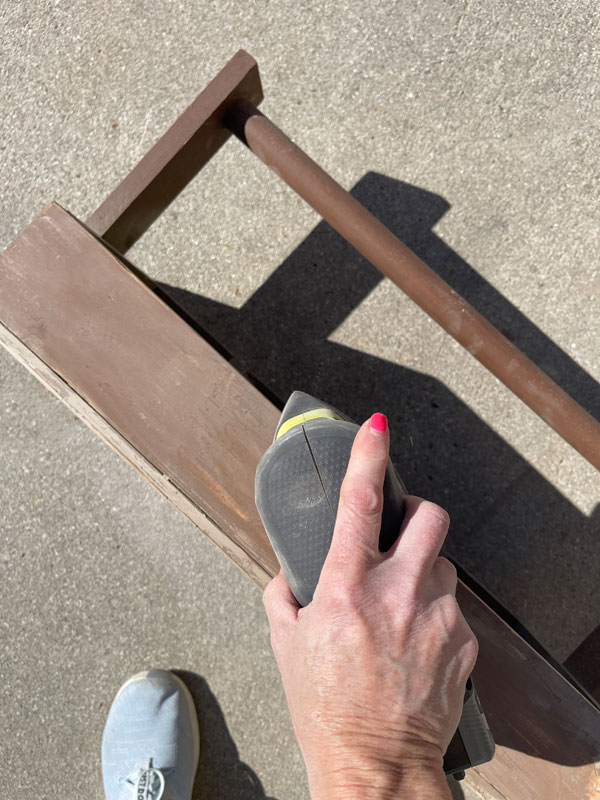
These holes were really small, so it was ready to sand after just a couple of hours…
Paint
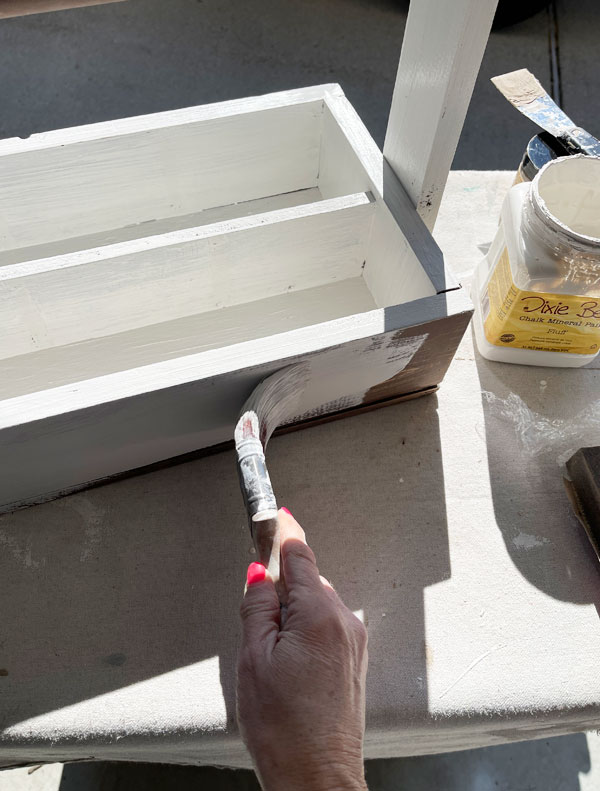
Finally, time for the fun part!
I painted this in Fluff, two coats:
Y’all, remember last week when I was prepared to share this tote but then my friends had reminded me it was Furniture Fixer Upper day and clearly this is not furniture so I went in search of a cute furniture makeover to reshare and this project got shoved to the side?
Ha ha that was a mouthful!
Well…originally all I did was paint it, sand it, and then seal it. Done.
I loved the simple white look of this with a little shabby, and I knew someone would snatch it right up in my booth painted simple just like that.
I couldn’t leave well enough alone
But, as it states in bold, eye-catching type above, I couldn’t leave well enough alone.
I was cleaning up my workspace, and I came across these scraps from the Vintage Post transfer that came apart from their original backing and had been floating around my workspace just like this:
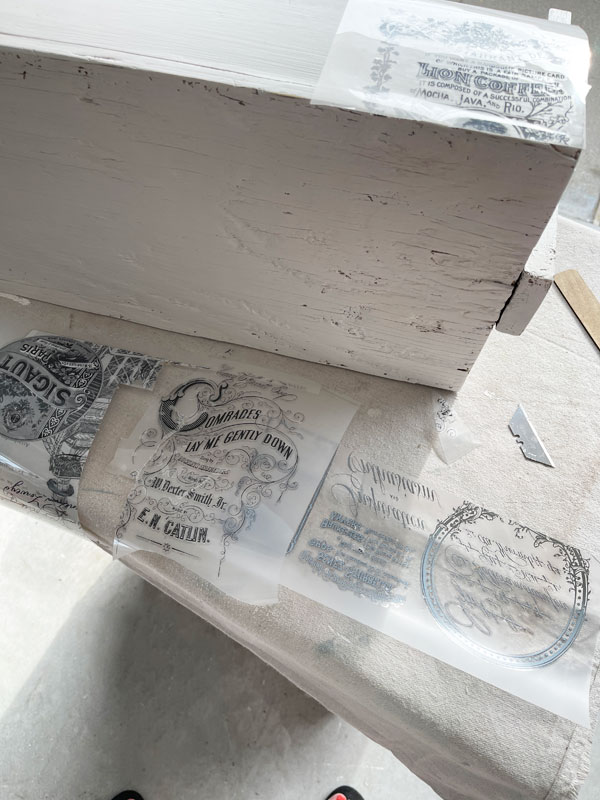
I had thrown them in the trash thinking none of them were even full images, and they probably wouldn’t be any good now anyway after hanging around my work space for a couple of weeks like this.
Or would they??
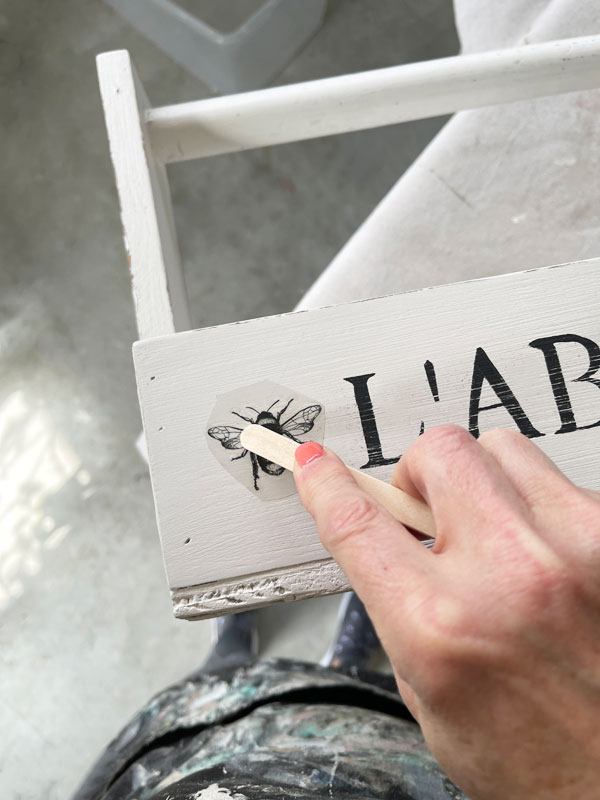
I decided to try part of one on the corner:

I literally only had the corner of this one left, but it worked great here! And, it adhered perfectly!
So, I arranged the rest of the pieces I had left and was able to cover the whole front!
Seal
I then sealed them with Clear Coat in Satin using my mini angle brush:
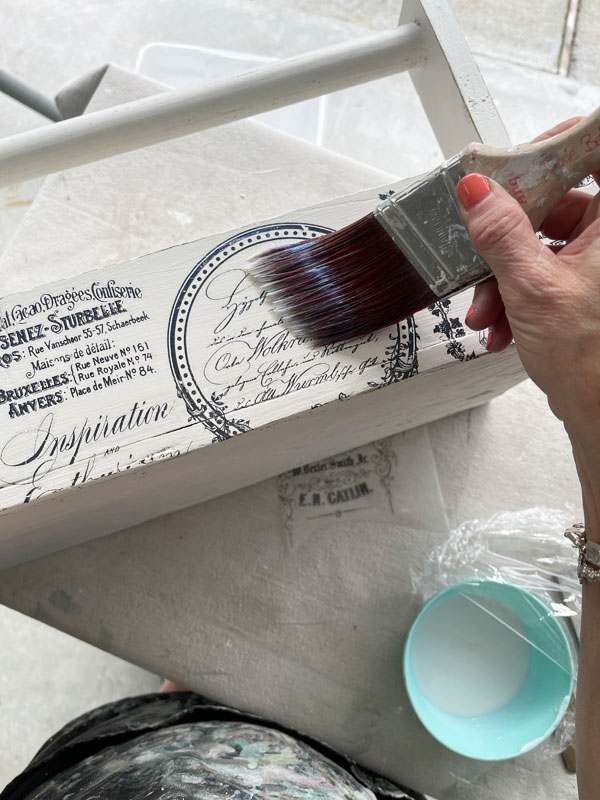
I still prefer applying the Clear Coat with the blue sponge, but a brush is much easier when applying the sealer to inside corners, and I still had this brush wrapped in plastic after using it to seal the inside.
The After
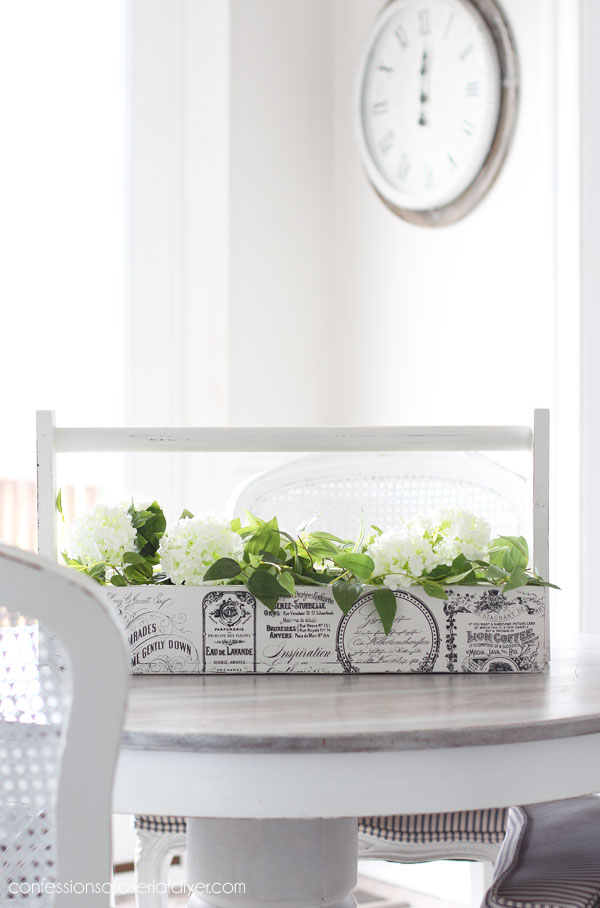
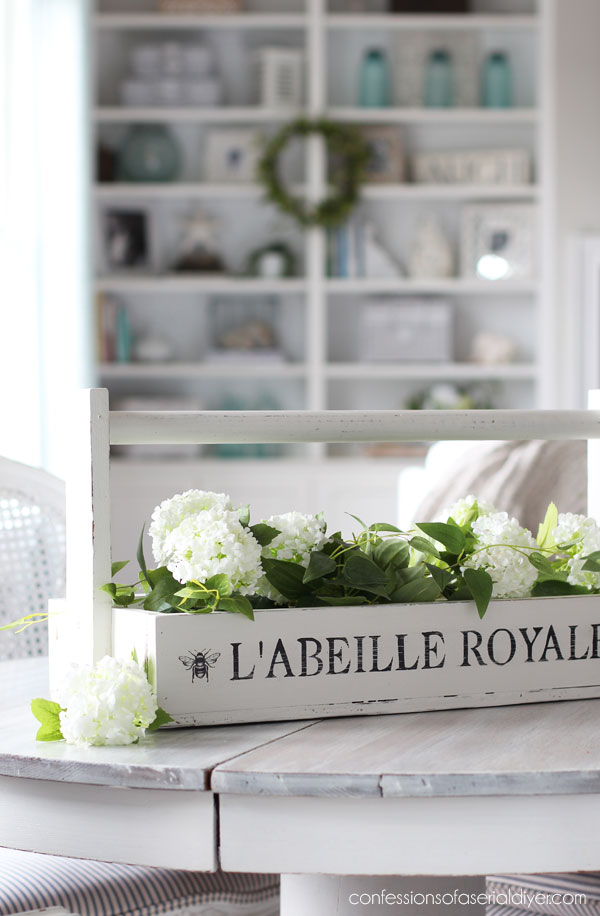
Here is how this pretty little toolbox looks now!
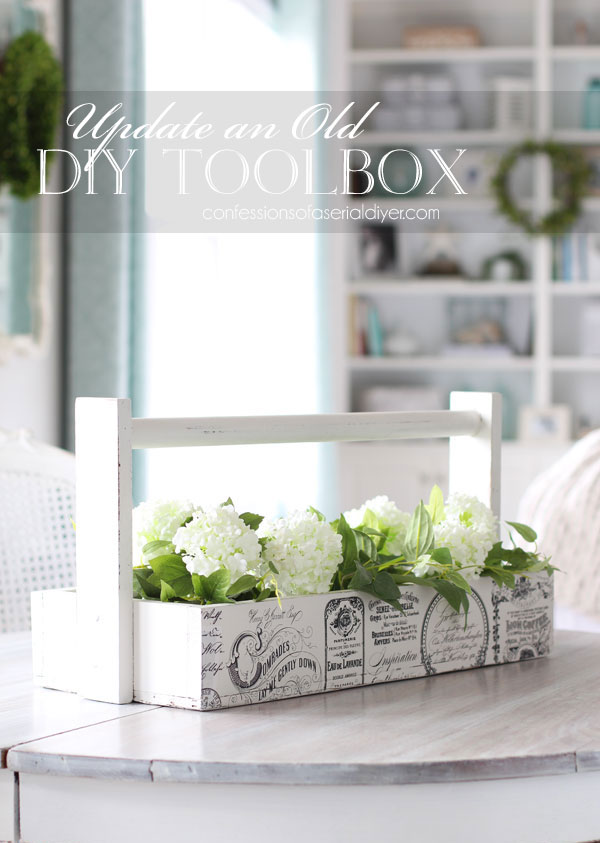
Better, no?
This was perfect for these pieces of transfer that had the bottom of the pattern missing!
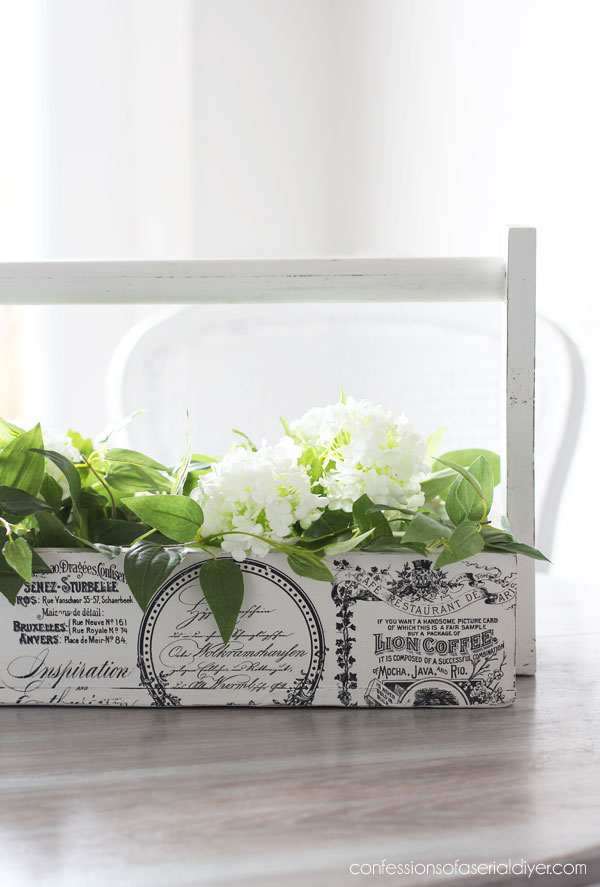
I’m so glad I dug them back out of the trash…
I still couldn’t leave well enough alone
Okay so I wasn’t done. I still could not leave well enough alone ha ha!
I decided to add something to the other side as well.
I dug around in my stencils and found this one that I found on Amazon (I have the Medium size.) a couple of years ago:
One line of it was the perfect size for the side of this box.
I like to add a little spray adhesive to the backs of my stencils to hold them in place and prevent paint from seeping under. Then I use a small brush to fill in the stencil. I prefer acrylic craft paint to fill them in since it’s easier to wash off the stencil than chalk paint.
As soon as the second coat went on, I pulled the stencil off. (You can remove the sticky left from the spray adhesive with Mineral Spirits if you like clean stencils.)
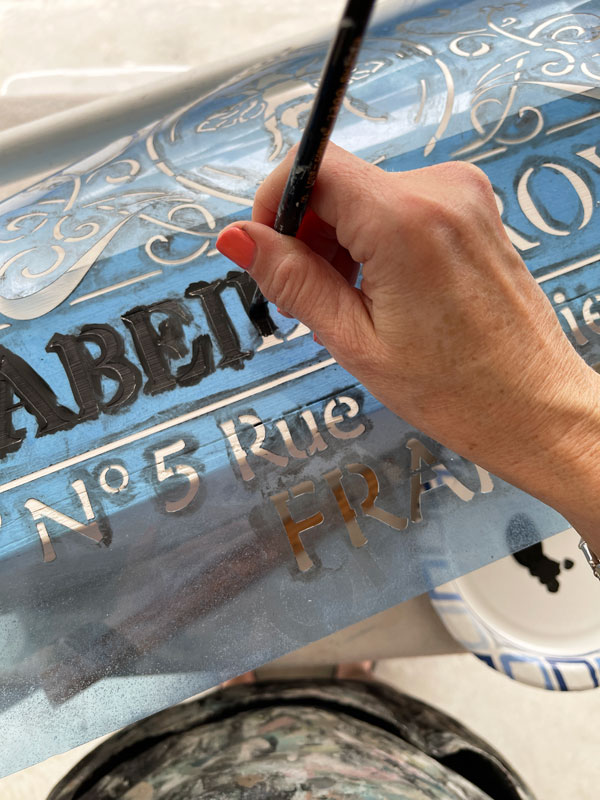
Filling in the breaks
I like to go back and fill in the small breaks that give it away as a stencil using a liner brush:
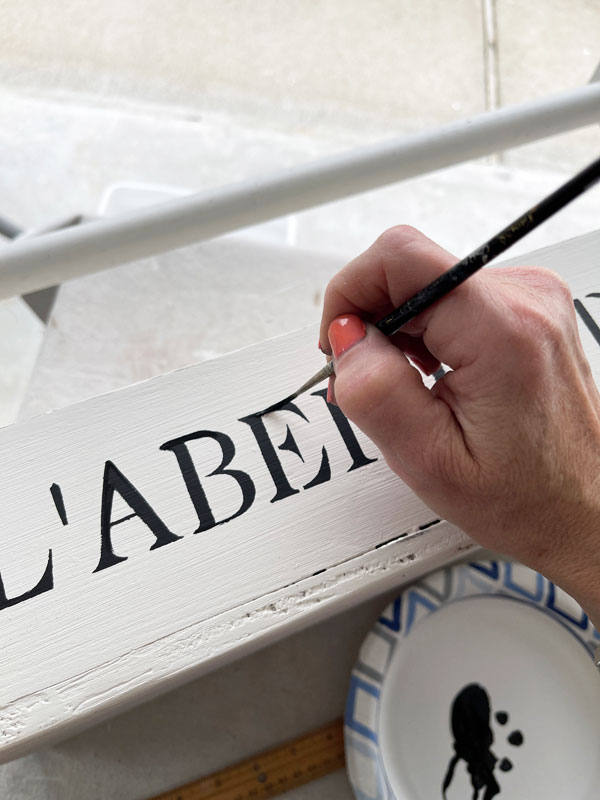
I let it sit overnight and them came back with 220 grit sandpaper to smooth it all out.
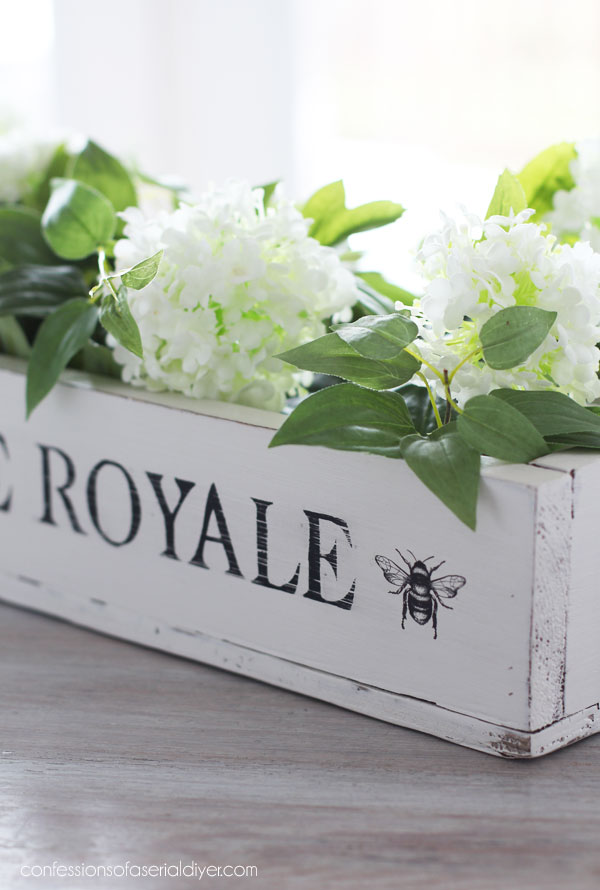
L’abeille means “The bee”, so I found these little bees in the French Labels transfer that worked perfectly with it:
This side was sealed with Clear Coat in Satin as well.
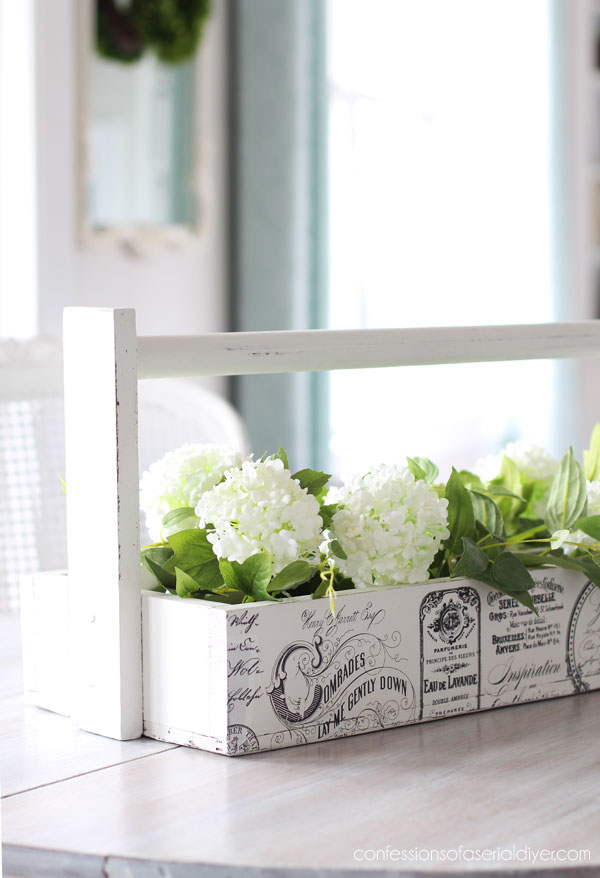
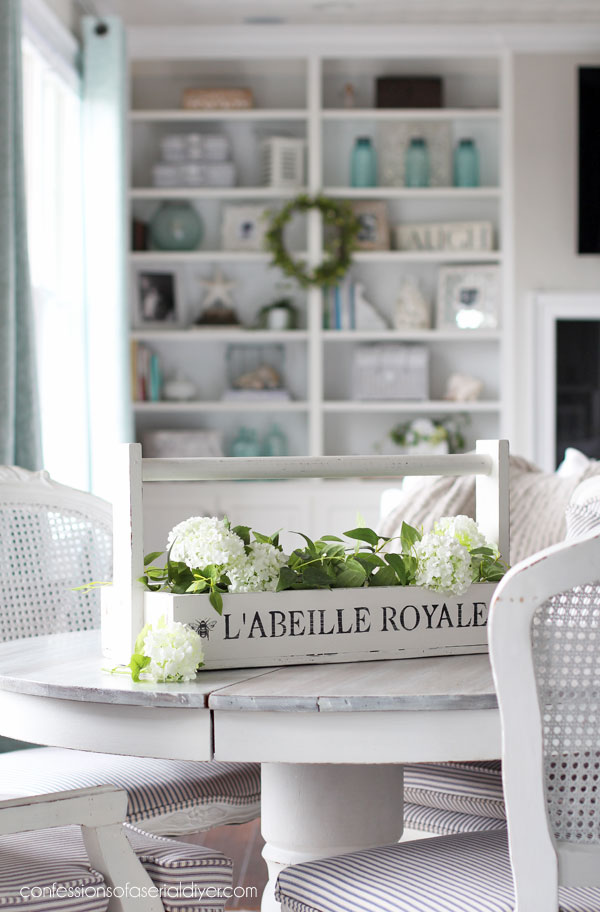
The After, part two!
Here is how the other side looks!
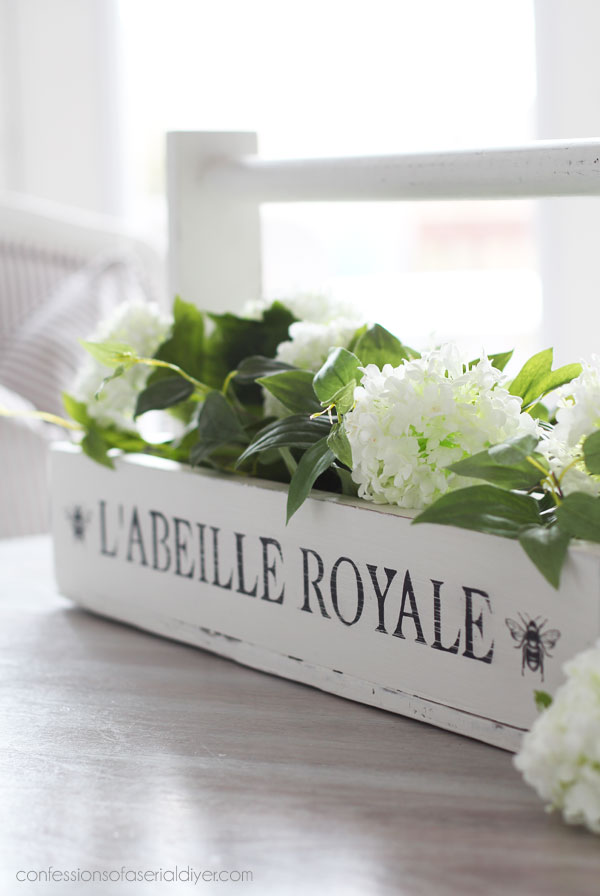
I love the little bees!
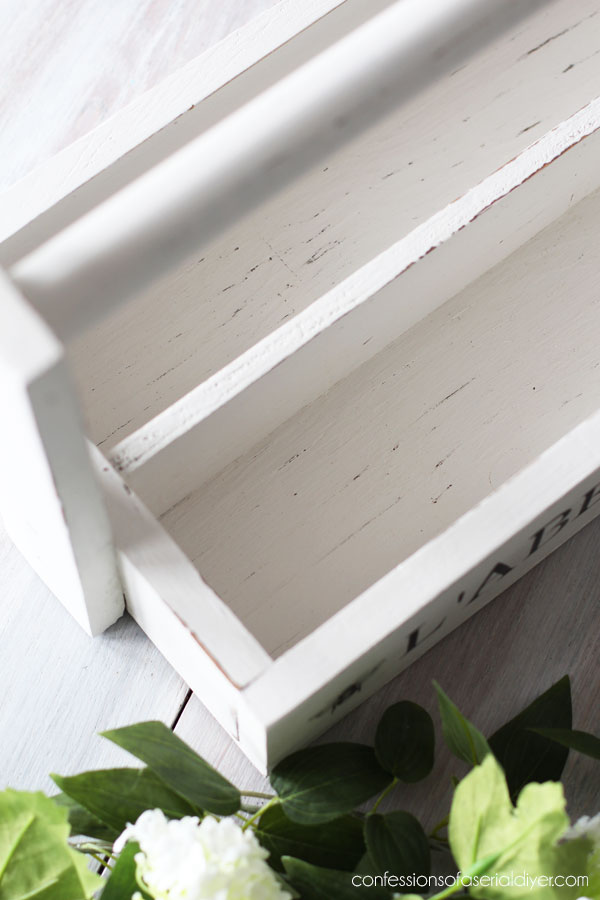
And here’s a peek without anything in it. It still has one divider down the center:
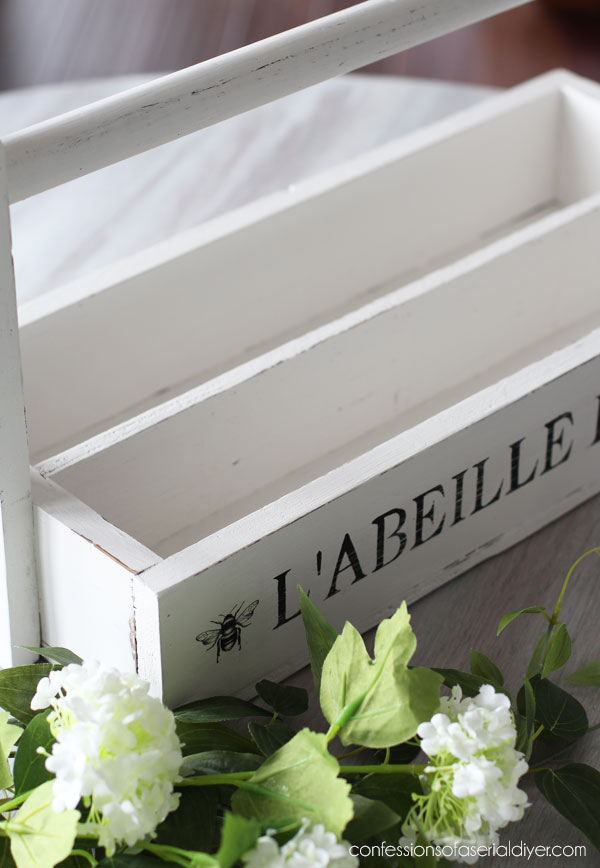
I debated whether to add some coordinating paper or fabric to the bottom, but I think it will be more functional without.
Besides, I love how old wood looks after being painted and sanded:
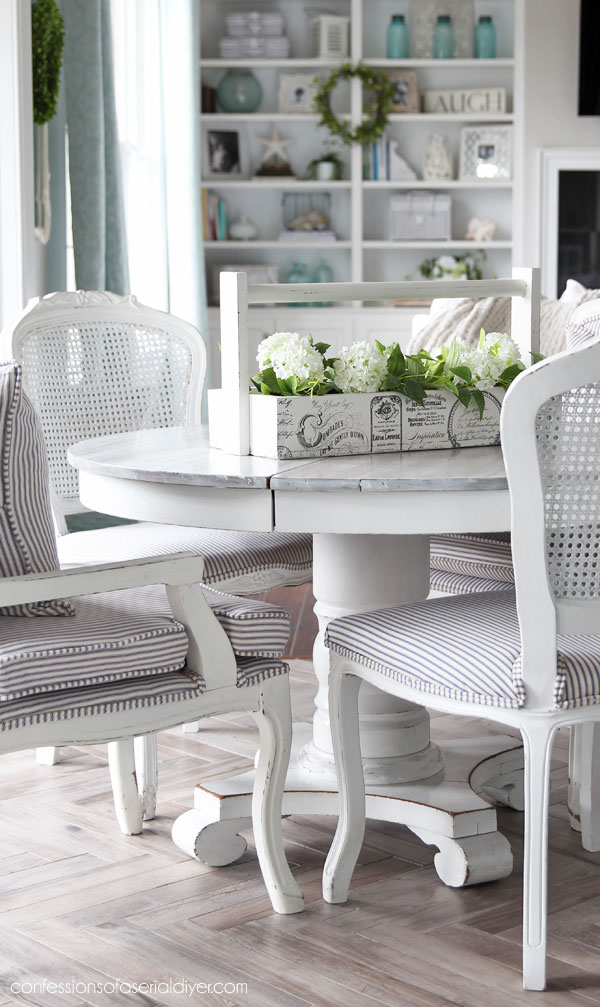
What a fun piece now that can be displayed two ways!
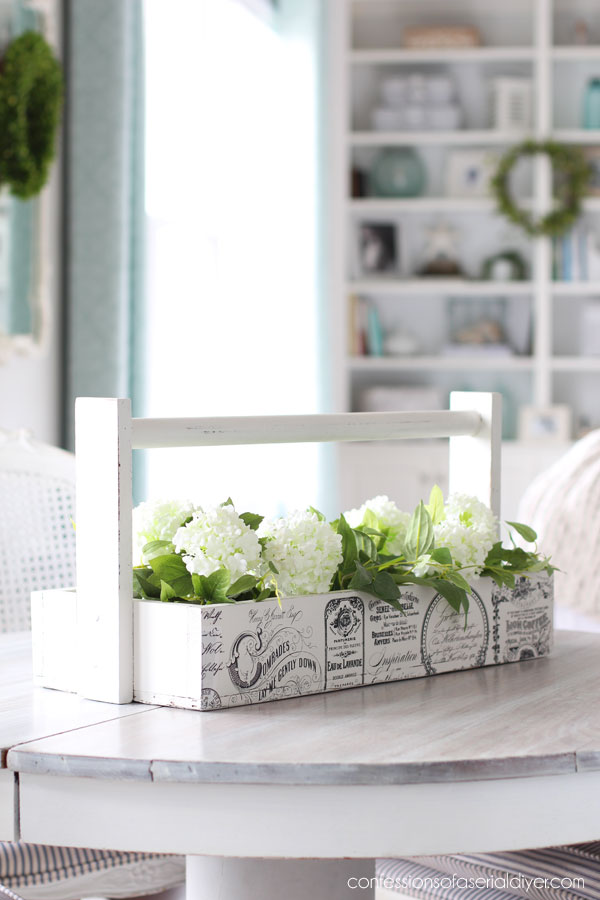
I love it here on our kitchen table!
That’s one more done!!
See them all so far at the links below:
How to Make a Tray from a Picture Frame (Super Easy!)
Freebie Chair Makeover
Vintage Stool Makeover with Terra Clay Paint
Mini Basket Box Makeover
Mirrored Wall Shelf Makeover
Rolling Buffet Makeover
Painted Antique Side Table
Pretty in Blue Box Makeover
A Great way to Repurpose a Chair
Painting the Smalls #20 (Six mini makeovers!)
White Painted Desk with Transfer
I used the same transfer on this flatware box back in January:
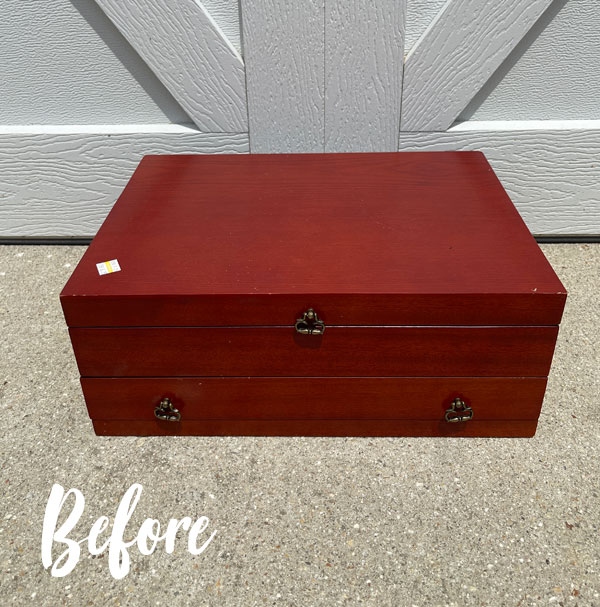
See how this box turned turned out HERE if you missed it!
SHOP NEWS
In shop news, Dixie Belle has announced that they will be retiring 10 chalk mineral paint colors*
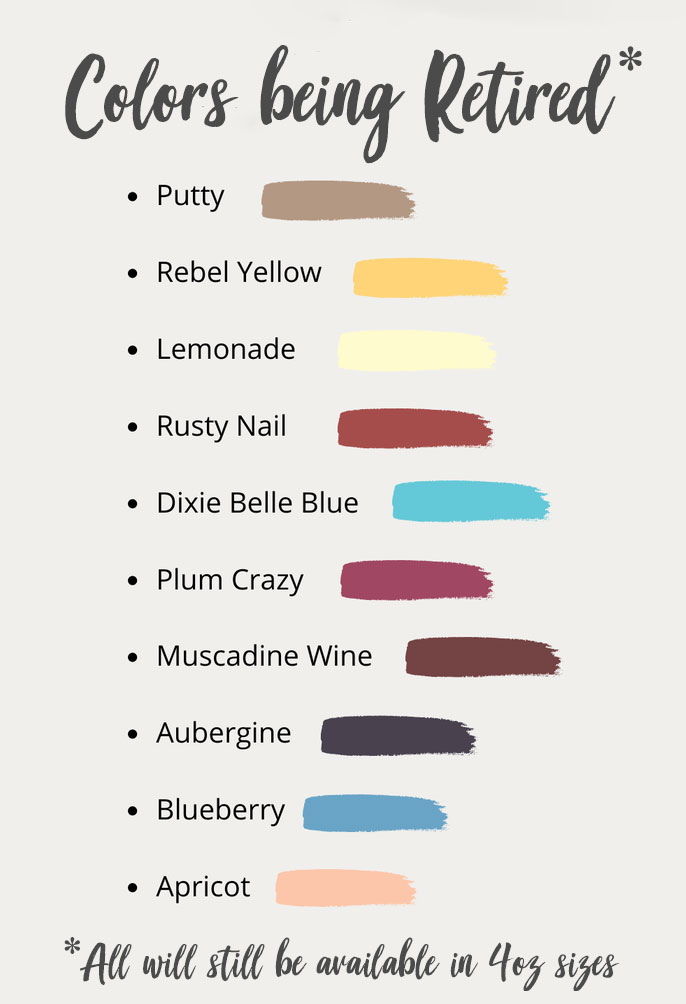
If these are colors you enjoy, get the larger sizes while supplies last in my shop!
*All colors will continue to be available in 4oz sizes.
Also, Dixie Belle has reformulated the glazes, so all the older glazes have been reduced in my shop. The new formula should be stocked and listed by Thursday!
Also available starting Thursday is a new scent of Big Mama’s Butta called Fresh and Clean!
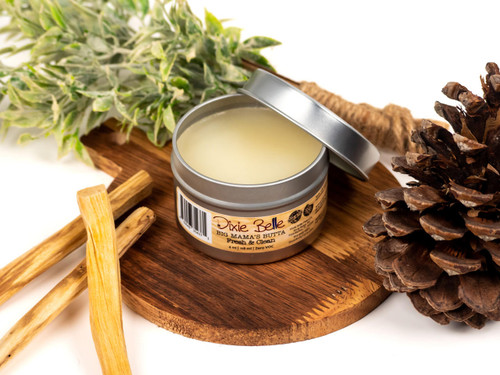
I can’t wait to smell this one!
Meet me back here then…I’ll be also be sharing what I did with these:
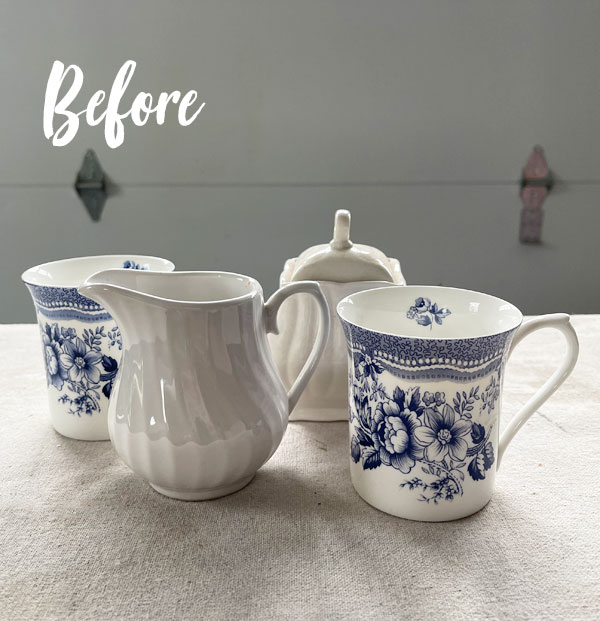
I hope to see you then!
UPDATE: You can see what I did with them now right HERE!
XOXO,

Don’t Miss a Thing!
If you like what you see, there are several ways to follow along!
EMAIL * INSTAGRAM * FACEBOOK * PINTEREST


Get FREE SHIPPING on all orders over $50. No code needed at checkout! Orders under $50 always enjoy $8 flat rate shipping! Most orders ship same or next business day!


Mary Kaiser says
Oh well I am so glad that YOU CAN’T LEAVE WELL ENOUGH ALONE!!! It turned out so adorable! You can use this year round because the color is nuetral so it can be changed up for the seasons. LOL, that was worth digging the transfers out of the trash. Years ago I use to dumster dive, I have pulled out so many amazing things for free that I still have in my home today! I can’t beleive the things that people throw away! You are amazing and I enjoyed your makeover today!
Christy says
Ha ha! I am so glad I couldn’t leave well enough alone too, and I’m so excited that I was able to use those scraps after all. There isn’t a curbside trash pile that I don’t slow down for… I am amazed also at what people toss out. That’s okay…we’ll take it lol! Thanks, Mary!! XOXO
Janice Holt says
Now what a pretty tool box. Well it’s really not a tool box anymore but a tote. It turned out so well and love the stencils, especially the bees. Another great redo.
Christy says
Thank you, Janice! Yeah, I wouldn’t put my dirty tools in this now ha ha! XOXO
Jackie C says
Oh man, I adore this toolbox! It turned out lovely! I was wondering how to clean off the spray adhesive from stencils, thanks for that info! I’m really looking forward to see what you do with the glassware. You inspire so many ideas! ❤️❤️❤️
Christy says
Aww thank you, my friend! I’m terrible at cleaning my stencils, but when they get bad, I’ll clean them lol. See ya Thursday! XOXO
Cecilia says
Wow, I didn’t realize how big the tote was until I saw it on your table! Nice! I love the stencil and bee side but the transfer side is pretty too. Great makeover.
Christy says
It is big! I loved it as soon as I saw it. Thank you, Cecilia! XOXO
Ashley says
Hi Christy! Lovely job — as usual – on the tool box. A lot of work went into that we can see. You gave it a second life. Why are those DB colors being retired? A bit surprised about “Dixie Belle Blue,” but no so much “Apricot” 😄Always love your updates.
Christy says
Thanks so much, Ashley! I don’t know how DB decides what to retire. I sell the heck out of Aubergine, and Rebel Yellow sells for me too. I’m hoping they release some new colors! XOXO
Peggy says
Beautiful! Elegant! I love old tool boxes! I use my old Farmhouse toolbox as a TOTE and CENTERPIECE for outdoor cookouts on the picnic table near the grill. I put silverware in mason jars, catsup, mustard, relish, rolled up napkins, salt & pepper and anything else I might have to go back to the house for. Glad to see you rescued that toolbox and gave it some love! 🖤🤍🖤🤍🖤
Christy says
Thank you, Peggy! That is such a smart use for this… I love that idea! XOXO
Sue says
I love how this project turned out and thanks for the tip on using up scrap pieces, they were perfect!
Christy says
Thank you, Sue! I can’t believe I had tossed them in the trash lol! XOXO
Cyndi says
Loooove it! That is so cute! And you’ve really piqued my interest with those ceramic pieces. 🙂
Christy says
Thanks so much, Cyndi! Ha ha I’ll see you Thursday with those! XOXO
Fran says
Christy, sometimes I think we might be related! I will need to check on Ancestry! I have had a similar box around here. I have the French labels, l and the French stencils. Don’t want to be a copy cat but I now have the inspiration to use all of them. Can’t wait to see what you do with the mugs, sugar bowl and creamer! I love blue and white pottery too.
Christy says
Ha ha maybe we are!! Yes, do it! Copy away and enjoy!! I love that blue and white pottery too! XOXO
p says
Old wooden stuff is fun, and usually so well made. I’m so glad you have visions for their reuse !! I don’t tend to buy them since I don’t know how I’d use them….
This is so cute now.
I especially like the ‘bee’ stencil and of course the bees. 🙂
Thanks
Christy says
Yes!! I love coming across old wooden stuff! There is really now way you can ruin them lol! Thank you, P! XOXO
Michele M. says
Oh that is super cute, Christy!
Christy says
Thank you, Michele! XOXO
Denise Zdziennicki says
This toolbox is adorable… both sides! And thanks for the update on the DB paint colors. Good to know they will still be available in 4oz though! XOXO
Christy says
Thank you, my beautiful friend! I am sad to see Aubergine go since that is a good seller for me, but not so sad about the rest. I’m hoping this means they are working on new colors!! XOXO
Lizzy says
It’s so pretty! I have an old shoeshine box from my Dad. I may have to do this!
Christy says
Thank you, Lizzy! This would be a great way to still treasure it, but love the look of it too! XOXO
Jewels says
Christy, you must be a mind reader. As soon as I saw the first “done” photo I thought, “but what about the other side?!” And so we got one of my favorit things…bees.
Happy Spring! Jewels
Christy says
Oh funny! I just couldn’t leave the other side naked, so bees it is…maybe harkening back to the possibility that this once held flowers? Happy Spring to you as well…I’m ready! XOXO
Sharon says
So pretty. This tool box recreation is definitely one of my favorites. Beautifully restored. Thank you for sharing
Christy says
I’m so glad you enjoyed this one, Sharon, thank you!! XOXO
Marietta Walker says
There is a reason you can’t stop. You go frow WOW to awesome in that last push, you always do. You know when to stop. Beautiful!
Christy says
Aww you are the best, Marietta! Thank you! I’m glad I kept going! XOXO
Marian says
Girl, you nailed it! Oops, I mean you unnaided it. I absolutely love it! This is exactly what I would do. I wish I lived closer. This cutie would be gone.
Christy says
Ha ha thank you so much, Marian!! XOXO
Cheryl says
Love, love, love!
Christy says
Thank you, Cheryl! XOXO
Liliane says
I absolutely love it.
Christy says
Thank you, Liliane! XOXO
Petra says
It’s so pretty now and quite a large piece!! It would look good with Easter decor too. Haha you always find the best pieces 😊
Christy says
Thanks, Petra! It is a big one, and yes, I could see it decked out for each holiday! This was a great find for sure! XOXO
Rose Lefebvre says
Great redo!!!!
Christy says
Thank you, Rose! XOXO
LORRI says
Love this tool/ garden box…it is too cute. Yes sometimes we just can’t leave well enough alone.🤣 I love the stickers on the one side but those little bees truly make it on the other side.❤ Good that you didn’t do anything too the bottom..maybe some lucky person will use it outside. Looking forward to what u r doing with the pitchers…you always are so creative. 🤩
Christy says
Aww thank you, Lorri! I love the bees too…they really make it sweet! Wish I had a spot to keep it lol! See you tomorrow! XOXO
Patty says
Just so lovely, Christy!! Perfect spot on your kitchen table! Looking forward to Thursday – I’m always amazed at your creative way of thinking – making everything you touch lovely 🙂
Christy says
Aww I appreciate that so much, Patty, thank you! XOXO