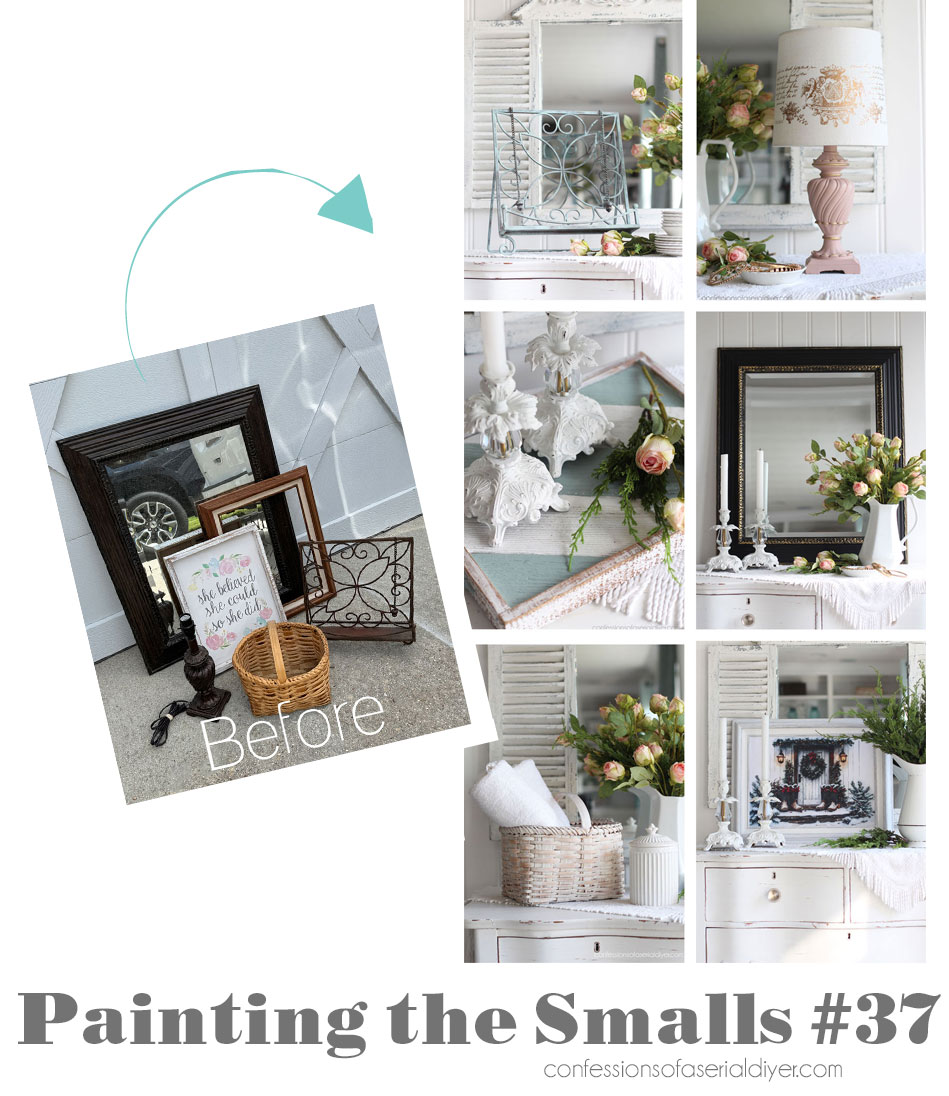
Beautiful friends, welcome to the 37th edition of Painting the Smalls! I just love knocking out six mini makeovers at once! Although these makeovers are quite simple, they add up!
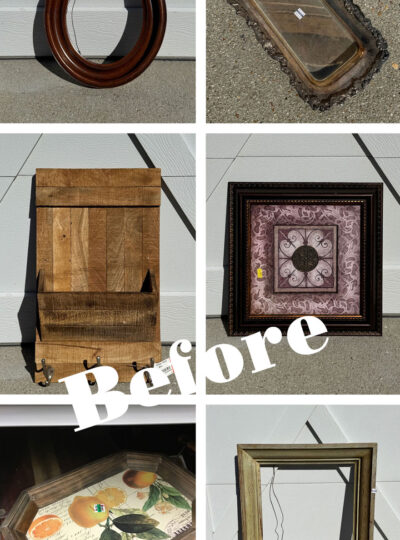
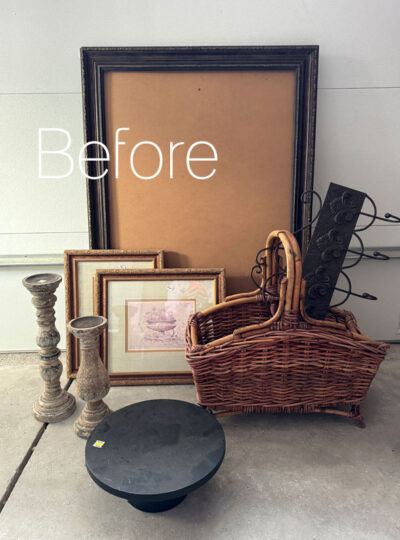
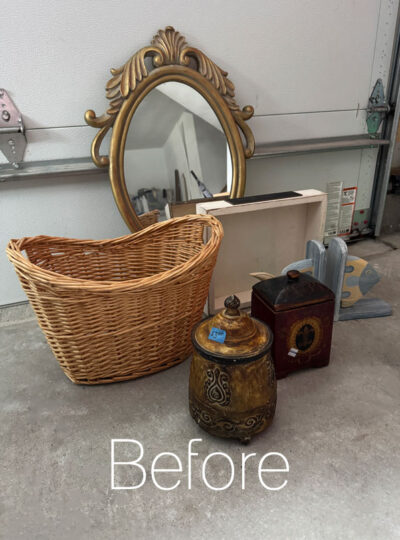
Here are the six pieces in this haul that I’m sharing today:
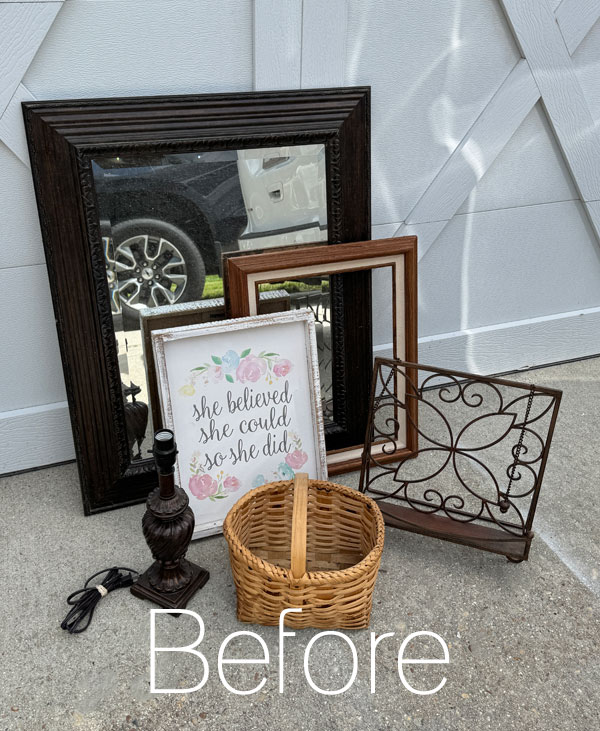
Let’s jump right into it!
I’ve included a few affiliate links so you can find the products I love. Redesign with Prima products are often limited time only, so items may be sold out if you are visiting this post long after the posting date.
Mini Makeover #1
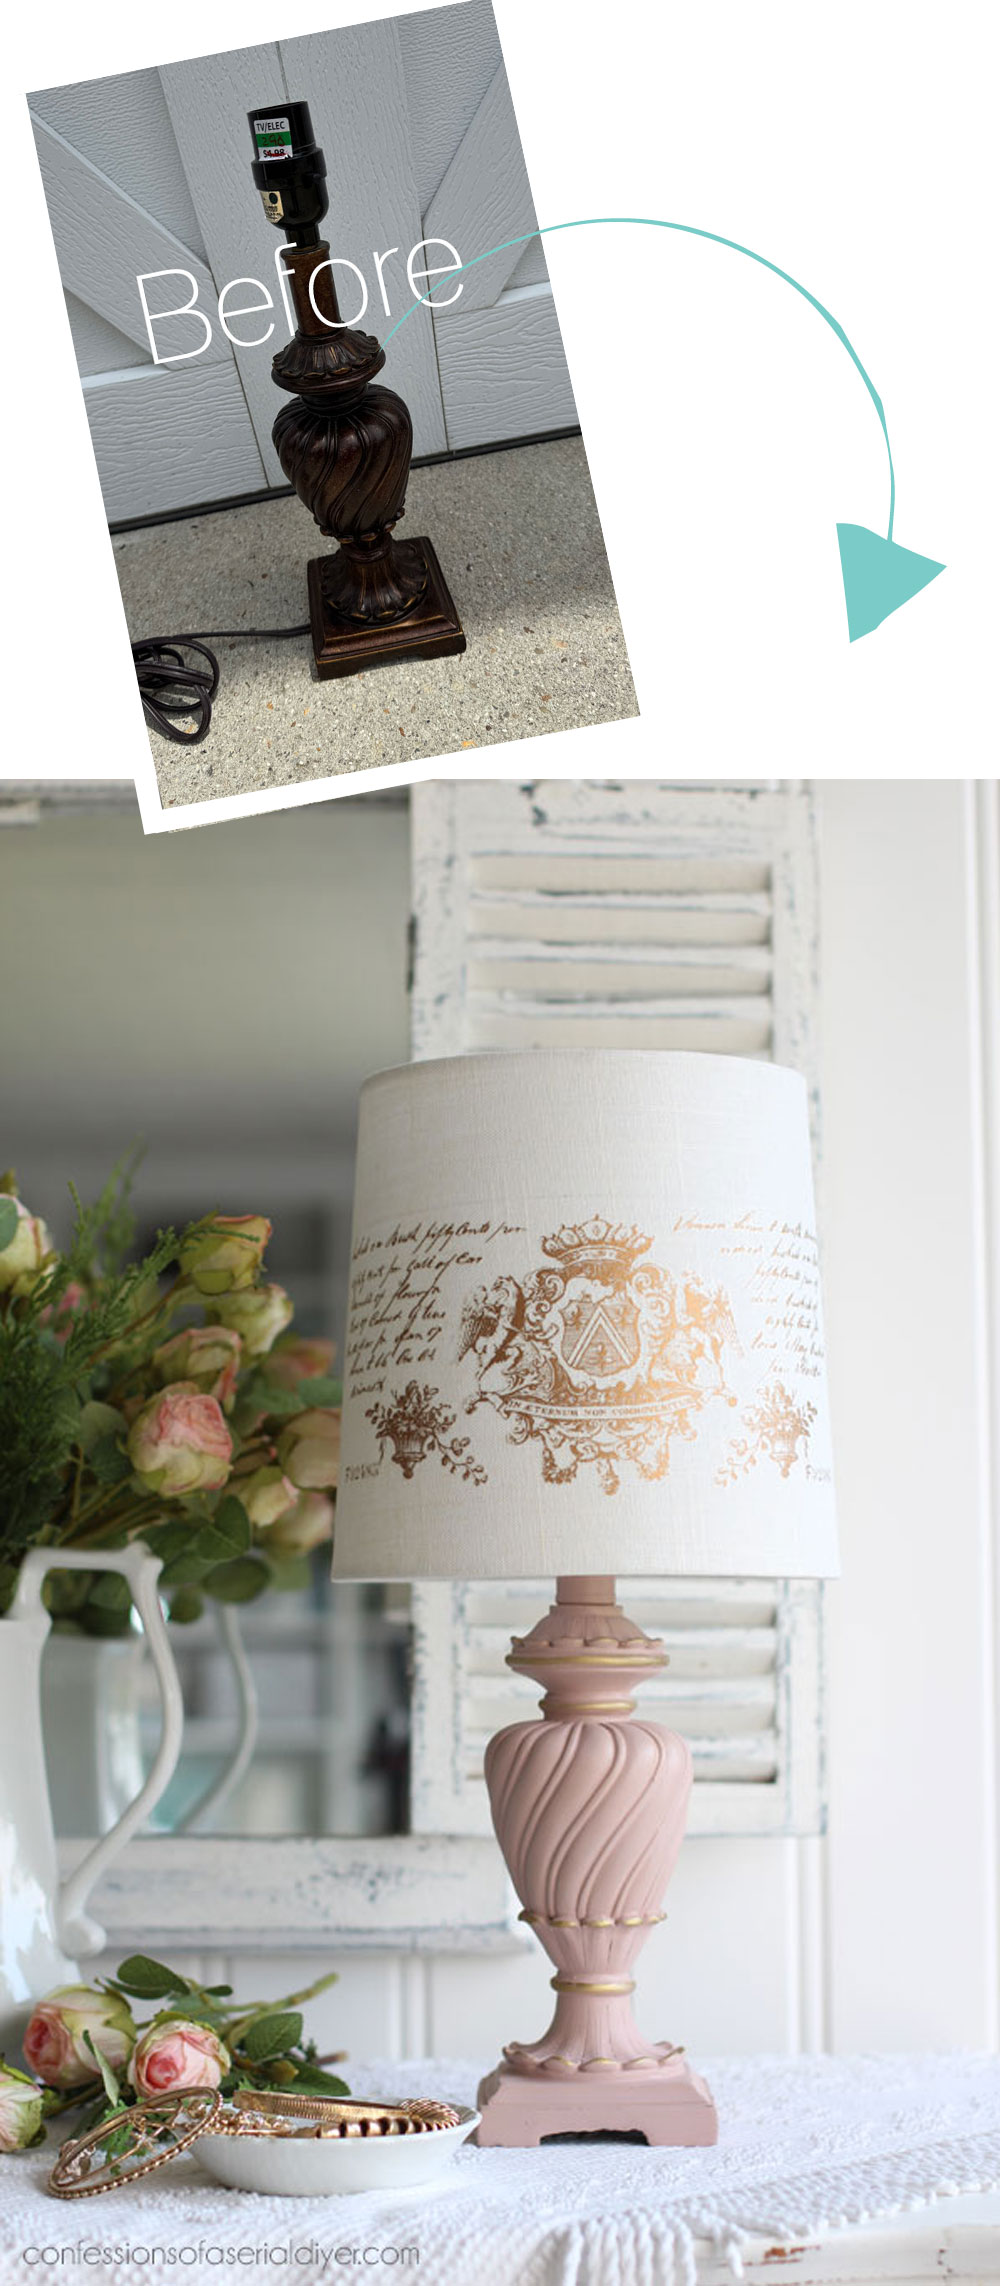
Up first is this lamp that I found on clearance for $2.98 at the thrift store:
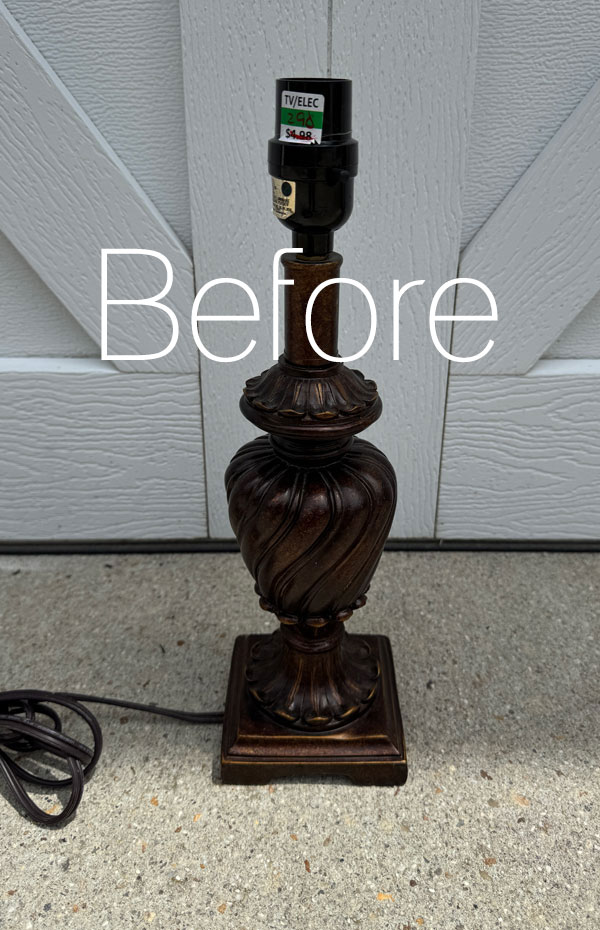
Y’all know I LOVE a sale at the thrift store ha ha!
Clean
I won’t show the cleaning of every single piece in this haul, but they all started with a good cleaning first using White Lightning, mixing one TBSP into a half gallon of warm water:
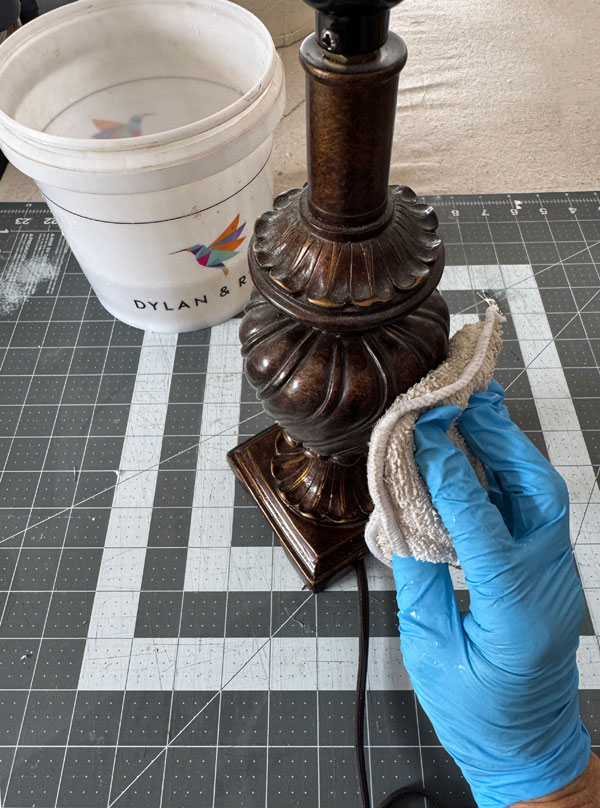
I actually redid a lamp just like this one HERE. It turned out so stinking cute!
This one got two coats of Tea Rose using the Belle Brush:
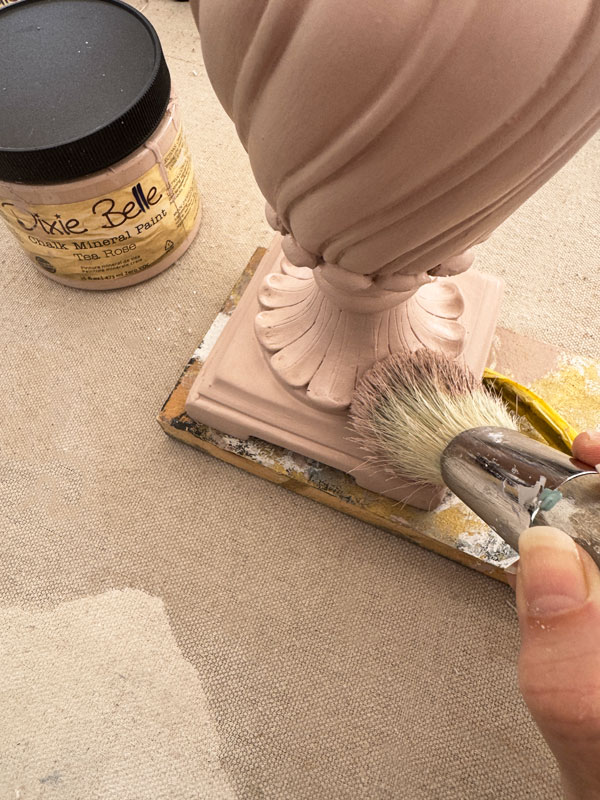
I have this pretty lingerie chest in my booth and I sold the lamp I had staged with it, so I decided to redo a lamp to replace the one that sold.
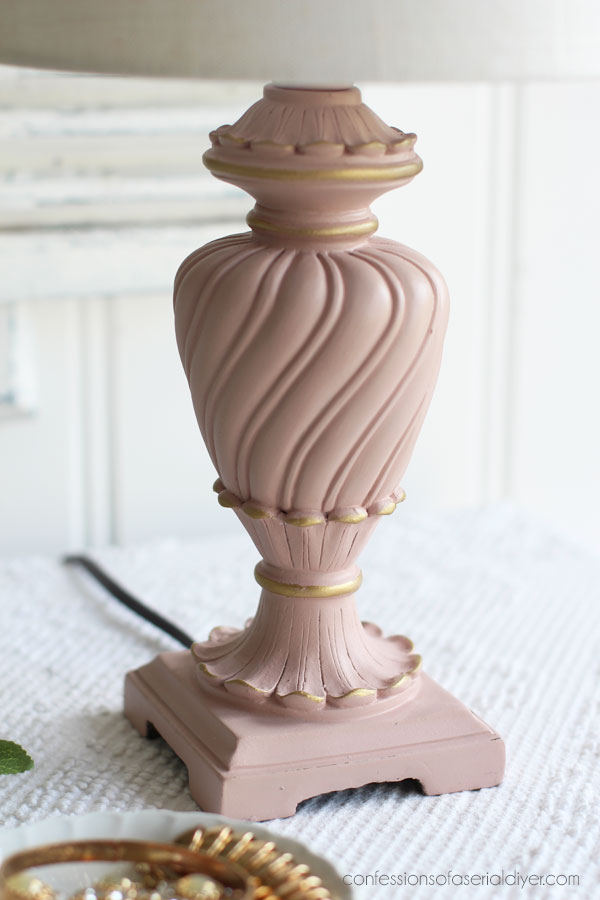
I hit the details with some Gold Gilding Wax to highlight them:
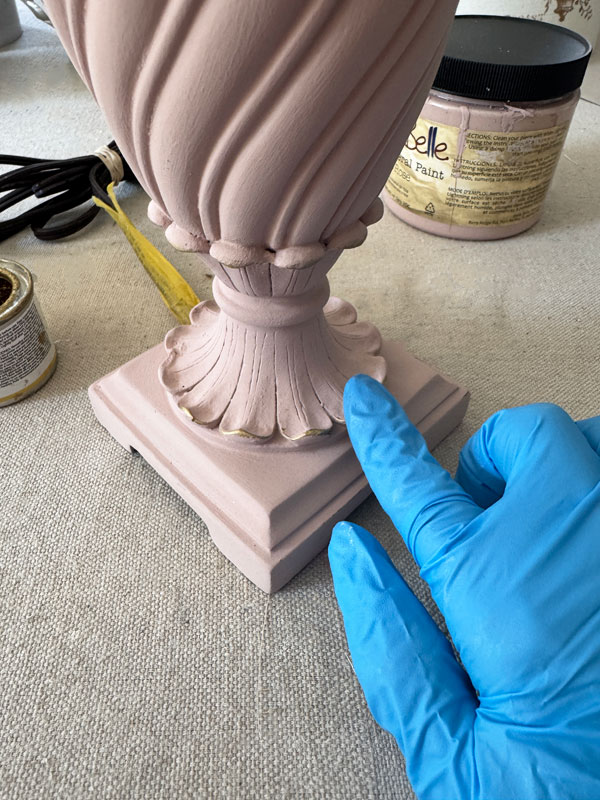 To seal, I gave it a quick spray with Rustoleum Clear Satin spray.
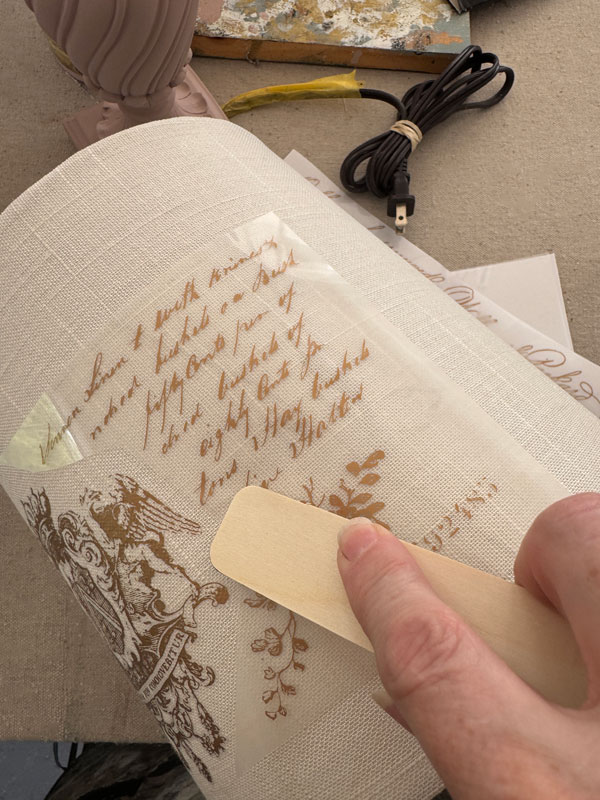
I had this shade, I believe from Target, in my stash. To dress it up, I pulled out this second sheet of the Queen’s Glory transfer I had leftover from the vintage suitcase I shared recently:
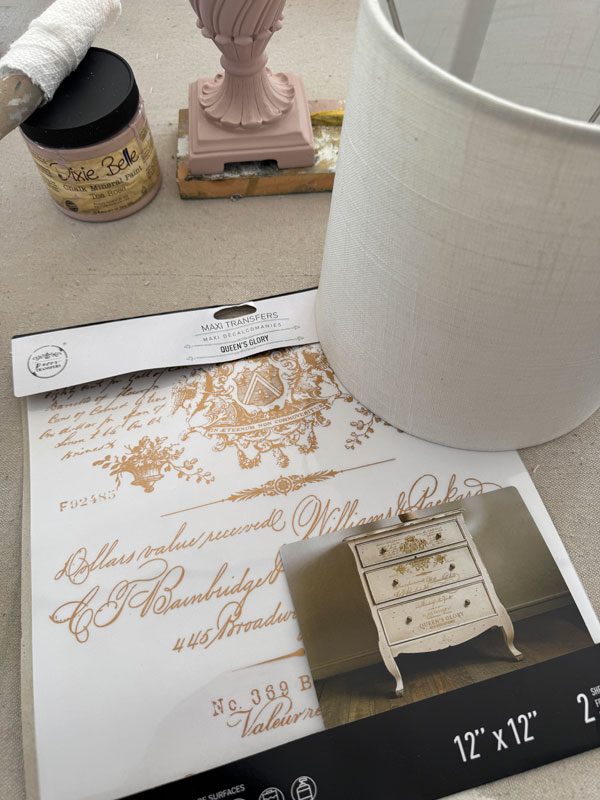
I just used the top half for this shade:
Mini Makeover #1 After
And here is the final look for this $3 lamp:
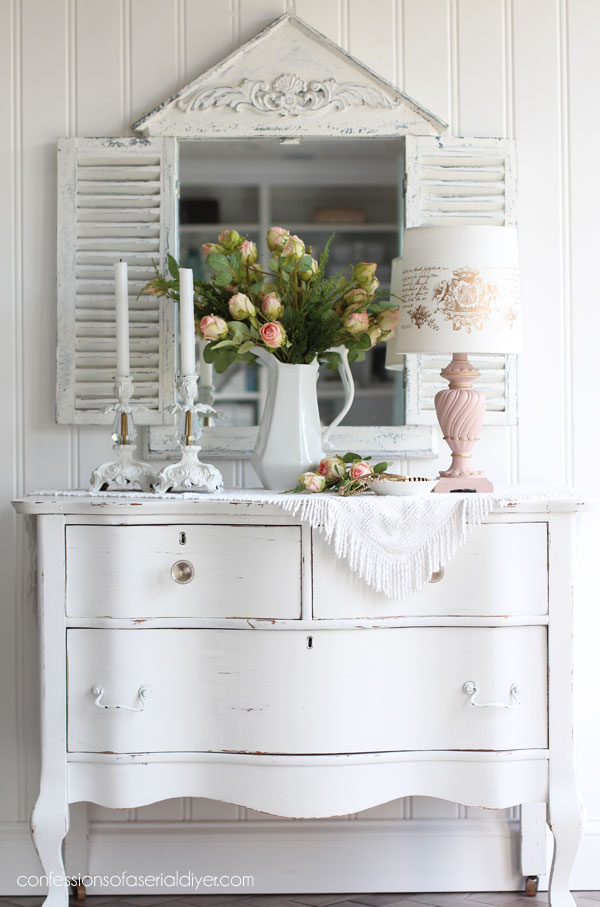
So feminine!
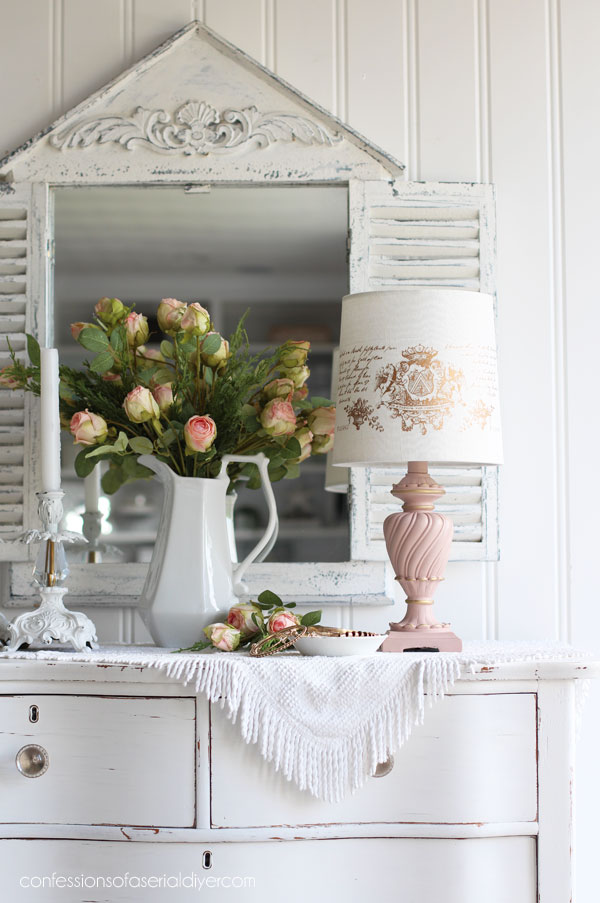
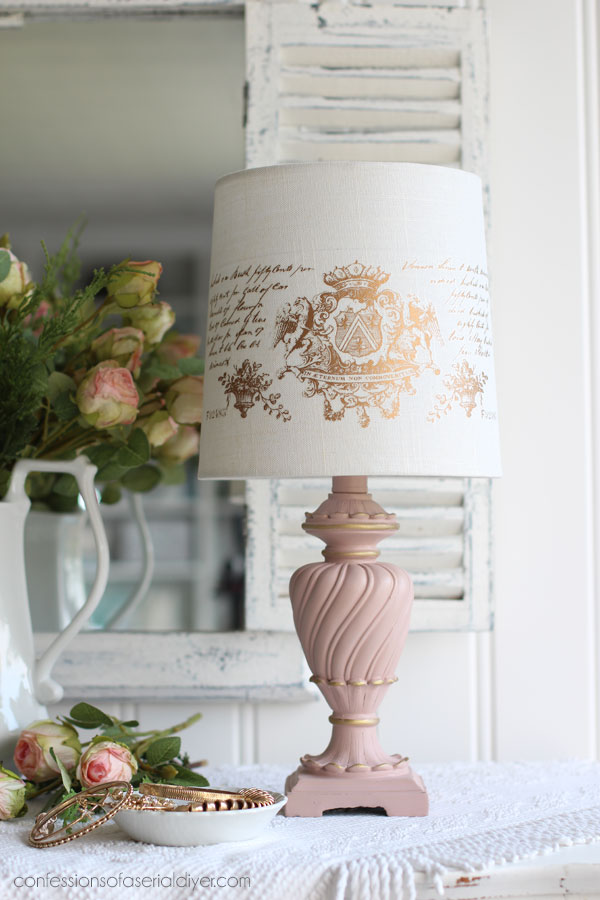
And the touches of gold gilding wax highlight the details just right…
This little lamp will compliment the lingerie chest perfectly!
Mini Makeover #2
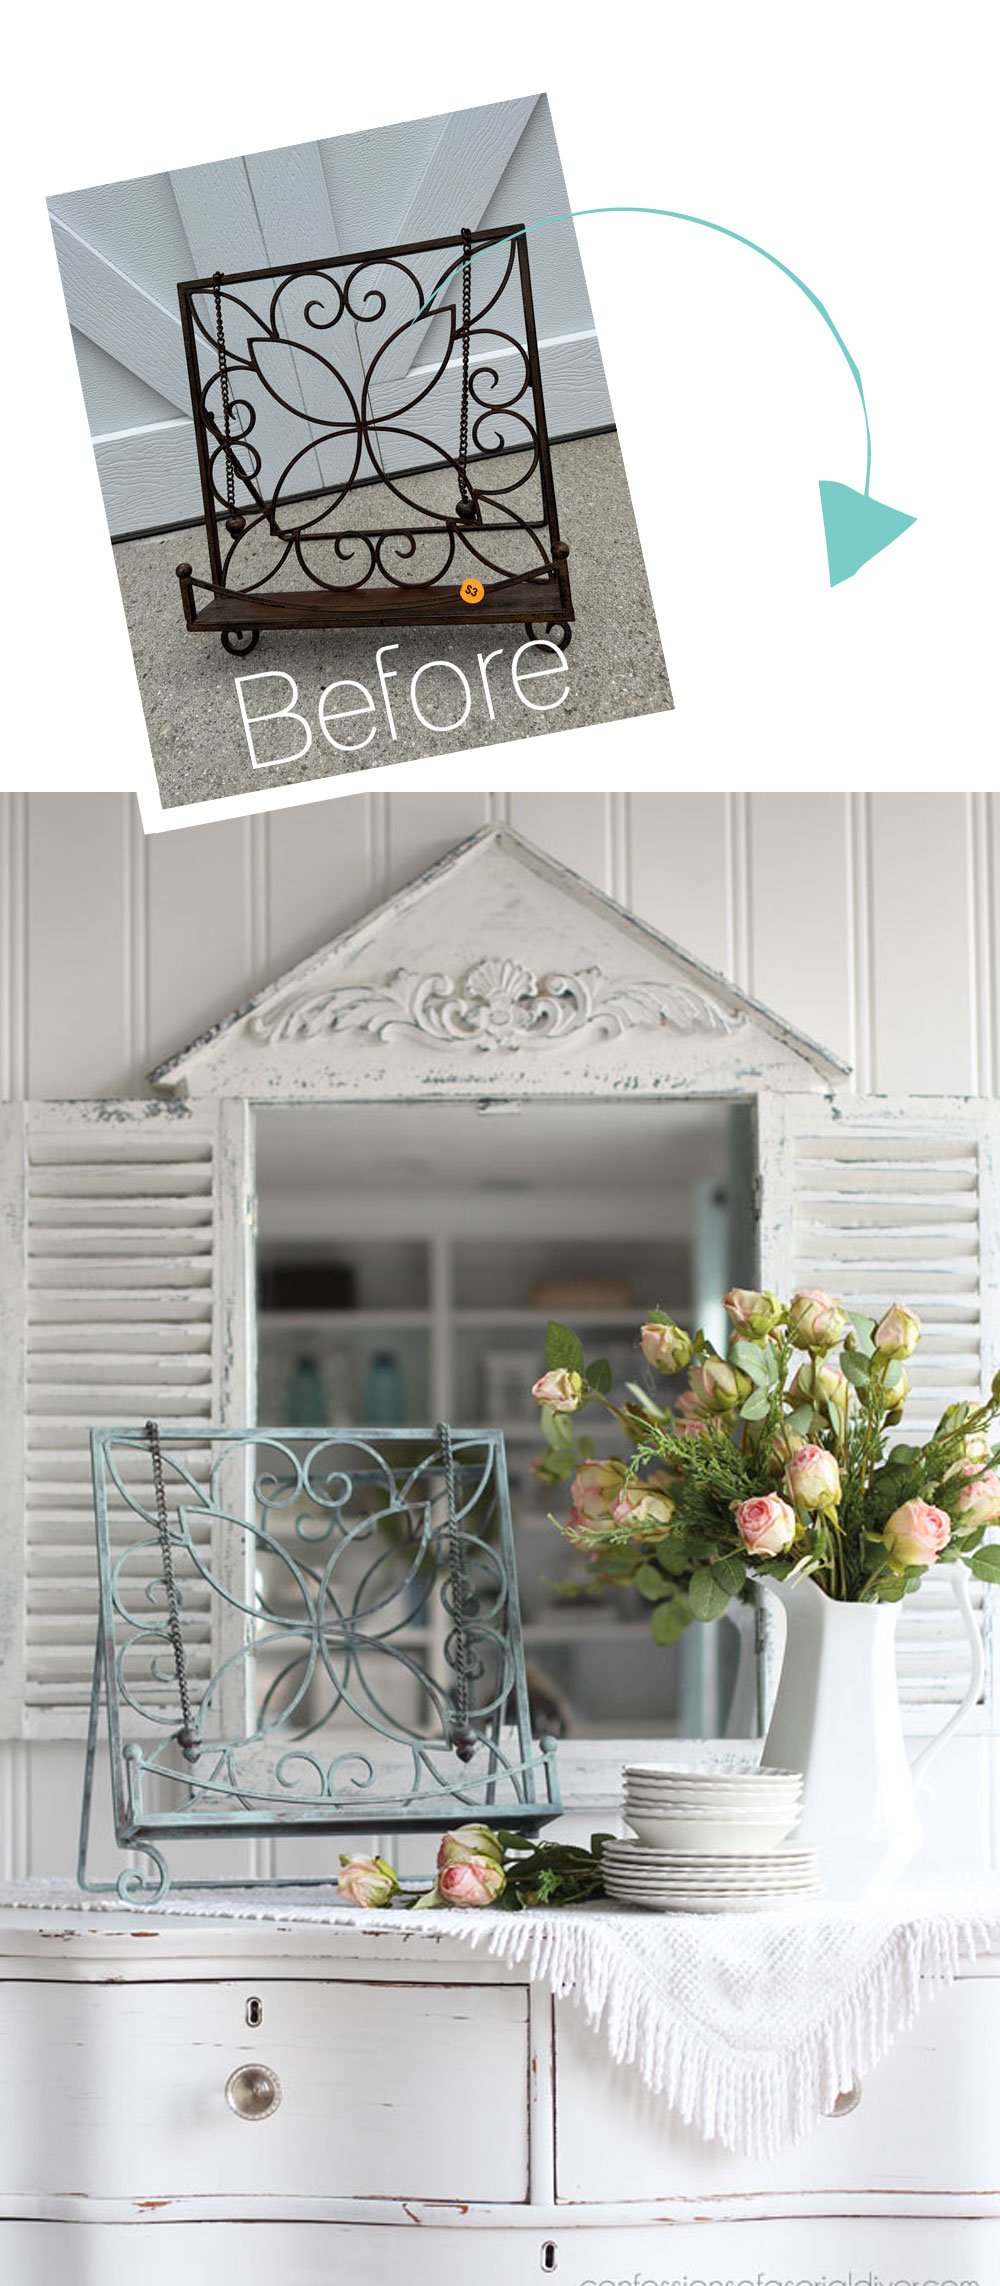
Next up is this metal Recipe Book Holder I picked up at a yard sale for $3.00:
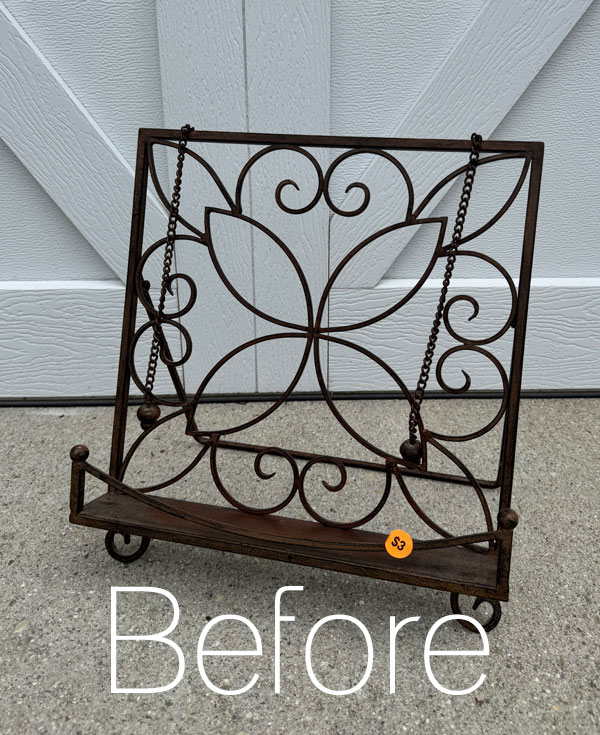
With people using actual paper cookbooks less and less these days, I see these recipe book holders all the time!
But, they make great iPad stands, and you can use them to display artwork or large framed photos as well. They do sell for me whenever I redo them, so I am happy to keep picking them up when I see them!
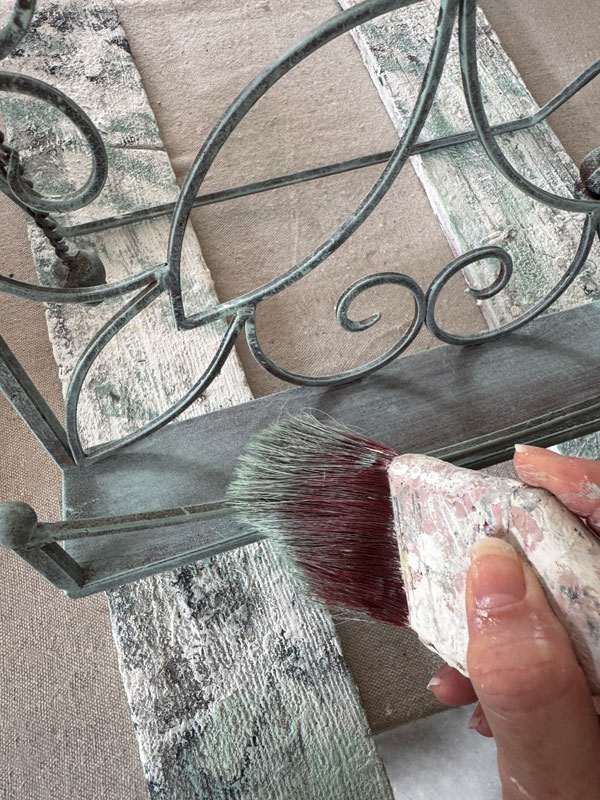
I often give these simple metal or wire pieces a verdegris look using Sea Glass.
To do that, I dip my brush in Sea Glass, wiping most of the paint back off before running it lightly across the surface:
Mini Makeover #2 After
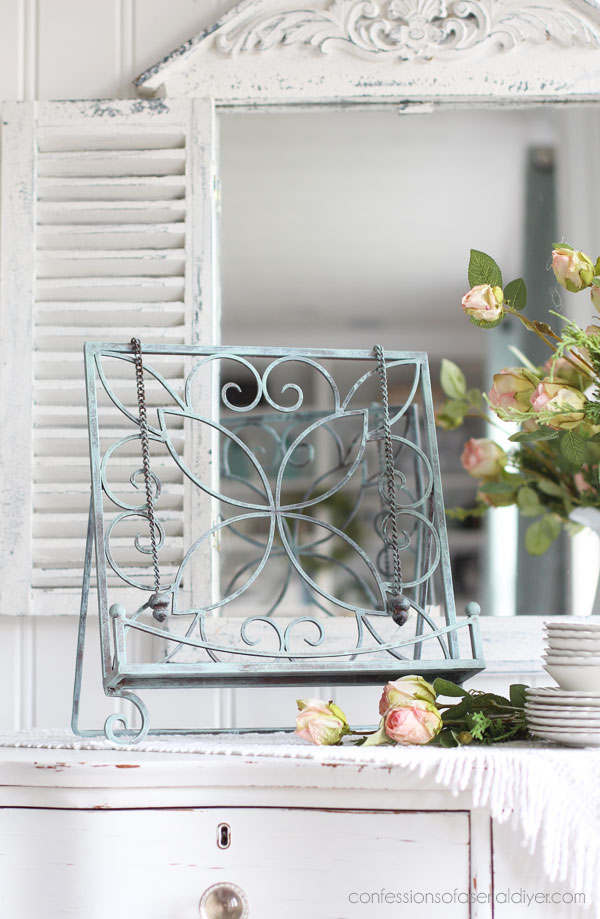
Here is the result:
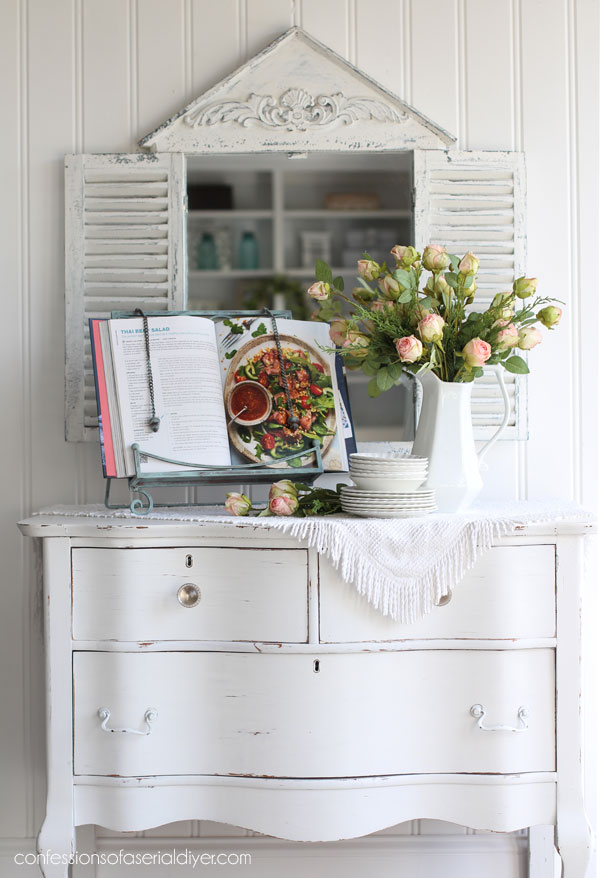
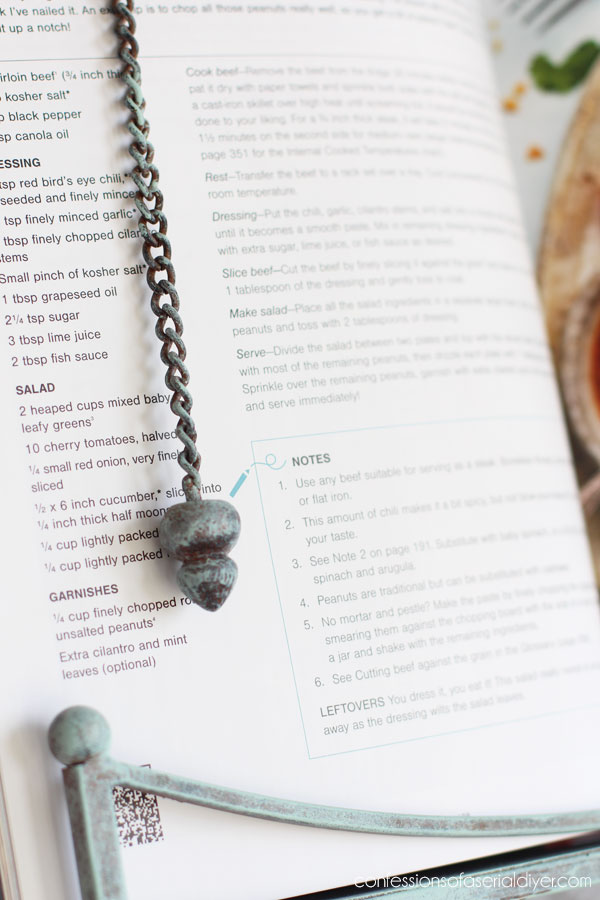
I do still have several cookbooks, but I don’t use them very often.
Here it is without anything on it so you can see it:
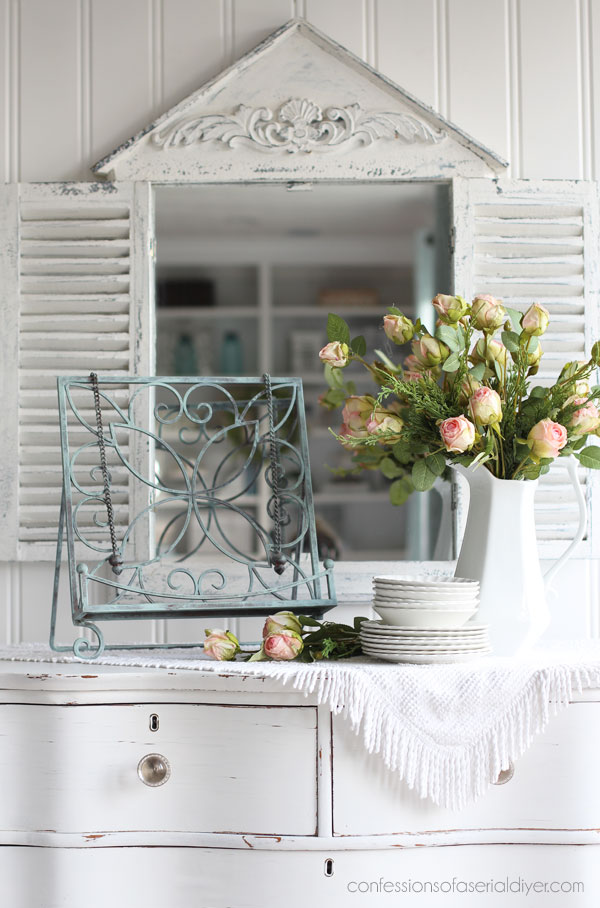
This look is so easy to do, and I always sell these pieces quickly!
This is one of my favorite pieces I did like this and ended up keeping it. It was so bland before!
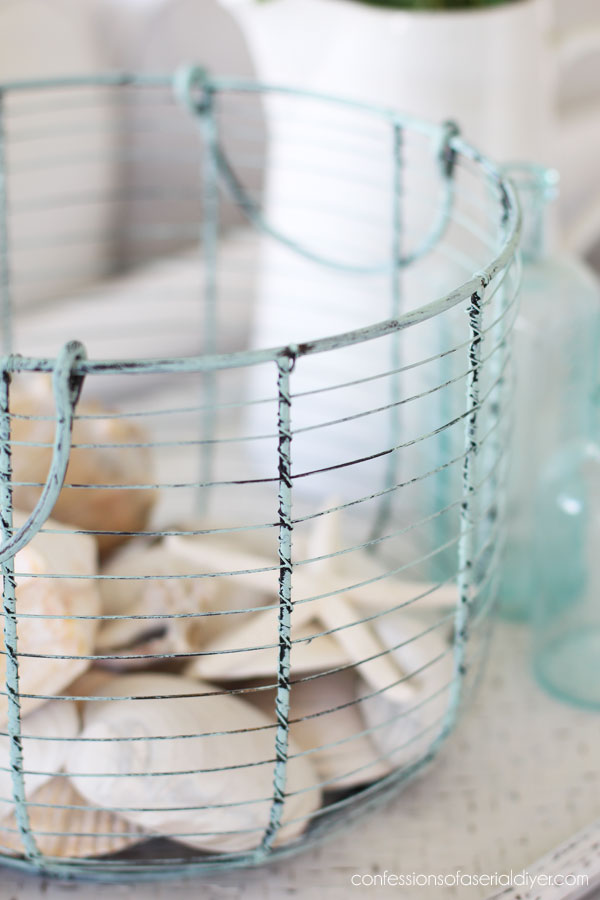
See the before and five more smalls from that post HERE.
Mini Makeover #3
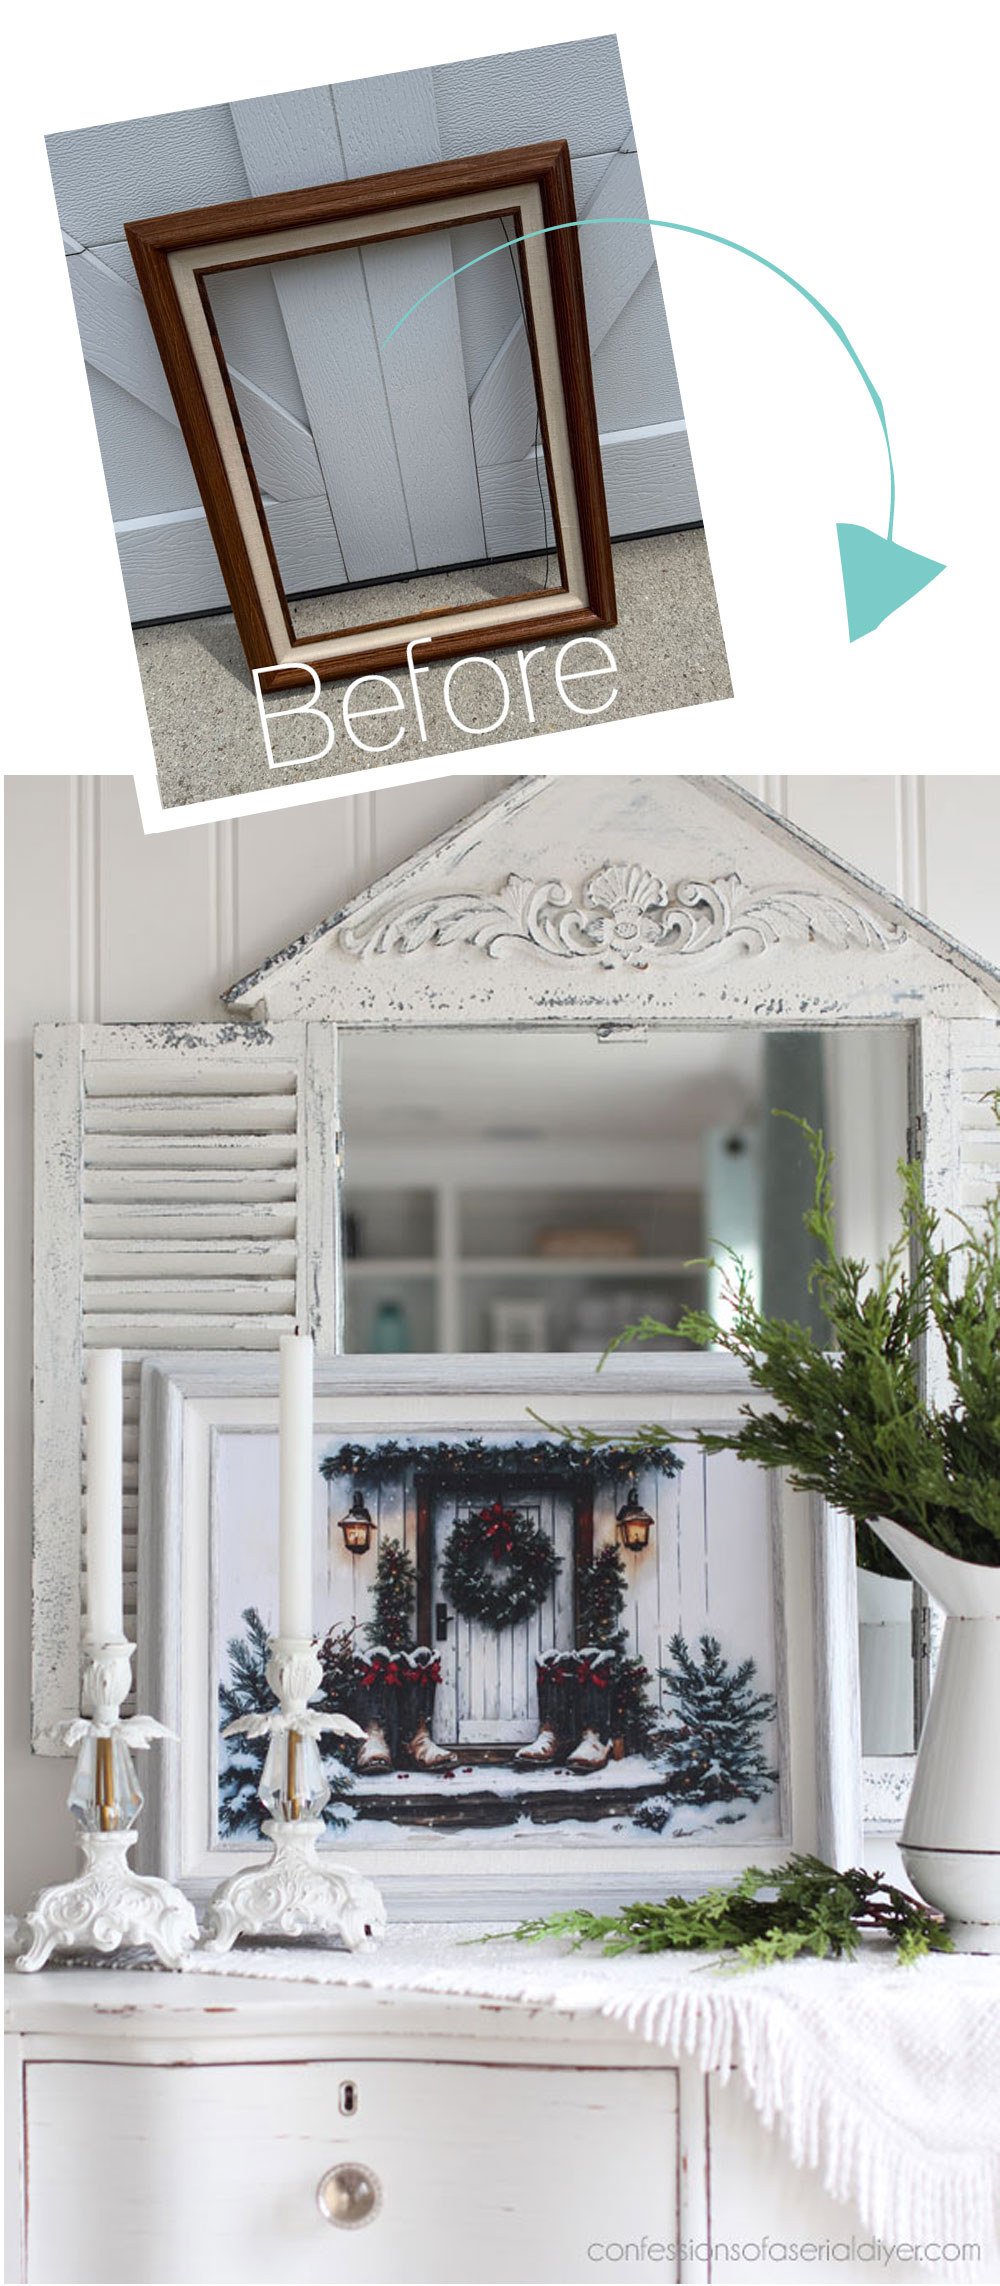
This next makeover started out as this frame I found for $2 at another yard sale:
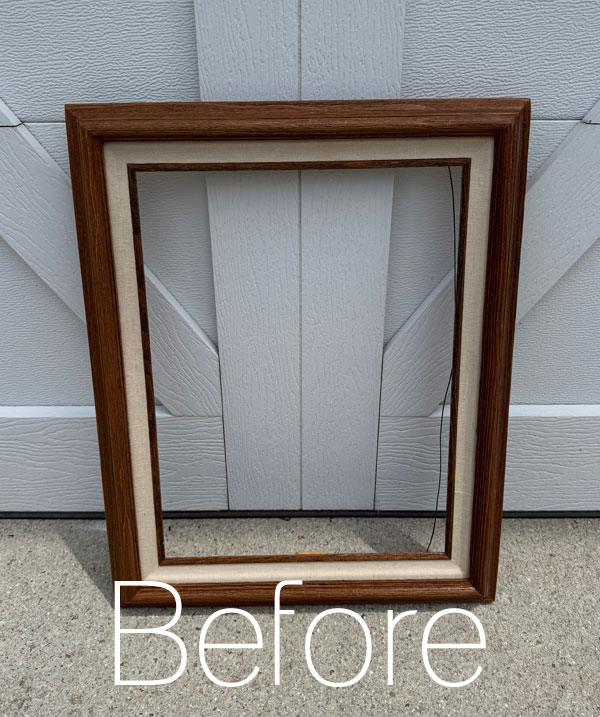
After cleaning, I gave it one good coat of Dixie Belle’s Cotton:
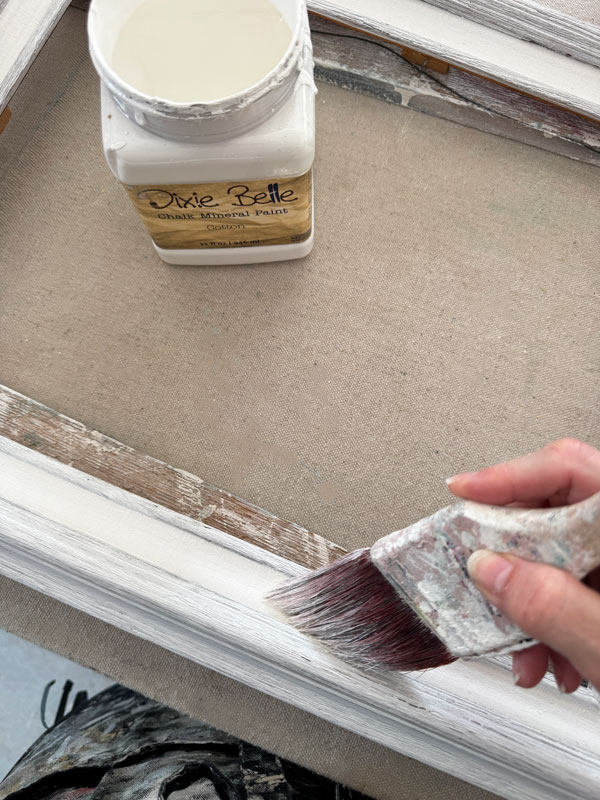
Then to seal, I gave it a quick spray with Rustoleum Clear Satin spray. That is just easier when I have a bunch of small items.
I picked this frame up in preparation for the holidays. Last year, I redid several frames into holiday artwork using two sets of papers.
See all of those in this post HERE.
They all sold in my shop! I still have the Bunny Wonderland papers in stock HERE, and they come with all these cute designs:

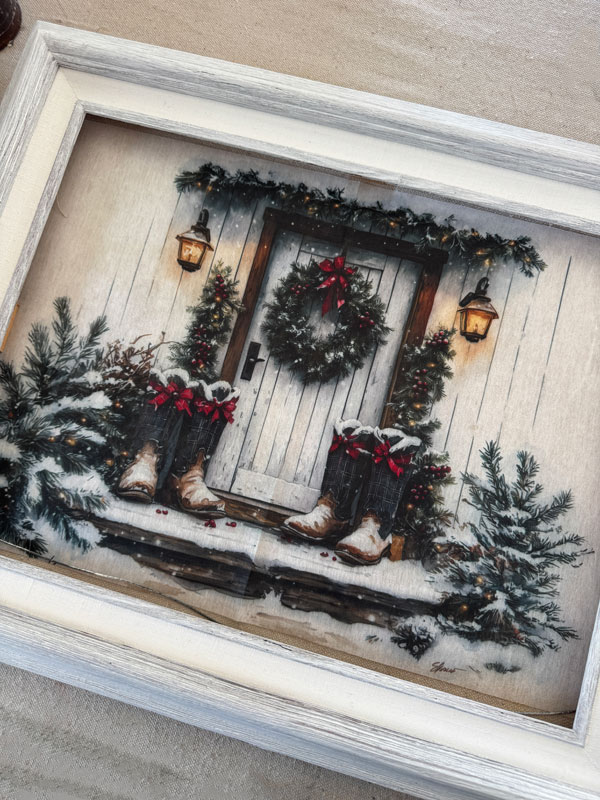
For this frame, I wanted to use one of the brand new sets of holiday decoupage papers, the Santa’s Woodland Stroll set:
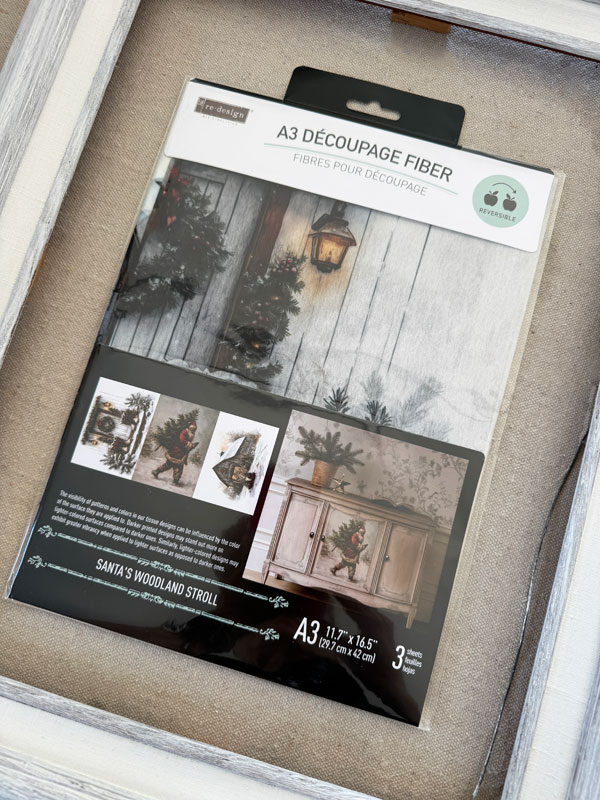
I love all the designs in this one…the Santa:
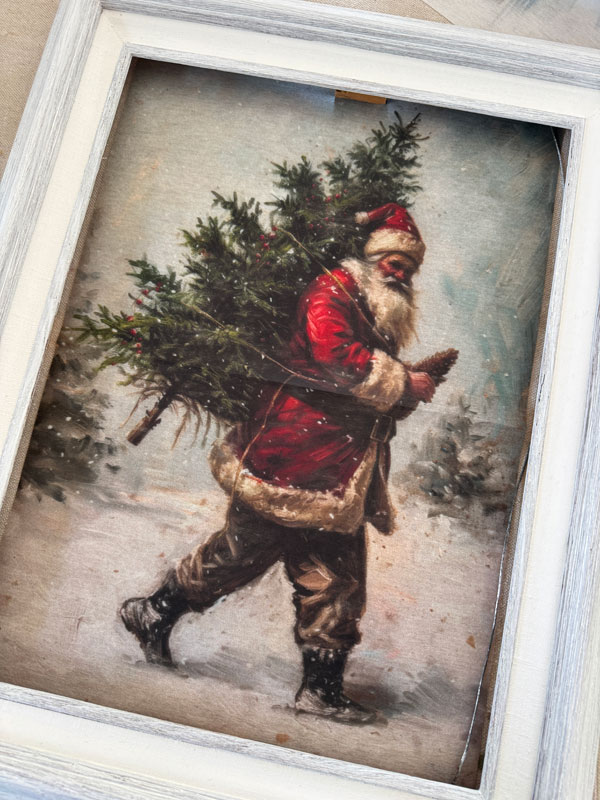
I loved the Santa, but I wanted to save him for a nicer frame.
The barn:
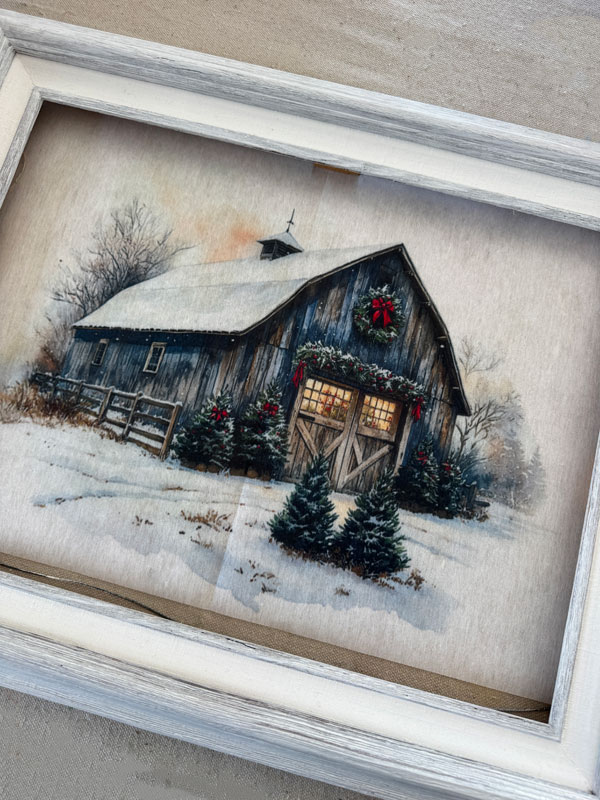
But, I ended up going with this design:
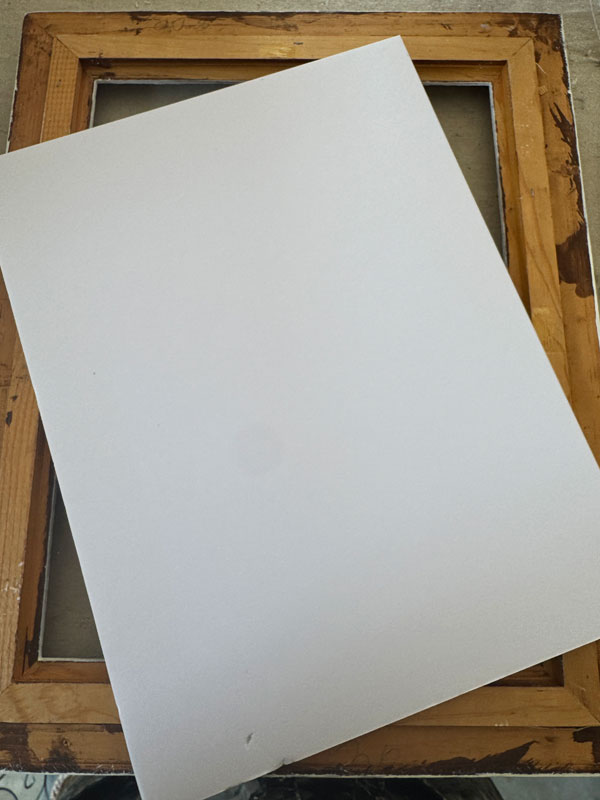
I cut a piece of white foam core to fit the opening since this frame was empty to begin with:
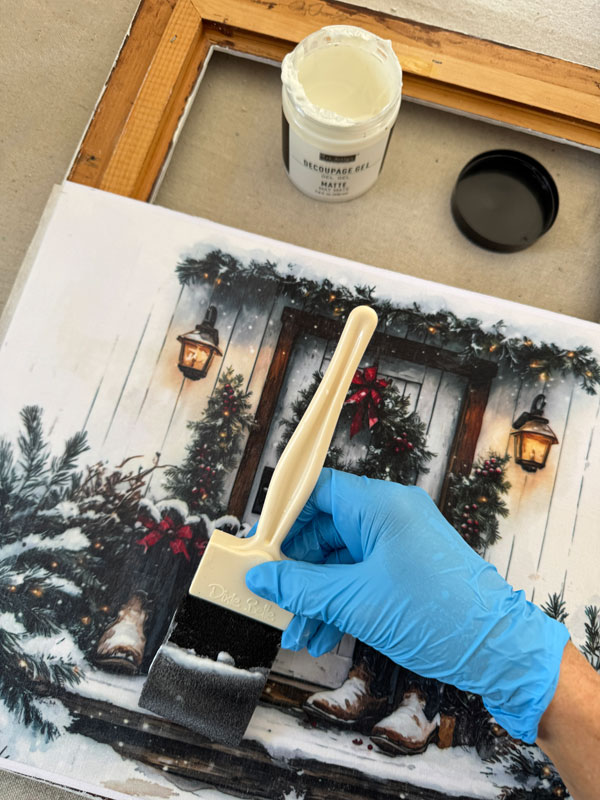
Then, I applied a layer of Redesign’s Matte Decoupage Gel using a 2″ Foam n Dandy foam brush, laid the paper, and added another coat over the top:
I secured it in place in the frame using my Logan Point Driver:
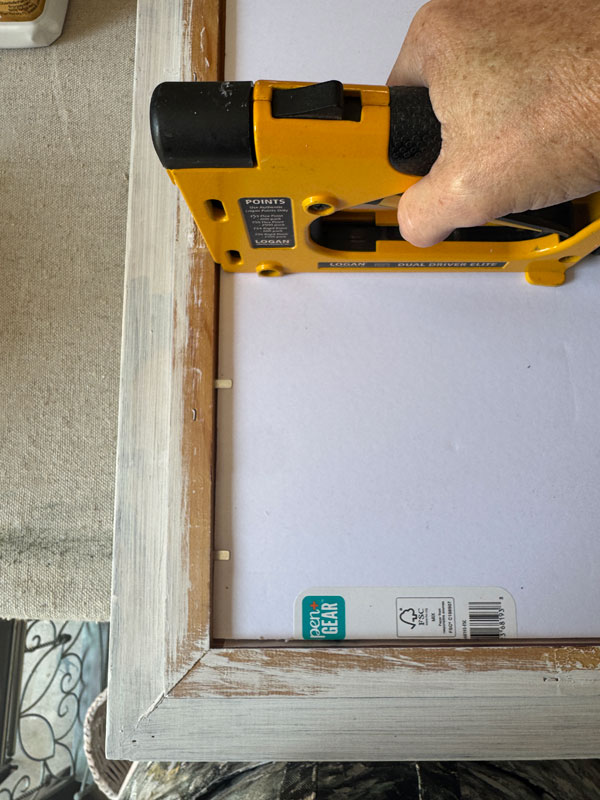
Of course, I covered the back in pretty paper as well. 🙂
Mini Makeover #3 After
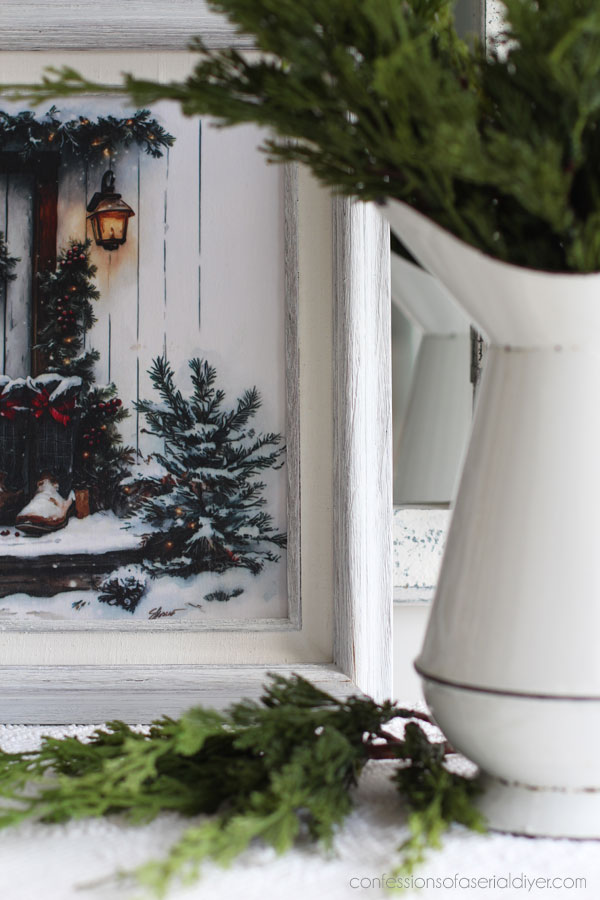
Here is how this new holiday art looks now:
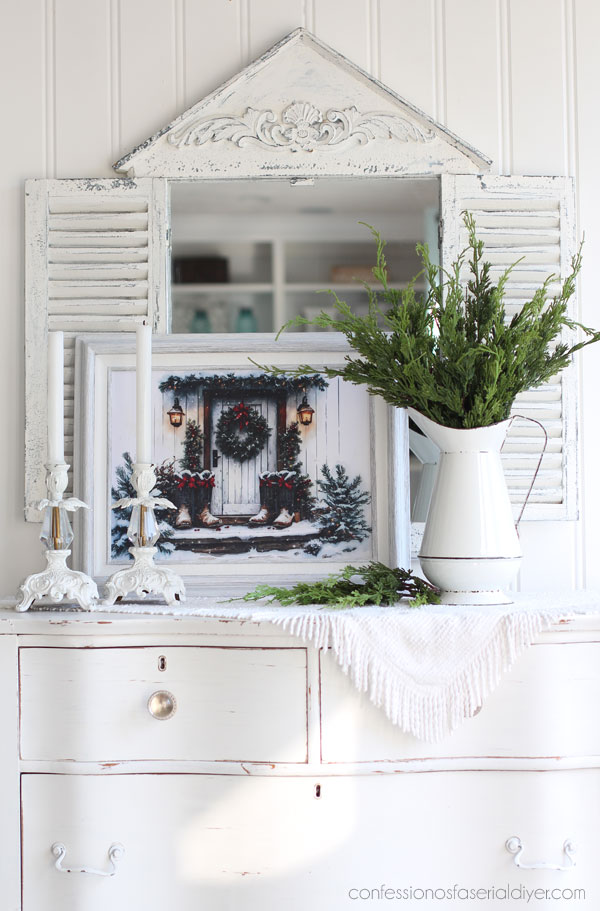
I know it’s a bit early for holiday projects, but I know some of you are already getting started on holiday items for your fall markets!
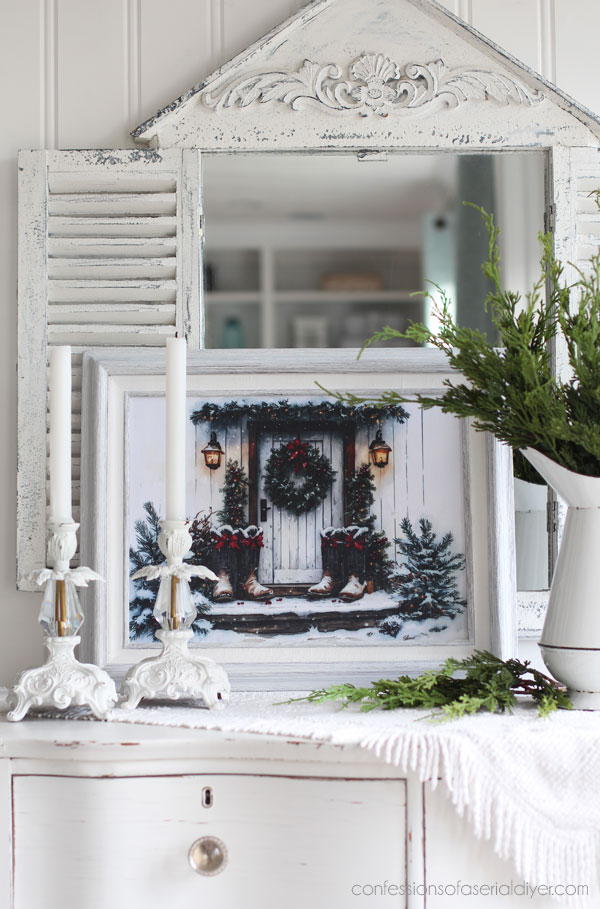
The frame makeover was super simple on this one…
There are three brand new sets of holiday decoupage papers, each containing three prints HERE, HERE, and find this set HERE!
While I didn’t do much to decorate my booth for the holidays last year, all the holiday art I created added such a festive touch!
Mini Makeover #4
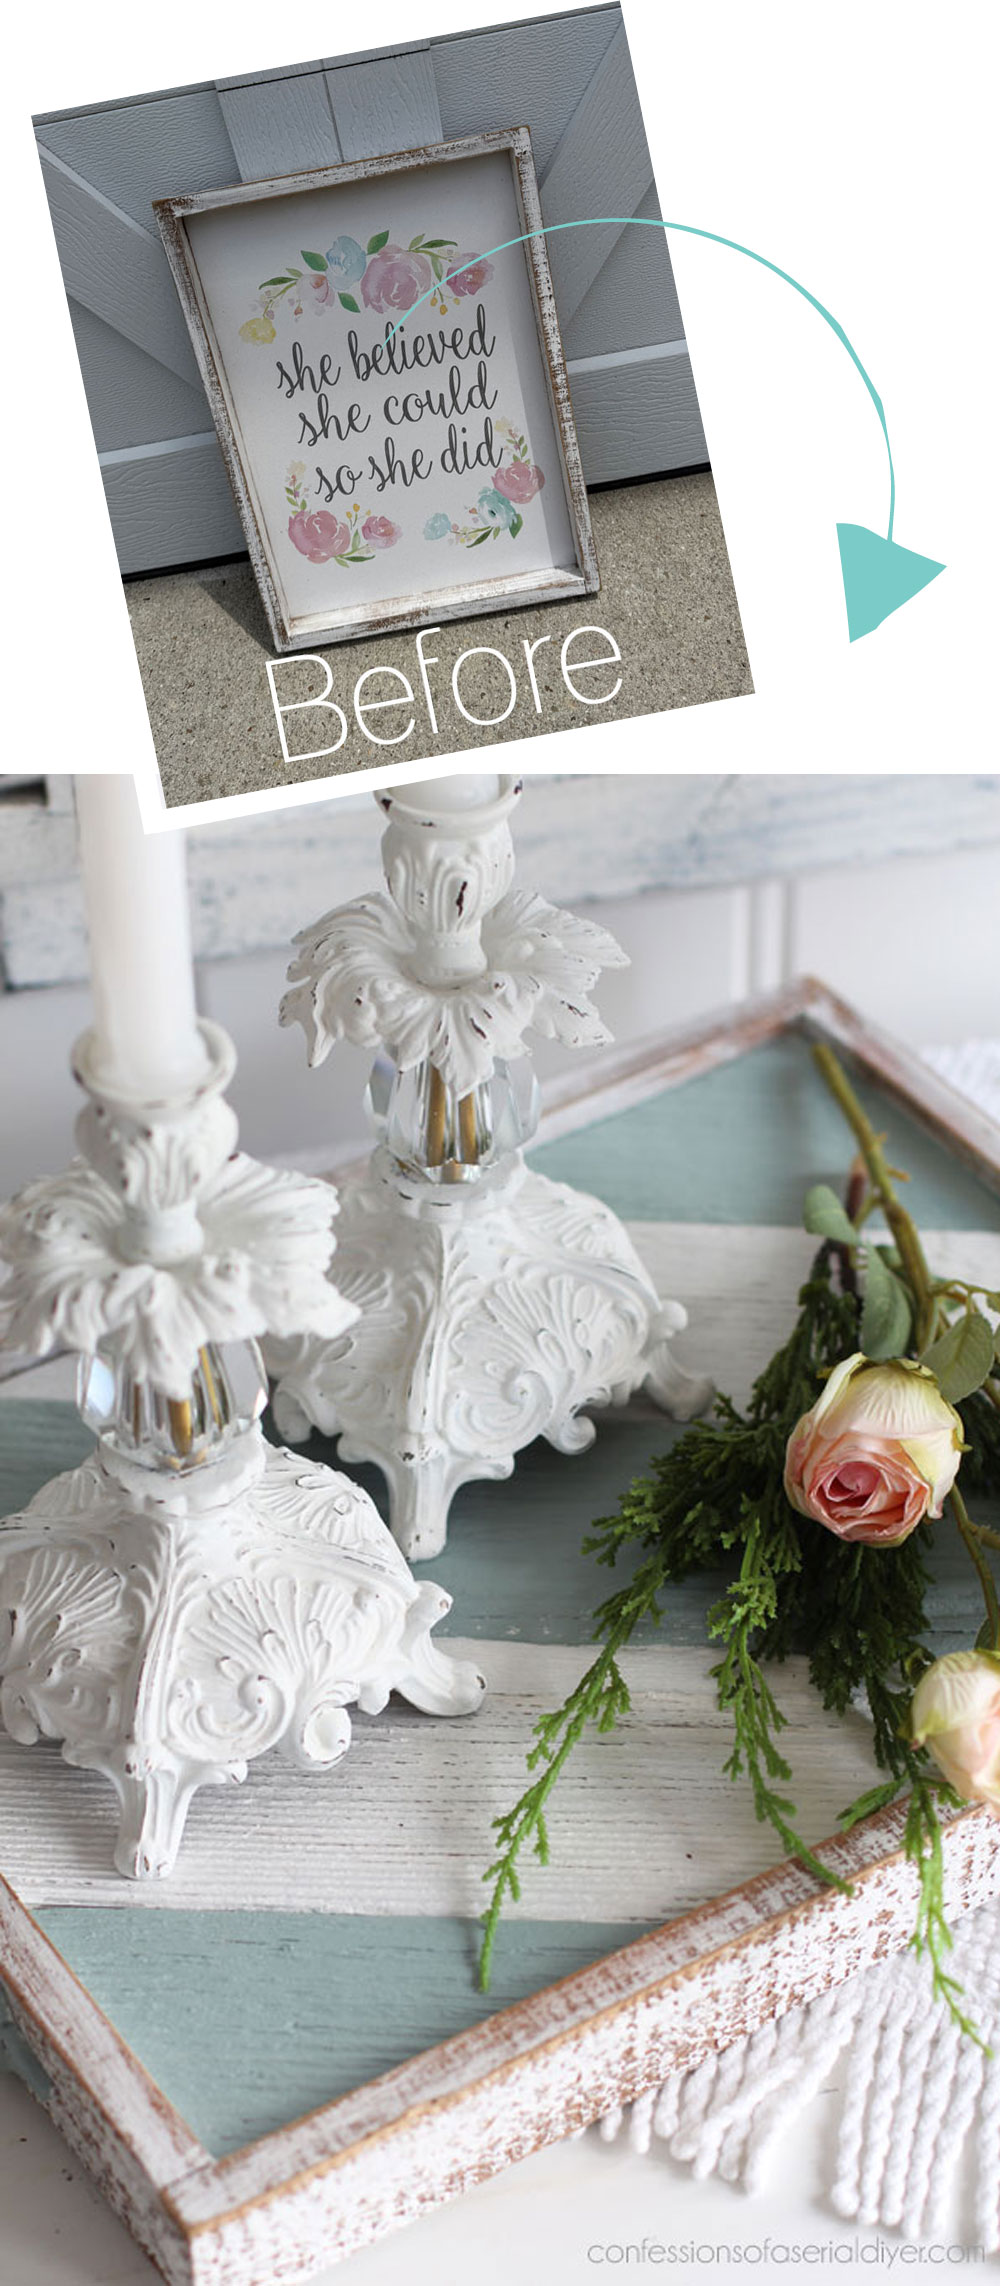
At number four is this framed art I found for $3.99:
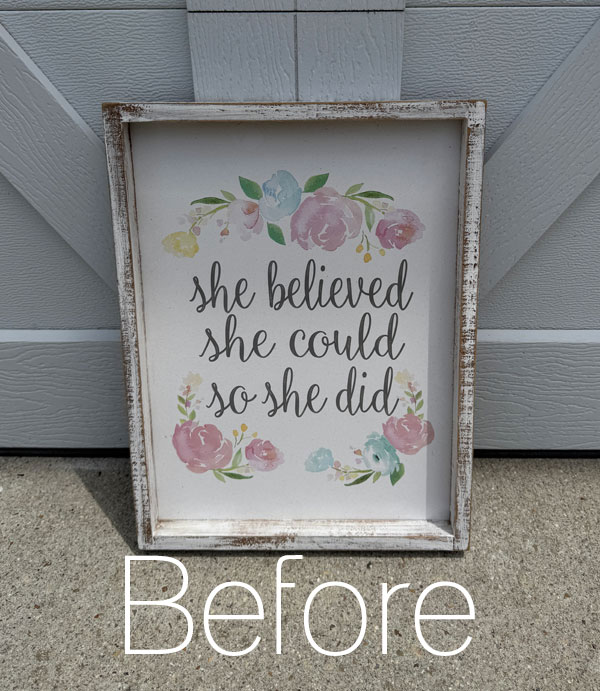
I knew right away it could make a cute little tray.
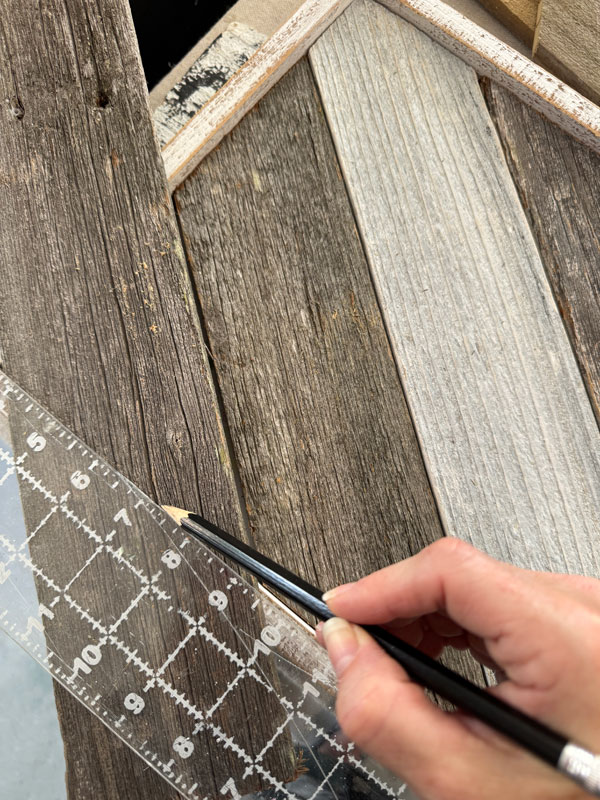
After cleaning, I decided to fill the inside with a design using the old fence pickets I found in my sister’s neighborhood.
I laid them across the tray and marked them as best as I could using a straight edge to help:
Once I had them all cut, I did a dry fit and then glued them down with Liquid Nails:
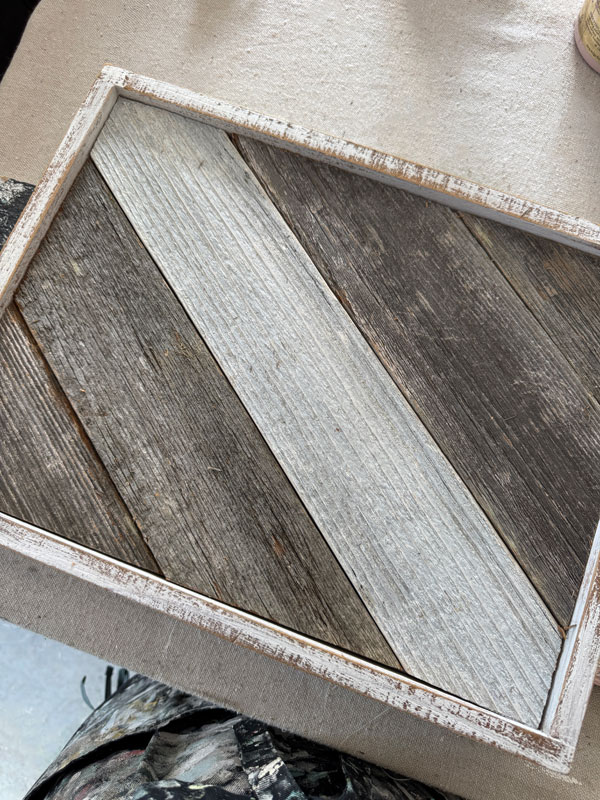
One of those was an extra from this cool shelf I redid a couple of weeks ago, so it was already white washed, but I kind of liked the natural look here.
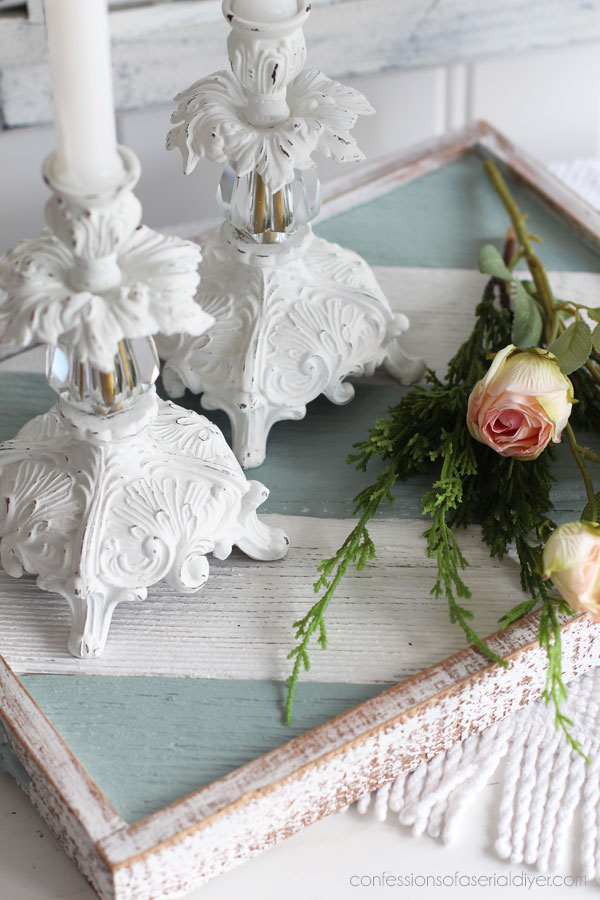
Ultimately, I opted to paint them alternating Cotton and a 50/50 Vintage Duck Egg Blue/Cotton mix.
I sealed once again using Rustoleum Clear Satin spray
Mini Makeover #4 After
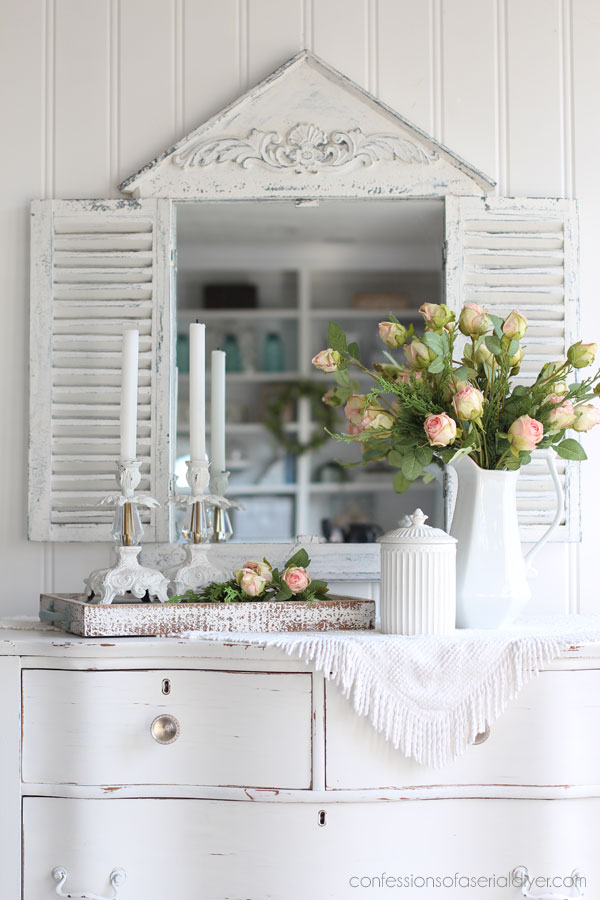
Check out our cute new tray now!
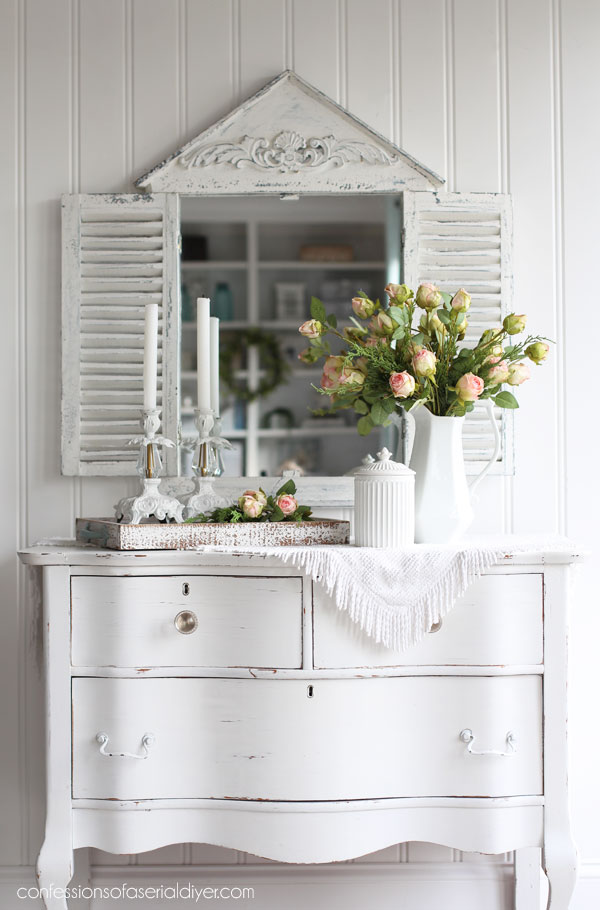
I opted to leave the sides as is since I like that look.
But here’s a peek at the inside:
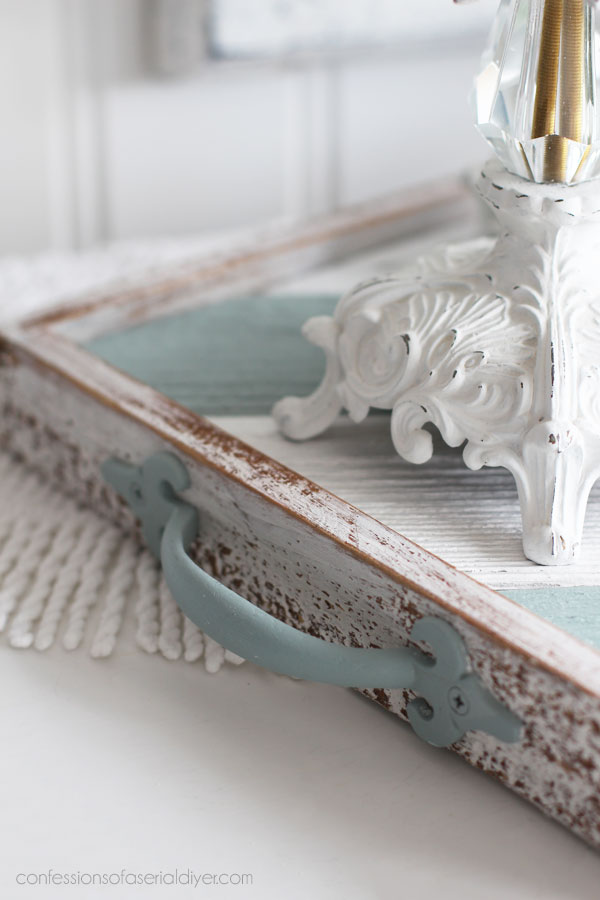
Of course, I added handles that I painted also:
And here is a better view of the inside:
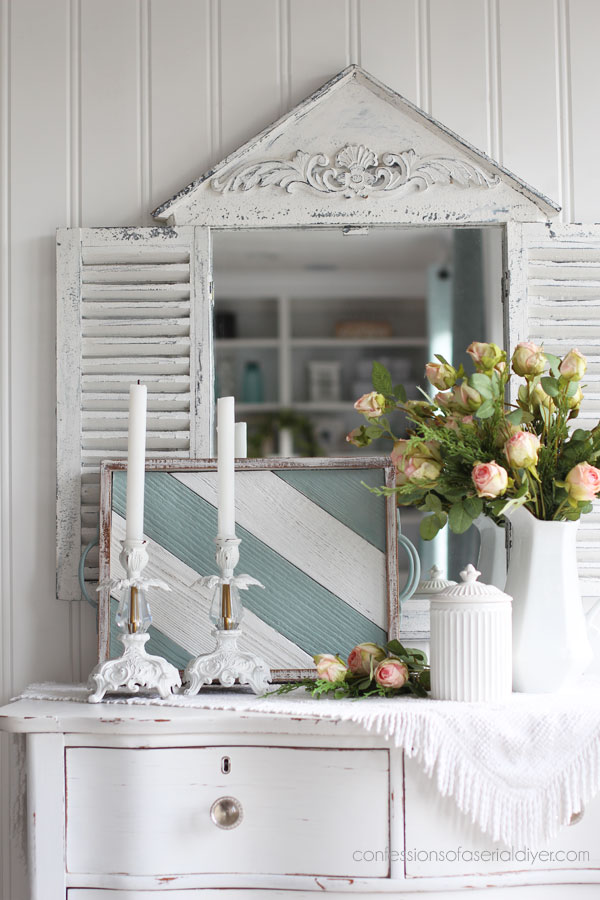
Such a fun, unique tray!
Mini Makeover #5
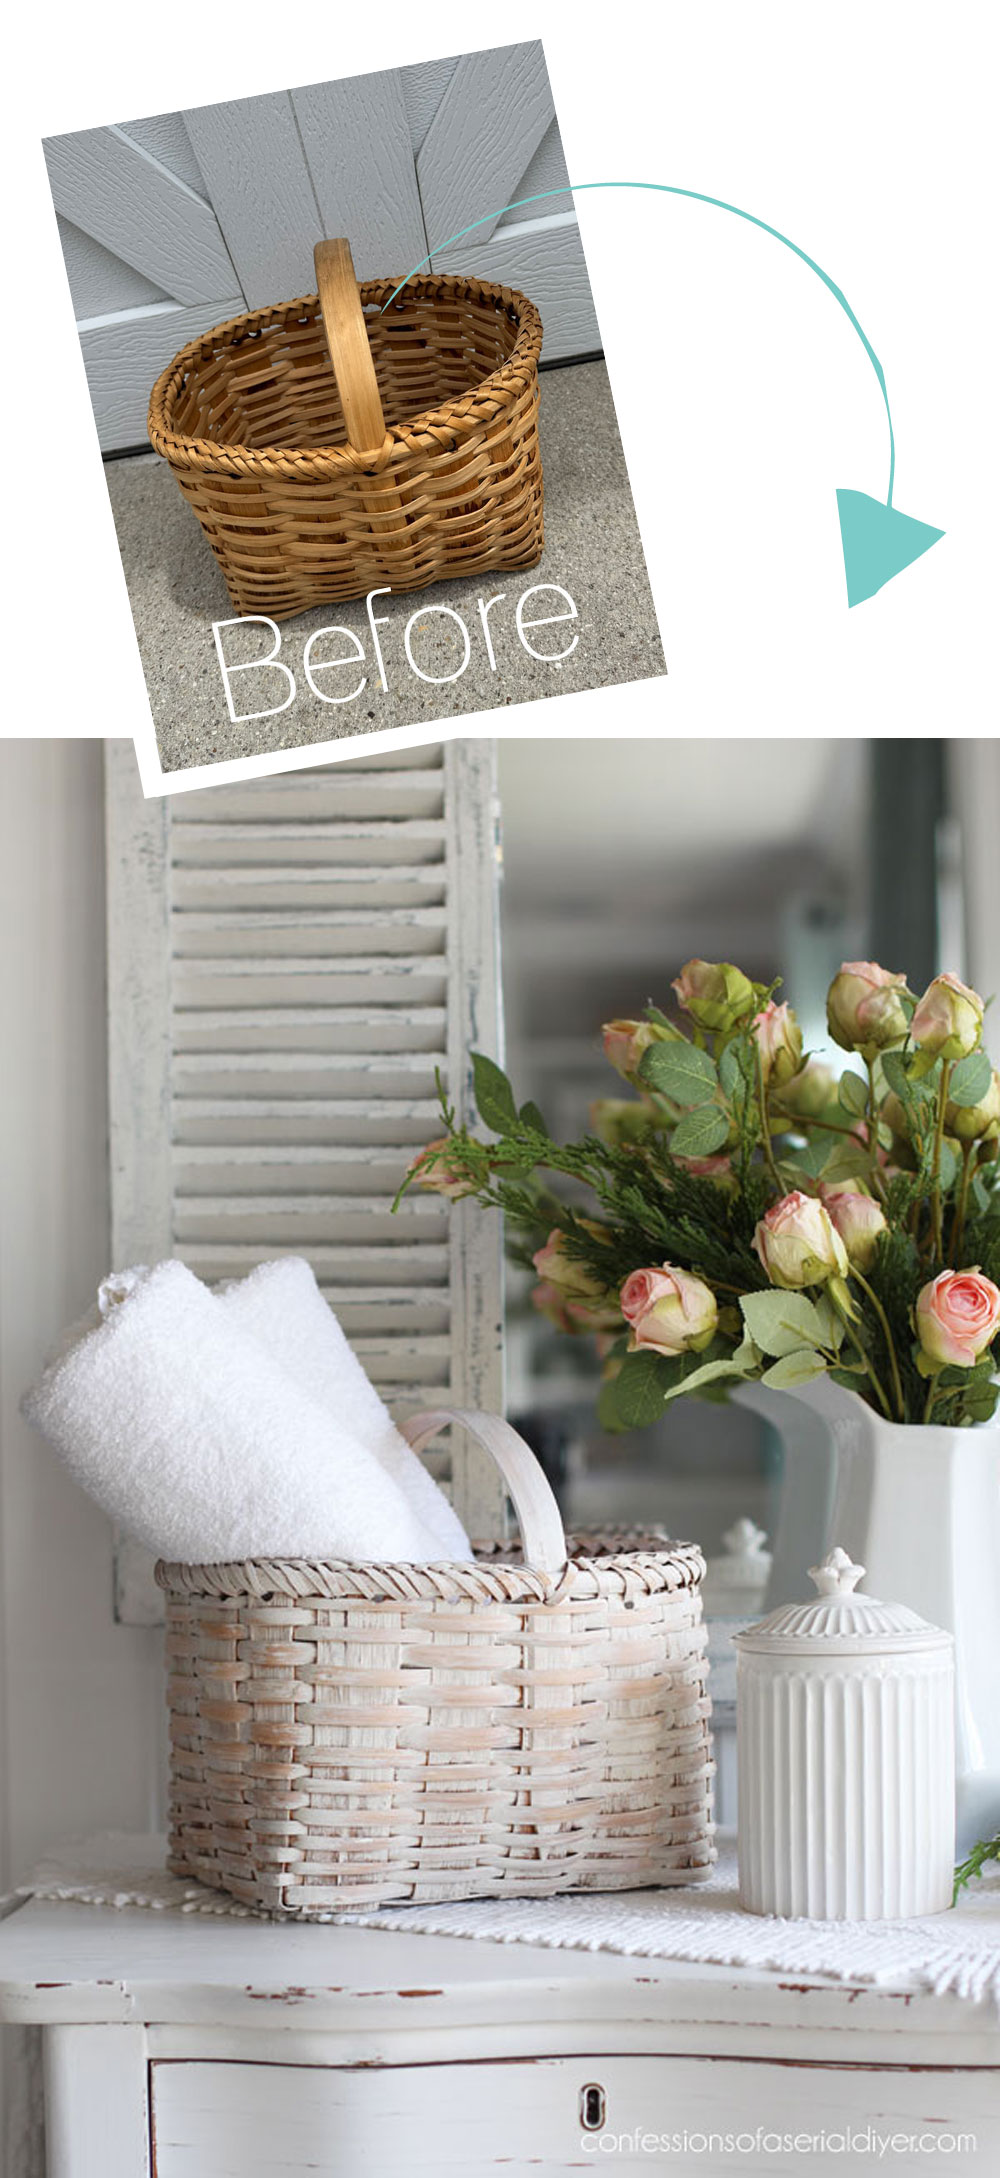
Next up is this basket I found at a yard sale. It was holding jewelry but wasn’t priced, so I assumed it wasn’t for sale:
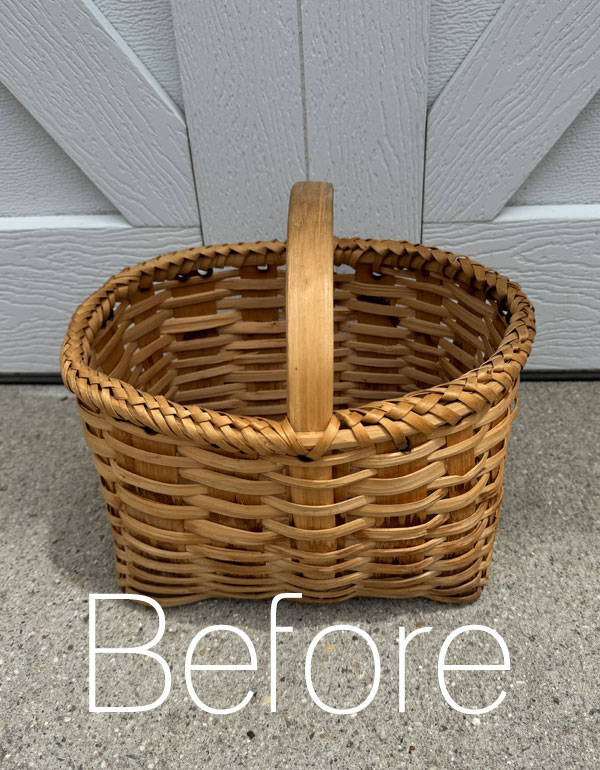
However, I asked about it anyway. The lady having the yard sale said it was really expensive and likely a Longaberger basket. Of course it is not a Longaberger basket, but that weave along the top is pretty fancy, so she may have paid a bit for it.
She asked how $7 sounded and I countered with $5, and she accepted.
For these golden baskets of the eighties, I like to do a simple white wash on them, and I do that by applying Cotton in small sections using my Best Dang Brush:
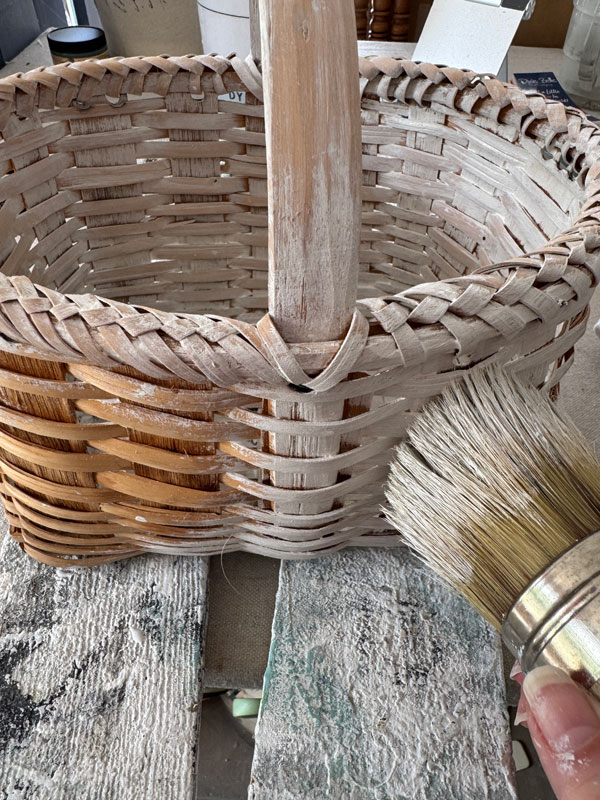
Then, I go back over it right away with a cloth to remove some of it:
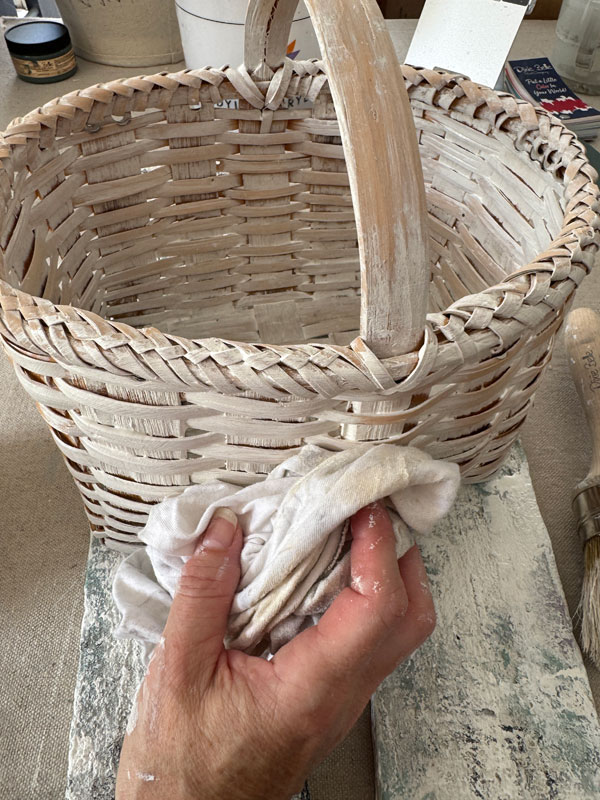
I love the whitewashed effect it leaves, and it is so easy to do!
Mini Makeover #5 After
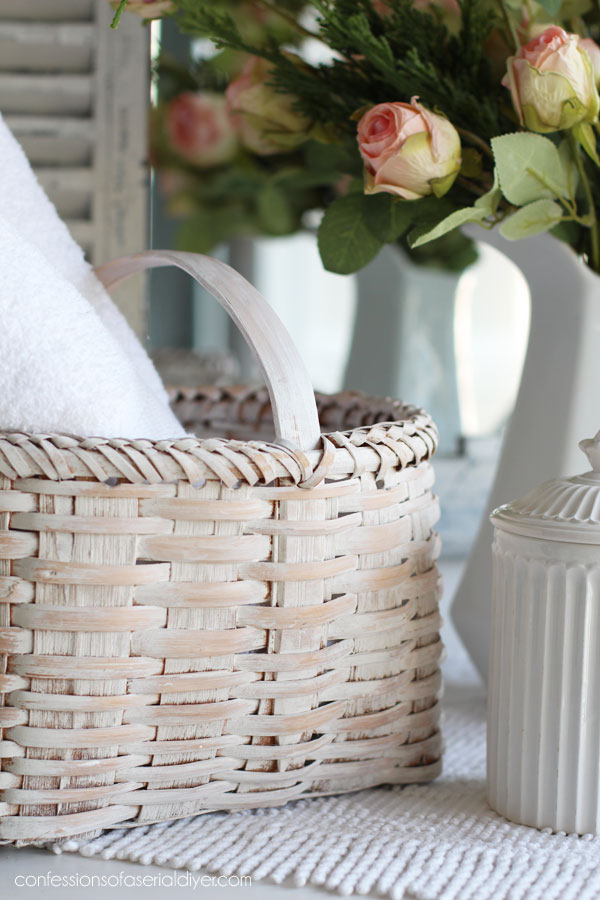
Here is how this one turned out:
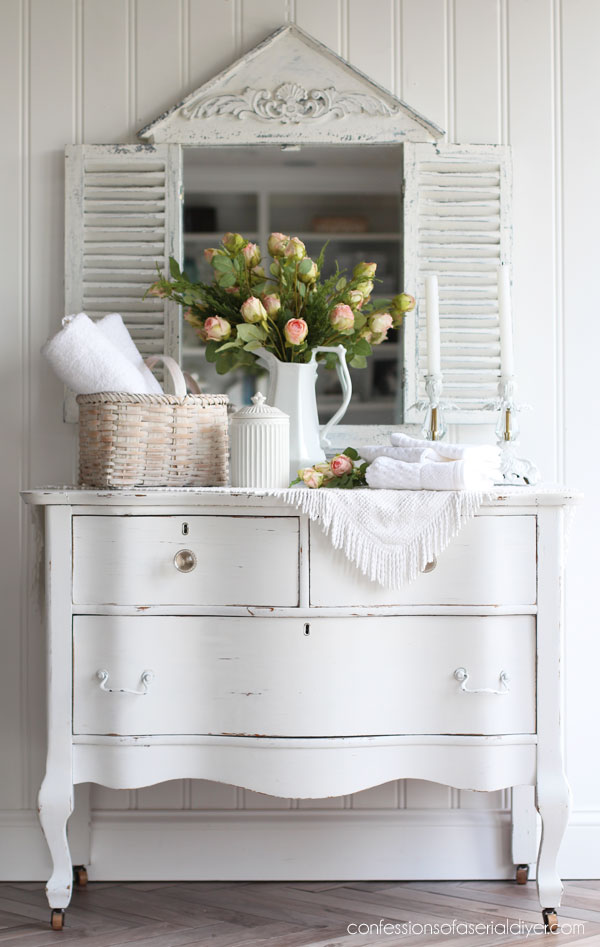
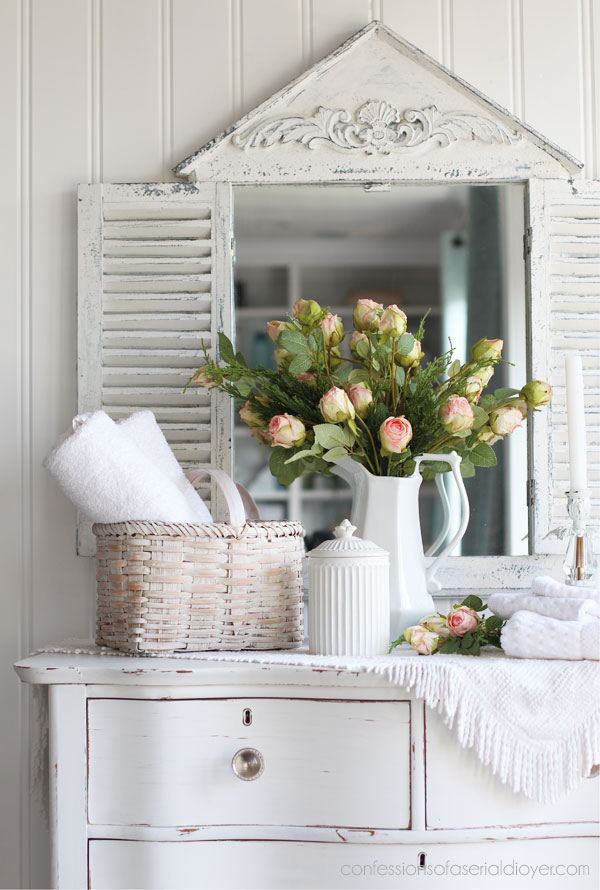
What a pretty way to provide fresh towels for your guests!
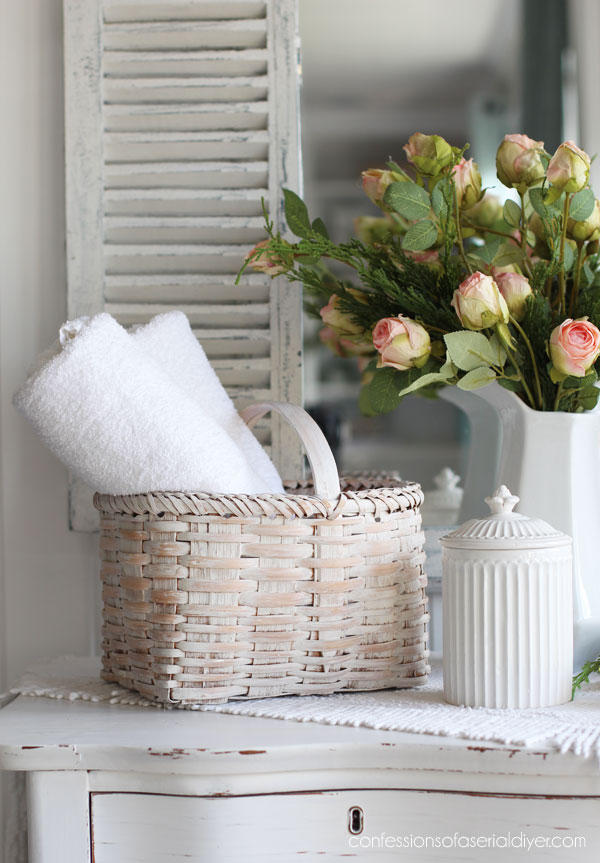
Of course a simple basket like this has so many possible uses.
I love the shape of this one and the shorter handle.
Mini Makeover #6
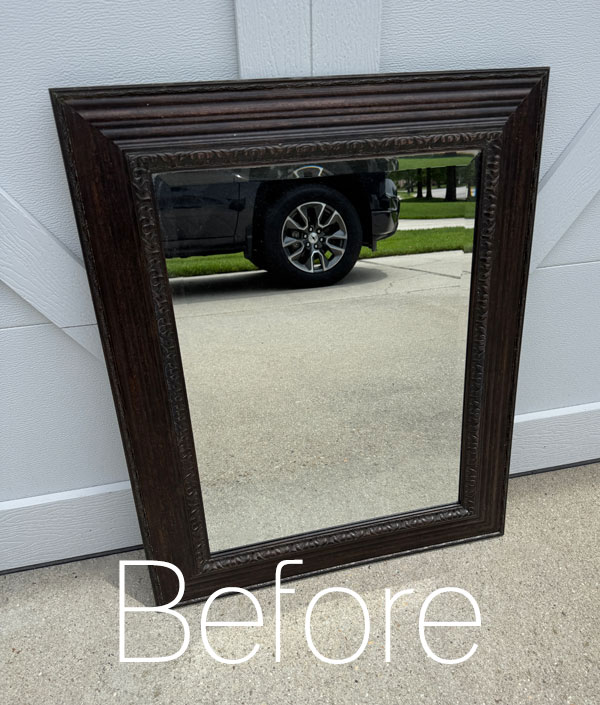
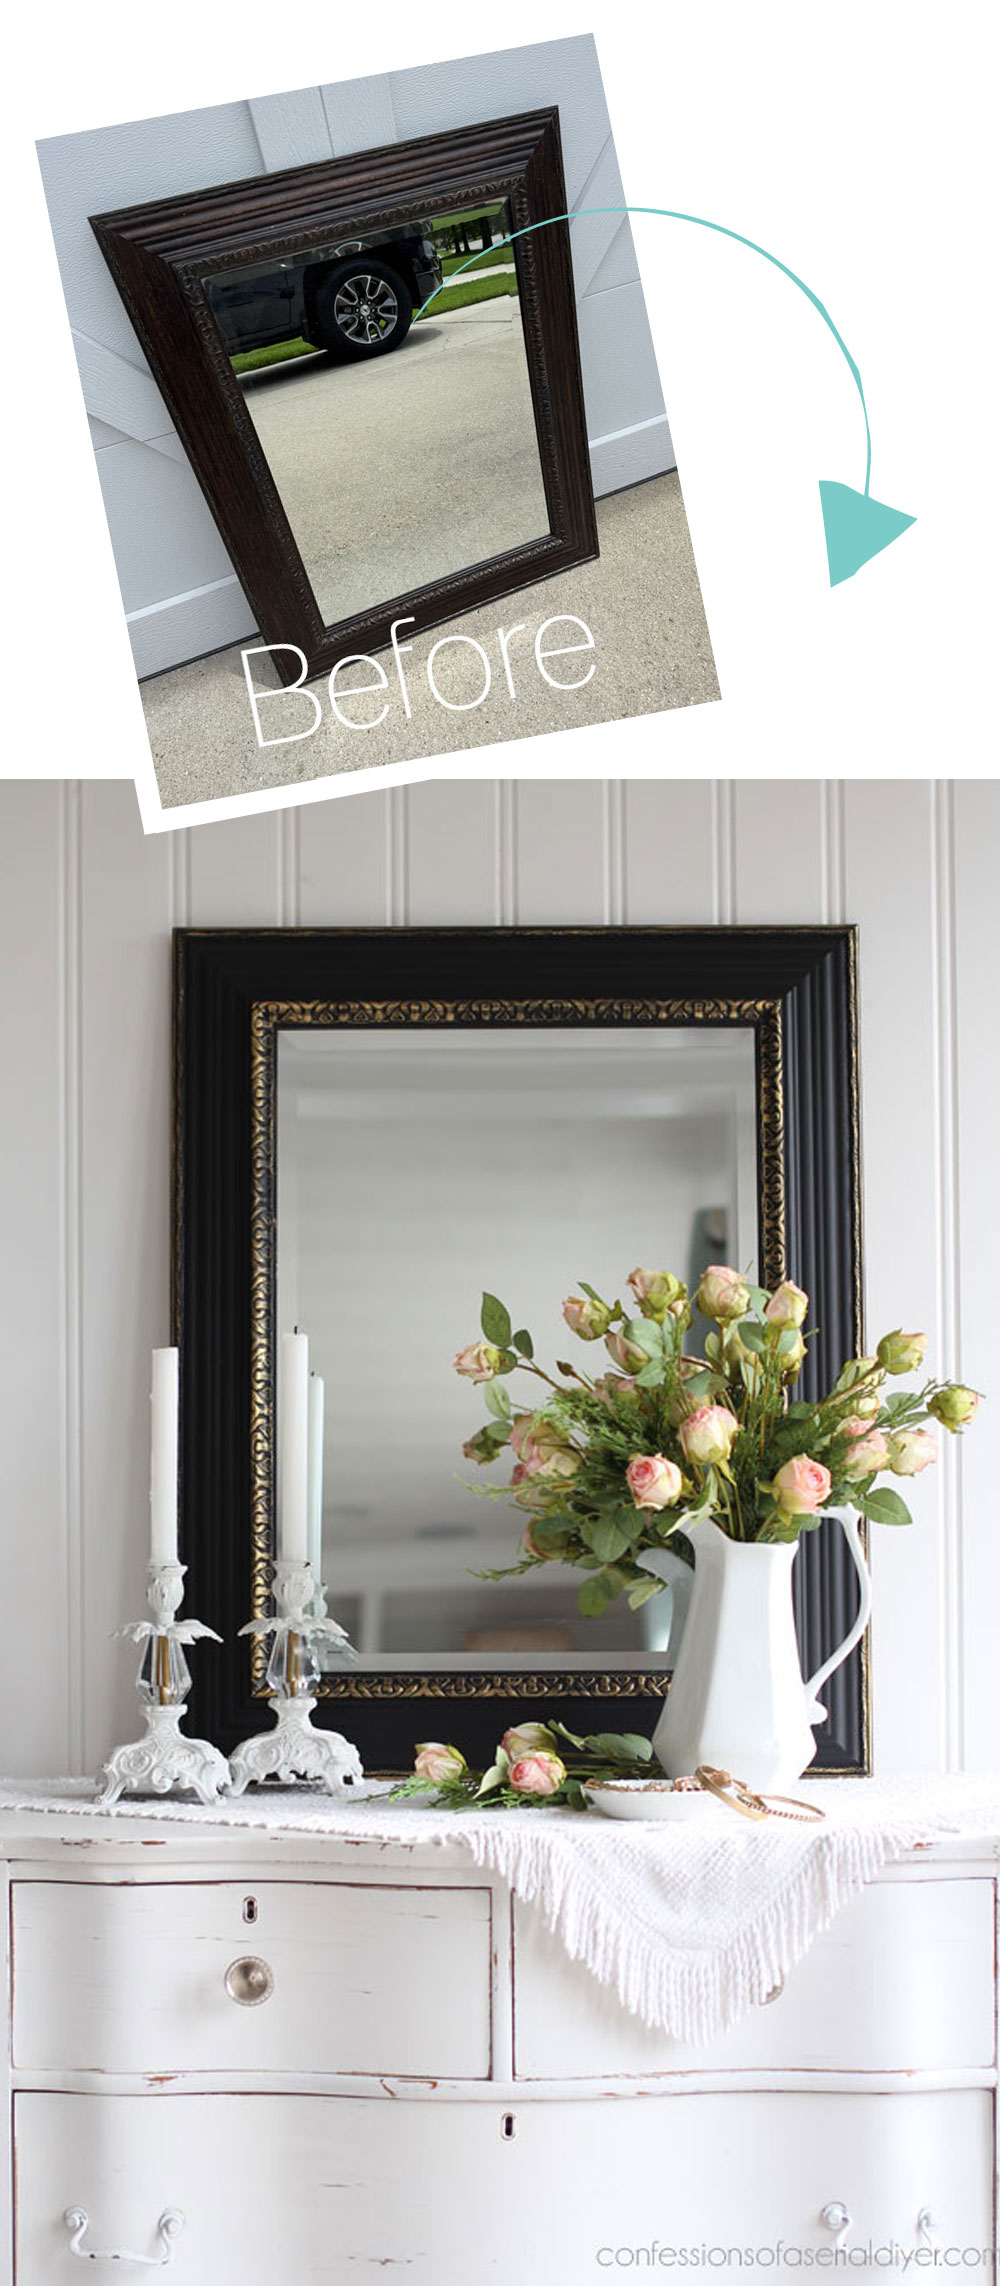
And finally, this mirror was $8.99 at the thrift store:
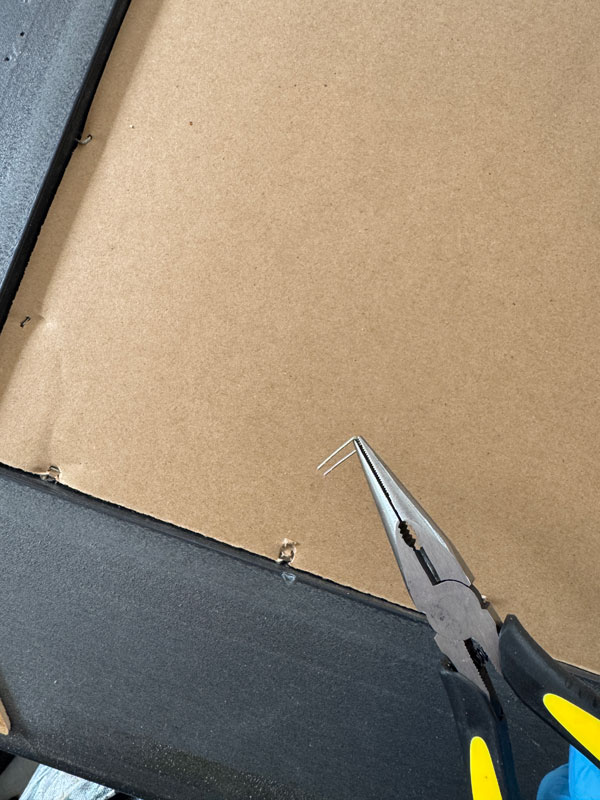
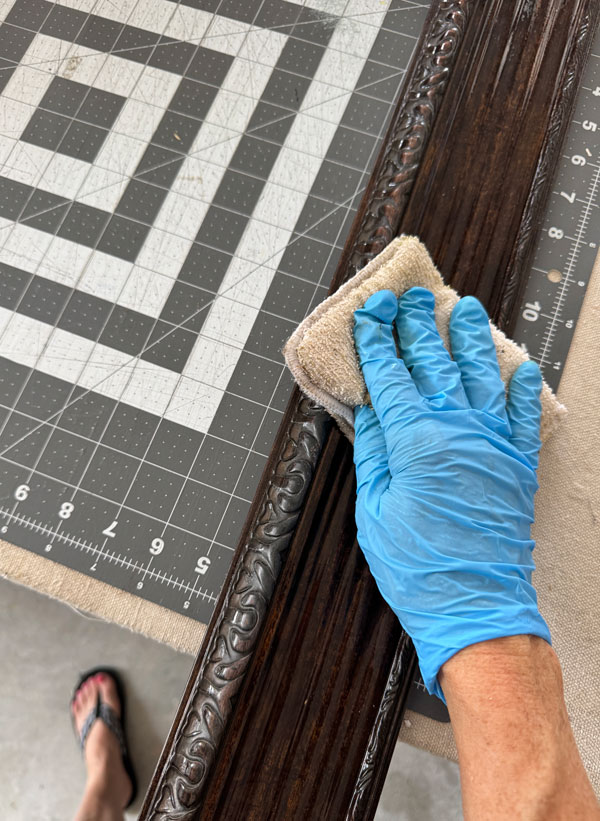
I started by removing the mirror. It had these small staples holding the cardboard backing in place and I removed those using needle nosed pliers:
Like everything else, this got a good cleaning too…
Then, I chose Caviar for this one, giving it two coats:
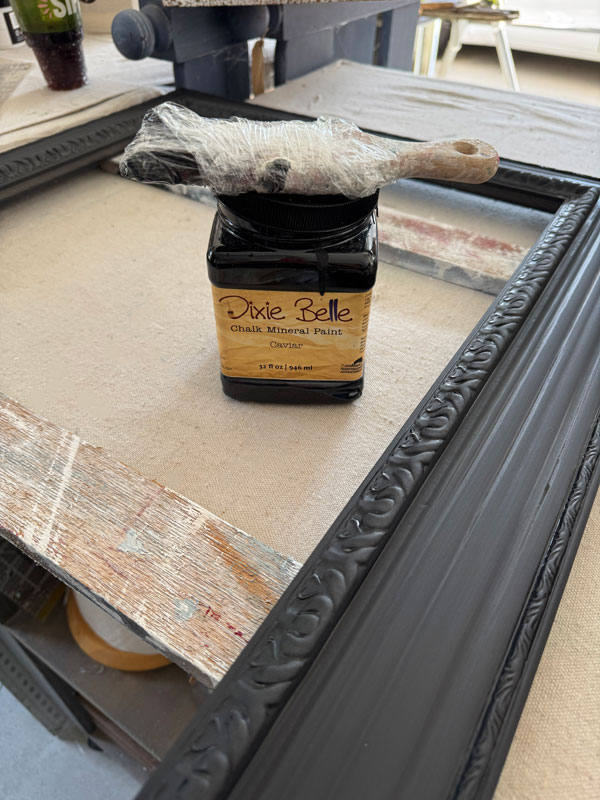
I sold the black and gold mirror that I redid last month, so I decided why not do another similarly?
After the paint was dry, I sealed using Clear Coat in Satin. I followed that up by highlighting the details with Gold Gilding Wax.
Everything was put back together, and the mirror was secured, once again using my Logan Point Driver.
Mini Makeover #6 After
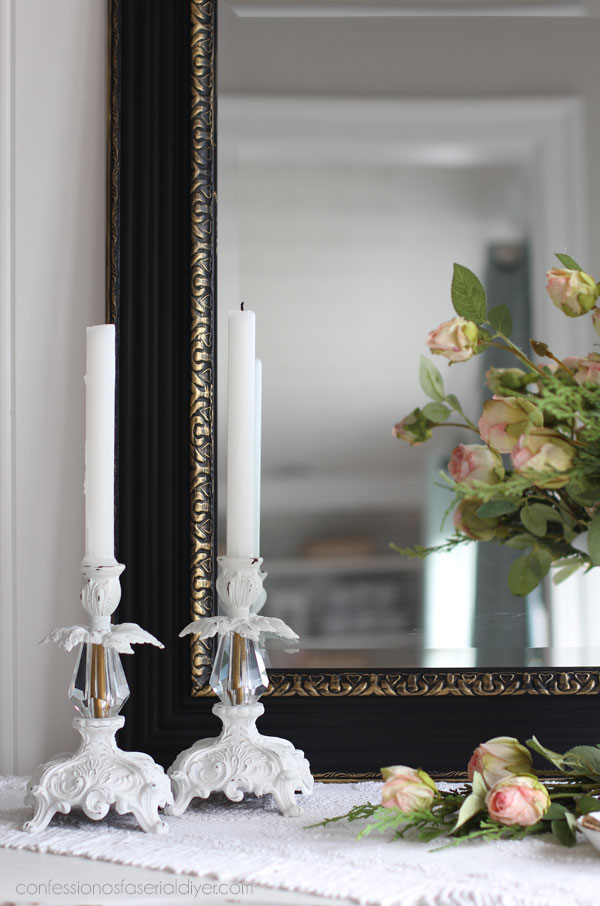
Here is the final look of this mirror:
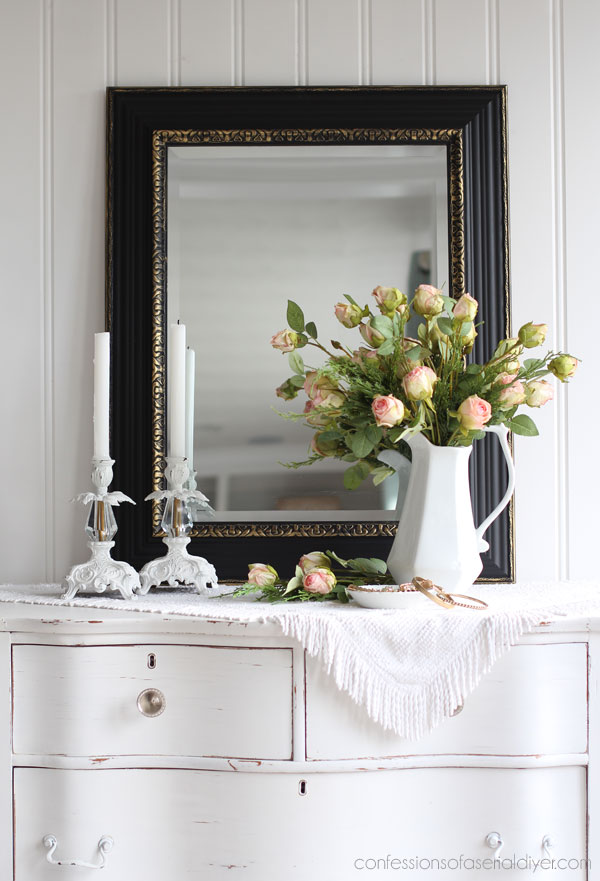
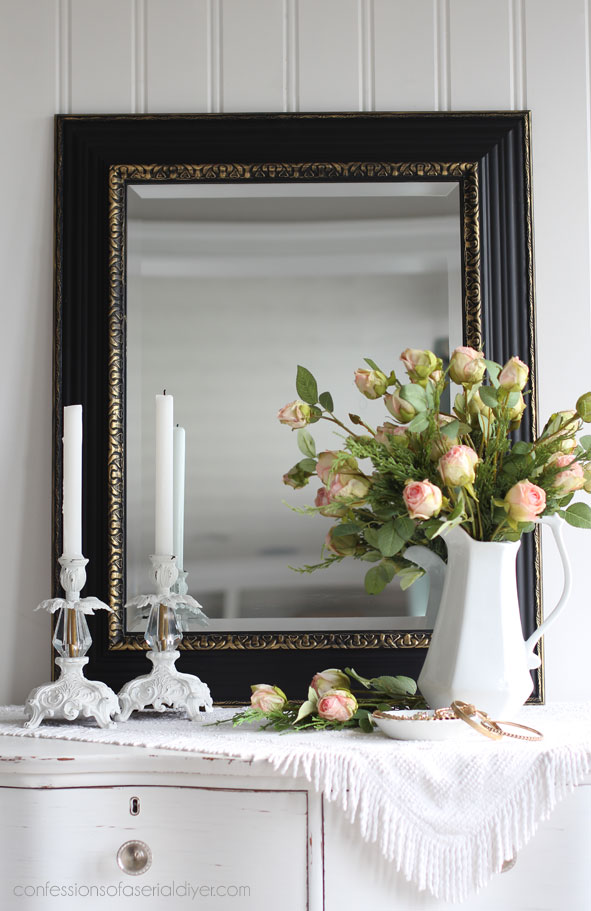
The gold adds a touch of sophistication…
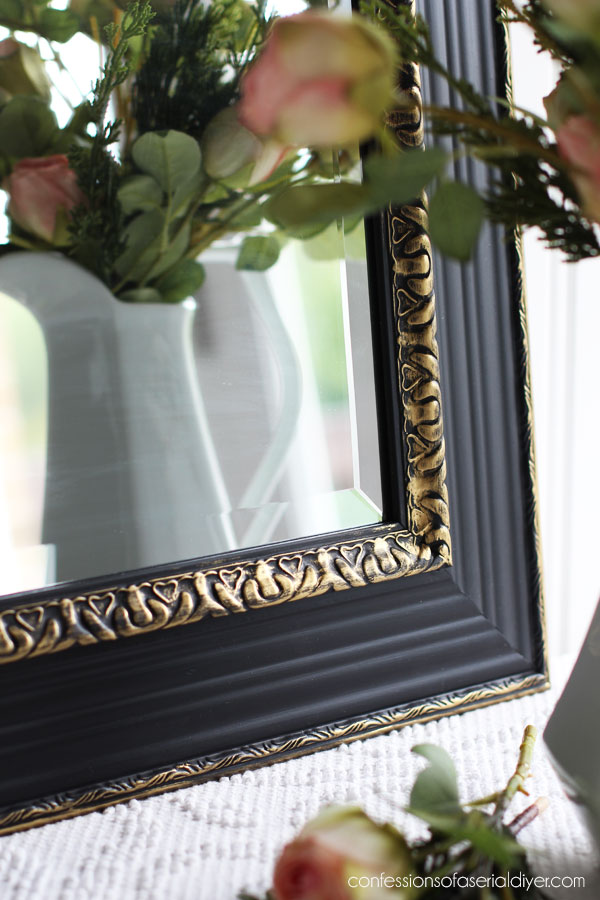
I applied that just by using my finger.
And do you know how many times I duck to stay out of the photos when photographing mirrors?? Ha ha…hello!
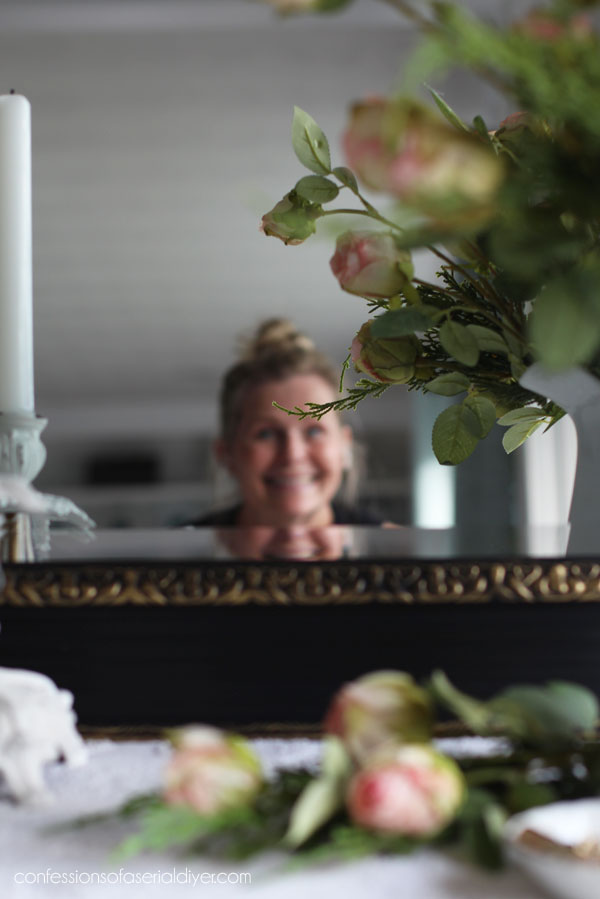
The other items were photographed in front of one of my staging mirrors, so that was a lot of ducking!
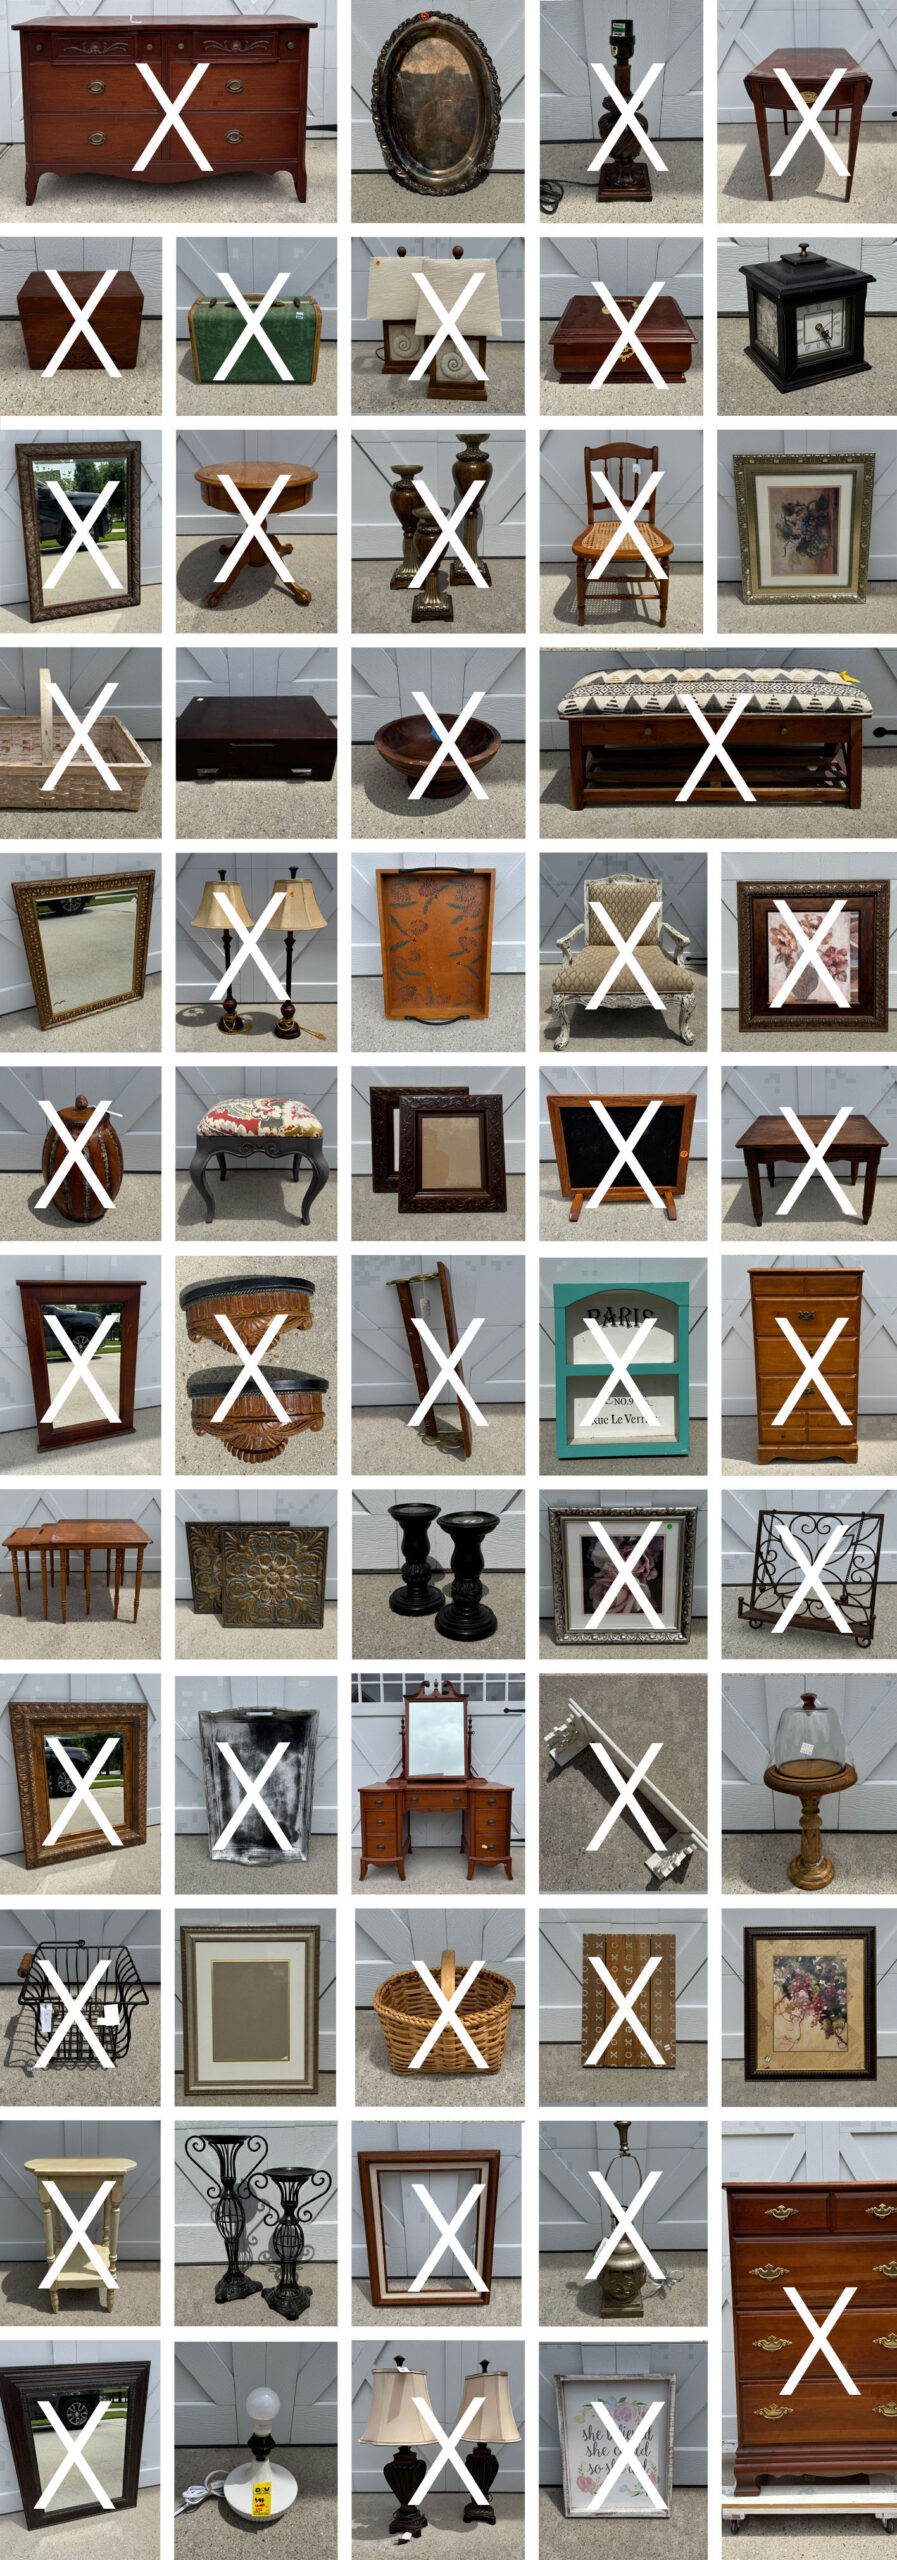
That’s six more mini makeovers for my booth complete!

And that’s six more items crossed off the list!
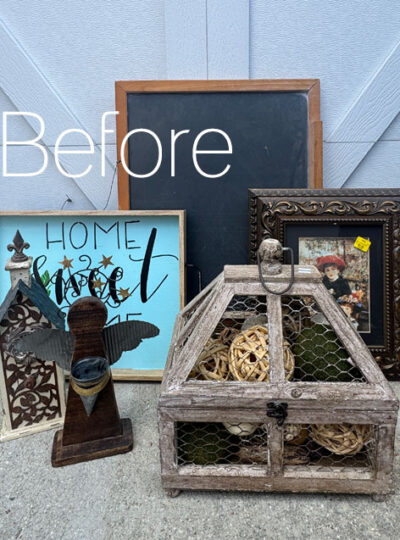
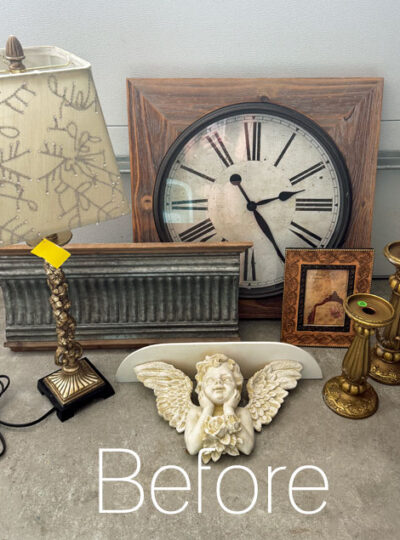
I’d love to know which one you liked best!
Brennan starts school on Monday, so this is our last weekend to do something fun. I’ll be back on Tuesday with this flatware box round up for you:

UPDATE: Check these inspiring makeovers HERE now!
XOXO,

Don’t Miss a Thing!
If you like what you see, there are several ways to follow along!
EMAIL * INSTAGRAM * FACEBOOK * PINTEREST


Get FREE SHIPPING on all orders over $50. No code needed at checkout! Orders under $50 always enjoy $8 flat rate shipping! Most orders ship same or next business day!



Lorri says
Of course I love them all. I love it when you show The Small in your Blog.
My fav is the basket and the Cookbook holder. I am envious of anyone who has that much space in their kitchen to have a Cookbook holder and make their recipe. I have a small kitchen so space is an issue. The frames turned out lovely, especially the xmas print.
Christy says
Thank you, Lorri! When I staged our kitchen after redoing it, I set out one of these holders with a cookbook open to a recipe just for staging, but it is definitely not practical lol. It took up our most valuable counter space! So glad you enjoyed this round! XOXO
Mary Kaiser says
The lamp is # 1 for me, but I also love the basket, but I also love all of the things!! You can’t make me choose a favorite, I love them all! LOL! Have fun this weekend, I still always love to look back at your reruns!
Christy says
Ha ha thank you, Mary! The lamp might be mine too! Have a wonderful weekend, my friend! XOXO
Carla says
The tray remake was my favorite.
Christy says
Thank you, Carla! XOXO
Josee says
Bravo! I never tire of your recreations.
Christy says
Thank you so much, Josee! XOXO
Vicki says
My favorite? ALL of them!! I loved the simplicity of these and when I’m more awake … will figure out which one is first! Good luck to Brennan in school!
Christy says
Ha ha thank you, Vicki! XOXO
Cecilia says
It’s always amazing how painting something can make those details show up! You can really see the design on the lamp and mirror now. I like the verdigris finish on the cookbook holder. So simple but so pretty.
😍 Cecilia
Christy says
Thank you, Cecilia! I agree…those details just blended in before! Have a great weekend! XOXO
Betty Sue says
I just love these!!! Have a great weekend! ❤️
Christy says
Thank you so much, Betty Sue! You too! XOXO
Cyndi says
Oh, I love all of these!! You haven’t used pink in quite a while, so that was a nice surprise. I love the mirror with that classic black and gold. Stunning! And I’d put filler in that basket and top it with apples next month. 🙂 It’s so cute!
Christy says
Thank you, Cyndi! The lamp might be my favorite this round, and that is a great idea for the basket! XOXO
Fran says
I love all of them but the lamp is number one for me and the tray is number two. All are fantastic ideas!!!!
Christy says
Thank you, Fran! The lamp is my favorite as well! These smaller redos are fun to do! XOXO
Caye says
I love them all, but I think my favorite is the lamp. You must get up awfully early in the morning to get all these things done and then photographed! I wonder how you do it ALL-shopping, cooking, cleaning, laundry, outside activities, and then, all your projects. You are a wonder!
Have a great weekend my friend. XXOO
Christy says
Aww thank you, Caye! I think the lamp is my favorite too! One thing I did start hiring out several years ago is the house cleaning. I have a wonderful gal and her cousin that come once a week to keep things clean around here, and that allows me to put that time I would have spent cleaning towards my business. It can be a lot, but I love it! Enjoy your weekend as well!! XOXO
Linda says
I’m glad you shared the black and gold frame re-do! Helps me know I was on track with one I did this week. Sometimes it’s just nice for that assurance when waffling on options. Thanks!
Christy says
Oh good…I’m glad that was helpful! Black and gold is a classic combination! XOXO
Michele M. says
WOW!!! All those “smalls” look amazing, Christy! You just take everything to such a new awesome level with your talent and imagination, and awesome paint. Well done, ma’am!
Christy says
Thank you, Michele! My favorite thing about the smalls is crossing off six items on my “list” ha ha! XOXO
Susan says
Love the sweet tea rose lamp and shade and the basket! Hope the hurricane does weather does not affect you!
Christy says
Thank you, Susan! The lamp is my favorite! Luckily, we just got the very outer bands of it…a little wind and rain, but it is lovely today. There is another storm brewing though…it’s definitely hurricane season! XOXO