Hello, thrifty friends!! I have a treat for y’all today! Not only am I bringing you TWO thrifty makeovers, I’ve also got the newest Thrift Shop Shakedown video of me and Nancy to share with you!!

Nancy and I have been Blogging BFFs for well over a decade, collaborating with our friends and attending several conferences together:
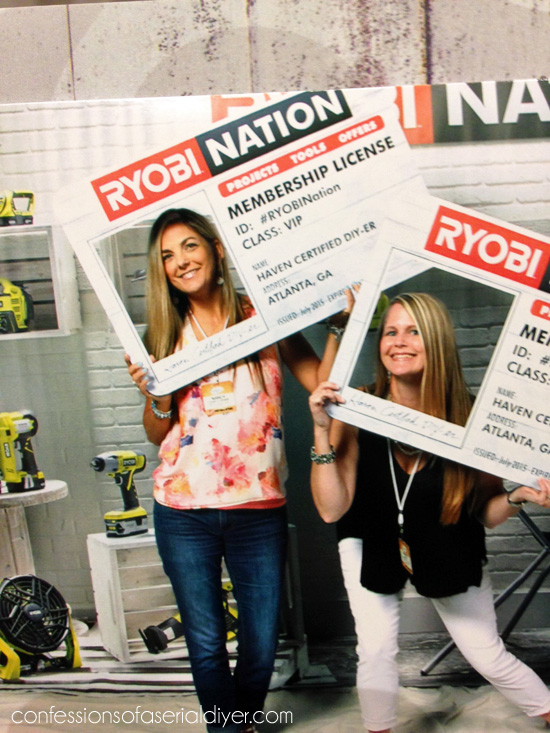
(Haven Conference 2015)
But my favorite thing to do with Nancy is going thrifting, of course, and I love that we get to share it with you!
The two items I’m sharing today are what I found on our day of thrifting, and Nancy is sharing two makeovers of items she found that day as well. I’ll link to her makeovers at the bottom!
Let’s start with the video of our day out!
We haven’t made a thrifting video since the month COVID arrived, so it has been a minute!!
Enjoy!
If you have trouble viewing, view on YouTube HERE.
We have such a laugh when we get together!
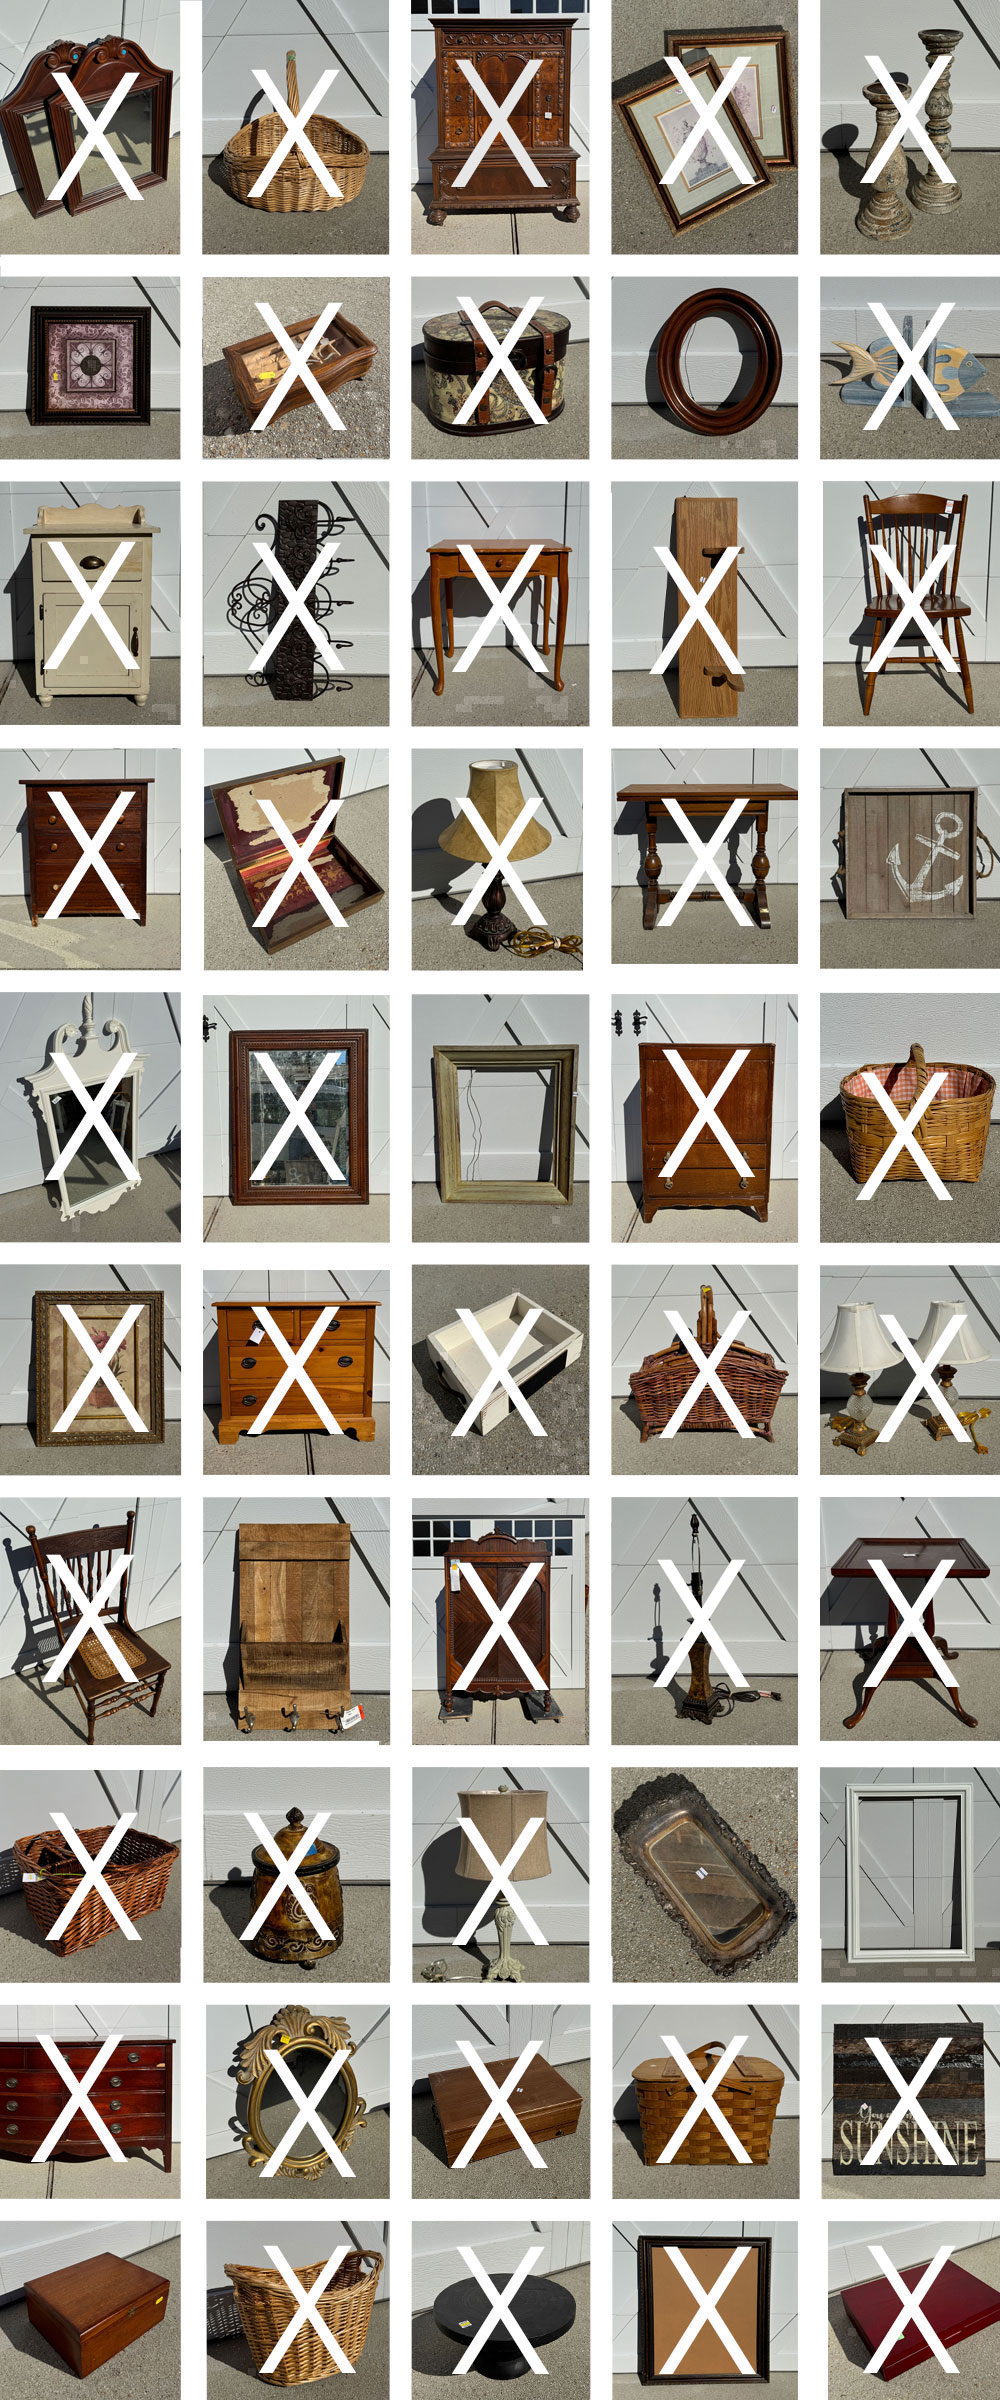
SO as you saw in the video, these are the two items I found that day that were in dire need of some help:
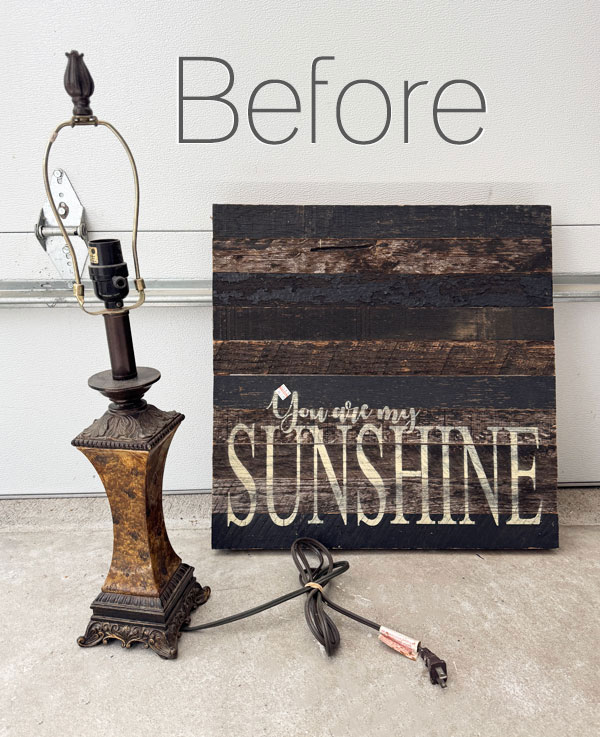
Thrifty Makeover #1
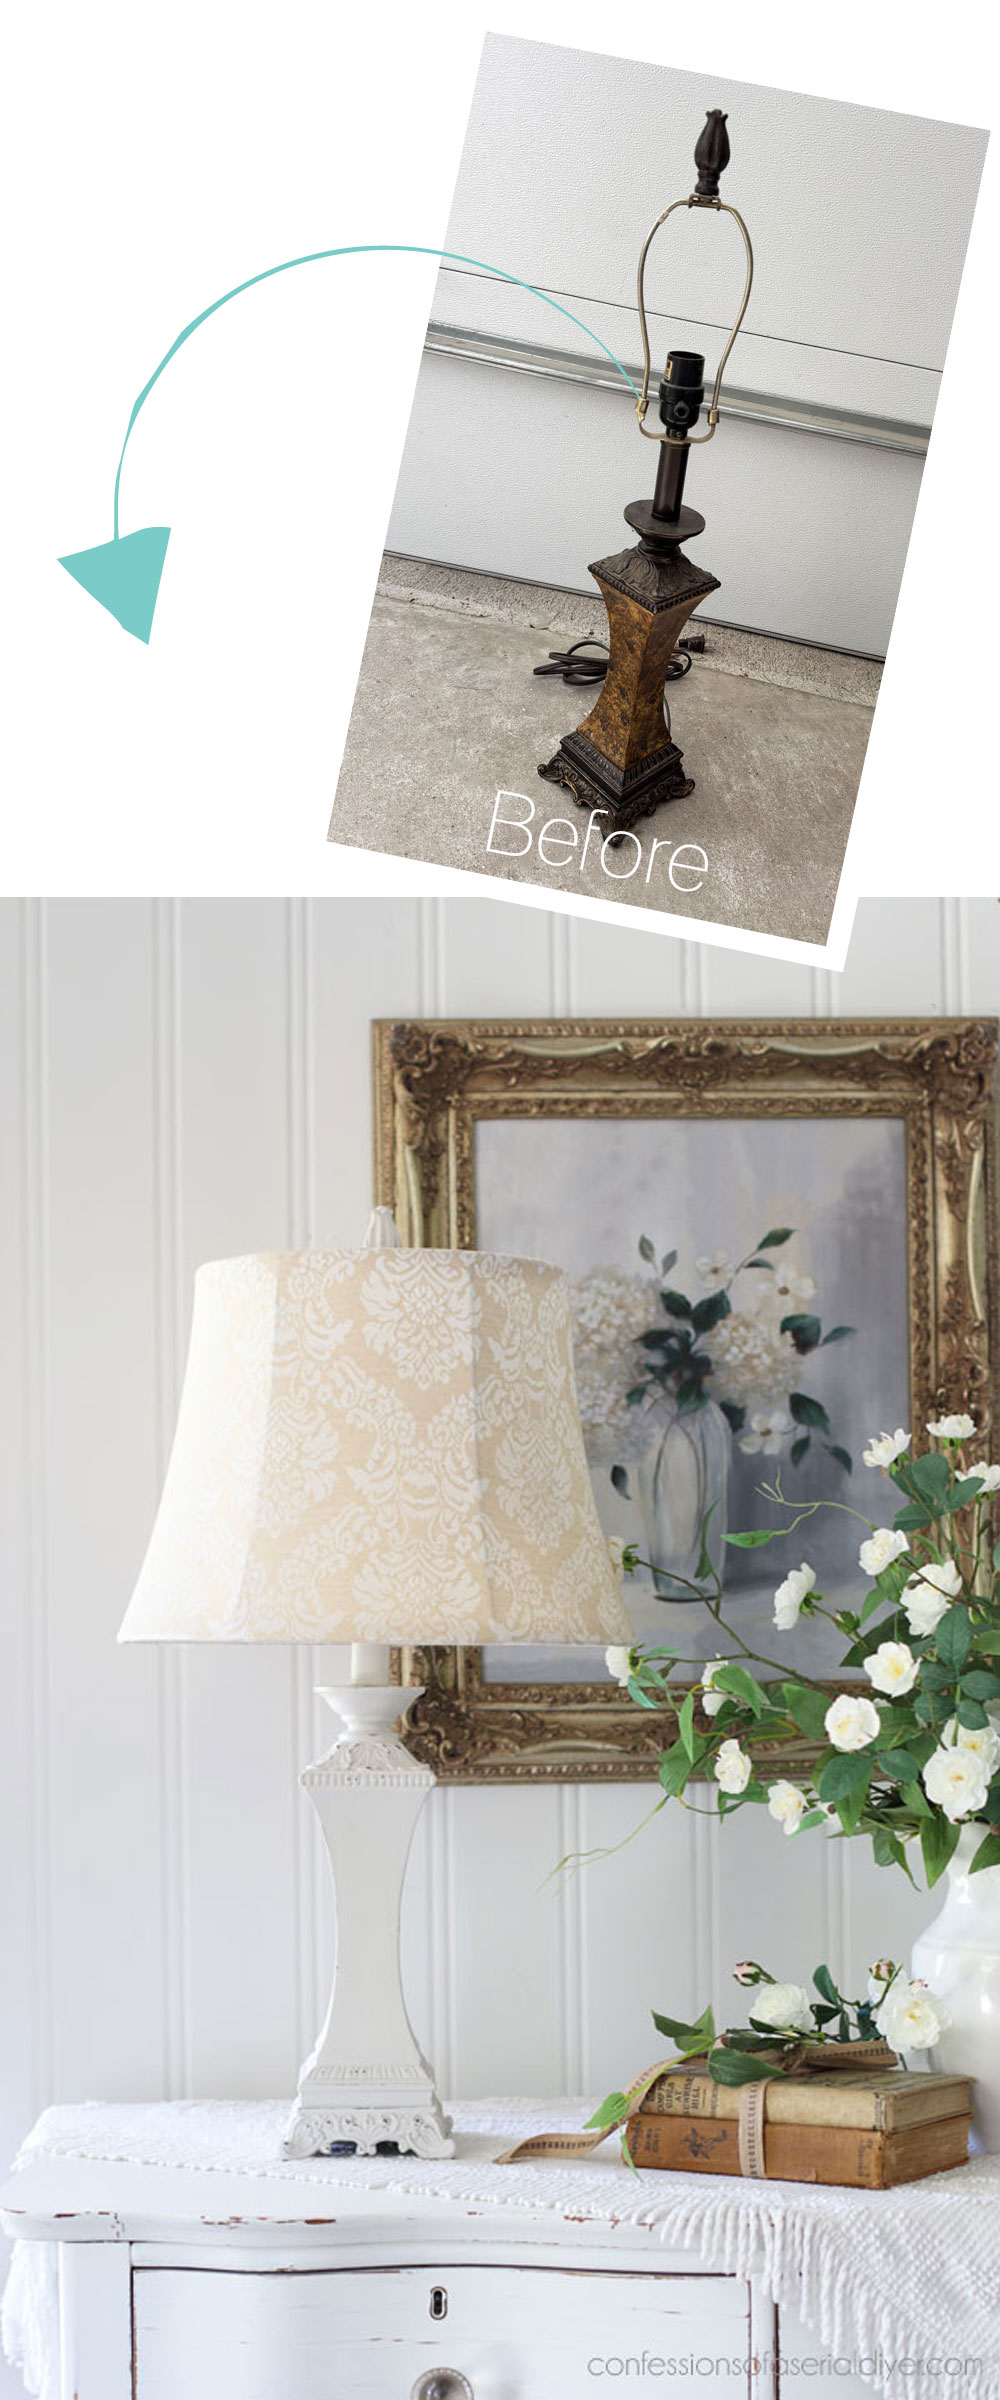
The lamp started at $5.98 and was marked down twice to $2.98:
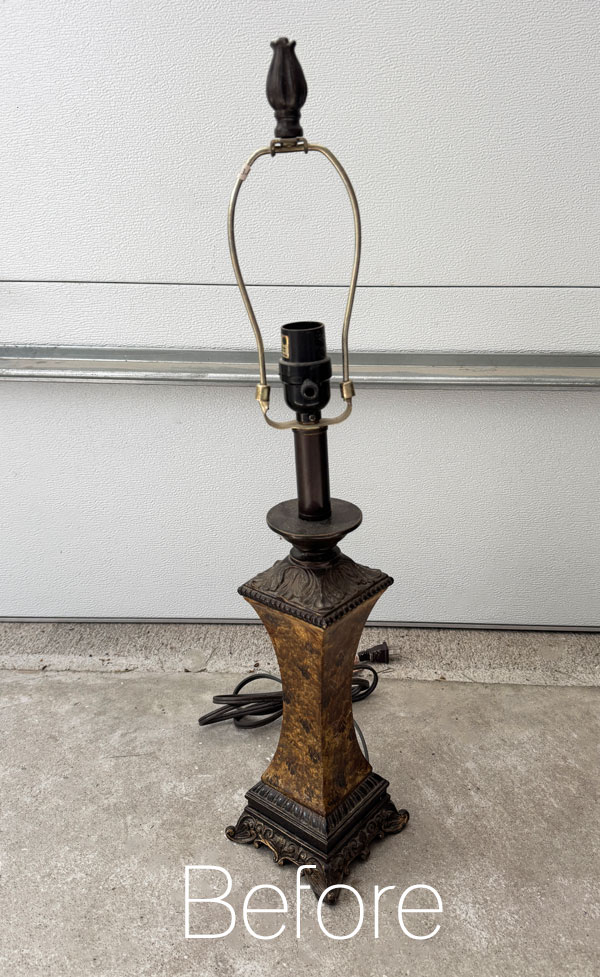
I don’t have any idea what they were going for with that center area, but I noticed the gorgeous detailing at the top and on the bottom right away:
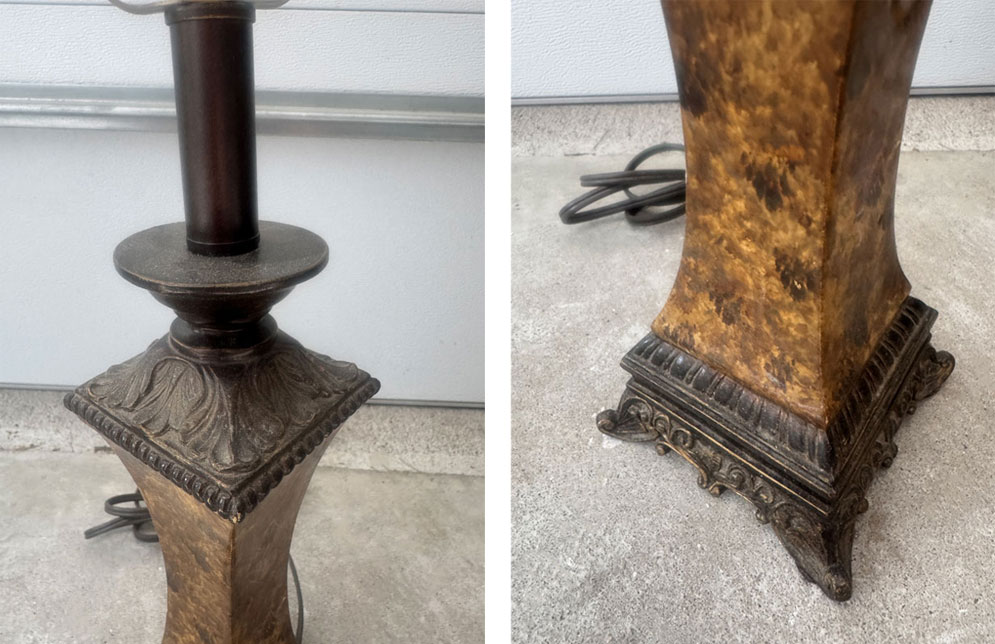
I originally thought I would add something like decoupage paper, or a transfer to the center section, but that ended up not being the case. Before I even got started, I dug through my lampshade stash to see if I had anything that would work with this lamp.
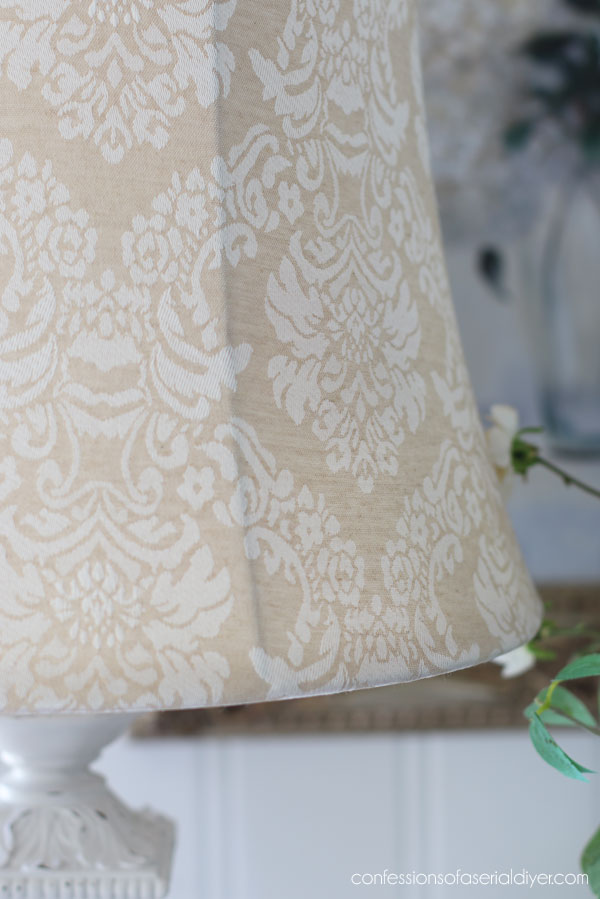
After testing out several options, I landed on this pretty shade that had also been a thrift store find for $4.99:
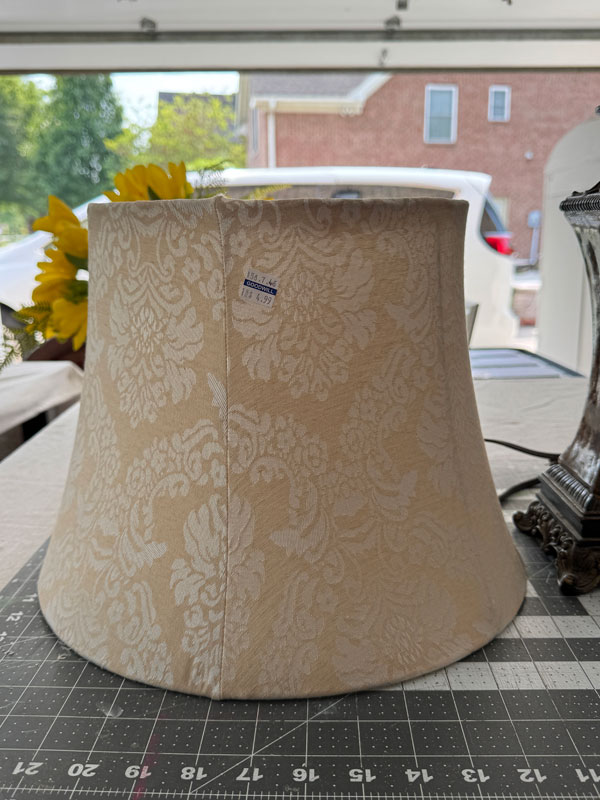
Now, you know that if you have ever shopped for a lampshade, that is an absolute steal! And it was in beautiful condition.
It was an ideal fit to the lamp:
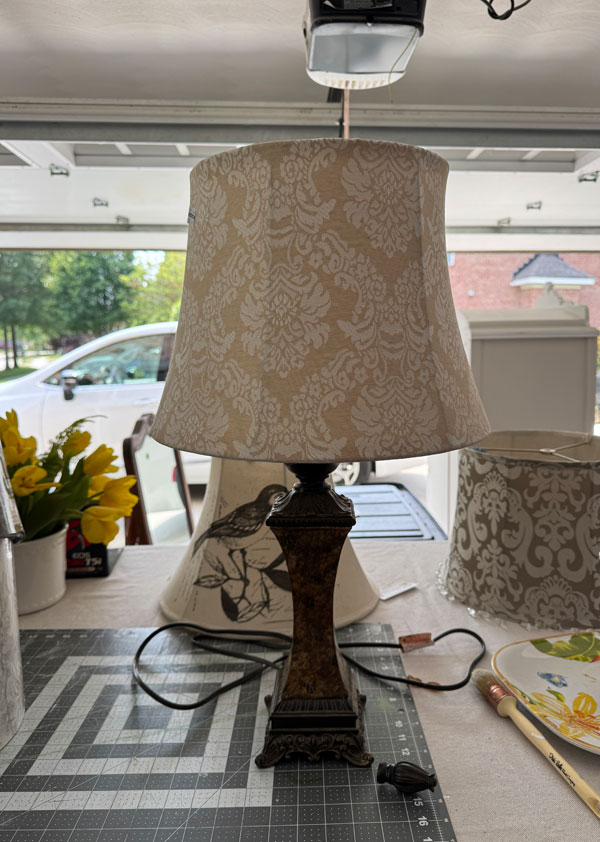
The shade helped guide where I wanted to go next, but first, it need a good cleaning!
Clean
I gave both pieces a good cleaning using my favorite prep for paint, White Lightning:
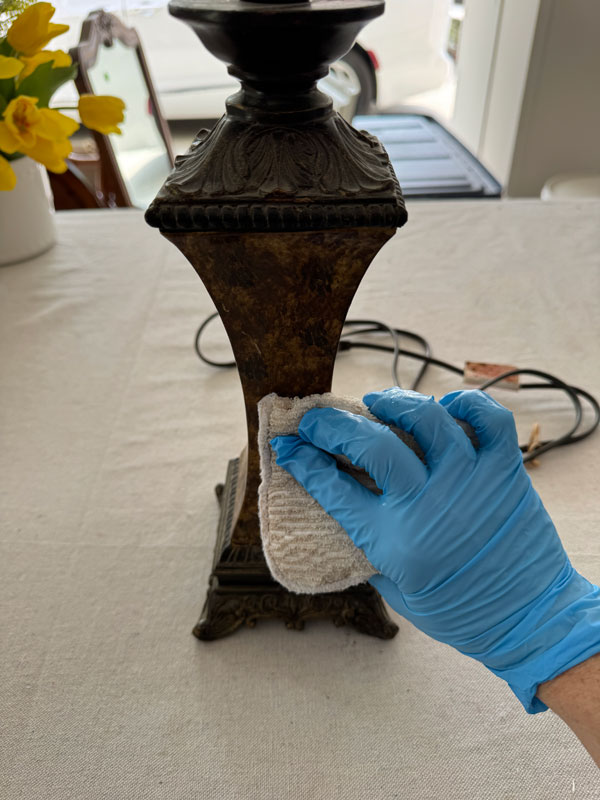
Paint
Then, after taping off the parts that I didn’t want to get paint on, I used my Belle Brush to apply two coats of Dixie Belle’s Gardenia:
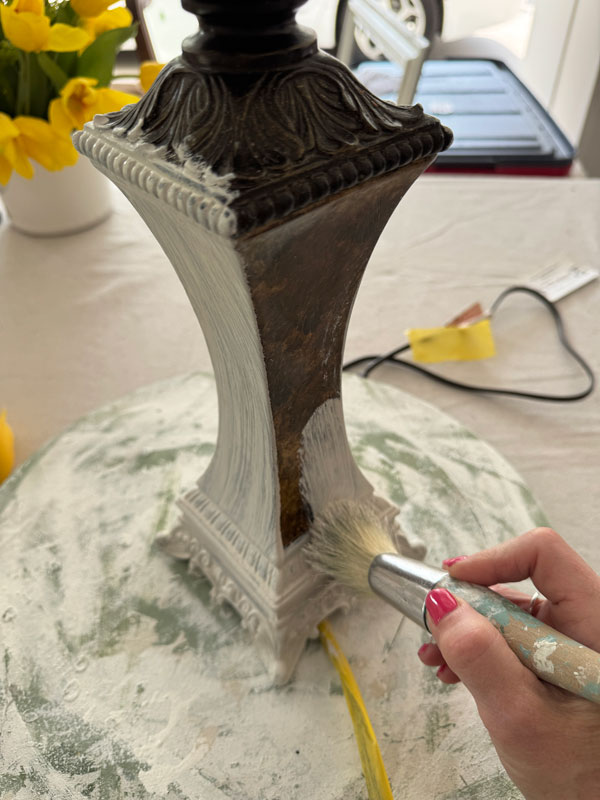
After painting this armoire and this small side table:
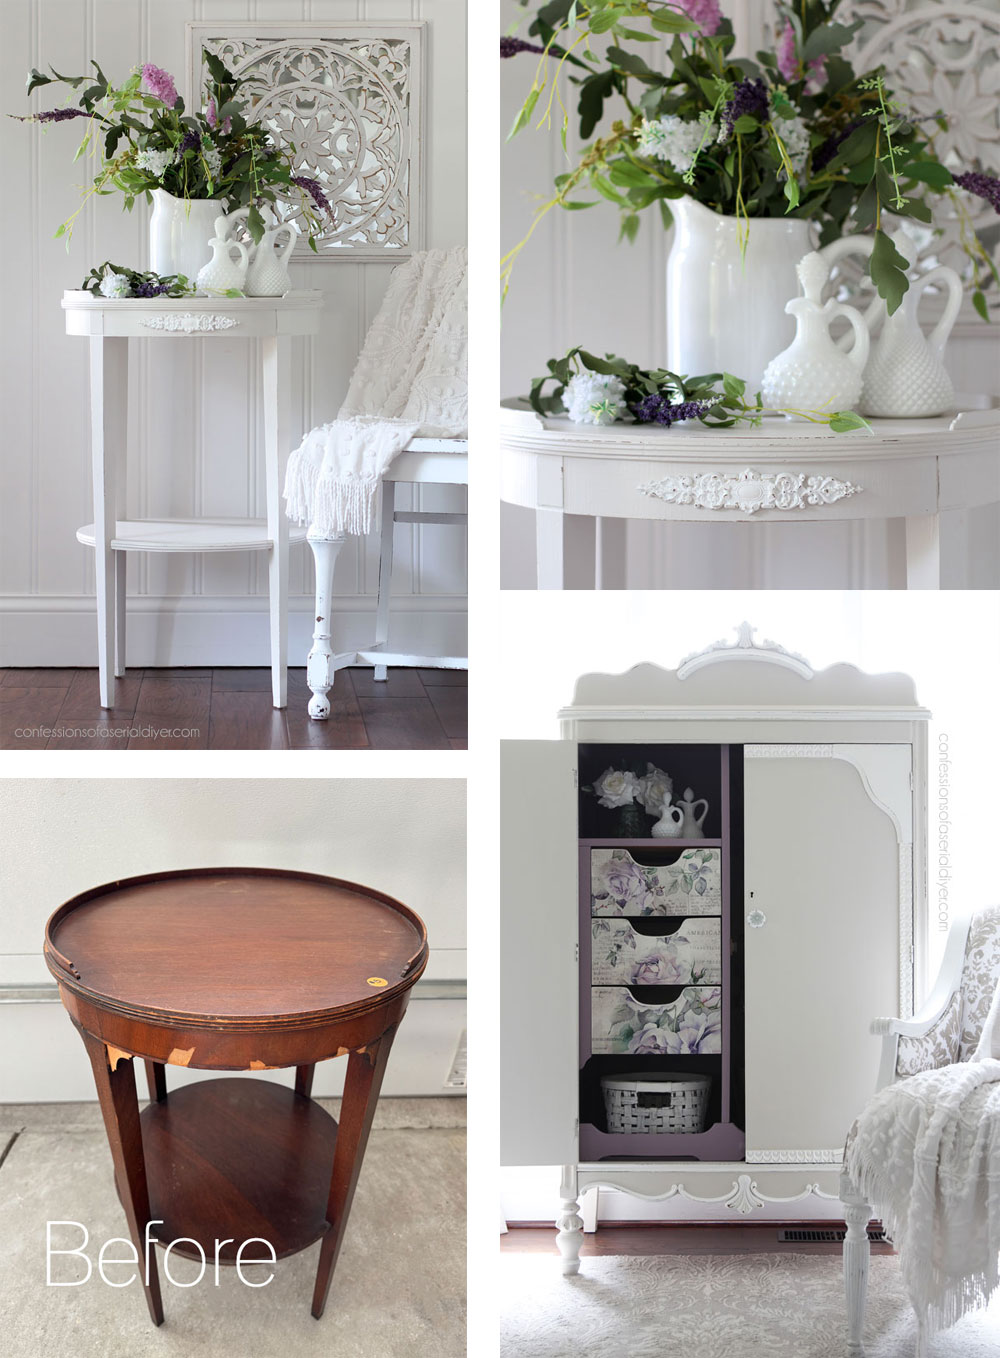
I only had a tiny amount left at the bottom of this jar:
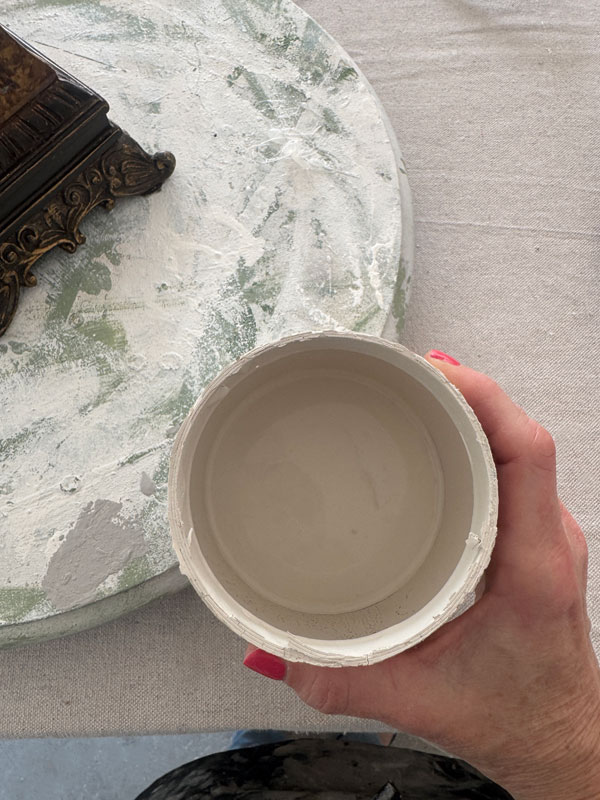
I was determined to use every last drop lol.
And here is a comparison of the whites that Dixie Belle now has to offer:

Compared to the others, Gardenia has just a touch of gray in it.
Here’s how I would describe the rest:
- Cotton: The brightest white
- Fluff: More of a vintage white
- Magnolia: A warm white with the slightest touch of yellow in it.
- Buttercream: A creamy, buttery color with a bit more yellow in it.
- Dropcloth: An off-white/cream with no yellow undertones.
- Ecru: A bit darker version of Dropcloth.
- Cucumber Ice: Has a touch of green in it.
Because I still have the armoire and small side table in this color to take over to my booth, I thought it would be nice to do the lamp to match, and this color worked perfectly with the shade!
Sand
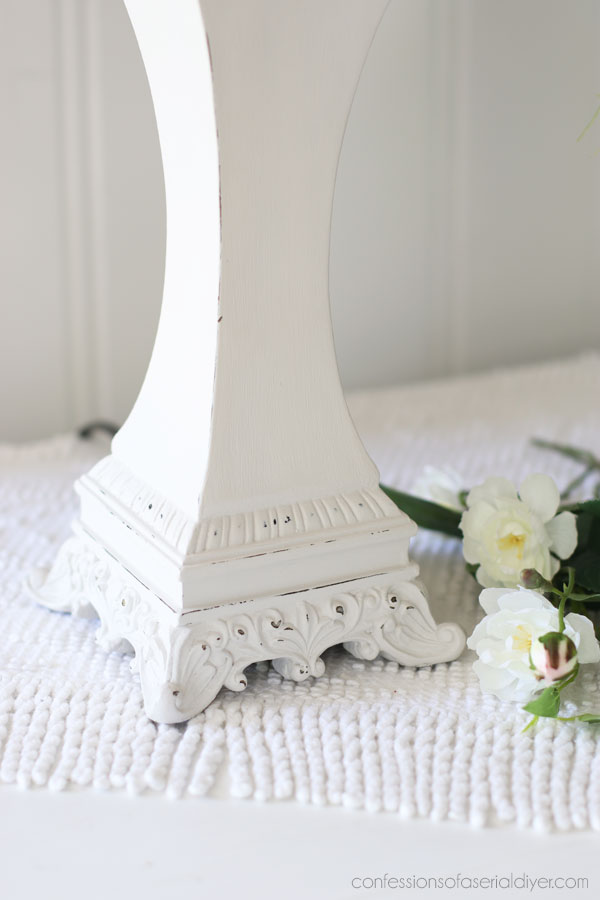
Once I had both coats of paint dry, I lightly sanded with 220 grit sandpaper to show off some of the details.
Seal
To seal, I gave it a quick spray of Rustoleum clear satin spray.
And this thrifty makeover was complete!
Thrifty Makeover #1 After
Here is how the lamp turned out:
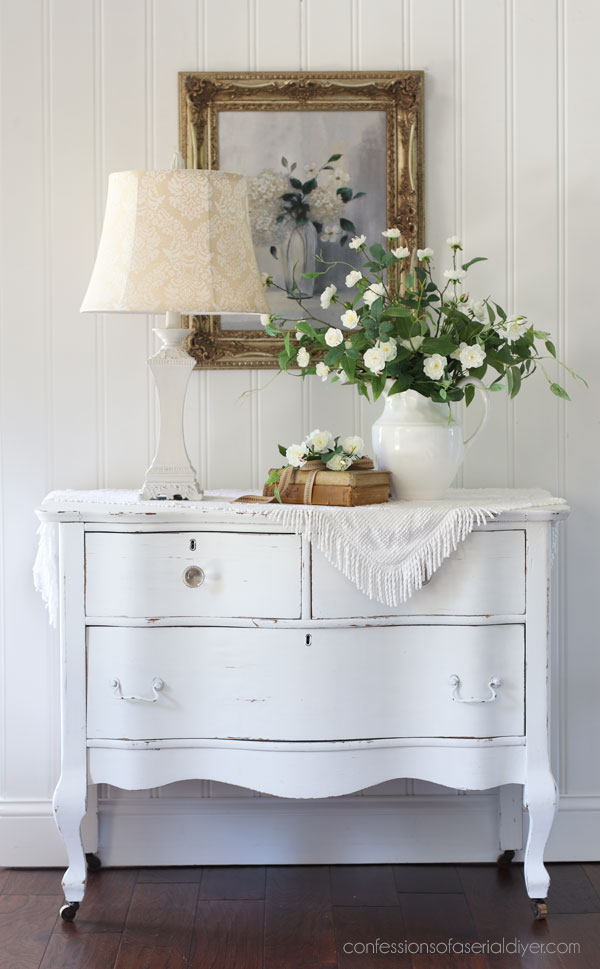
The pattern on the shade was enough that all I really needed to do the base was paint it…
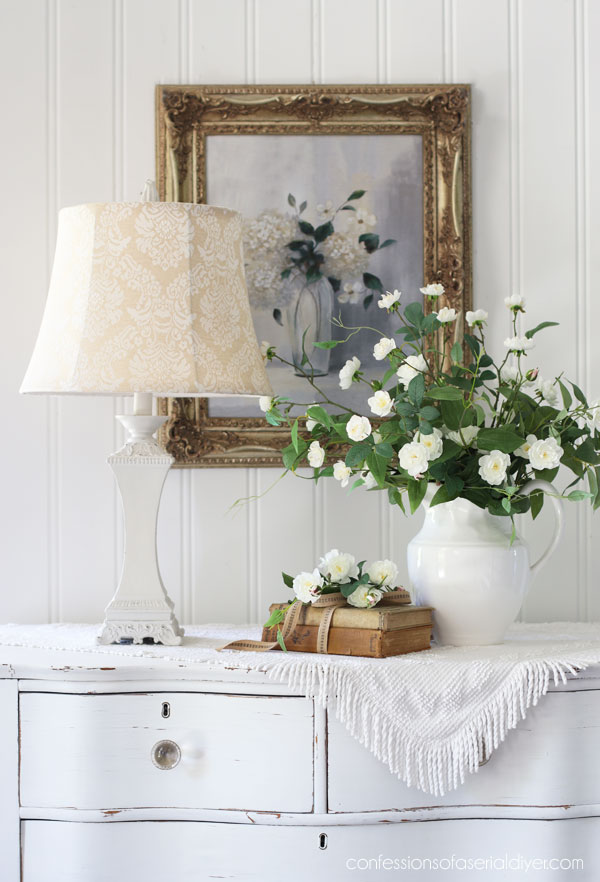
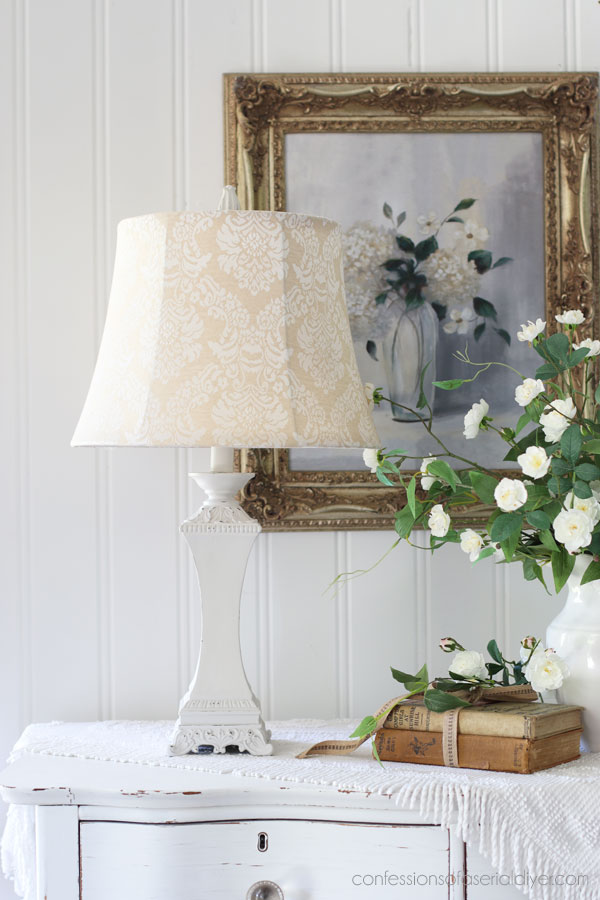
A little closer…
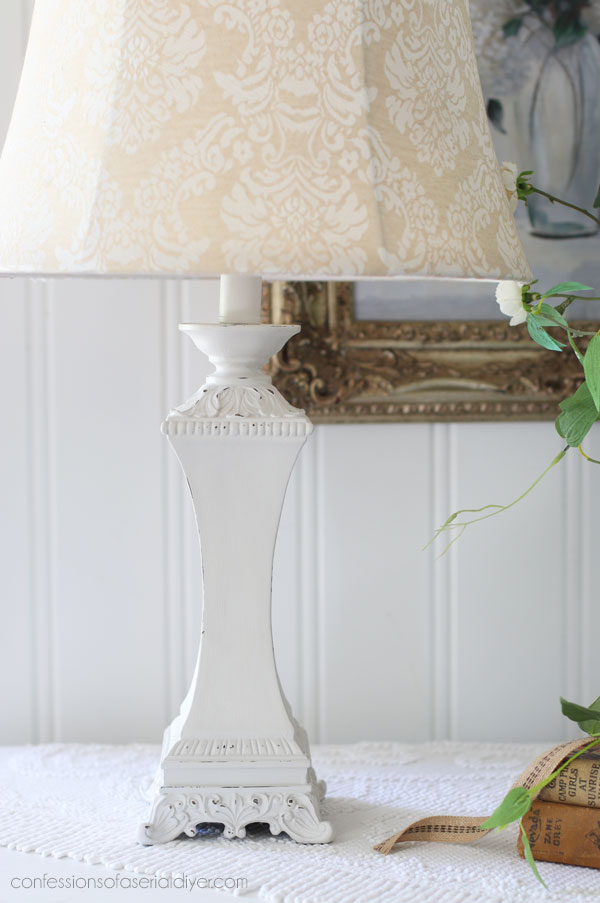
Those details painted up so pretty!
And this shade was an amazing find!
So simple and elegant now compared to the busy, dated before!
Thrifty Makeover #2
The second piece I found that day was this “art” for $4.99:
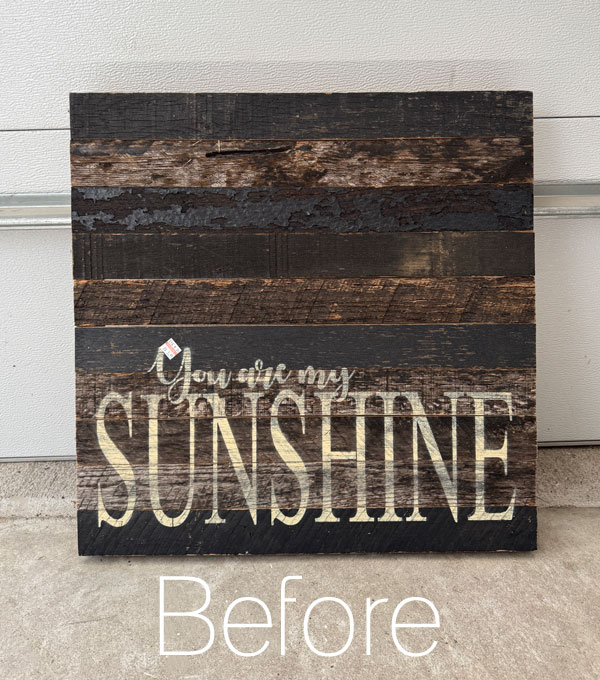
It had such a weird texture thing going on…
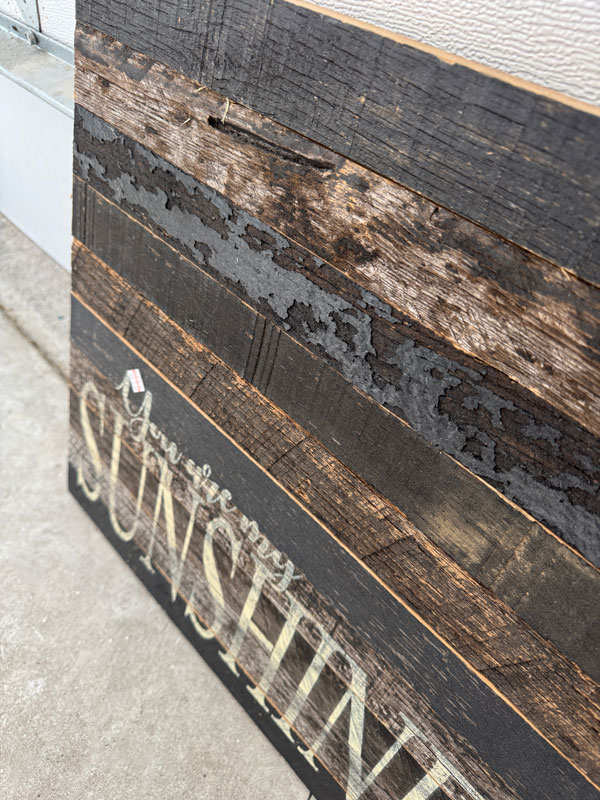
And it was a bit too rustic for the lighthearted saying that was on it.
But when you flipped it over, it looked pretty nice!
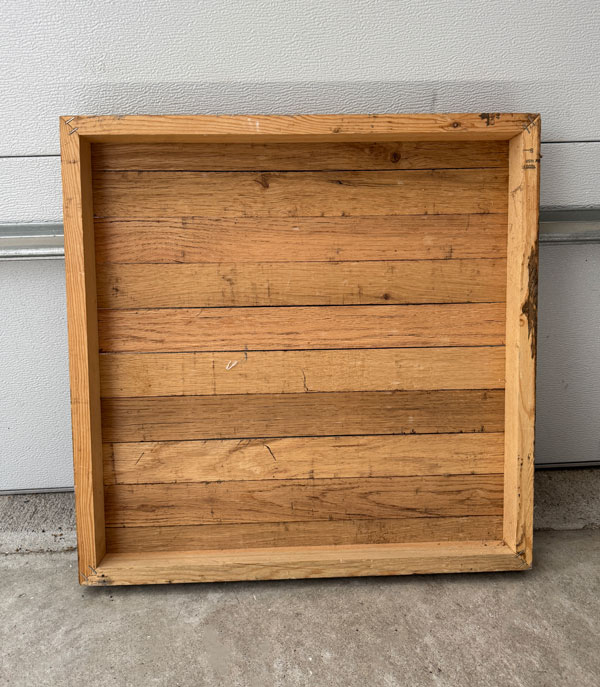
Now that, I could work with!
After cleaning, there had been staples on the corners that I removed. I secured those corners with the wood glue, and filled the holes with Dixie Mud:
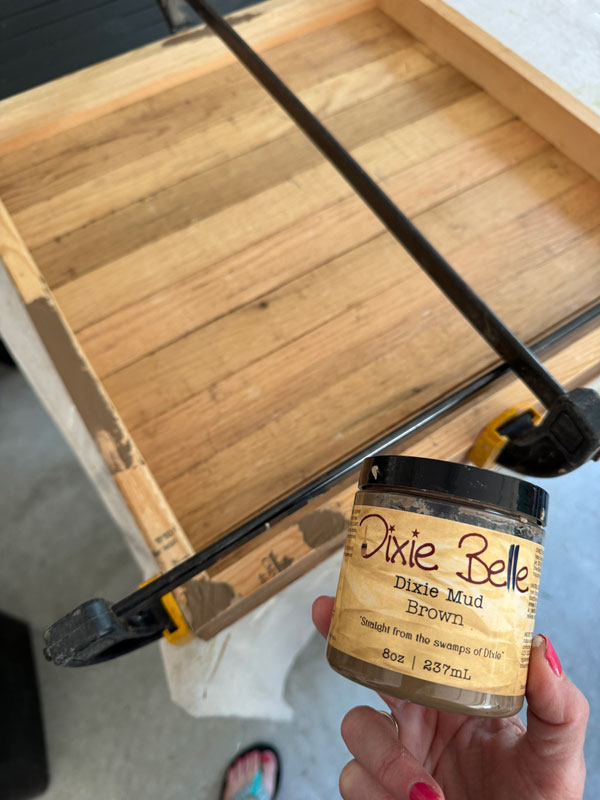
Once the mud was dry, I sanded those areas smooth.
Next, I pulled out these finial things that my dad used to use in lamps that he made:
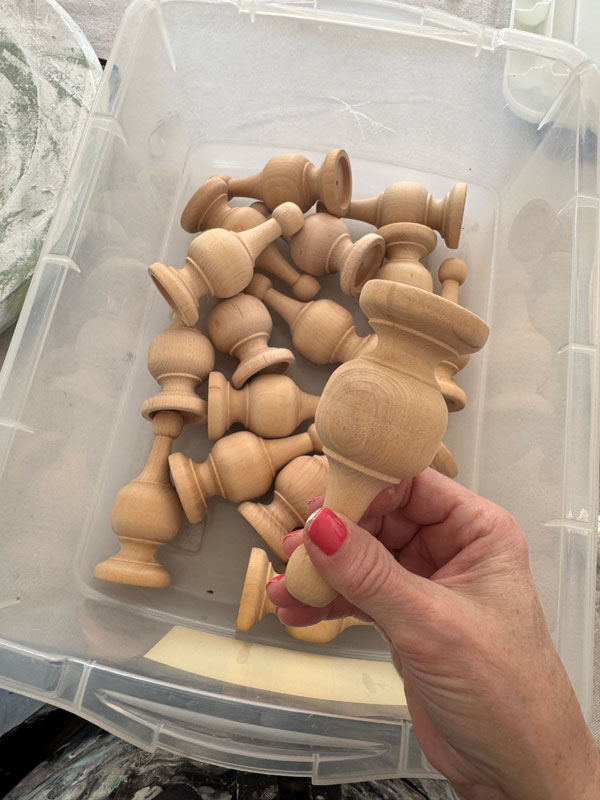
When he stopped woodworking, he gave me a bunch of things, including these. I used them most recently to add feet to the tray in this smalls post.
And, I decided to do it again here!
Adding feet to a wooden tray
These were pretty easy to add to this wooden tray.
Here’s how I did it:
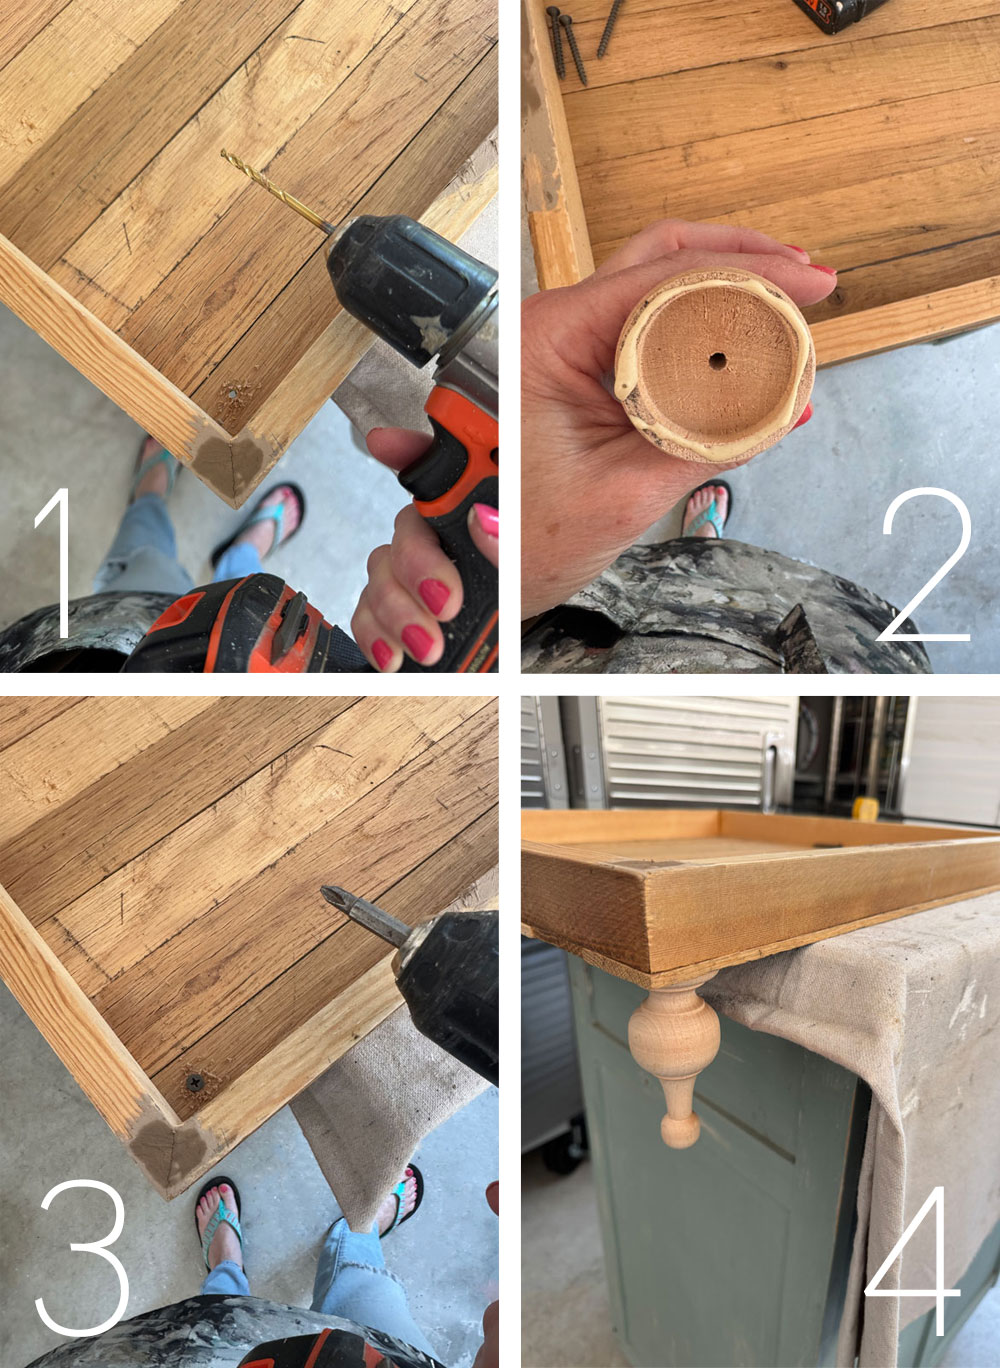
- The first thing I did was drill a hole where the center of my new feet would be using a drill bit. (As not to split those narrow strips of wood.)
- Next, I applied a ring of wood glue to my new feet. (It’s always a good idea to add wood glue when joining wood pieces together, in addition to screws or nails.)
- These “feet” had a hole down the center where I was able to drill a 2 inch screw down into them from the top.
- And here is the final look!
Paint
Paint was next, and I went with… did you guess Gardenia?
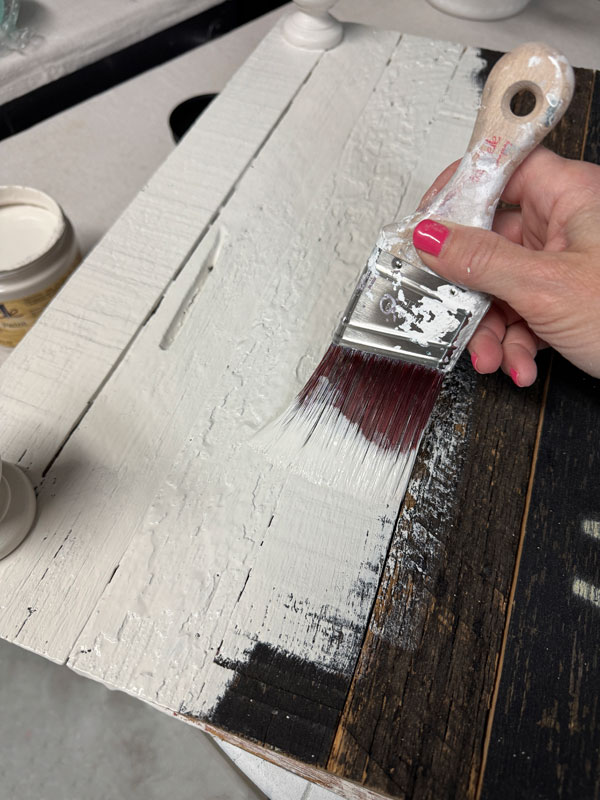
(As you can see, I did have to open a new jar, so I guess I’ll have to see what else I can add to the Gardenia collection!)
I thought I would stage these two pieces together, so I was making them to match, but I ended up staging them separately in the end.
You can literally see paint erasing all the ugly that was there in that photo above!
I gave it two coats for solid coverage all over.
Adding Decoupage Paper
The lamp was pretty simple, so I wanted to add a little something more to this piece. And, I had some of this lovely Meadow Melodies decoupage paper left over from the small tray I referenced above.
It has been folded, so to remove the folds, I used my iron on the LOWEST setting:
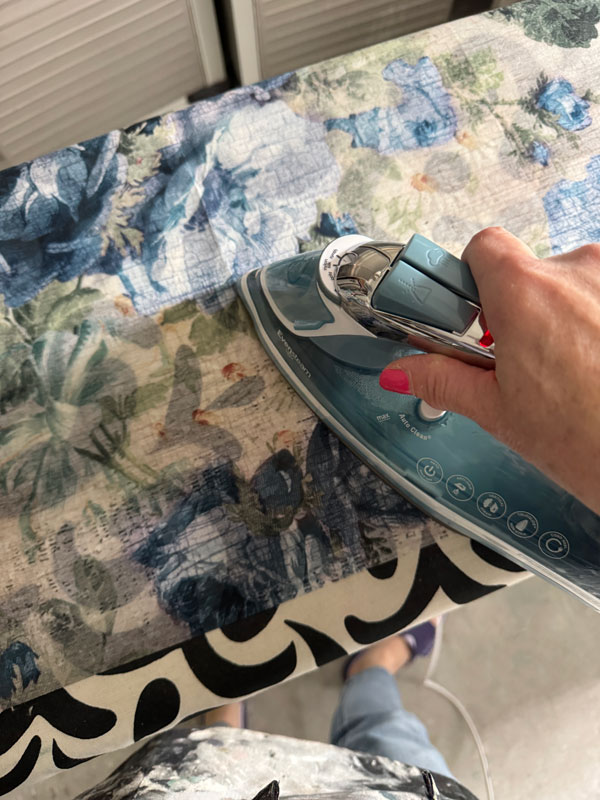
Then, I applied the paper using Redesign’s Decoupage Gel and my Foam n Dandy 2″ brush:
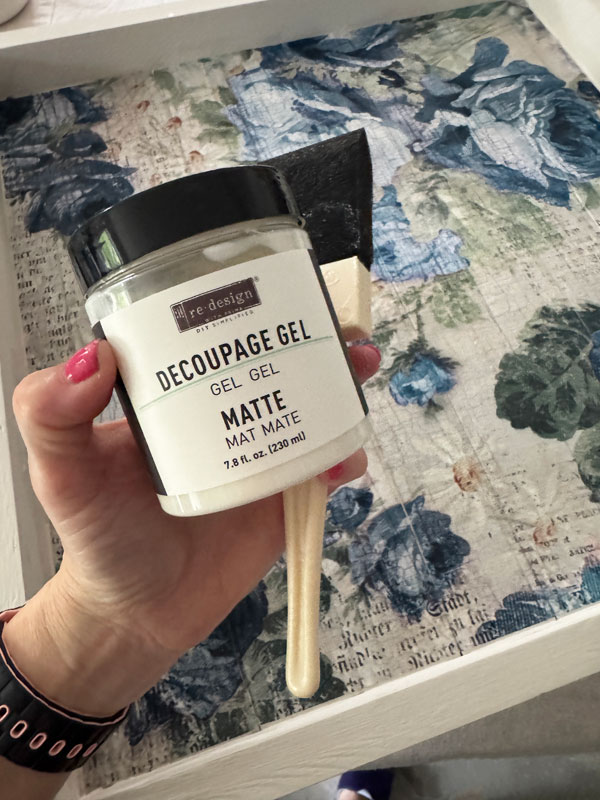
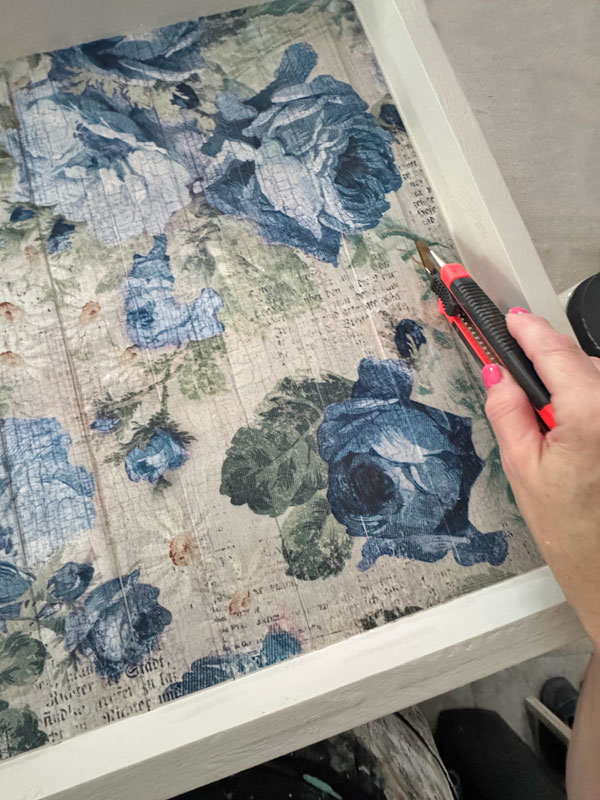
Because some of the slats on the bottom were raised in areas, I added the gel and paper a couple of slats at a time and cut the paper at the joints as I went.
Seal
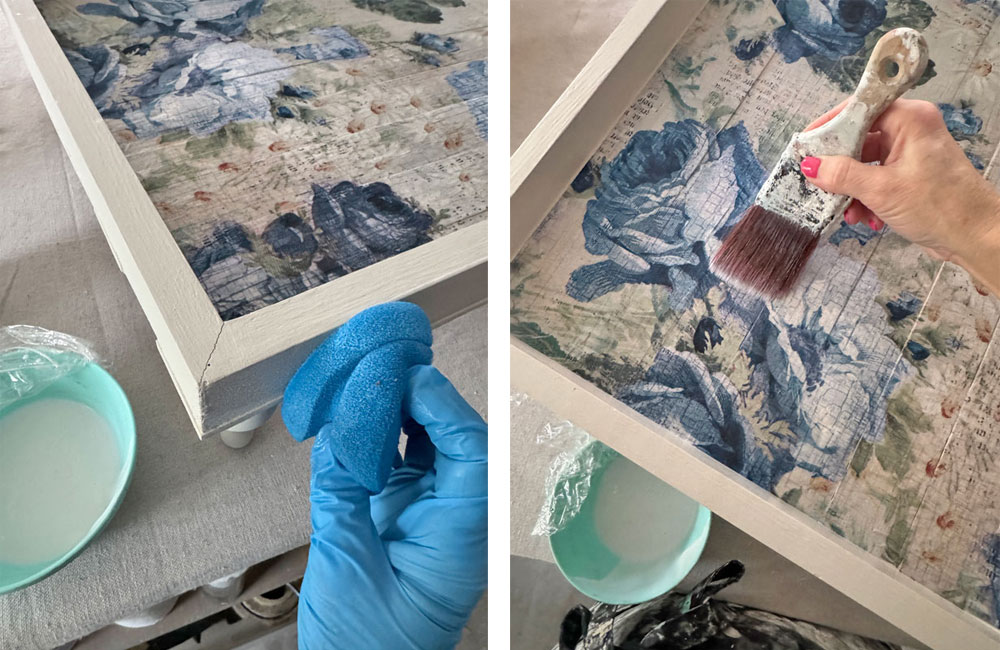
To seal, I applied Clear Coat in the satin finish using a blue sponge applicator to the wood areas and a brush to the decoupage paper.
Thrifty Makeover #2 After
Here is how makeover number two looks now:
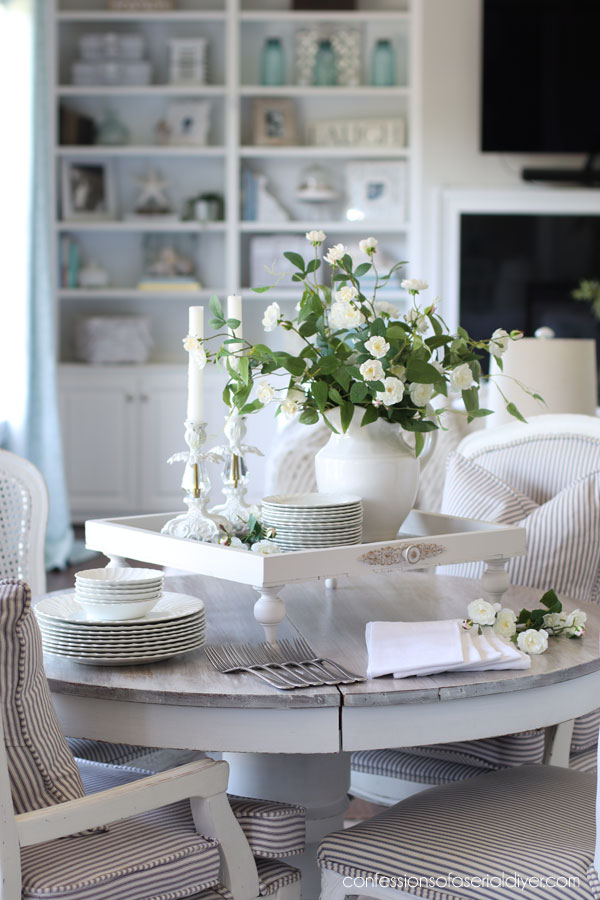
From rustic to a little more fancy!
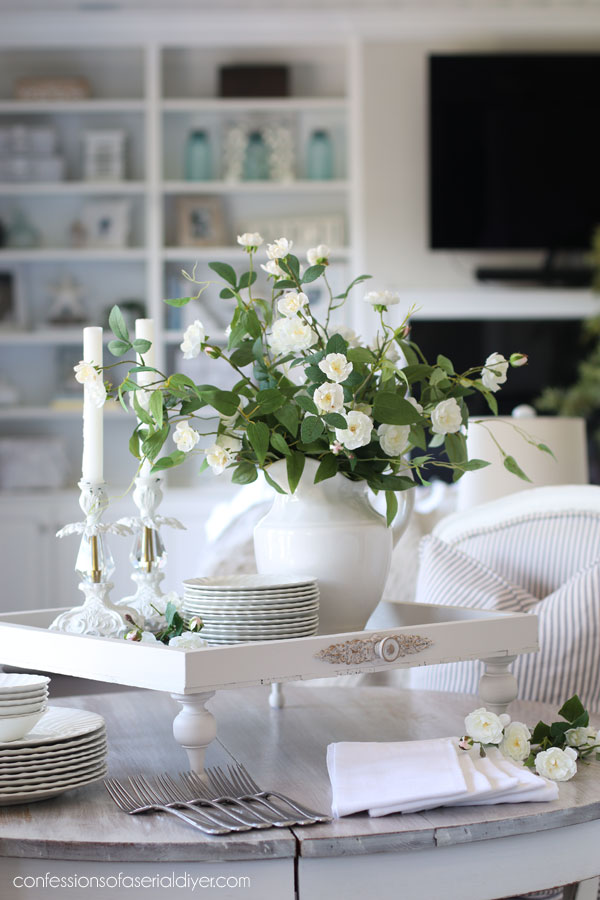
And I added a small embellishment to the front as well using the Josephine Mould and Amazing Casting Resin:
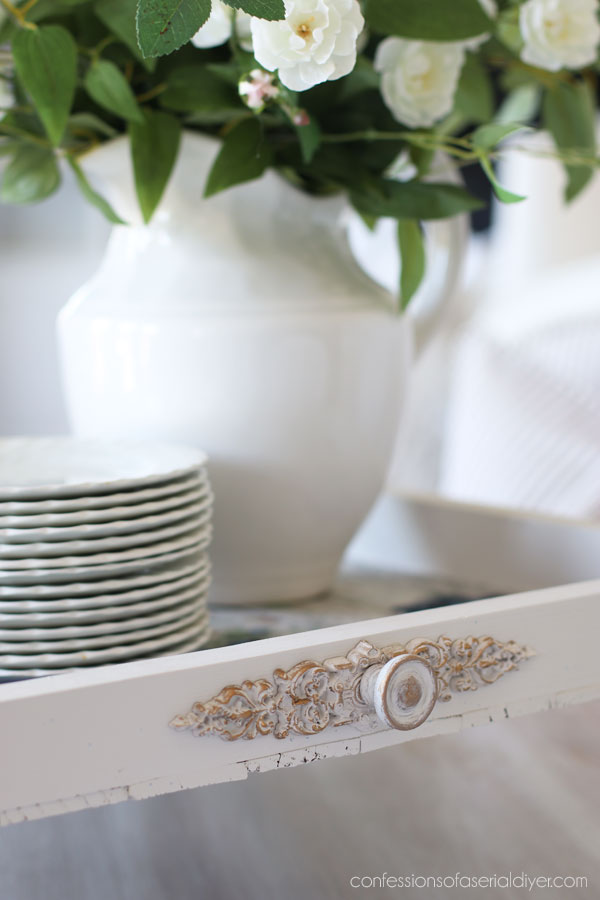
I highlighted the details with Gilding Wax in Antique Gold.
A little peek at the pretty paper…
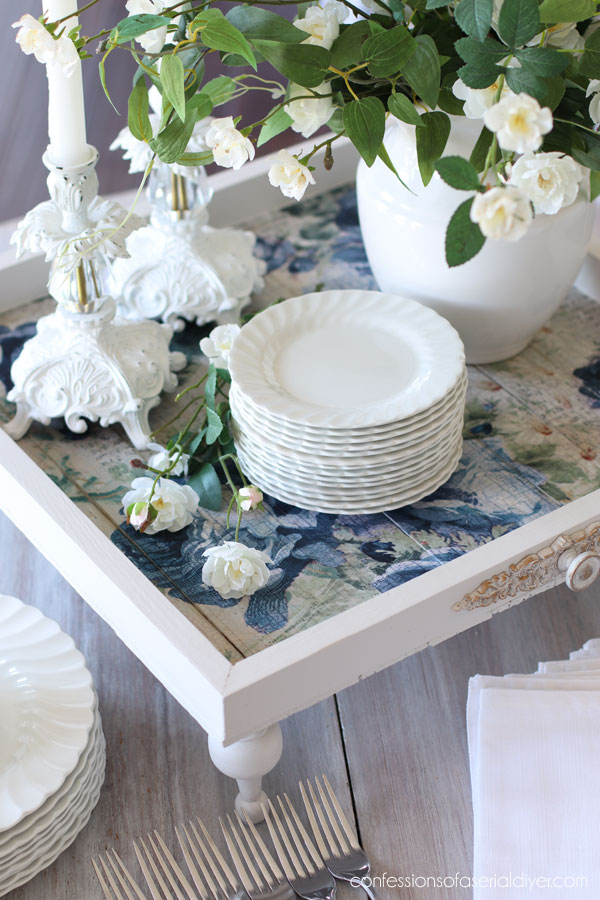
This would be fantastic as a riser on a buffet.
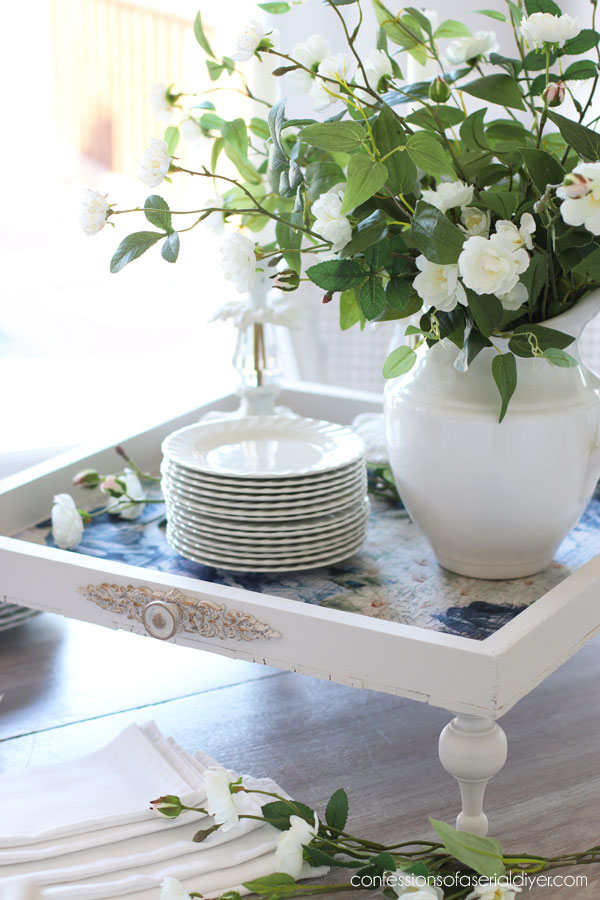
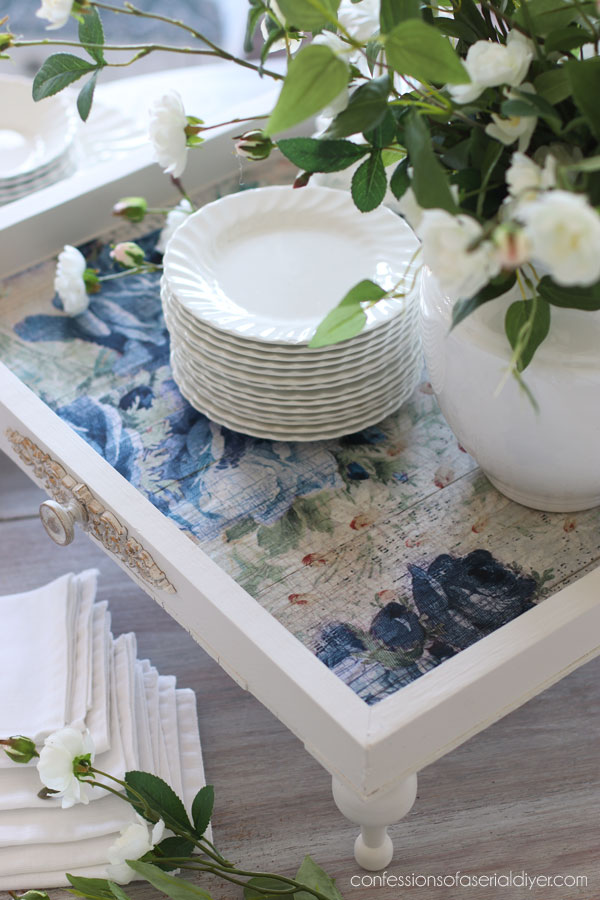
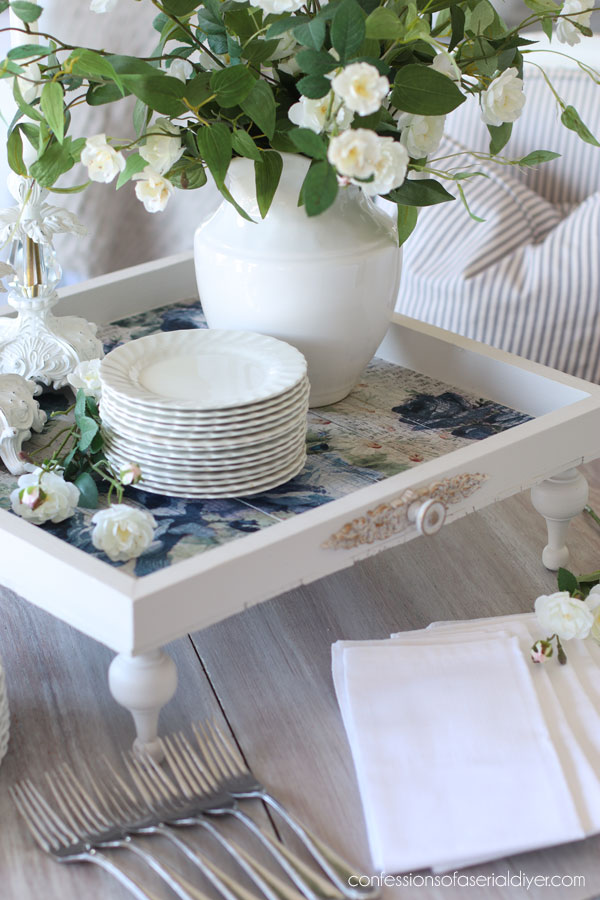
Here’s a better look at the bottom:
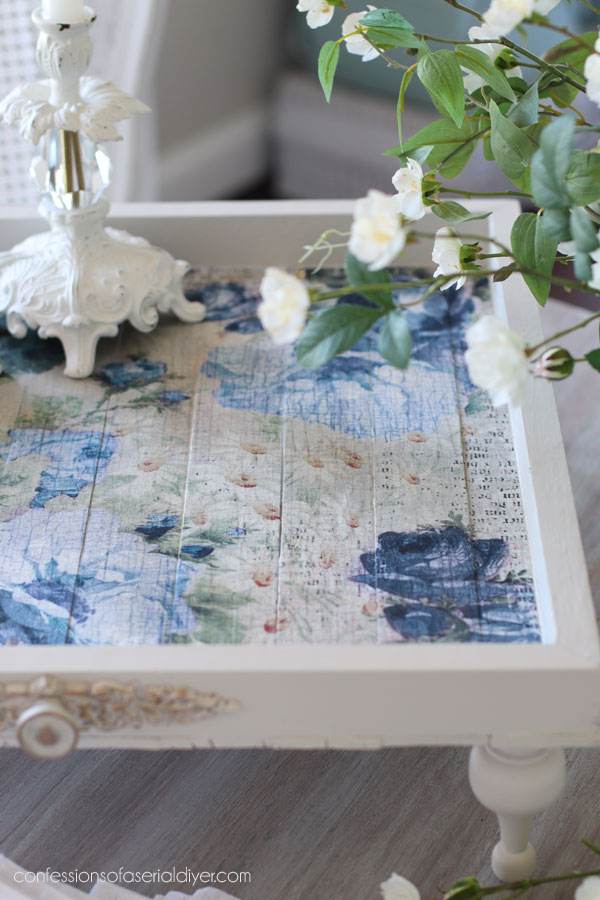
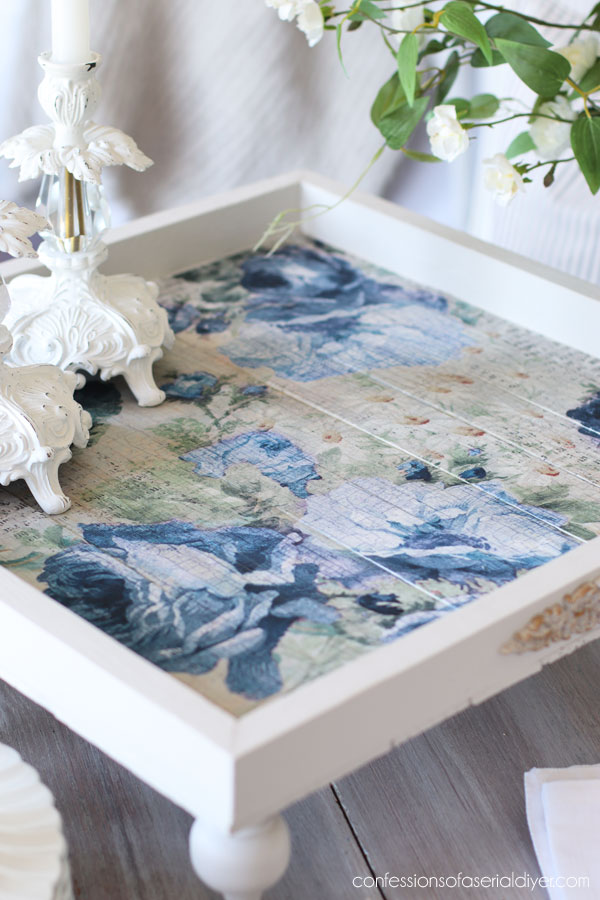
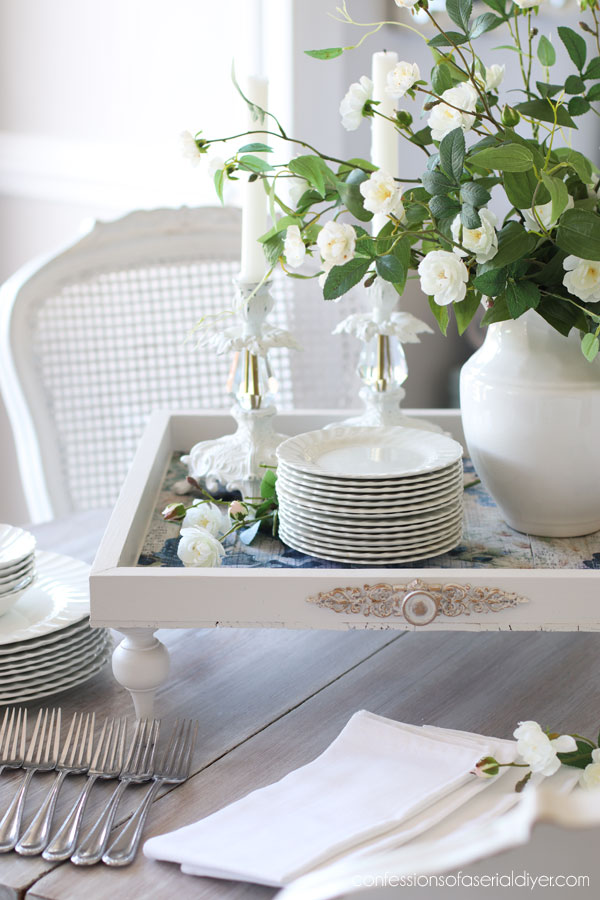
Such a sweet piece this turned out to be!
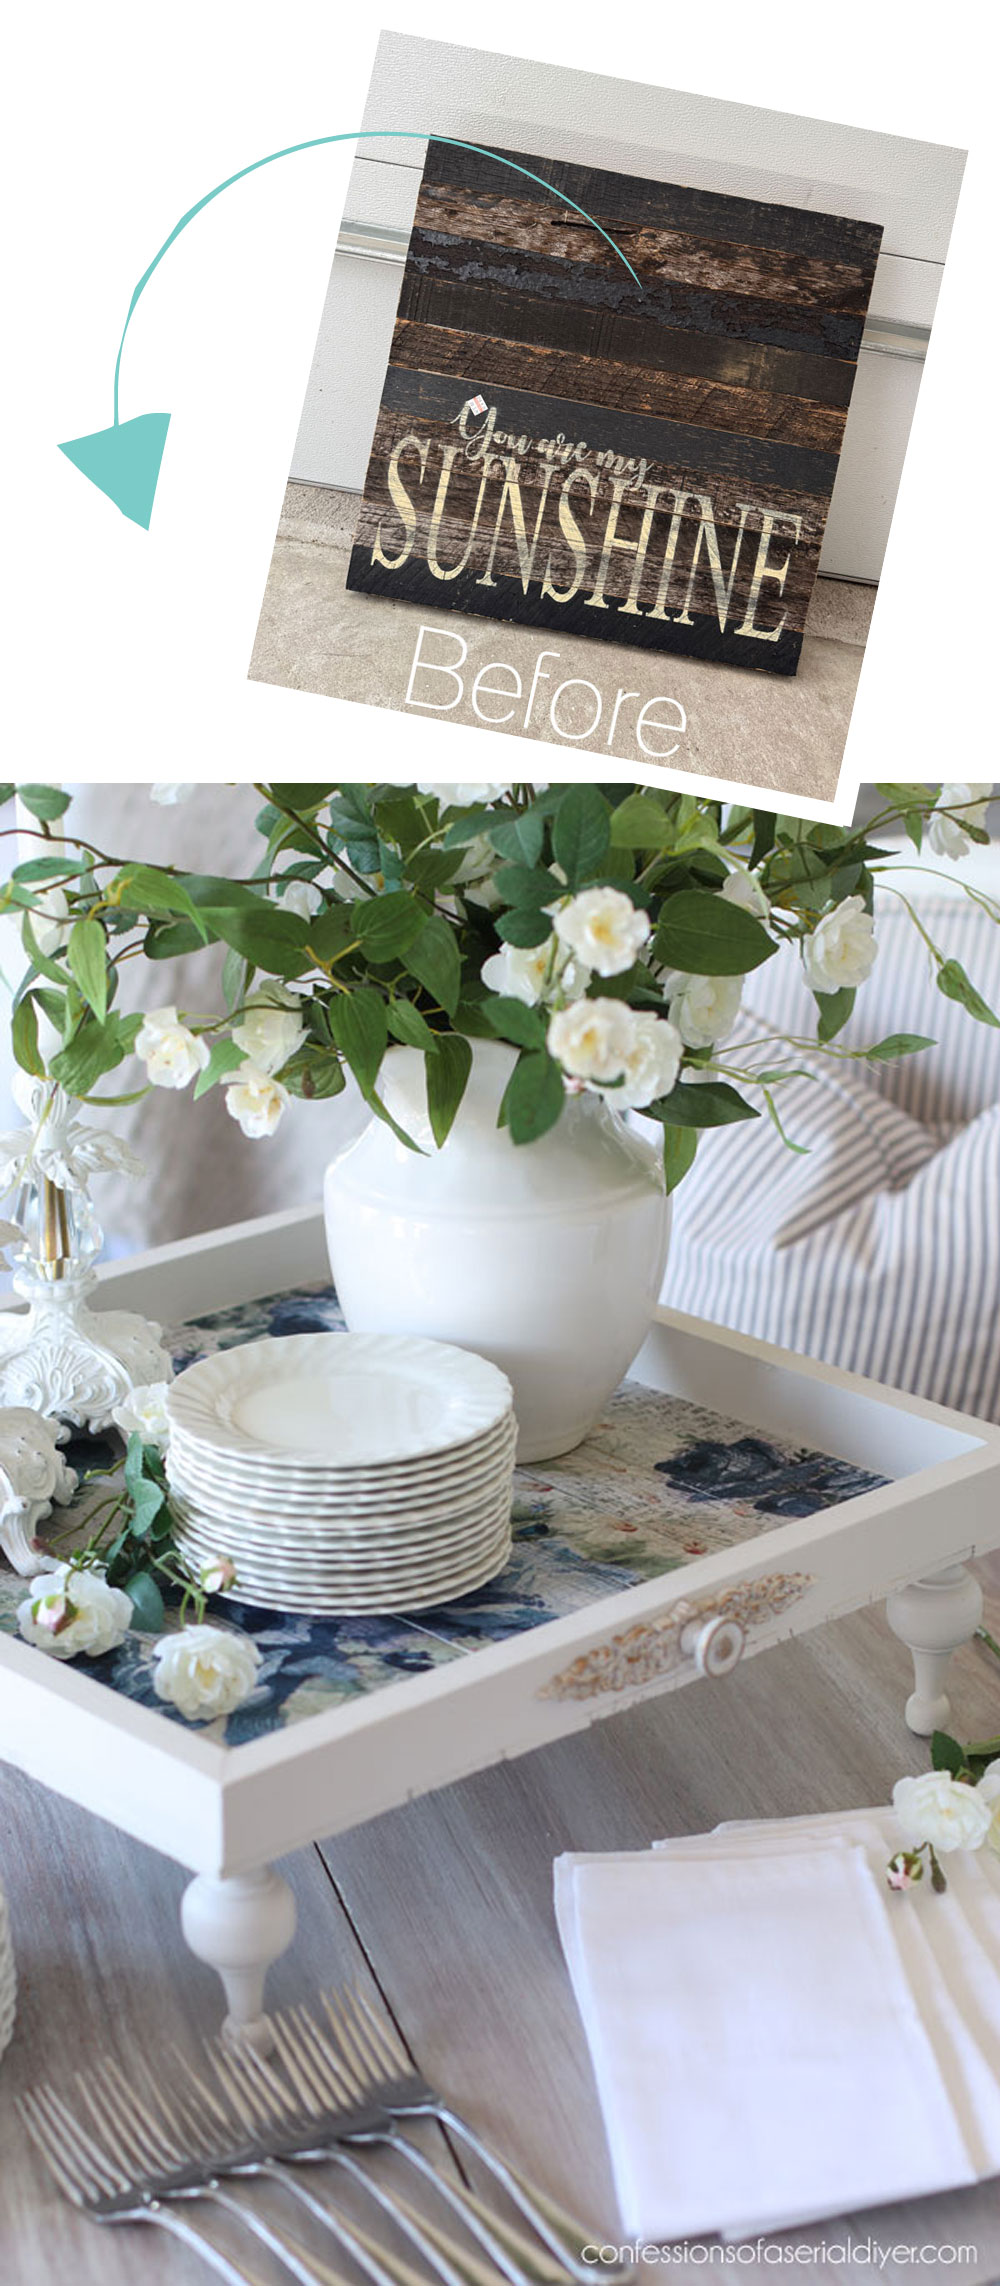
And that is two more makeovers complete!
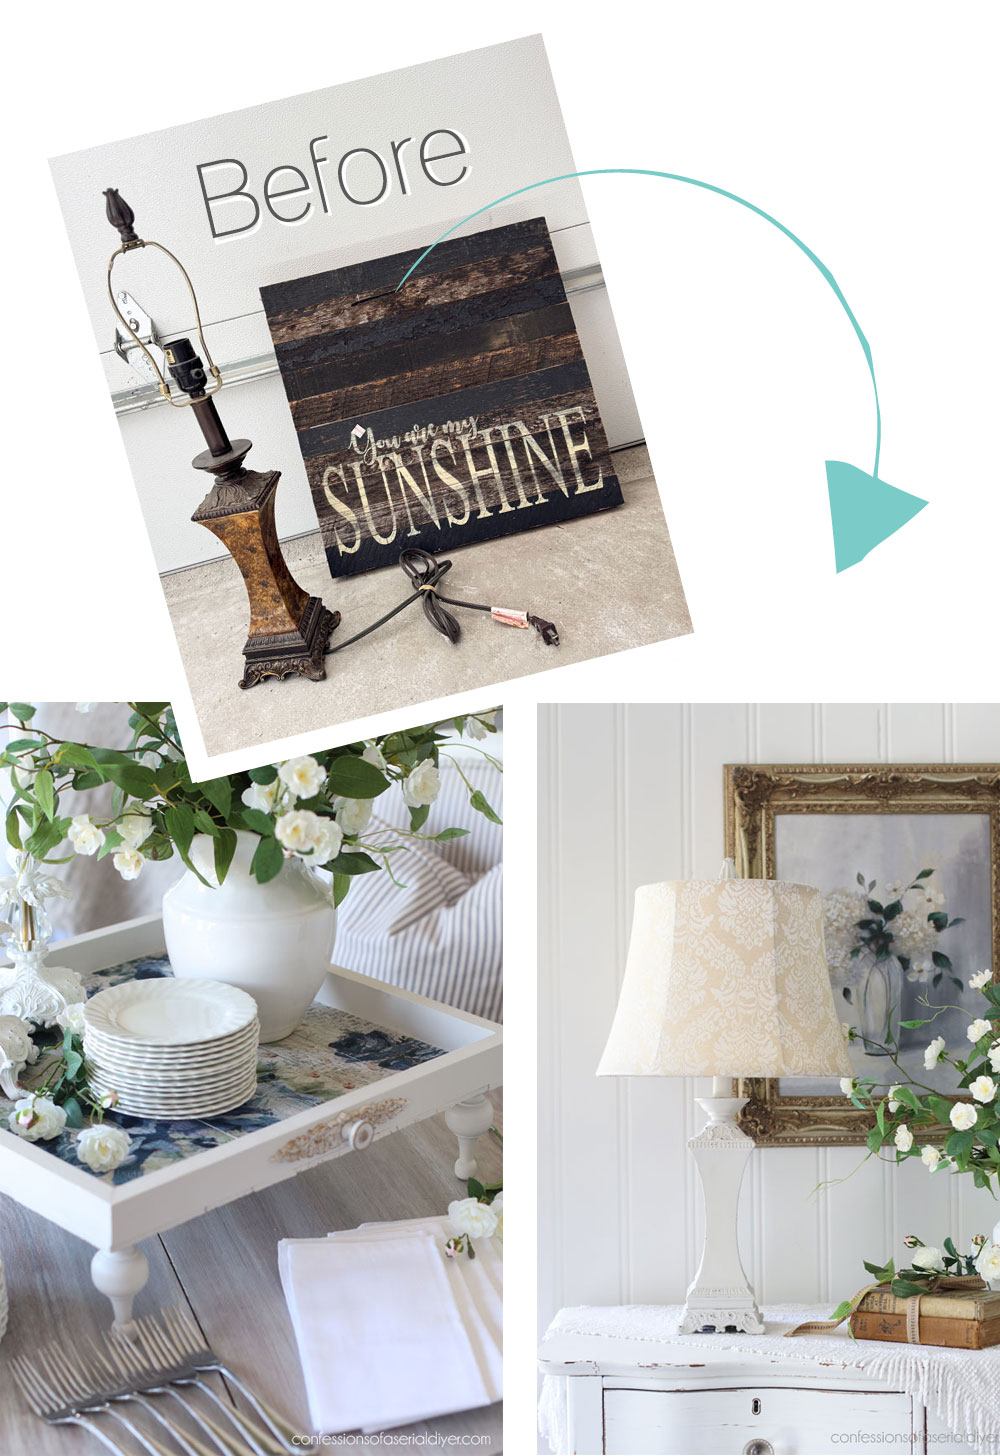
And two more crossed off my list!!
Now be sure to go visit my dear friend, Nancy, to see what she did with these trays!
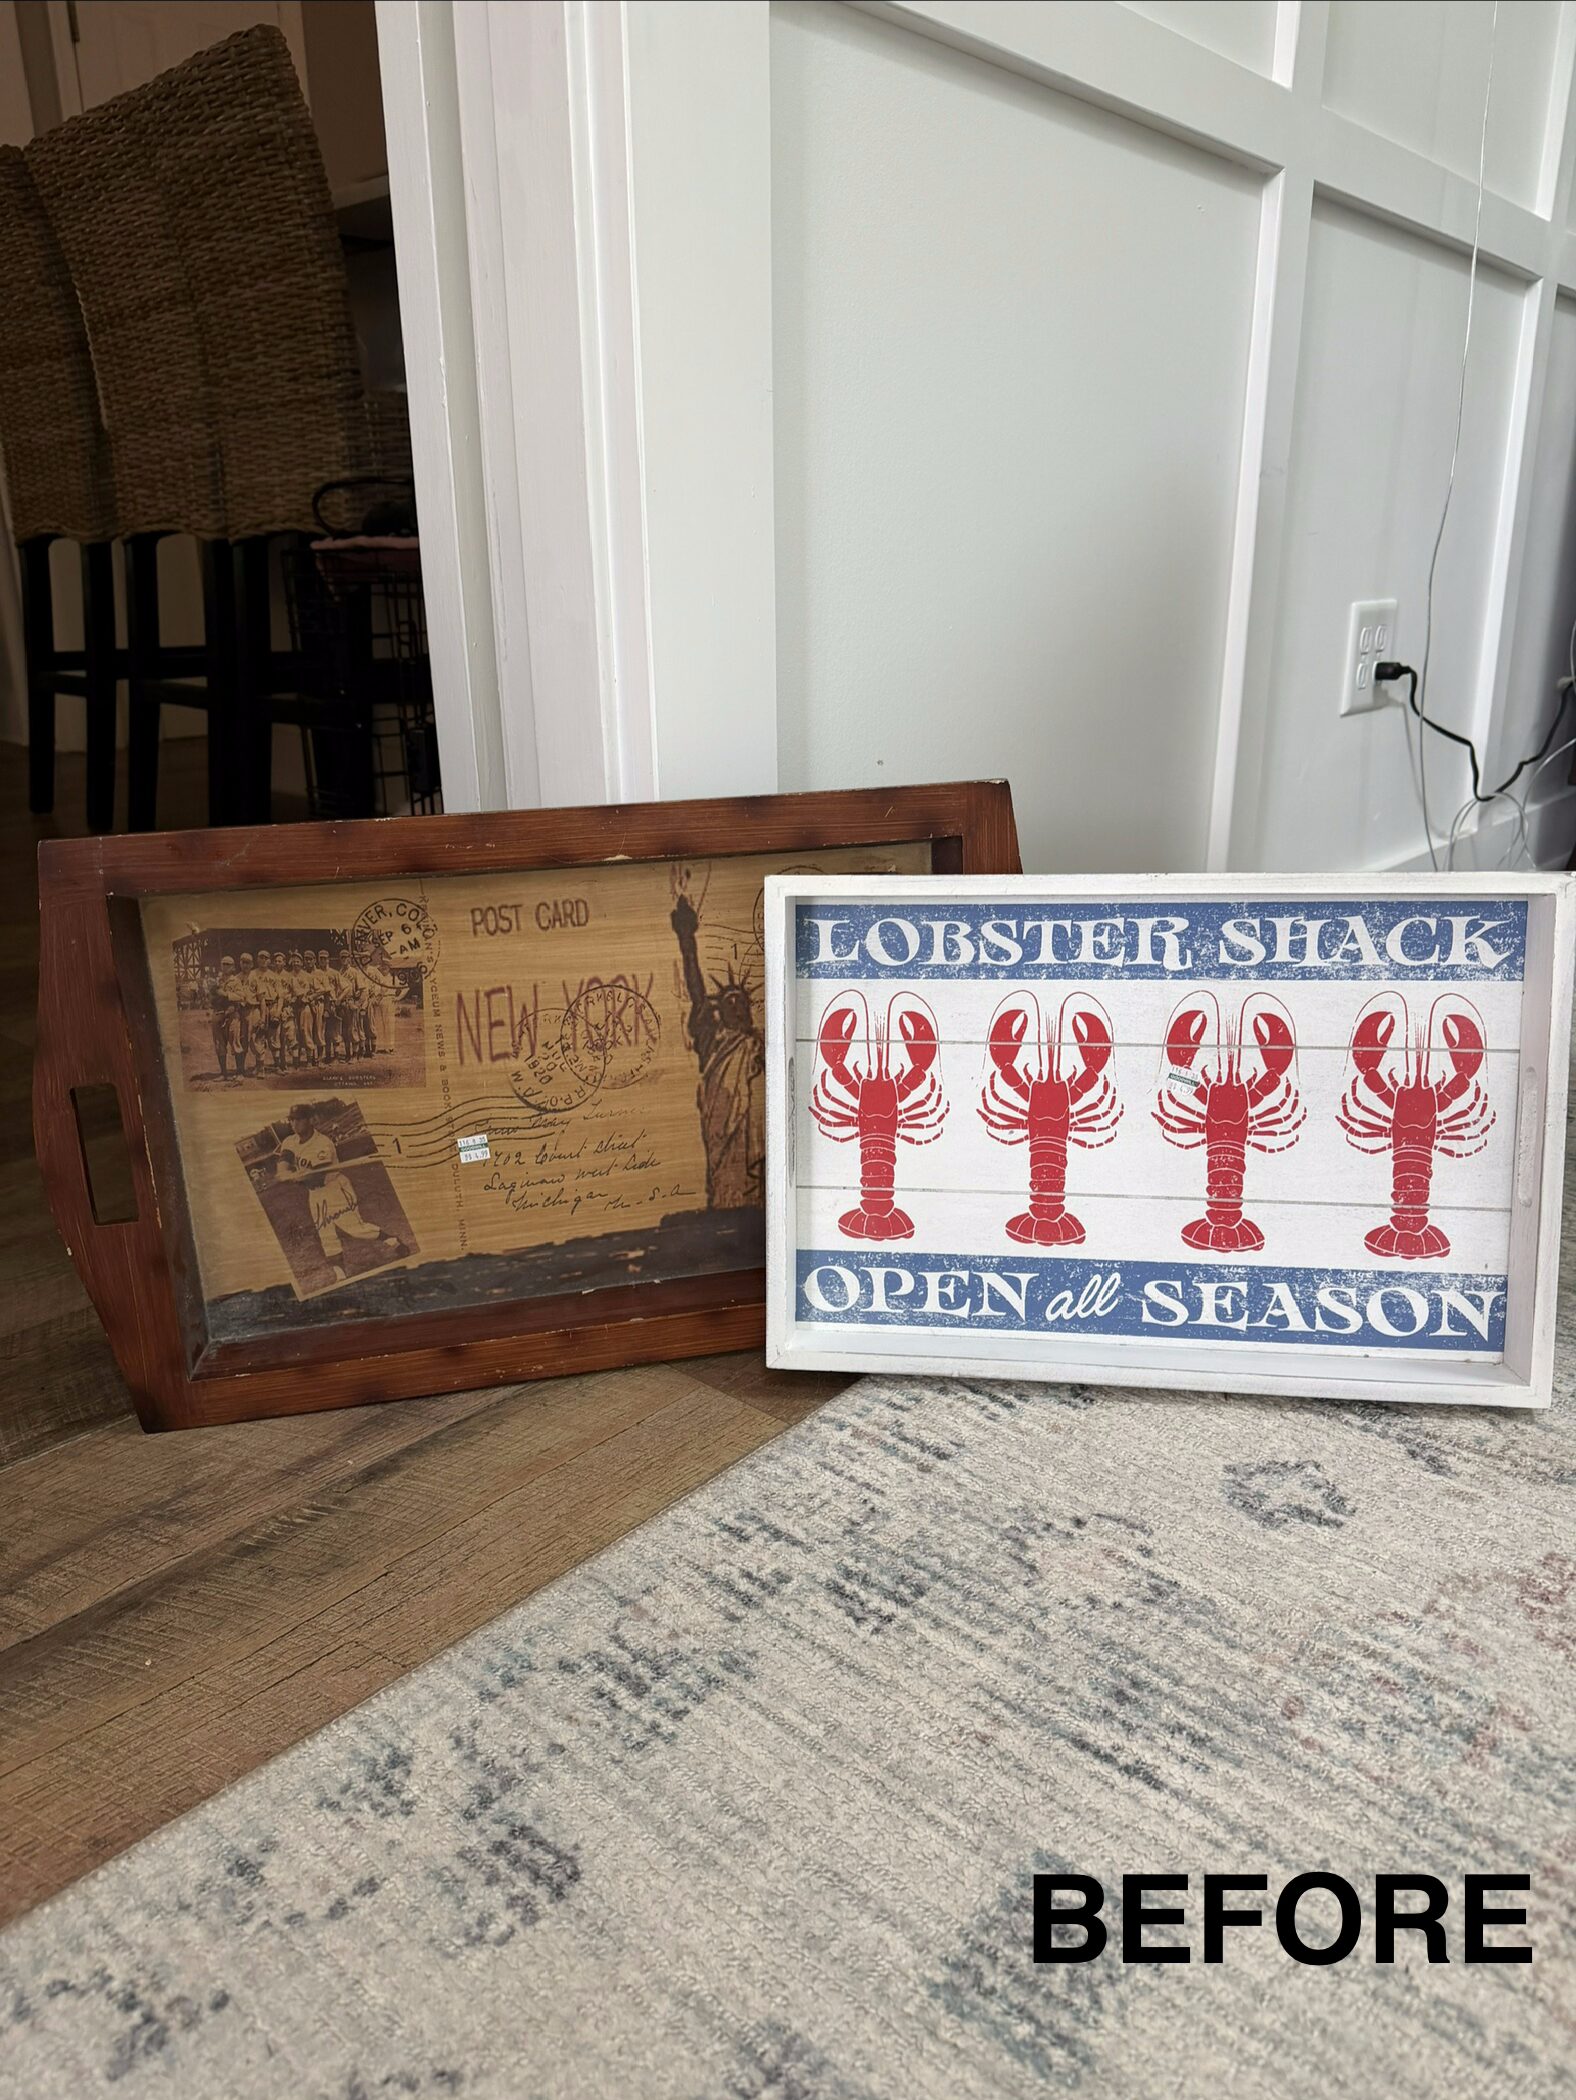
You can see them now HERE!
Want to see the rest of our shopping videos and makeovers??
See them all HERE!
I’ll be back on Thursday sharing what I did with this box:
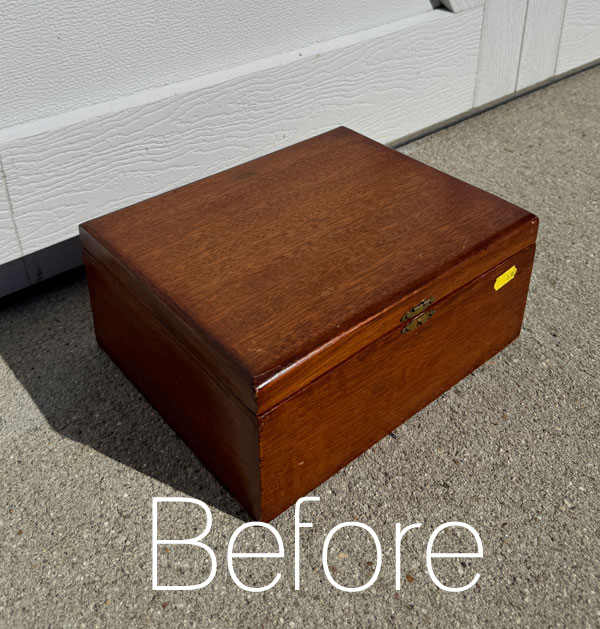
Never in a million years would you recognize it now!!
UPDATE: You HAVE to see how this one turned out! See it HERE now!
Hope your week is off to a great start, and I’d love to know how you enjoyed the video!!
XOXO,

Don’t Miss a Thing!
If you like what you see, there are several ways to follow along!
EMAIL * INSTAGRAM * FACEBOOK * PINTEREST

Get FREE SHIPPING on all orders over $50 in my Etsy shop. (No code needed at checkout!) Orders under $50 enjoy $8 flat rate shipping!
Most orders ship same or next business day! Visit my shop below!





Nana Diana says
Great makeovers, Christy! I really love how the sign (turned tray) turned out. Beautiful and what a great lampshade find…a perfect fit for that lamp.
Enjoyed watching the two of you gals shopping. Always so much fun to do with a friend.
Happy Tuesday-xo Diana
Christy says
Thank you, Diana! I’m so glad you enjoyed the video! Yes, much more fun with a friend! Enjoy your week! XOXO
Josee says
You have the gift of making all things beautiful.
Christy says
Aww thank you, Josee! XOXO
Julie A. Henry says
Was so nice to see a video again. That shade was waiting for that lamp, such a perfect match! Hope to see more videos in the future. Have a wonderful day!
Christy says
I’m so glad you enjoyed the video, Julie! Yes…that shade was meant for that lamp. We stalled due to COVID and all the restrictions and it just took us so long to get back to it, but we hope to make more now too! XOXO
Cecilia says
First of all, I am completely jealous of your thrift stores! The ones here don’t look like that! 😂 I have to wait until I visit my sister to find bigger (and better selections) stores. It was fun to watch. It’s nice to have a friend who enjoys doing the same kind of things.
Both the lamp and tray look way better. Paint to the rescue! I bet there’s a lot of rustic, farmhouse stuff that will find its way to the thrift store. Love the pretty paper and lampshade. Perfect touches!
😊Cecilia
Christy says
Thank you, my friend! We have a ton of thrift stores here to choose from as well…very lucky indeed! And yes, nobody else in my life can stand to thrift stores lol, so I just have Nancy, and it’s so much more fun going together! XOXO
Tracey A says
You do awesome work!!!
Christy says
Thank you so much, Tracey! XOXO
Marlene says
That was fun and love those two pieces, they now look a lot better. That lamp shade was perfect for the lamp and matched the decor on the lamp, almost. Thanks for sharing.
Christy says
I’m so glad you enjoyed it, Marlene, thank you! Yes, the shade style really worked with the style of the lamp. I love when that happens! XOXO
p says
Nice video ! Looks like you both had fun !!
The lamp looks sweet painted. Such nice details.
Love the lamp shade – especially w this lamp. Perfect fit. It definitely adds so much for the lamp.
I’m always amazed how pricey lamp shades are…
Your haul is getting realllly low. Guess it’s time for more finding.
Christy says
Thank you, P! That was a fun day out! I agree that lamp shades are crazy expensive, so I’m always on the lookout for a deal on one! XOXO
Nancy @ Artsy Chicks Rule says
Oh my goodness, you dug deep for that oldie!! We look so young!! haha!!
That lamp shade was a great find! And the lamp looks beautiful now…love how paint transforms!! But that old, ugly sign… gorgeous tray now, love it!! Love our shopping trips together!! xoxo
Christy says
Ha ha I know!! Babies!! Those were fun days! And thank you, my friend! Always a good time! ❤️🥰
Debra Hubbs says
Both are so pretty! That lamp was horrid, you’d never know that now. You have a knack for knowing what works well together, like the shade for that lamp once painted white. Love that transfer and shade of white. Have never used that one.
Christy says
Thank you, Debra! That lamp had to have been bad to have been marked down twice at the thrift store ha ha, but paint did wonders for both pieces for sure! XOXO
Jeanne says
Nothing better when thrifting than having a friend along. How much was that large mirror? It sounded like you said $3 but that couldn’t be, especially if you left it.
Christy says
I agree! That large mirror was $20. Looking back, I don’t know why I didn’t buy it…it was still a great deal for that price. And yes, you know I would have grabbed it if it were only $3 ha ha! XOXO
Michele M. says
Well done, Christy! You may have not found a bunch of things but the two things you did find are fabulously made-over!!! Enjoyed watching the video of you and Nancy, too. : – )
Christy says
Thank you, my friend! It wasn’t a huge day for finding goodies, but at least we didn’t end up empty handed! I’m glad you enjoyed the video!! XOXO