Hello, sweet friends! I’m back today with a redo of a redo! I’ve got a wooden tray makeover for y’all that I originally redid using some scrap wood slats I saved from a crate. It has been sitting in my shop longer than I’d like, so I brought it home to give it a quick update!
I’ll walk you quickly through the original makeover, and then I’ll share the second rendition.
Let’s Get to it!
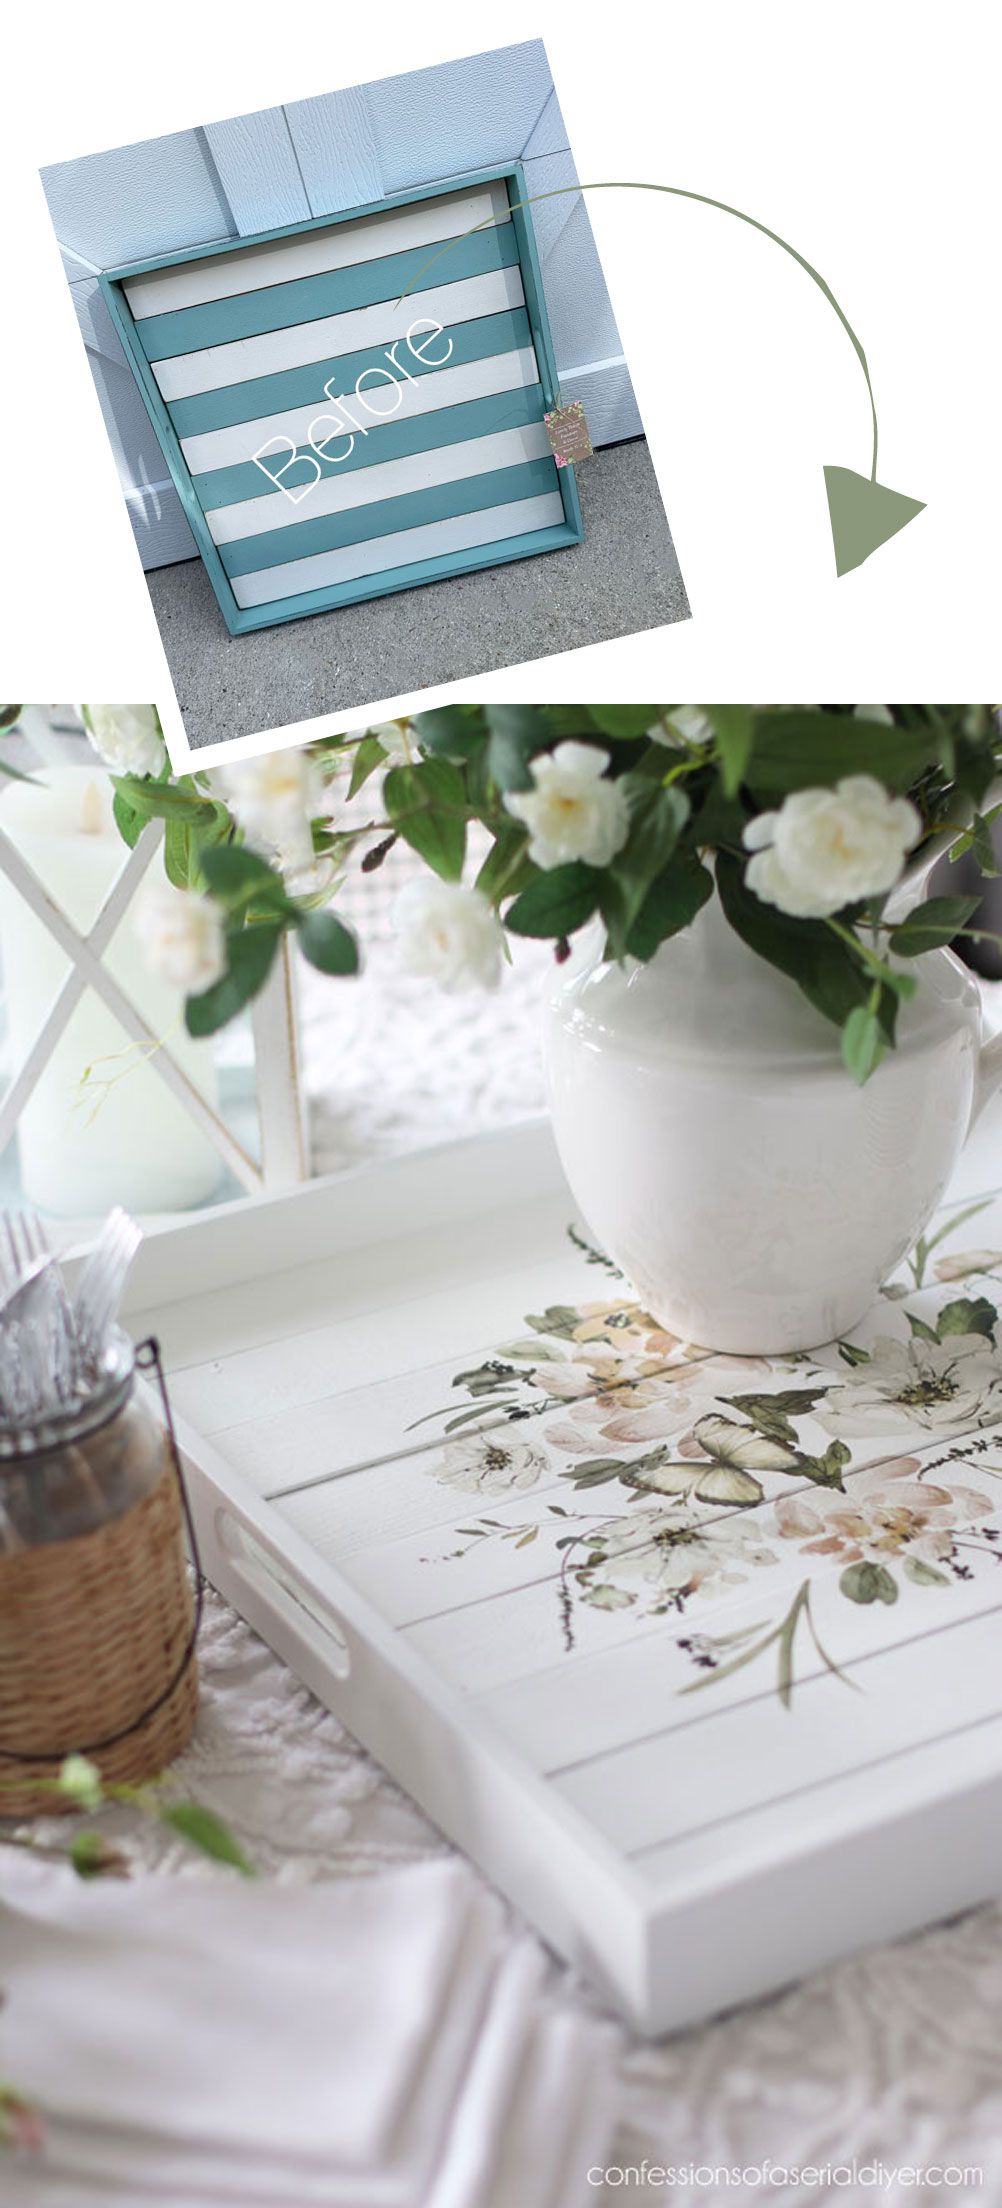
Here it is as I found it originally at the thrift store for only $4.99:
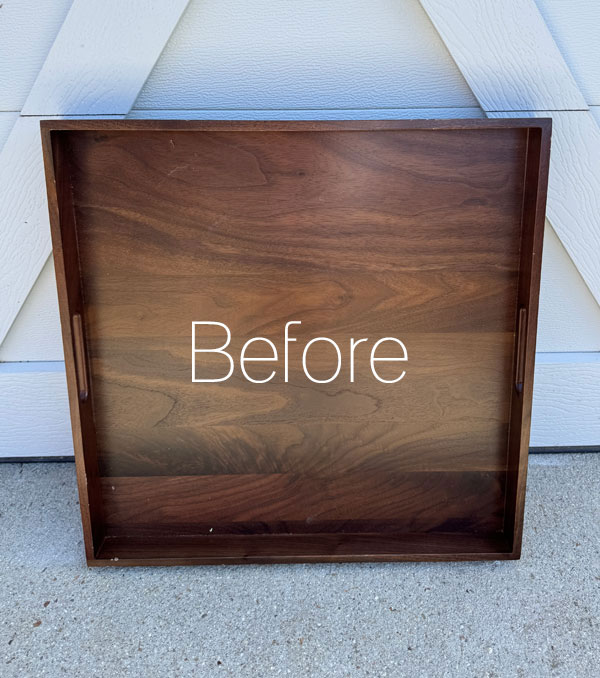
That was a steal for this solid wood tray! It did take me a really long time to get to this one because it was so nice as it was. I had even considered just putting it in my booth, but the truth is, there was really nothing unique about it. It looked like it could have come from the Home Decor section at Target.
Clean
This tray had become quite dusty hanging around the garage, so it got a good cleaning with my favorite deglosser and degreaser, White Lightning…
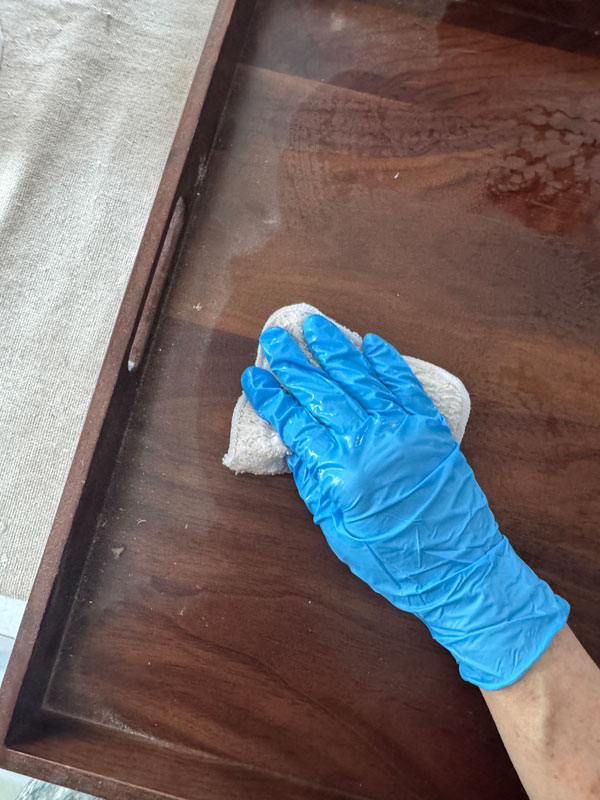
(Look how pasty white I get in the winter lol!)
(These terrycloth applicator pads are perfect for this step!)
I had this crate thingy that a wreath I purchased came in:
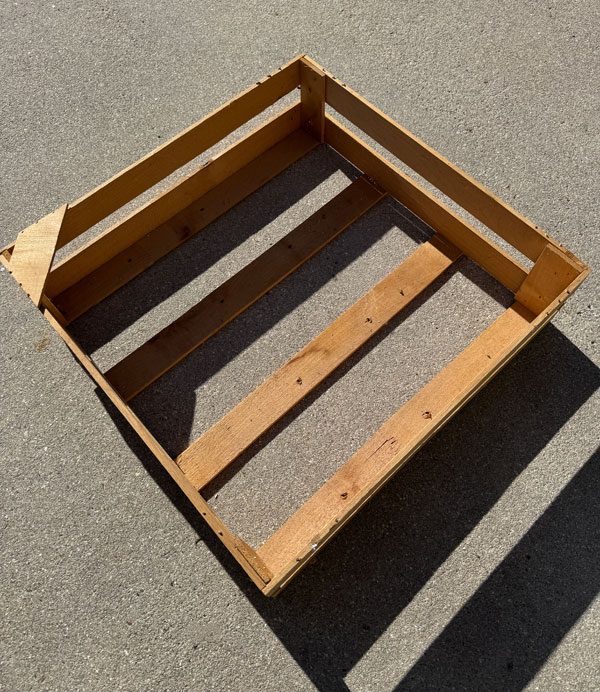
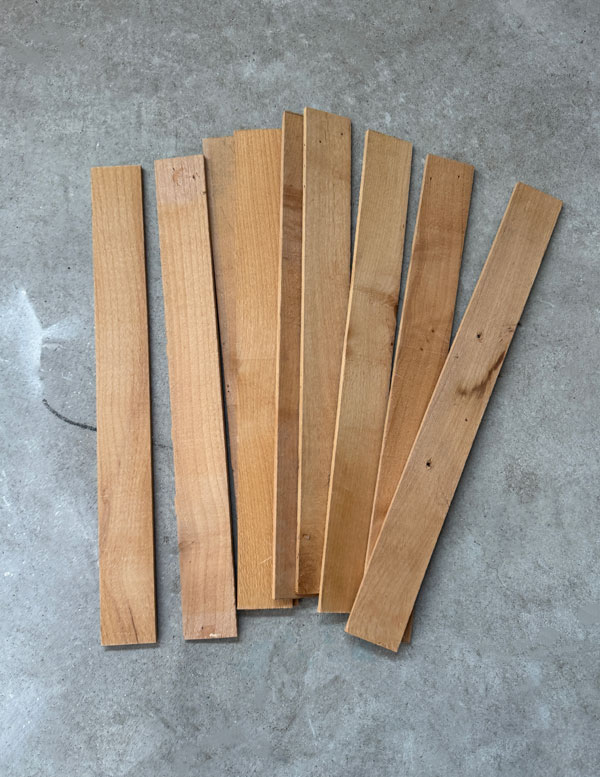
I had taken it apart and saved all the slats just in case…
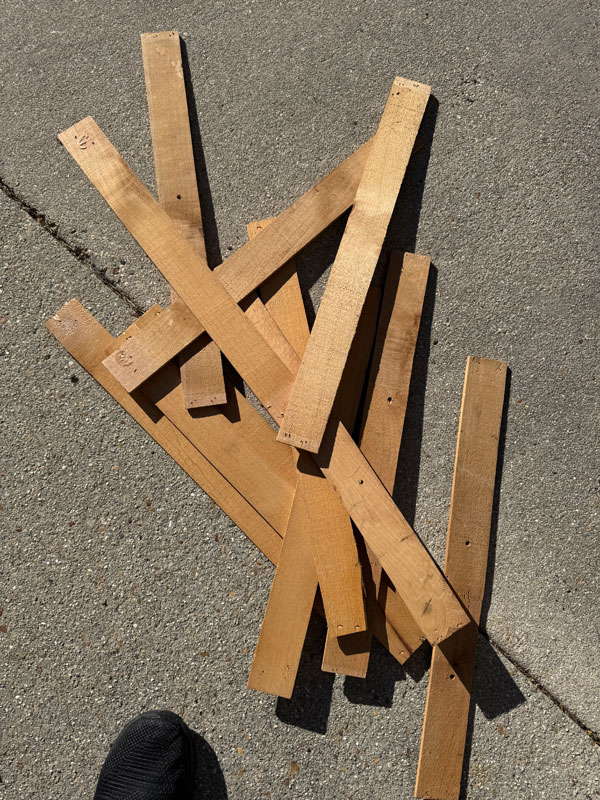
And I knew I wanted to use them to add something to the bottom of this tray like I did HERE and HERE.
I cut them all to fit:
They were then painted, sanded and sealed, and then attached to the bottom using Liquid Nails…
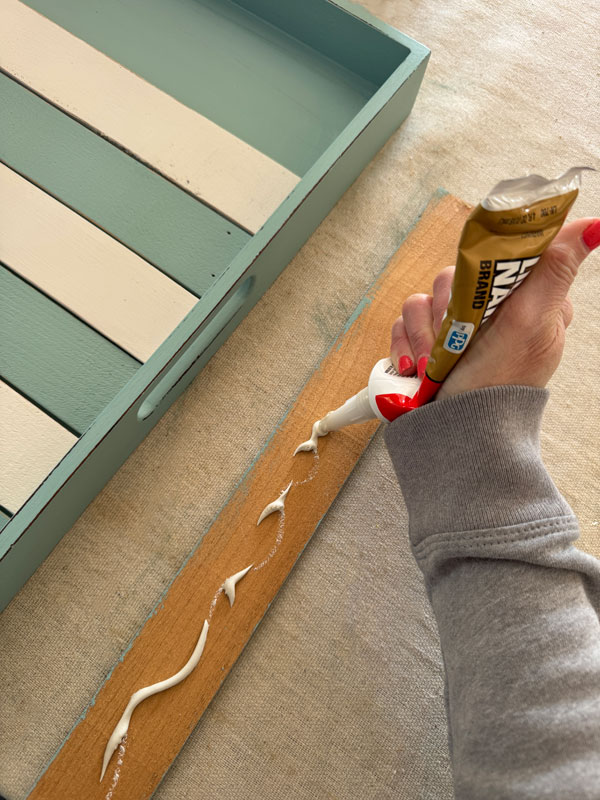
I skipped a lot of details, but you you can see them all in the original makeover HERE.
Wooden Tray Makeover After
Here is how this tray looked after it’s first makeover…
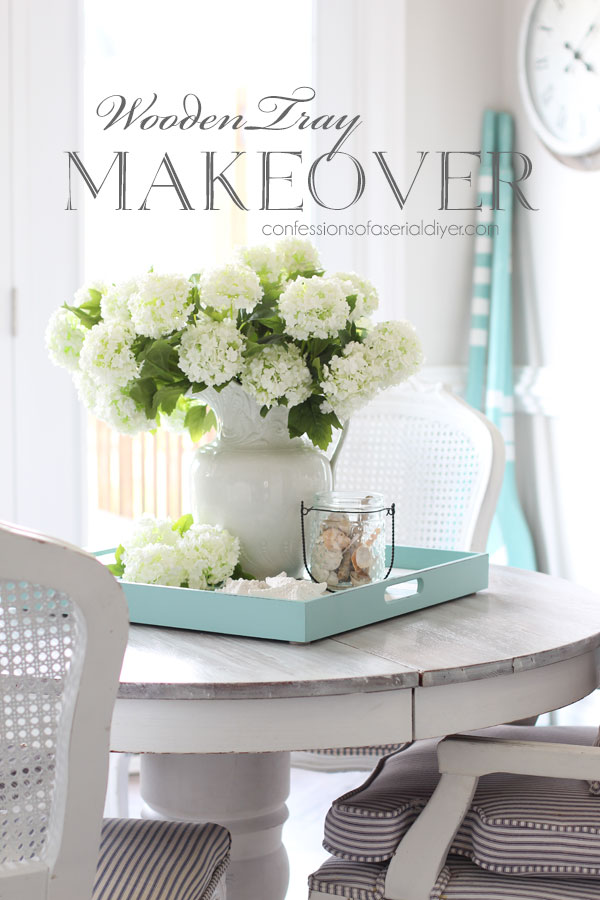
And a closer peek…
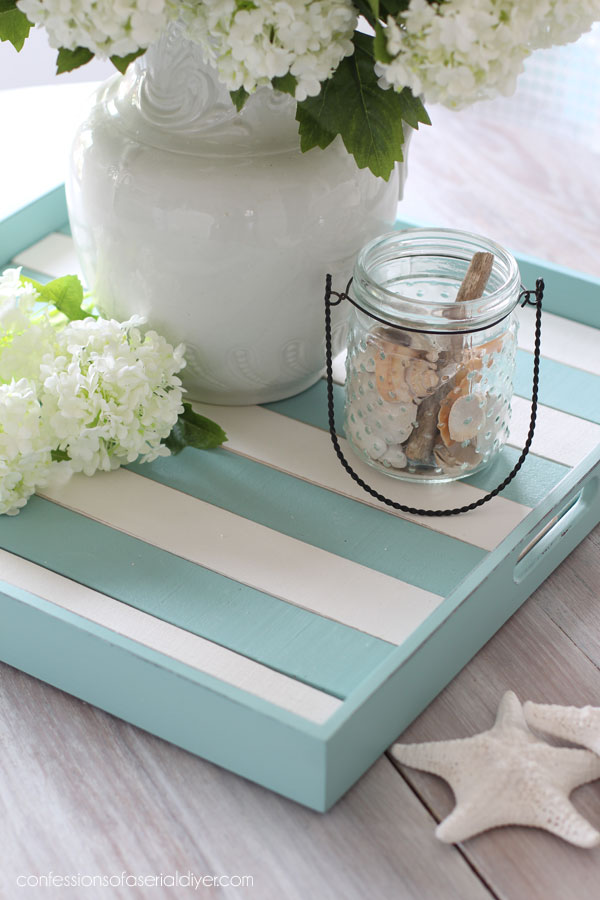
Super simple, and I just knew it would sell quickly.
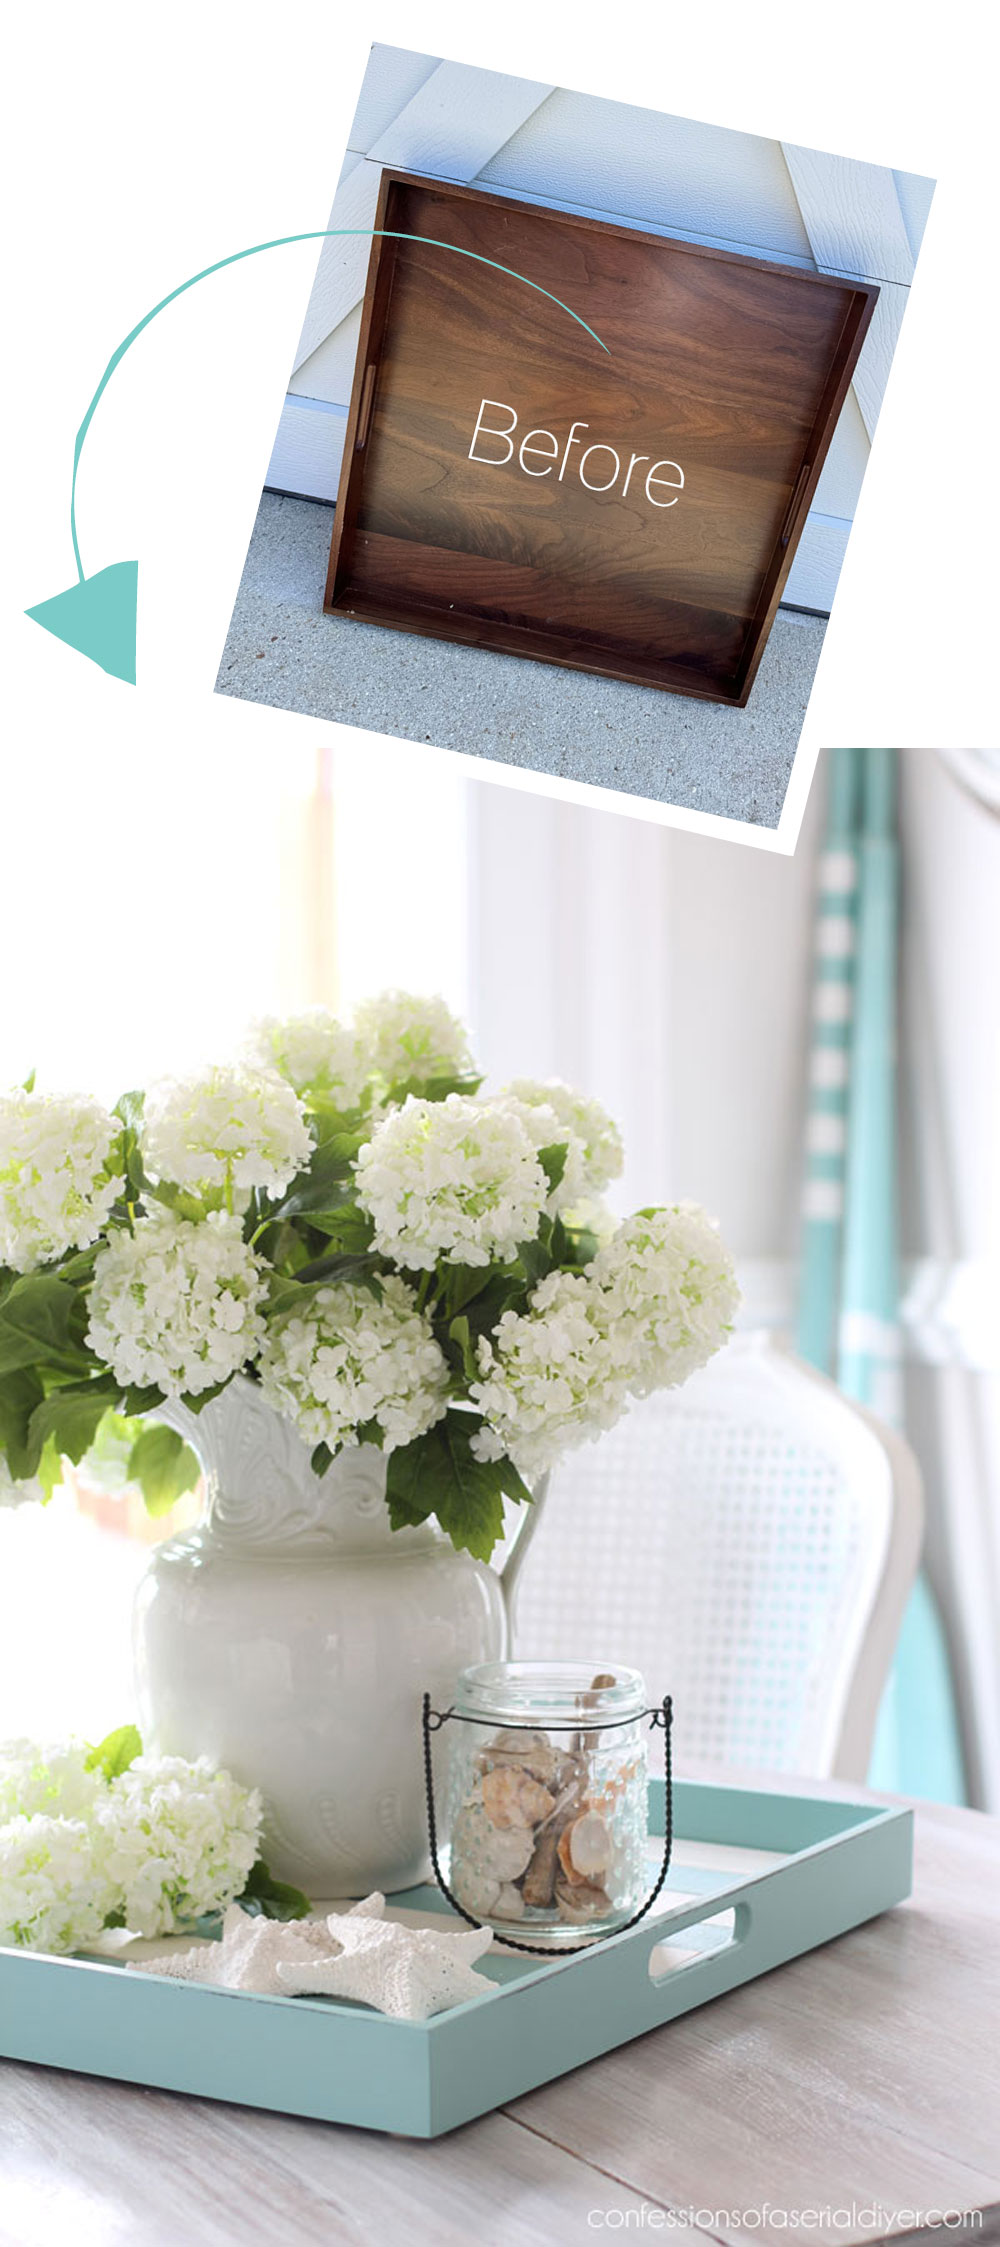
Except it didn’t. Usually stripes do very well for me, but this hung around much longer than I thought it would.
It is very large and square, and it was difficult to find a good way to display it:
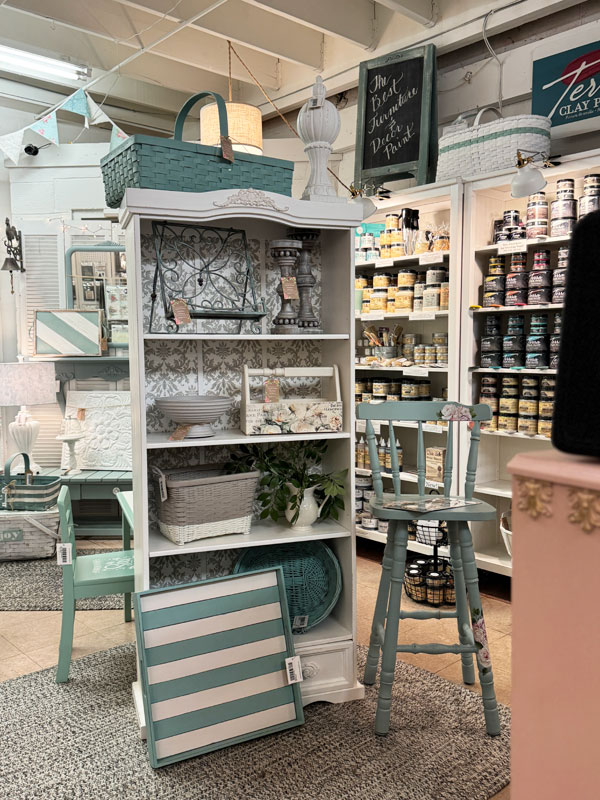
(See all of my booth updates HERE!)
Wooden Tray Makeover Take TWO
SO, I ended up bringing it home and giving it a refresh!
This was sealed with Clear Coat and when using Dixie Belle’s Chalk mineral paint, that can be painted right over!
Paint
My plan was to paint it white, stick it in my booth, and call it a day, so I started there.
While I was spray priming the chair I shared on Tuesday, I hit this as well:
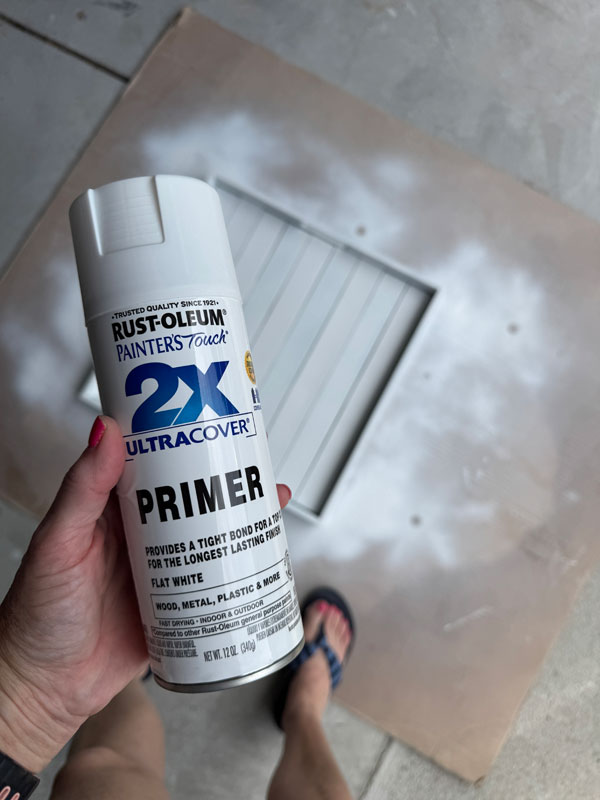
NOT because it needed to be primed, but because this is any easy way to get a quick first coat on. AND, I wanted the paint to get down into the grooves to cover the blue completely.
Next, I painted it in Cotton from Dixie Belle:
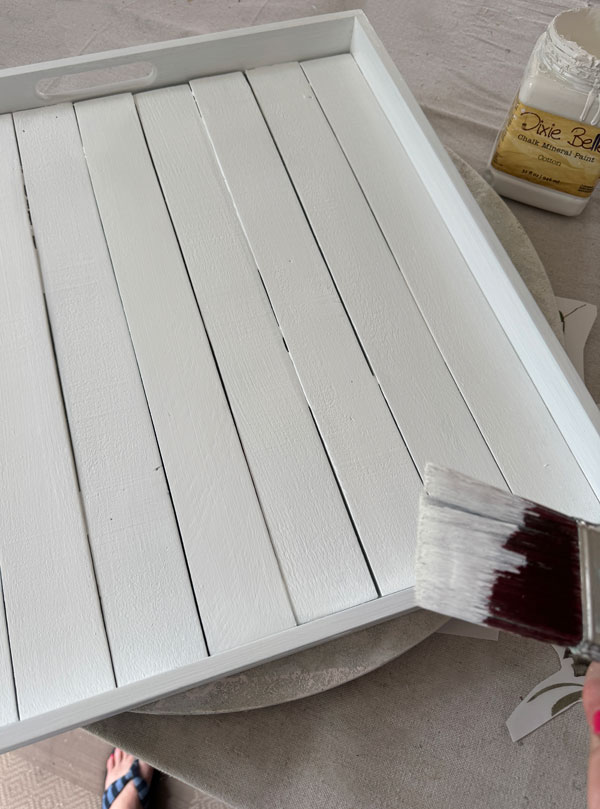
When that was dry, I gave it a quick sanding with a fine grit sanding sponge to smooth it out. (These are great when you want to smooth out the surface, but don’t want to distress, and I didn’t want any of that blue peeking through!)
Change of Plans
Although I had originally planned to just paint it and be done, I just couldn’t leave it there. So, I dug through my leftover transfers, and pulled out the pieces I had left from the Pastels Artistry transfer and started arranging them:
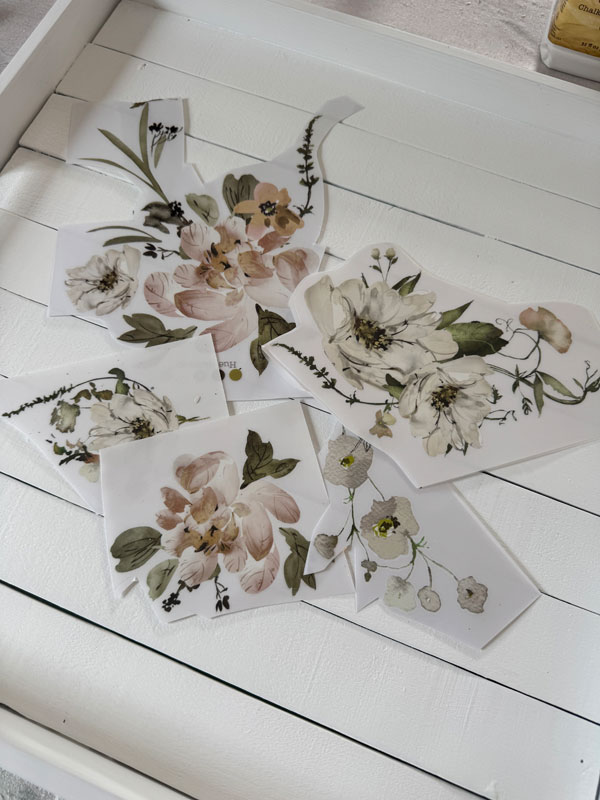
This transfer originally came in a large size, a Middy, and a Maxi version.
I used the large one on a dressing table HERE.
I only have the Maxi version left HERE, but it has very similar pieces to what I used here.
Then, I applied the pieces of transfer with the burnishing stick that comes with the transfer:
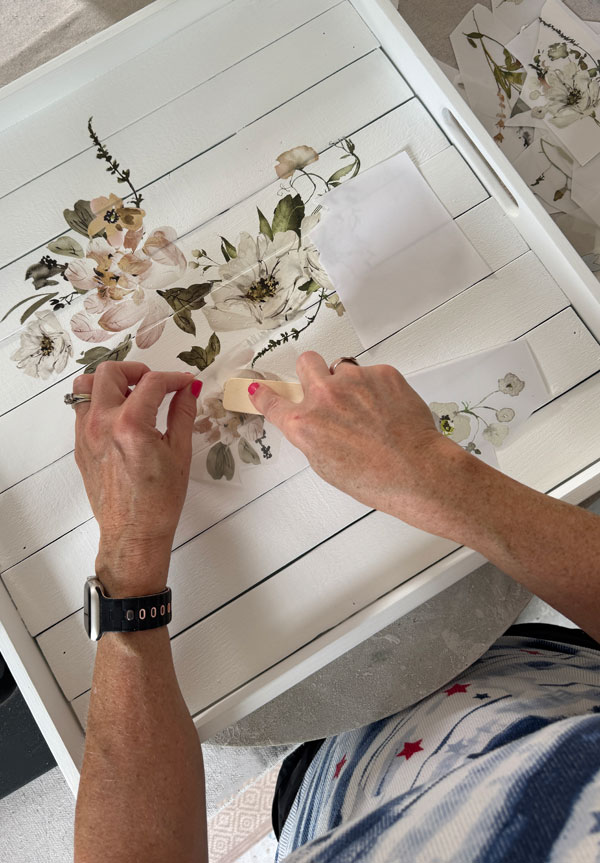
I continued adding until I was satisfied. Transfers can be cut apart and arranged any way you like!
Once I had them all applied, I used a razor knife to cut the transfer along the seams, and then I used a finishing pad to be sure it was adhered well:
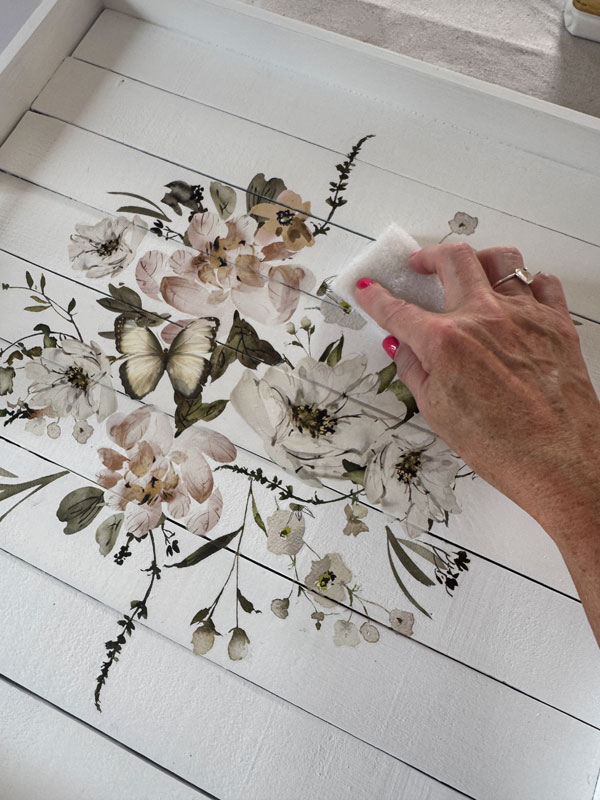
(This is one pad that I cut into thirds.) I like to do this especially on uneven surfaces like these wood slats.
Seal
And finally, it was time to seal! I used Clear Coat in Satin and applied it with the blue sponge applicator:
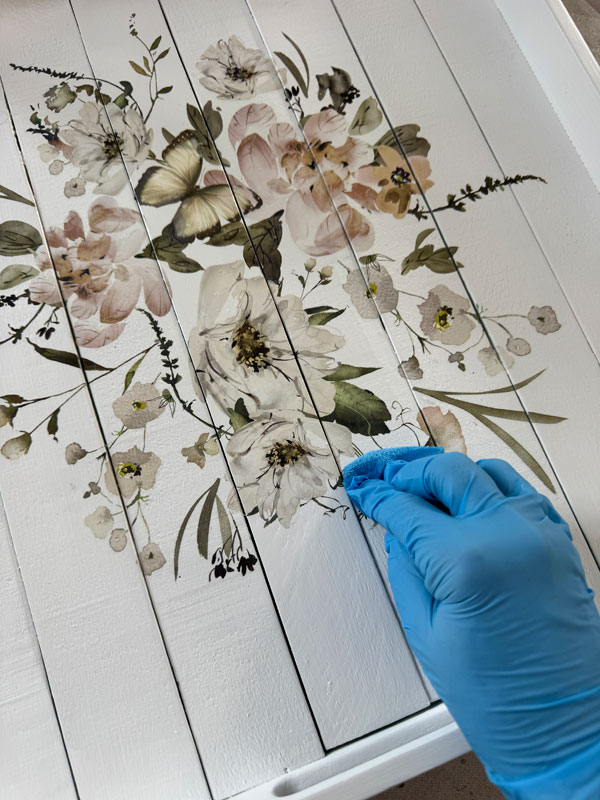
This was actually the rounded edge of the sponge I cut off (to get flat sides)…I don’t let anything go to waste!
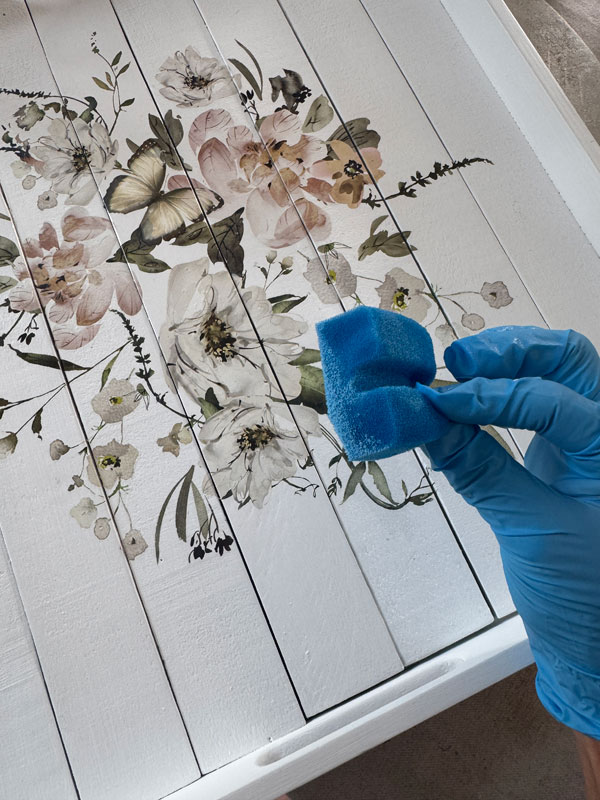
It was great for getting into the corners and all around the inside area of the edge of the tray!
Wooden Tray Makeover Take TWO, the Reveal
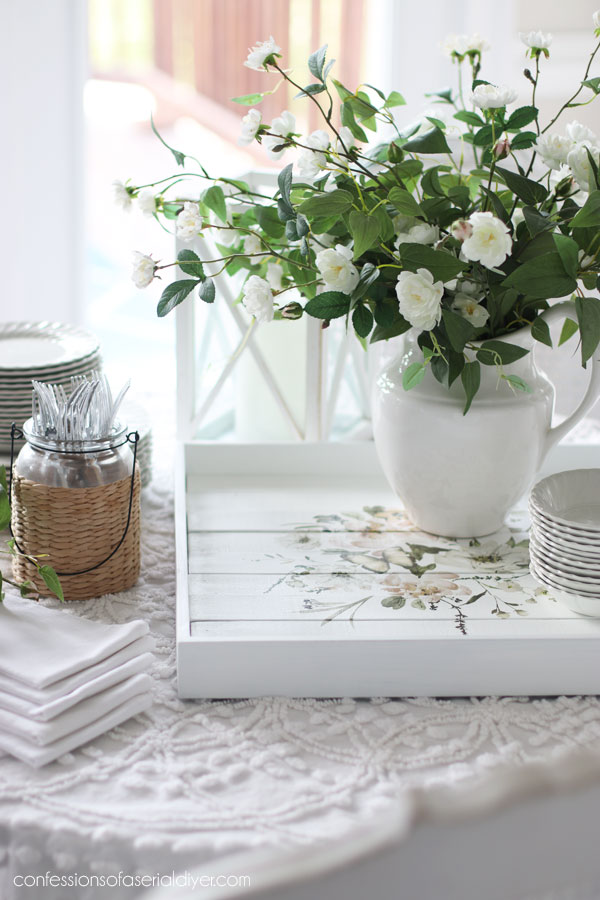
Here is how this second makeover turned out…
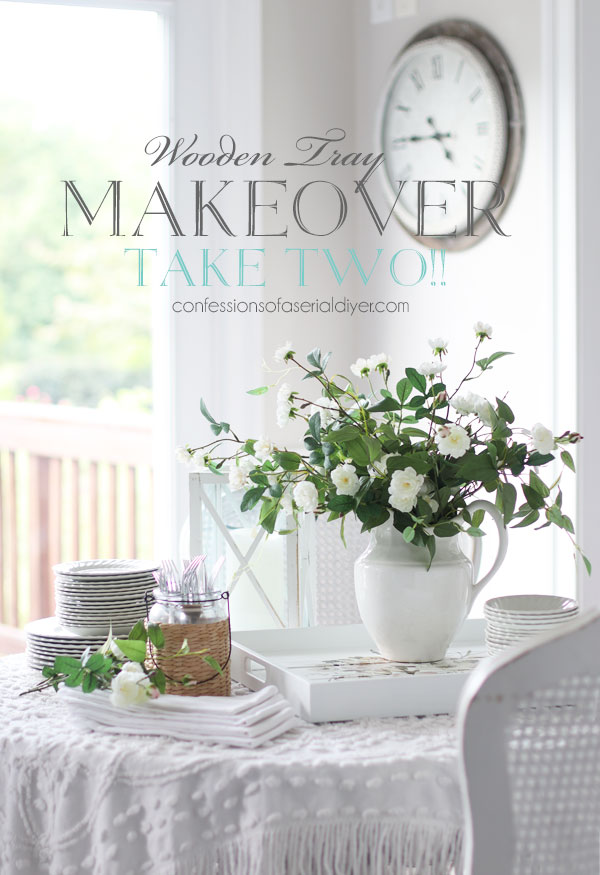
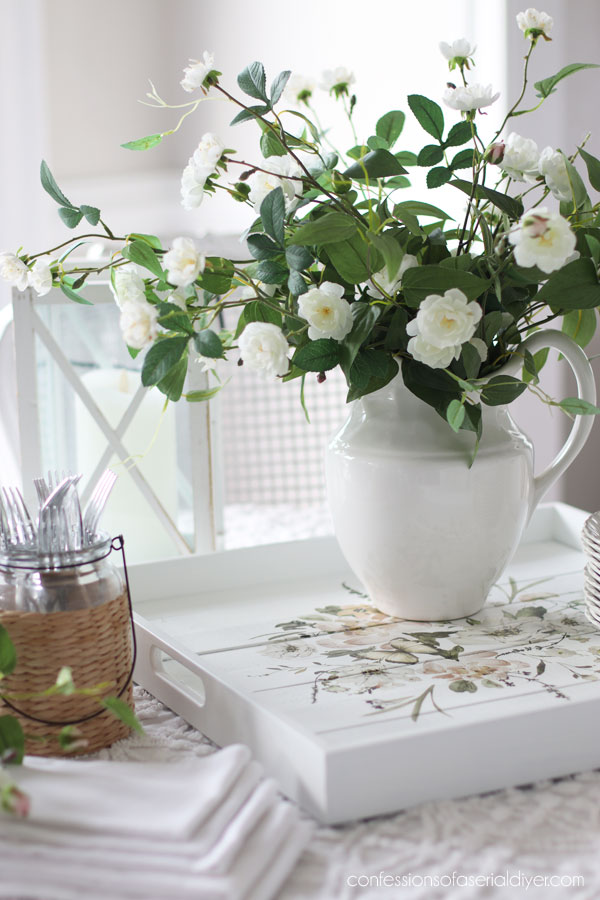
This more neutral design should move more quickly in my shop.
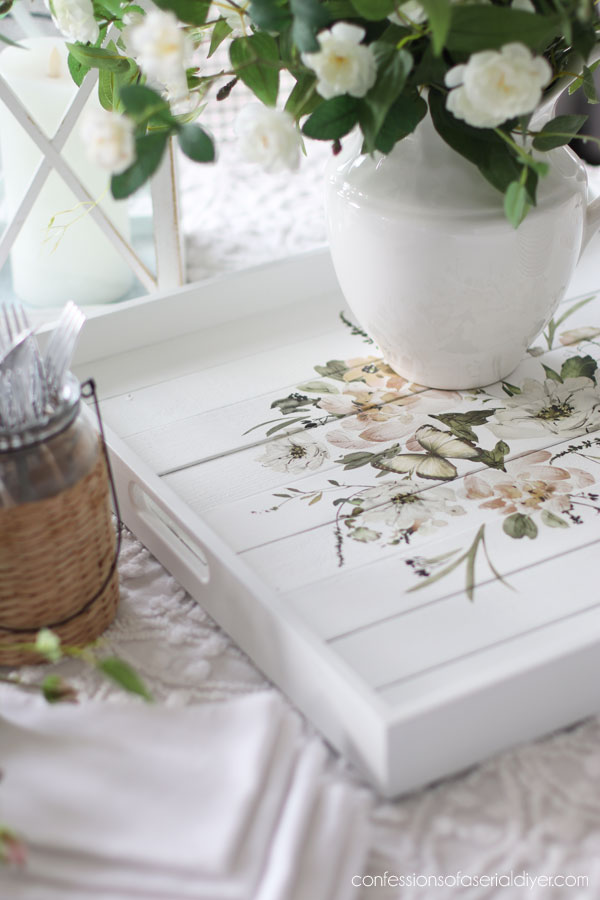
This was just a simple tray with carved out handles:
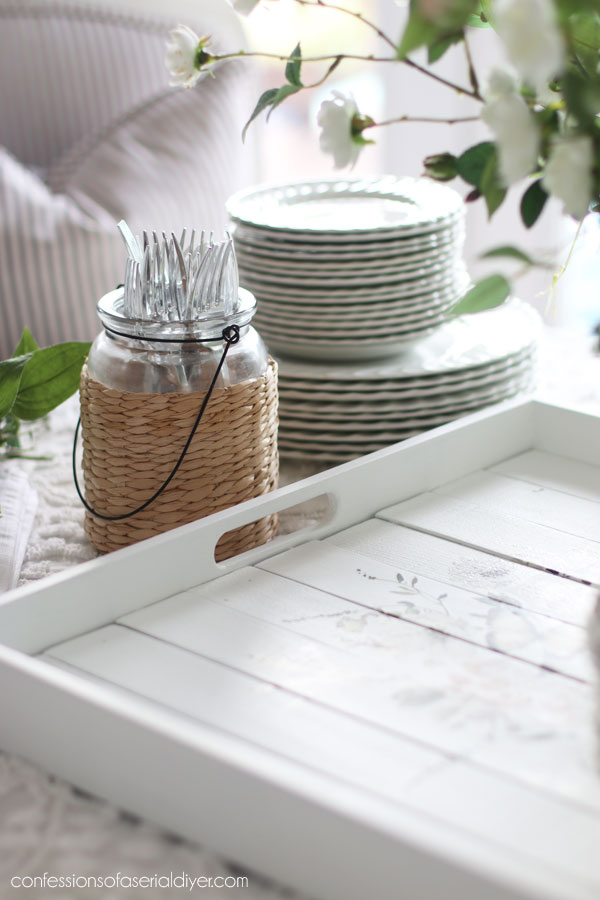
But the wood slats and transfer give it some charm:
Here’s the design uncovered…
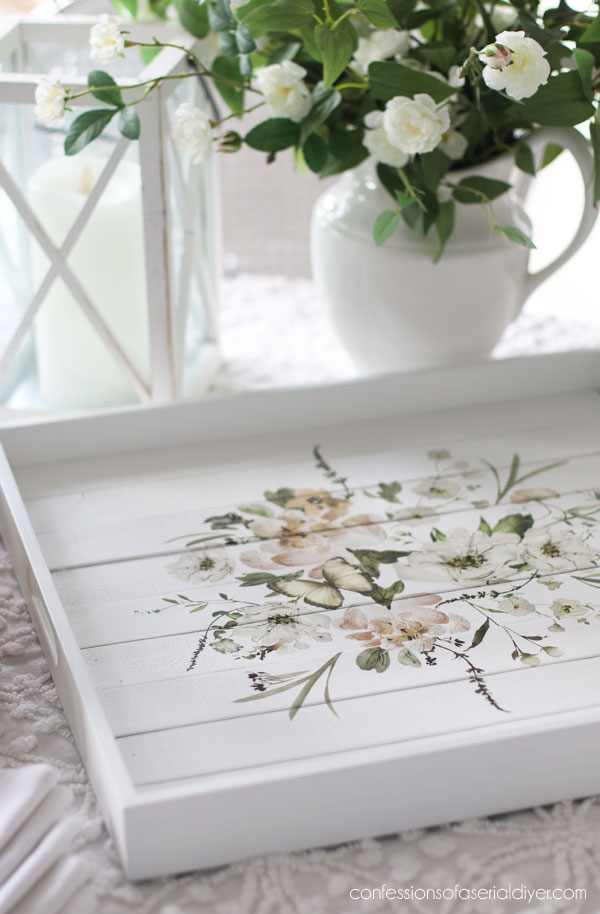
The butterfly came from another transfer set but filled an empty spot perfectly!
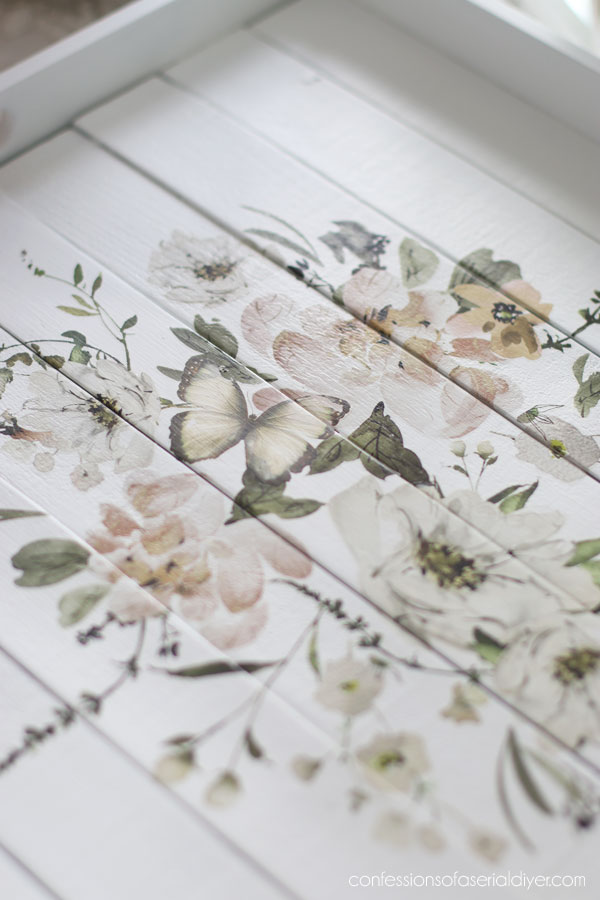
And that’s makeover number two!
Which one do you prefer??
Let me know in the comments!
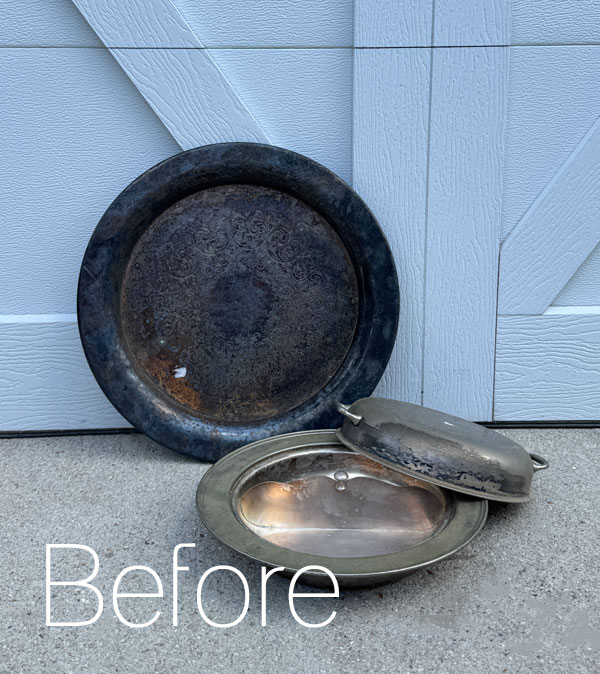
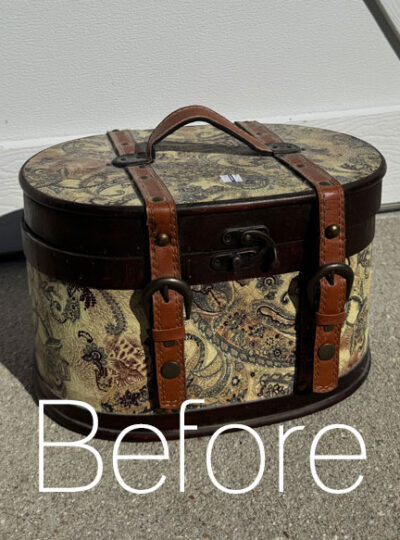
Meet me back here Tuesday where I’ll be joining my Trashy Treasures girlies and sharing what I did with these freebies:
Have a lovely weekend!!
UPDATE: Wait until you see how I repurposed these silver plated pieces HERE!
XOXO,

Don’t Miss a Thing!
If you like what you see, there are several ways to follow along!
EMAIL * INSTAGRAM * FACEBOOK * PINTEREST

Get FREE SHIPPING on all orders over $50 in my Etsy shop.
(No code needed at checkout!) Orders under $50 enjoy $8 flat rate shipping!
Most orders ship same or next business day!
Visit my shop HERE or click the image below!






Petra says
Hey Christy, both are super pretty. It’s funny because items down my neck of the woods down under are not selling as fast or for as much $ as they used to, and I’m seeing fellow flippers all over the country saying exactly the same thing. Sign of the times I’m afraid :/ Hopefully will pick up a bit next year! Have a fabulous weekend 🙂 xo
Christy says
Thank you, Petra! There is a trend in our area at the moment of boutiques full of rentable vendor spaces popping up all over. We didn’t have anything like that except for the two antique malls and now there are four huge places with nothing but booths! Luckily, I sell all the things to help bring old items to life as well, so that is a blessing! XOXO
Mary Kaiser says
First of all I can’t beleive it didn’t sell as it was. It was so coastal looking that I thought for sure that would go right away when you put it in your booth! Secondly I LOVE the new version, but I am a white and floral girl all the way through! It would already be sold if I lived closer! LOL
Christy says
Thank you, Mary! I was really surprised it didn’t sell either, but funnily, the items I display on those shelves or near them in my booth don’t move very quickly at all. It’s like they shop the perimeter and miss that area lol! I would have most definitely sold the new version to you if you were closer ha ha! XOXO
Josee says
I love the second treatment. It looks lovely. All the best!
Christy says
Thank you, Josee! I’m glad I brought it home for a redo! XOXO
Irene Sokol says
I love the new version of the tray although the first one was pretty. Gives be some inspiration to do a lack luster tray I have sitting here in my computer room.
Can’t wait to see your next redo.
Christy says
Thank you, Irene! Have fun with yours! XOXO
Diane Ragot says
Loved the 2nd version
Christy says
Thank you, Diane! XOXO
Patricia Birtsch says
Hi Christy,
Items are starting to move slowly here in Pensacola, FL. since all of the tourists are gone. But hopefully will pick up when the snowbirds come down for the winter!
I thought the tray would sell the first time you painted it. Now it looks like it will go pretty fast being a lighter color. I also thought for sure you would end up painting it the same beachy color of the rattan chair you did just recently. The color you did on that was very pretty.
Thanks for sharing!
Christy says
Same here and unfortunately, we don’t get any snowbirds lol. My business usually picks up when people are looking for something to do on a cold day though. And thank you! I never considered using the same color as the chair, but that would have been pretty! XOXO
Cecilia says
I prefer the 2nd one. The blue was a little too strong for my tastes and overpowered the tray. Not that it was bad, but this version seems like it will fit more people’s decor.
Can’t wait to see how you transform the silver pieces! That will be interesting to see what you do to them. Have an awesome weekend, my friend!
😊 Cecilia
Christy says
Thank you, Cecilia! I agree…I just eyeballed this custom blue mix and I think I added too much of the The Gulf this round as it is usually a bit softer. Enjoy your weekend as well, my friend! XOXO
Kathy from JAX says
I have to agree with your other followers. I like the 2nd version better. But in VA Bch, I would have thought the stripes would have sold quickly…oh well. It’s a beauty so it should go quickly this time. Let us know if it does. Have a great weekend…whoo hoo…I’m on time with my comment today!
Christy says
Thank you, Kathy! I honestly expected it to sell quickly here also, but I guess not. It should move more quickly now! Glad you made it “on time”, but I appreciate your sweet words any time! Happy weekend! XOXO
Donna Wilcoxson says
I like them both, but would buy the 2nd version…very feminine. It’s funny how what we think will sell quickly doesn’t and the ones we wonder about sell immediately. It’s crazy. But again, thanks for your beautiful work and inspiration. Have a blessed weekend.
Christy says
Thank you, Donna! Isn’t that the truth? I am often surprised at what sells and what doesn’t. Enjoy your weekend too, my friend! XOXO
Janina says
To be honest, I wasn’t really taken with the first, striped, re-do. I think if you had not used the slats but put a transfer on, it would have sold. I would put feet on this redo (I knew you were going to put a transfer on it!) and add something at the back that would allow it also to be hung. (Or do just that, without feet.) Because then it serves two purposes – you can have it hanging as decor, then just take it down and use it as a tray when you need it. I like this version a lot!
Christy says
Yes, it was a bit bold, but I thought it would fit in perfect in someone’s home in this beachy town, but alas…no takers lol! I had really wanted to add feet, but I did that with a large piece I redid with decoupage paper in the spring HERE, and due to the size, I could only display it on the floor lol, so I decided against it this time. I do love that idea though and also the idea to hang it! Thanks, my friend! XOXO
Jill M. Bakeman says
I love your work–it’s so fun to watch your projects transform! Can you tell me more about the white table runner/tablecloth you used in these photos to style with? I love the texture and vibe and would love to buy one… Thank you!
Christy says
Thank you so much, Jill! That “tablecloth” is actually a vintage chenille bedspread. I just love the texture of it too! I found mine on eBay. 🙂 XOXO
Jewels L says
Oohhh I liked both versions but the new updated one is my favorite. So fresh and pretty! Bet this one sells right away!
Christy says
Thank you, Jewels! I prefer it too but maybe because I was just tired of looking at the other one lol! XOXO
p says
Your stripes always add that cute pop, but do think I like this redo a bit better. Maybe – making a bit more neutral…
But – that transfer is so pretty and delicate. Love it.
I alsways enjoy your smalls 🙂
Christy says
I agree! It is much softer now and will likely sell more quickly. Thank you so much, my friend! XOXO
lisa says
Stupid question – but do not see a sales tab on your current Etsy page
Christy says
Hi Lisa! No question is a stupid one. It won’t appear until the items go on sale tonight at midnight! XOXO
Michele M. says
Looks great. I love you keep things so fresh in your booth. That tray should’ve sold, but now it is so pretty it surely will. Be sure to remember to let us know when it does. We are curious now.
Christy says
Thank you, my friend! I actually had someone reach out to me about it already yay! XOXO
Marlene Stephenson says
I am so sorry it didn’t sell but, even I like it better now. It will be the perfect piece in a kitchen as you’ve displayed it or on a dressing table.
Christy says
Thank you, Marlene! It is much more soft and neutral now which always sells better, and yes, I like how it looks on our kitchen table! Have a lovely weekend! XOXO
Jackie says
Man, I’ve noticed you really like coastal themed stuff. I wish I could sent a coastal themed abstract painting to you….but it’s large. I’ll probably bring it to the local thrift shop once I have another boxful for them… Hopefully someone who wants it will find it.
Christy says
Ha ha I sure do! I’m sure someone will love coming across your painting while thrifting! XOXO
Jackie says
Fingers crossed! Btw, your tray turned out awesome!
Christy says
Thank you!! XO
Jackie C says
oh yeah, much better. This is one of my favorite transfers! Headed to your sale! Have a great Labor Day weekend. Be safe! xoxo
Christy says
Thank you, my friend! I love this one too! Happy shopping! XOXO
Caye says
Ohhh Christy, you KNOW which one I’ll like best :-). While the stripes could be refreshing, I think a lighter shade of color would have worked better. But you just never know why some things sell and others don’t. I love the second go-round because it is refreshing and light; and there are other colors available in it that could be matched up with someone’s decor. I think it will sell fast. Good job, either way!
Christy says
Thank you, Caye! The stripes on the original were a bit too bold for sure. I prefer the second version also! XOXO
Janice Redden says
Christy, really like the redo; everything I’ve used this transfer, it sells pretty quickly; I bet this tray will not sit in your shop for long!
Christy says
Thank you, Janice! I love this transfer. It adds some pretty but is still neutral! XOXO
Liz Shivel says
Hi Christy, the redo in cotton and flowers is lovely. But the original in turquoise stripes, holding shells and a tropical drink, should have sold that way too! Both are great! Enjoy your long weekend!
Christy says
Thank you, my sweet friend! I’m really surprised the original didn’t sell, but I do love the newer version, and it was fun to give it a new look! XOXO