It’s that time again, dear friends, for another round of Trashy Treasures Tuesday! Every second Tuesday of the month, my friends and I join together to bring y’all a fabulous trashy makeover! I’m sharing how you can repurpose a silver plated tray and server with some free-to-me pieces. Be on the lookout for my friends’ makeovers at the bottom!

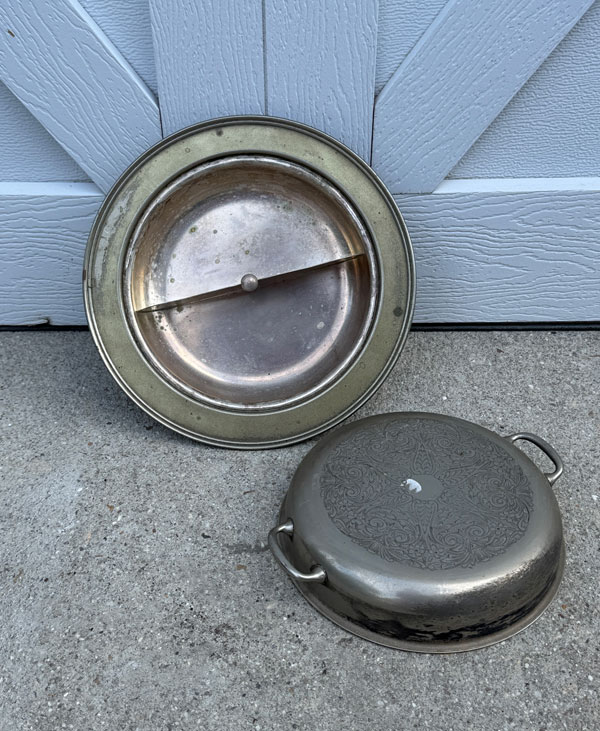
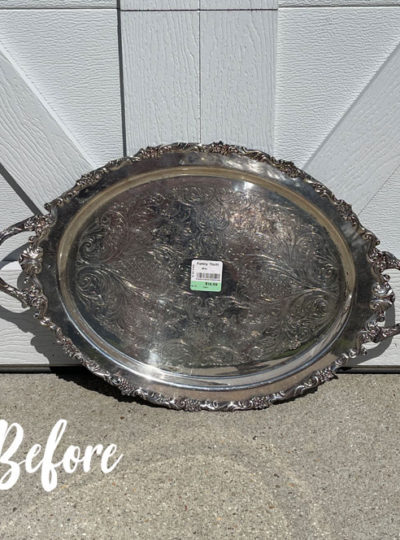
Here’s how the silver plated pieces I’m repurposing today started:
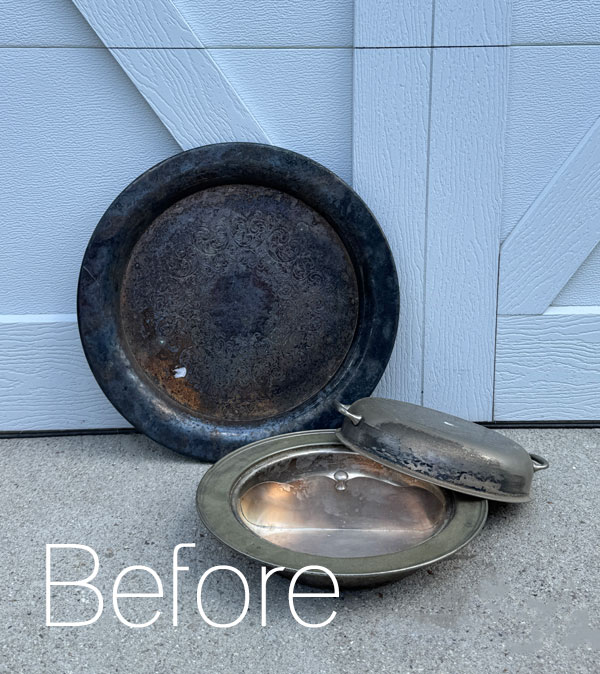
There’s a dresser and matching nightstand set in this haul that I bought from a local reader. When I arrived to pick up that set, she offered these pieces to me as well at no charge. You know I love FREE! (Thank you, Diana!)
They had the remnants of what looked like price tags on them, so I’m assuming they had been out for a yard sale but didn’t sell. I was happy to take them off her hands.
Clean
I started this makeover like most with a good cleaning with White Lightning. I mixed one TBSP into a half gallon of warm water and got to work…
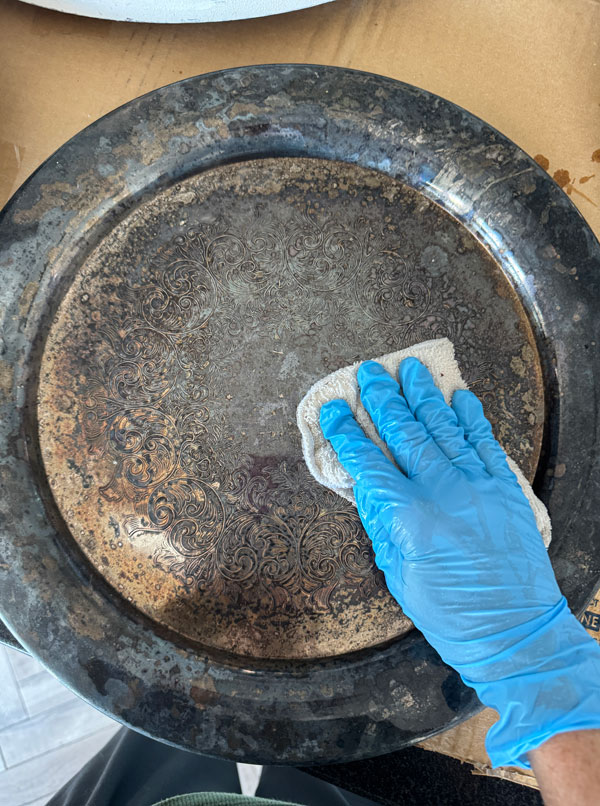
I made sure to rinse them with clean water when I was done to remove any remaining residue.
Prime with Bonding BOSS
Once they were good and dry, I primed them all with White Bonding BOSS. Bonding BOSS is not only a stain and odor blocking primer, but it is also for adhesion. It is fantastic on non-porous surfaces like metal, glass, plastic, laminate, etc.
I painted all of the bottoms first and let them thoroughly dry:
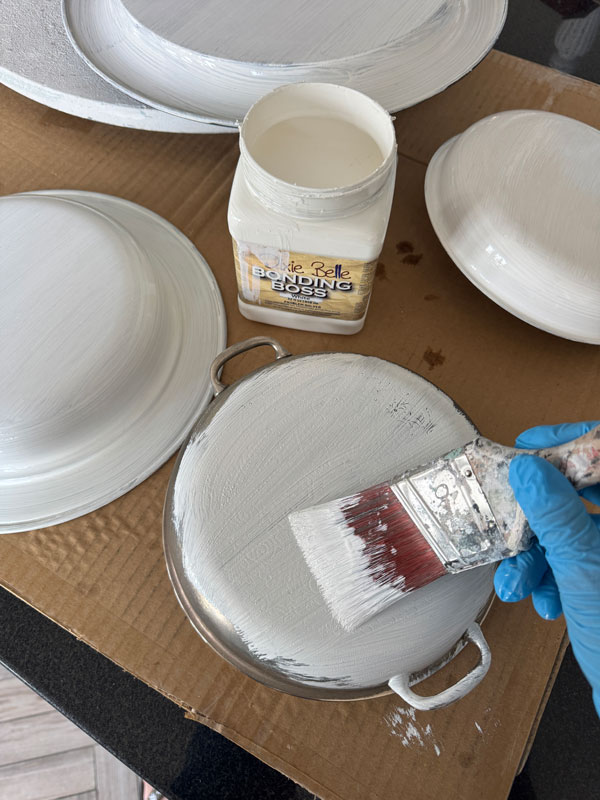
Then, I flipped them all over and painted the topside of everything. (One coat on each side is all you need.)
The key to Bonding BOSS is adequate dry time. It is recommended to wait 24 hours before painting, so I do exactly that! (Unless I have some really warm sunshine I can place them in which will speed up the process.)
Repurpose a silver plated tray and server into a Tiered Tray
The plan I had for repurposing these pieces was to turn them into a tiered tray. I decided it might be a good idea to to figure that all out before painting in case they got marked up in the process.
To bring the idea to life, I needed a candlestick and found this lone one in my stash:
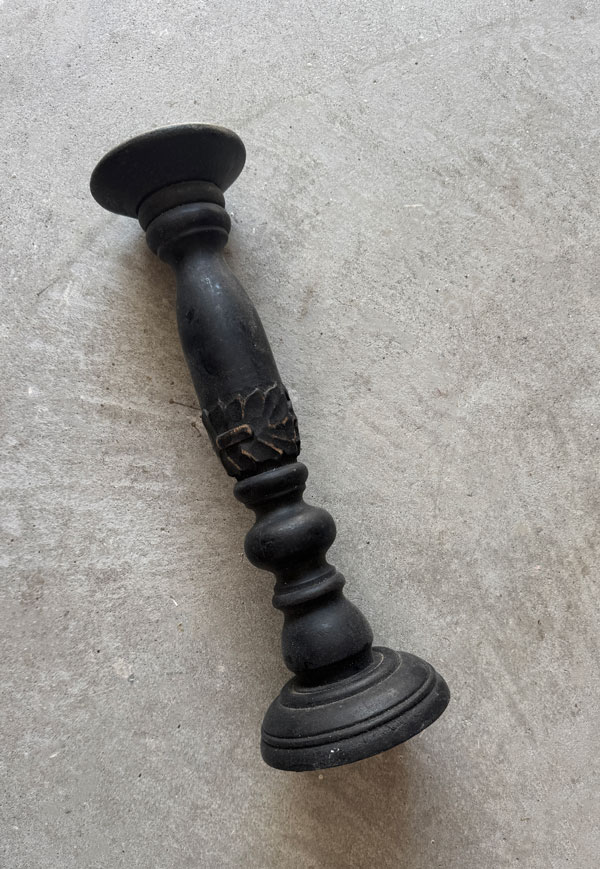
I picked it up years ago for $2.99 at the thrift store.
I decided where I would need to cut it to make it work and went for it using my miter saw:
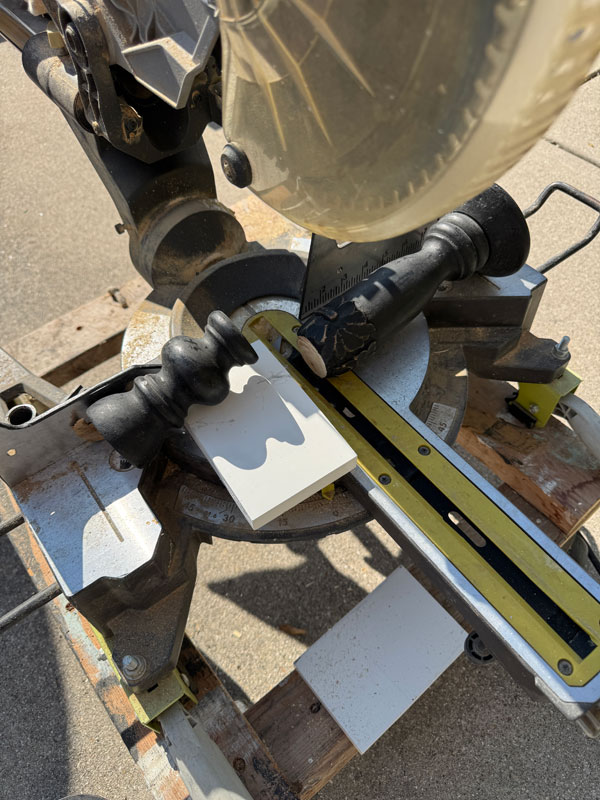
It laid pretty level while both ends were still intact, but I did need to prop one side up once I was on my second cut. (This was a bit more difficult. I ended up having to sand the top side smooth to make it more level.)
Next, I created holes in the silver plated pieces for my screws to go through and I did that using a center punch or nail set:
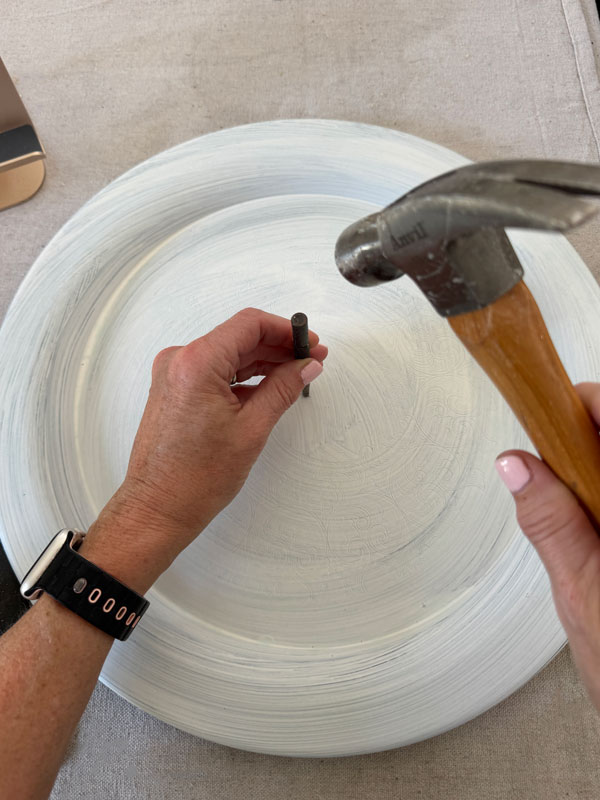
I was able to punch right through to create my hole. (There was a piece of wood underneath for the punch to go into.)
I did this for the tray and the piece that would become the center tier.
Doing a dry fit
I wanted to dry fit everything together to be sure it all went together nicely before painting and I noticed when I used the punch to make the holes in the two bottom pieces, the metal poked out a bit at the bottom:
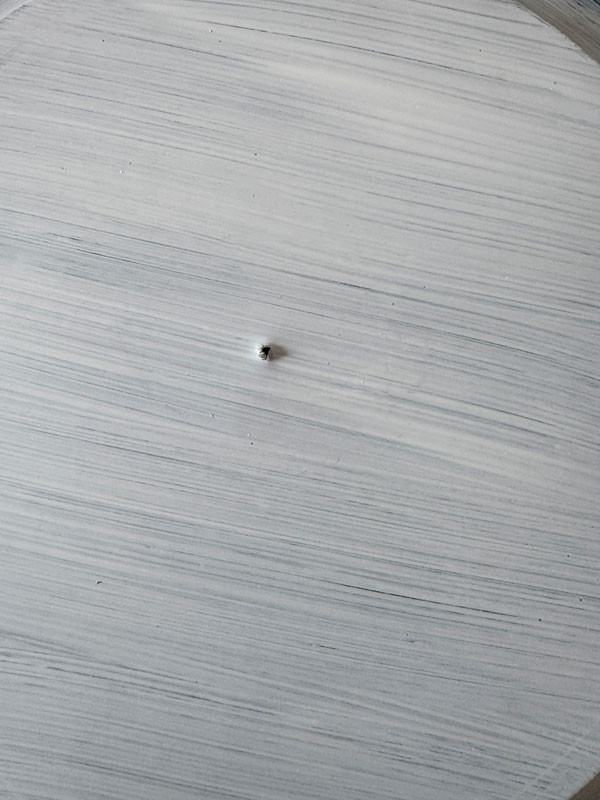
So, I drilled a small hole in the candlesticks where they would meet those holes to accommodate that indentation and allow the pieces to sit nice and flush:
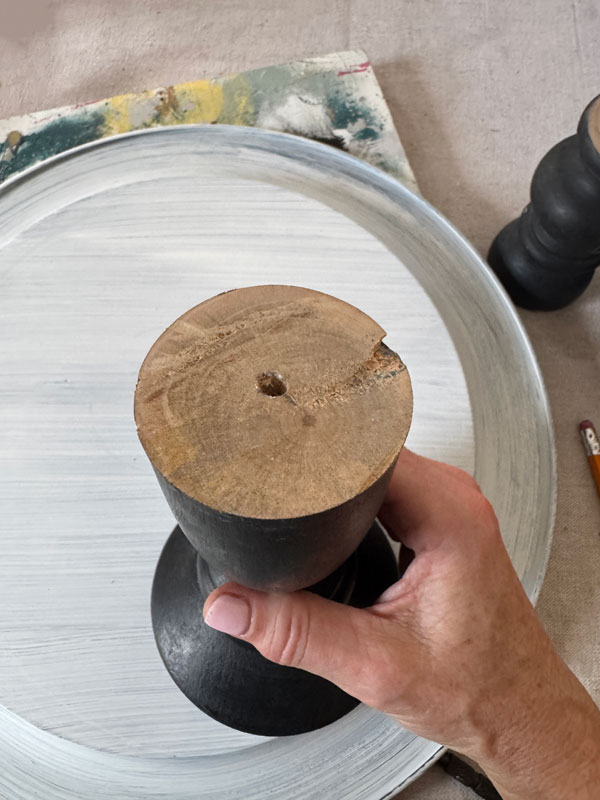
Paint
Once I had all the parts to my new tiered tray ready to go, I painted them all in two coats of Dixie Belle’s brightest white, Cotton.
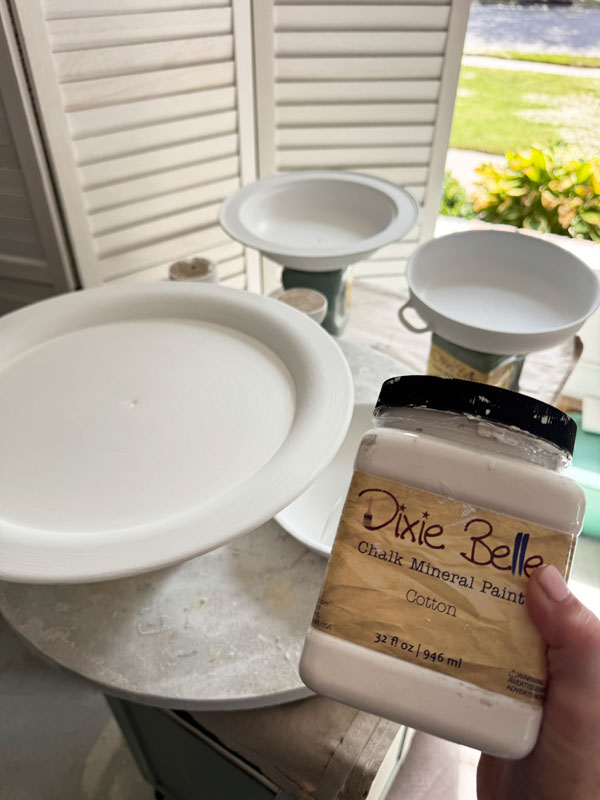
It was easier to paint before assembling!
Sand
I then sanded everything to distress some using 220 grit sandpaper.
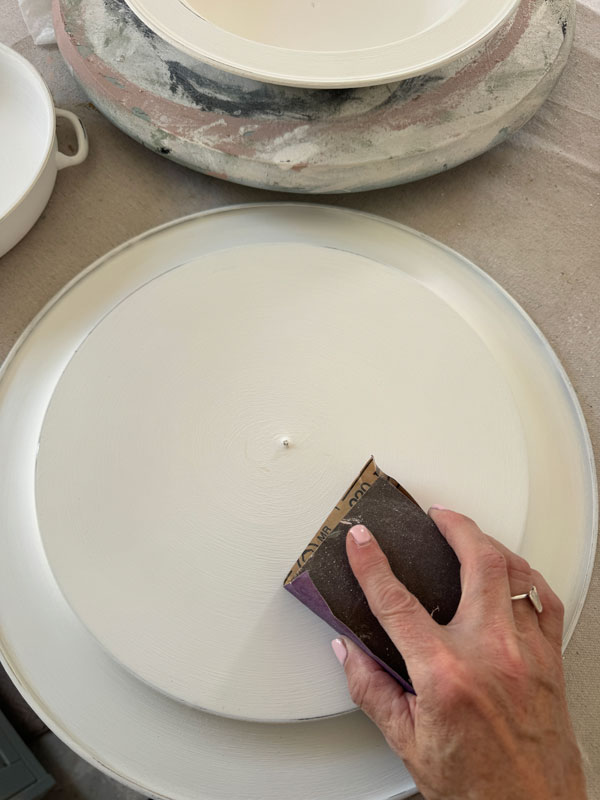
You can tell how well the Bonding BOSS works because I had a heck of a time sanding to remove some of the paint to distress lol.
Adding some pretty with transfers
I decided I wanted to pretty it up some with one of my favorite transfers, Salon de Diane:
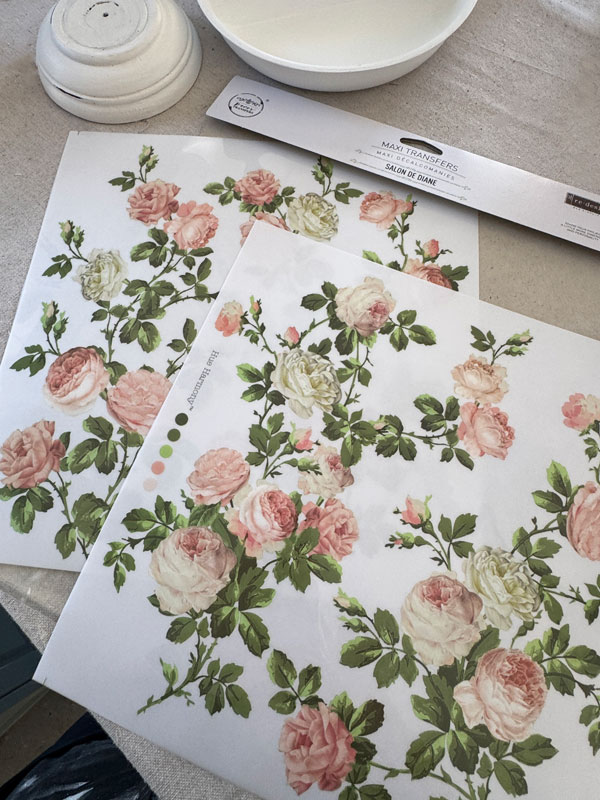
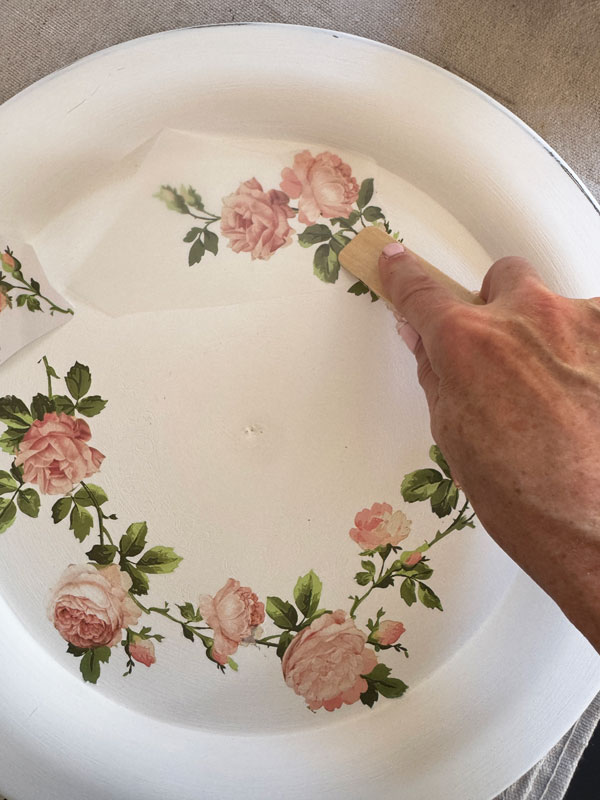
I strategically cut the pieces to create a ring of roses on the tray portion:
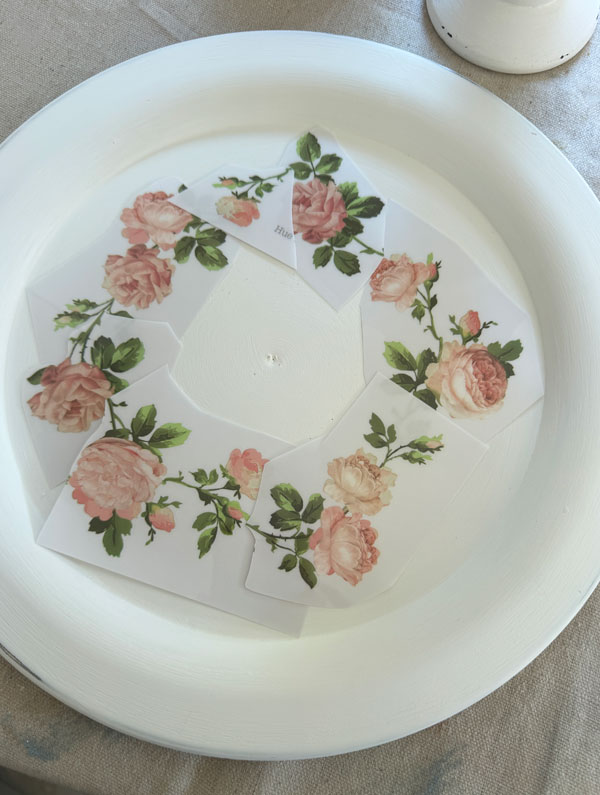
I used the enclosed stick to burnish them in place:
Seal
Once I had all the transfer pieces where I wanted them, it was time to seal and protect them.
I started with a coat of Clear Coat in Satin on the tops of everything to protect the transfers.
But, I wanted extra durable protection for this tiered try that might hold makeup, etc, so I then followed up with the brand new Gator Hide in the satin finish. (Now available in satin and eggshell!)
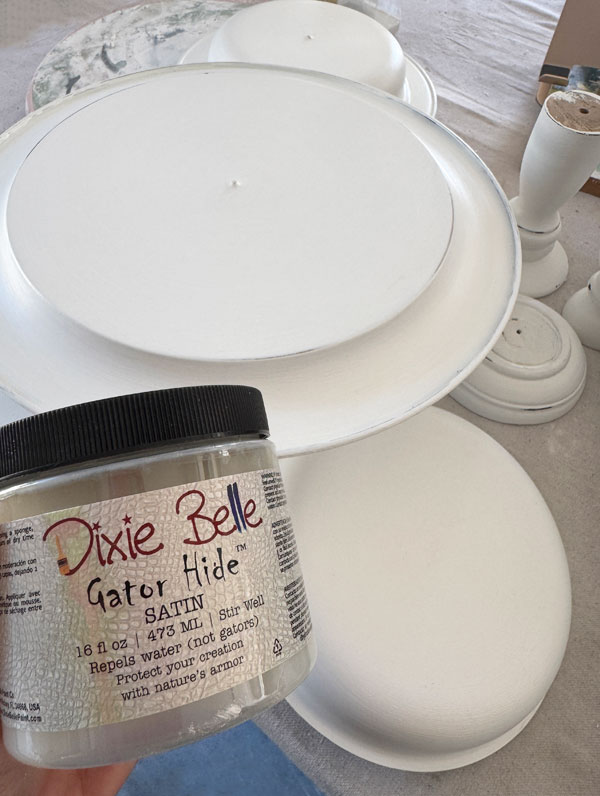
**It is not recommended to use Gator Hide directly over transfers as the water repellent properties in Gator Hide can cause transfers to lift. **
That’s why I started with the Clear Coat first.
This new Gator Hide went on like a dream! I used the blue sponge to apply both the clear coat and the Gator Hide:
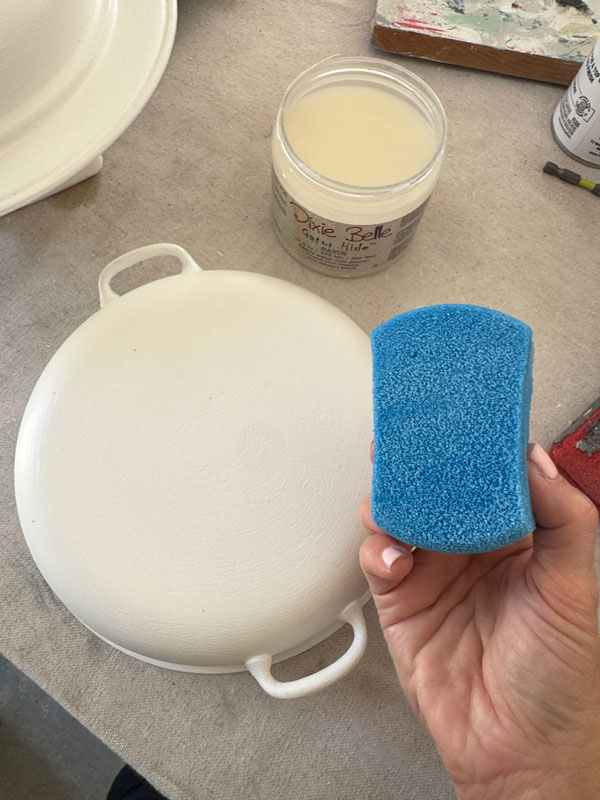
Cutting the sides off makes them so easy to use!
Assembling my new tiered tray
Finally, it was time to assemble everything.
I predrilled narrow holes into the candlesticks to make the screws go in easier. I used 3″ construction screws (that use a star tip drill bit) for strength. The bottom two pieces were connected using those 3″ screws, but the top tier and the candlestick supporting it were attached using E6000 Glue. I let that sit overnight to dry.
Repurpose a silver plated tray and server, the reveal
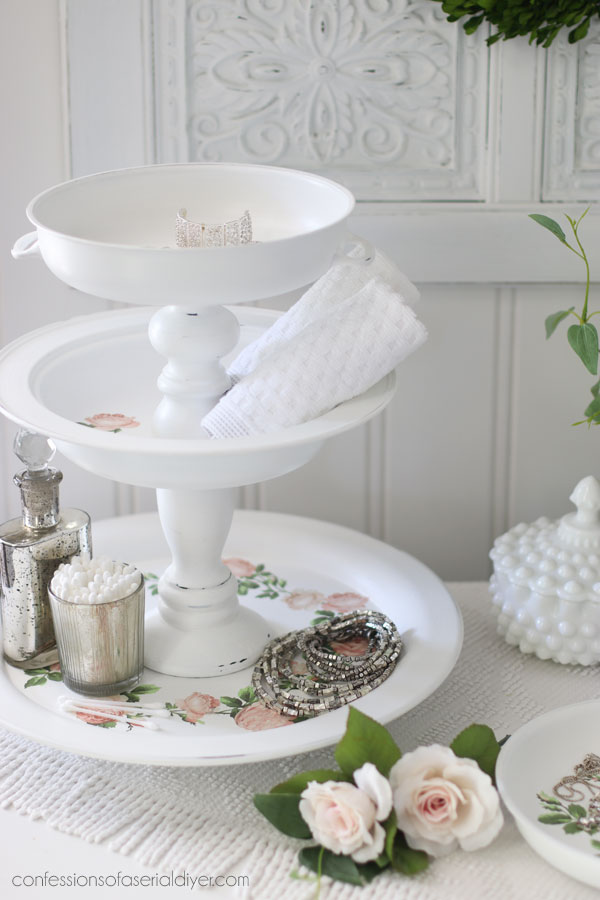
Here is how our brand new tiered tray looks!
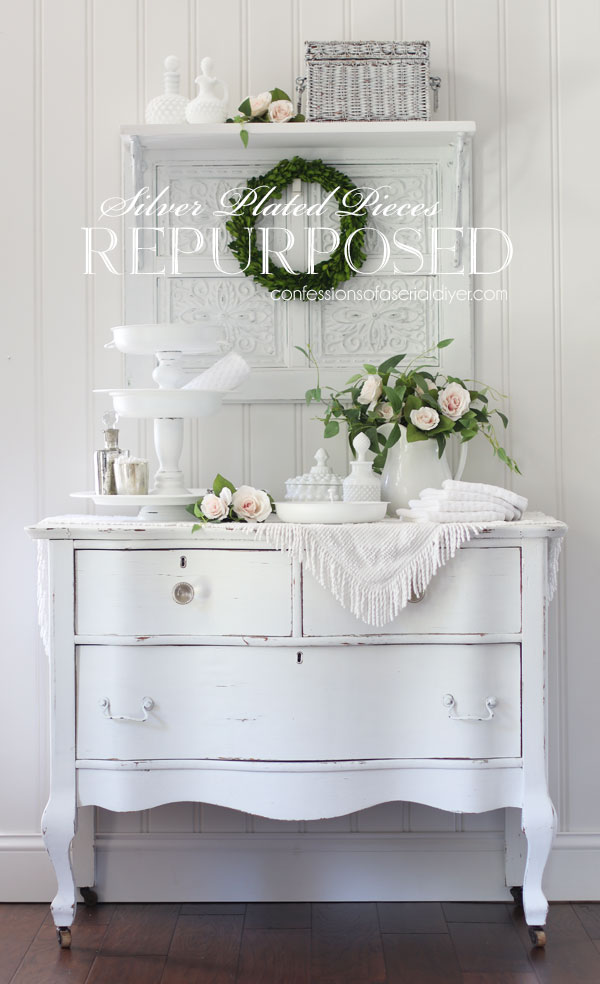
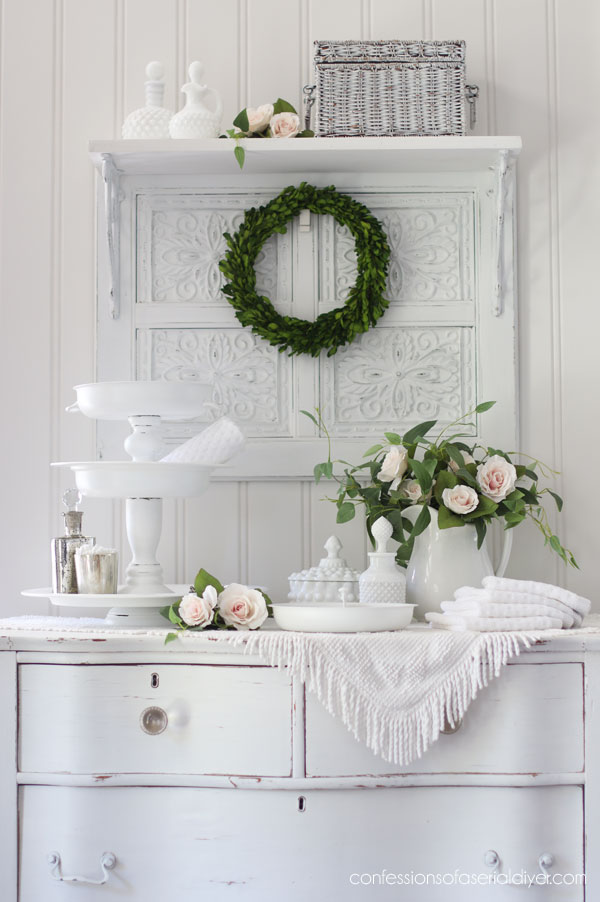
I wanted there to be enough space on the bottom to actually be usable.
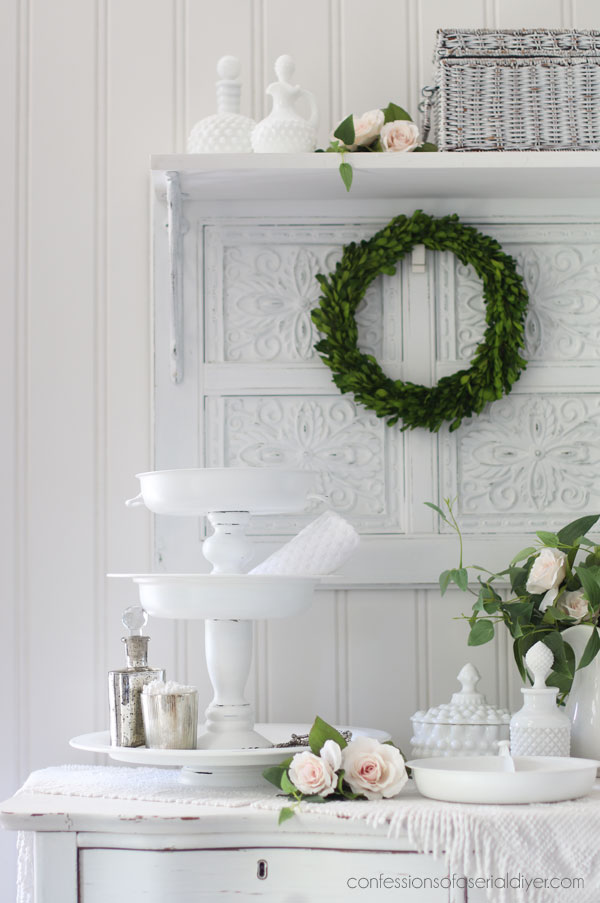
The best part is what you can see from above…
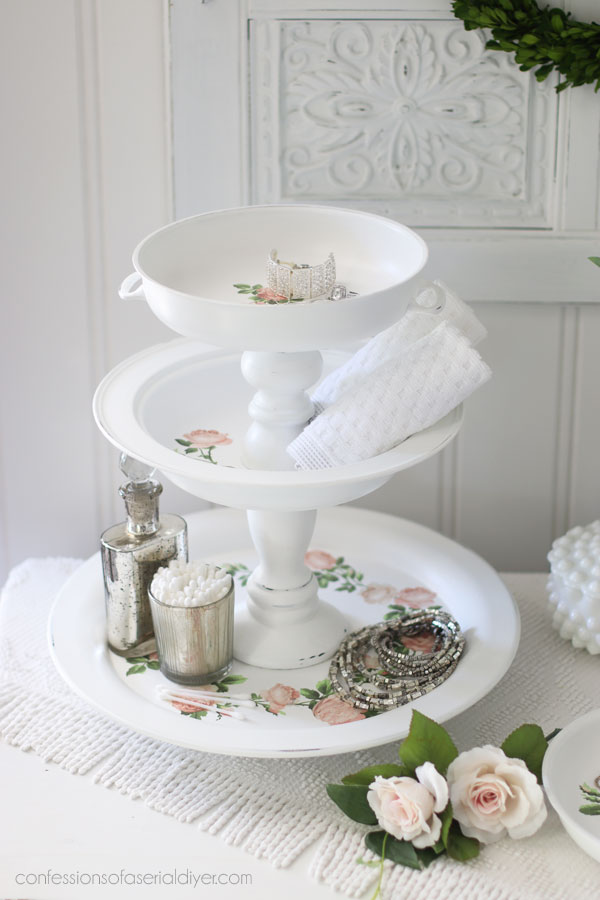
So shabby chic! This is still one of my favorite styles.
You saw the bottom with the ring of roses…
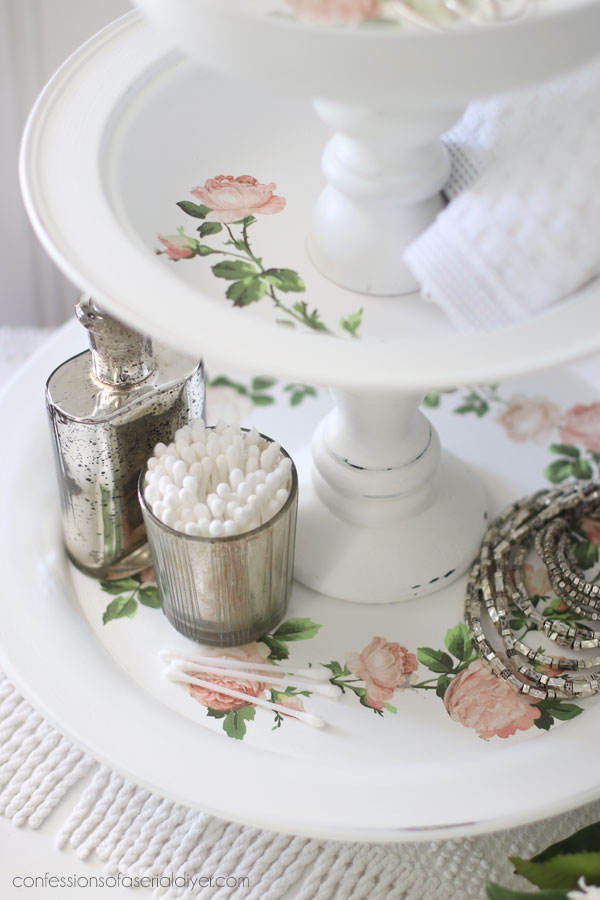
The piece in the center just got the one rose stem:
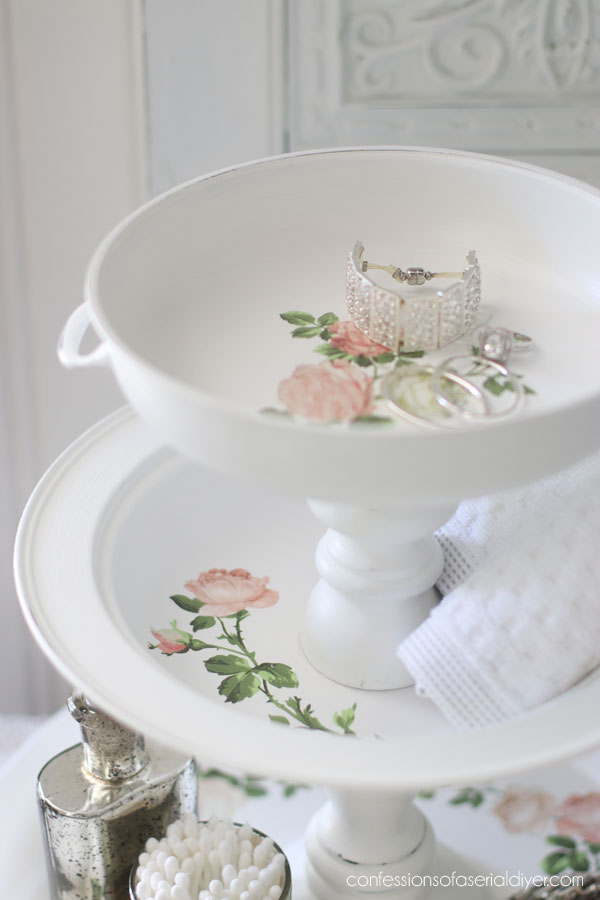
And the top got a small bouquet:
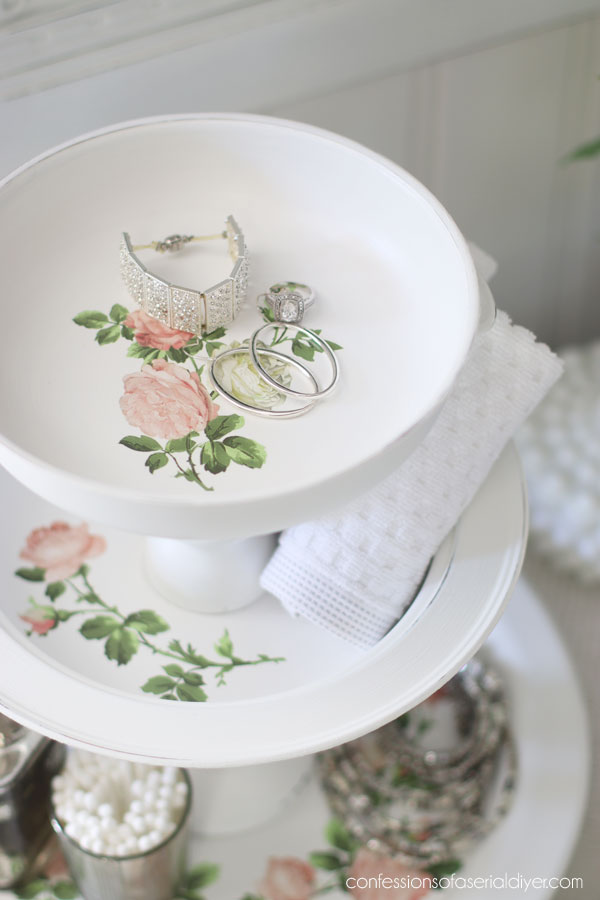
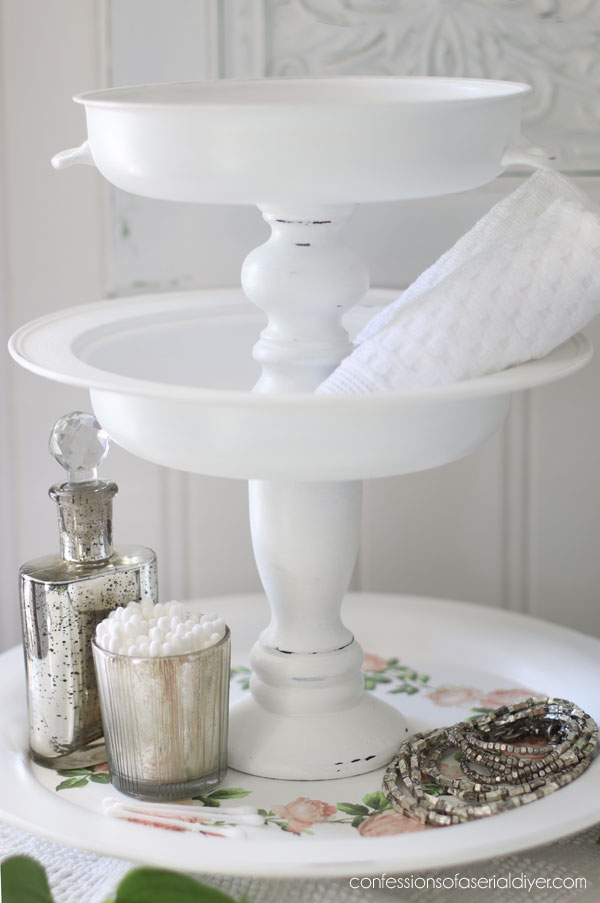
I tried to capture the sheen of the new satin Gator Hide finish:
That top piece is the lid of the middle piece:
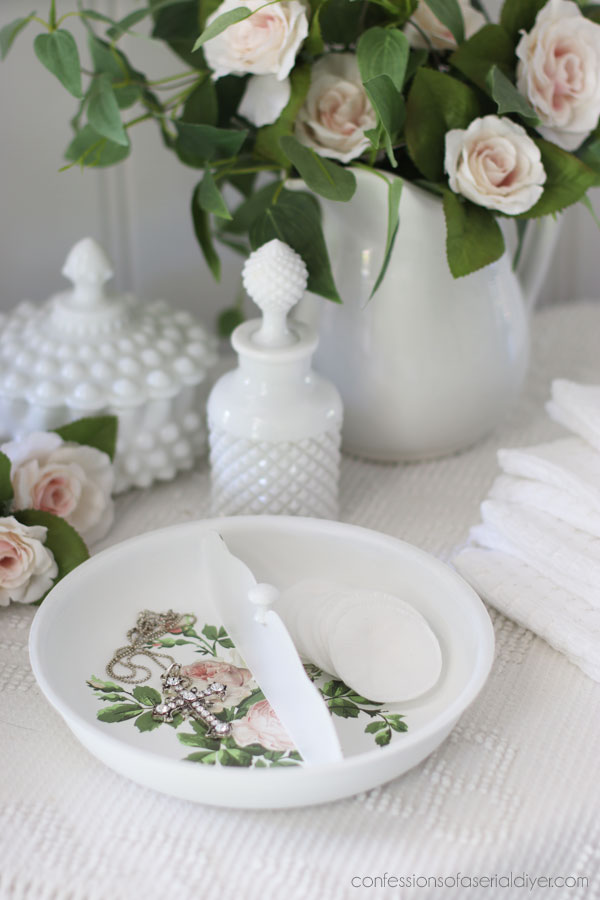
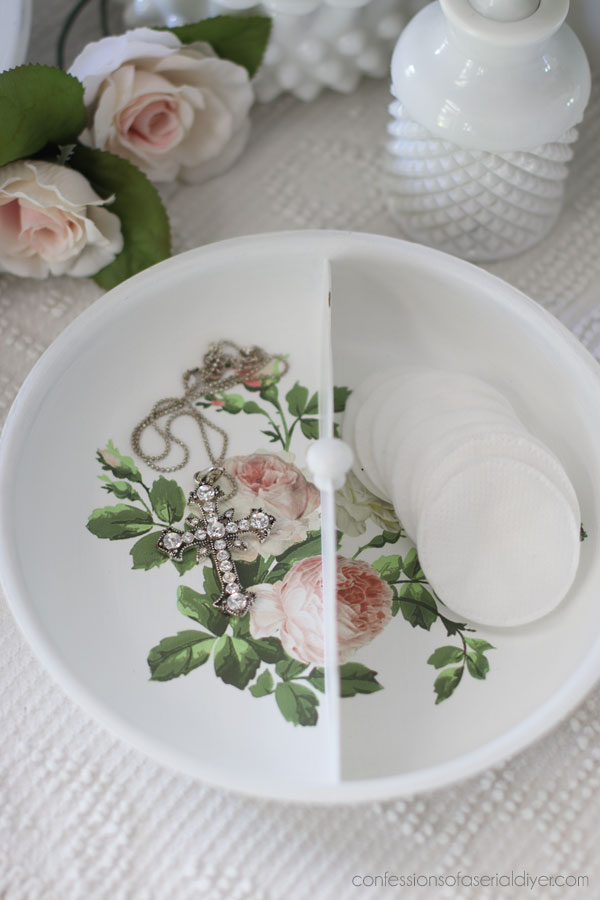
And that divider piece was removable. I ended up redoing that piece as well:
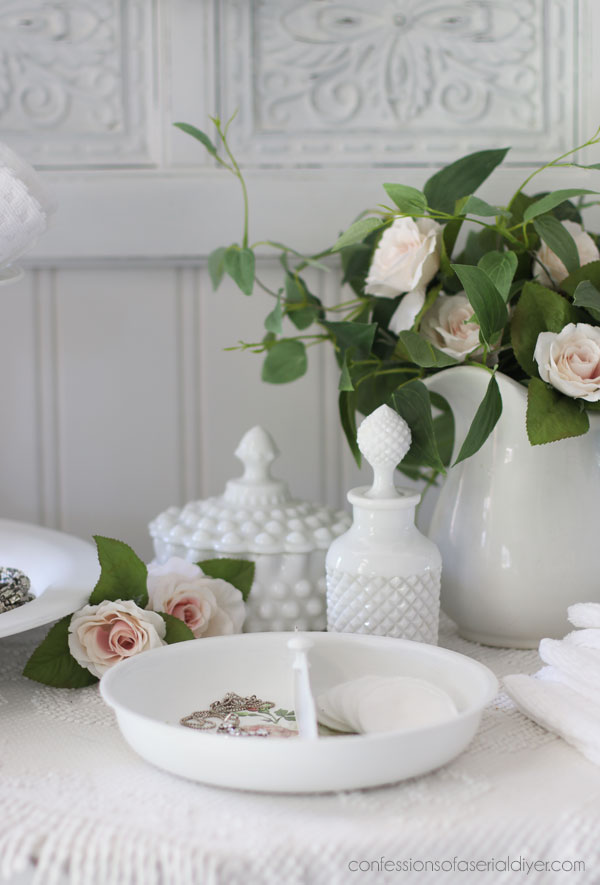
Now it’s a simple trinket tray:
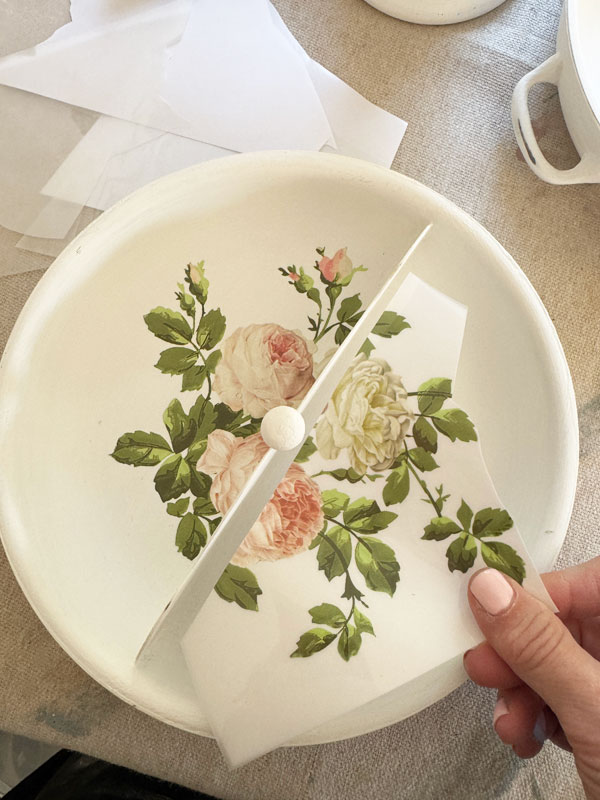
When deciding how to add a transfer to that part, I ended up cutting a bouquet in half and adding each half to either side of the divider:
And that is how to repurpose a silver plated tray and server!
Thanks again, Diana, for passing along these pieces!
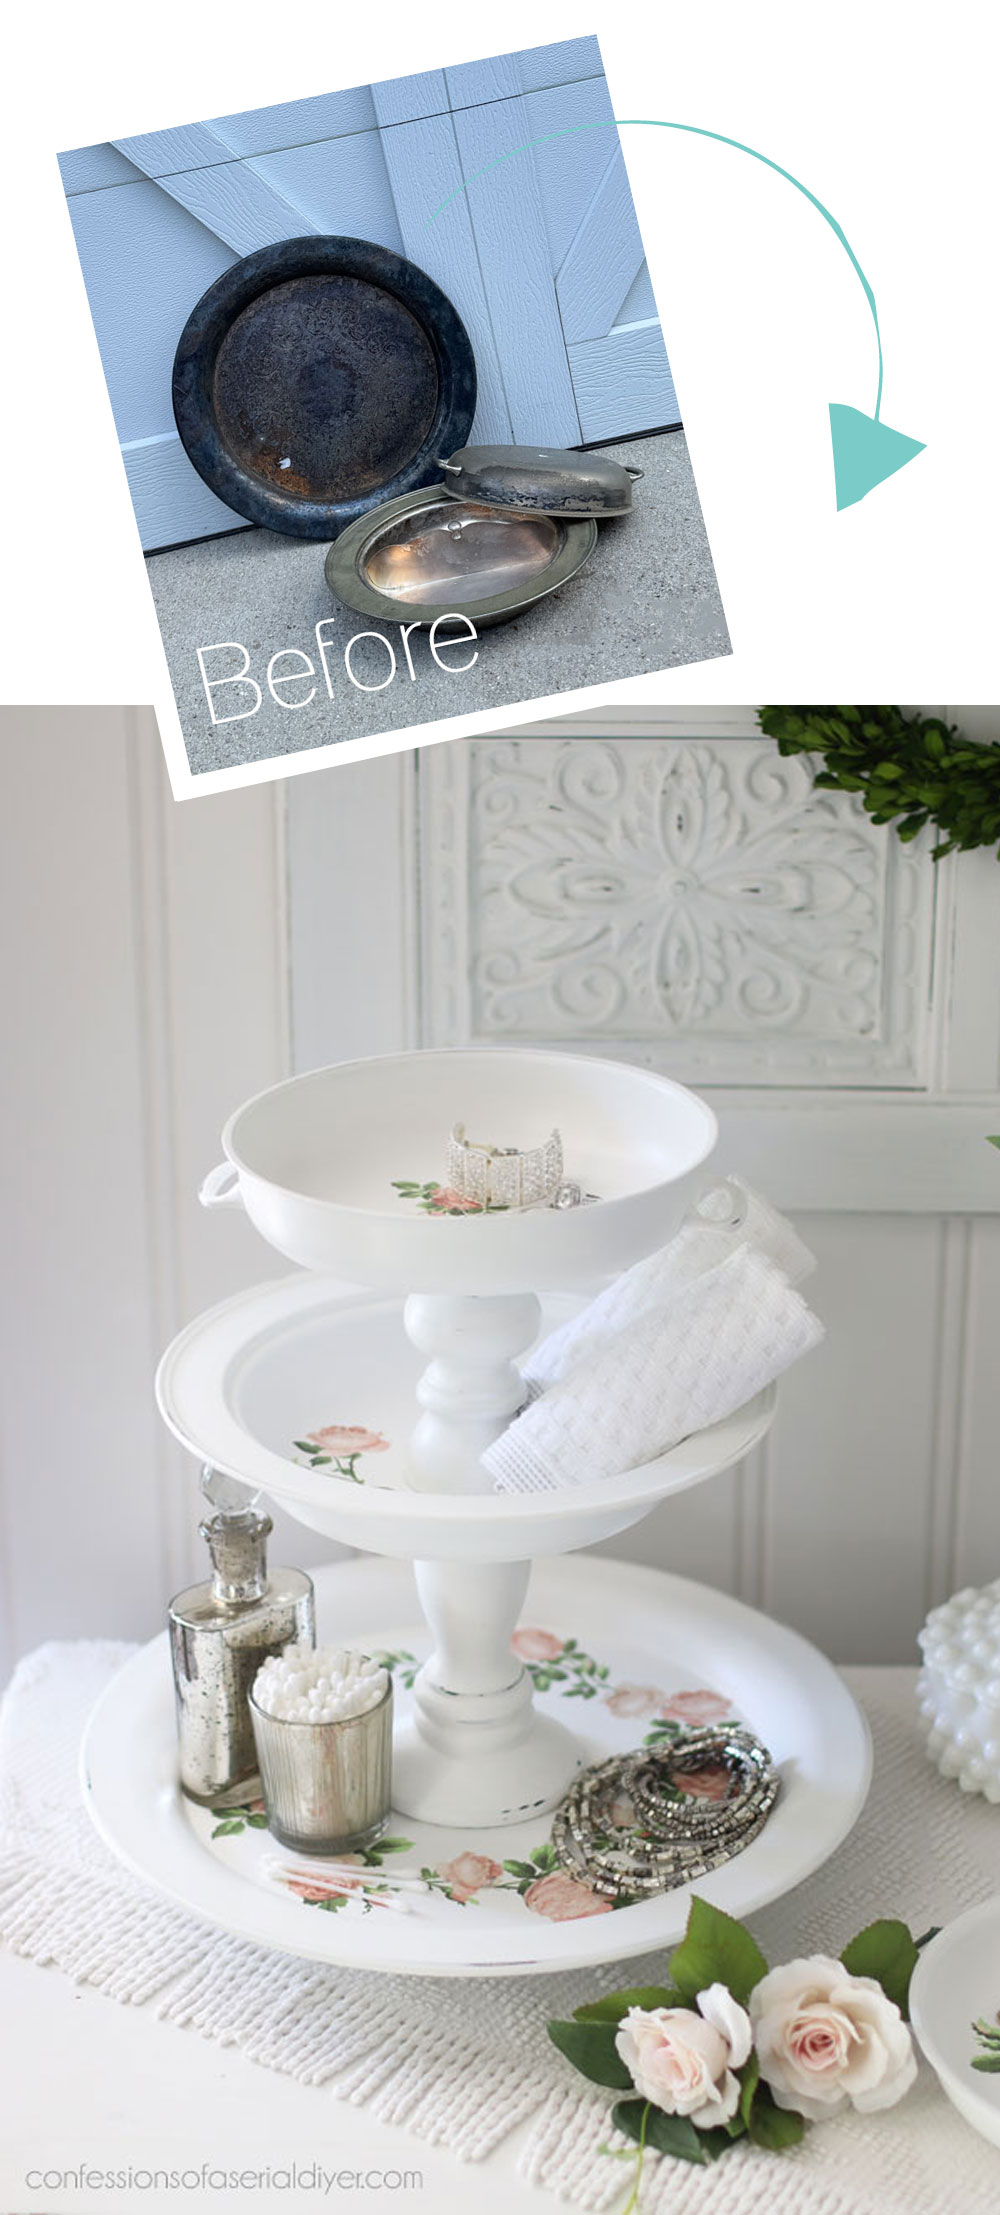
This would be perfect on a vanity to corral all those toiletries. How would you use it??
Be sure to check out what my friends have for you today as well!
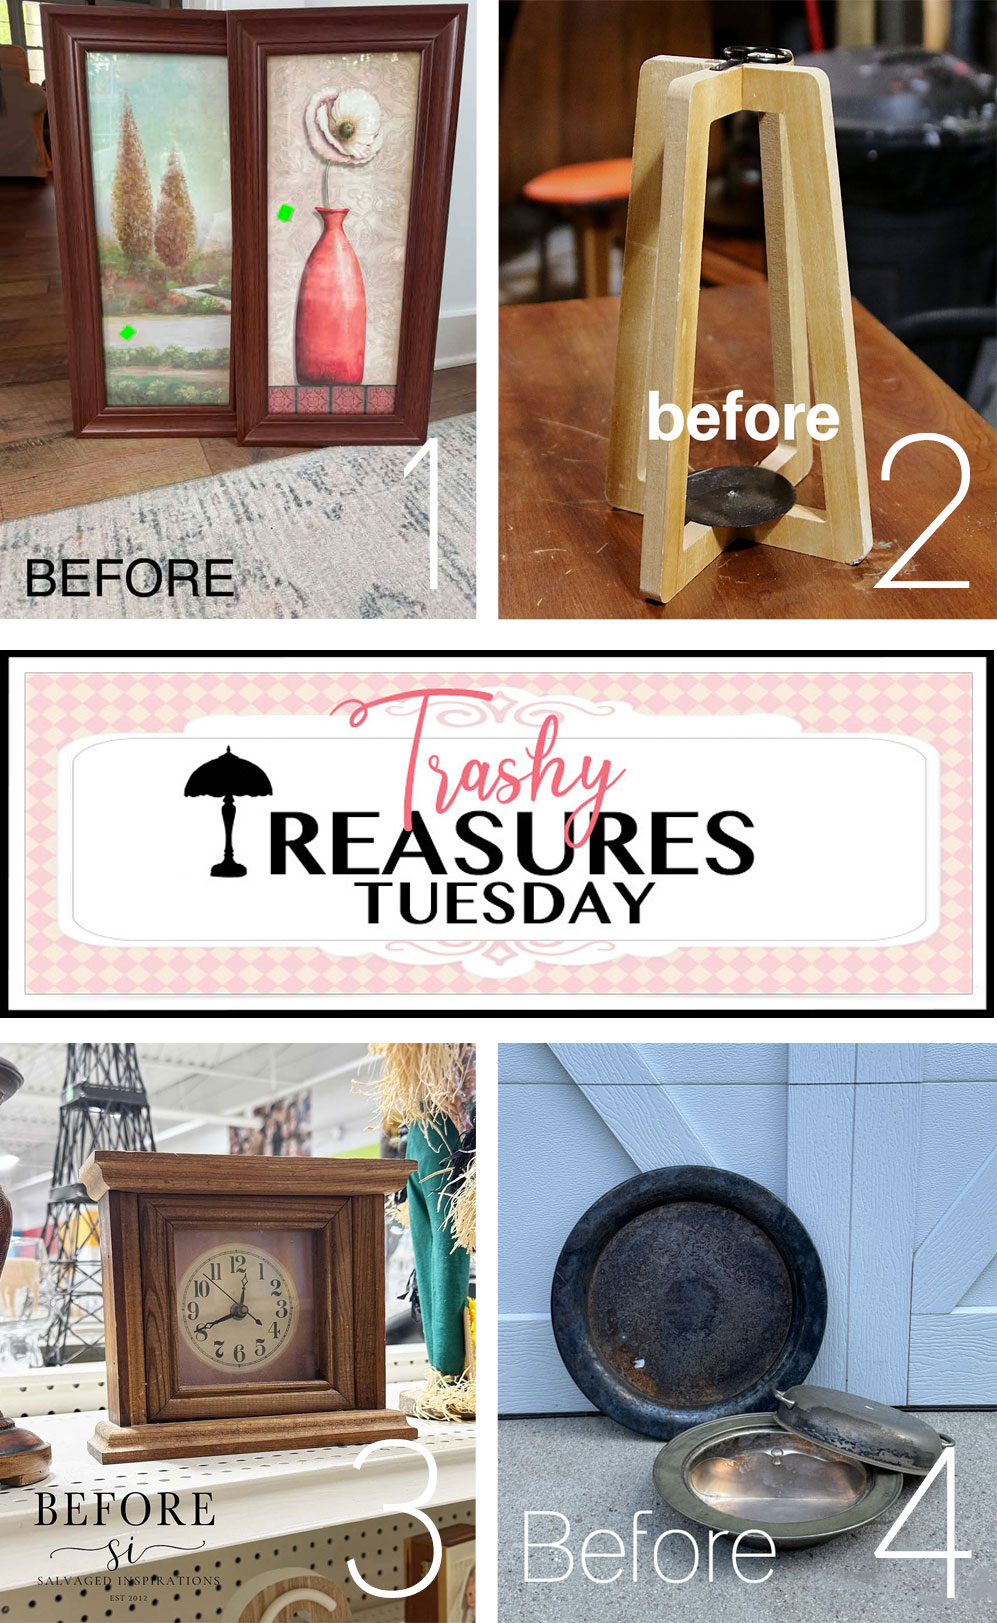
4. You’re here! Thank you! 🙂
I was able to cross two more pieces off the list!
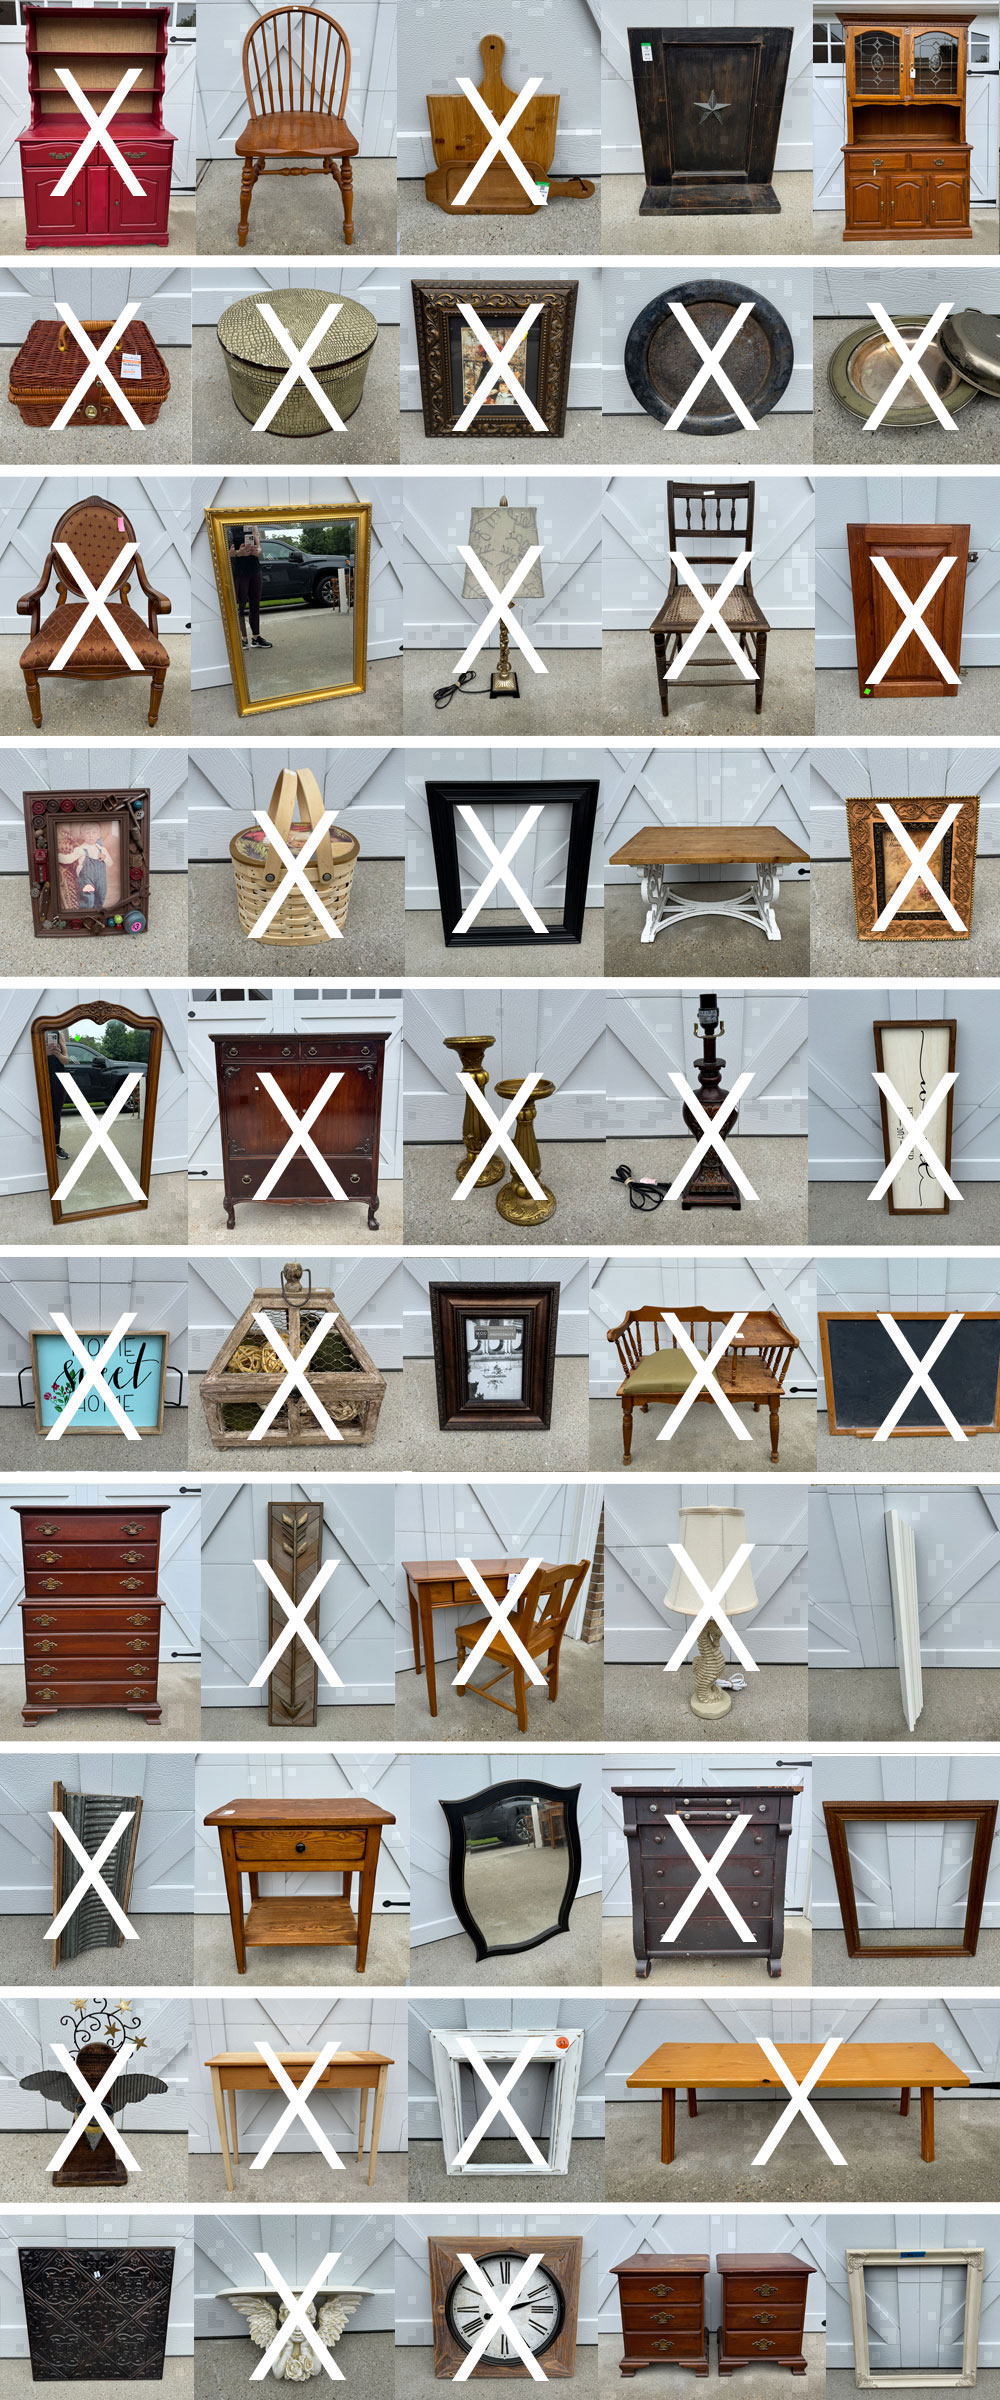
Doesn’t it seem like I’ve zipped right through this haul??
See anything you may have missed at the links below:
The Easiest Weathered Paint Finish (Chair)
Antique Gentlemen’s Cabinet
Turn an Old Sign into an Amazing New Shelf!
Upholstered Louis Armchair Makeover
Simple Painted Bench Makeover
My Favorite way to Paint Baskets
Painting the Smalls #43
Dressing Table and Chair Makeover
Upcycled Bread Boards
Mirror Makeover with Glaze
Cabinet Door Upcycle
Crushed Glass Resin Art
The Prettiest Hatbox Makeover
Painting the Smalls #42
Painted Hutch Makeover
Update Thrift Store Lamps with Paint!
Vintage Telephone Table
Repurposing Hobby Lobby Art
Unfinished Wood Table Makeover
Apothecary Empire Dresser
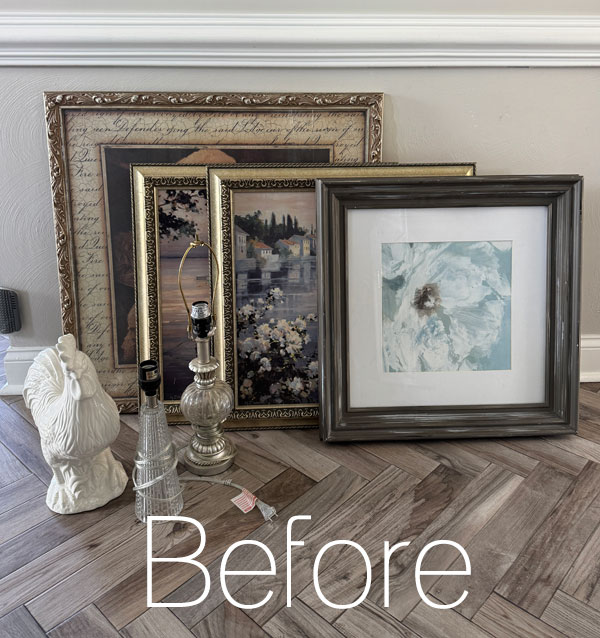
I have seven more pieces in the works to fluff my booth with that are not on this list…just things that only needed something small done with them, but I thought they might still be fun to share:
I’ll be back with those next!
UPDATE: See how the simplest updates really brought this ho-hum haul to life HERE!
XOXO,

Don’t Miss a Thing!
If you like what you see, there are several ways to follow along!
EMAIL * INSTAGRAM * FACEBOOK * PINTEREST
Get FREE SHIPPING on all orders over $50 in my Etsy shop.
(No code needed at checkout!) Orders under $50 enjoy $8 flat rate shipping!
Most orders ship same or next business day!
Visit my shop HERE or click the image below!







Maty Kaiser says
Oh they turned out so beautiful! I love them so much! Those will sell so fast from your booth. I would buy them together if I lived closer. So cool for free and you kept them from the land fill.
Christy says
Good morning, Mary! Thank you! There are tons of these pieces floating around that aren’t being used, so why not make them useable again? XOXO
Diana says
So happy to see that you made these pieces beautiful again! I’ll share this with my niece. Those pieces belonged to her grandmother. She will be thrilled to see them now.
Christy says
Oh I am so glad I was able to make them pretty again. Thank you so much for passing them along to me! XOXO
Kim says
Hello! I know waiting 24 hrs for bonding boss but how long do you wait between each coat of paint? And then how long does the last coat need to dry before sanding/distressing and adding a transfer?
Once the top coat is added how long does you wait to put it in your booth? How long did this project take from start to finish?
Sorry for all the questions but i have been following you a few years now and now have my own booth at a local vendor mall. I am so excited but the reality that projects like this are not quick is very real.
Any other advice you can offer is appreciated!!!!!
Kim
Christy says
Hi Kim! Great questions! It does seem like projects happen much easier and quicker in a post than it actually is in real life for sure. With chalk paint, you can start your next coat as soon as the first coat is dry. And you can sand/distress as soon as the final coat is dry. The longer you wait to distress, the harder it may be as it starts to cure. I usually go right to adding transfers after that. Chalk paint dries so quickly that you don’t have to wait long. Then I seal right after that. I add two coats and wait about an hour in between coats. Everything will be fully cured and durable after about 21 days, but I hang onto pieces for about ten days or so before taking them to my booth. This project took longer than I anticipated just because of all the parts involved….I worked over the course of two days, allowing dry time and life in between. Best of luck to you with your booth! That is so exciting!! XOXO
Cecilia says
I love this! Such a great idea to make a tiered tray. Love the roses of course! You did it again, Christy. Took old tired pieces and turned them into not only something useful but also beautiful.
🤩 Cecilia
Christy says
Thank you, my friend! I was so glad to be able to put these pieces to use again! XOXO
Cyndi says
Beauuutiful! Those pieces would probably never get used again as they were intended and you made something useful and so lovely with them. Brilliant!
Christy says
Thank you so much, my friend! Yes…I’m sure they were pretty much done at this point lol…so glad I was able to love on them! XOXO
Denise - Salvaged Inspirations says
I see so many of these silver pieces at my local thrift store, and this is a creative way to give them new life! Beautiful. That floral transfer is gorgeous! Pinned XOXO
Christy says
Yes! There are tons of these forgotten pieces floating around out there! Thank you, my friend! XOXO
p says
Hi! Great results
My daughter and I did some thrift / vintage shop strolling over the weekend. I saw so many pieces that You would make beautiful again.
I really love that you give these sturdy old well designed / fabricated jewels a renewed life. I bet their makers would be all thrilled to see them so pretty again .
(I did pick up a couple to dabble with)
Christy says
Thanks so much, P! So true…there are a ton of these pieces that are no longer being enjoyed the way they once were. I bet that was a fun adventure this weekend, and I’m glad to hear you picked up a couple to play with! Enjoy! XOXO
Jewels L says
These are So Pretty! Wish they sat on my bedroom dresser!
Thank you for sharing yet another use for discarded items. You always encourage us to look past the junk and see the treasure! I actually have this transfer in my Etsy cart, and looking forward to creating something beautiful also. Have a blessed day!
Christy says
Thank you, Jewels! These would be perfect on a dresser to corral all the things. I am so happy to share and I love that y’all enjoy seeing the afters. This is one of my favorite transfers! XOXO
Michele M. says
Trash to treasures, indeed! What a fabulous idea – looks stunning.
Christy says
Thank you, Michele! I always love having actual trashy pieces for this day lol! XOXO
Caye says
How lovely that Diana got to see the finished pieces! You did a fabulous job, Christy, and I’m sure this piece will fly out of your booth.
Christy says
I know, right? I had no clue what I would do with them, but the idea came to me while laying in bed…where all good ideas emerge ha ha! Thank you, Caye! XOXO
Nancy @ Artsy Chicks Rule says
I couldn’t wait to see what you were going to do with these!! You didn’t dissappoint! Love!! xoxo
Christy says
Aww thanks, my friend! They just happened to be the right sizes for it to work! XOXO
Deb Mealus says
You are so very creative! Your foresight with the silver trays is amazing and I LOVE how they turned out! I have lived and learned about Bonding Boss and silver trays…ask me how I know you should always use Bonding Boss on slick surfaces! Lol Btw, is it a coincidence that Diana gave you the trays and you used the “Salon de Diane” transfer? 🙂
Christy says
Thank you so much, Deb! Bonding BOSS is a lifesaver for sure! Ha ha I noticed that too…it was meant to be! XOXO
Margie Bramer says
How pretty!!!
Makes me wish I had a spot for that! My cats would love grabbing the things out of the trays!! So much more fun than just pushing stuff off the table!
Christy says
Thank you, Margie! Ha ha they would probably love that! XOXO
Kathy Owen says
I love the tiered trays. So versatile, Kathy
Christy says
Thank you, my friend! XOXO
Cheryl Atkinson says
Hi Christy! I love this! You cannot go wrong with roses and I love picking up these trays but i haven’t ever put one of these together. Love it!
Christy says
Thank you, Cheryl! I wasn’t sure what I could do with them when they were offered to me, but I’m so happy I could give them new life! XOXO