
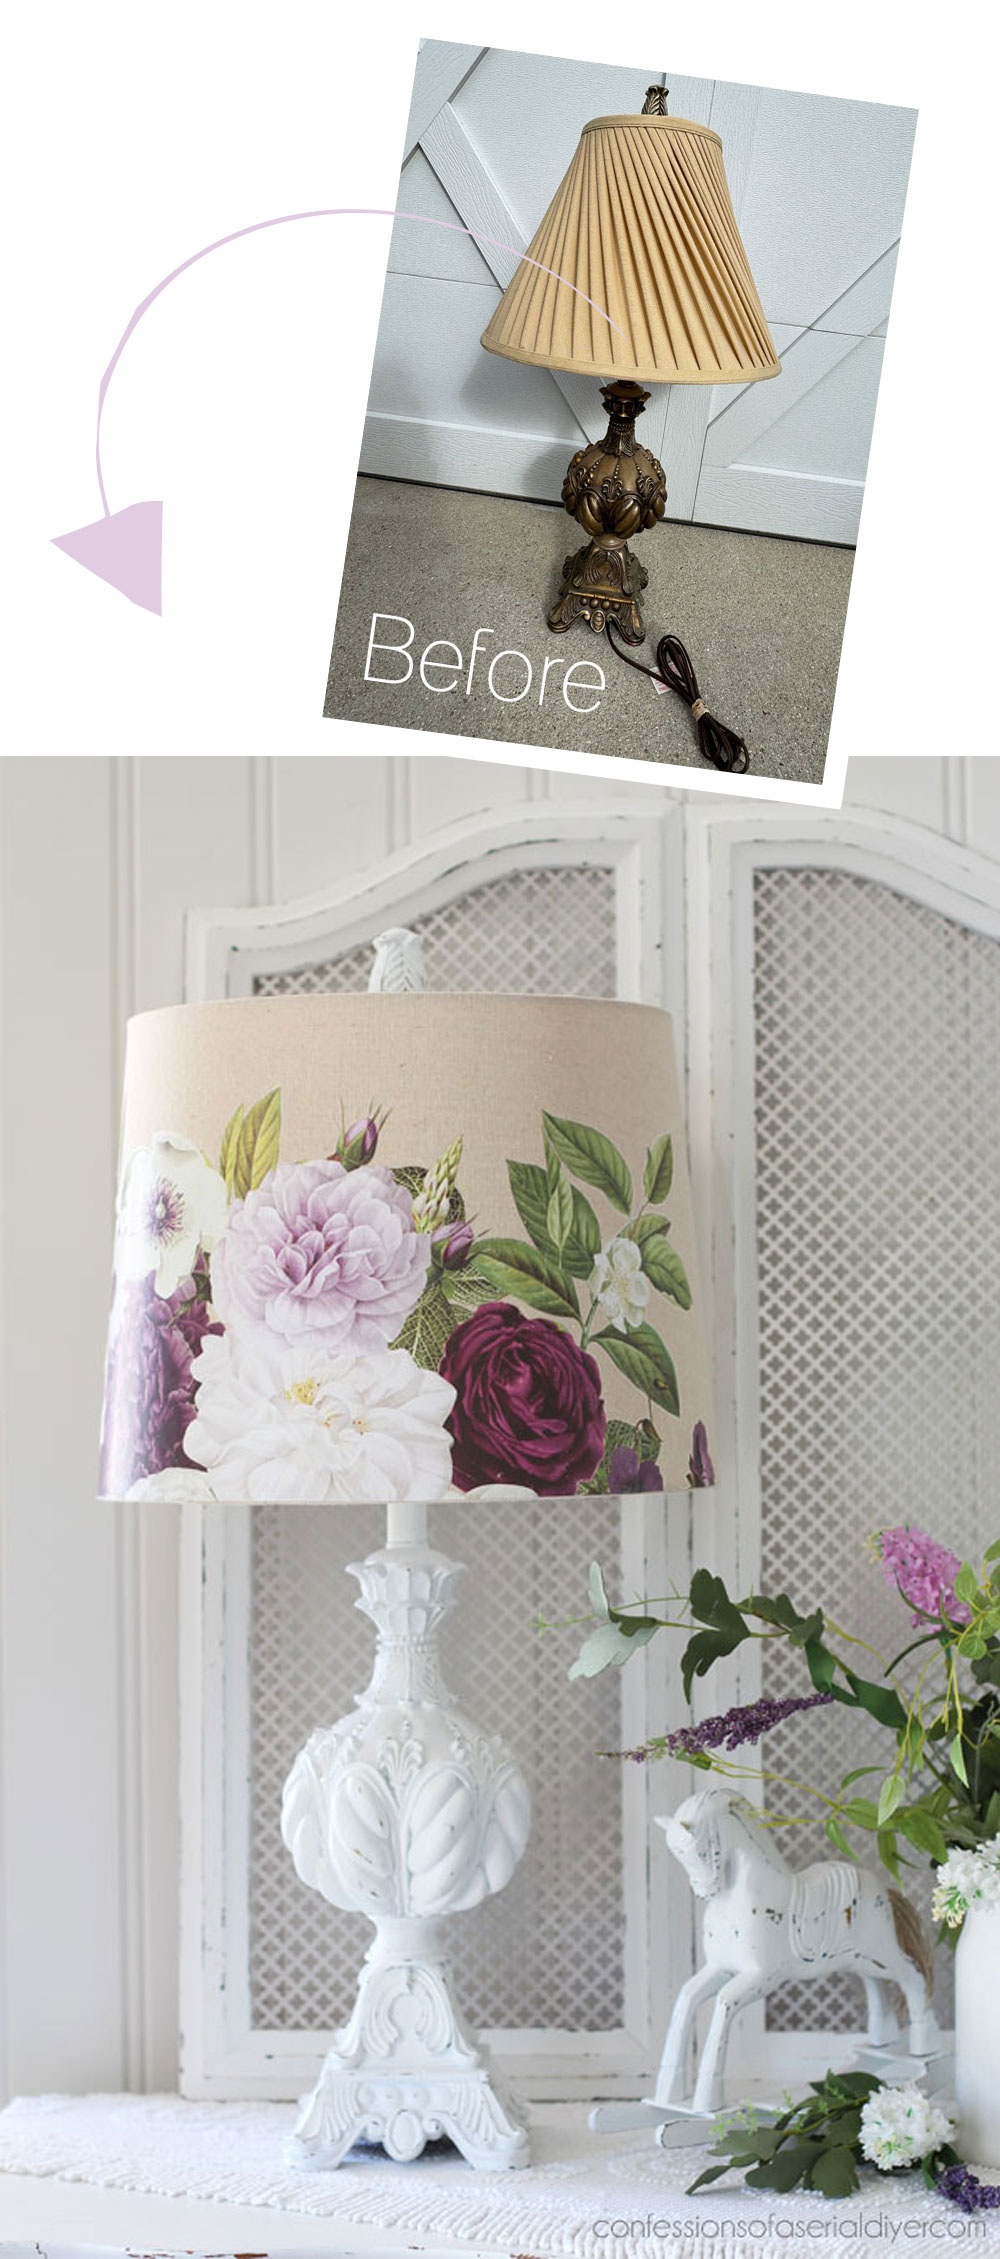
Hello, beautiful friends! It’s another edition of Trashy Treasures Tuesday today, so not only do I have a trashy makeover for you, so do my friends! Be on the lookout for those at the bottom. My project for today is a $4 Thrift Store Lamp Update.
It was originally $12, but it was 75% off:
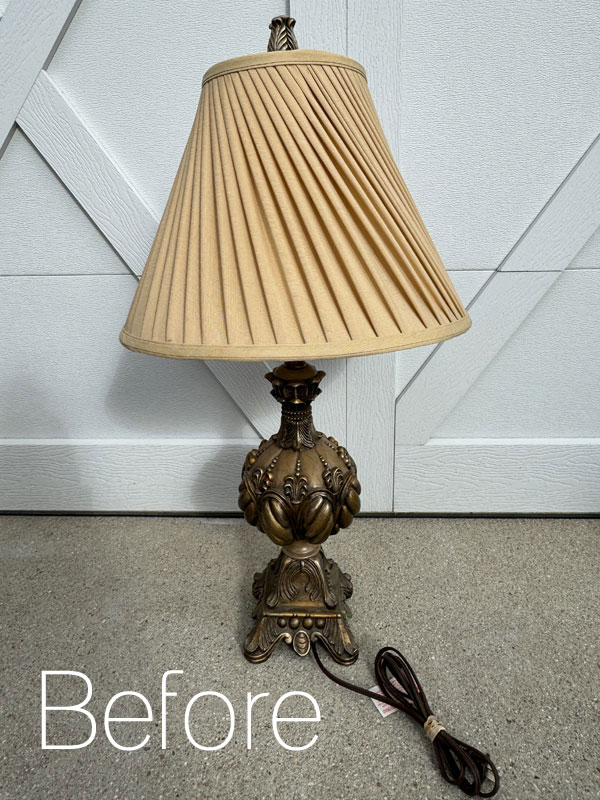
Really? No takers, huh?? That’s okay, for just over 4$, it was all mine ha ha!
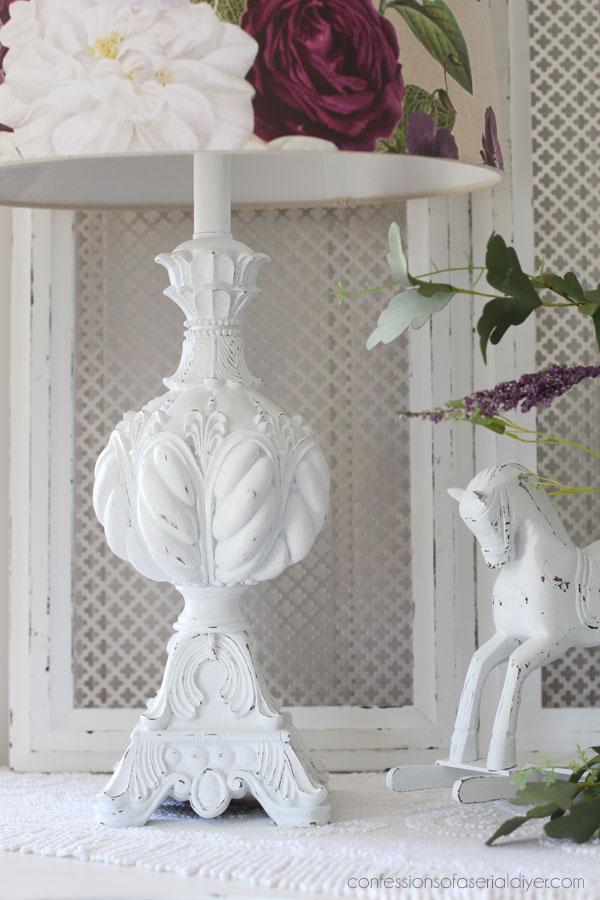
The shade really wasn’t doing anything for this lamp, but I loved all the details on it and thought it would paint up so pretty…
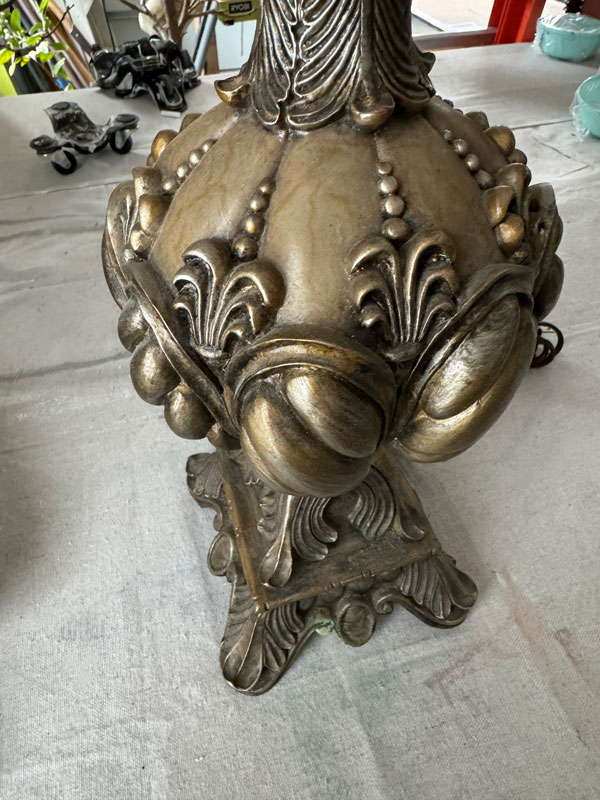
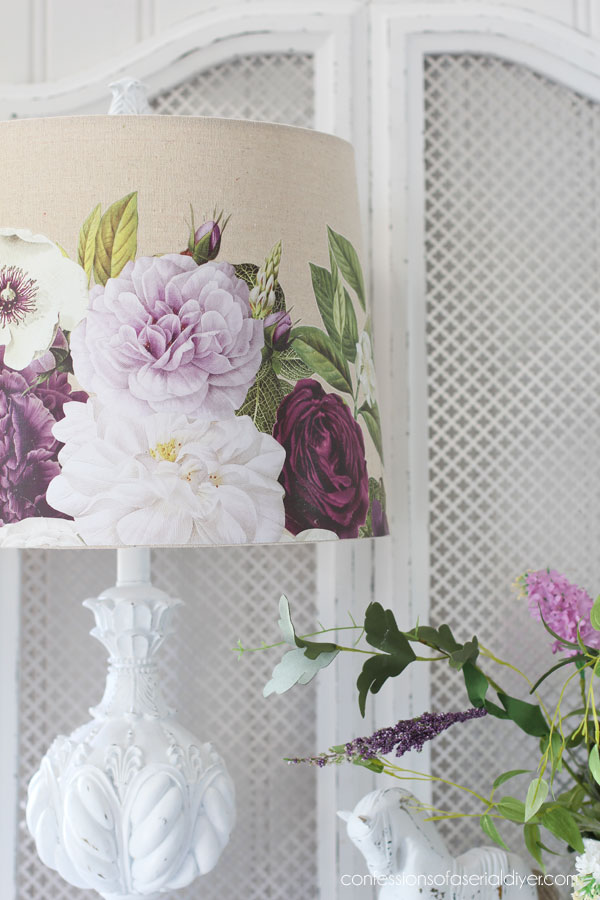
That center part kind of reminded me of Cinderella’s carriage.
Clean
I started by giving it a good cleaning with White Lightning. It had many years of dust accumulated in all the details.
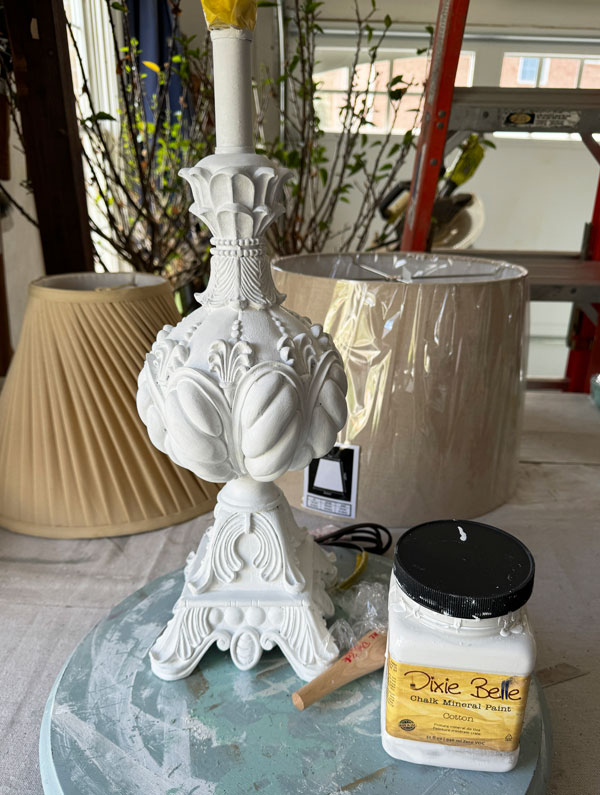
Paint
I chose a simple Cotton white for the base, giving it two coats:
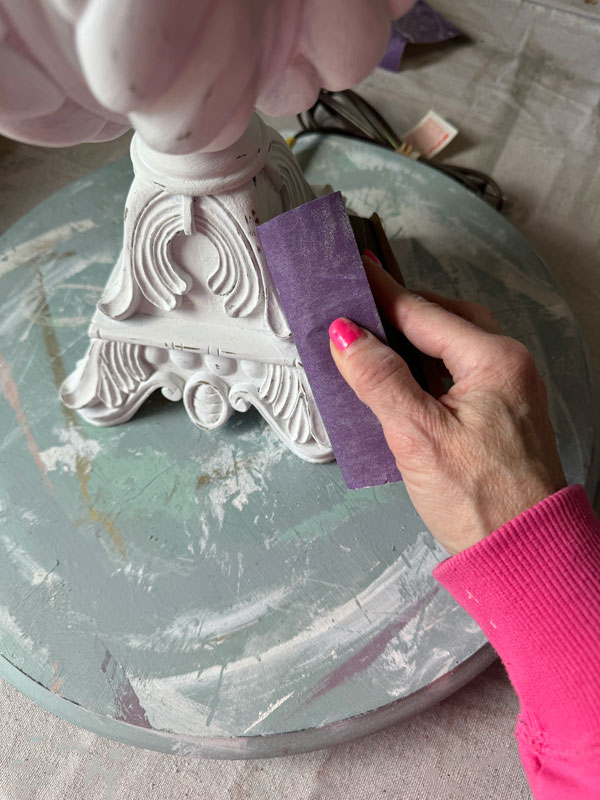
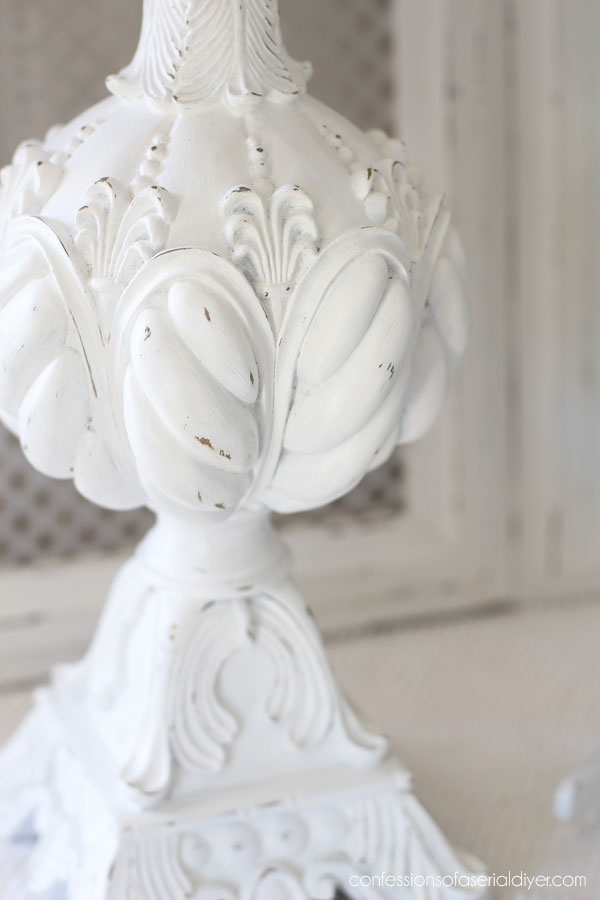
Once that was dry, I lightly sanded the details with 220 grit sandpaper:
Seal
To seal, I used Easy Peasy Spray Wax. It’s great for these detailed pieces. Shake the bottle until you no longer hear the liquid inside and spray. Then wipe away the excess.
The Shade
The old shade had to go!
This lamp was quite large and required a very large shade. I had purchased this one a while back at HomeGoods for another lamp but ended up using a different one. It was just the right size!
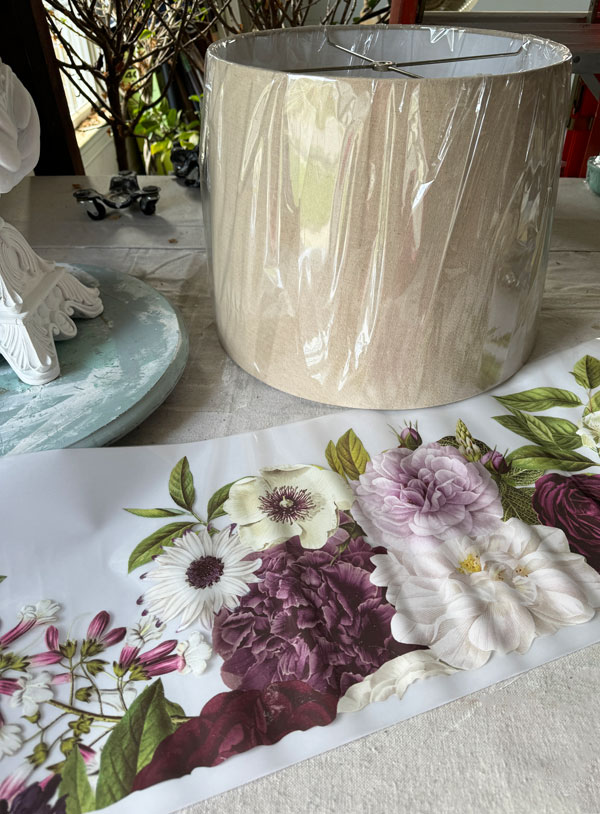
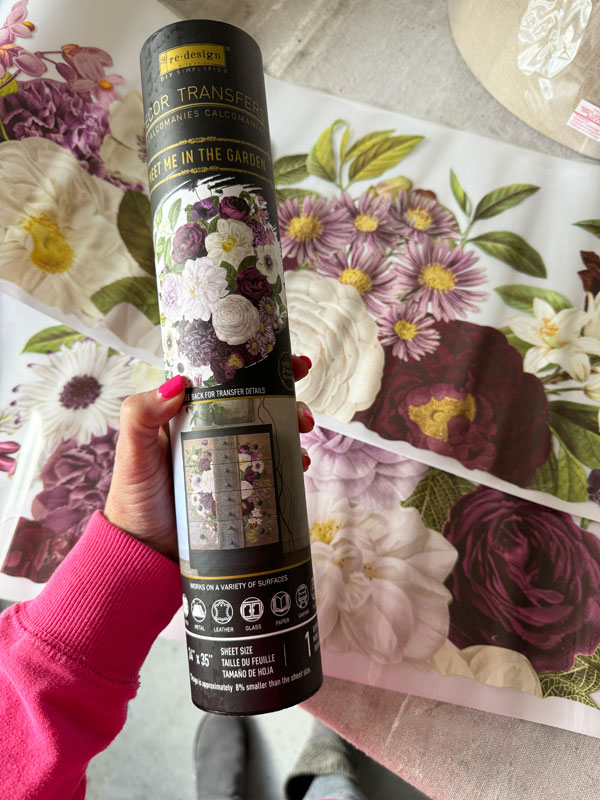
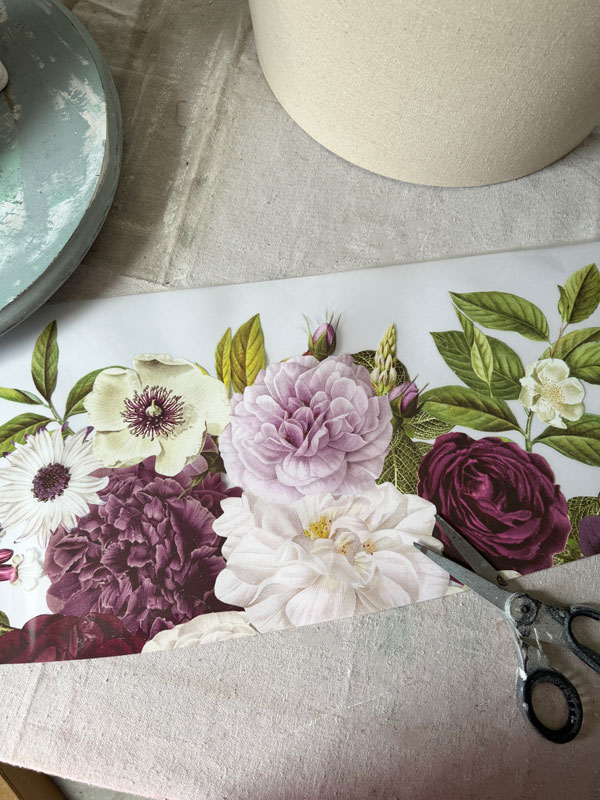
Meet Me in the Garden Transfer
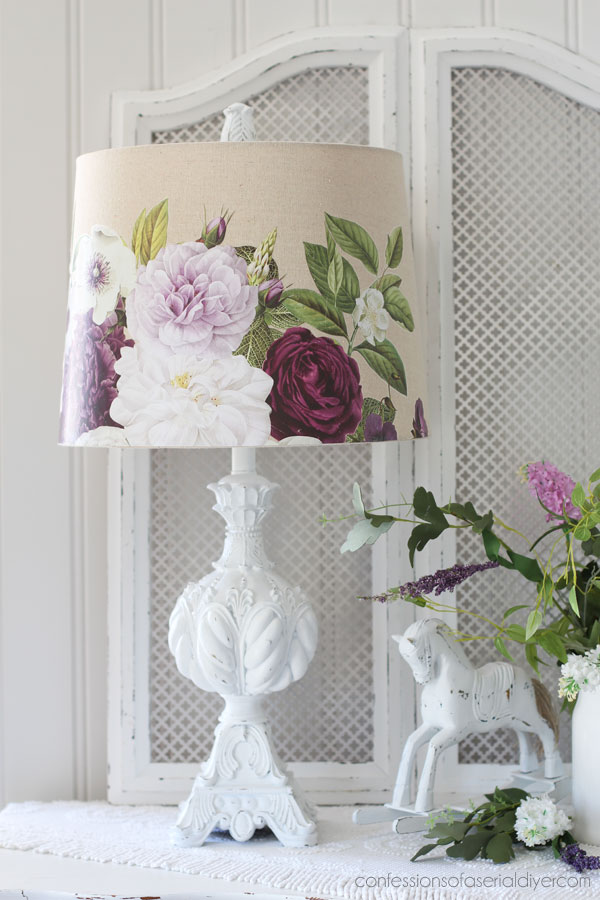
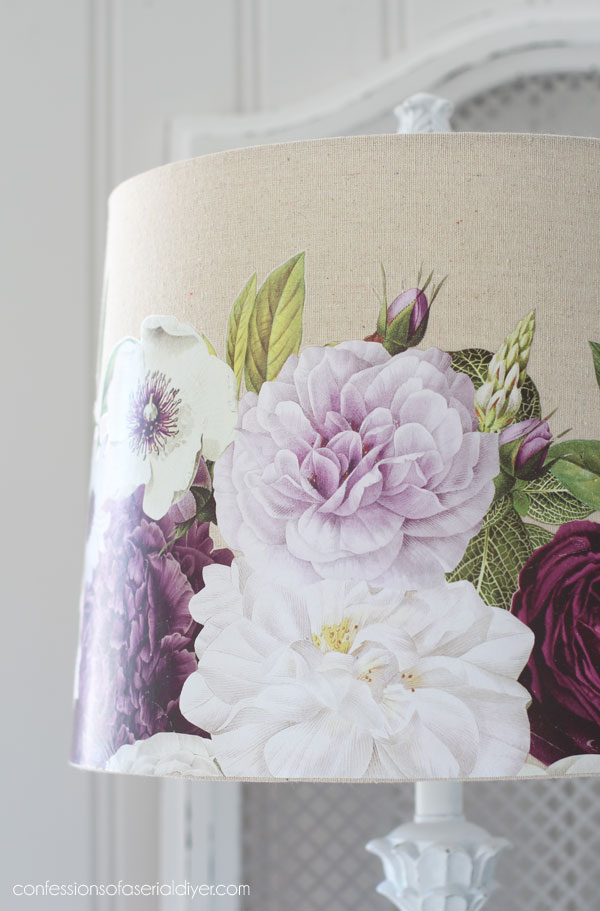
And that is part of the Meet Me in the Garden Transfer from Redesign.
This transfer is unique in that it is divided lengthwise:
I thought one half of it would be perfect on this large shade.
Except… this shade is tapered a bit. It’s much easier to add a large transfer to a shade that is the same width at the top and the bottom.
However, I found a solution for that.
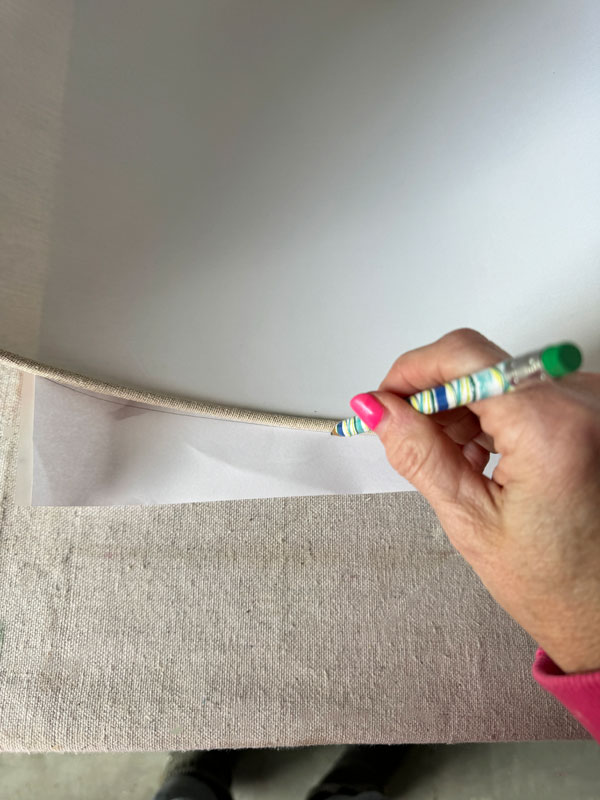
How to add a transfer to a tapered shade
This isn’t necessary if you are using smaller transfers or using pieces of transfers, but for a larger transfer like this one, I wanted the design to be straight across the entire bottom of the shade.
Here is how to do that:
- Roll the shade along the transfer, marking with a pencil the edges of the shade as you go:
- Then, cut along the marked edge. (I cut in a bit further because I hadn’t quite reached the design once I flipped it over.)
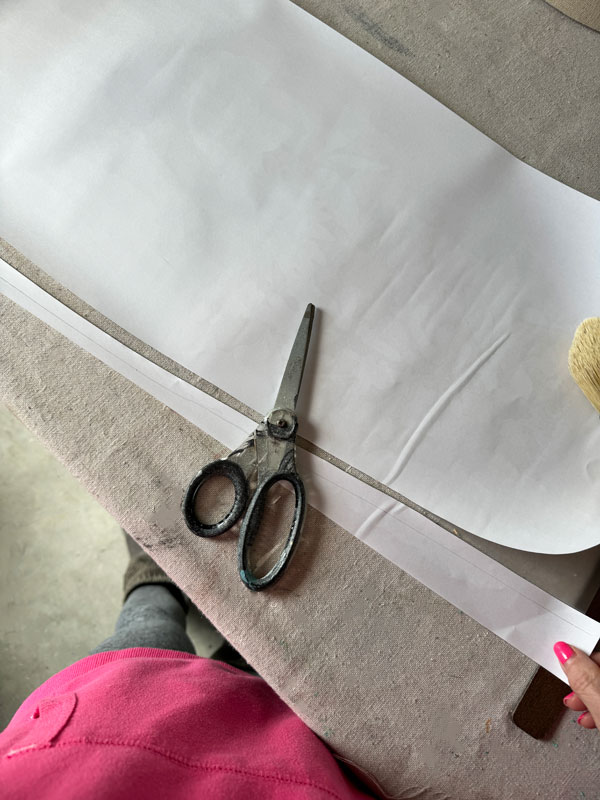
- Now the bottom of the transfer will be a bit rounded so it will fit around the tapered bottom of the shade:
- I lined it up and started burnishing it in place:
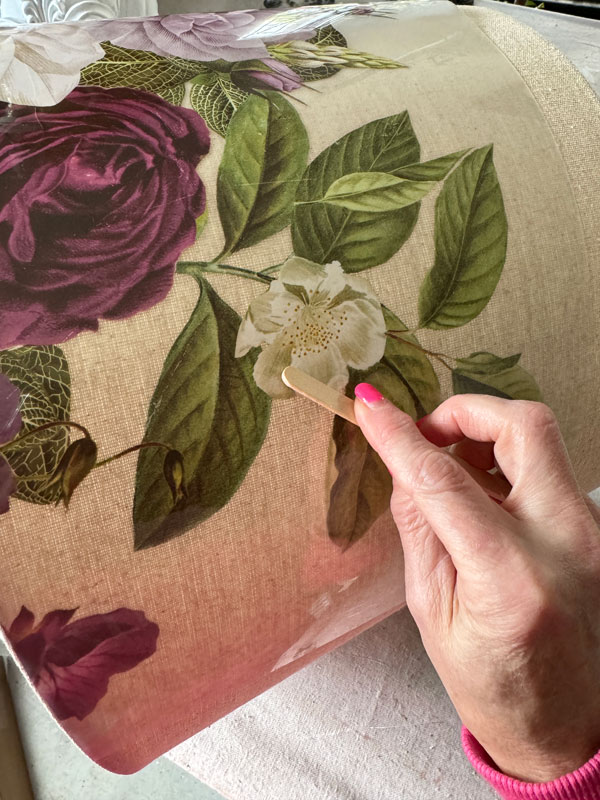
I only peeled about half of the backing off at a time, so I could work on a smaller area at a time. Then, I used a popsicle type stick which I find to be a bit easier when applying a transfer to a shade. I put my hand inside the shade beneath where I was burnishing to give it support.
- I peeled off the rest of the backing and continued to burnish the rest of the transfer to the surface.
- Once I had the transfer on completely, I used a finishing pad to go over the surface lightly all over to make sure it was adhered well:
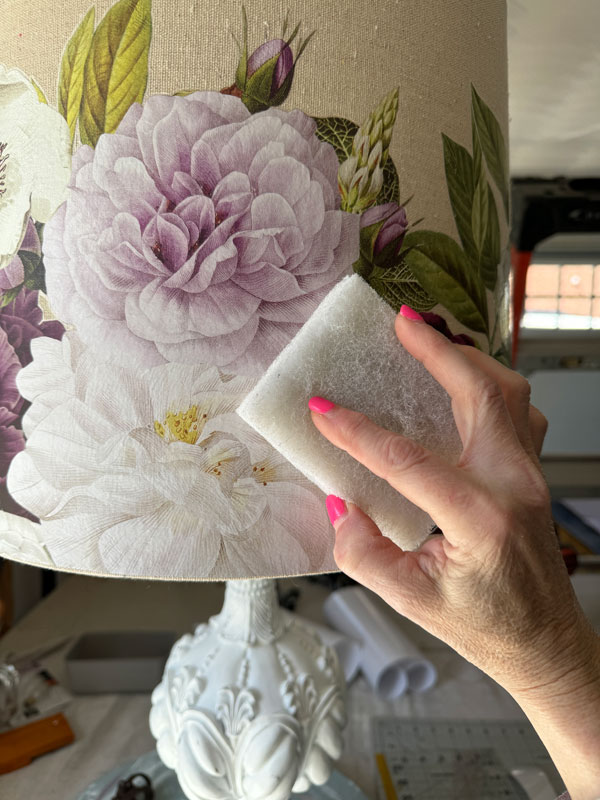
That’s it!
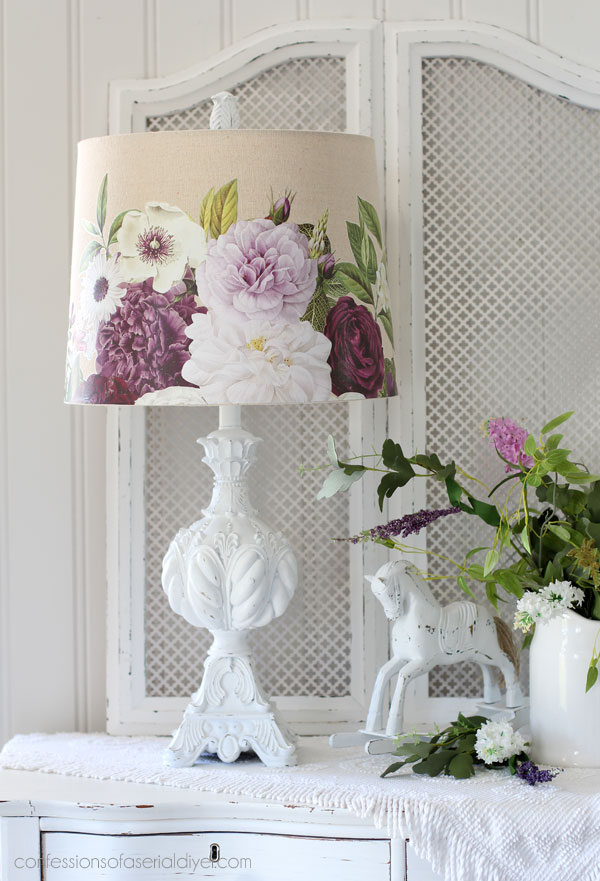
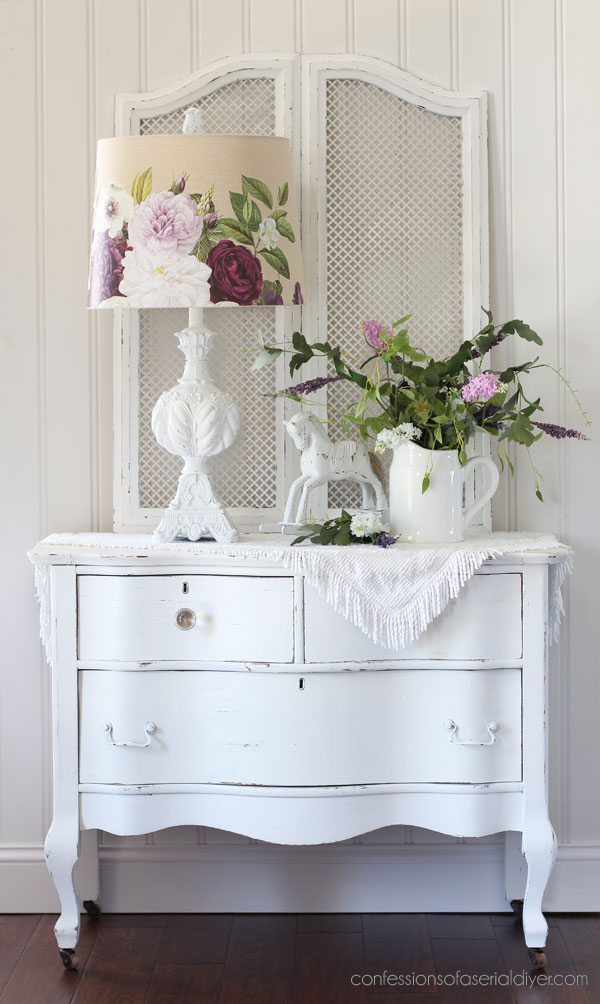
Here is the after of this $4 Thrift Store Lamp
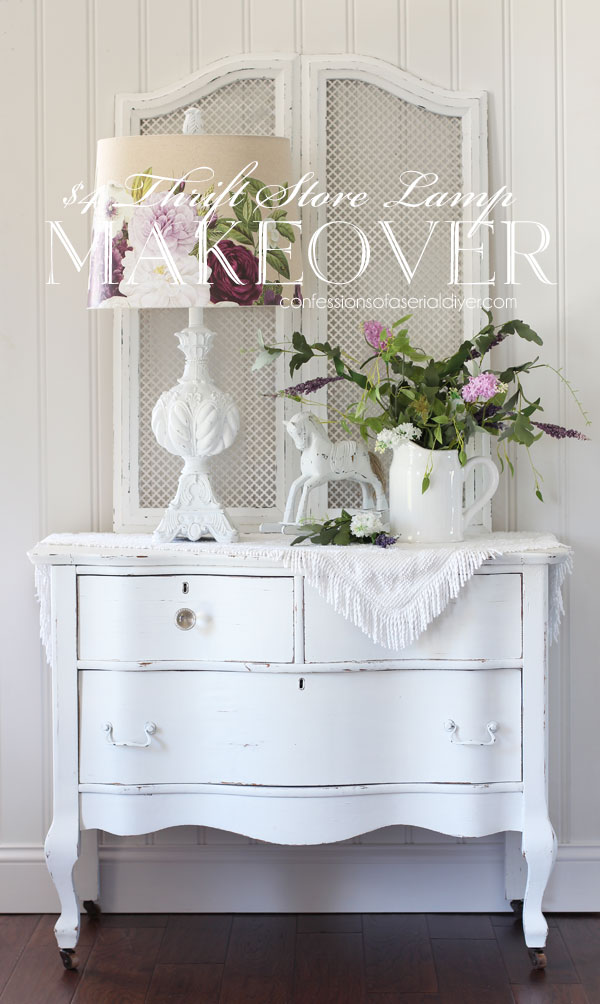
It looks like a whole new lamp!
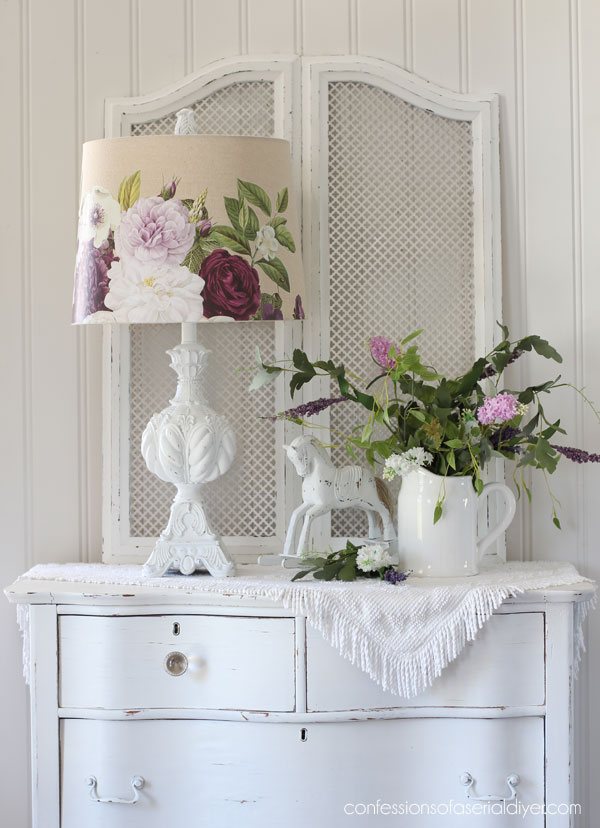
The details on the lamp are so much prettier in white!
And the shade makes this a one-of-a-kind!
I like to cut the transfer ahead of time time, but you could probably apply it uncut and then trim the bottom with a sharp razor knife after as well. I have not tried that option.
This lamp also had the original finial, which y’all know I love!
There’s no need to seal the shade since it won’t be handled much.
And, I still have the other half of this transfer that could be used on another shade!
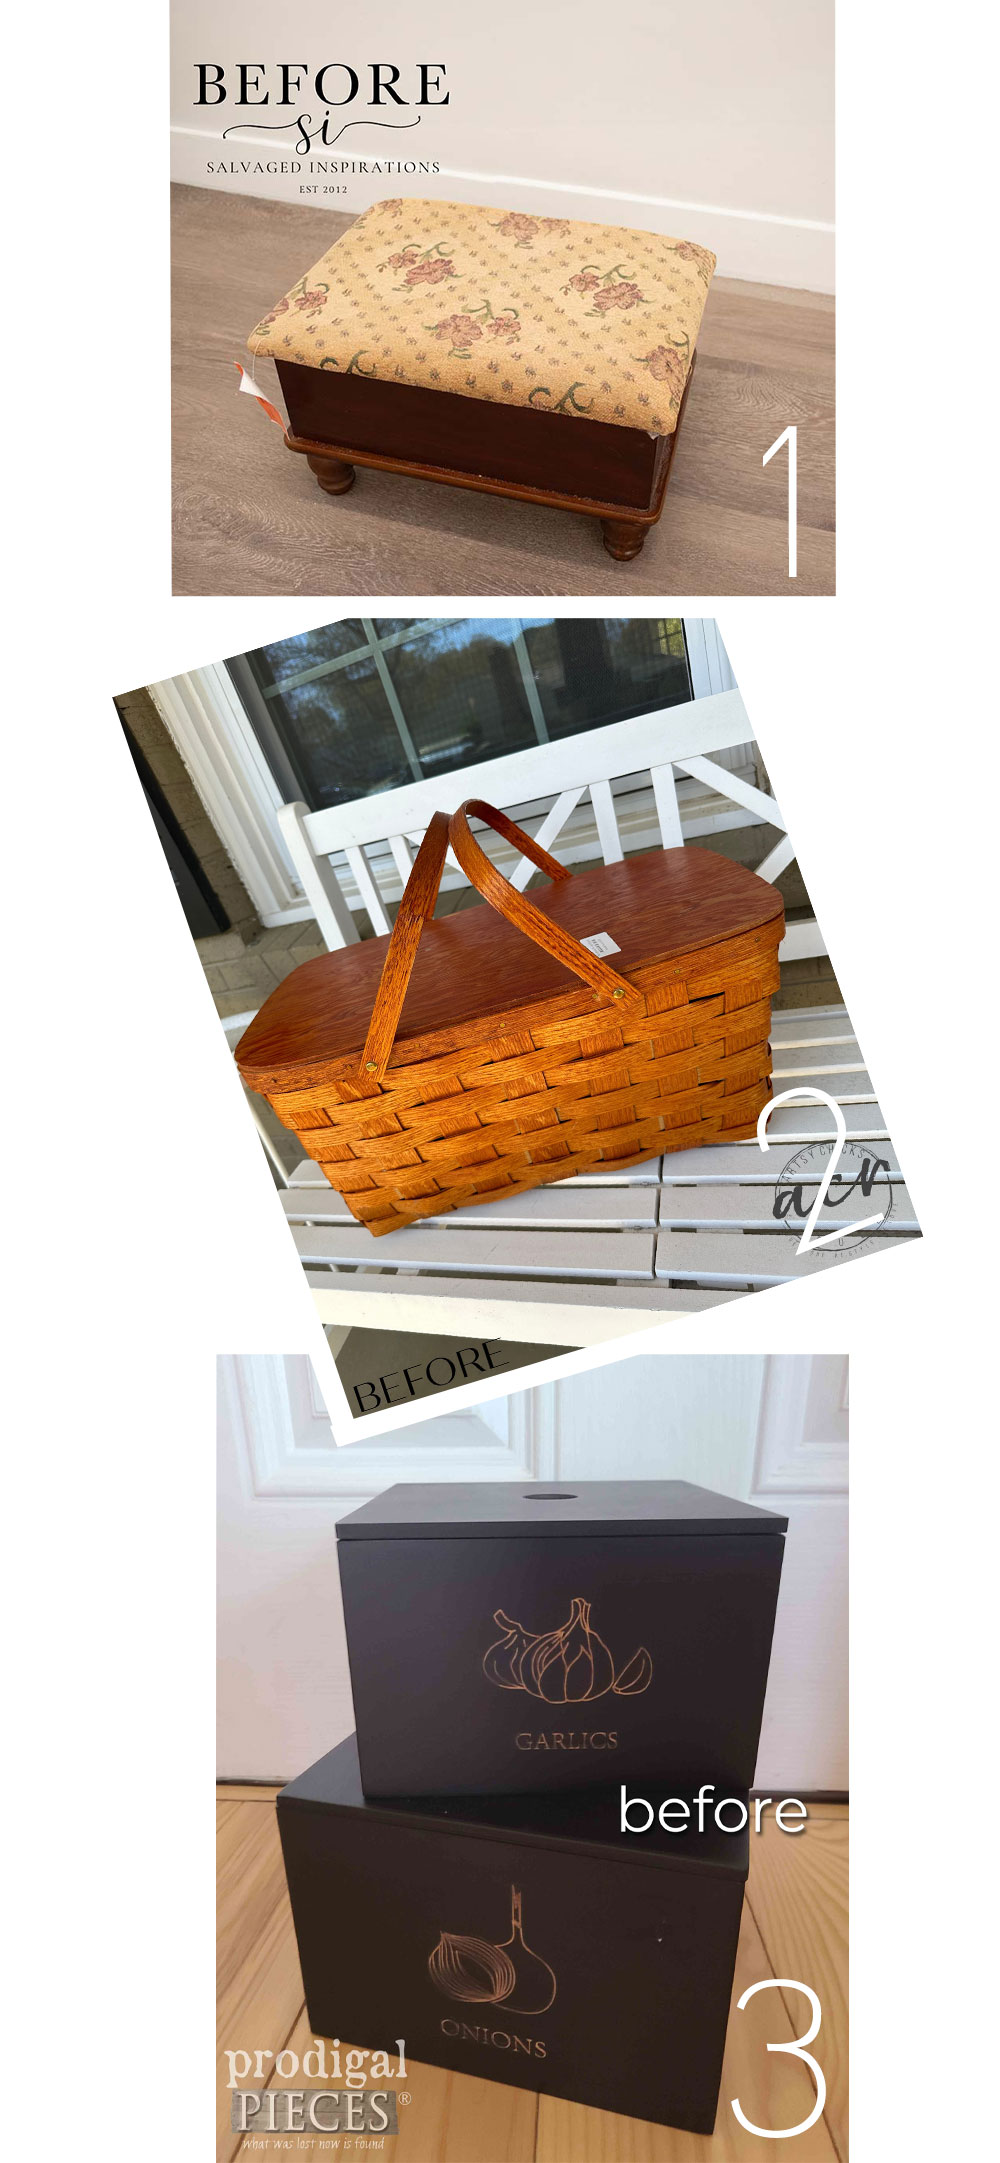
My friends have trashy makeovers today too!
If you enjoyed this makeover, you’ll love this one too!
See how I added transfers the shades on these lamps HERE!
Another project crossed off the list!
See any of these projects completed so far at the links below:
Painting the Smalls #26
$10 Thrift Store Dresser Makeover
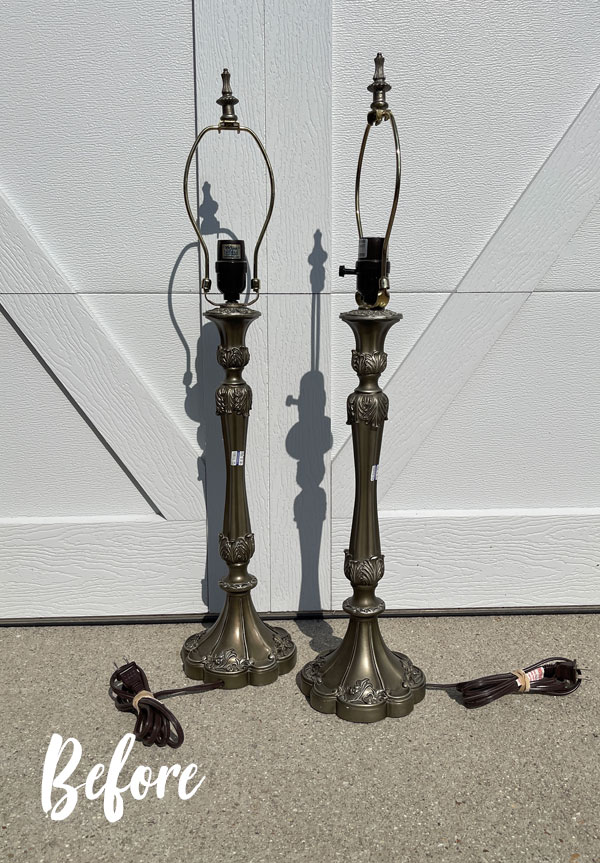
French Buffet Lamps Makeover
Painting Furniture with Silk Mineral Paint (The large and curvy dresser.)
TWICE Painted Plant Stand Makeover
Elegant Flatware Box Makeover
Mini Lane Cedar Chest Makeover
DIY Herringbone Tray
Whitewashed Side Table
Sewing Basket Makeover
Louvered Door Cabinet Makeover
Painting the Smalls #25 (SIX mini makeovers!)
Shoe Shine Box Makeover
Metallic Vintage End Table Makeover
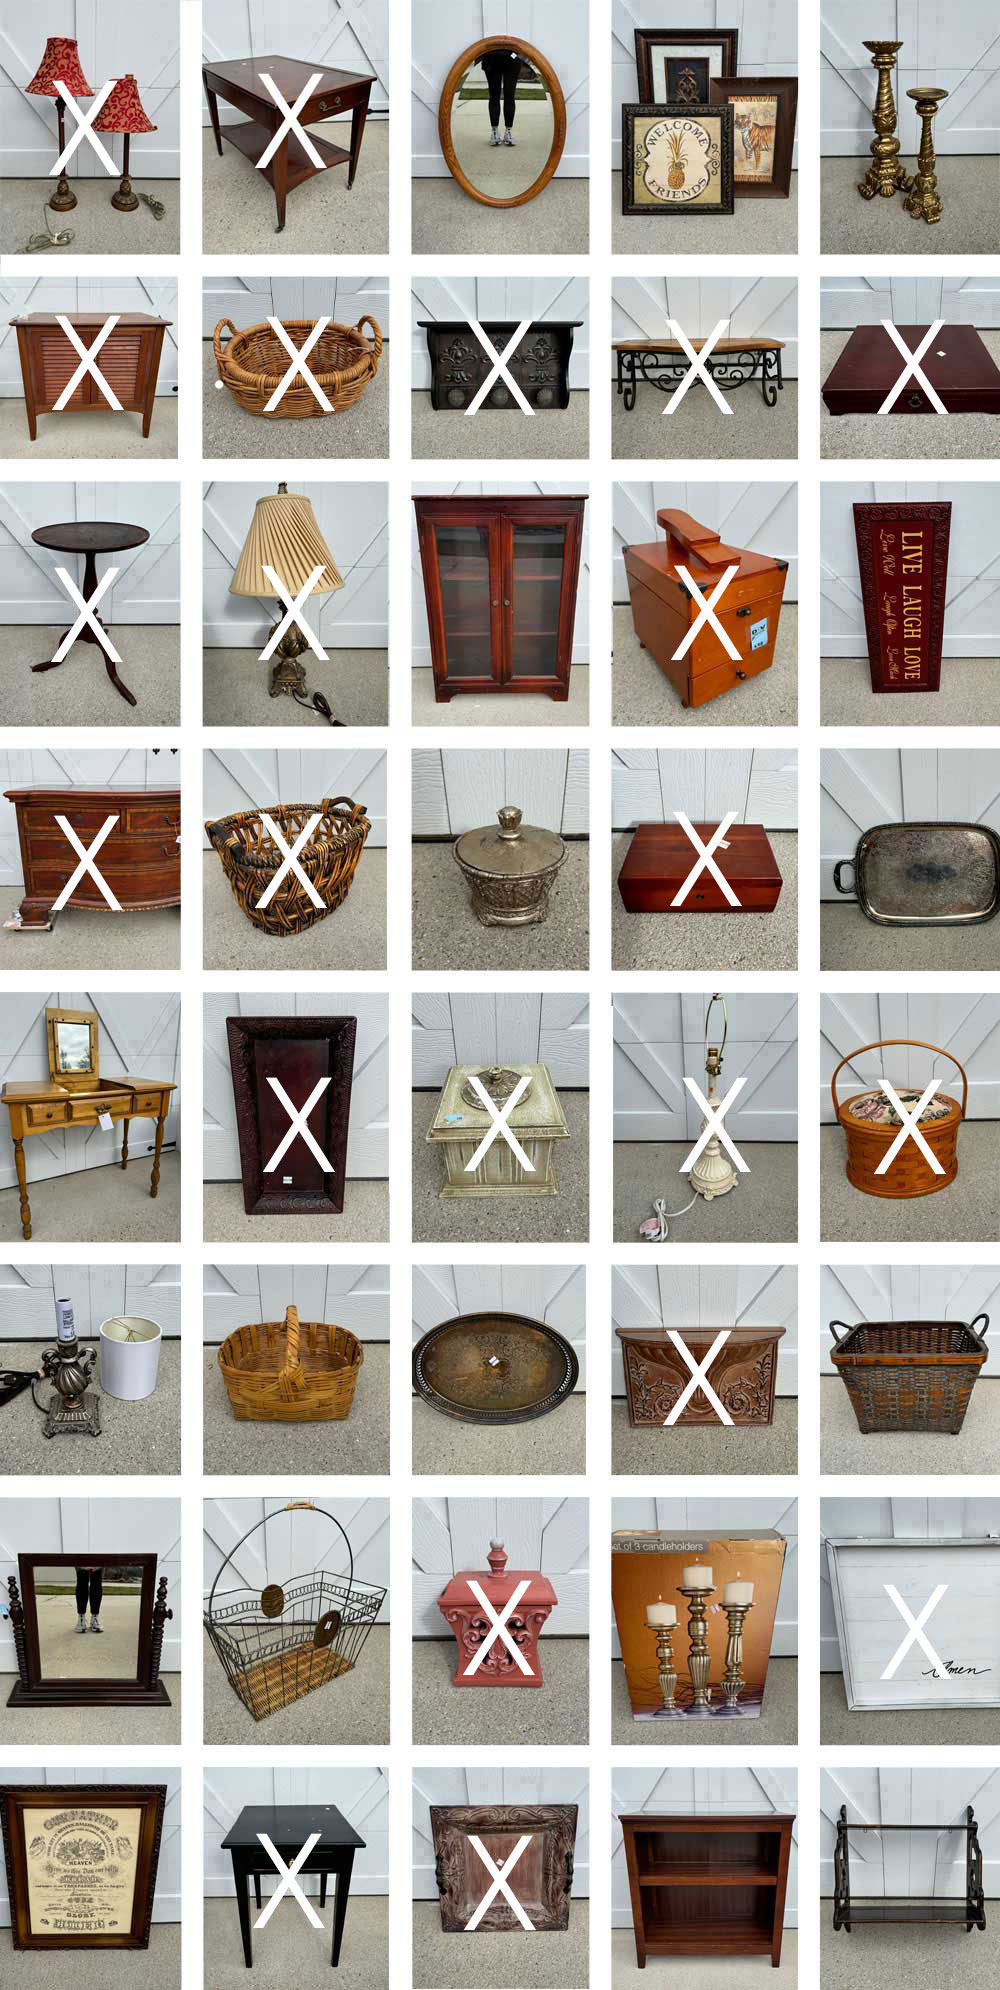
I’ll be back on Thursday with this chunky set of candle holders:
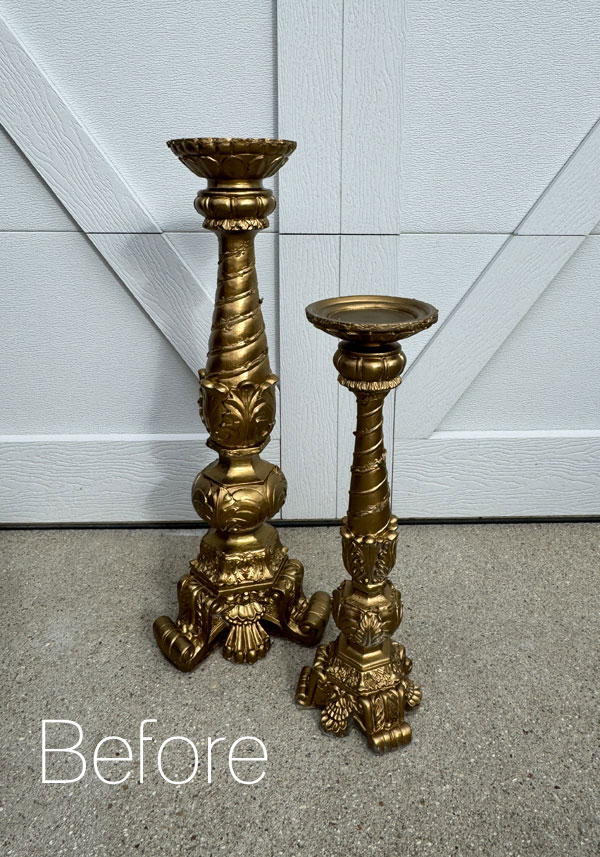
See ya then!
UPDATE: These candle holders had just one problem…see how I was able to remedy that HERE now!
XOXO,

Don’t Miss a Thing!
If you like what you see, there are several ways to follow along!
EMAIL * INSTAGRAM * FACEBOOK * PINTEREST


Elena Stancu says
Hi Christy,
Very, very beautiful!
XOXO Elena
Christy says
Thank you so much, Elena! XOXO
Marietta says
I must have gone back and forth between the old and the new lamp ten times. The paint elongated the bottom so much that I had to make sure you had not tried to fool us by switching out parts! Very elegant!
As for the website, I completely switched hosting companies and I am working on a brand new website.
Christy says
Ha ha! They are indeed the same…paint works miracles lol!! Thanks, Marietta! Best of luck on the hosting switch! XOXO
Mary Kaiser says
I LOVE how that tuned out! The white is amazing on that lamp base, and I love the colors in the transfer. I need to try this on some of my existing lamp shades, after I dust them, LOL! I love the meet me in the garden tranfer, and thanks for the tip on how to get it straight with the bottom of the shade.
Christy says
Thank you, Mary! Yes be sure to dust first…I hate to think of the dust on my shades right now lol! XOXO
Larissa ~ Prodigal Pieces says
What a gorgeous new look, Christy! 🙂
Christy says
Thank you, my friend! XOXO
Janice Redden says
Simply gorgeous and dreamy!
Christy says
Thank you, Janice! XOXO
Janice Holt says
What a beautiful lamp this turned into. Another great job.
Christy says
Thanks so much, Janice! XOXO
Marcie Lovett says
That lamp was so sad before, I can’t believe how you brought it back to life, Christie! I love how you applied the transfer around the bottom of the shade, they look so good together. It even looks like a bigger lamp now.
Christy says
Thank you, Marcie! I had hoped paint would do wonders for this one! And yes, it does look bigger! XOXO
sue says
What a lovely redesign! I love the base because of its pumpkin shape!
Christy says
Thank you, Sue! Yes! It reminds me of Cinderella’s pumpkin! XOXO
Denise Zdziennicki says
Whaaat, $4 is almost free…lol! I love what you did with this lamp Christy, it’s gorgeous! XOXO
Christy says
Ha ha right?? Thank you, my friend! XOXO
Joyce says
What a great job you did on the lamp! I’m so impressed with your knowledge and how you come up with ways to do it and get it done! Thanks for sharing your talents with us!!!!
Christy says
I appreciate that so much, Joyce, thank you! XOXO
Abbe Kemack says
Good morning 🌞
Now I know that the part of the lamp that holds the lampshade on is called a “finial”.
And I have saved one from an old lamp of my Mother’s OBM.
They are special and how could one be so careless as to loose one. 😁
Thank you Christy!
Warmly, Abbe K 🌷
Christy says
Hi Abbe! I often wonder how they get lost myself. I’m always happy when it is still with the lamp! XOXO
Fran says
I liked that original lampshade! Hope you can repurpose it if it’s in good shape. The lamp has that Rococo feel which is getting a lot of air play lately. I love what you did with it and the new lampshade!
Christy says
Hi Fran! I still have it just in case! Thank you! XOXO
christine prowak says
Love the shade? Did you have to seal it?
Christy says
Thank you, Christine! Since the shade won’t really be handled, there is no need to seal it. XOXO
Mary Smart says
Another winner Christy! This lamp turned out gorgeous! I never thought about updating a lamp using transfers on the shades.
Christy says
Thank you, Mary! Transfers are a great way to add a unique touch for sure! XOXO
Tina Matteson says
Stunning!!! I adore it!
Christy says
Thank you, Tina! XOXO
Nancy Sharp says
I love what you did with the lampshade! So pretty.
Christy says
Thank you, Nancy! XOXO
Cyndi says
Oh, my! What a difference the white paint makes! That alone would have been enough, but the transfer on the shade kicks it up to another level.
Gorgeous!
Christy says
Thank you, Cyndi! I had hoped thus would paint up nicely when I found it…so glad it did! XOXO
p says
Amazing how you made the transfer fit so well. Great tip 😉
The white really did wonders for the base. The details are so pretty, and it really does look bigger.
I also really like the transfers on the lamp link you included at the end.
That could work well for my bedroom lamp shades…. I’ll need to check if it’s still avail.
You ARE inspiring. Thanks
Christy says
Aww thank you so much, P! I think we all have a lamp that could use a little upgrade! XOXO
Debra Hubbs says
I would have never thought to put a transfer on a light shade, and I’m honestly too nervous to try it lol. This is so pretty. I just threw out a similar lamp. What was I thinking??
Christy says
Thanks, Debra! Oh no…isn’t that always the way? You toss something right before an idea comes up for it? Try it on a small shade and see how it goes…it’s pretty straight forward! XOXO
Michele M. says
Sure is super pretty now, Christy!
Christy says
Thank you, Michele! XOXO
Cecilia says
I love it! The transfer is stunning and makes the shade fit the beautiful details on the lamp. Just wow!🤩
Cecilia
Christy says
I’m so glad you like it, Cecilia, thank you! XOXO
Lizzy says
Right up my alley! It’s really pretty.
Christy says
Thanks so much, Lizzy! XOXO
Nancy @ Artsy Chicks Rule says
I love the new look, Christy! The transfer adds the perfect touch! xo
Christy says
Thank you, Nancy! What did we do before transfers lol?? XOXO
Shirley says
Now that is one gorgeous lamp! I sure didn’t like the old but wow what a difference!
Christy says
Thank you, Shirley! I’m so glad I was able to save it! XOXO
Caye Cooper says
That is sooo pretty Christy! Well done!! I have a square shade which that transfer might look great on. Thanks.
Christy says
Thank you, Caye! Transfers are a great way to update a shade! Use a lint roller first to get it good and clean. XOXO
Caye Cooper says
Thanks Christy for the reminder on cleaning the shade! I was wondering how it was going to get a cleaning. XXOO
Christy says
Sure thing! 🙂 XO
Cory says
I absolutely adore this lamp! I love changing the look of a lamp base, but I always struggle with the shades. This is a big help to me! Thank you, lovely ♥️
Christy says
Thank you, Cary! This lamp would probably have been cute still just by changing the shade…what a difference that can make! XOXO
Kelly says
Can I just say WOW?!
That lamp is gorgeous, especially after you painted it. The idea for making the straight edge for the transfer is brilliant!!
It all came together beautifully. Well done!
Christy says
Aww thank you, Kelly! I was hoping those details would paint up nicely, and I am so glad they did! And for the shade, I usually look for a shade that is the same size at the top and bottom when I plan to use a transfer, but this worked beautifully! XOXO