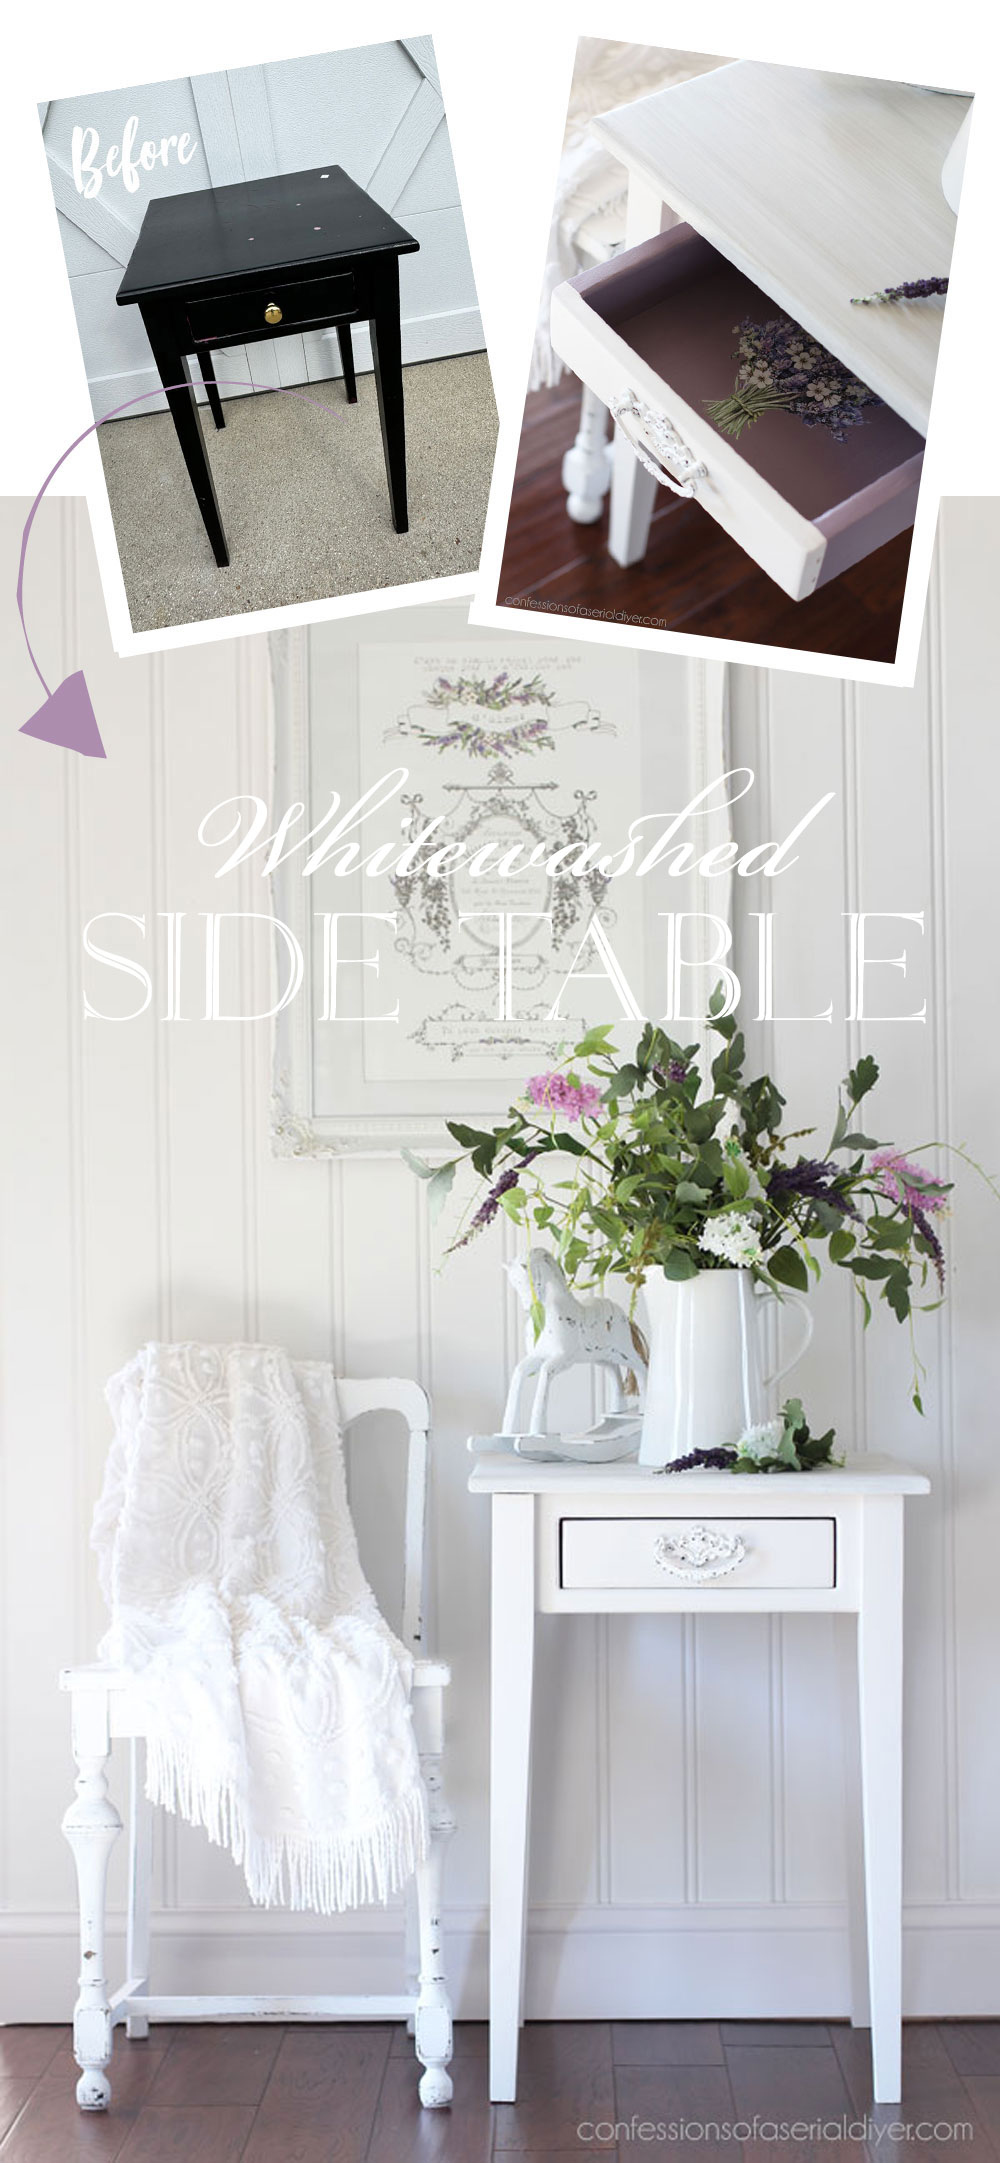
Hello, beautiful friends! I just realized while writing this post that it’s a leap year…yay for an extra day! I am moving right along in my new haul, and today’s project is a simple whitewashed table that I scored for only $8.99.
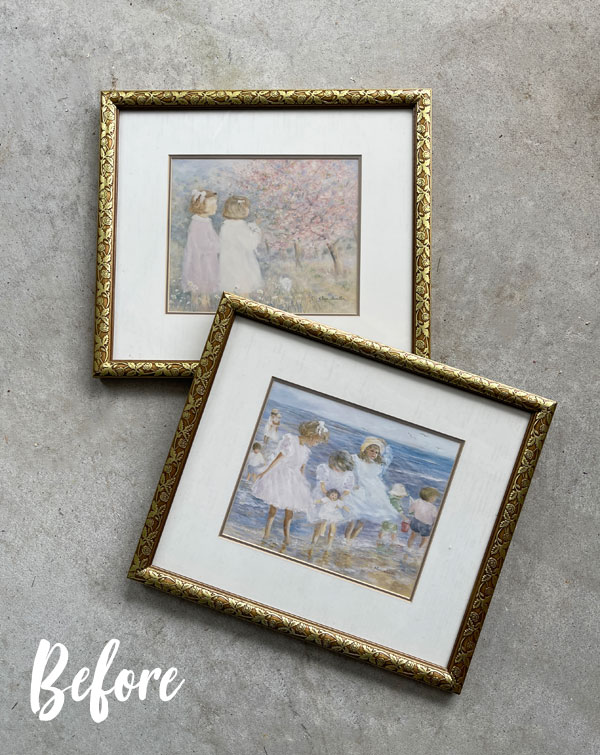
It started out like this:
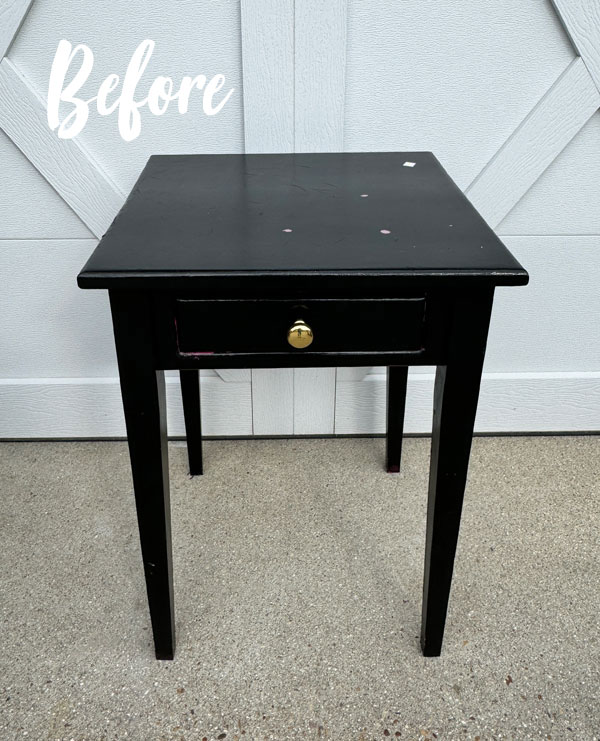
It had a super thick paint job on it, and I generally pass on previously painted items as they are just more work. However, with the straight lines of this piece, I thought it would be simple enough to sand, and it was such a great price.
I’ve included a few affiliate links so you can find the products I love.
Sand
So, I got to sanding with my Ryobi orbital sander using 100 grit sandpaper, and it took me nearly an HOUR just to get this far:
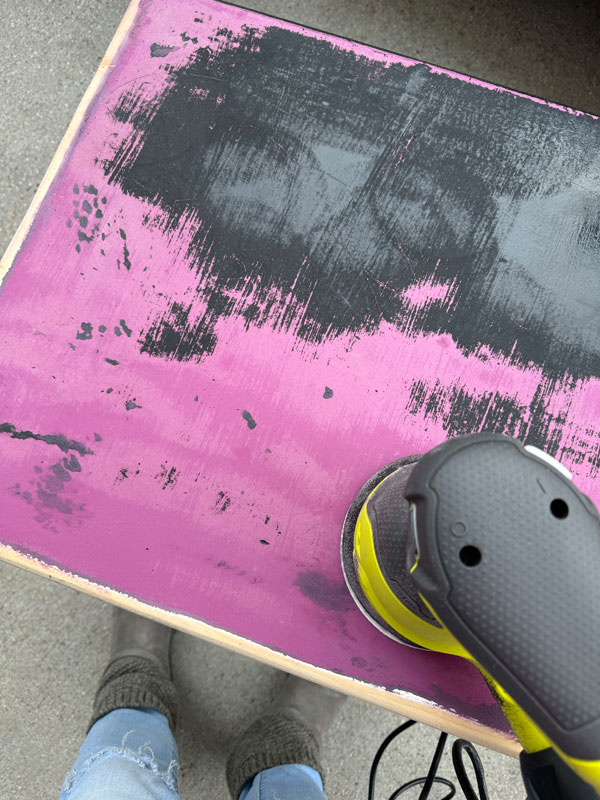
Y’all, I don’t know what kind of Satan (not satin…I mean evil) paint that black paint was, but it was a beast to sand away!
Here I am probably another hour into it:
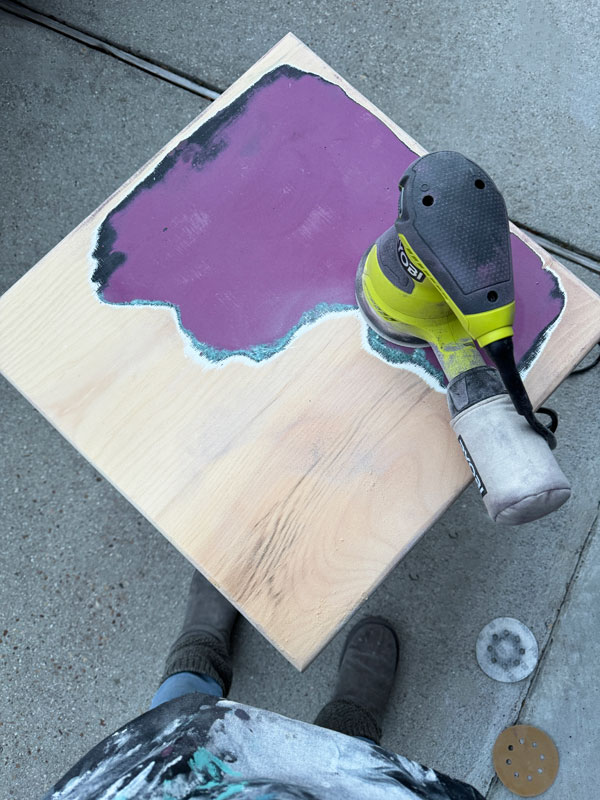
There were four layers of paint in all.
One blessing is that while redoing this humongous coffee table last month, I went through so many batteries and wasn’t able to get it done because I had exhausted them all, and I ended up buying the corded version of my sander. I am so glad I did! My cordless one can usually sand away the top of a piece with no problem at all, but this one definitely needed electricity lol.
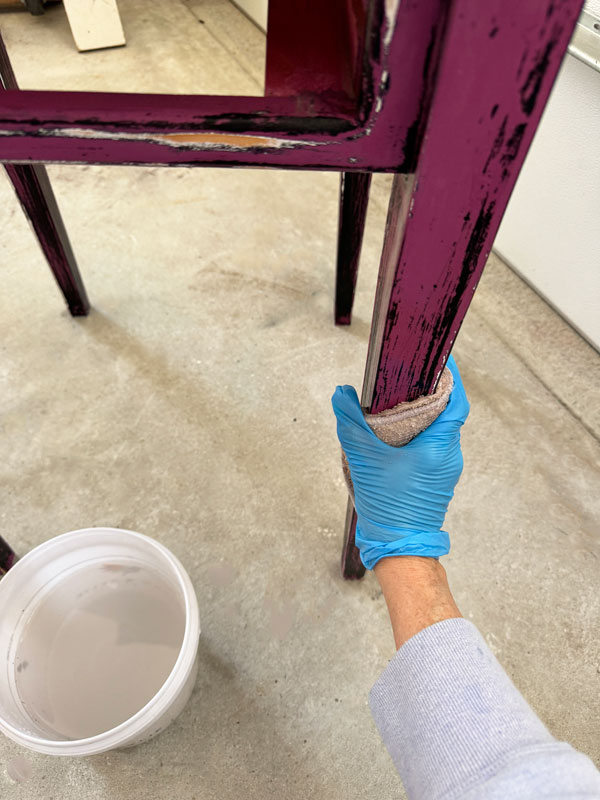
Once I finally got the top sanded, I followed up with 220 grit sandpaper for a super smooth finish. I hit the legs and base as well.

I had already spent way too much alone time with my sander at that point, so a good smoothing out is all the rest got.
Clean
I vacuumed up any sanding dust with my shop vac and then gave it a good cleaning with White Lightning to prep for paint. I mixed one TBSP into a half gallon of warm water and wiped everything down with a terry cloth applicator pad:
Paint
Finally, the fun part! I chose Fluff for the legs and painted them and the rest of the base, including the underside of the top where I did not remove the paint:
I found it easier to do this with the table up high. I also propped it up onto a lazy susan using scrap pieces to make it even easier to paint!
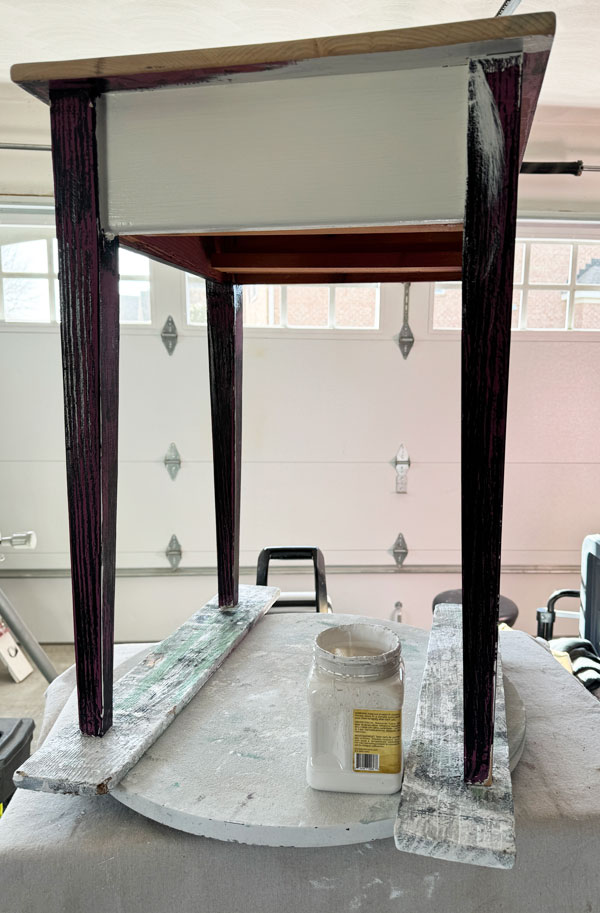
As you can see there, Fluff has excellent coverage. I only gave it two coats.
How to Whitewash
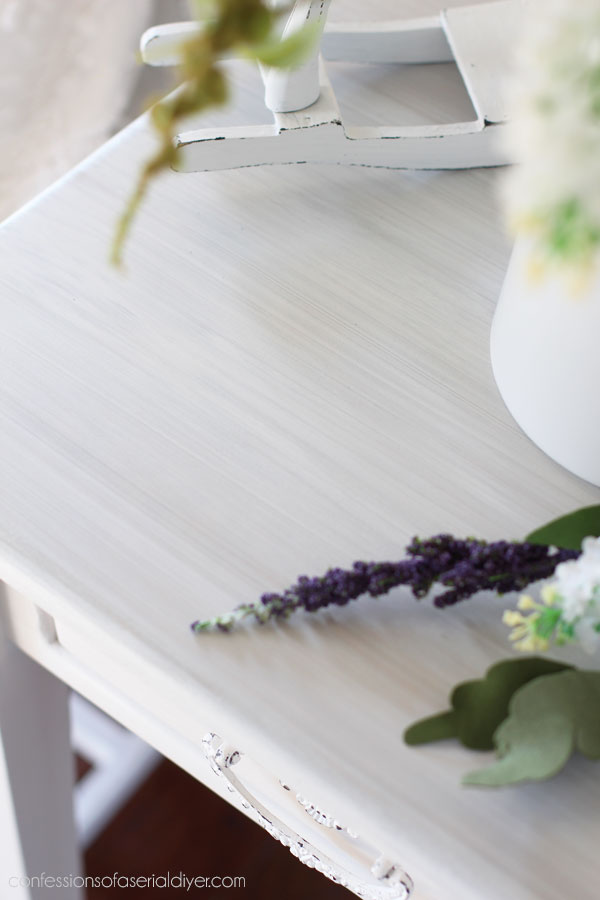
I really wanted to keep this makeover simple and clean, but I chose a whitewashed look for the top.
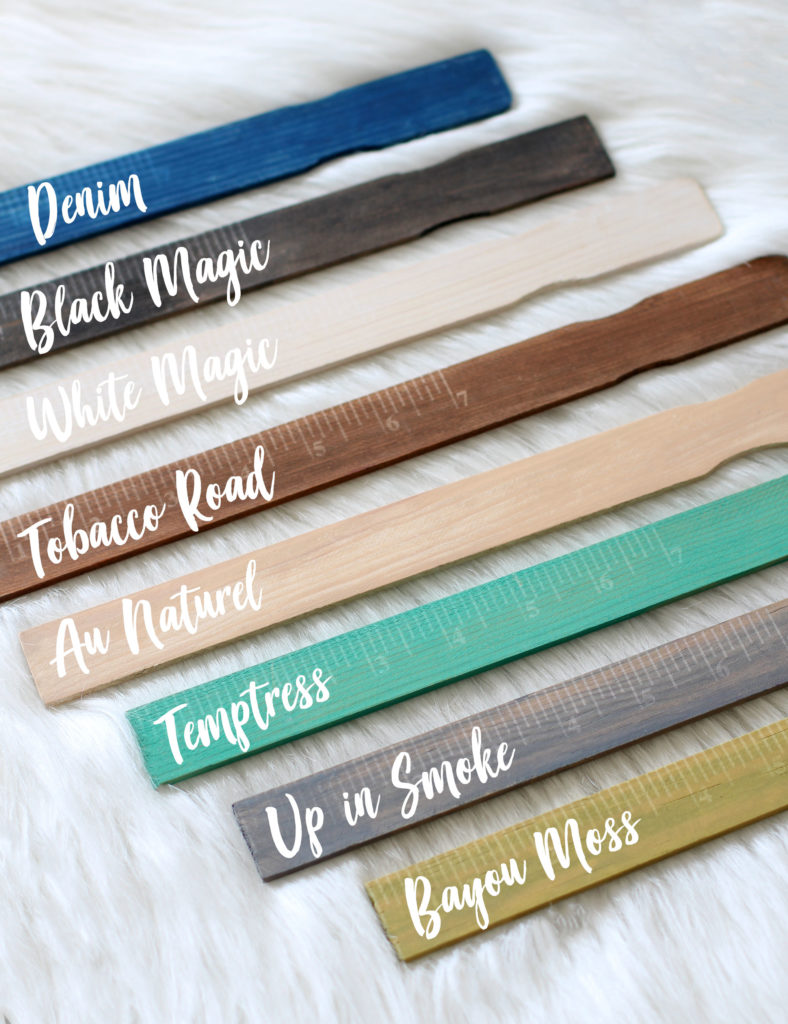
To do that, I enlisted some helpers: Voodoo Gel Stain in Up in Smoke, and Fluff mixed about 50/50 with water…
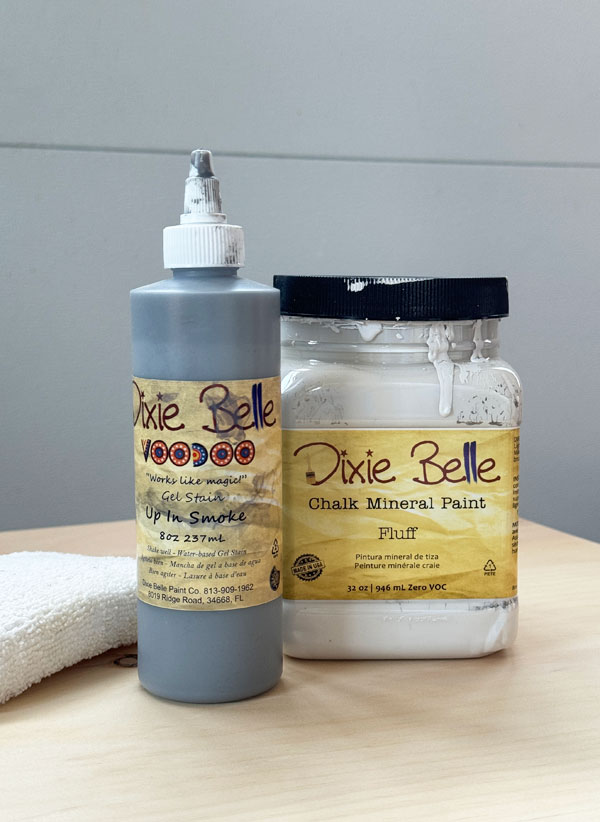
I just added the water to the tiny bit of paint left in the bottom of this jar.
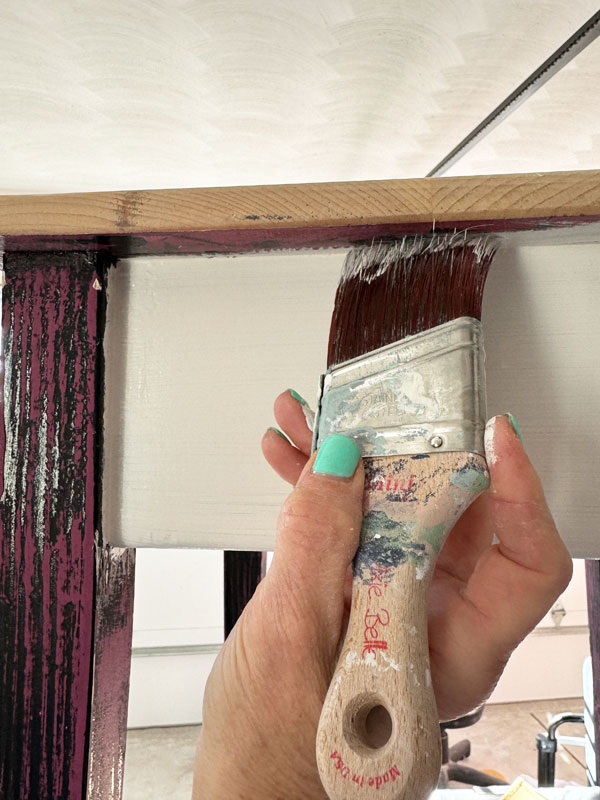
The first step was to get a gray coat of stain on there and I did that with Up in Smoke Voodoo Gel Stain:
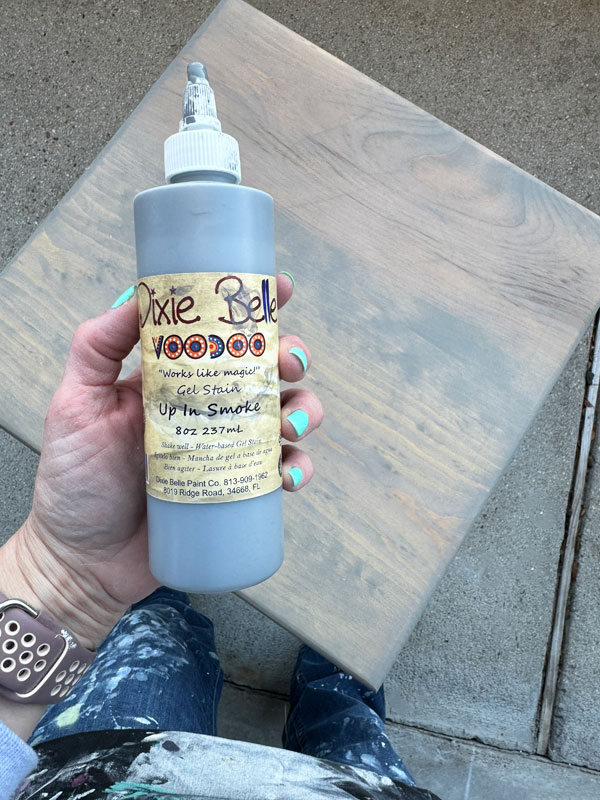
This is after one coat, but I gave it two coats. The Voodoo Gel Stains are water-based, so they dry quickly and clean up really easily.
There are eight colors to choose from in my Etsy Shop:
Next, I applied the watered down paint with a brush:
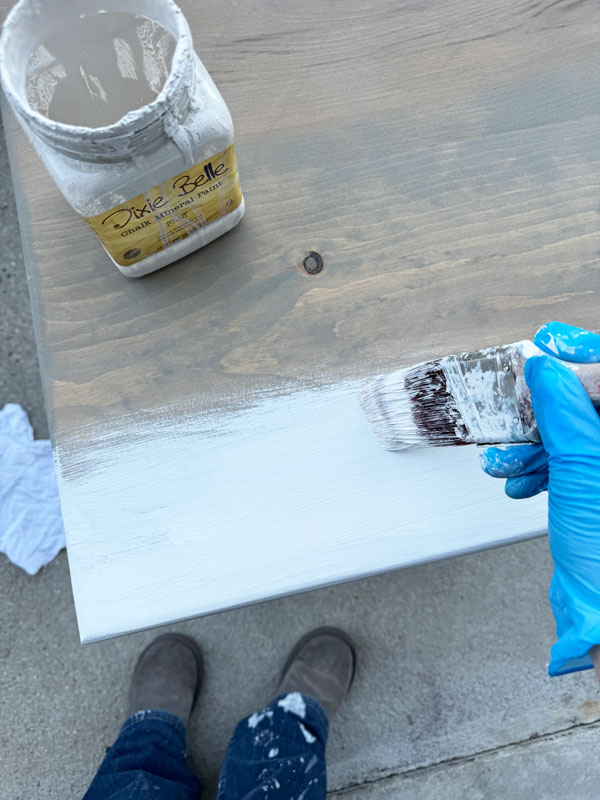
And then I immediately wiped it back with a clean, soft cloth:

Keep in mind that the look of the finish will be determined by the marks left behind by the cloth. You can use an applicator pad for this step also.
If you don’t love the look, add more paint and wipe it back again. My cloth was dry this time, but you can dampen it if you want to pull more of the white off.
Here’s a video I made of the process a few years back:
If you have trouble viewing, find it on YouTube HERE.
Sand
I opted not to distress this one and used a sanding sponge to smooth out the paint, making it buttery soft. They are super fine grit, so they will smooth everything out without adding any distressing.
Seal
To seal, I used Clear Coat in the Satin finish, two coats that I applied using the blue sponge applicator.
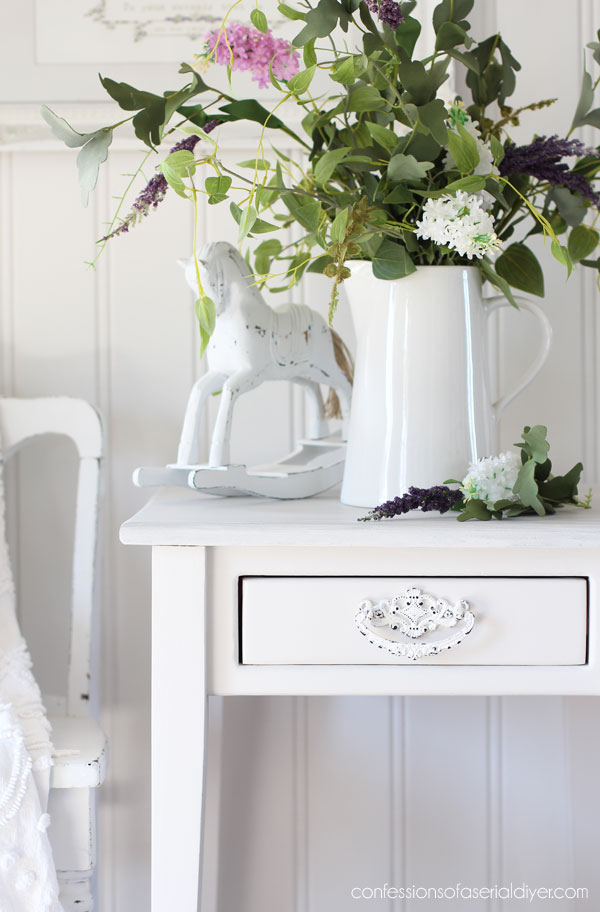
The After of this Whitewashed Side table
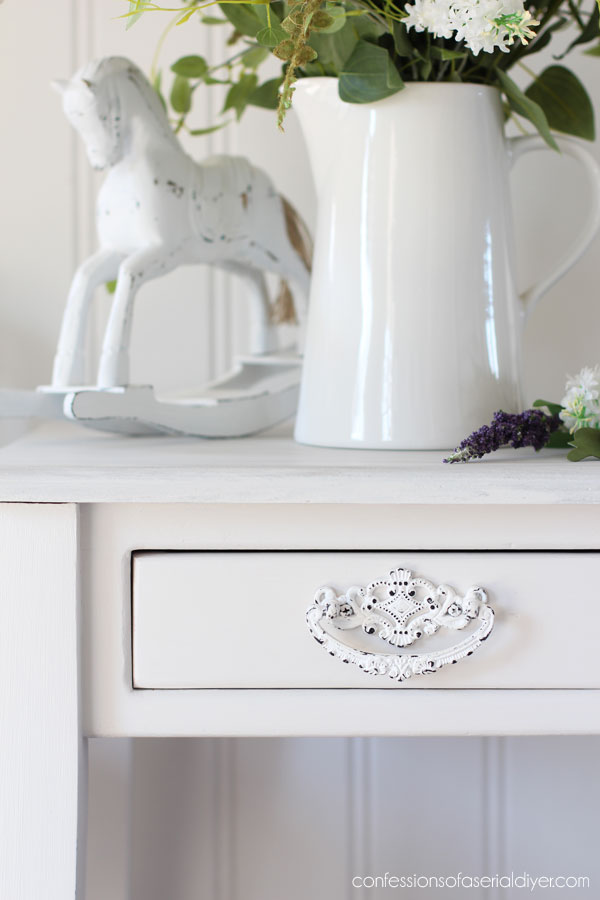
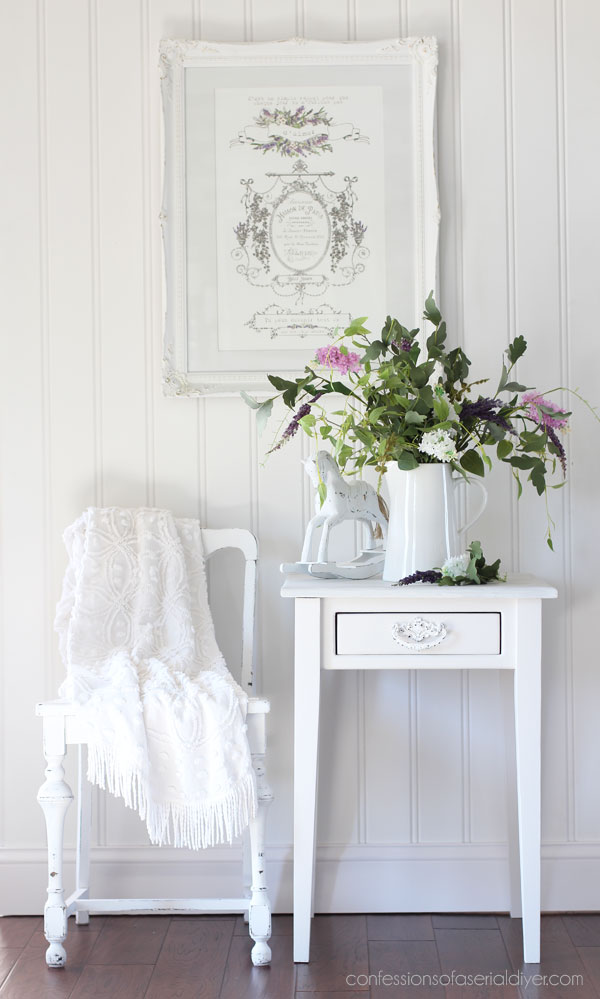
Here is the simple after of this functional little table:
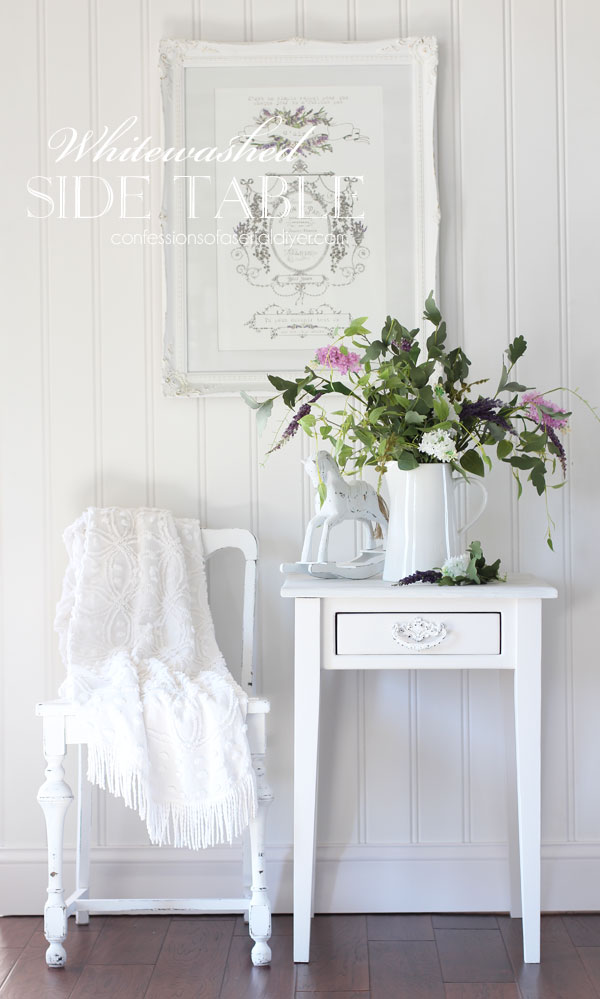
My booth is kind of a hodpadge of colors at the moment since I sold some larger pieces, so I always like to bring in some simple whites when that happens to unify the space again.
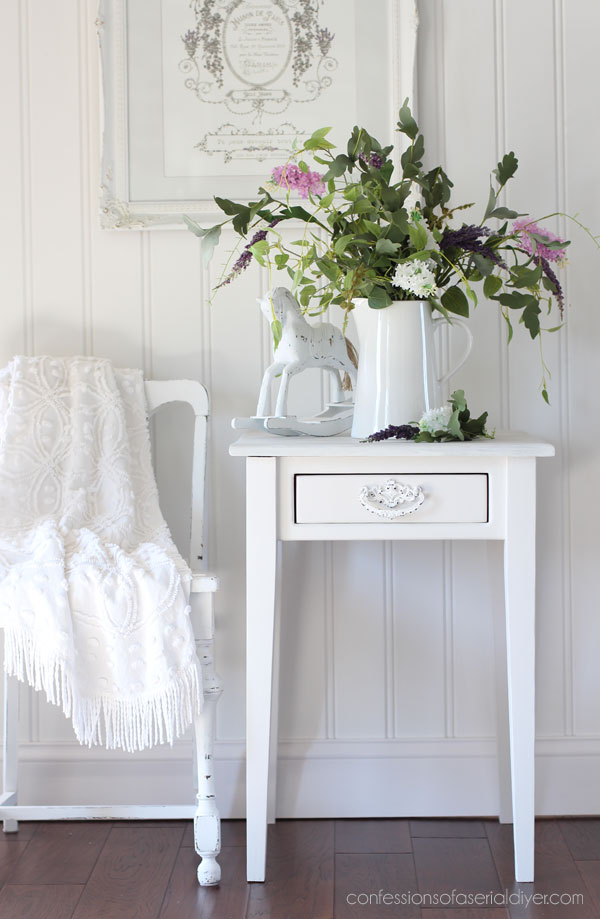 Here’s a peek at that whitewashed top:
And I replaced the pull with this shabby one from Hobby Lobby:
The Drawer
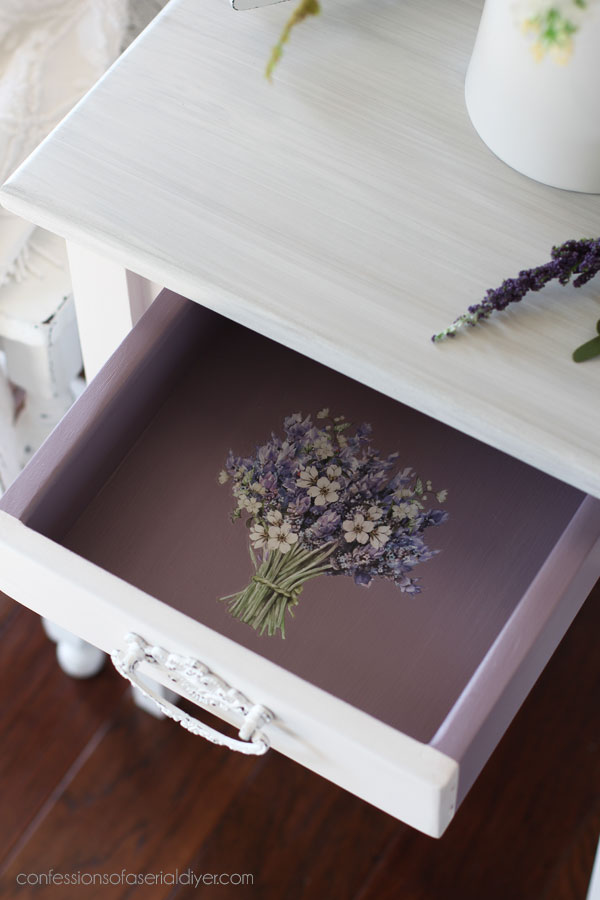
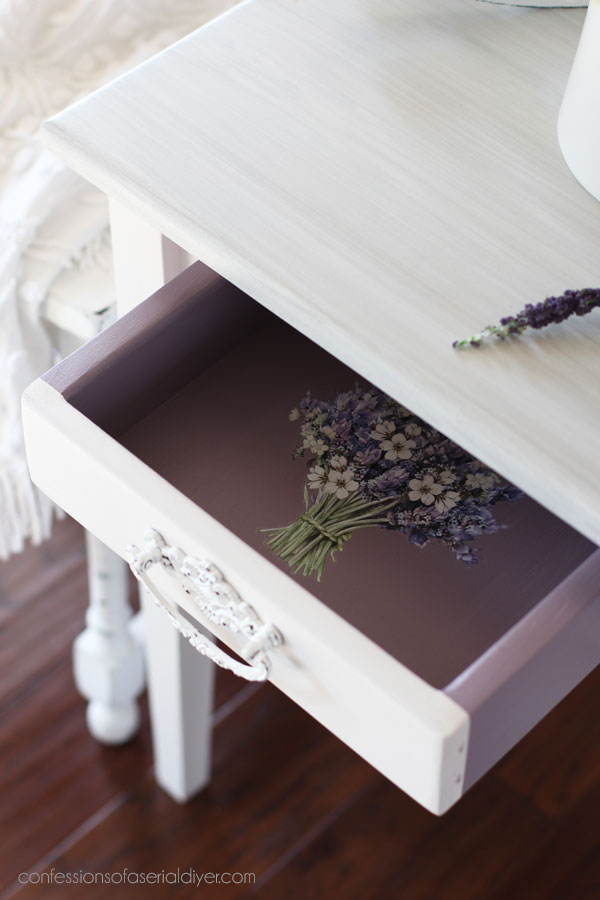
To pay my respects to the purple I banished from this piece, I brought it back for the drawer!
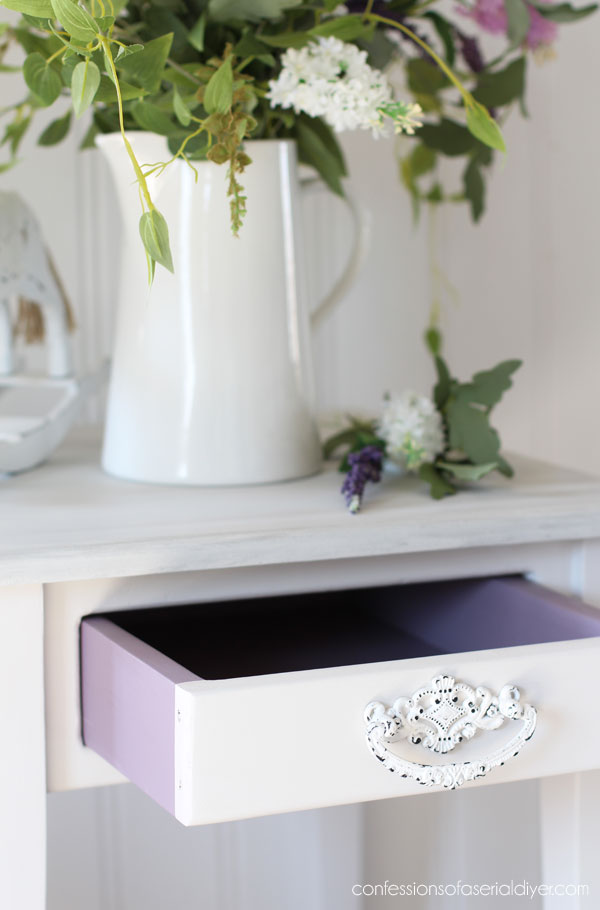
This is a gorgeous, dusty purple called Secret Path.
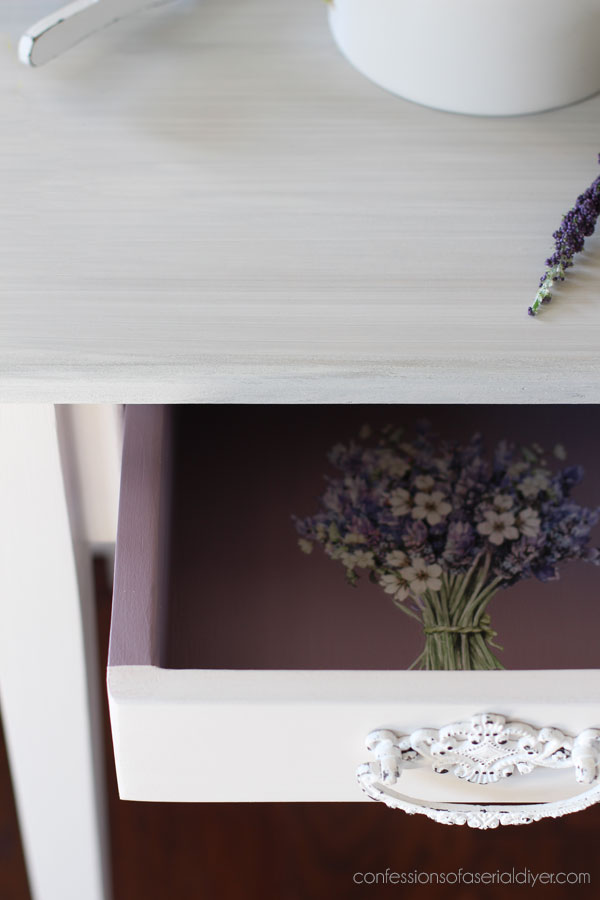
Of course I had to add a little something more for when you peek inside, so I pulled out the leftovers from this Lavender Bunch transfer:

One of the pieces was just right:
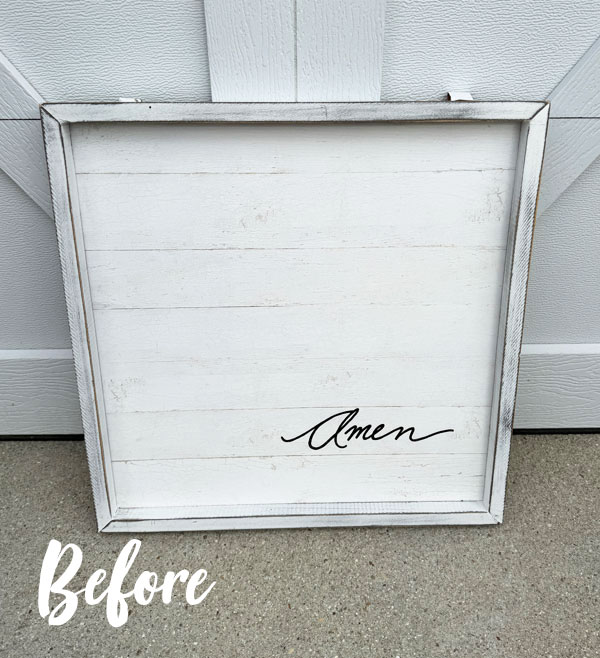
I used some of this transfer on this simple project also:
They made for fantastic little art pieces from these old frames!
See that project HERE.
I’m so glad I was able to breathe new life into this piece!
See more whitewashed projects HERE, HERE, and HERE!
Want to see something larger painted in that gorgeous Secret Path color?
This one won’t disappoint:
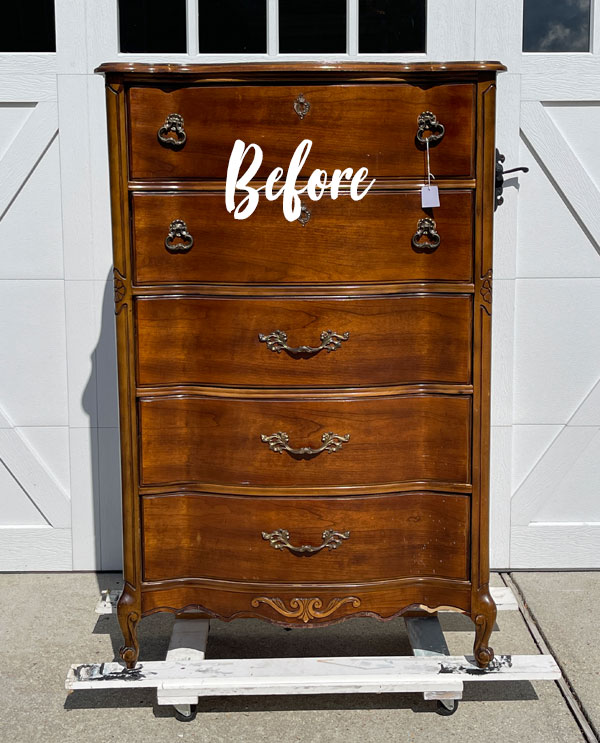
See it completed HERE!
Crossing off completed projects is so satisfying!
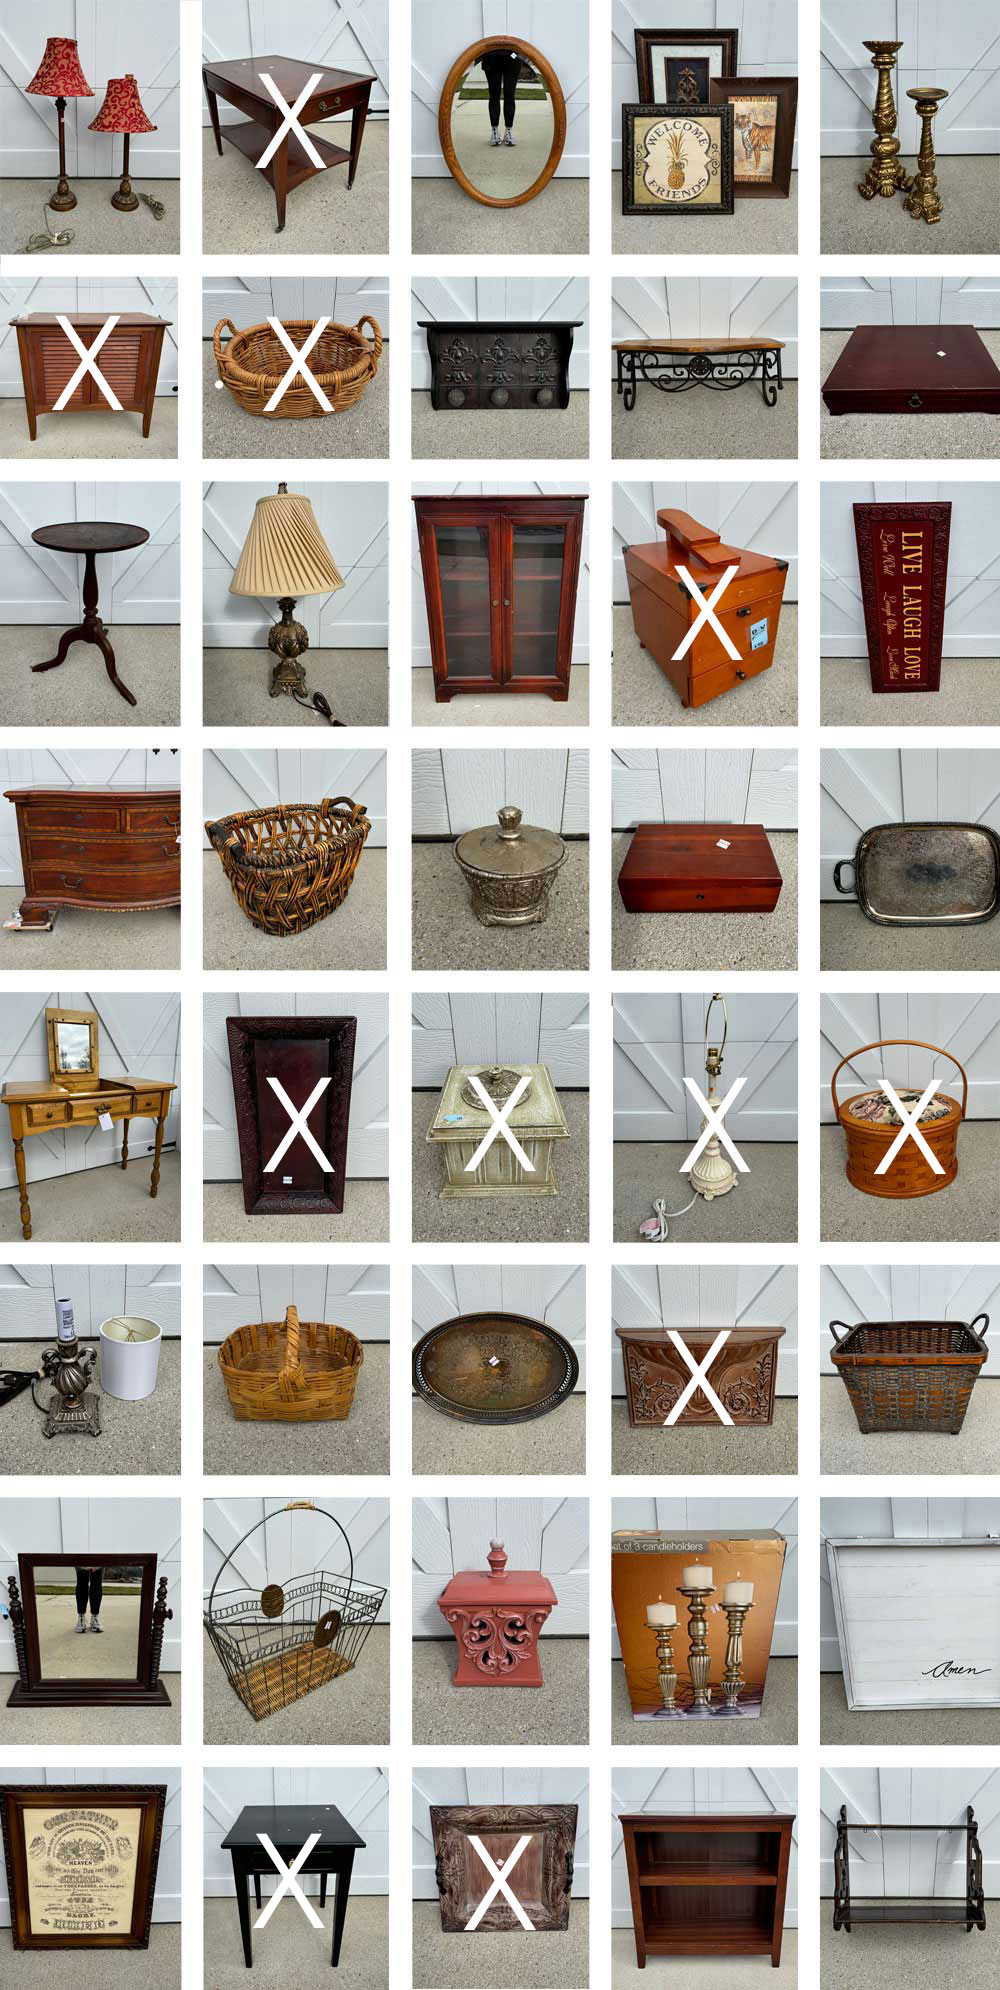
See what I’ve tackled so far below if you’ve missed any:
Sewing Basket Makeover
Louvered Door Cabinet Makeover
Painting the Smalls #25 (SIX mini makeovers!)
Shoe Shine Box Makeover
Metallic Vintage End Table Makeover
I’ll be back on Tuesday with this wall art:
I have a fun idea for this one!
Update! See how I repurposed it HERE!
Have a fabulous weekend!!
XOXO,

Don’t Miss a Thing!
If you like what you see, there are several ways to follow along!
EMAIL * INSTAGRAM * FACEBOOK * PINTEREST


Mary Kaiser says
Oh my goodness, she is a beauty now! I love the color and I especially love the secret path inside. How cute is that with the transfer in the drawer as a fresh little surprise. That table didn’t stand a chance against beating the queen of makeovers!
Christy says
Thank you, Mary! You mentioned “beating” and that is what I wanted to give this table while sanding.???????? Glad I got through it instead lol. (No tables were harmed in this makeover.) Have a wonderful weekend!! XOXO
Janice Redden says
Christy, you get 2 gold stars on this one – one for your creative and beautiful redo of this piece and one for your tenacity in powering thru all those layers of paint; like you, I tend to pass on previously painted pieces – the last one (I’m just finishing) whipped my butt, only to discover the multi layers of some textured enamel (what!!??) covered up some serious water marks…ack! Getting ready to put 2nd coat of the new Bonding Boss on – hope it works; If I didn’t love the piece it would be a handy storage piece and work table in my studio…
You are going thru this haul in warp speed…
Amazing lady!
Christy says
Aww thank you, my friend! I figure there is no shortage of unpainted pieces that require much less work, so no need to buy prepainted pieces, but this painted thing tricked me lol! Sorry to hear your piece gave you so much trouble. Hopefully the end result will be worth it! XOXO
Nana Diana says
Whew-that one was a lot of work. Hope it sold/sells quickly and was worth the effort. It turned out really cute. I remember that dresser, too. Have a great Leap Year Day. xo Diana
Christy says
Thank you, Diana! It worked me good, but the fresh, light look in the end made it worth it. Hoping for a quick sale too! Enjoy your extra day as well!! XOXO
Janice Holt says
You definitely have more patience sanding than I do. I hate sanding and I would have given up on the 1st coat. Glad you saw it to the end because it turned out so pretty and the little peak in the drawer is so cute. Have a great week-end.
Christy says
I am just grateful for the warm days we had over the weekend that allowed me to stay out there lol! Glad you enjoyed the end result…thanks, Janice! XOXO
Cecilia says
Ooo, that looks so much better. I wonder what kind of paint they used? Super industrial stick on, lol! Goodness. Way better in white than black. I love the drawer color – it’s just right. So pretty. It should get snapped right up!
????Cecilia
Christy says
I’m not sure what kind of paint it was, but it was evil lol! As I was sanding it, it was coming off in tiny balls?? Glad she is all pretty now! Thank you, Cecilia! XOOX
Cher says
So very pretty this whitewashed side table. Love it! Beautifully done.
Christy says
Thanks so much, Cher! XOXO
Marie says
I also had a little side table I bought at an estate sale that was a booger to refinish. It had a fluted edge and turned legs framed at the bottom in an “H” form, painted offwhite. It had at least 4 layers of paint. I refinish in the basement and, due to surgery and an inability to navigate stairs (and 4 layers of paint), it took a LONG time to refinish. I used paint stripper, scrapers, heavy duty sanding multiple times. I finally finished it with cream legs and apron and walnut gel stain top. So proud of the way it turned out!
Christy says
It sounds like a gorgeous piece now! You were smart to go with a stripper on that one for sure! I tend to pass up painted pieces, but it is hard to pass up a great deal lol! XOXO
Lizzy says
Sweet & simple. Just perfect!
Christy says
It had so much going on with all those layers, that I decided it just needed simple. 🙂 Thank you, Lizzy! XOXO
Marcie Lovett says
Wow, that was some job, Christy! I was surprised you used Fluff over the dark base, but it’s a testament to the light paint’s coverage. The whitewash top is beautiful but I kept saying “What about the drawer? I want to see inside the drawer!” I knew I’d be rewarded ???? Your hard work will be rewarded, too – I have no doubt this one will fly off the sales floor.
Christy says
Thank you, Marcie! I go for Fluff when I need good coverage because it does cover so well. I was worried about the weird purple coming through, but thankfully, that didn’t give me any trouble. And you know I got you covered with the drawer ha ha! XOXO
Denise Zdziennicki says
All your sanding paid off, the top is spectacular now! What a beautiful makeover my friend! Have a wonderful weekend! XOXO ????
Christy says
Aww thank you, Denise!! Small but mighty lol. Enjoy the rest of your vacation, my friend! XOXO
MrsSW says
I love when you do white with no distressing. 😉
Sheila
Christy says
Thank you, Sheila! I’m glad you enjoyed this one! XOXO
Larissa ~ Prodigal Pieces says
I so feel for you and I never do those kinds anymore (knock on wood). haha! It’s gorgeous now, Christy.
Christy says
Girl, I know you understand! I rarely go for a painted piece, but this one tricked me ha ha! Thanks, my friend! XOXO
Andrea Kirkby says
You should probably try a cabinet scraper for this kind of Satan paint. I’ve found a scraper can make headway where sandpaper struggles. It takes a little while to get used to a scraper and learn how to keep a burr on the edge (it’s the burr that does the scraping), but once I got up to speed with a scraper I found it an effective way of cleaning furniture up.
Christy says
I do want to try that! I’m sure it would have made this job much easier! XO
Rose Lefebvre says
Quite a workout to rescue this piece. It turned out quite lovely and I especially love the special touch to the drawer!
Christy says
It sure was! I’m so glad to have been able to save her though! Thank you, my friend! XOXO
Cyndi says
Bless your heart, you really worked for this one! But it’s beautiful now. I love the white and lavender, especially this time of year. It always makes me think of spring time. 🙂
Christy says
Thank you, Cyndi! Maybe I was channeling spring with these colors ha ha! Have a great weekend! XOXO
Kathryn Buckland says
I love it! But you poor girl!! All that sanding. I use Citri-strip and it cuts through layers of paint like magic!!
I look forward to your posts each week!!
Christy says
Thank you so much, Kathryn!! Had I know it would be so tough, I would have definitely gone with Citristrip! I kept thinking it would get easier lol! XOXO
Lorri says
The table turned out lovely…you always make the insides look special..especially love the Lavender transfer. What I dont understsnd is why did you sand all the layers? Isnt that what Chalk paint all about? Sanding a bit to make the surface smooth..then use your paint. Is it because you wanted to use the gel stain and to do that you had to get to bare wood?
Christy says
Thank you, Lorri! Yes, I wanted to do the whitewash with the Voodoo gel stain, and I needed a sanded surface. In theory, that should have been super easy to do lol! XOXO
Michele M. says
That sweet little table looks great now! Love the purple interior with bouquet – really adds to the beatiful simplicity of its white exterior. ♥
Christy says
Thank you, Michele! I thought I would pay tribute to the purple I banished ha ha! Have a wonderful weekend! XOXO
p says
Sooo pretty now. I always love your extra details inside.
The top looks gorgeous !
Kudos for sticking with your design despite all the extra work !!
Thanks.
Christy says
Thank you, P! I was committed ha ha! XOXO