Hello, sweet friends! Today, I’ve got a big box store bookcase makeover for you!
I don’t normally go for these mass-produced pieces, but this bookcase was solid and it was only $20.99:
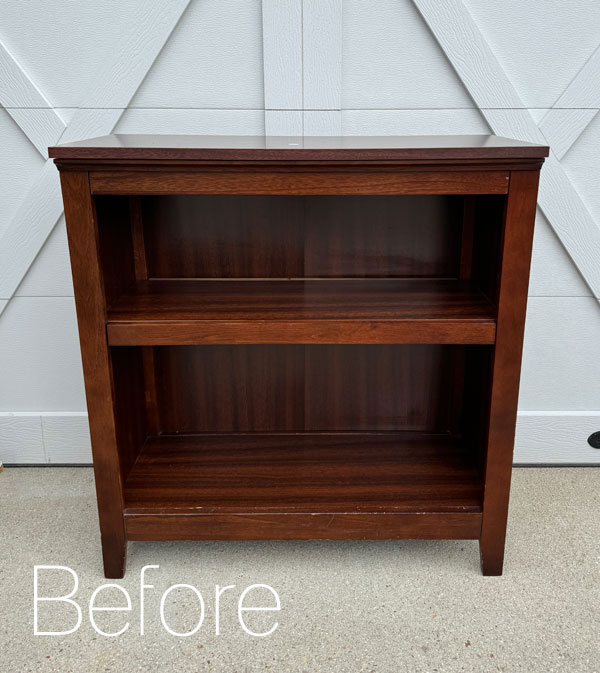
I knew it could be perfect in a little one’s bedroom, so I set out to make it work for that purpose.
I’ve included a few affiliate links so you can find the products I love.
I started by removing the backing. It was just screwed in place and I had it off in no time. This makes it much easier to paint.
Clean
The first step to any furniture makeover is a thorough cleaning. I added one TBSP of White Lightning to my bucket along with a half gallon of warm water and wiped it down well using an applicator pad:
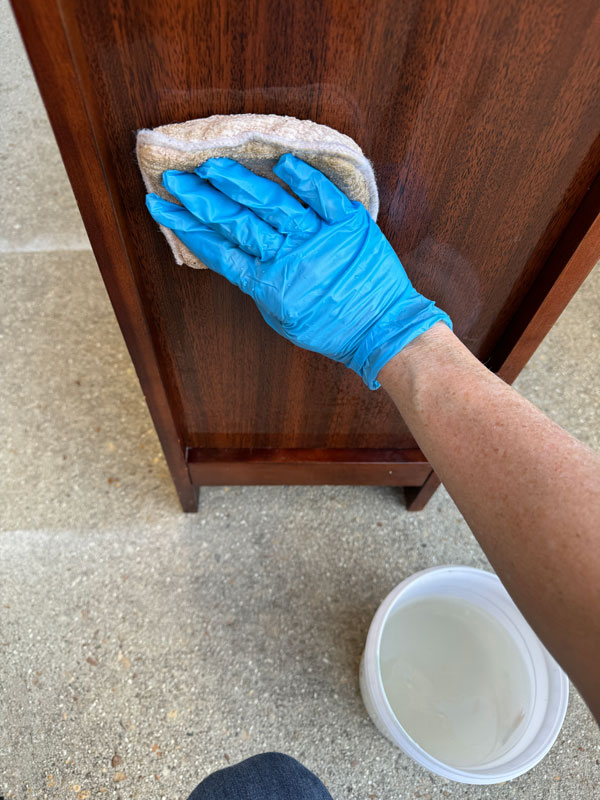
Then, I swapped out my water for clean water and wiped down once more. You’ll want to do this to remove any residue.
This bookcase did have a few sticky spots from tape and such and the White Lightning took that right off.
Prime with Bonding BOSS
I believe this bookcase was made of a combination of Wood and Laminate. To be safe, I primed first with Bonding BOSS in White:
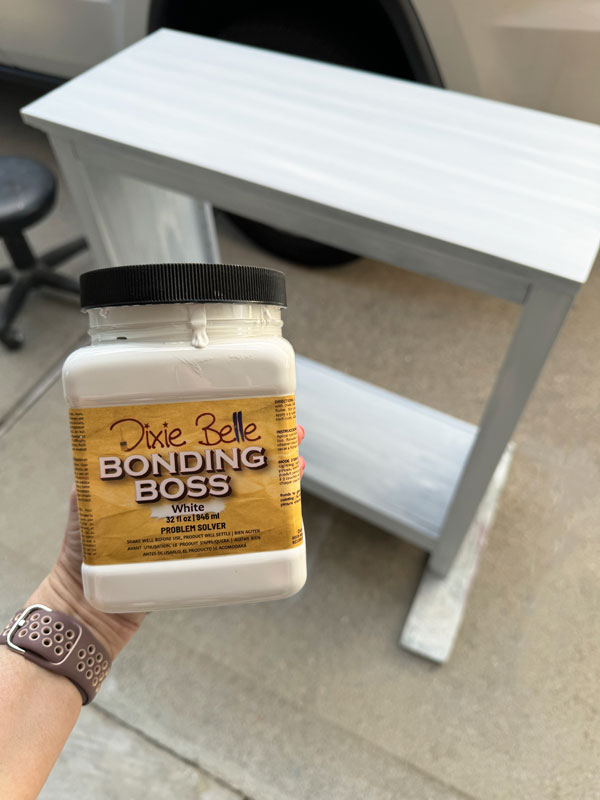
I only gave it ONE coat.
In case you haven’t heard, Bonding BOSS has taken the place of both Slick Stick and BOSS to serve both purposes, priming for both adhesion and stain-blocking.
Testing one coat for adhesion
You may remember this cutie pie metal tray I redid as part of this Painting the Smalls post:
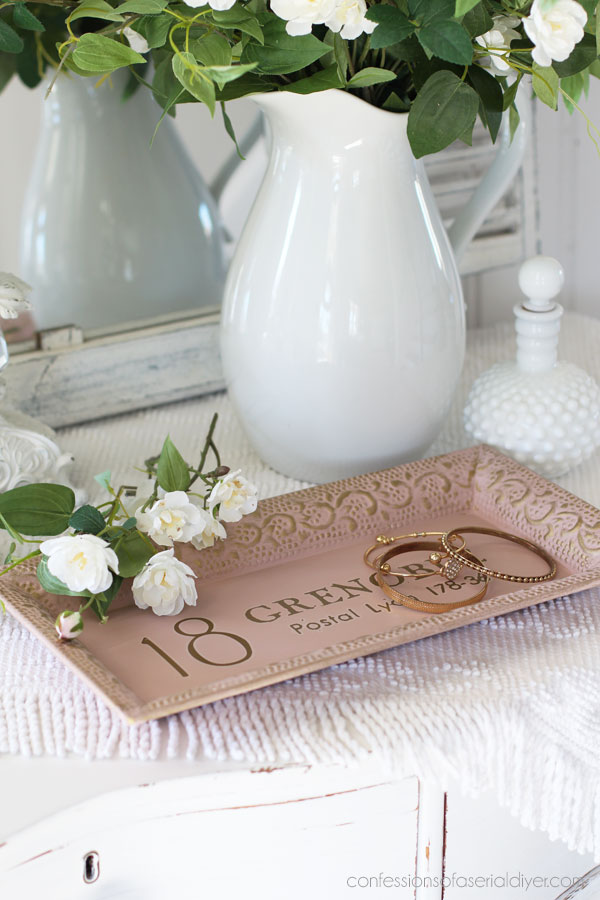
The instructions say to apply two coats of Bonding BOSS, four hours apart and then let dry for 24 hours before painting.
I decided to push that and see how it would hold up with only one coat of the Bonding BOSS. I still waited the 24 hours and then painted.
I never took this tray to my booth so I could do a scratch test after the cure time, which is around three weeks. I had forgotten all about it, but after about a month and a half, I did the scratch test and it did AMAZING!
Now don’t go scratching it two weeks in…allow it to cure and use with care until it does!
Paint
After my 24 hour wait time was up, I painted it in Pink Champagne:
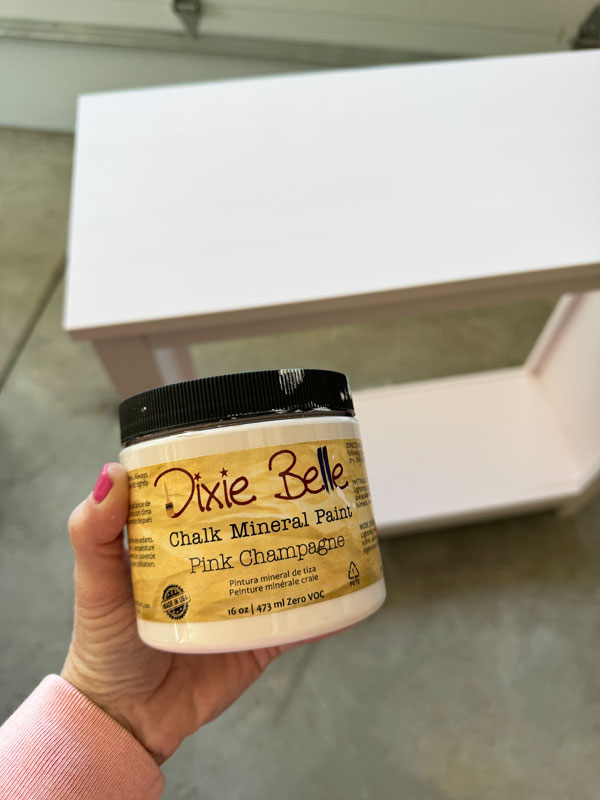
It took three coats for solid coverage. It goes on very pale, but will darken a bit with each coat.
You can see that it isn’t as light as it looks when compared to the white in the stripes:
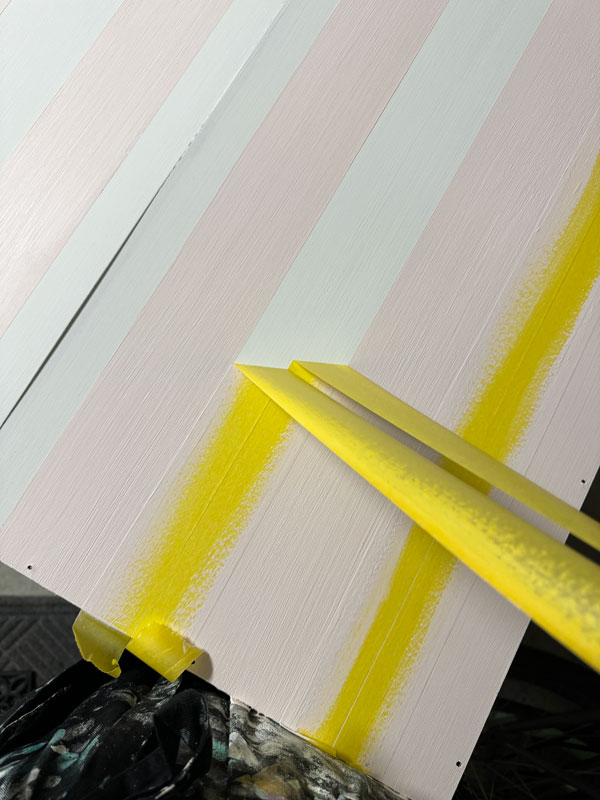
That is the backing. I doubled up the FrogTape to get a nice, wide stripe. The yellow FrogTape (for delicate surfaces) is my favorite painting tape!
The white I used as a base is Cotton.
See how I easily measure out stripes HERE.
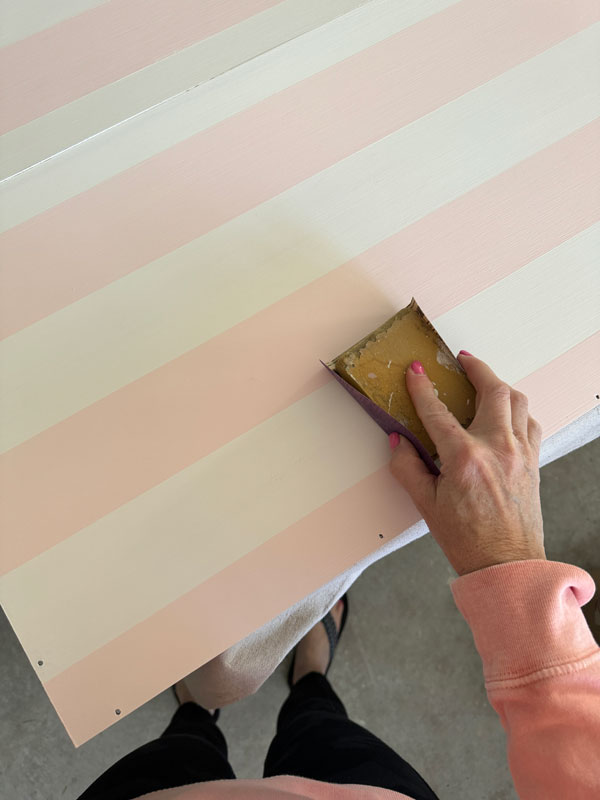
Sand
Lightly sanding your chalk painted surfaces will make them buttery smooth. I sanded both the bookcase and the backing:
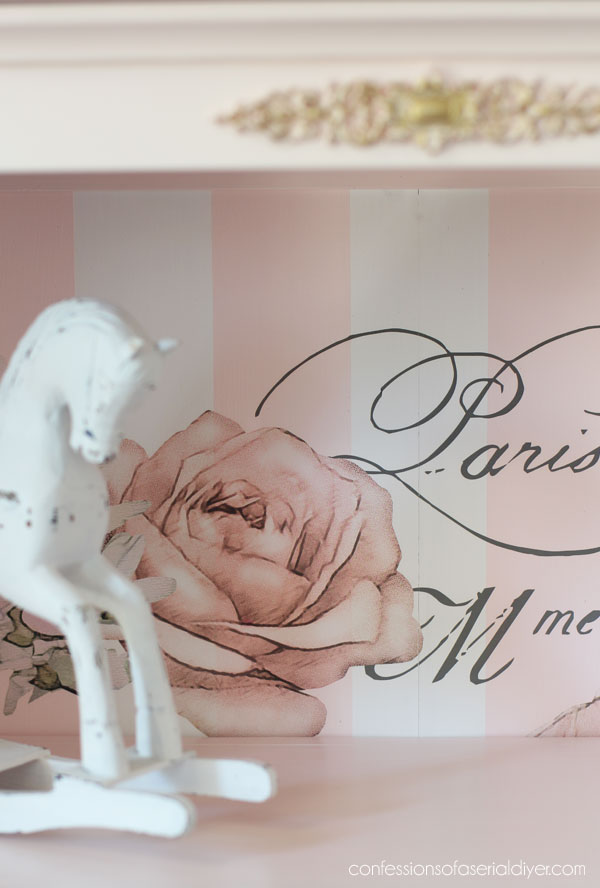
Adding a Transfer
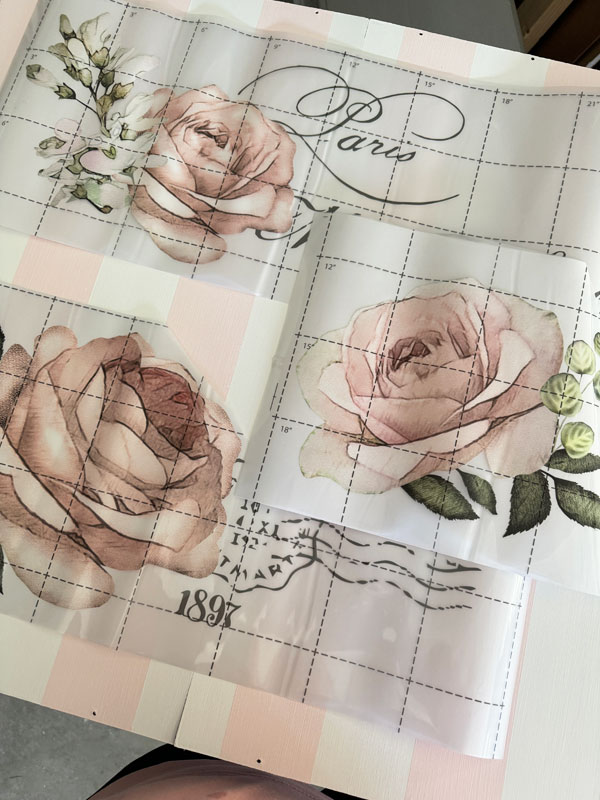
Transfers are such an easy way to really up your makeover game. For this bookcase, I chose a classic favorite, Chatellerault by Redesign:
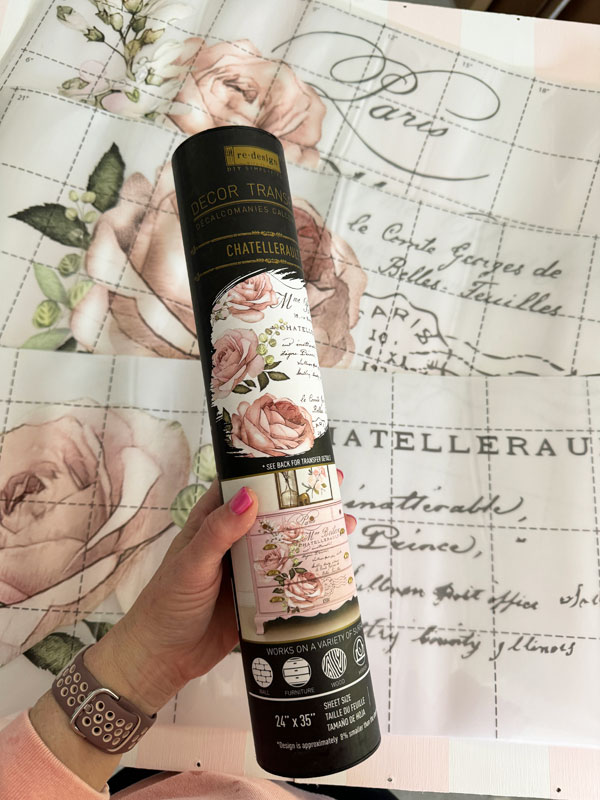
I love it with Pink Champagne and the size was just right for the back of this bookcase!
It’s shown here with all the flowers on the left, but I decided to cut one apart and add it the right instead:
HOW TO APPLY A TRANSFER:
- Remove the white backing
- Position the transfer where you want it
- Use the burnishing tool included to burnish (rub with pressure) the transfer to your surface
- It’s best to start in one corner and pull the clear plastic layer on top away from the transfer as you go as I did here:
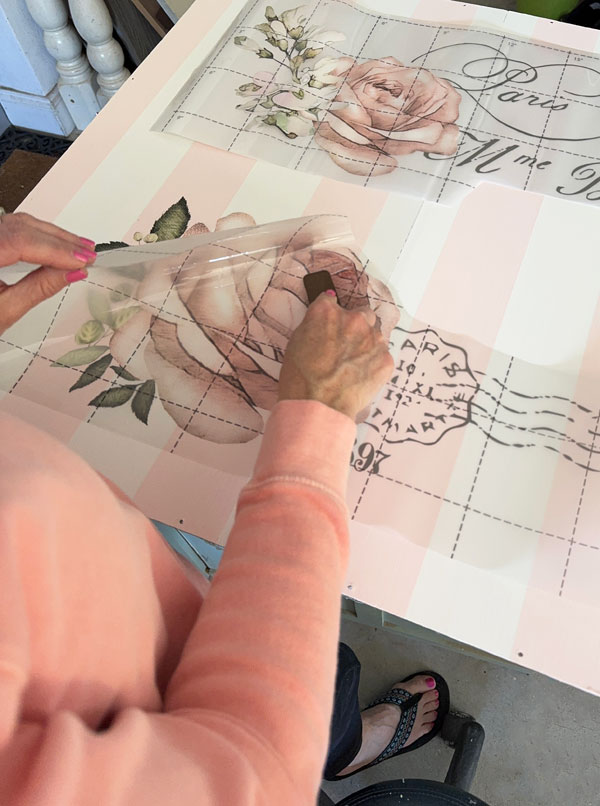
- If you get any pieces that stick to the clear plastic layer on top, lay it back down and burnish some more
You may need to cut your transfer into smaller pieces and match it up to make it easier to apply if you have mouldings or trim you are trying to work around.
Luckily, I had a nice, flat surface to work on for this project.
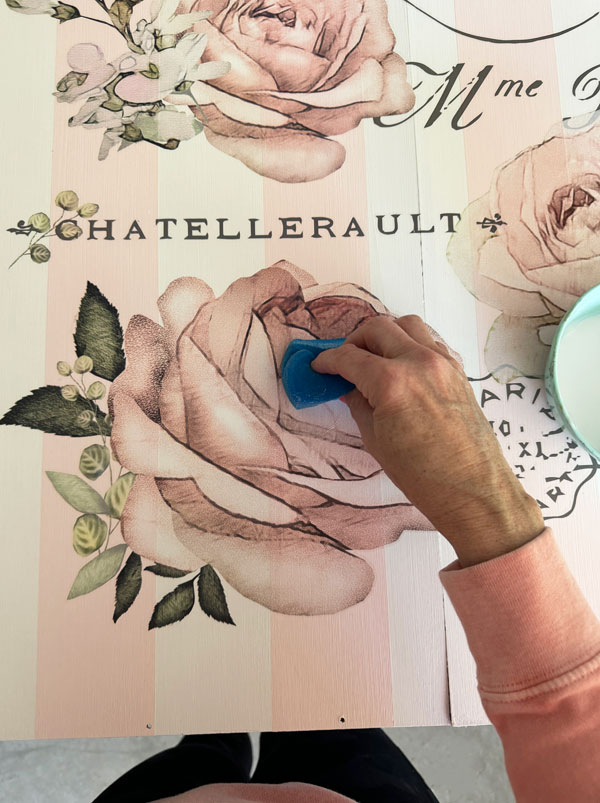
Sealing the Transfer
To seal the transfer, I used Clear Coat in Satin, applying it with the blue sponge applicator:
Sealing the Bookcase
I seal almost all of my furniture pieces with Satin Clear Coat as it is my favorite sealer and is generally plenty of protection.
However, to seal the rest of this bookcase, I opted for Gator Hide this time. Gator Hide is Dixie Belle’s toughest topcoat and a bookcase can end up being a very hard worker, so I wanted to protect it the best I could. (Gator Hide is not recommended to seal transfers as the water-repellent properties may cause them to lift.)
I screwed the backing back in place once everything was dry, and this makeover was complete!
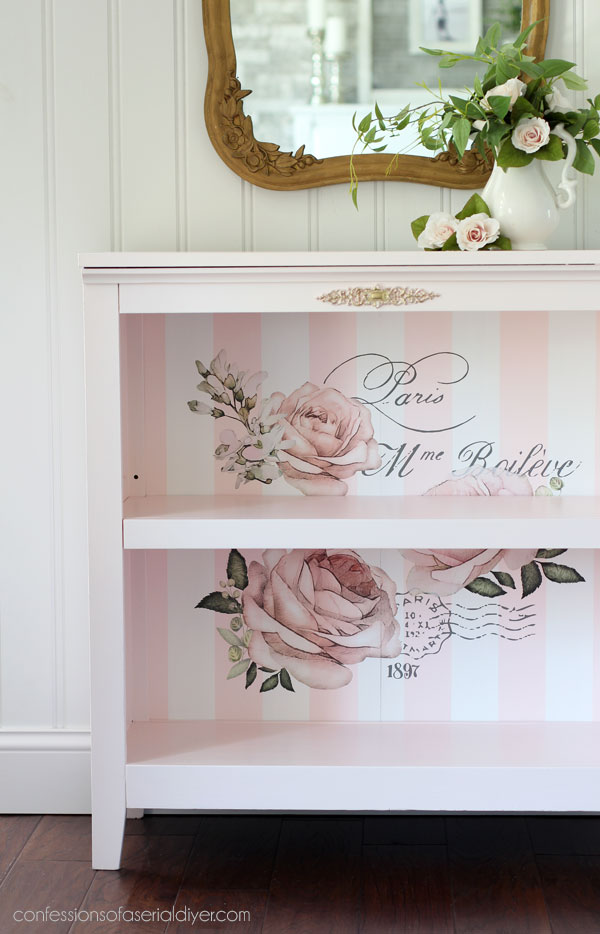
Box store Bookcase Makeover Reveal
Here is how this boring bookcase looks now!
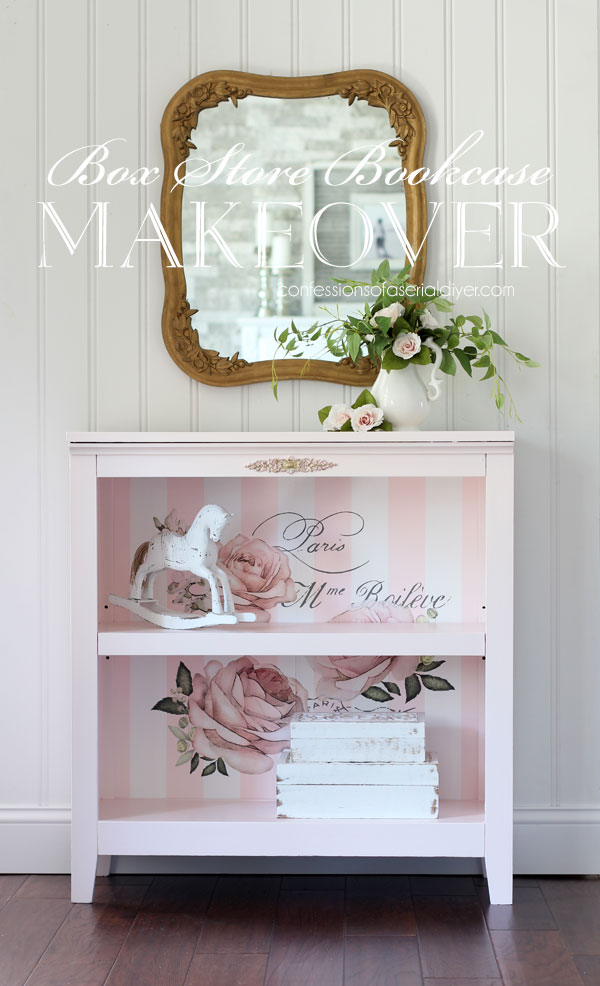
Cute as can be!
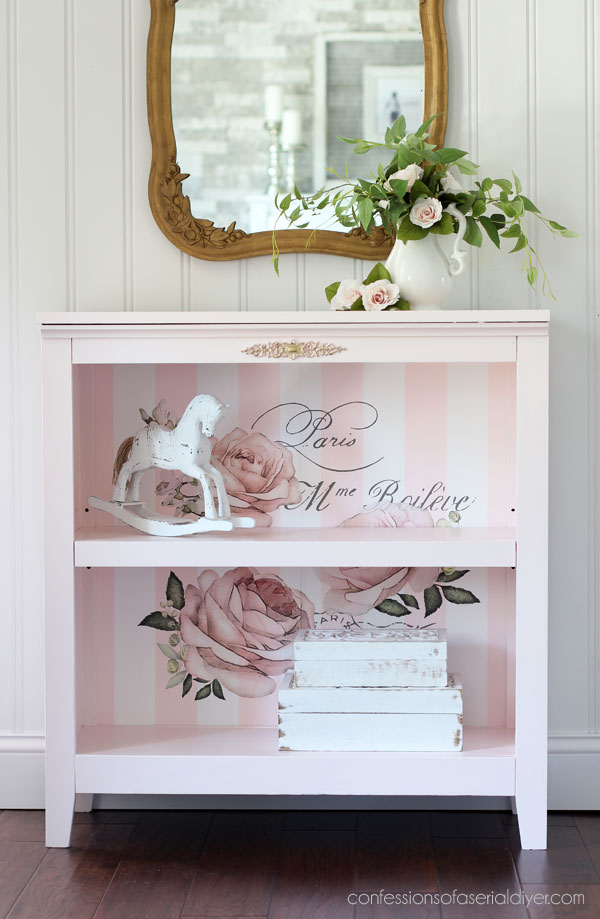
Transfers allow me to be so much more artistic than than I ever could be without them, and with much less work!
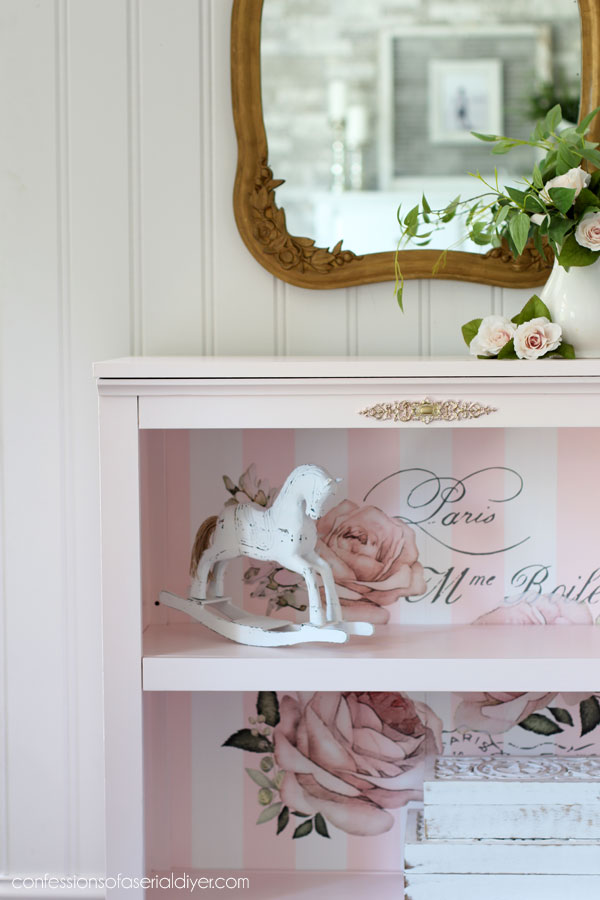
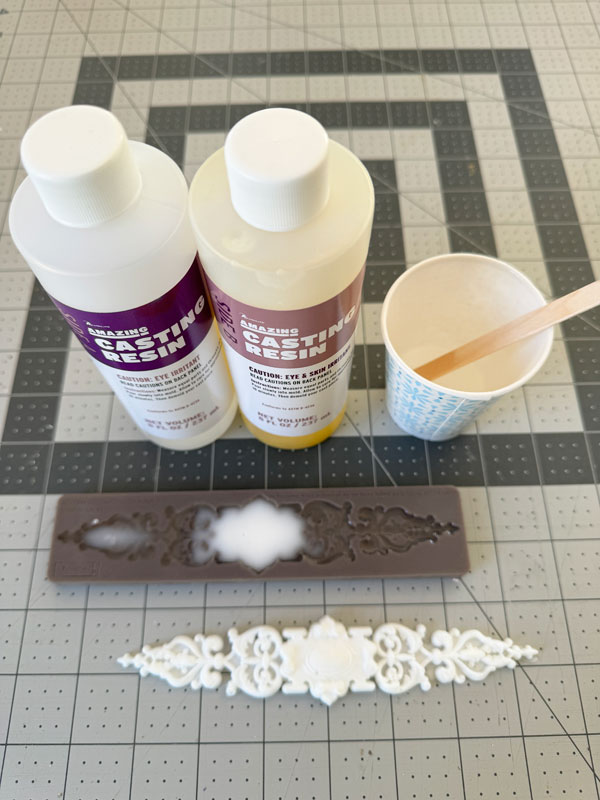
DIY Moulding Detail
The little moulding detail is courtesy of the Josephine Redesign Mould and Amaizng Casting Resin:
I carry both in my shop HERE and HERE.
Amazing Casting Resin is so much easier than using clay or hot glue. Just mix equal parts and pour. In 15 minutes, you have a perfect mould cast! Because it is a liquid, the back is perfectly flat for easy application.
I attached it with E600 glue. (This is a new no-stink formula.)
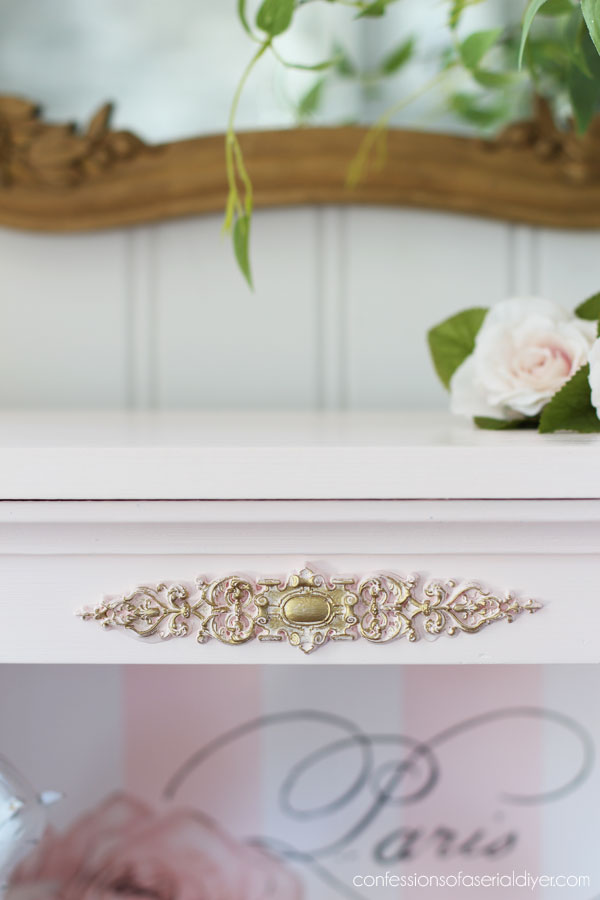
I added that last after painting and highlighting with Gold Gilding Wax.


And here’s a peek without anything on the shelves:

There is a seam down the center of the backing as it was just a thin piece, but it is hardly noticeable now that it’s reattached…
I have boys, so it’s always fun to play with pink!

I hope y’all enjoyed this pretty before and after today!
If you did, you’ll enjoy these headboards too!
![]()
See them HERE!
That’s one project closer to being done with this haul!
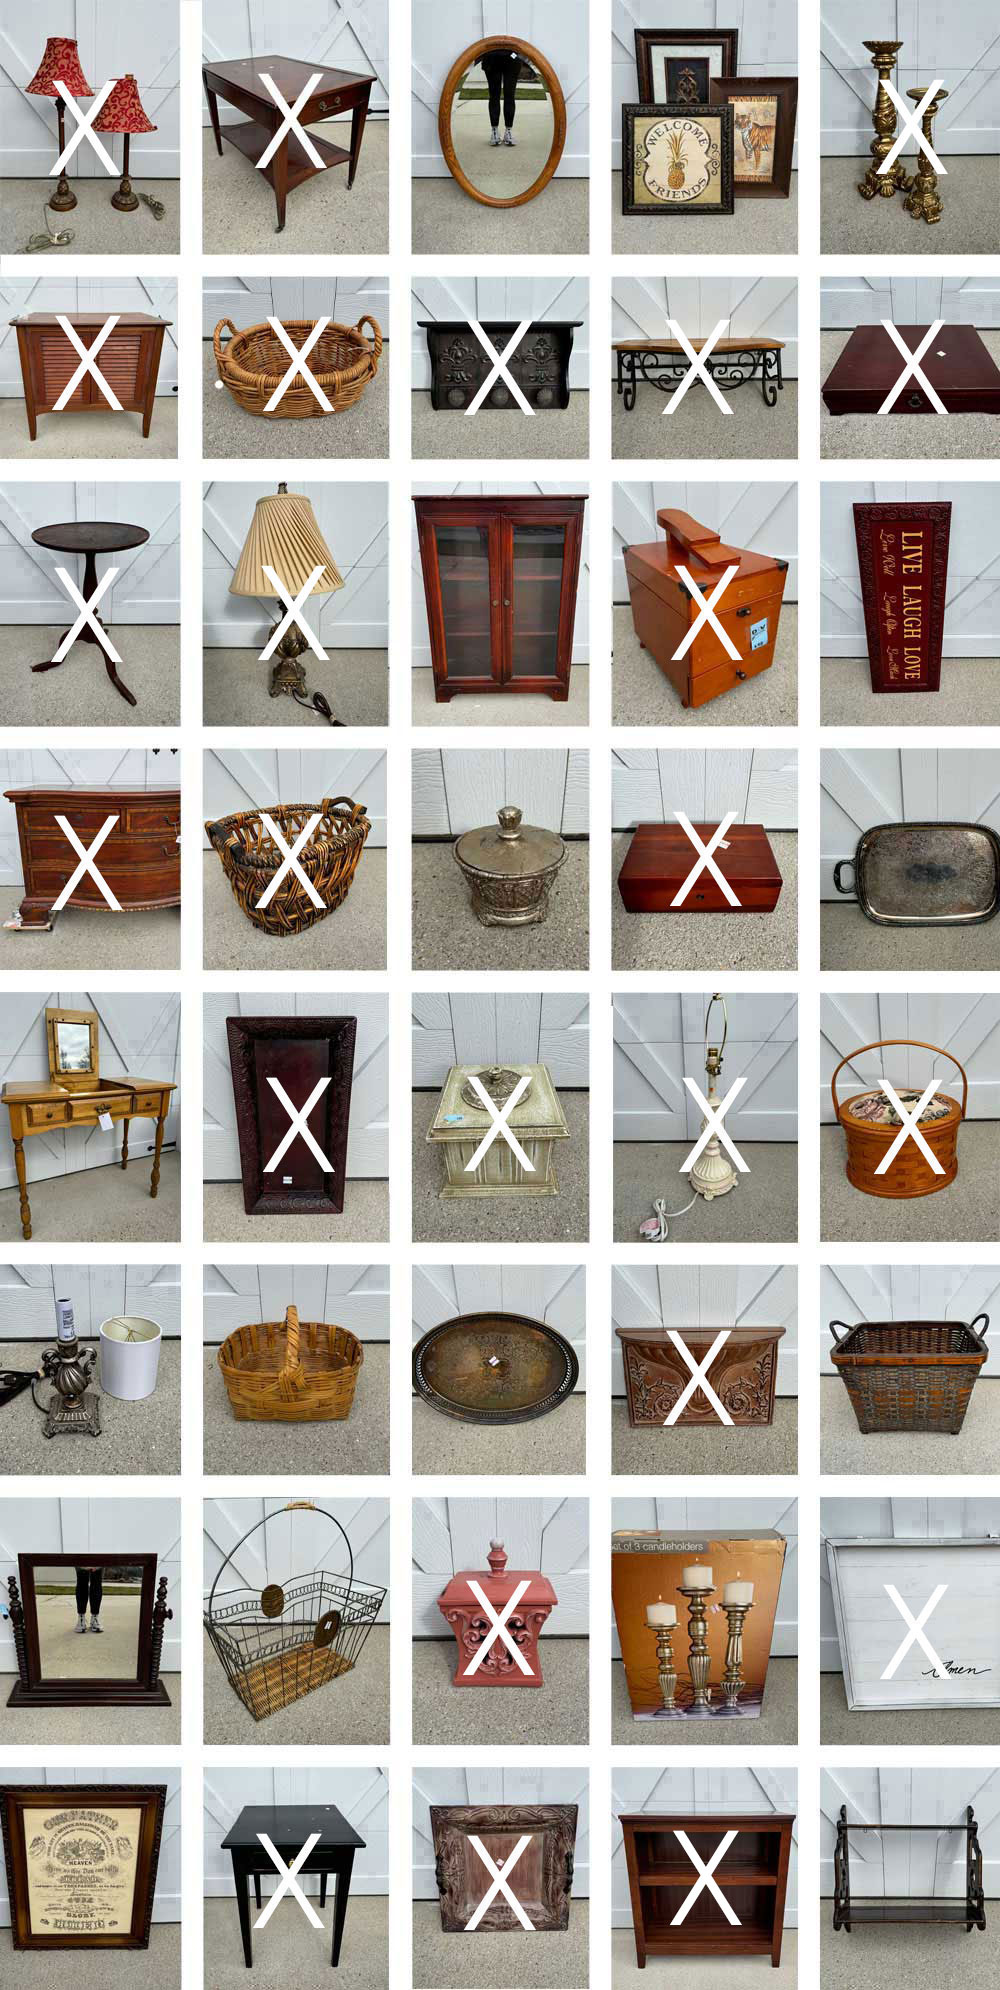
See anything you haven’t already at the links below:
Sea Spray Candle holders
$4 Thrift Store Lamp Update
Painting the Smalls #26
$10 Thrift Store Dresser Makeover
French Buffet Lamps Makeover
Painting Furniture with Silk Mineral Paint (The large and curvy dresser.)
TWICE Painted Plant Stand Makeover
Elegant Flatware Box Makeover
Mini Lane Cedar Chest Makeover
DIY Herringbone Tray
Whitewashed Side Table
Sewing Basket Makeover
Louvered Door Cabinet Makeover
Painting the Smalls #25 (SIX mini makeovers!)
Shoe Shine Box Makeover
Metallic Vintage End Table Makeover
It seems like this haul is going so fast!
I’ll be back on Thursday with these frames:
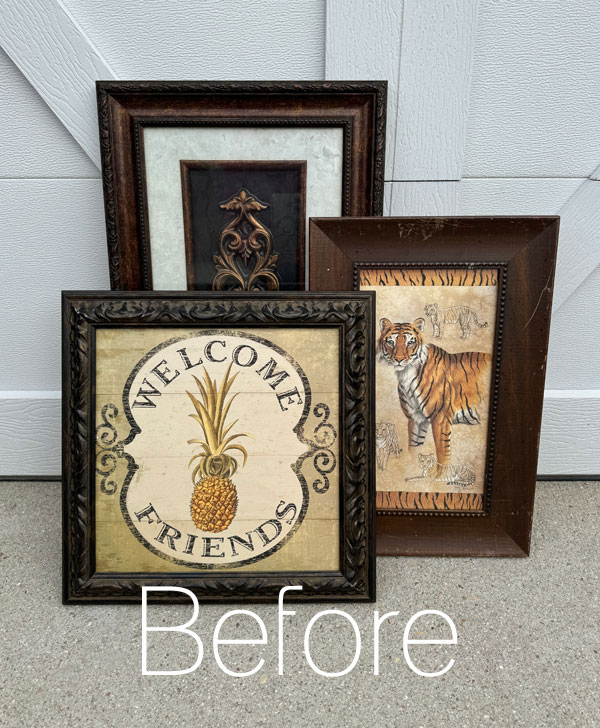
I hope to see you then!
UPDATE: Boom, here ya go! See the fun I had with these frames HERE now!
XOXO,

Don’t Miss a Thing!
If you like what you see, there are several ways to follow along!
EMAIL * INSTAGRAM * FACEBOOK * PINTEREST


Mary Kaiser says
Oh it is so lovely! Some little girl will be so lucky to have that in their bedroom! I just found out that my daughter is expecting and due in November. She already has a 5 year old boy, so I am hoping that she has a little girl this time. This will be my 13th Grandchild! It is so funny that my daughter will be giving me my 13th grandchild because that was always the number she wanted on her soccer t shirt when she played soccer, she always said it was her lucky number! LOL! We find out in a week if she is having a boy, or a girl!
Christy says
Thank you, Mary! Oh how exciting!! Congratulations! Funny how those numbers came into play here. My older sister is expecting her first grandchild in November too…she had two daughters, so I know they want a boy ha ha! XOXO
Nana Diana says
LOVE how the bookcase turned out. It’s almost too pretty to put anything on the shelves because it would hide the beauty of it all.
Happy Tuesday! xo Diana
Christy says
Thank you, Diana! I almost hated to stage it with stuff ha ha! Enjoy your day, my friend! XOXO
Cecilia says
Very pretty and feminine! Love those roses!
❤️
Christy says
Thank you, Cecilia! It was fun to work on a girly piece! XOXO
Roberta says
I love this. I actually love the legs on this piece. Dont know why!
Christy says
Thank you, Roberta! They suit it very nicely! XOXO
Cyndi says
Beautiful! And that mould gave it that extra special little touch!
Christy says
Thank you, Cyndi! I had planned to add more, but that small detail was just enough! XOXO
Fran says
You took an ugly duckling and turned it into a swan! So pretty!
Christy says
Thank you so much, Fran! XOXO
Janice Holt says
What a precious bookcase. Love the transfer and stripes. Some little girl will have this in her room. It does seem like you are going through this haul so quickly.
Christy says
Thank you, Janice! Right? I might need to start gathering the next one lol! XOXO
Hannah Reyor says
You really outdid yourself on this project! Love everything you used from colors to the little embellishment piece. Great work!
Love, Hannah
Christy says
Aww thank you so much, Hannah! I’m so glad you like this one! XOXO
Michele M. says
Oh my goodness, look at that beauty! WOW!!! The power of vision, great paint choice and incredibly beautiful transfers. It is stunning, Christy.
Christy says
Aww thank you so much, Michele! Funny that I was leaning towards blue when I started lol! XOXO
Denise Zdziennicki says
So feminine and pretty Christy! XOXO
Christy says
Thank you, my friend! XOXO
MrsSW says
Very pretty. Looks like you’re matching the paint color to your clothes again. 😎
Sheila
Christy says
Thank you, Sheila! Ha ha I noticed that…totally unintentional lol! XOXO
Cyndel says
Do you ever receive photos from people who’ve bought items from your booth, showing how they’ve used them in their homes? I’d be very curious to see where some of my favorites of your makeovers are now.
Christy says
I do not, unfortunately. Although, I did have someone reach out many years ago who purchased a secretary desk from me. She came across it on Pinterest and recognized it. She did send a photo…I loved that! I do get photos of people in my booth who have stopped by to visit though lol! I love that too! XOXO