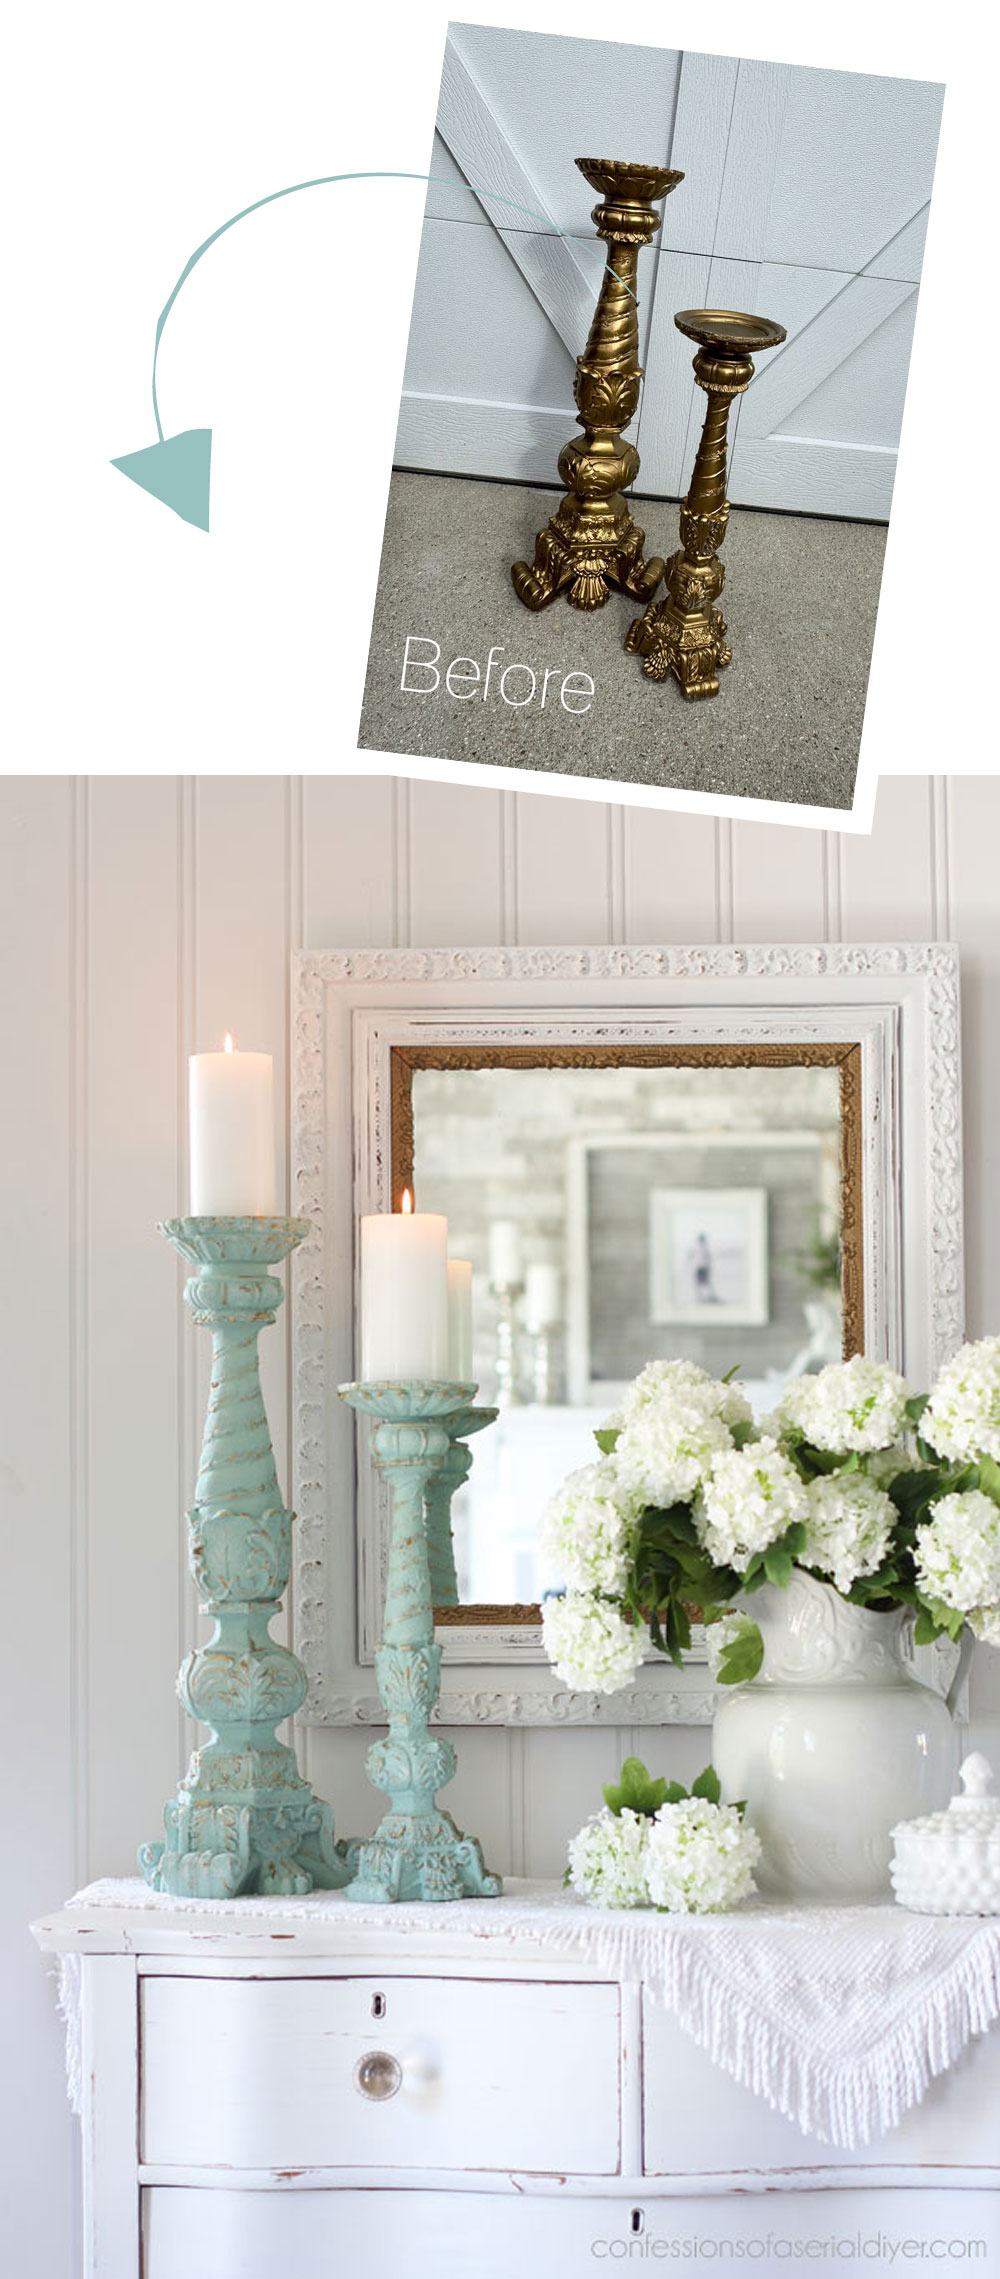
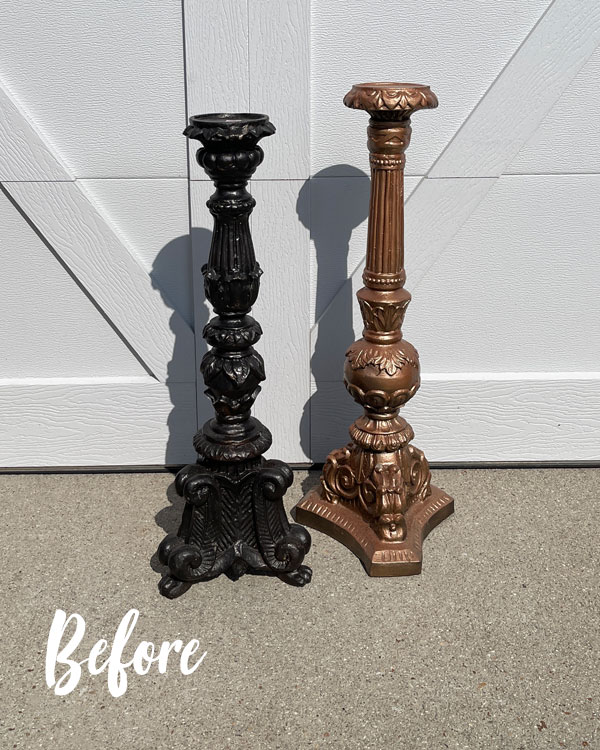
Hello, gorgeous friends! Today’s makeover is a set of very large candle holders updated with Sea Spray texture additive. I loved the details as soon as I saw them at the thrift store:
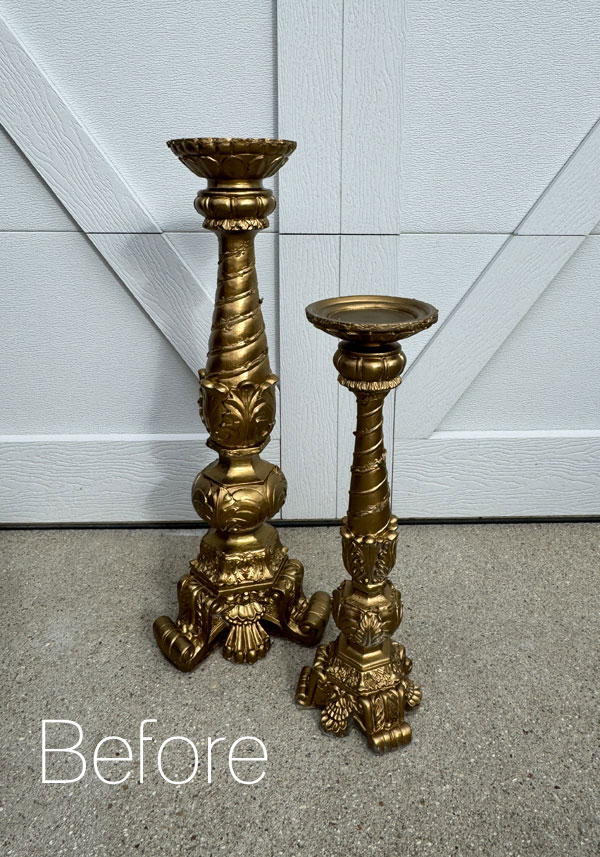
The larger one was $9.98 and the smaller of the two was $6.98. That seemed kind of pricey, but I figured I’d get my money back.
However, when I started the makeover I realized that something, possibly florals, had been hot glued to the centers and the tops…
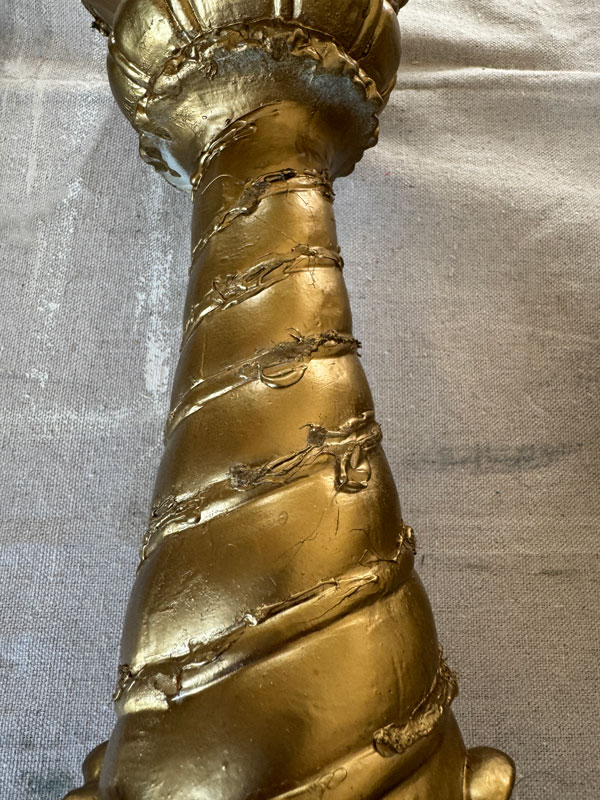
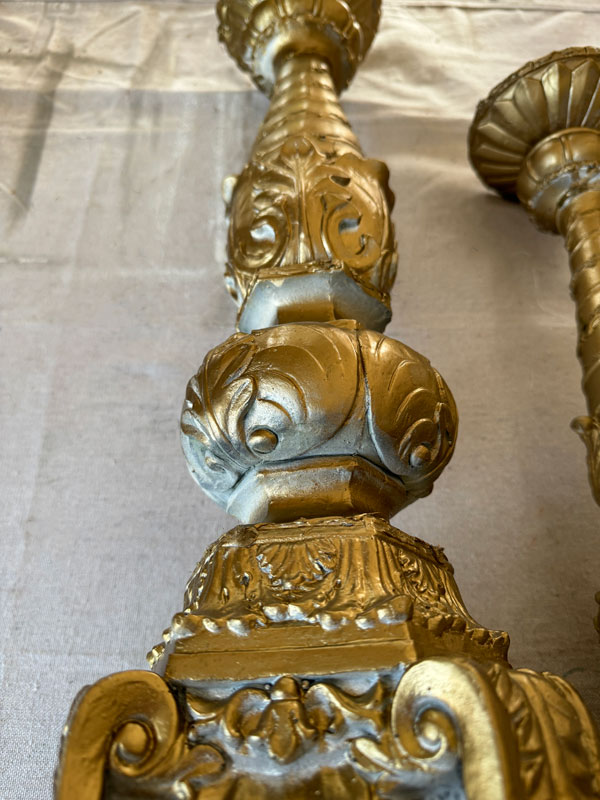
The paint job wasn’t the best either:
I started peeling away the glue, but it was on there good and there was just so much of it that I decided on another solution instead.
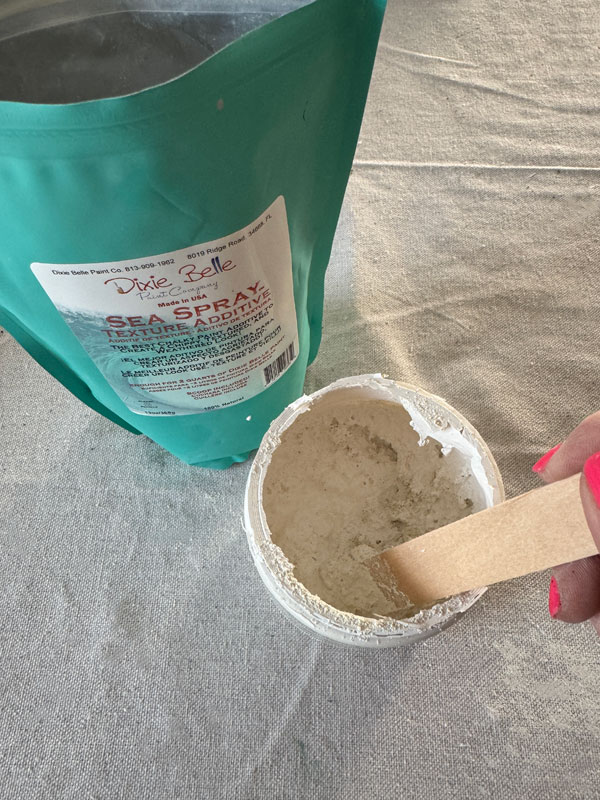
Sea Spray Texture Additive
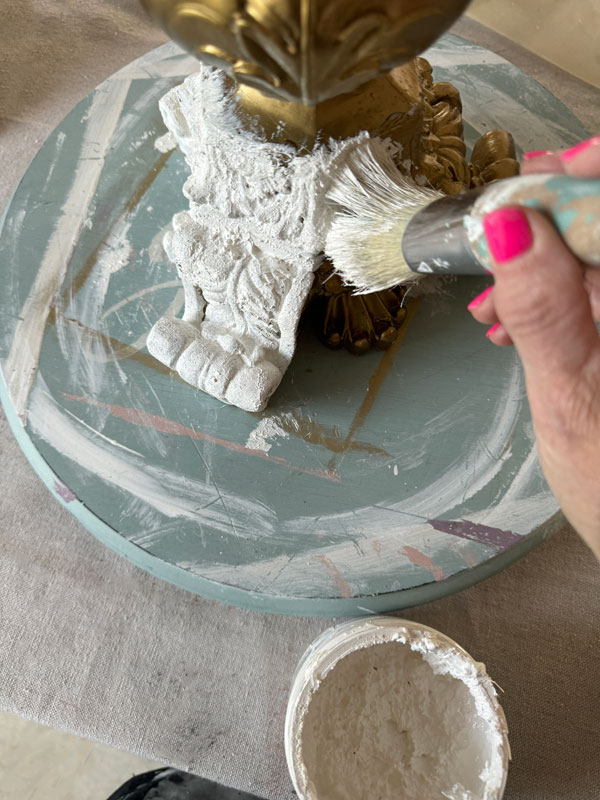
I pulled out my Sea Spray texture additive to add texture to these candle holders. My hope was that it would camouflage the glue.
I mixed a scoop into an open jar of Cotton paint.
After mixing well, I began applying the mixture to the candle holders by dabbing it on…
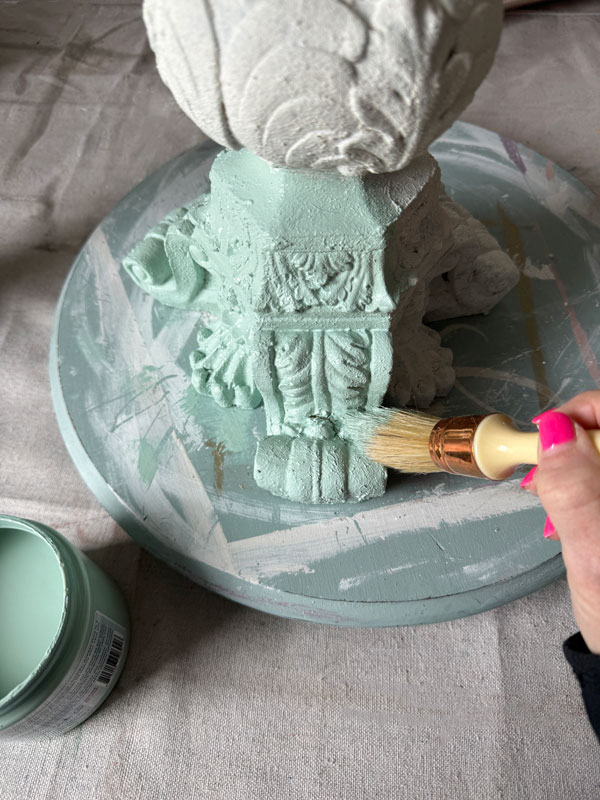
Paint
Once that was dry, I chose Tide Pool Silk, applying it the same way…
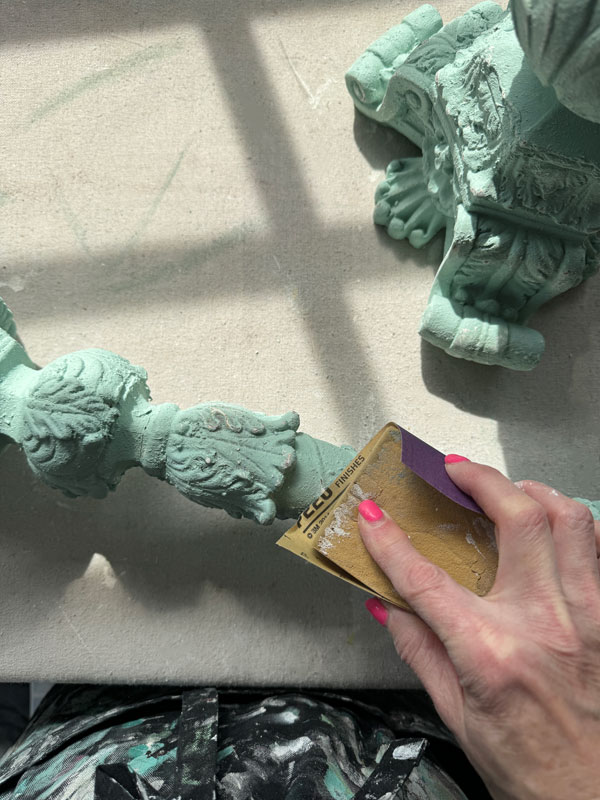
Sand
I had planned to sand to allow some of the white to show through and did that next:
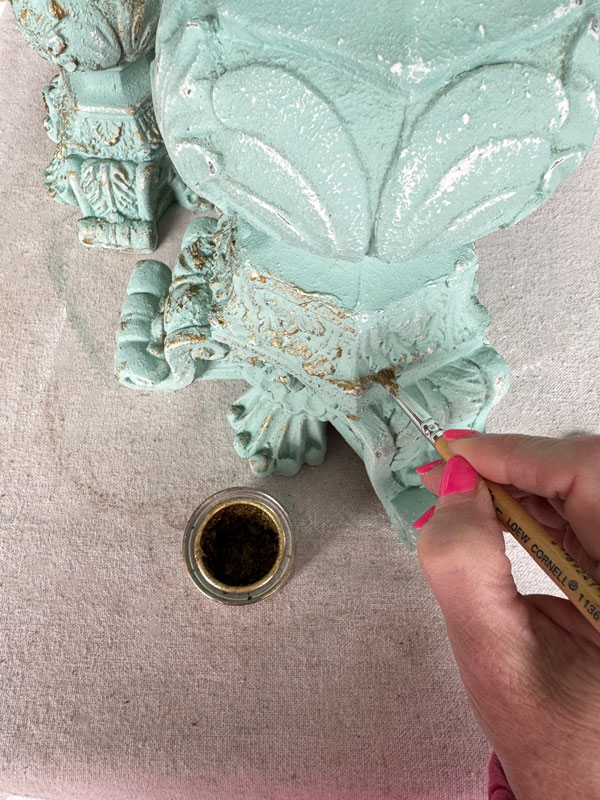
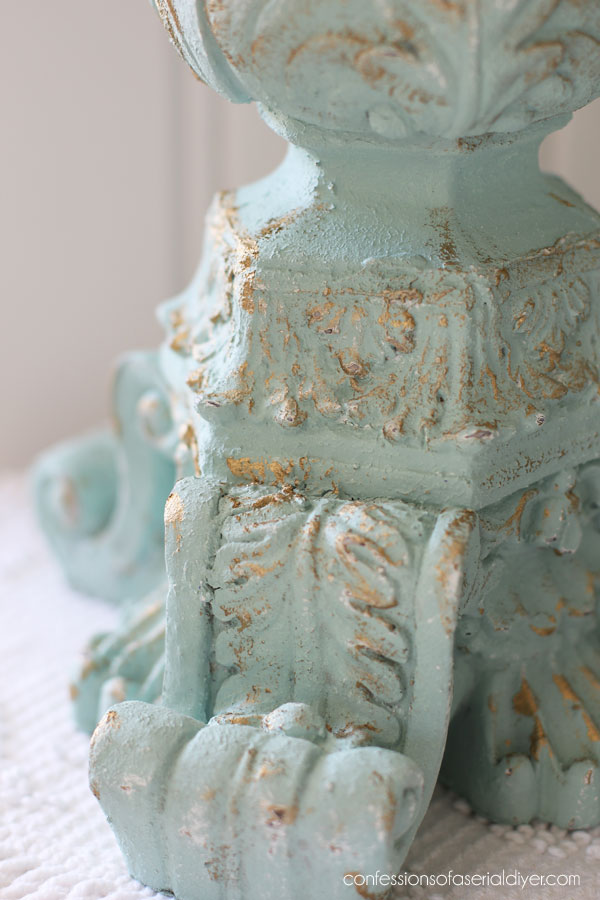
Gilding wax
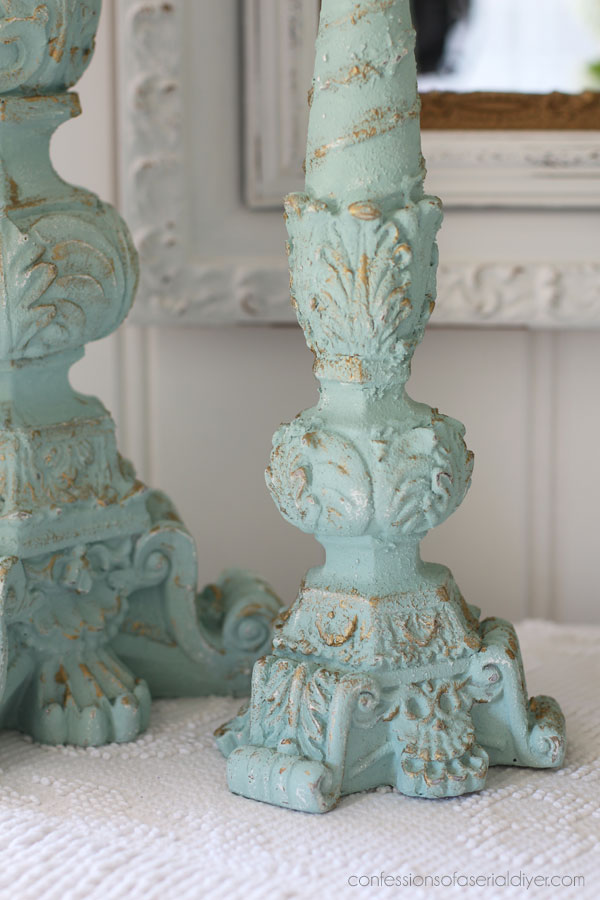
I wanted a little extra something and pulled out my gold Gilding Wax to add gold highlights…
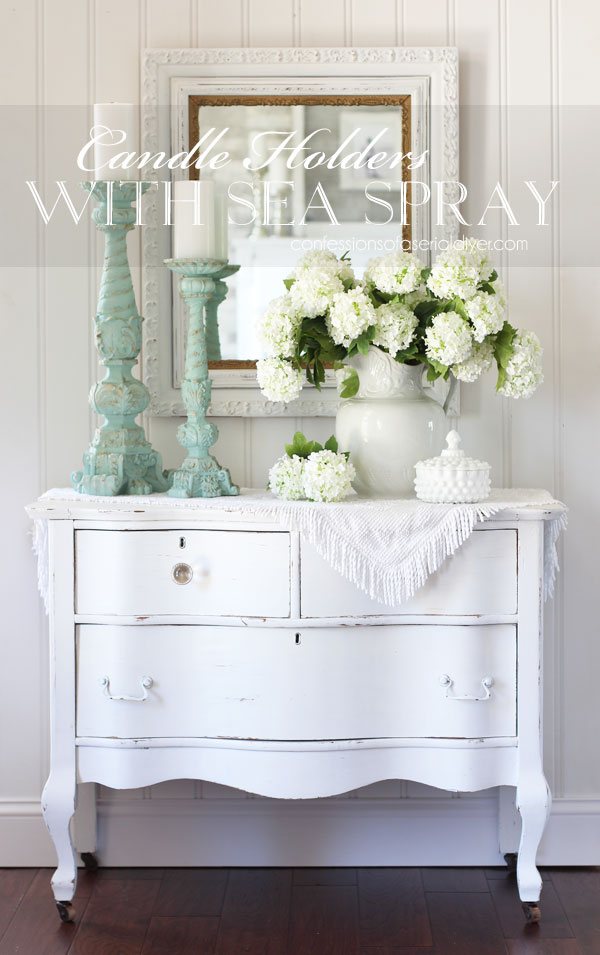
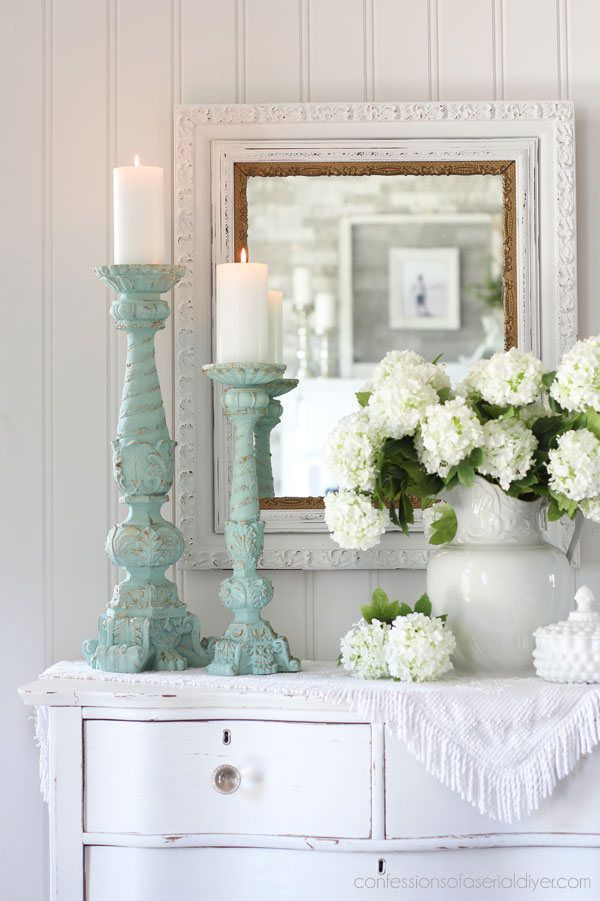
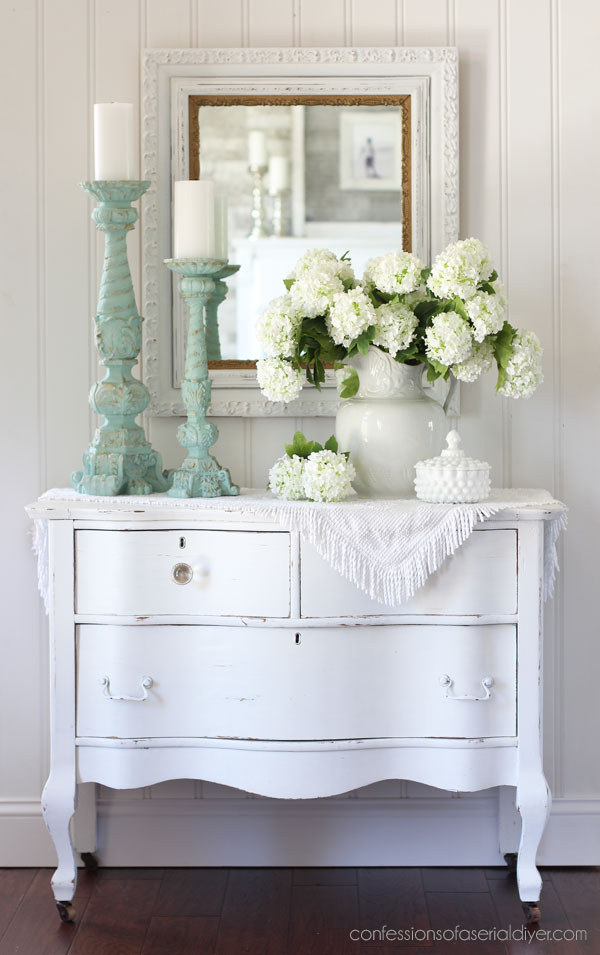
Candle Holders with Sea Spray Texture Reveal
Here they are lit…
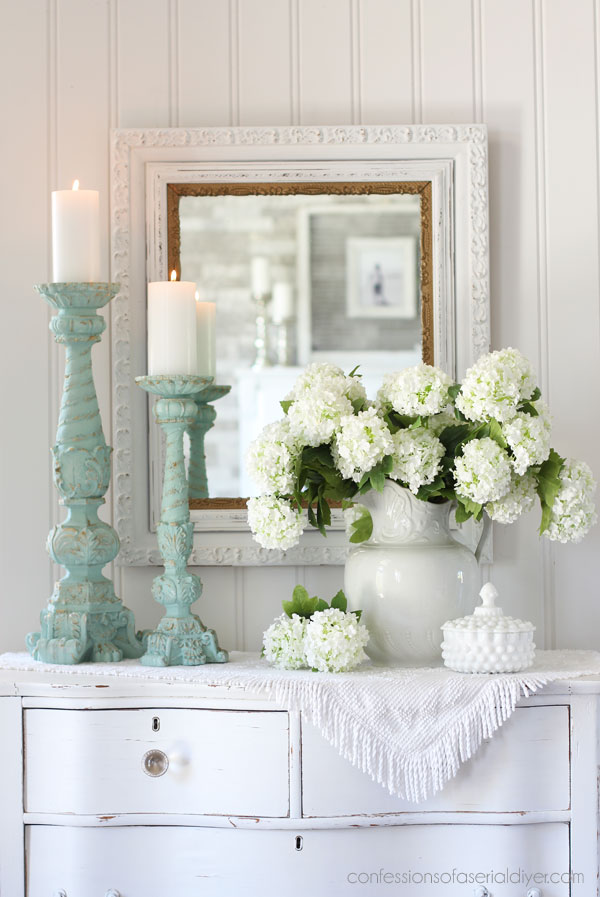
The texture helped to camouflage the hot glue that was all over them…

The mirror in the background was made by combining THREE pieces…you can see that HERE.
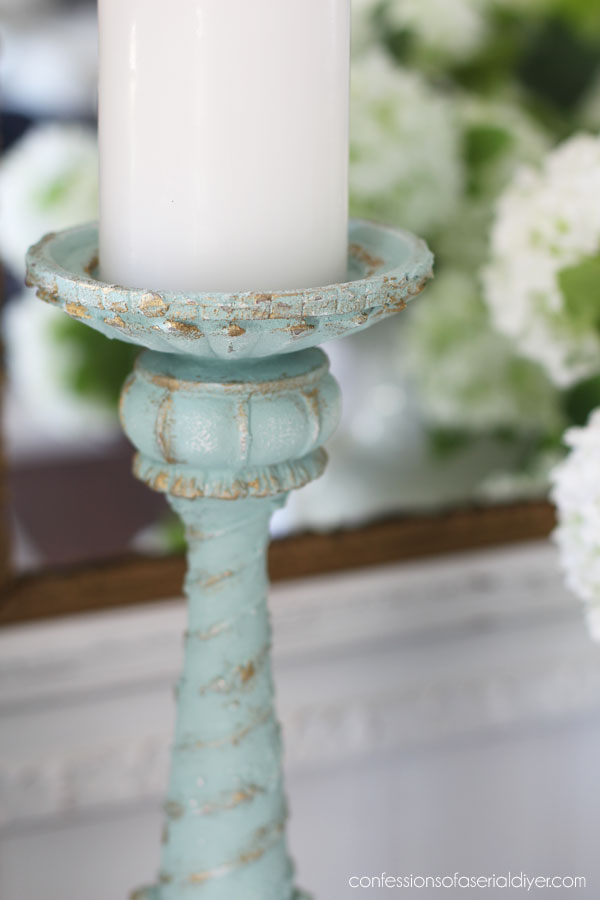
Adding the Gilding Wax played up the details and texture even more.
Aren’t they bigger than they looked in the before photo??
I hope y’all enjoyed this simple makeover today!
If you liked this makeover, you might enjoy this one too!
See what I did with this even larger pair HERE!
One more done yay!!
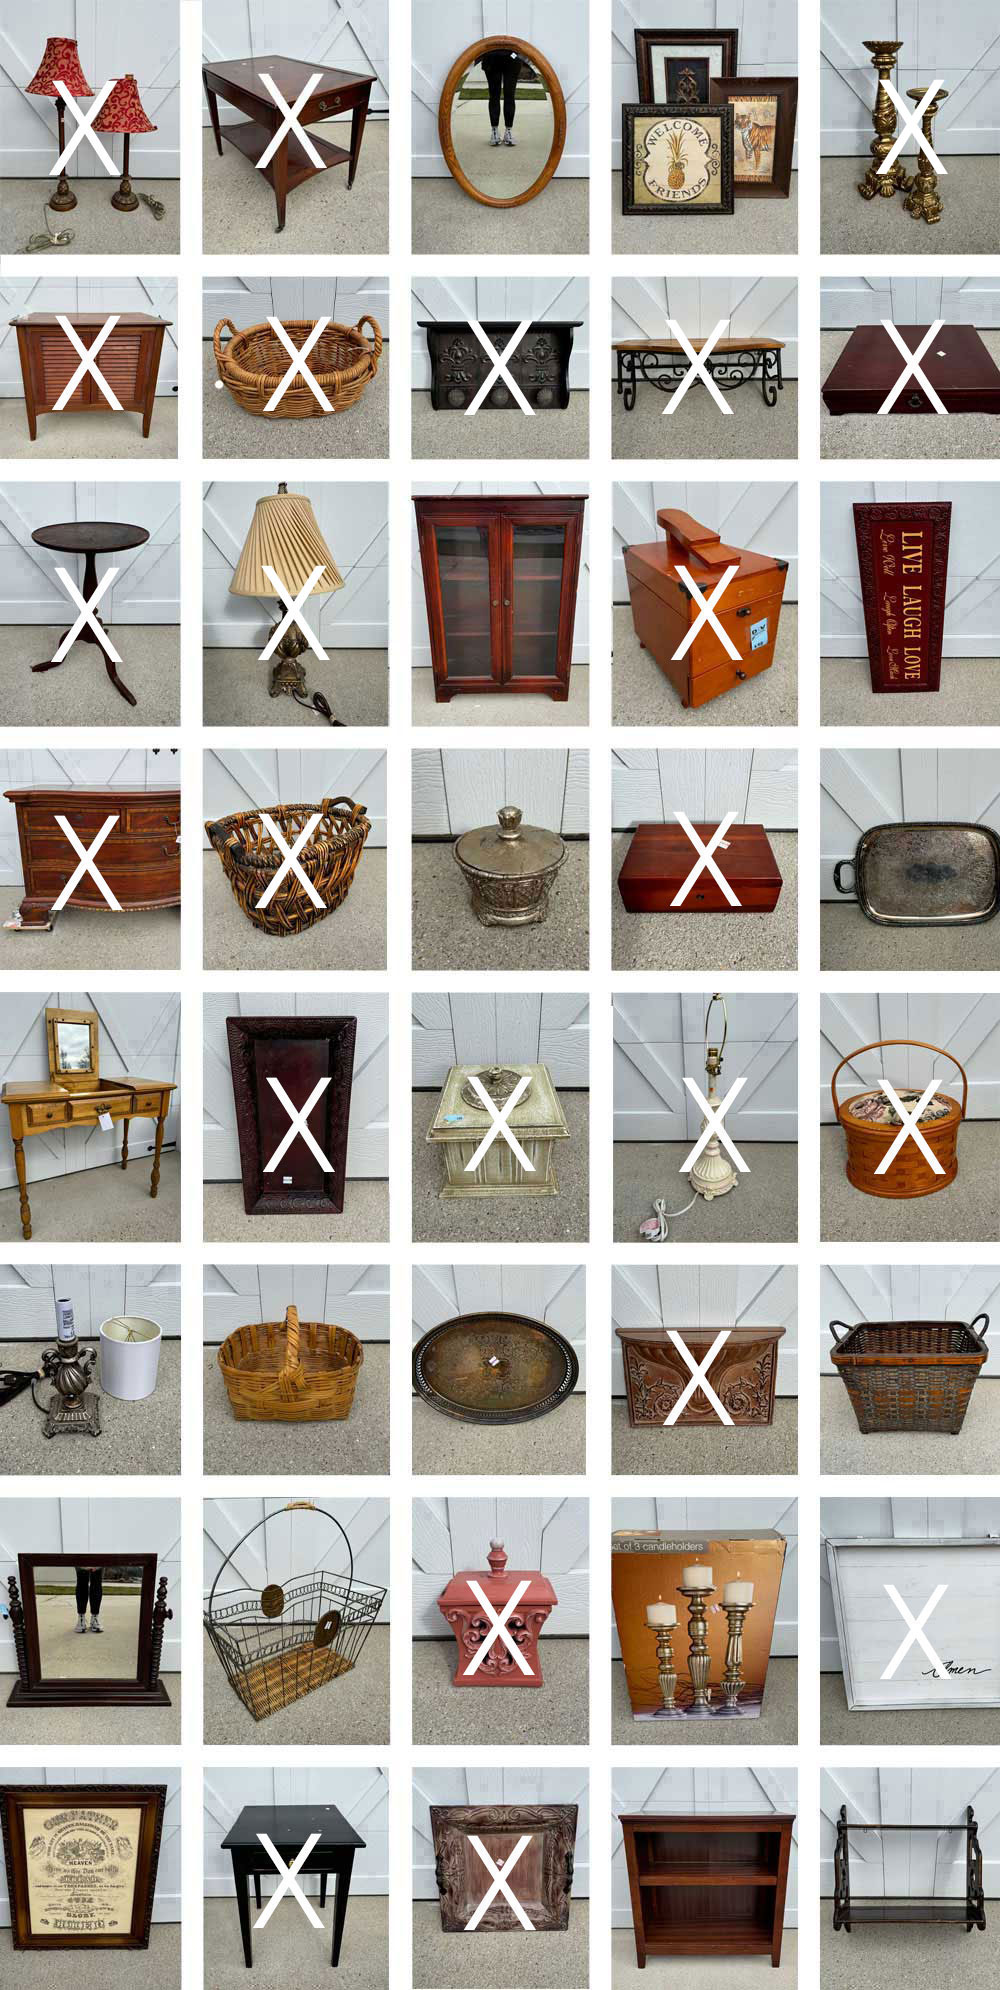
See them all so far at the links below!
$4 Thrift Store Lamp Update
Painting the Smalls #26
$10 Thrift Store Dresser Makeover
French Buffet Lamps Makeover
Painting Furniture with Silk Mineral Paint (The large and curvy dresser.)
TWICE Painted Plant Stand Makeover
Elegant Flatware Box Makeover
Mini Lane Cedar Chest Makeover
DIY Herringbone Tray
Whitewashed Side Table
Sewing Basket Makeover
Louvered Door Cabinet Makeover
Painting the Smalls #25 (SIX mini makeovers!)
Shoe Shine Box Makeover
Metallic Vintage End Table Makeover
I’ll be back on Tuesday with this bookcase:
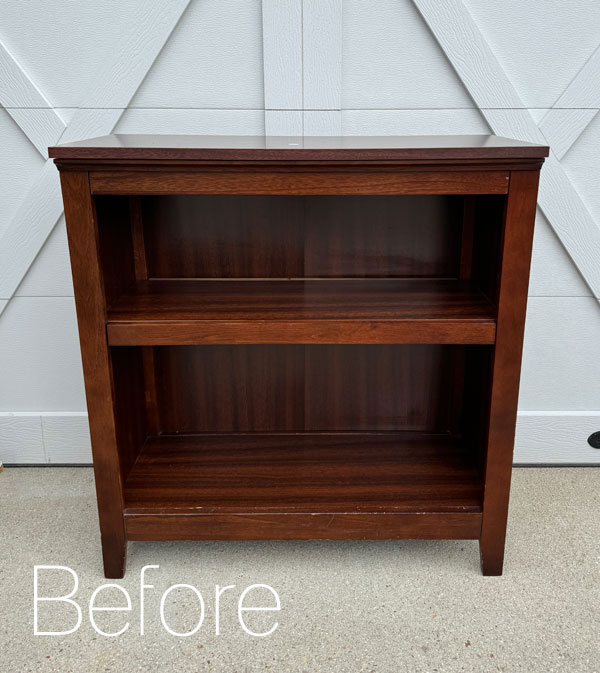
UPDATE: No need to wait YAY!! See how pretty this bookcase turned out HERE now!
Have a fantastic weekend!
XOXO,

Don’t Miss a Thing!
If you like what you see, there are several ways to follow along!
EMAIL * INSTAGRAM * FACEBOOK * PINTEREST


Mary Kaiser says
Wow those turned out so good! All the candle holders turn out amazing every time you do them! I am looking forward to seeing what magic you do on the book shelf, you always to amazing things with them also!
Christy says
Aww thank you, Mary! These ones were very large and I just did not want to stand there picking off glue lol! Have a lovely weekend, my friend! XOXO
Abbe Kemack says
They look fantastic Christy! Love that color.
I was wondering if a heat gun would have helped to remove the glue?
Christy says
Thank you, Abbe! Possibly! I do have a heat gun, but I never think to use it lol. XOXO
Janice Redden says
Christy, wow, wow, wow! What a transformation. You never know what lies beneath the “creative intent” of items by previous owners..but you found a great solution to hide those “what the heck?!”
Love your posts with those “Here” buttons and visiting previous makeovers…so fun…
Have a great weekend.
Christy says
Ha ha yes! I was thinking these may have been used in a wedding? That is the only thing that makes sense lol. Glad the Sea Spray saved me picking off glue! And I’m glad you enjoy the links too! Thank you, my friend…enjoy your weekend too! XOXO
Zoya says
Hi Cristy, I was reading your email this morning about the sea spray texture and have a question. I make tons of Christmas/winter wood craft items. I use lots of Snow-Tex that I buy in a jar. It keeps getting more and more expensive. Do you think that the sea spray texture stuff in white paint would end up looking and usable like Snow-Tex that I would buy in a jar? Amazon price today for 16 oz Snow-Tex is $16.43
Please let me know your thoughts. thank you!
Christy says
I think it could totally work! It comes in a powder, so you would mix a small batch at a time, but it is much cheaper at only $6.95 for the smaller jar and you just mix it into whatever color paint you want. Give it a test run and see what you think! XOXO
Margie says
I love the texture on these & one of my favorite colors.i have a perfect spot for them. Probably good thing i live to far to just pop into your shop😂.
Christy says
Thank you, Margie! Ha ha I would love it if you were closer! XOXO
Jaye says
Wow! I’m truly amazed by your very ingenuity. You seem to always just know what to do with your thrift store finds. Thank you for sharing what can be done if only we were as clever as you.
Christy says
Aww thank you so much, Jaye! I’m so glad that worked so nicely! XOXO
Cindy says
I recently picked up 3 large candlesticks to do something similar, but there’s so much wax stuck to nooks and crannies. Even after hours of picking, scraping and sanding, I thought it would be ok, but the chalk paint didn’t stick…it scrapes off with a fingernail.
How do you deal with wax residue before you paint your candlesticks?
Christy says
Hi Cindy! I wonder if you have room in your freezer if putting them in there for a bit would make the wax easier to pop off? I haven’t had any that had a ton of wax on them like yours. XOXO
Janice Redden says
Cindy, try Peroxide, acetone or isopropyl alcohol liberally applied to “soften” the wax then use an old toothbrush; be sure to clean/dry/prime afterwards. If that doesn’t work, on a small portion, “paint” over the wax with shellac or glue. After it dries, paint using your color let it dry then test for adhesion. The only other think of would be to paint on a paint stripper, etc. Good luck; I know it’s frustrating when it takes so much work to redo, esp am itemns.
Cyndi says
Muuuch better! Very pretty!
Christy says
Thank you, Cyndi! XOXO
p says
Now that was a save !! They look great now.
Christy says
Thank you, P! It was fun playing with texture! XOXO
Michele M. says
They look great. What a shame about the glue. But in your clever way you certainly fixed that dilemma. And the more I see it the more I absolutely love that color.
Christy says
Thanks, Michele! This was a good excuse to give them a textured look! And I love this color too! XOXO
Nancy Sharp says
Wow! You sure come up with fantastic solutions! These turned out beautiful. I can’t wait to see what you do with that bookcase.
Christy says
Aww thank you so much, Nancy! I’m so pleased that the added texture worked! Have a great weekend! XOXO
Cecilia says
Perfect solution! Love the look and the gold touches.
😊Cecilia
Christy says
Thank you, Cecilia! XOXO
Marietta R Walker says
Hey, I like it! I did my old, horrible brass lamps with a lot of the Caviar Dixie Bell I purchased from your Etsy site. I wanted them to match the iron in my log home so I pounced it and then gave it a smooth coat at the end and they look like heavy iron lamps! I love my Dixie Bell.
If it wasn’t for you and all the others posting the way you do, I would not be bold enough to do the things I do now. You, and your buddies are my heroes!
Christy says
Aww I love that SO much, Marietta!! It is amazing what a little paint and imagination can do! I bet your lamps look amazing! XOXO
Nana Diana says
I love how these turned out…a perfect ‘fix’ and the color is great-they look new/old. Have a wonderful week!
Looking forward to the book case makeover. xo Diana
Christy says
Thanks! Glad I saved myself from picking off all the glue lol! XOXO
Lizzy says
The candlesticks turned out great. Pinned!
Christy says
Thanks so much, Lizzy! XOXO