Hello, beautiful friends! Today, I’ve got a fantastic upholstered Louis armchair makeover to share with you! I found this chair at the thrift store in pristine condition:
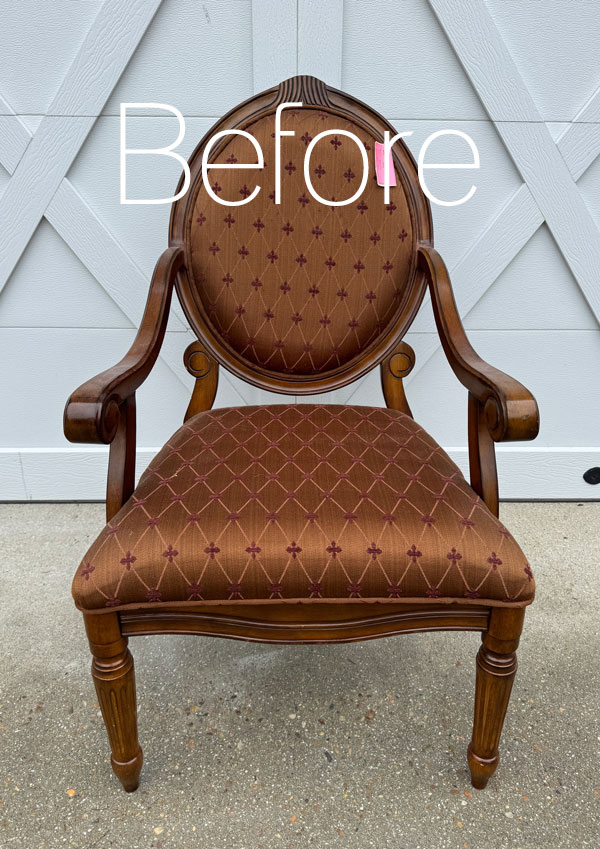
Other than the pattern on the back being askew, it was perfect!
Would you believe it was only $9.99??
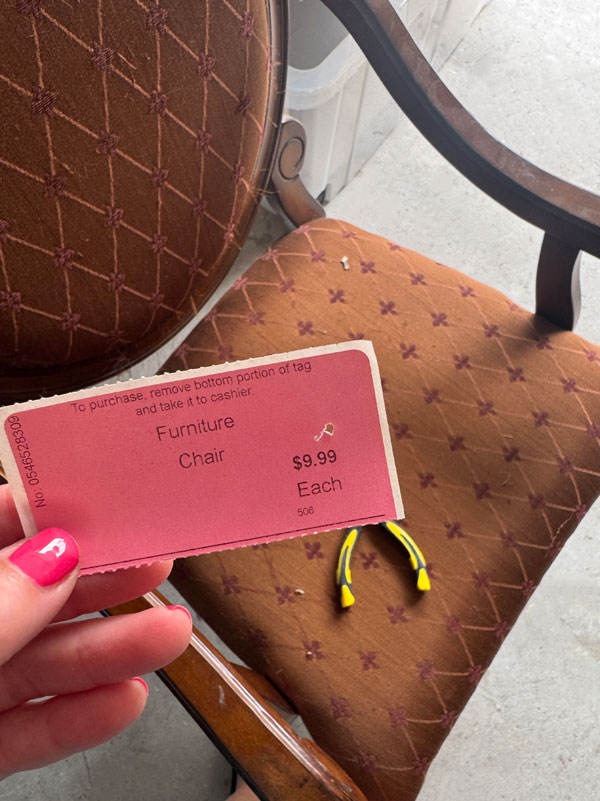
While it was in great condition, I knew I wanted to change it up.
Remove the piping
I started this makeover by removing the piping on the front and then removing the bottom cushion and the piping that was attached to that:
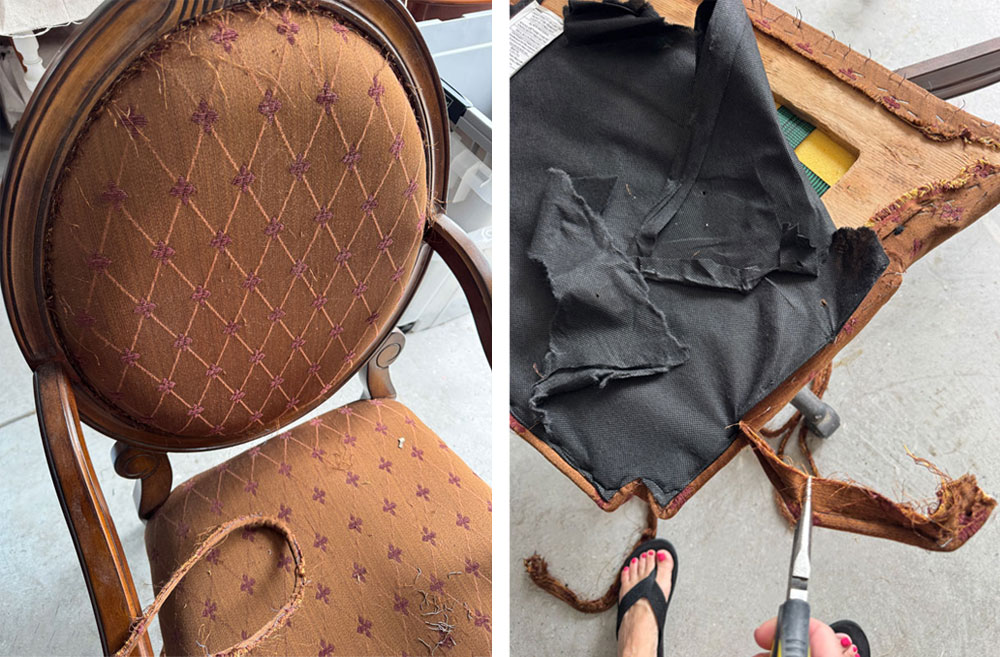
I did that with the help of needle nose pliers. It’s difficult to see, but that left tons of staples sticking out which I also removed with the pliers.
I’ve included a few affiliate links so you can find the products I love.
Clean
I cleaned the wood parts with my go-to paint prep, White Lightning, mixing one TBSP into a half gallon of warm water:
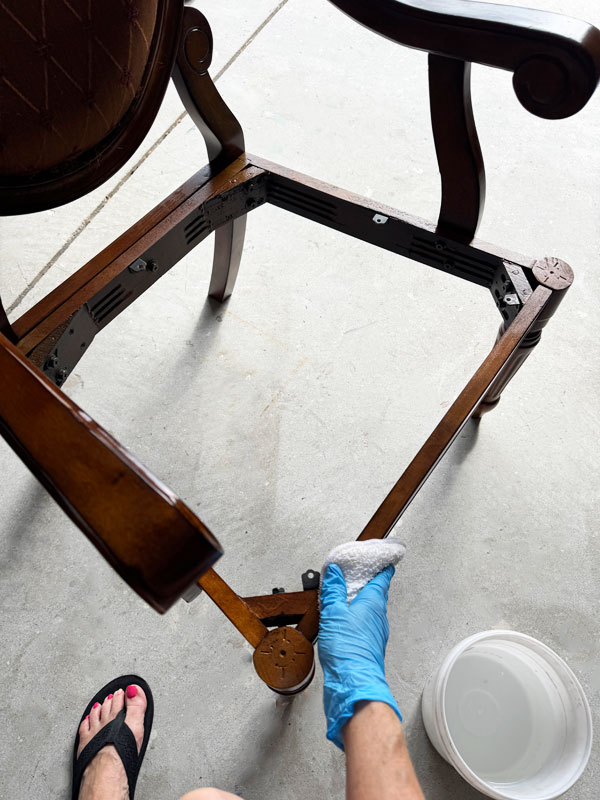
I used an applicator pad for this step and then swapped out the dirty water for clean water and wiped it down once more. Gloves are recommended.
I came across this situation while I was cleaning:
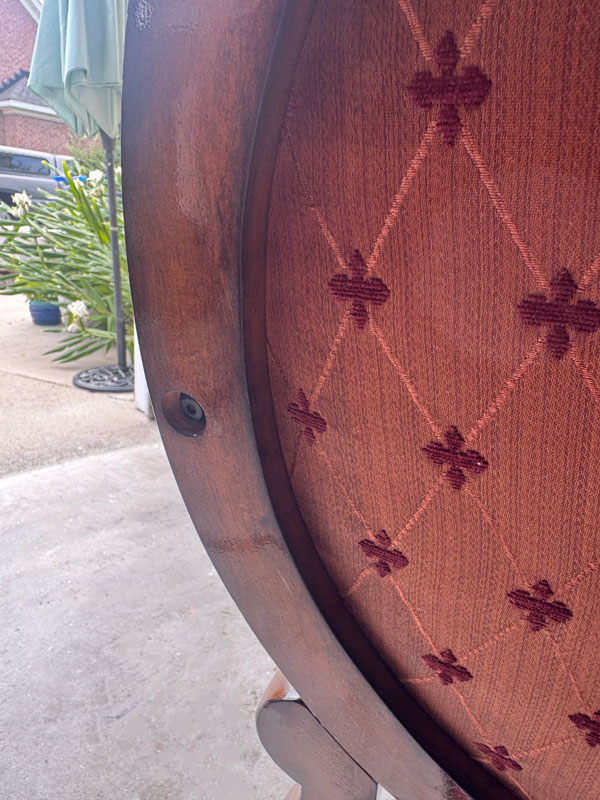
The “buttons” that were on there to conceal those screws must have popped off. The best way to fill a large hole like this is with a dowel, so I made a quick trip to Michaels!
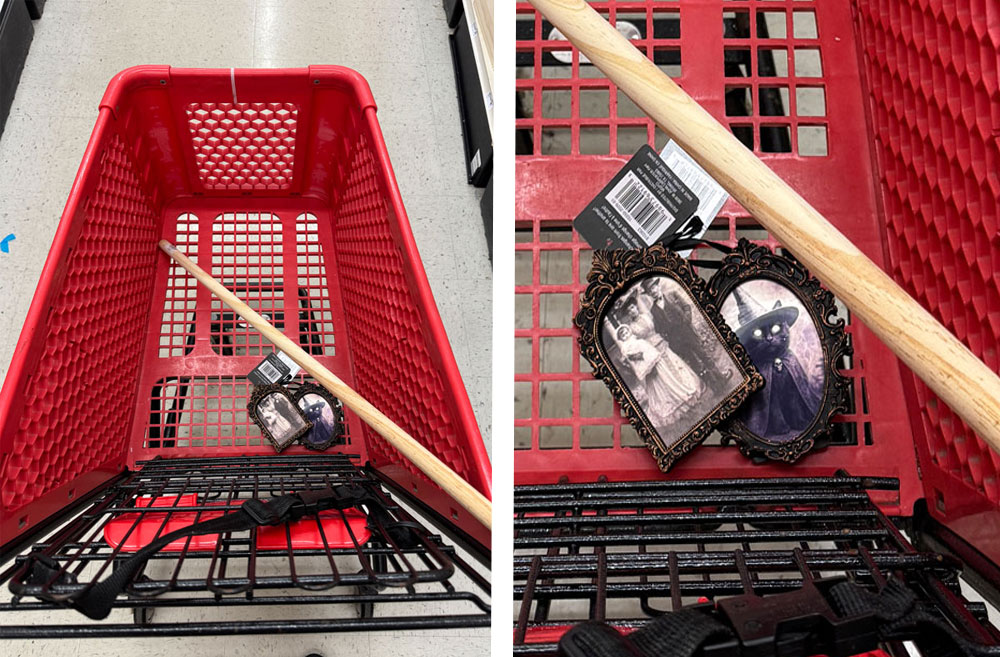
Of course you know I had to check out the Halloween decor while I was there!
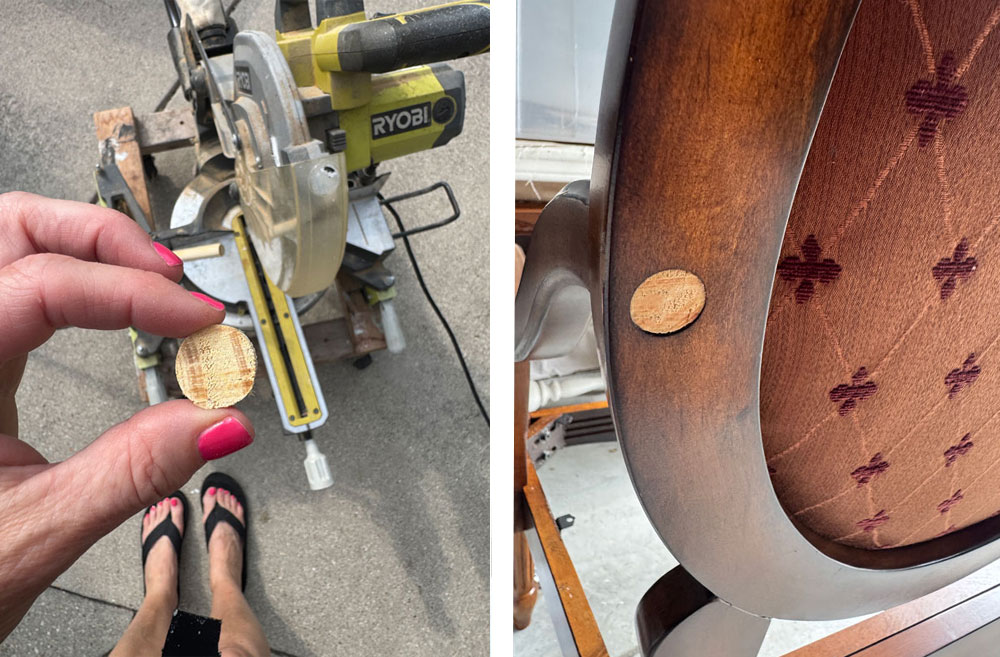
I used my miter saw to cut the dowel to fit and popped it in there with wood glue:
Paint
Because there was no sanding involved and this chair was on the newer side, I could go straight to painting! I gave it two coats of Fluff by Dixie Belle:
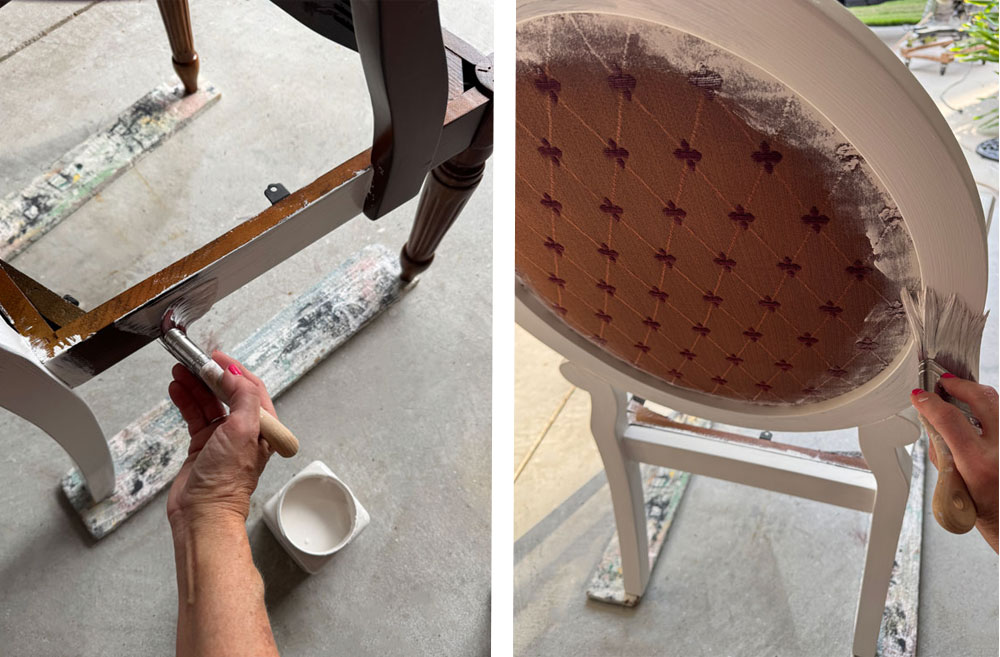
As you can see, I chose not to remove the panel on the upper part of the chair as I normally would. I knew the materials under there were all pretty new and in great condition, so I decided to save a bit of work and cover over the existing fabric instead.
Sand
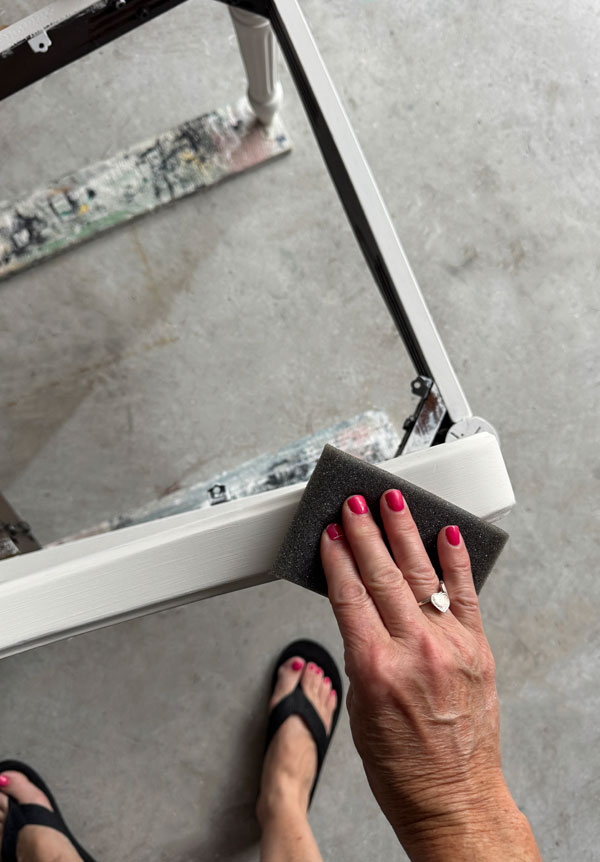
I sanded all over to smooth using a fine grit sanding sponge:
Seal and Age with wax
For this makeover, I’m channeling this Freebie French Chair Makeover I shared last year.
because I’m using the same fabric, I decided to finish of the painted parts the same way as well, using clear and brown Best Dang Wax:
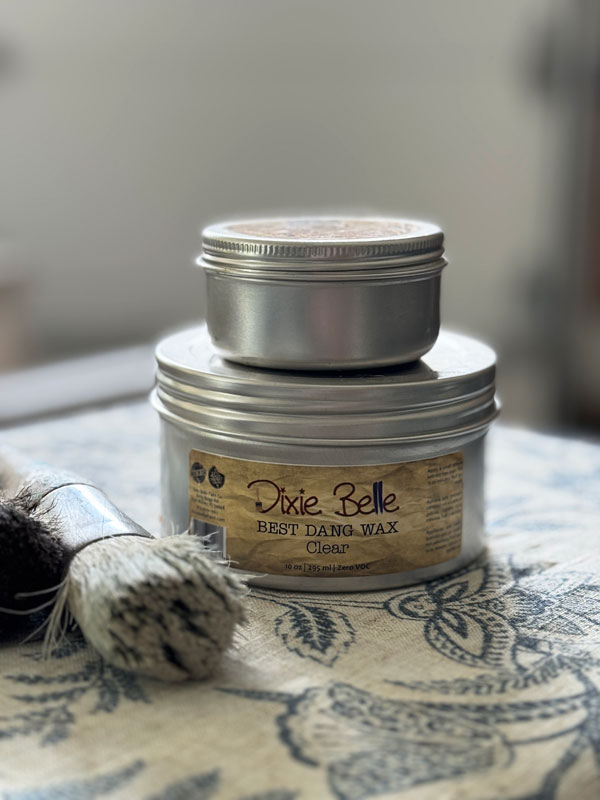
That photo is from that post. When using a dark wax over chalk paint, it is important to seal first with clear wax as the chalk paint is very porous and will really soak up the wax.
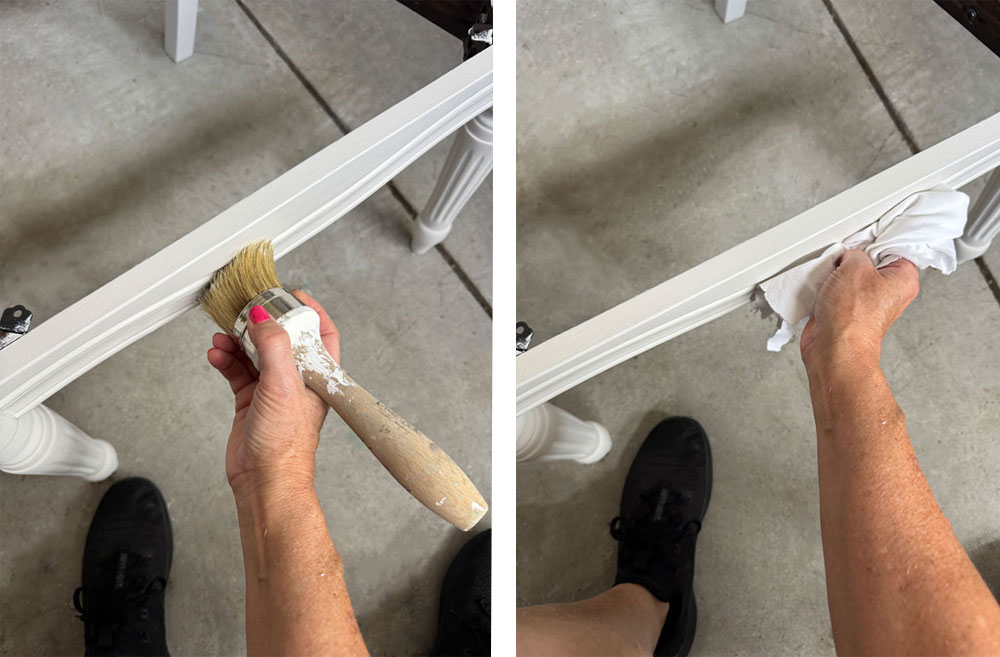
I applied the clear Best Dang Wax with my Best Dang Brush, followed by a good buffing with a clean, soft cloth to remove any excess:
Then, I followed up with brown Best Dang Wax the same way:
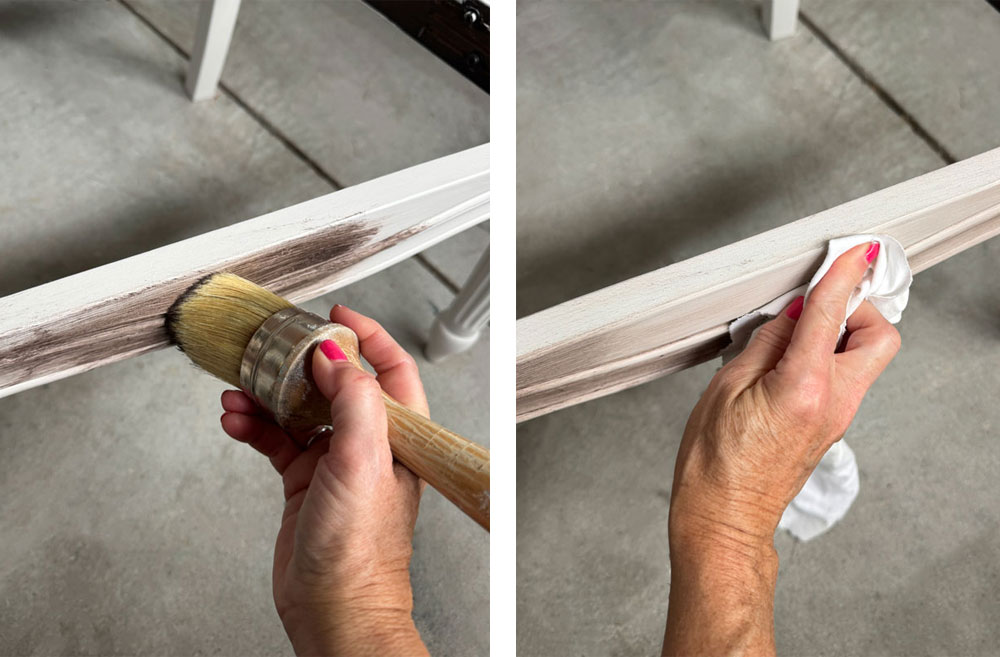
This still gave me a bit more color than I wanted, but I was able to easily remove some of that but applying a bit more clear wax and buffing once more to get a very subtle aged finish that I liked:
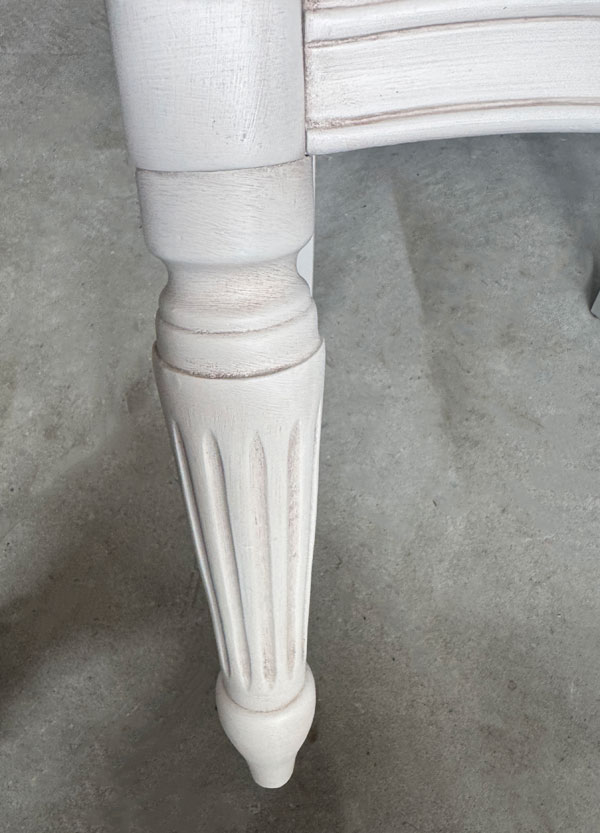
The wax nestled into the details just enough!
Cleaning wax from my brushes
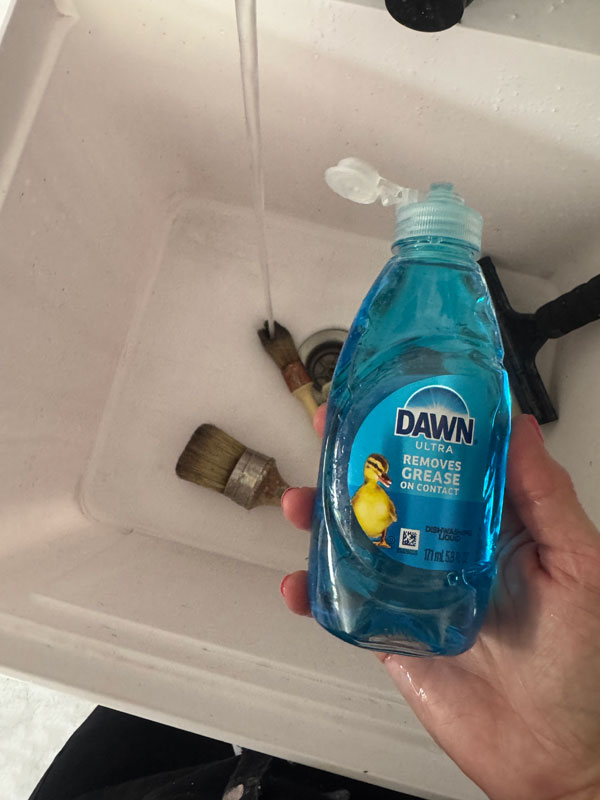
To clean the wax from my natural bristle brushes, I use good ole Dawn dish soap and warm water:
And like my regular paint brushes, I like to lay them flat to dry on a plastic plate:
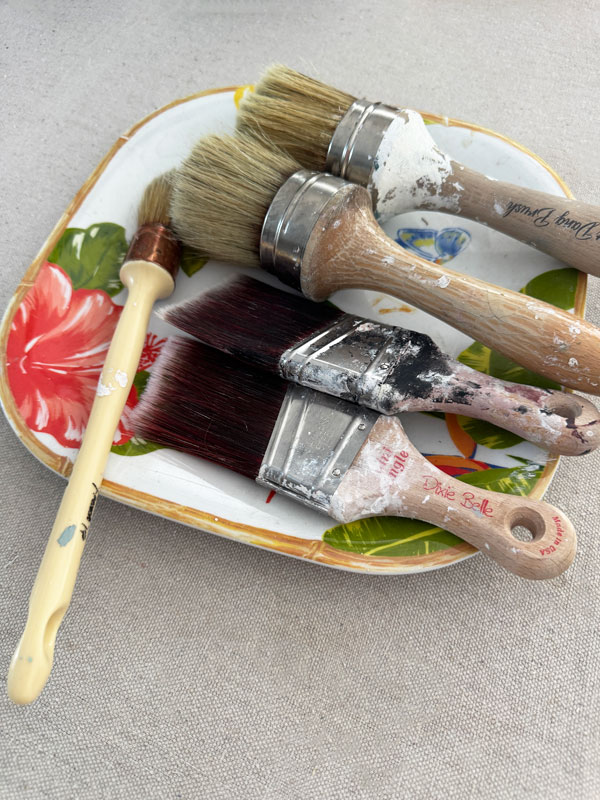
This helps to keep their shape.
Upholstering a Louis Armchair
Luckily, I was able to remove the seat on this one, so I was able to cover that pretty easily with my Ryobi Staple Gun:
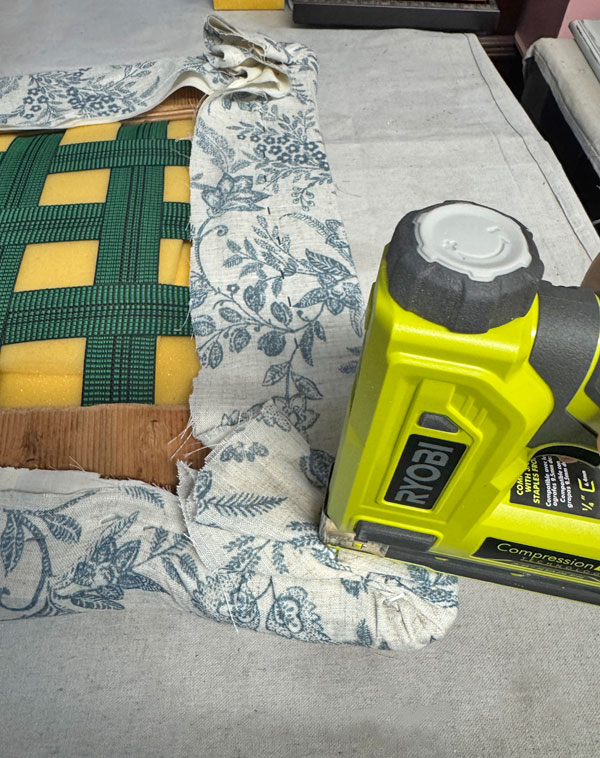
This fabric is so pretty. Would you believe it’s actually a curtain panel I bought on Amazon?? You can find it HERE!
Because the curtain was a bit sheer, and it was going over a dark fabric, I did add a layer of muslin fabric underneath.
Upholstering the Top
For the top, I cut a piece of both the muslin and the curtain fabric, and stapled them in place all the way around the outer edge. I then cut the fabric as close to the staples as possible all the way around:
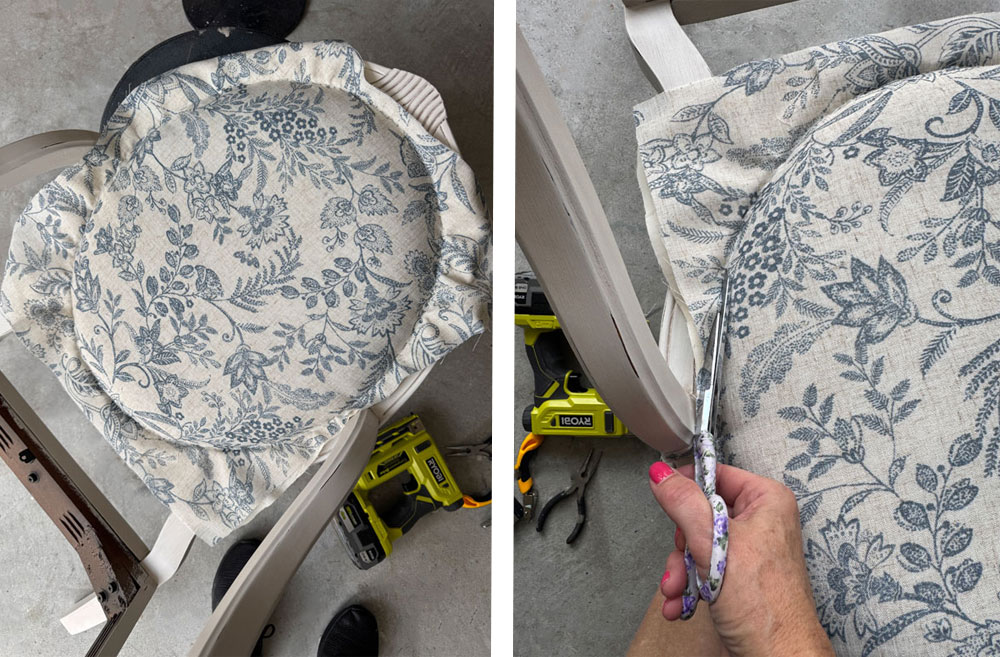
It helps to have really sharp fabric scissors for this step. (And only use them for fabric to keep them sharp.)
Making Double Welt Trim and Piping
To make the double welt trim and chair seat piping, I first cut my fabric with the help of my rotary cutter, a straight edge, and cutting mat:
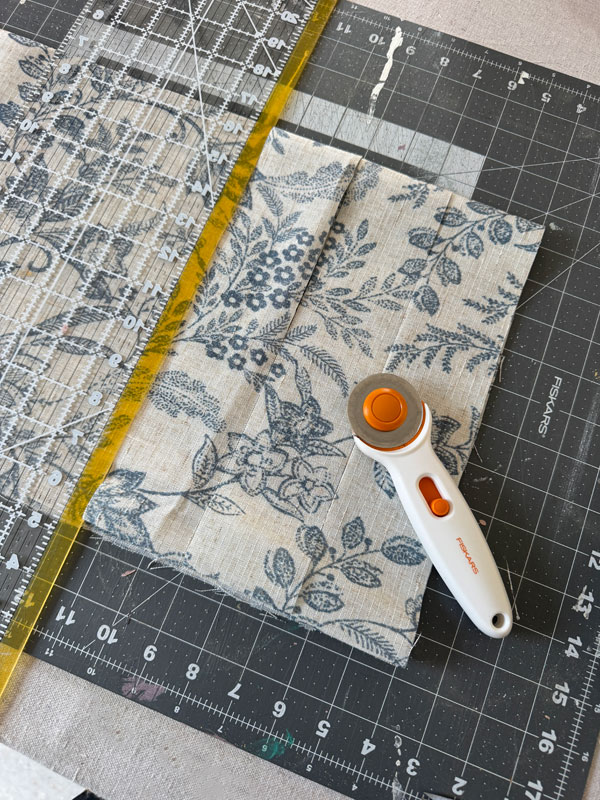 This is ideal for getting those perfectly straight cuts quickly!
And here is the double welt trim being made:
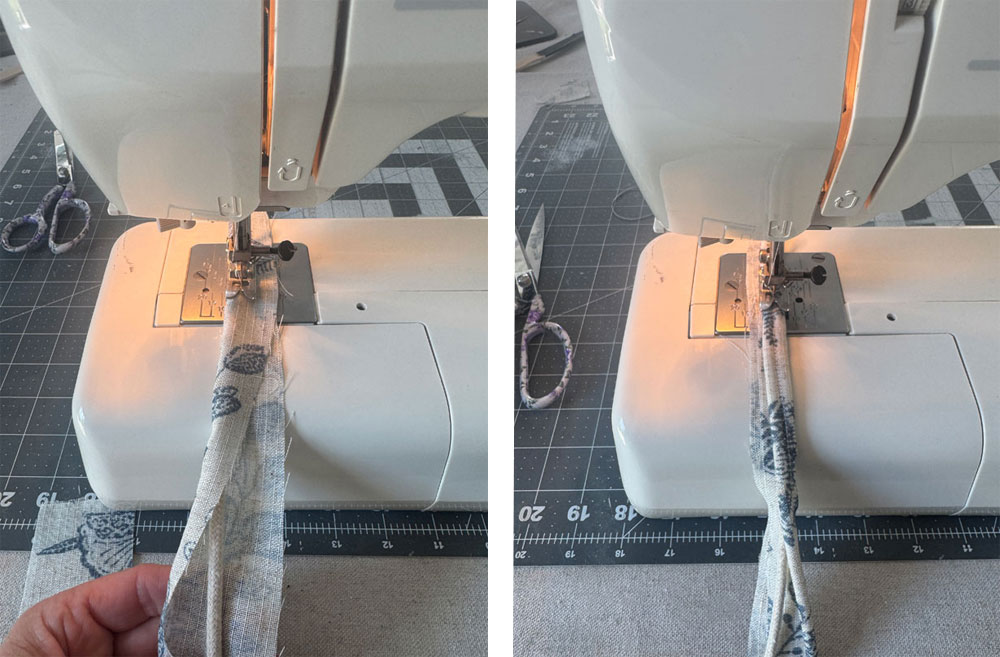
I explain step by step how to make double welt trim HERE.
It is really not difficult, and I didn’t even switch out the foot on my machine!
I attached that using hot glue, taking care not to make any of the glue visible:
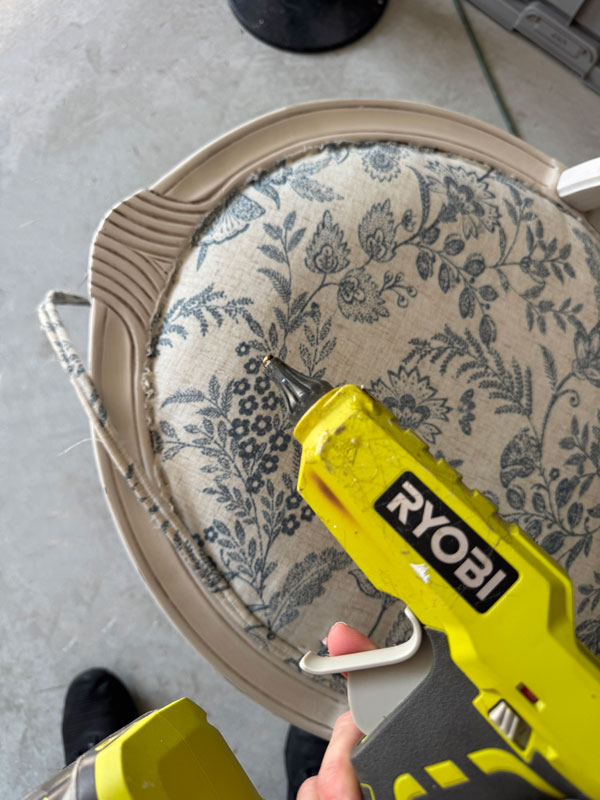
While the glue dries clear, it can yellow over time, so it’s good to keep that in mind and apply it with care.
Need to replace or remove that panel on the top?
I did keep the upholstering in place up top on this one, but if you need to replace that, you can see how I did that HERE.
For the piping on the bottom, I made regular piping which is even easier. (See how HERE.)
I used my old school staple gun to add that:
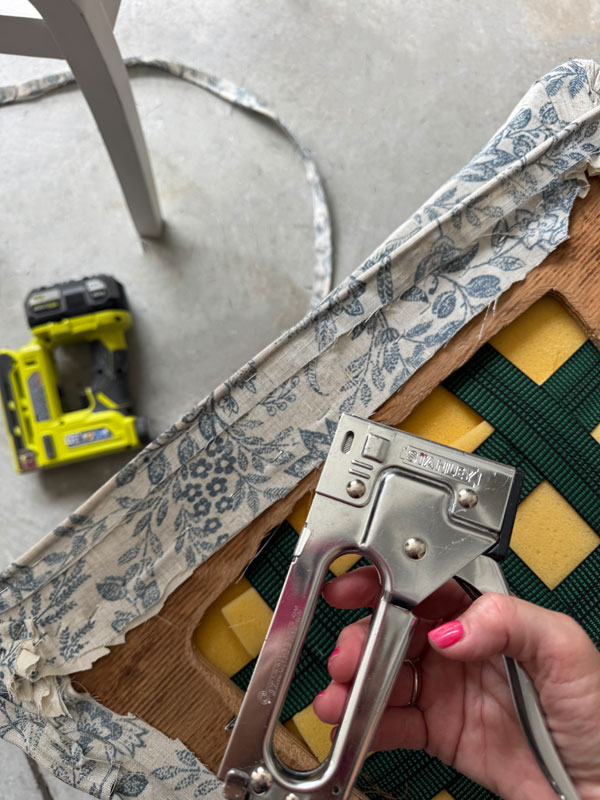
I got a better feel for where the edge was with this one and I wanted the piping close to the edge. You can also hot glue this on.
To cover over that mess on the bottom, I added some blue and white ticking fabric:
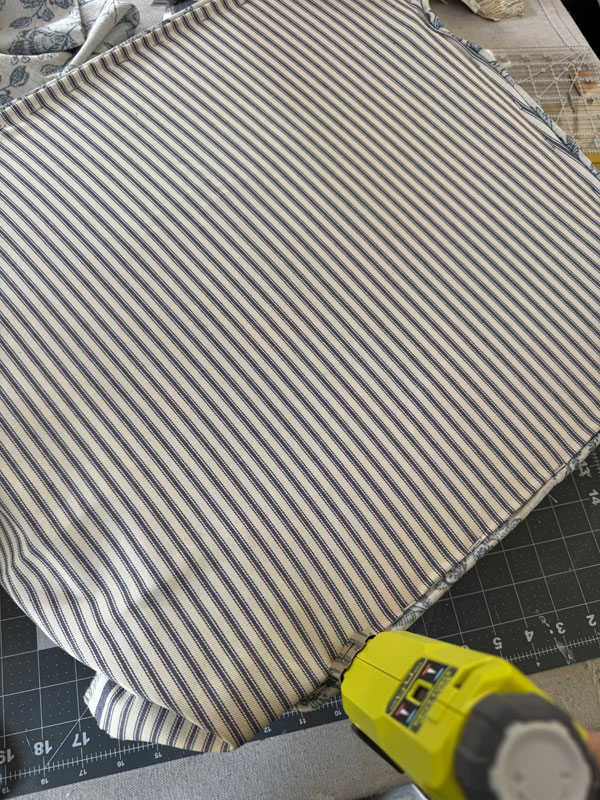
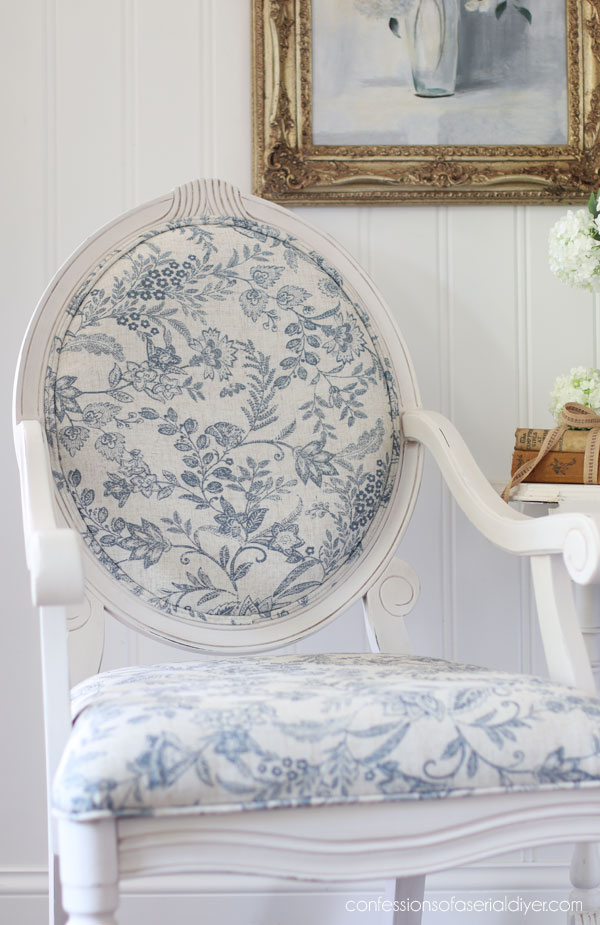
Upholstered Louis Armchair Makeover Reveal
Ready to see how this chair came together??
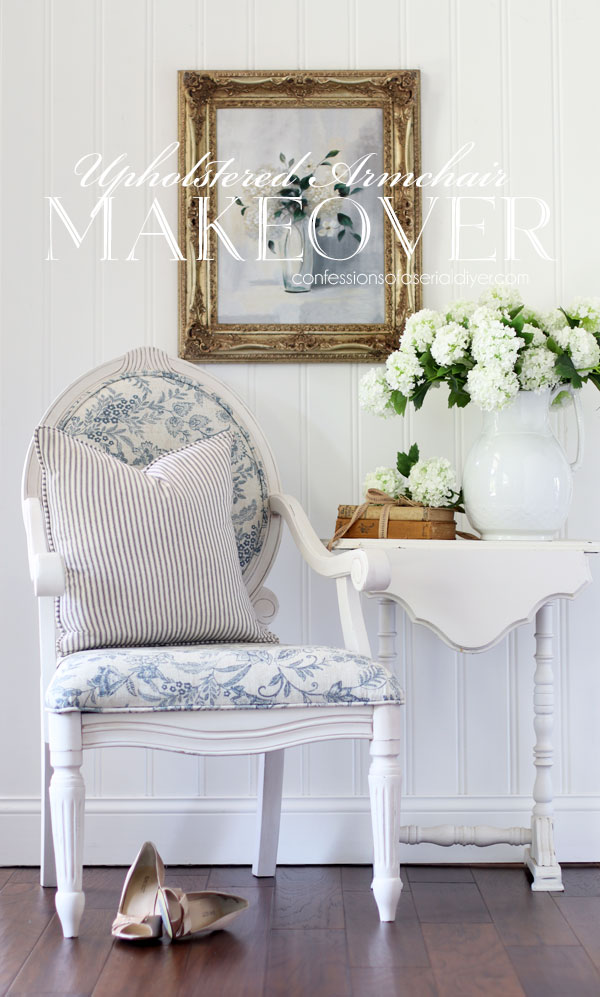
While the brown really wasn’t bad, now it’s light, airy, and so much more charming!
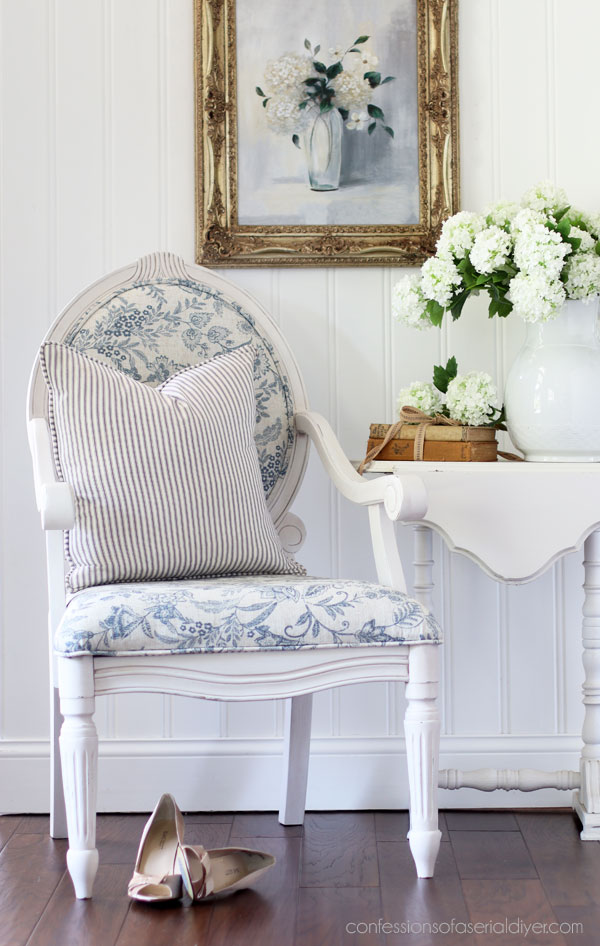
I love this fabric!
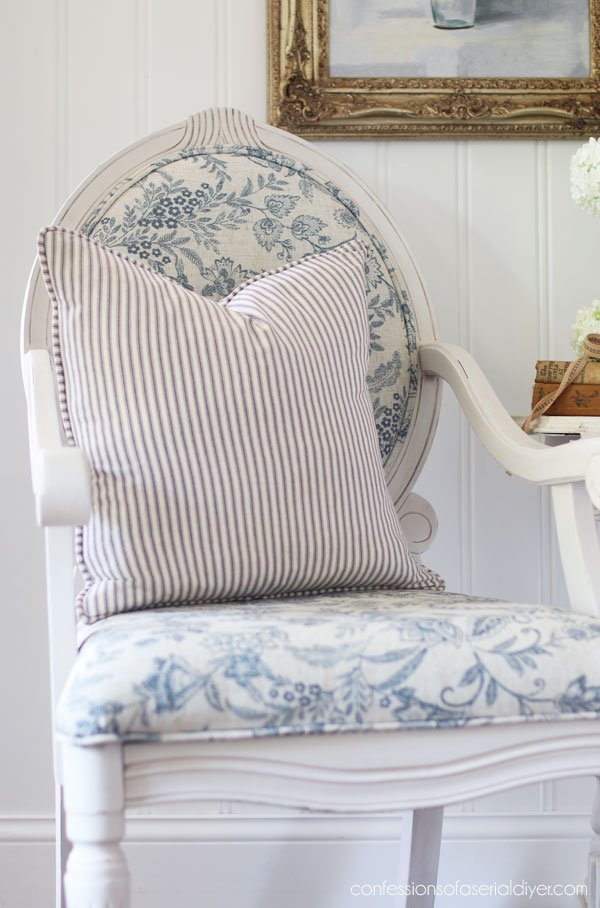
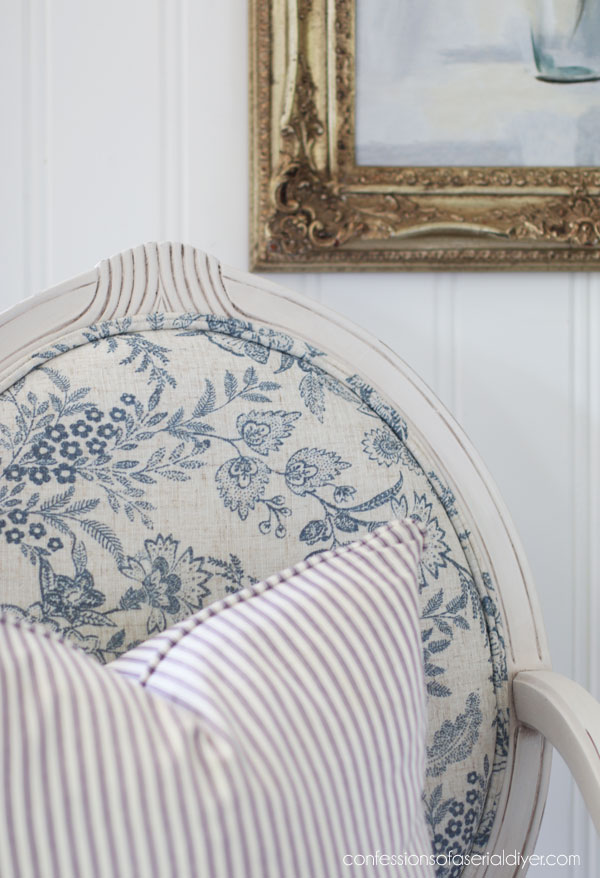
And the double welt trim finishes it off so nicely…
As well as the piping on the seat:
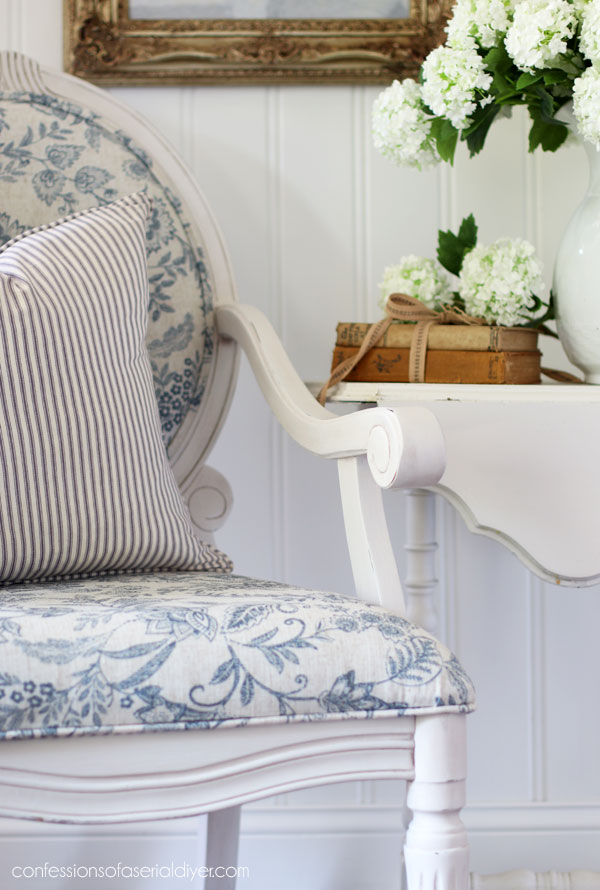
The brown wax is so subtle…just rests enough in the details to highlight them a bit and add some age:
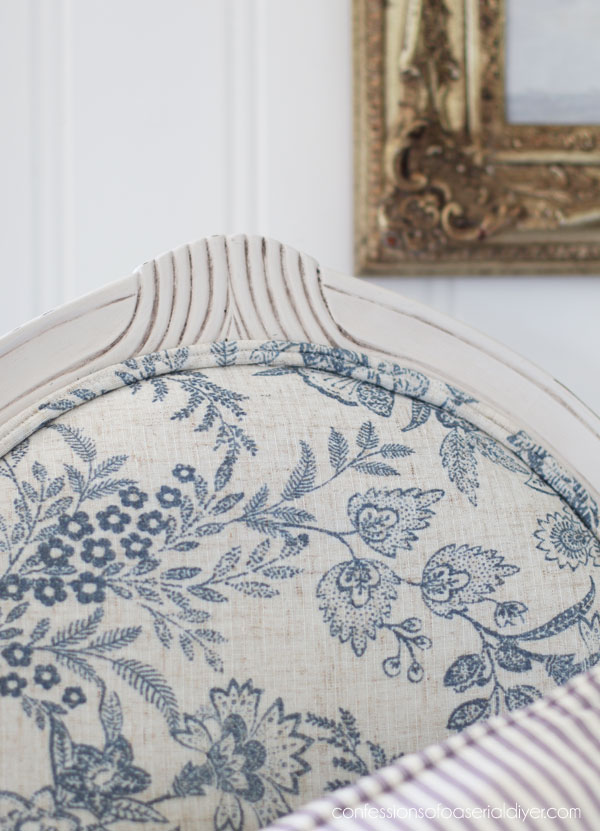
But it also blends nicely with the fabric.
Here’s a peek without the pillow…
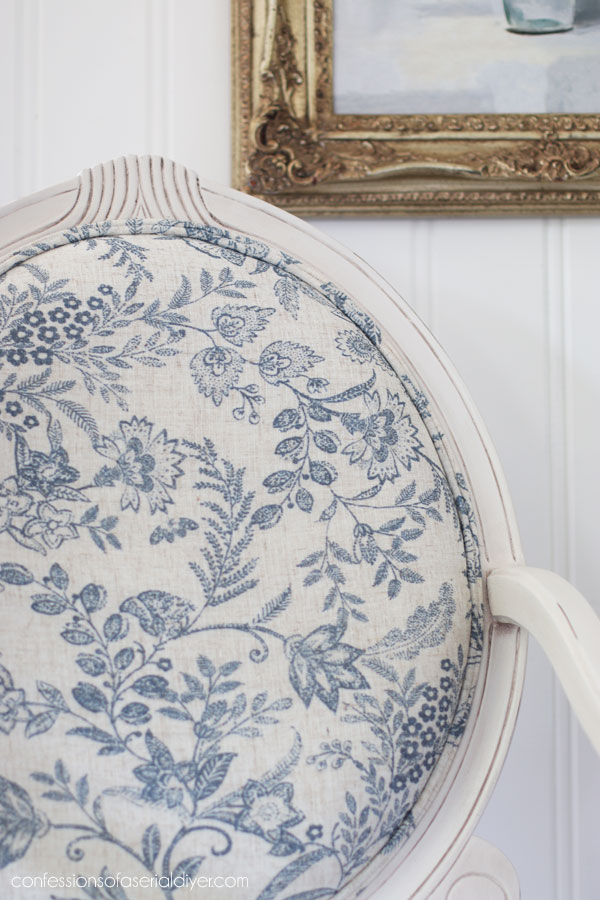
And the back got the same fabric and double welt trim…
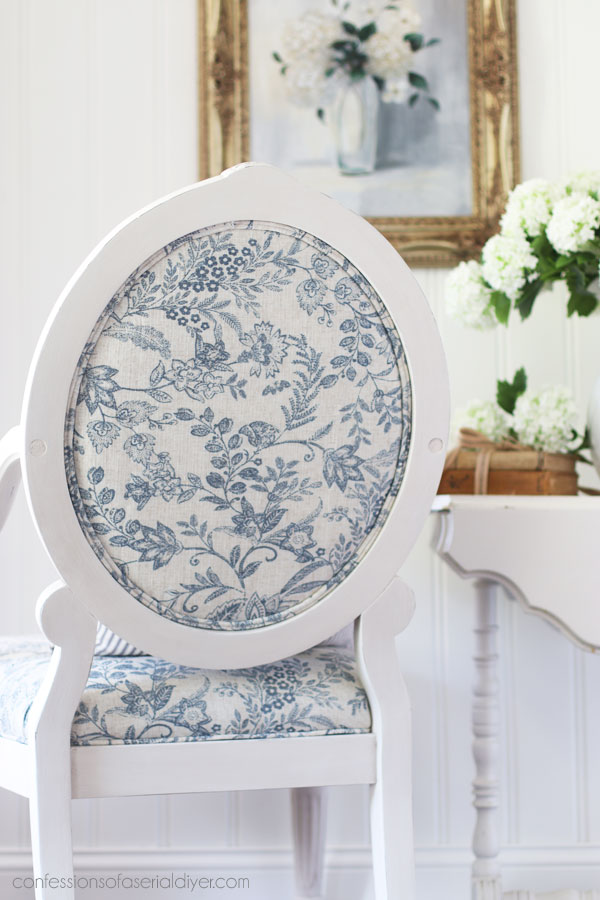
This is always a great opportunity to add a coordinating fabric, but I didn’t have anything on hand that I liked to go with this one, so I just kept it the same.
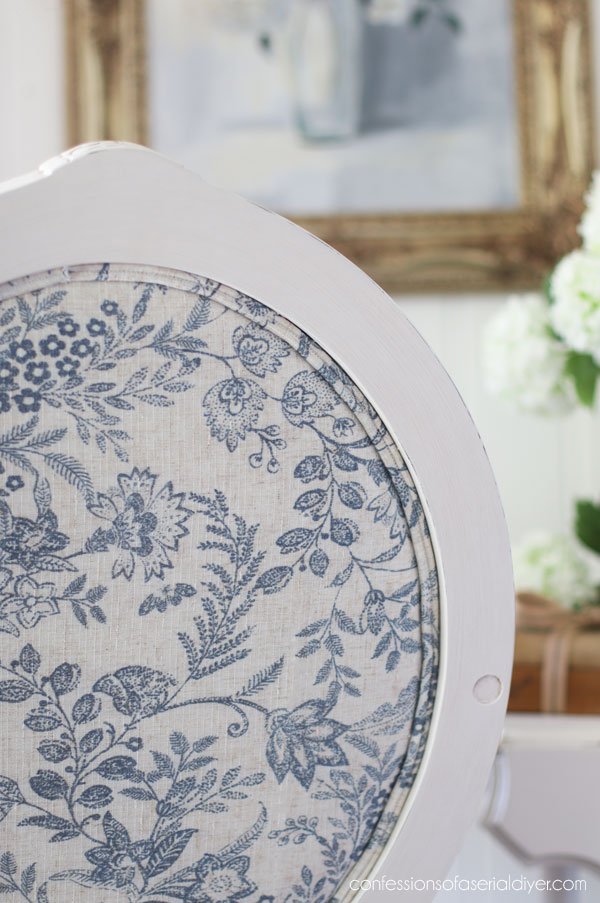
Still pretty, and you can see there where I added those prices of dowel to fill in the holes.
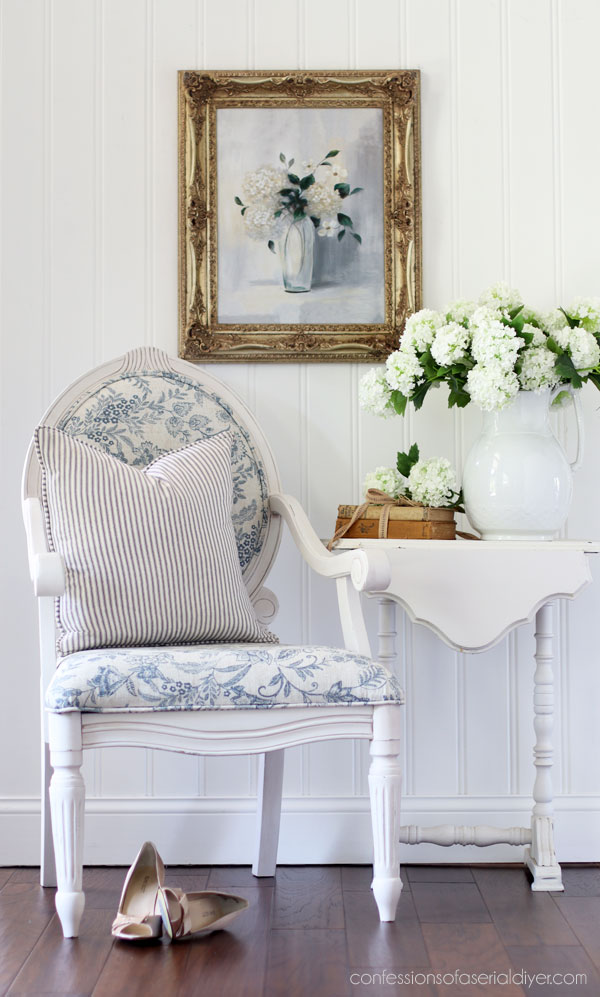
I can’t wait to add this one to my booth. I did a room reset in there on Friday and have a corner that could use this!
If you missed these two Louis XVI chairs I redid previously:

You can see how they turned out HERE and HERE!
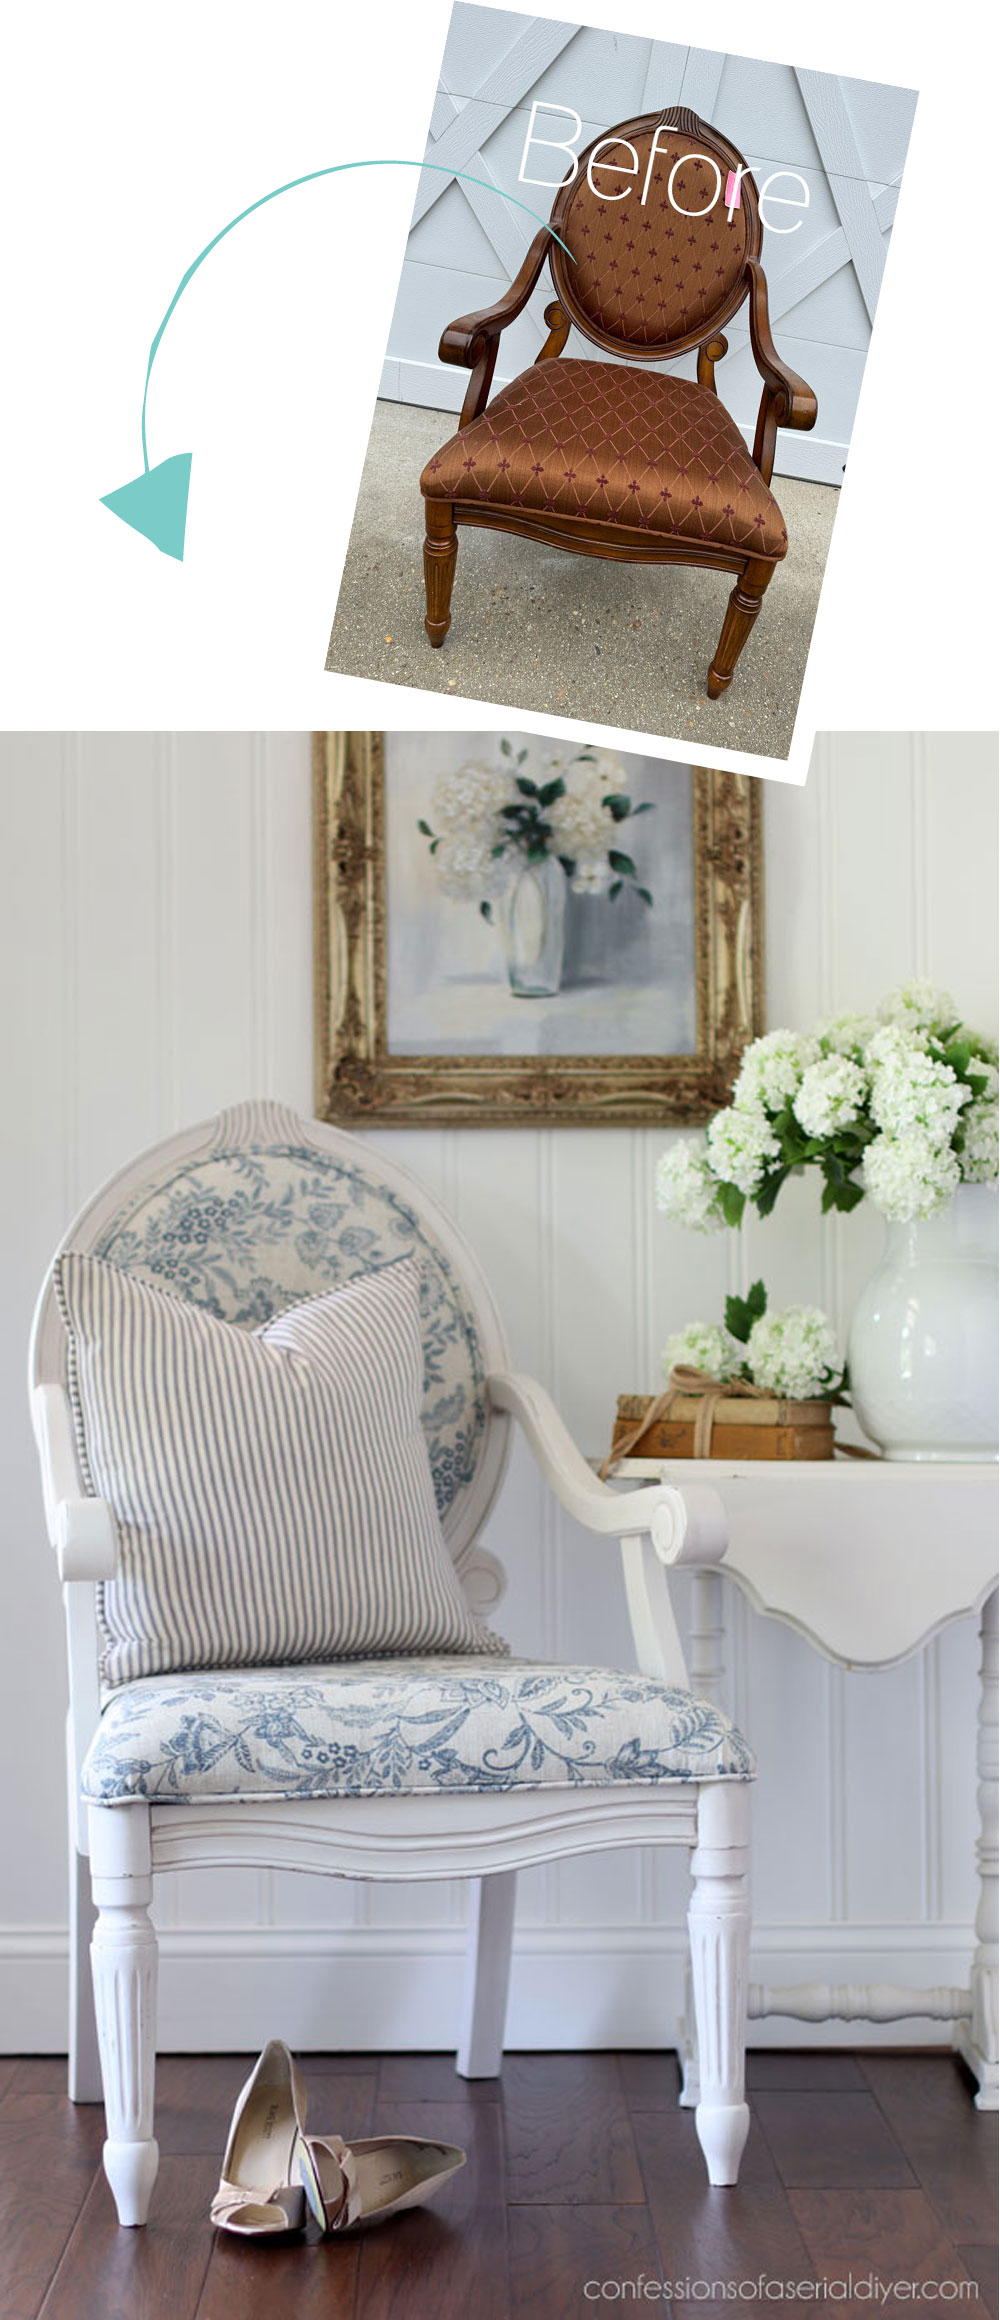
One more done!!
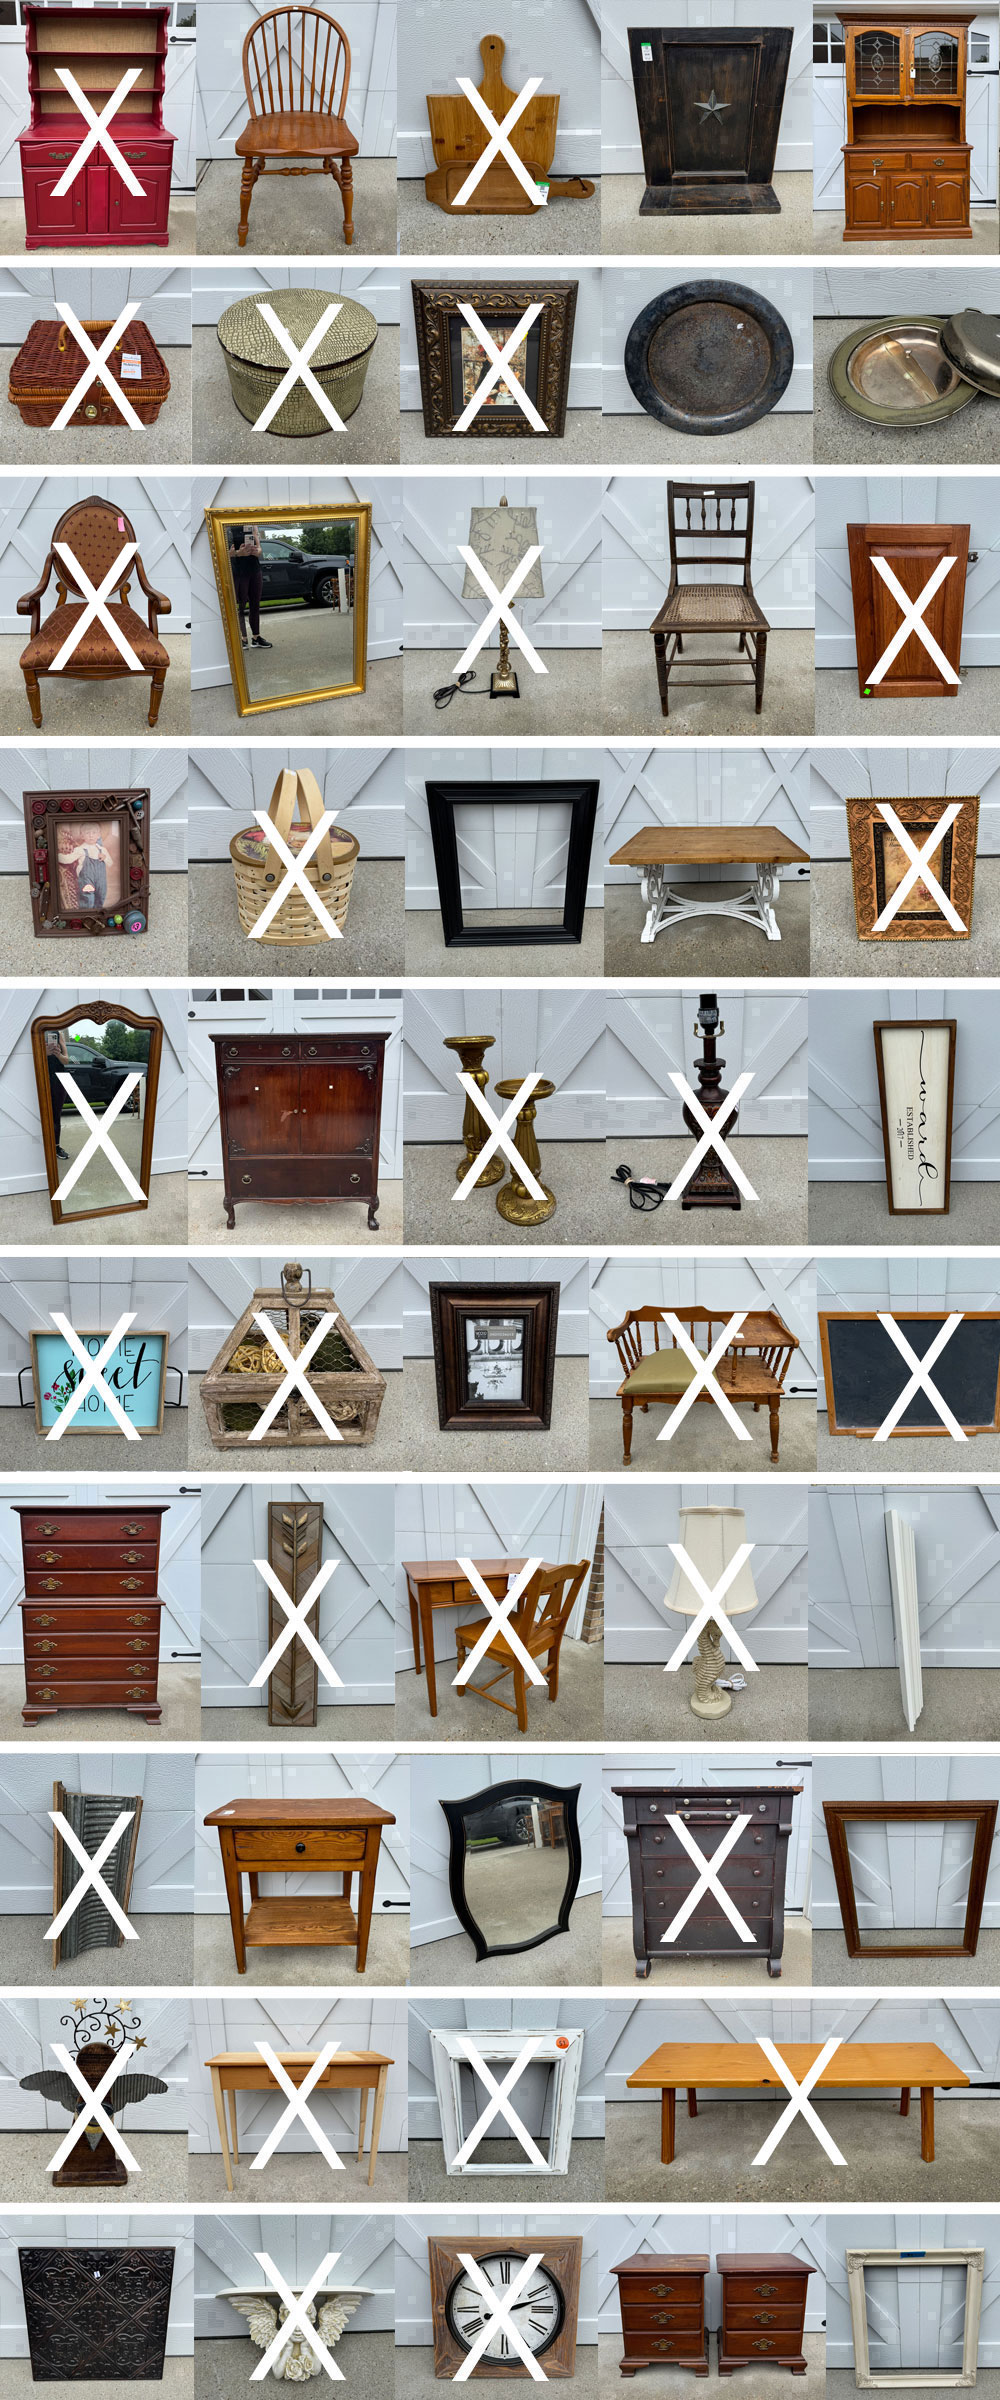
See anything you may have missed at the links below:
Simple Painted Bench Makeover
My Favorite way to Paint Baskets
Painting the Smalls #43
Dressing Table and Chair Makeover
Upcycled Bread Boards
Mirror Makeover with Glaze
Cabinet Door Upcycle
Crushed Glass Resin Art
The Prettiest Hatbox Makeover
Painting the Smalls #42
Painted Hutch Makeover
Update Thrift Store Lamps with Paint!
Vintage Telephone Table
Repurposing Hobby Lobby Art
Unfinished Wood Table Makeover
Apothecary Empire Dresser
I’ll be spending the rest of the week getting Brennan ready for school next week, so while I won’t be working, I’ll be back with this box from the archives:
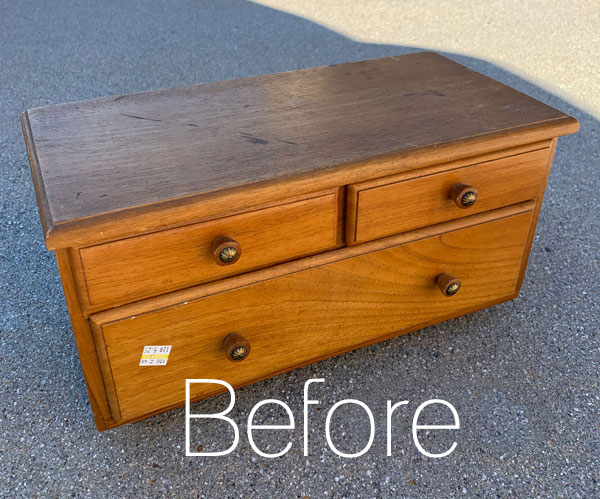
UPDATE: See the night and day makeover this one got HERE now!
XOXO,

Don’t Miss a Thing!
If you like what you see, there are several ways to follow along!
EMAIL * INSTAGRAM * FACEBOOK * PINTEREST

Get FREE SHIPPING on all orders over $50 in my Etsy shop.
(No code needed at checkout!) Orders under $50 enjoy $8 flat rate shipping!
Most orders ship same or next business day!
Visit my shop HERE or click the image below!






Laura J. says
As always… so beautiful Christy! The chair went from dark & dreary to fresh and light! Love your makeovers. I definitely would’ve changed the fabric! Good luck with back to school preparations with Brennan!!!
Christy says
Thank you so much, Laura! I’m glad you like the changes! So far, we’ve got a new backpack for school…progress lol! XOXO
Cecilia says
So pretty! The previous fabric was pretty so I guess changing it would depend on the room it was going in. However, I love the new fabric! It’s beautiful. Great makeover!
❤️Cecilia
Christy says
Thank you, my friend! It isn’t easy to take apart something in such great shape, but I love the new fabric too! XOXO
Denise says
Beautiful! You selected the perfect paint and the most awesome fabric. Your chair is gorgeous!!
Christy says
Thank you so much, Denise! Now if I only had five more for my dining table, I’d be all set lol! XOXO
Liliane says
It’s absolutely beautiful. I just love your work.
Christy says
Aww I appreciate that so much, Liliane! Thank you! XOXO
Janice Redden says
Christy, pure elegant perfection, as always. My favorite style chair, updated with such pretty fabric. It will not be in your shop long…
Christy says
Thank you, my friend!! I just love this style of chair too. Wish I had five more for my dining table! XOXO
Cyndi says
OMG!…gorgeous! I did like the original look of it, but I definitely love the make-over look better!
Christy says
Thanks so much, Cyndi! It was pretty before for sure…glad you enjoyed the new look, my friend! XOXO
Lizzy says
I LOVE this! The paint and fabric choices were perfect. I just so happen to be doing a similar project. I bought a Louis chair off of Marketplace, but I am chalk-painting the fabric. I did the same thing several years ago and liked how it turned out. Here is that one:
https://www.pinterest.com/pin/153615037286844171
Christy says
Thank you, Lizzy! That is a great way to update these chairs as well… I love that pink and white!! XOXO
Lizzy says
Thanks!
Marlene Stephenson says
Oh, you made it so much better. Love the material thanks for sharing all your hard work, very well done!
Christy says
Thank you so much, Marlene! This fabric worked wonderfully! XOXO
Josee says
B-E-A-U-T-I-F-U-L! As always, you have a lovely eye.
Christy says
I appreciate that so much, Josee, thank you! XOXO
Denise - Salvaged Inspirations says
Love this chair makeover so much, and I can’t believe you scored it for $9.99! You turned this from dark and dated to light and lovely. Thanks for sharing and have a great week my friend. Pinned ! XOXO
Christy says
Thank you so much, my friend! I got it at the same store where I found the two others I linked to at the bottom…all were $9.99! Steals! XOXO
Chris says
Thanks for sharing and for mentioning that you didn’t change out the sewing machine foot when recovering the double cord for the top. It must have been a shadow–I was sure I’d have to buy another accessory for my machine. I loved the ticking fabric against the more elegant one. It looks sharp!
Christy says
My pleasure, Chris! Nope…I just tried made sure the stitching was going in close to the cording. (And that cording is cotton clothesline from Walmart near the clothespins.) Thank you!! XOXO
Linda says
So pretty!! How did you get the double welt cord ends to meet with a nice finished edge (no raw edges) and not end up bunchy?
Christy says
Thank you, Linda! The cording is cut raw on both ends (I waited to cut until I was almost done, so they would meet exact.) and then I just dabbed a bit of glue in between where they met. You could find it if you tried, but it is not noticeable at all. XOXO
Linda says
Looked excellent to me!!
Fray Check would work too. A beautiful transformation once again 🦋
Christy says
Thank you again, and yes it sure would! XO
Petra says
Looks like a completely different chair. Well done 👍
Christy says
Right? Thank you, Petra!! XOXO
Kathy from Jax says
As always..
fabulous. Blue is always in style and I’m glad we’re seeing it more in decor. Looking forward to Thursday.
Christy says
Thank you, Kathy! Blue is always a win for sure! XOXO
Mary Kaiser says
Oh is is stunning now! I love how it turned out! I was so worried about you this morning when your post didn;t go up at 4 am. I searched high and low and thought something must have happedned because your post are always there at 4 am. I get up at 3 am to have my coffee before work and read you post before I get in the shower. I am glad it was just a programming time issue and your ok. I don’t do well without seeing your post before I go to work on Tuesdays and Thursdays LOL! I am hooked! It is my routine!! LOL
Christy says
Aww I am so sorry, my dear friend! The program I use to schedule my posts has changed slightly, and I have been careful with it so far, but it got me! When I didn’t wake to any comments, I knew something was wrong and discovered I had set it for PM by mistake…won’t do that again, ha ha! Thank you for looking out for me though…I’m good! And I’m glad you liked the chair! XOXOXOXO
Michele M. says
WOW!!!!!! What a gorgeous chair. My word, just gorgeous.
Christy says
Aww thank you, Michele!! I was thrilled that I had enough of this fabric left! XOXO
Geri Davis says
Love it, love it, love it!!
Who wouldn’t want to buy that?
Christy says
Thank you so much, Geri!! XOXO
Kathy says
I’m in awe of your transformation of this chair it’s beautiful
Christy says
I’m so glad you like it, Kathy, thank you!! XOXO
Lorri R says
You always make these Chairs look lovely. Yes, the paint and fabric look amazing together. Someone is going to be a very lucky person when they buy this chair. Brennan must be close to going to College or University. I remember when he was just a little boy. My Grandson is going to be 14 and going to High School…yikes!!!
Christy says
Thank you so much, Lorri! Brennan is going into 11th grade. I can hardly believe it! I started this blog when he was just two. Good luck to your grandson! XOXO
Caye says
I liked the old chair. It was very formal. But now, it looks informal, comfortable and it invites me to have a seat and sit a spell. Charming!!
Christy says
A great way to describe it! Thank you, Caye! You can come have a seat anytime! XOXO
Rose Lefebvre says
I LOVE THE CHAIR! IT IS SO BEAUTIFUL!
Christy says
Hi Rose! Thank you! XOXO