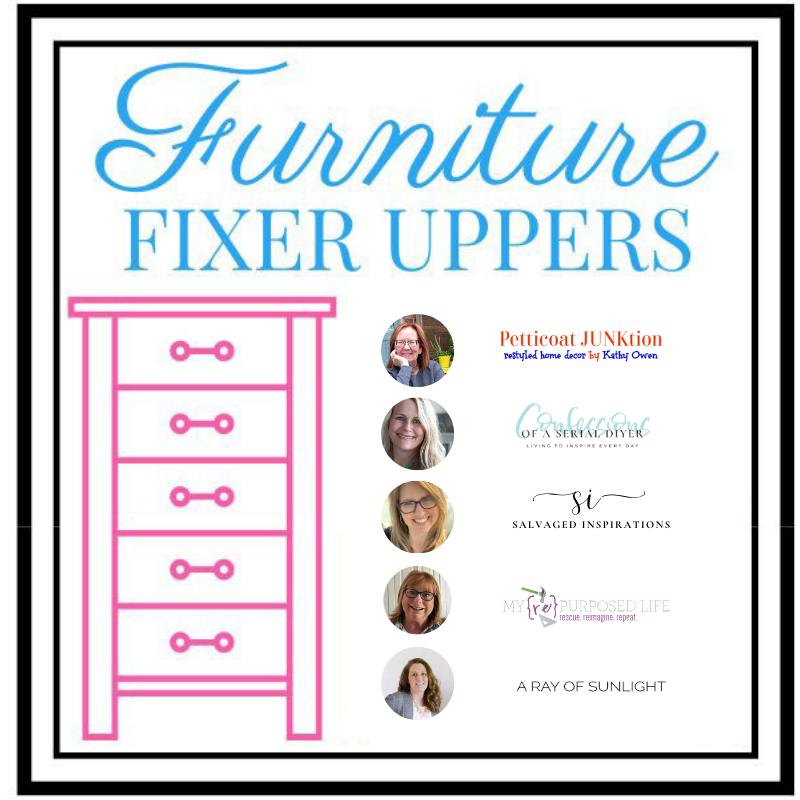
Hello lovelies, and welcome to Furniture Fixer Upper Day!! I have a super easy chair makeover to share with you. Sometimes less is more, and that is definitely the case today! My friends all have furniture makeovers for you today too, so be on the lookout for theirs at the bottom.
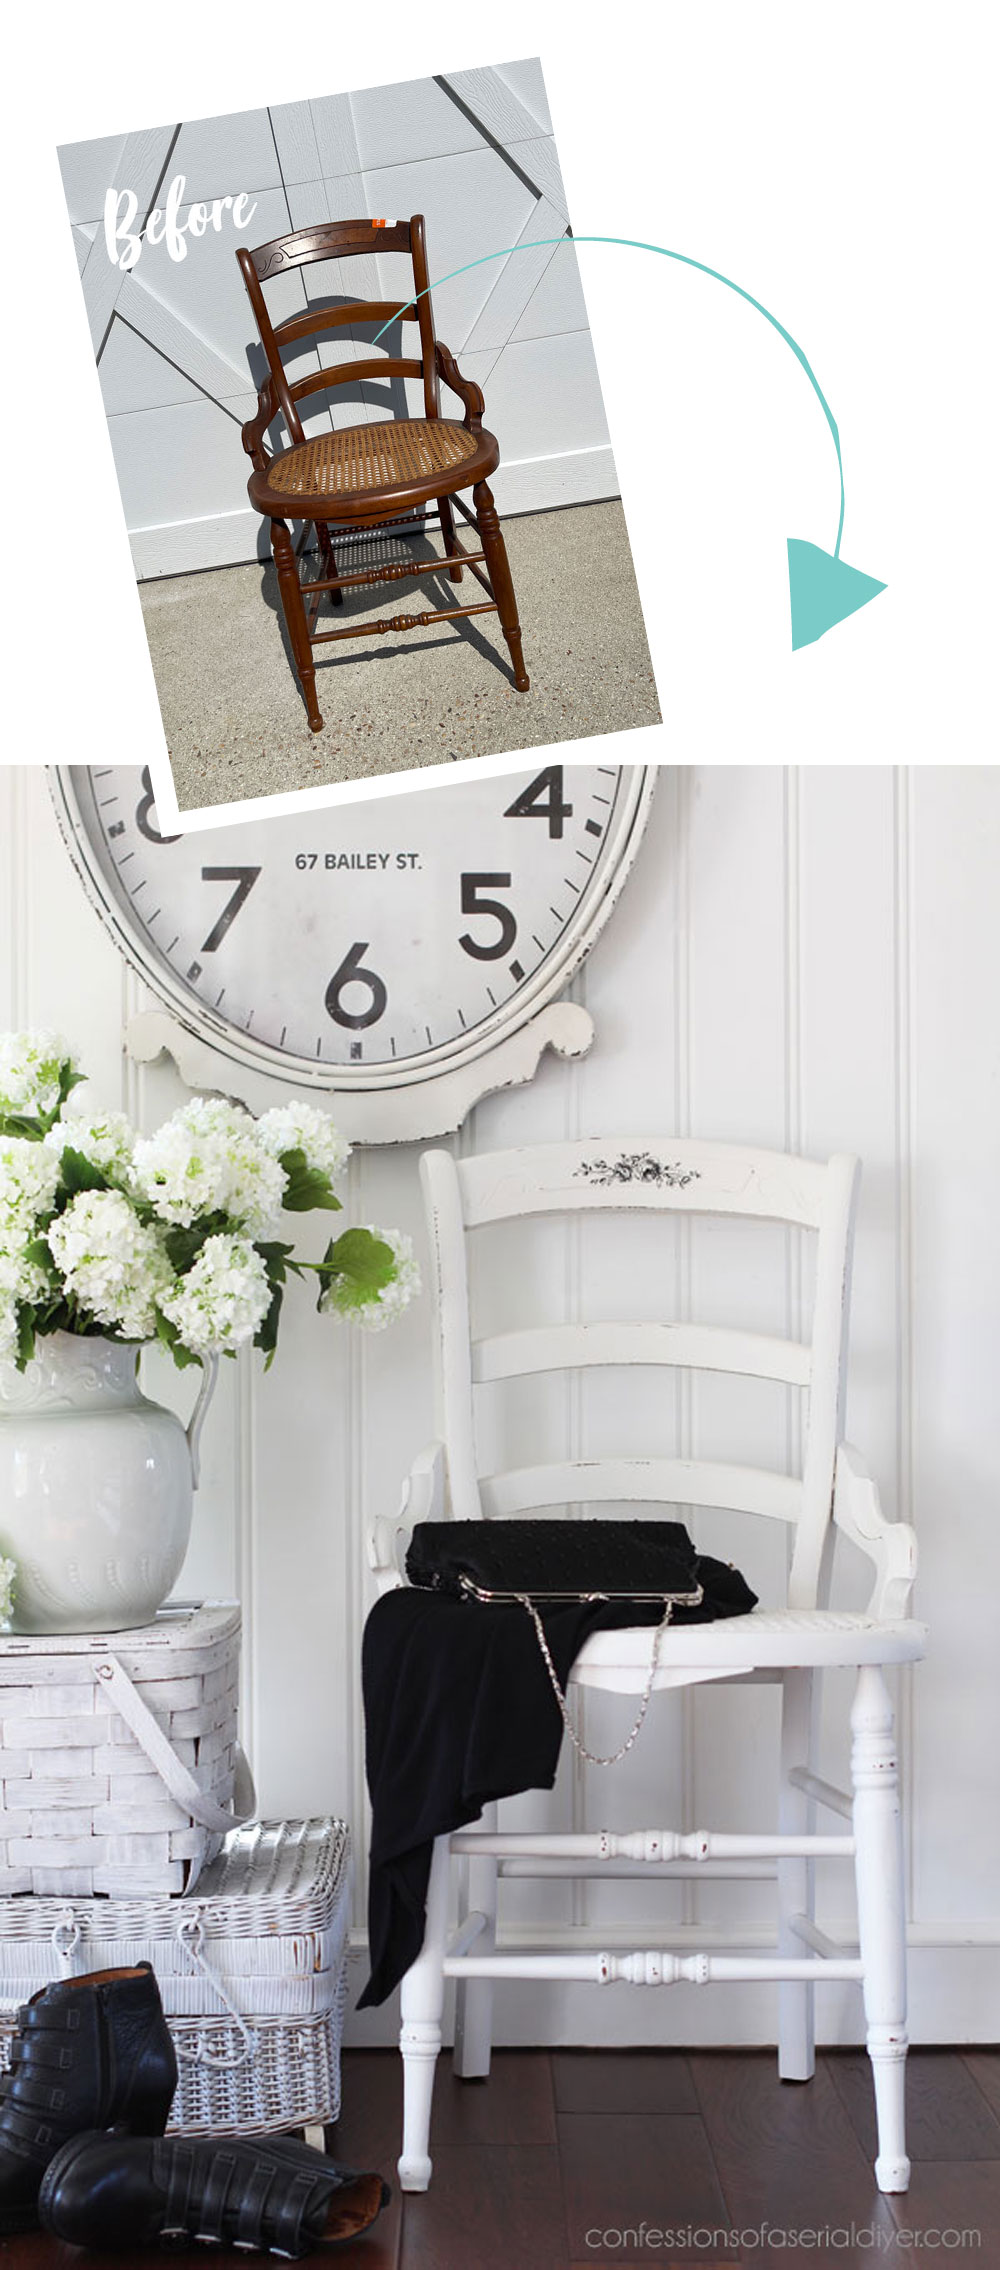
I only have one piece of furniture left in my current haul, and this is it:
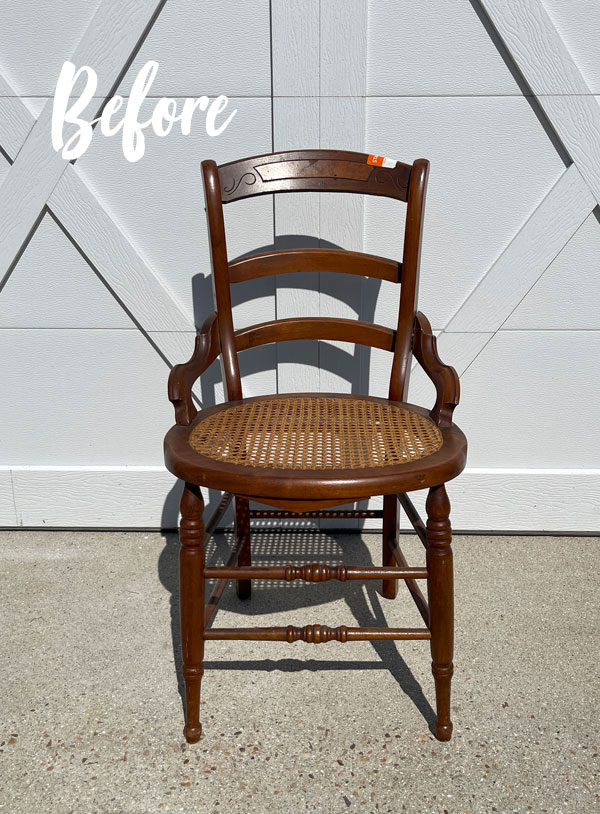
When it came time to choose a piece of furniture for today, it was easy!
Y’all know I love cane anything, so when I spied this beauty at the thrift store for $20, I had to have it. Although, that is way more than I normally pay for a single chair.
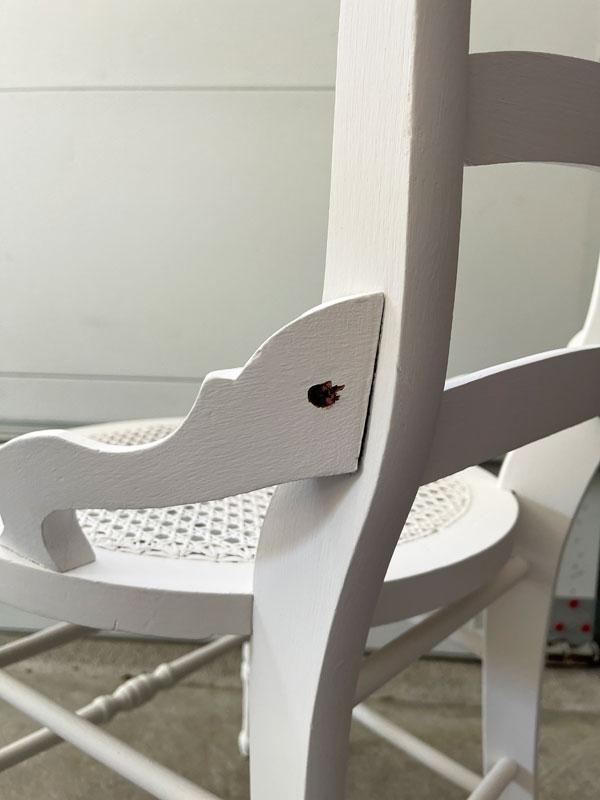
Upon closer inspection, this one had a couple of things that needing fixing.
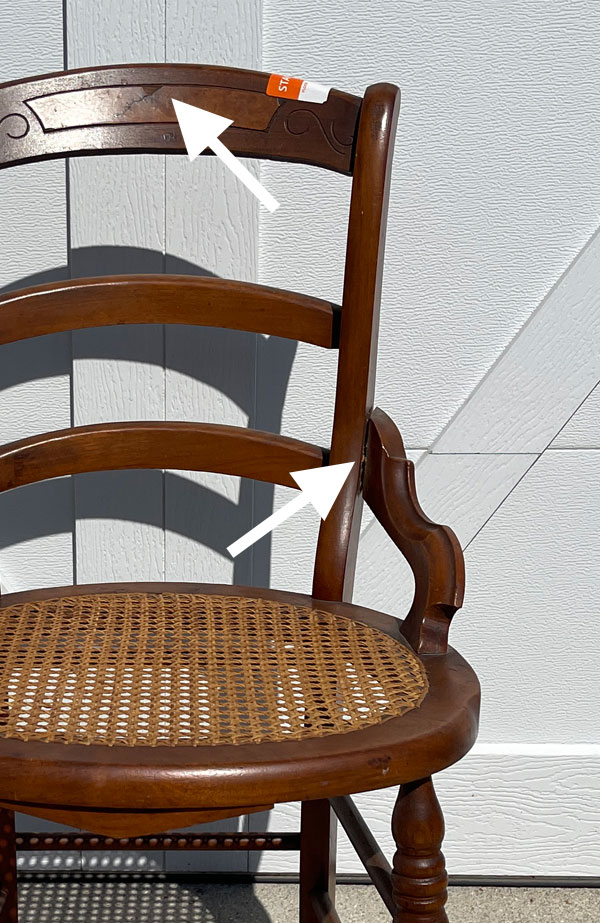
A piece was missing from the veneer inlay on the top, and the arm on the right was coming loose from the chair.
Normally, I would fix those first, but I decided to go ahead get started and deal with those later.
I’ve included a few affiliate links so you can find the products I love.
Clean
Boy did this chair need a cleaning! It looks so clean already in the close up above, right?
This is why you should always clean your pieces:
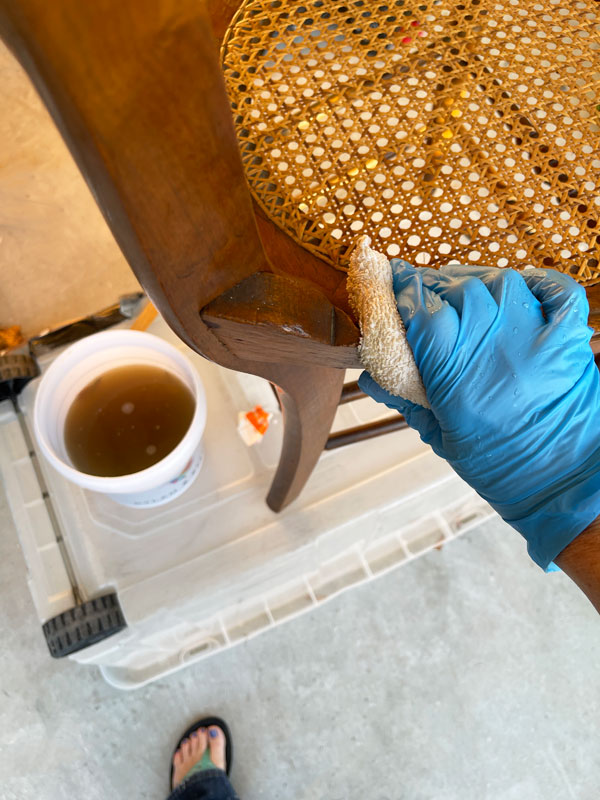
Look at that water! To clean, I used White Lightning, which is a degreaser and a deglosser for the best paint prep possible.
It comes in a powder form that dissolves in warm water (Mix one TBSP with a half gallon of water).
Then, I swapped out my water for clean water and wiped down once more. Gloves are recommended.
Paint
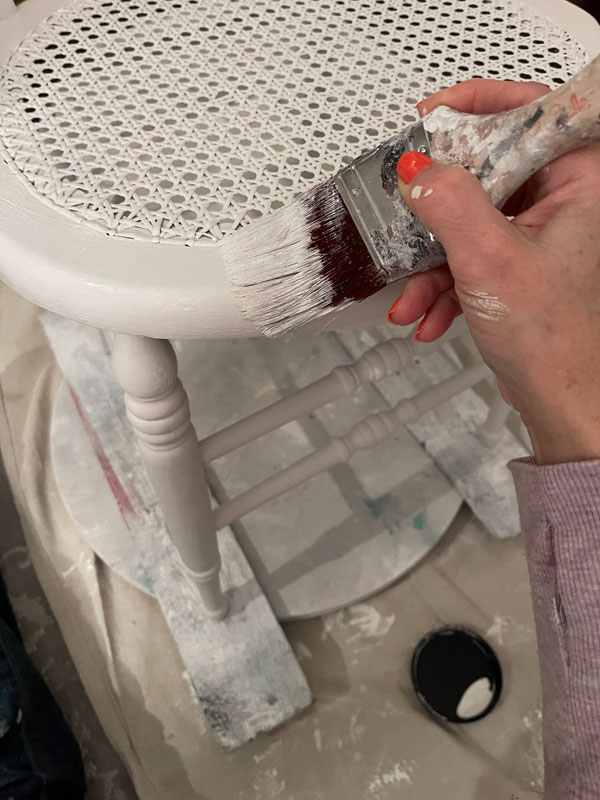
I always spray prime cane before painting. This will prevent the paint from flaking away over time in those areas as the cane moves with use. For this chair, I gave the whole thing a spray of Rustoleum spray primer just to get a quick first coat on.
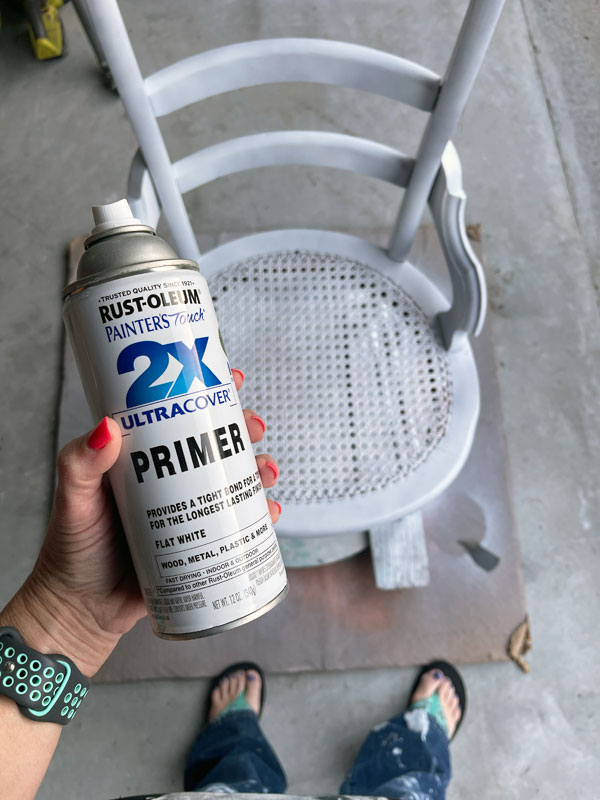
Then, I followed up with Fluff, painting the cane with my Best Dang Brush and my favorite Mini Angle Brush for the rest:
Sand
Once that was dry, I sanded all over with 220 Grit sandpaper wrapped around an old sanding sponge.
I wanted some distressing on this one, but if you prefer not to distress, these sanding sponges will smooth out your paint without removing too much paint.
Fix boo boos
It was time to address the couple of issues with this chair. First, I fixed the loose arm:
To do this, I needed to drill a screw from the outside to secure the arm to the chair. Here’s how I did it:
- First, I used a small drill bit to drill a pilot hole for my screw so I wouldn’t split the wood.
- Then, I used a drill bit just a hair larger than the head of my screw and drill a super shallow hole so the head of my screw would end up below the surface.
- I screwed the screw in place
- Finally, I sealed the hole with Dixie Mud in white:
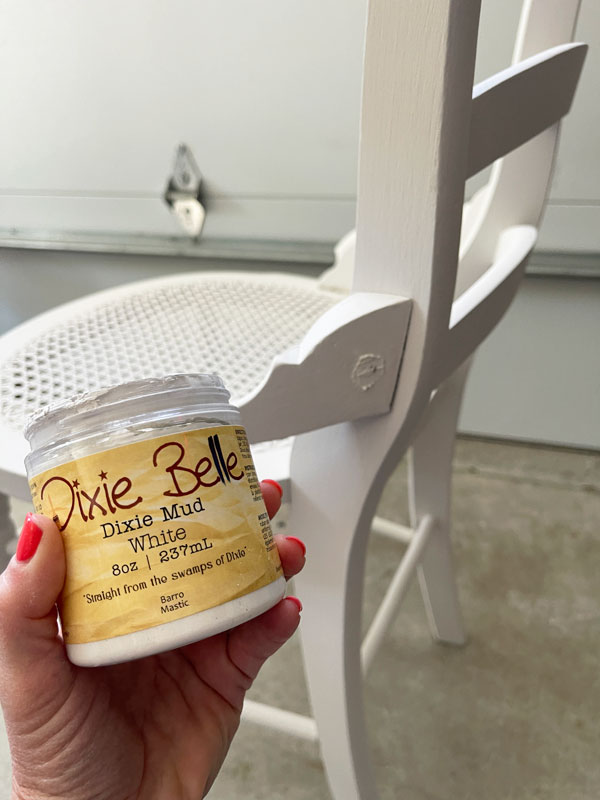
I let that dry for a couple of hours before sanding smooth and painting.
Boo boo #2
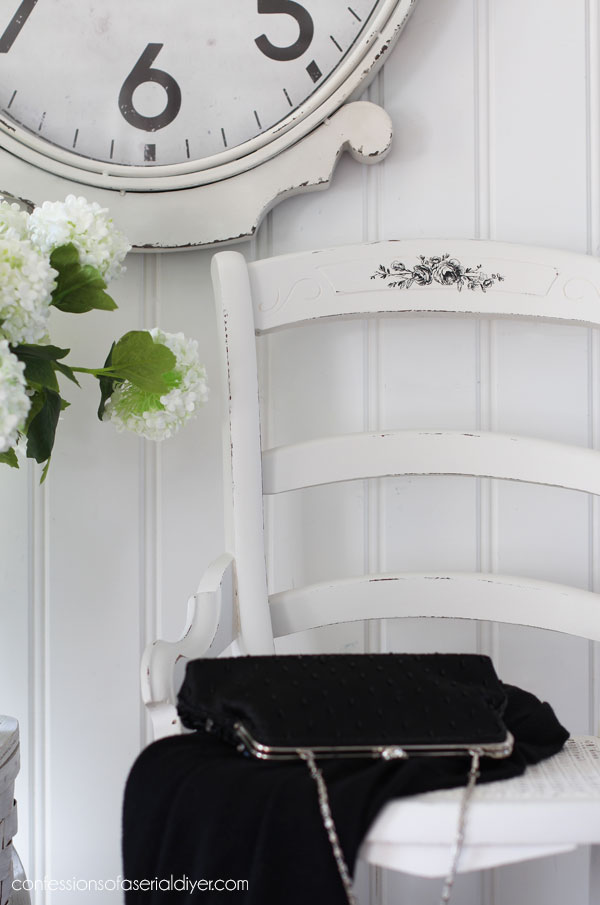
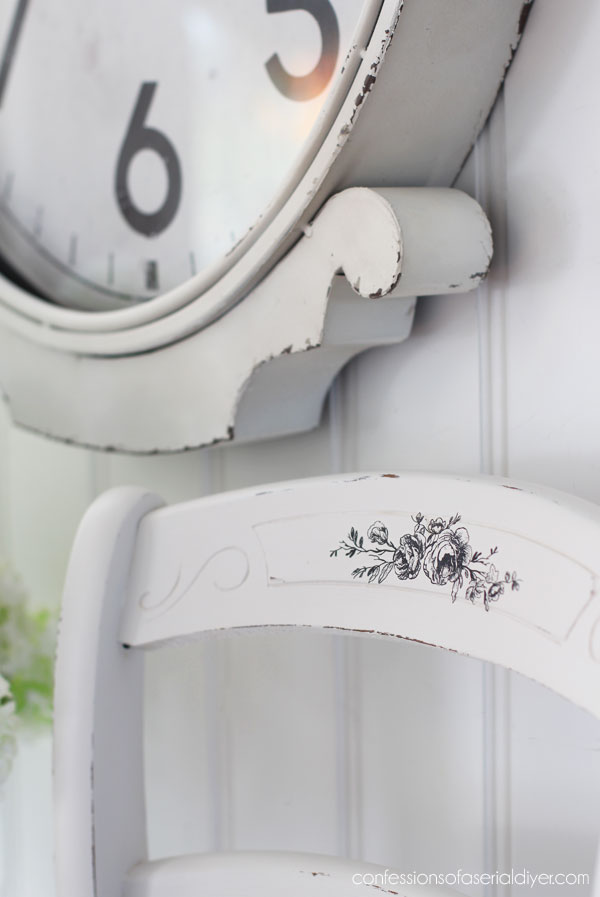
For boo boo #2 on the back of the chair, I pulled out my Clasic Vintage Labels Mini transfer set:
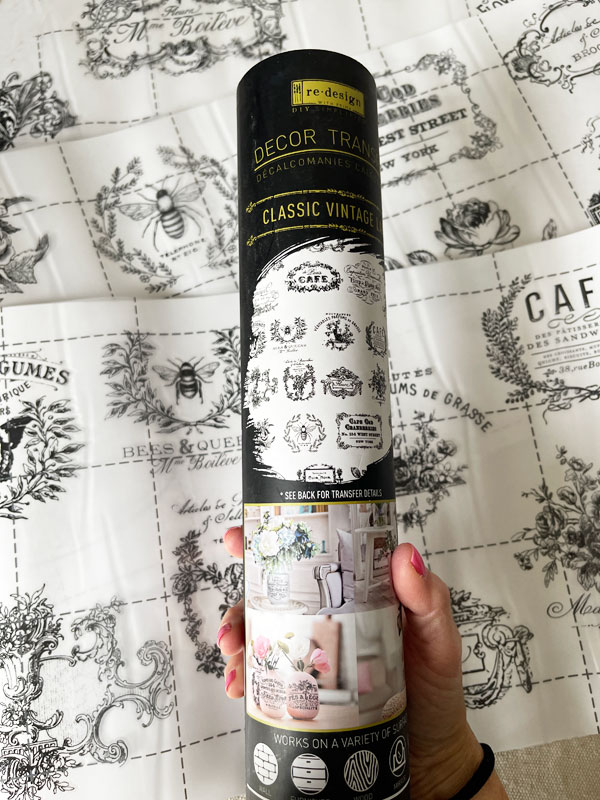
I dug through until I found one that I could cut apart to use on the back of the chair:
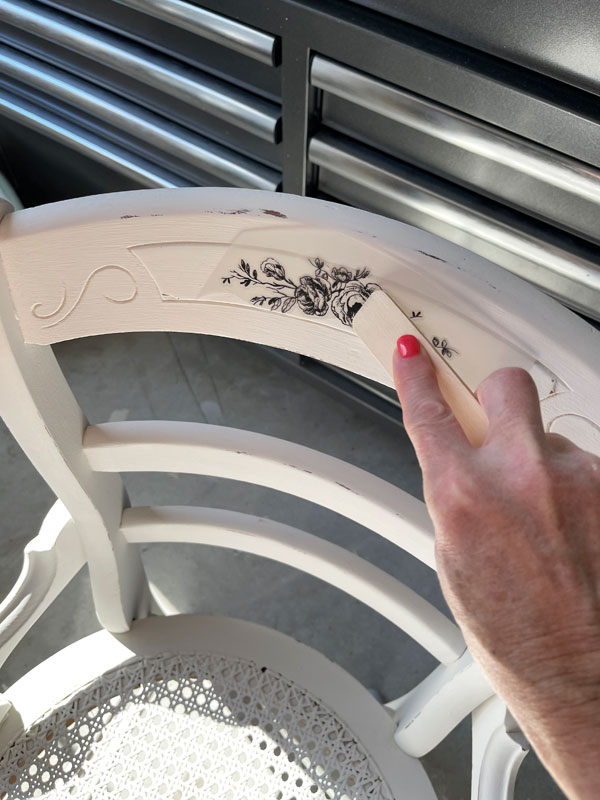
This simple rose swag was perfect to cover the blemish.
Seal
To seal, I used Satin Clear Coat and applied it with my blue sponge applicator:
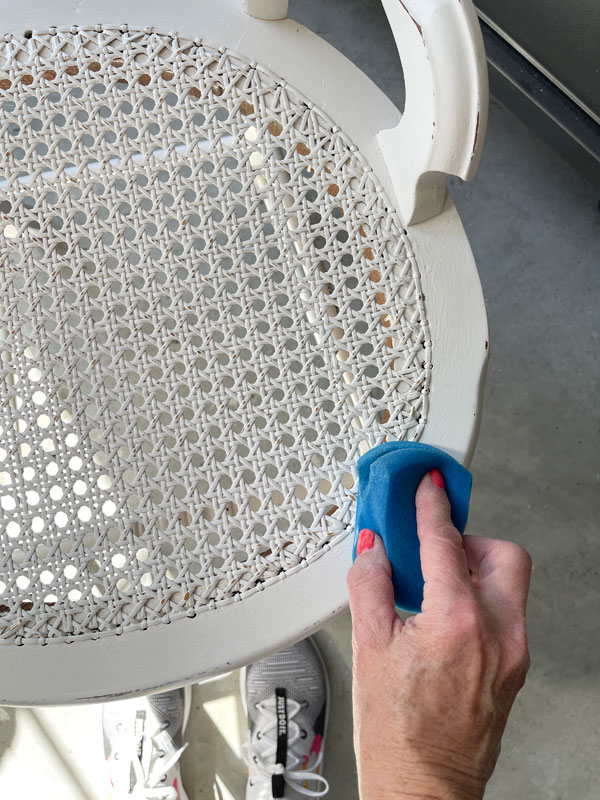
I like to cut my sponges on one side or even both for easier handling and application. This is so much easier than trying to brush sealer on this chair!
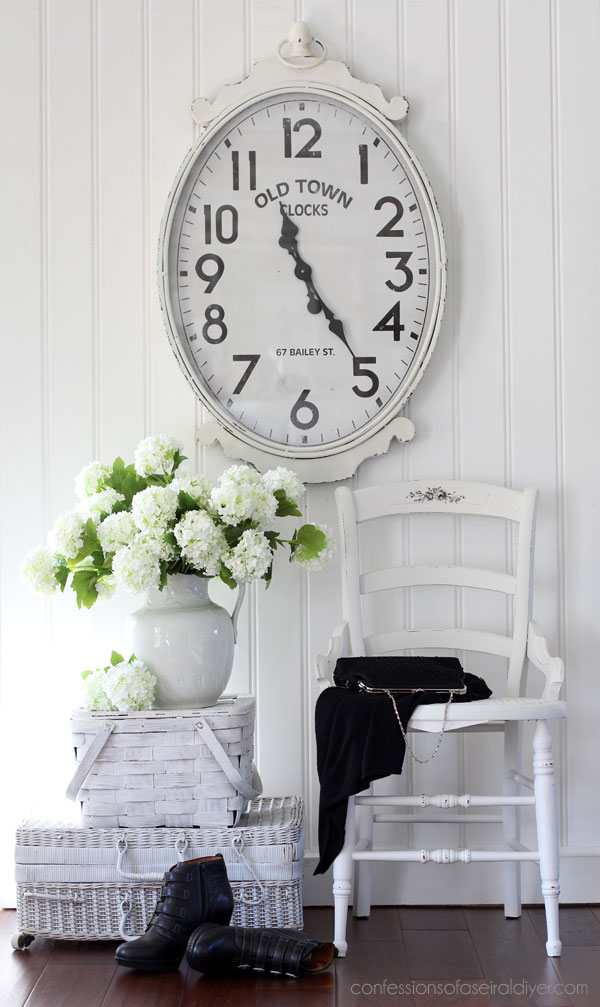
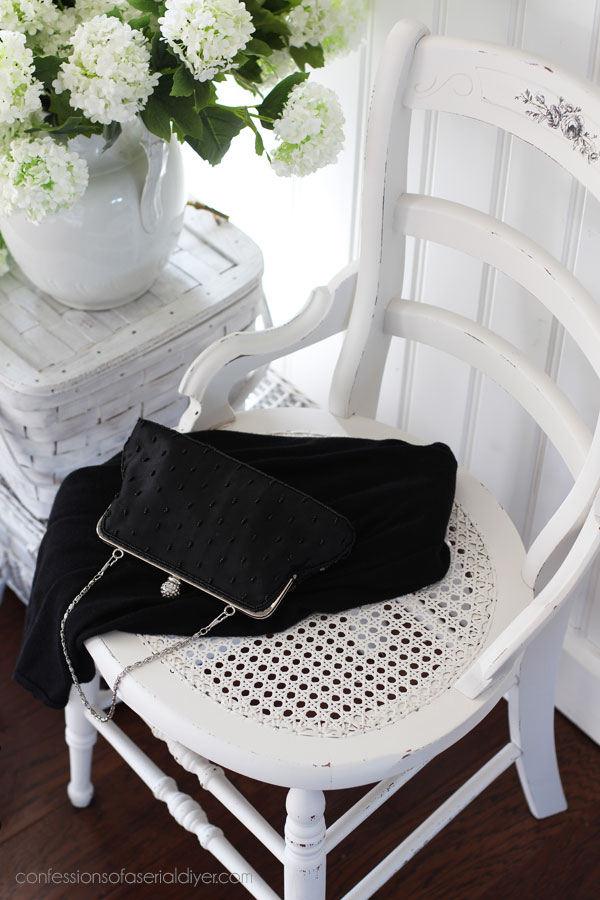
Here is how this super easy chair makeover turned out…
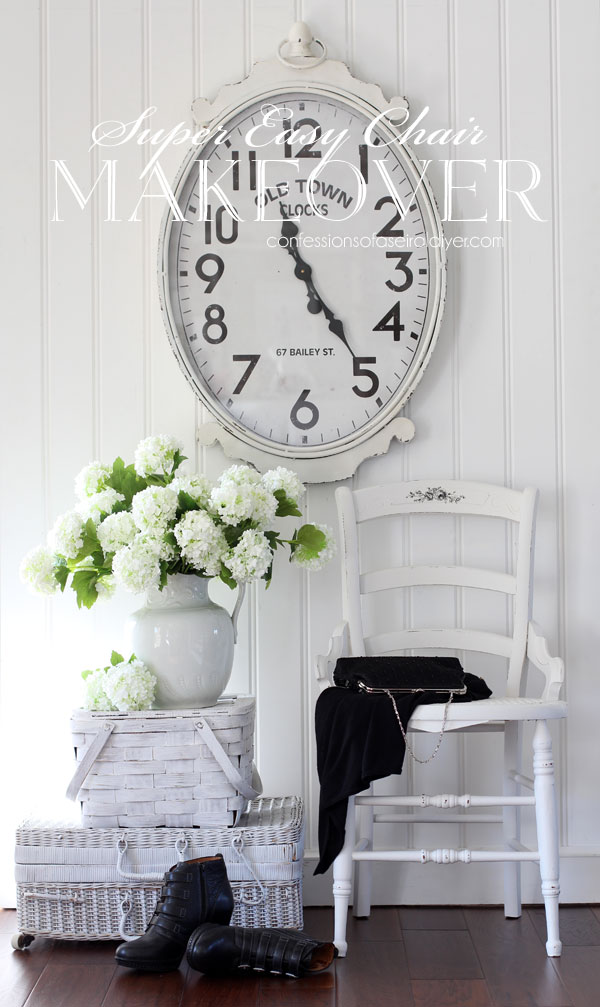
Such a simple makeover can make such a big difference!
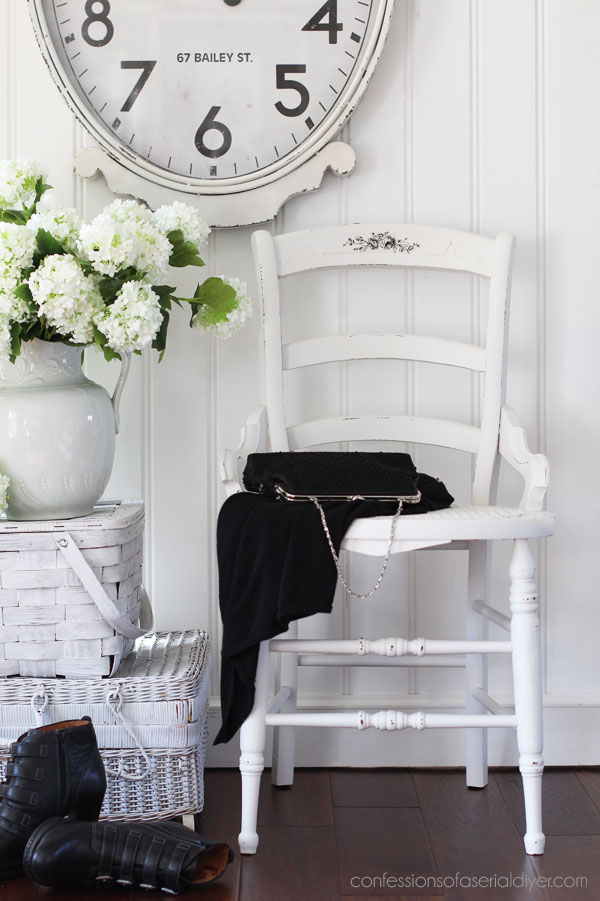
I love to add all the things to my makeovers these days, but a simple paint job is all it takes sometimes.
That and one tiny embellishment lol!
You can’t even tell there was a blemish beneath where I added the transfer:
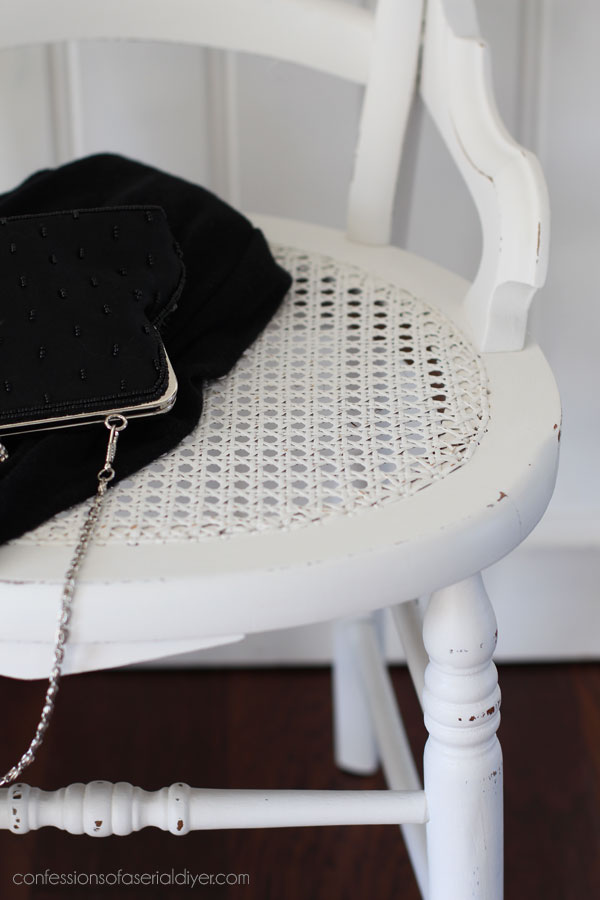
This chair was the perfect candidate for a classic shabby redo…
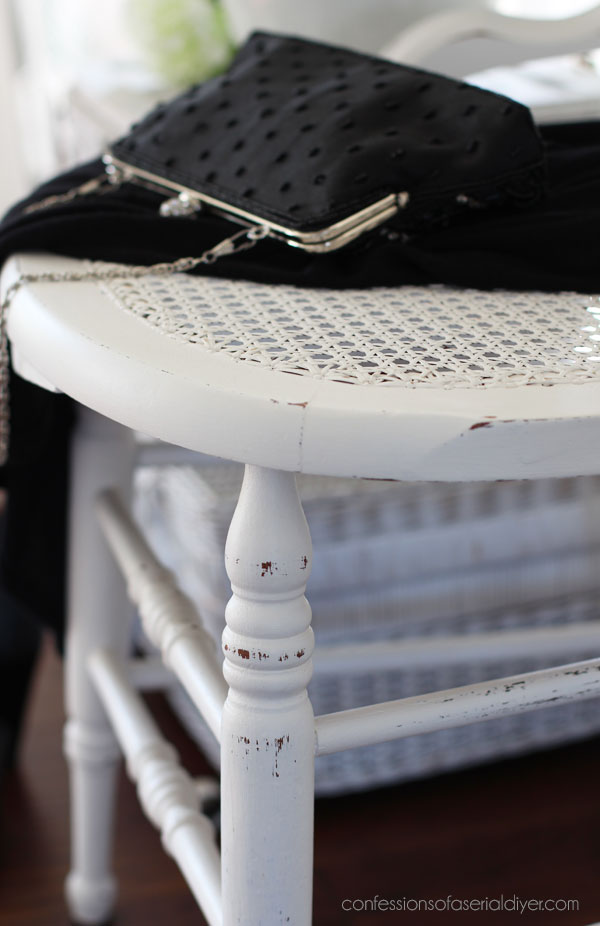
And that cane…I just love it!
Don’t forget my friends have makeovers for you today too!
Check out 10 more mini makeovers I redid with this Classic Vintage Labels transfer!
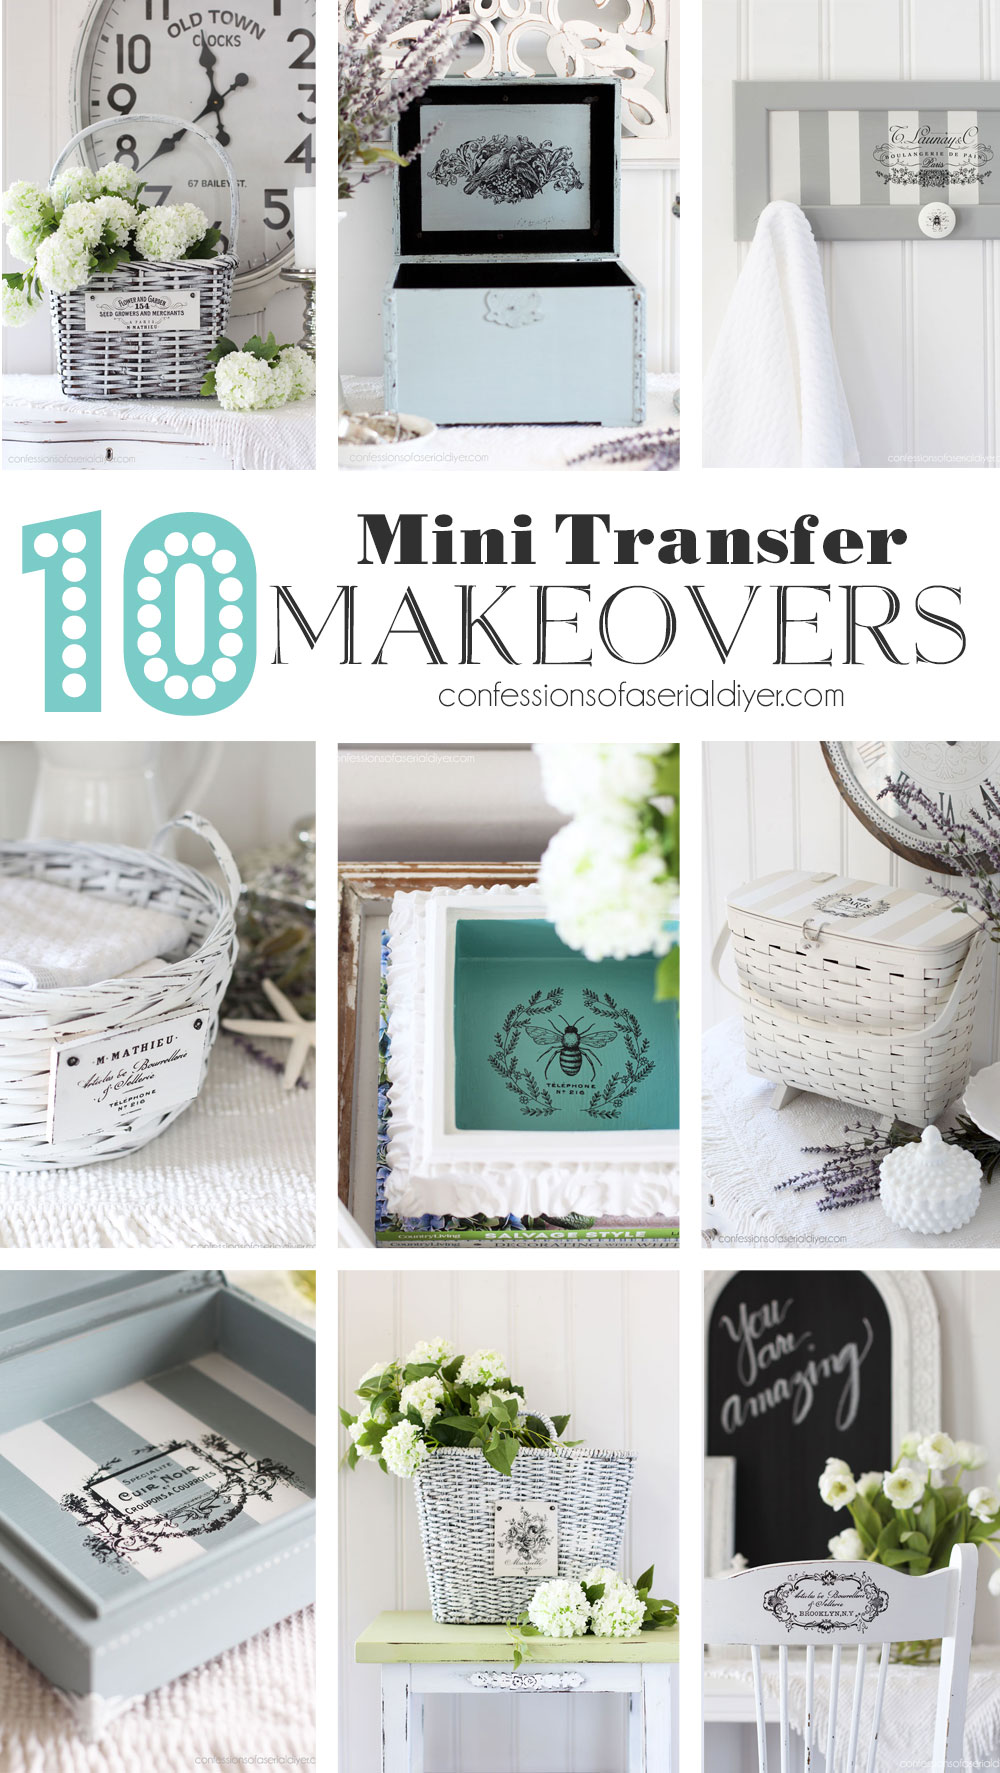
See them all HERE!
I am one piece closer to finishing this bunch!
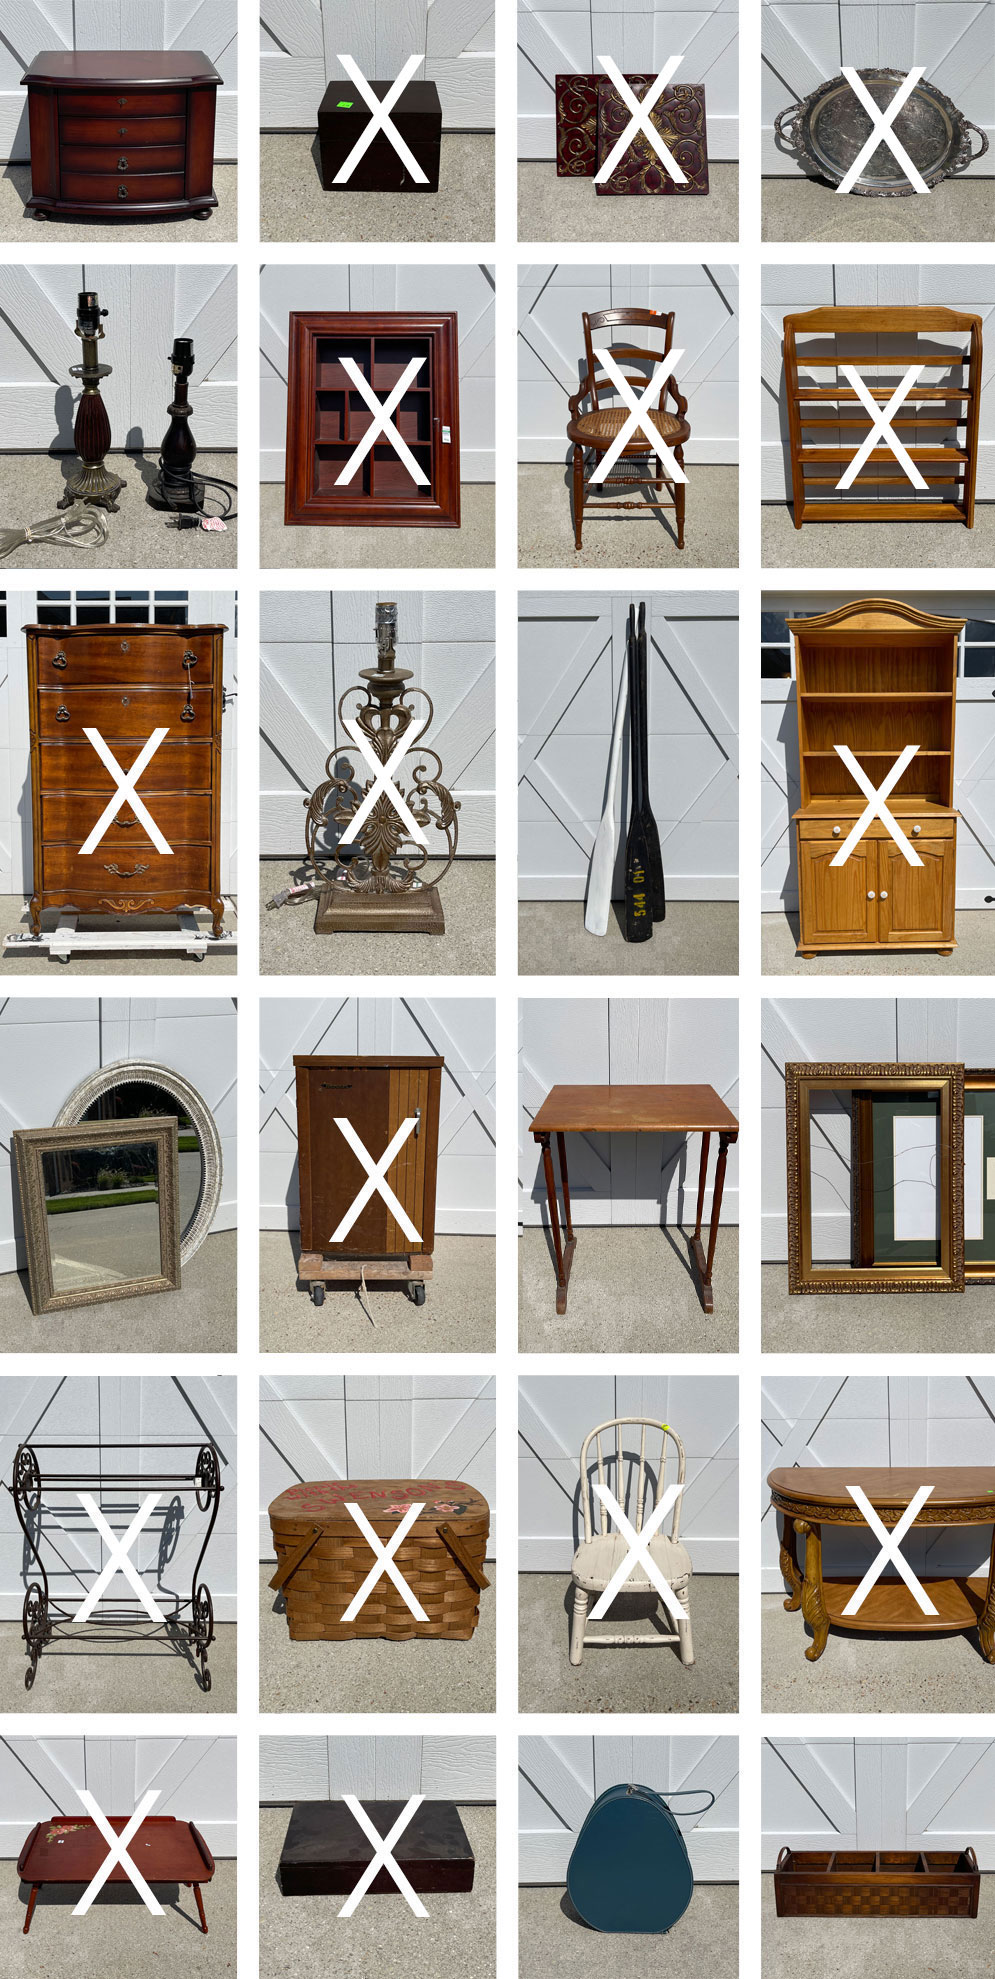
See anything you may have missed or revisit your favorites below:
Painting the Smalls #24 (Six mini makeovers!)
How to Update a Silver Tray
Painted Hutch Using Silk Mineral Paint
Update a Plain Box with Paint and Transfers
Vintage Tray/Easel Makeover
Framed Cubby Shelf Makeover
Update a Picnic Basket with Decoupage
Painted Metal Quilt Rack
Vintage Brother Sewing Machine Cabinet Makeover
Child’s Chair Makeover
Painted Console Table
French Provincial Dresser Makeover
We’re spending Thanksgiving with my husband’s family this year. However you celebrate, I want you to know how truly THANKFUL I am for each and every one of you EVERY day!
I won’t be here on Thursday due to the holiday, but I’ll be back on Thursday with this fun group of smalls for the holidays:
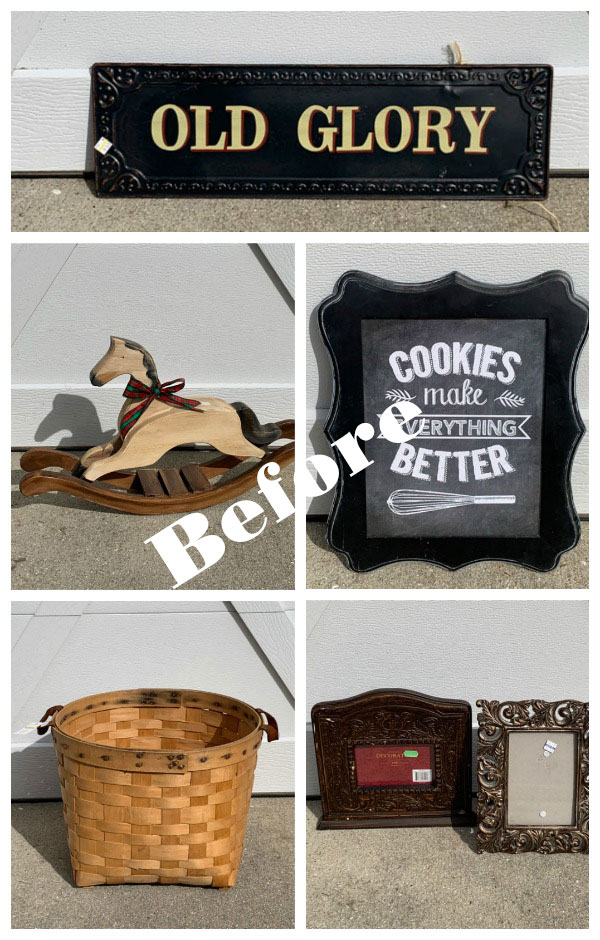
UPDATE: See this fun bunch HERE now!
XOXO,

Don’t Miss a Thing!
If you like what you see, there are several ways to follow along!
EMAIL * INSTAGRAM * FACEBOOK * PINTEREST


")


Mary Kaiser says
I Love how the chair tuned out, and I love the transfer, so beautiful! I am always amazed how paint and a simple transfer make something beautiful again!
Christy says
Thank you, Mary! Absolutely! XOXO
Janice Holt says
Simple is good and this chair turned out so pretty and sweet. Love it. Hope you and your family have a happy and safe Thanksgiving.
Christy says
Thank you, Janice! You too!! XOXO
Sue says
Your makeover chair will add such a breath of fresh air to any room! Awesome!
Christy says
Thanks so much, Sue! XOXO
Cyndi says
Sooo pretty! That transfer belonged there anyway. 🙂
Happy Thanksgiving! Be safe!
Christy says
Thank you, Cyndi! I think so too lol! Happy Thanksgiving to you and yours as well! XOXO
Natalie says
Oh it turned out so cute! Love the little transfer on it as well! Pinned!
Christy says
Thank you so much, Natalie!! XOXO
Denise Zdziennicki says
I love cane furniture too and it looks so fresh painted white. And using the transfer to cover the flaw – brilliant! Transfers are awesome for that! Pinned! XOXO
Christy says
Thank you so much, my friend! Yes…transfers are like band-aids ha ha! XOXO
Marcie Lovett says
I also love cane and a simple treatment was perfect for this chair, Christy. Now you can really see its lovely shape. Someone is going to love having this one at a desk or in an entrance now.
I was hoping this was going to be one of those “And when I got to the register, all furniture was 50% off” situations but, alas, not 😄 It’s increasingly harder to find good prices on furniture these days.
Wishing you and the family a wonderful holiday!
Christy says
Thank you, Marcie! I wish this was one of those occasions! That thrift store is always a bit pricier than others, so I don’t stop there too often, but I couldn’t pass this up! And yes, they are all pricier these days. Thanks for the holiday wishes…you too!! XOXO
Niki says
Aaaahhh! So refreshing, soft and airy. I really like that set of transfers so I’m probably just going to have to finally buy it. This chair has everything I like.
Christy says
Oh yay! Thank you, Niki! I can get so many uses out of this one set of transfers! XOXO
gail says
Christy,
This easy chair makeover turned out perfect. Good job on the boo-boos, especially that petite transfer.
Pinned!
gail
Christy says
Thank you so much, Gail! I was just saying to Denise that transfers are like band-aids…they cover right over the boo boos ha ha!! XOXO
Cecilia says
Happy Thanksgiving! The chair looks great…goes to show how much a simple paint job can really refresh a tired piece. Love the embellishment- hides the flaw perfectly!
😊Cecilia
Christy says
Thank you, Cecilia! Absolutely! Happy Thanksgiving!! XOXO
Lizzy says
I love it. Just perfect.
Christy says
Thank you, Lizzy! XOXO
Michele M. says
Oh wow, that is such a cute make-over!!! I love for once something was easier for you, too. Busy time of year and every moment counts.
Well done, Christy!!
Christy says
Thank you, Michele! I love when I get an easy one! Hope your week is off to a great start! XOXO